How I Turned A Shed Into A Tiny House
We moved to the farm when I was 14. The original house was a tiny 24×24 structure with just two bedrooms, one bath, a kitchen, and a family room. Not much space for a family of four. I had to share a 10×12 bedroom with my little sister, a situation that quickly became untenable.
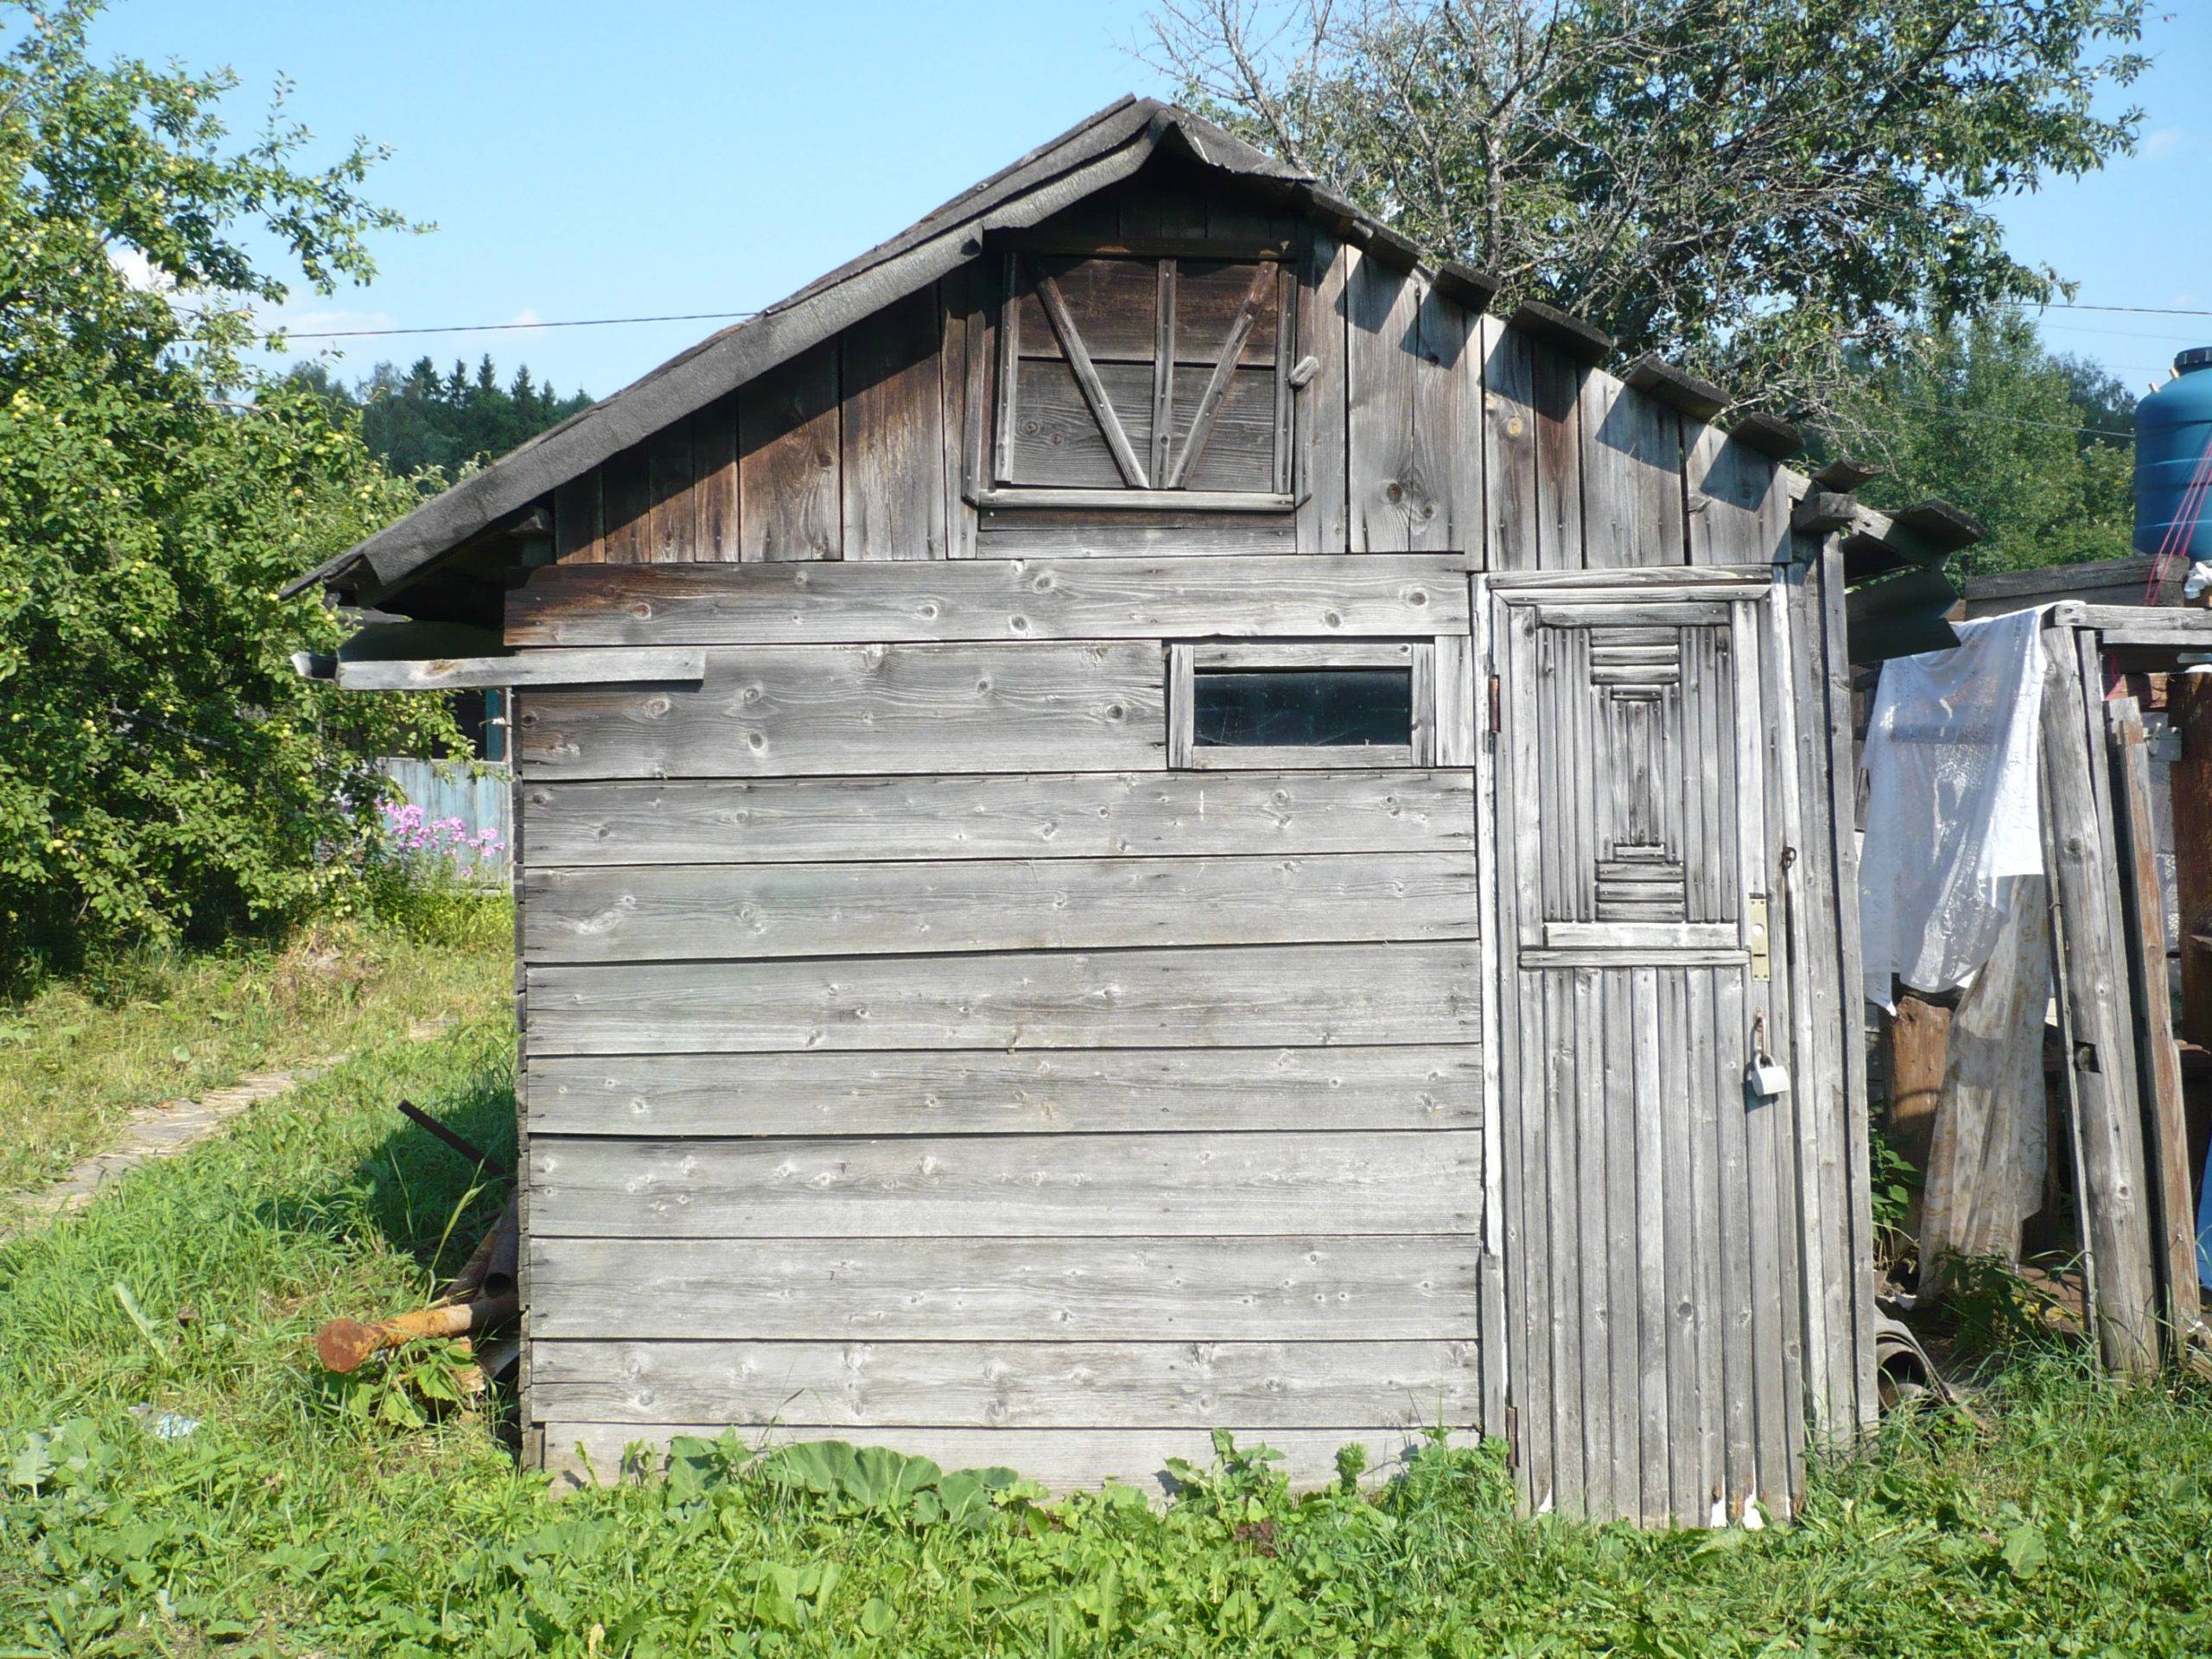
Across the driveway into the farm sat a 10×14 chicken house. It was adjacent to the large garden plot and close to one of our pastures. The chicken house had electricity, but no windows, and a peeling asphalt roof. It was better than sharing a room I thought. So at 15, I remodeled my first shed into a house, not a big house, but a living space nonetheless.
Starting with the roof
I stripped off all the remaining tattered shingles with a square shovel. My dad bought a roll of asphalt tarpaper and enough 90-pound mineral impregnated rolled roofing to cover the job, and a five-pound bag of 1 ¾ inch galvanized roofing nails.
I rolled the tar paper lengthwise, starting at the bottom so the paper overlapped downhill, preventing rail or melted snow from entering. I did the same with the rolled roofing, trimming the edges with my pocket knife. I nailed everything in place, zipping the roof in nicely, then rolled the edges under the eaves and nailed them from underneath to prevent the howling Wyoming wind from ripping the roof off.
Heading indoors
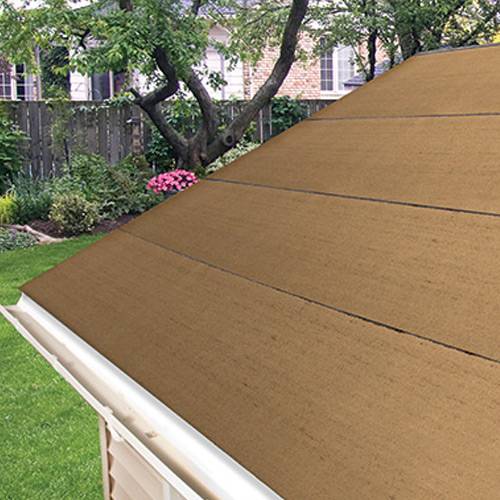
I stripped all the perches used by the chickens, and then shoveled a couple of decades of chicken manure out of the shed. I loaded a wheelbarrow many times, then dumped it next to the garden. Chicken manure makes a great, nitrogen-rich fertilizer.
With the manure gone, I removed one of the lower outside boards covering the exterior, dragged a hose over to the shed, and washed it out with heavy pressure, forcing the water through the open space created by the missing board. The concrete floor soon dried and I replaced the board.
Don’t forget about windows
We had a 3×4 single glass window in one of the shop buildings that I used on the southern face as the only window. South-facing is the only way to go in most western states since the wind and weather roll in from the west or north almost every time.
I cut the studs, then built a header over the opening to spread the wall load, then framed in the window as one solid piece.
I wouldn’t advise this now, but I used crumpled newspaper as insulation in the wall. Fiberglass batting is a much better choice, but I was 15 and I was on a tight budget.
Time to DIY walls
We had a pile of 3/8” plywood my dad and I had salvaged from a building that was being demolished. I used it to cover the walls and ceiling. I used 1 5/8” drywall nails to hold the plywood. The door didn’t have a handle and opened away from the shed. I put a simple loop and hook on the top to keep it closed at night, and a piece of wood with a nail in the middle to close it from the outside.
Finally, time to decorate
My décor was right out of a Texaco station. As a little kid, I loved road maps. They were free in the 1960s and I had quite a collection. I mixed a little Elmer’s glue with water as wall paste and spread the highway maps over the ceiling and walls as wallpaper.
I packed in an old-style couch that folded into a bed when you lifted the front, a table for a monstrous black and white television, a reading lamp, and a 1927 Zenith radio the old farmer who had owned the place gave to me when we moved it.
It was home until we doubled the size of the house when I was 17 and I moved back in with the family. I ate with the rest of the family inside the main house, showered there, and kept my clothes in a closet in the house. For restroom facilities, the lifestyle was primitive to say the least. There was an ancient outhouse a dozen yards from the shed, next to the garden spot. No, it didn’t have a Sears cataloge for sanitary purposes.
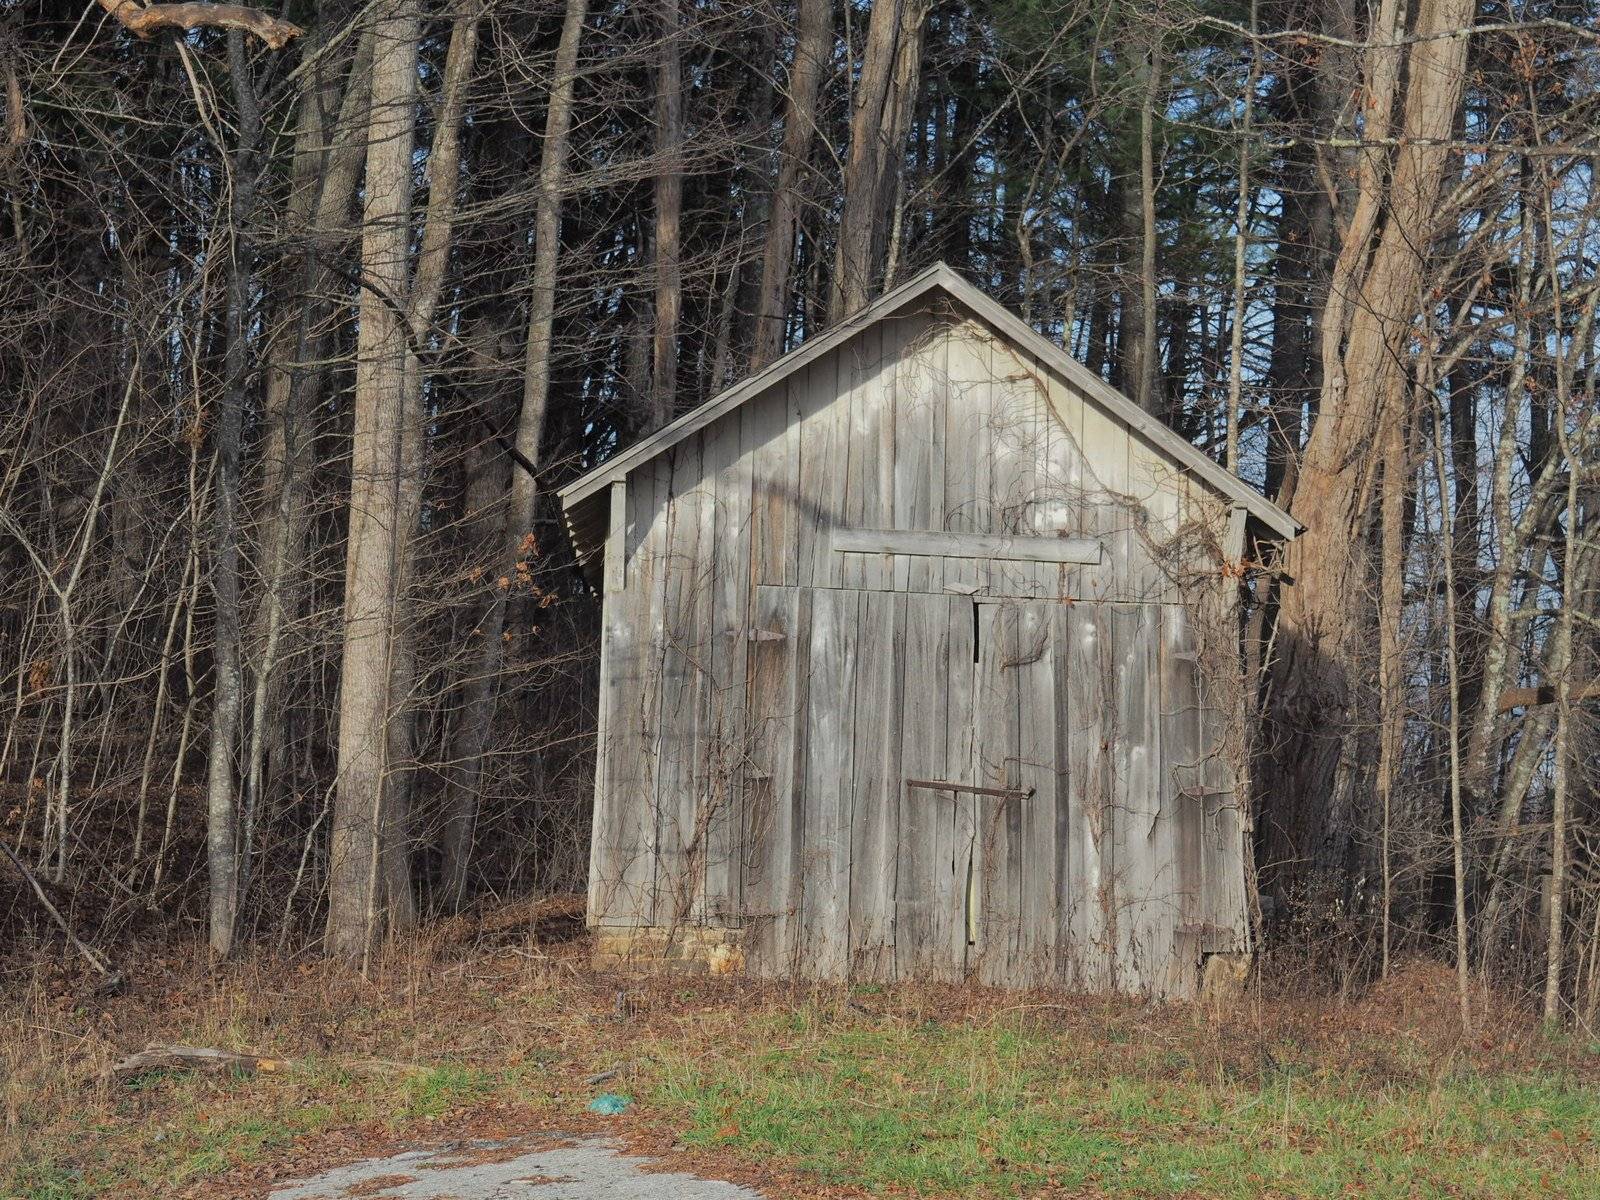
This was a more simple shed-to-house project. It was missing two key components: there was no kitchen (though I had a popcorn popper and an electric soup/water heater) and there was no bathroom. For that kind of shed conversion, you’re going to have to dig and connect drains to a city main, or a septic system. You’ll have to do the same with the water supply.
Everything else, aside from plumbing, is just as basic as the process described above, it’s just a question of scale.
Always check building codes if you’re in a zoned area before you begin. As a project 25 miles from the nearest town, my shed conversion didn’t require any permits. But nowadays many cheds come ready to connect to sewer and plumbing. Whichever route you choose to go, good luck!
