How to Unclog a Garbage Disposal When It’s Completely Jammed
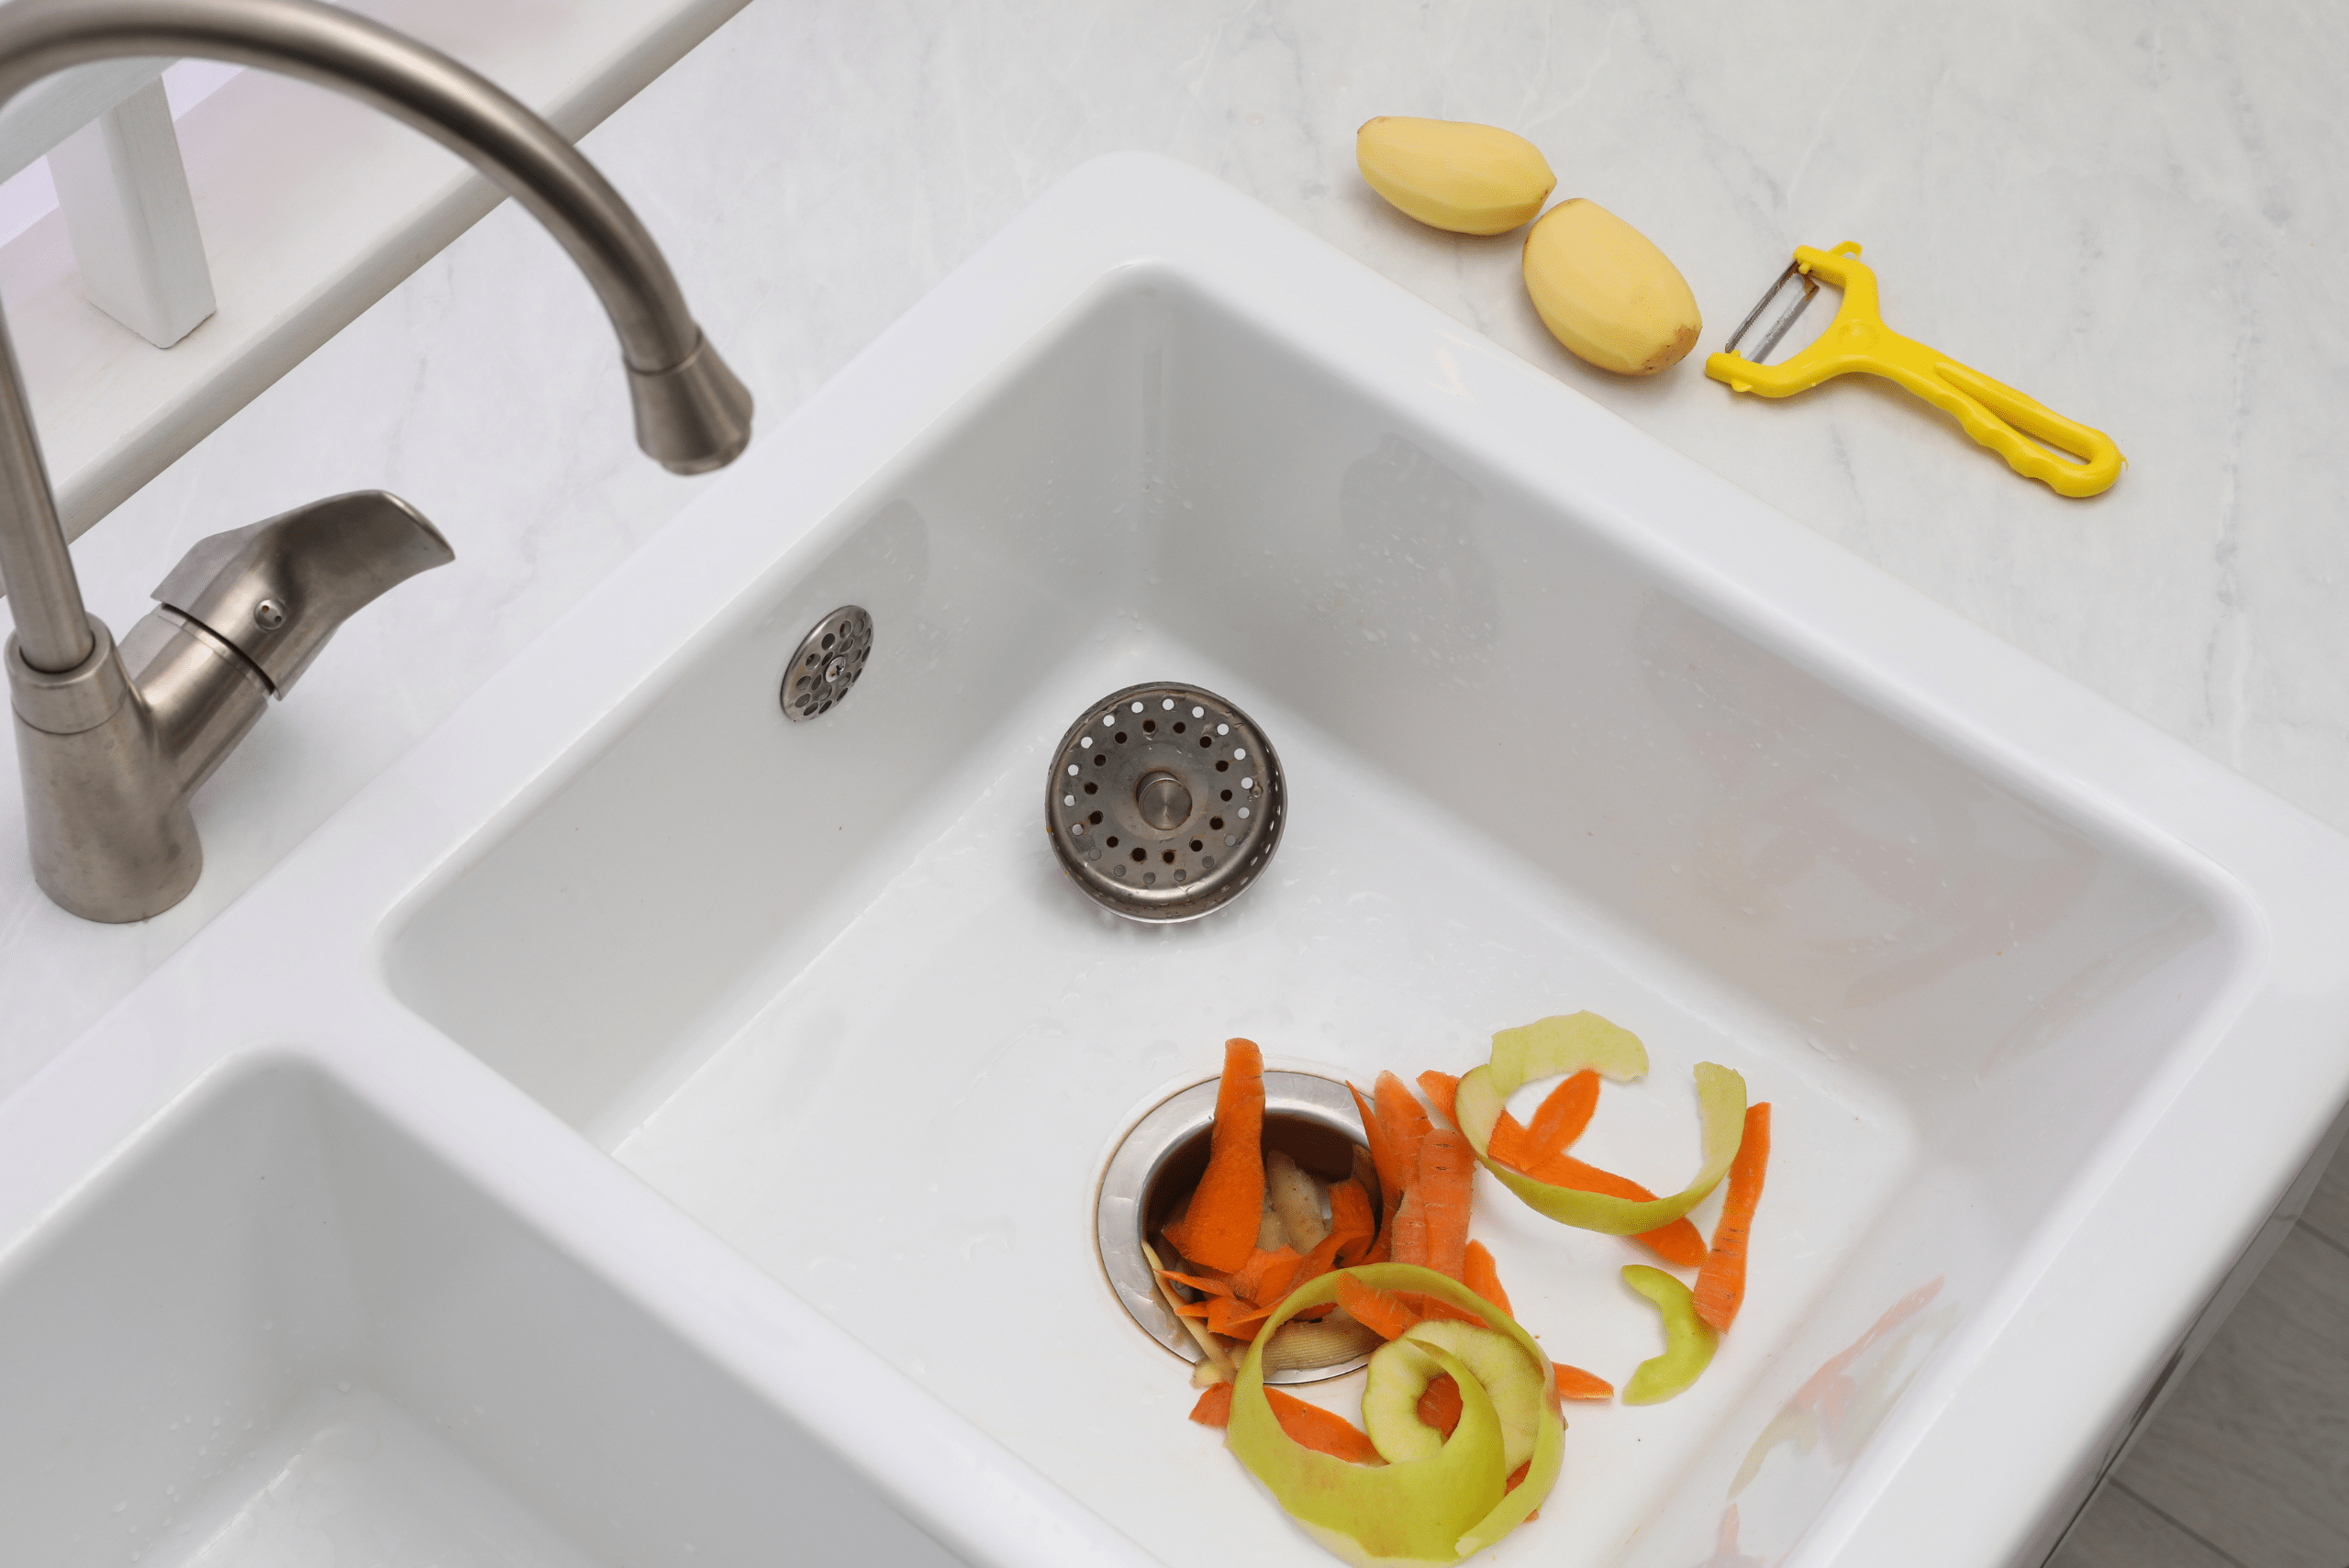
A jammed garbage disposal can disrupt your kitchen routine in an instant, leaving you with a sink full of dirty water and an unpleasant smell. If your disposal has stopped spinning and is completely jammed, don’t panic—it’s a common issue that you can often resolve on your own. Whether it’s food waste, debris, or even small utensils causing the jam, you can follow a few straightforward steps to get things running smoothly again. In this guide, we’ll walk you through how to safely and effectively unclog a garbage disposal that’s completely jammed.
1. Safety First: Cut the Power
Before you begin any work on your garbage disposal, it’s crucial to ensure your safety. The disposal blades are sharp, and accidental activation could cause serious injury. To avoid this, always turn off the power at the source. Most disposals have a plug under the sink, so simply unplug it. If you can’t find the plug, you can cut off the power by switching off the circuit breaker that controls the disposal.
Once you’re certain the power is off, double-check by attempting to turn on the disposal. If there’s no sound or movement, you’re good to go. This step is non-negotiable for ensuring your safety while you work to clear the jam.
2. Use an Allen Wrench to Rotate the Blades Manually
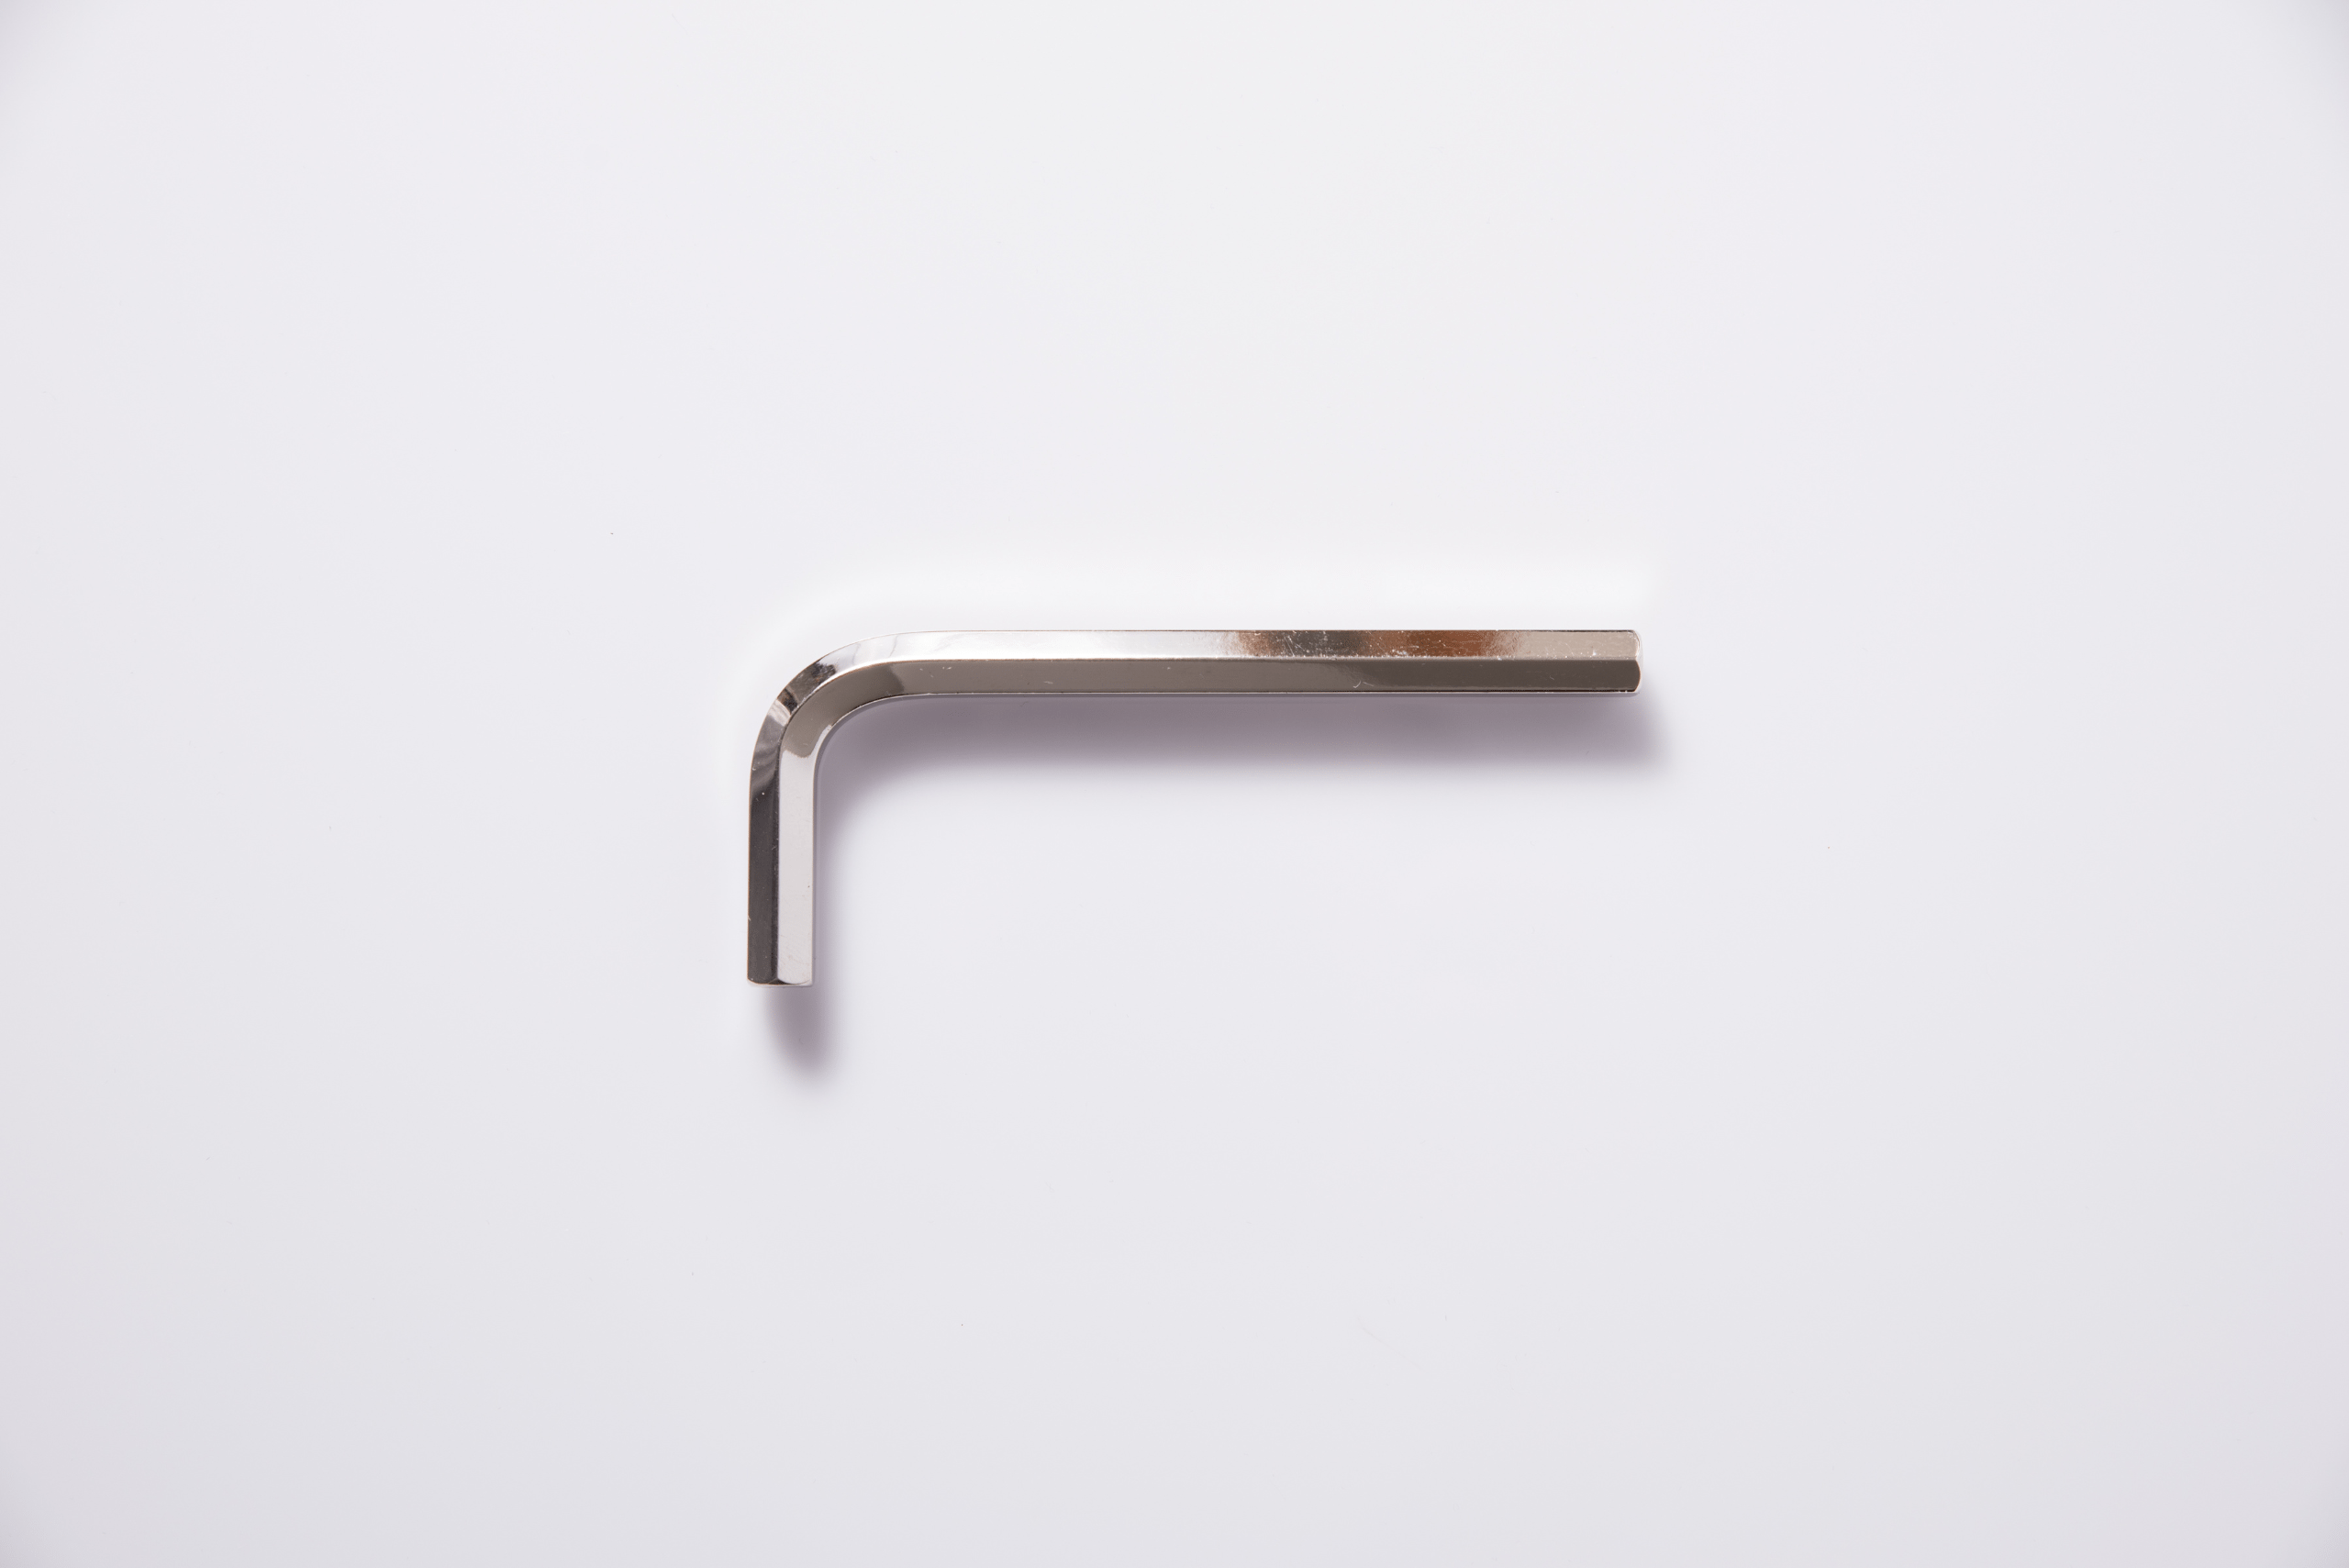
Garbage disposals often come with a special Allen wrench or hex key that you can use to manually rotate the blades and dislodge whatever is causing the jam. Look underneath your disposal unit for a small hex-shaped hole in the center. Insert the Allen wrench and try to turn it back and forth.
You may encounter some resistance, but this is normal. Continue to rotate the wrench until it moves more freely, signaling that the jam has been loosened. This process can often release trapped food or debris without the need to open up the disposal.
Start your next woodworking adventure with TedsWoodworking! Dive into 16,000+ projects and bring your ideas to life. Build unique furniture and master new skills with Ted’s detailed, step-by-step plans guiding you every step of the way.
3. Inspect for Foreign Objects
Sometimes, garbage disposals jam because of objects that shouldn’t be in there, such as utensils, bones, or even small pieces of plastic. Once you’ve attempted to loosen the jam with the Allen wrench, check inside the disposal for any visible blockages. Use a flashlight to inspect the chamber carefully.
If you see something that doesn’t belong, use a pair of long-handled tongs or pliers to remove the item. Never use your hands to reach into the disposal, even if the power is off, as the blades are still sharp. Removing foreign objects can often fix the issue entirely.
4. Try the Reset Button
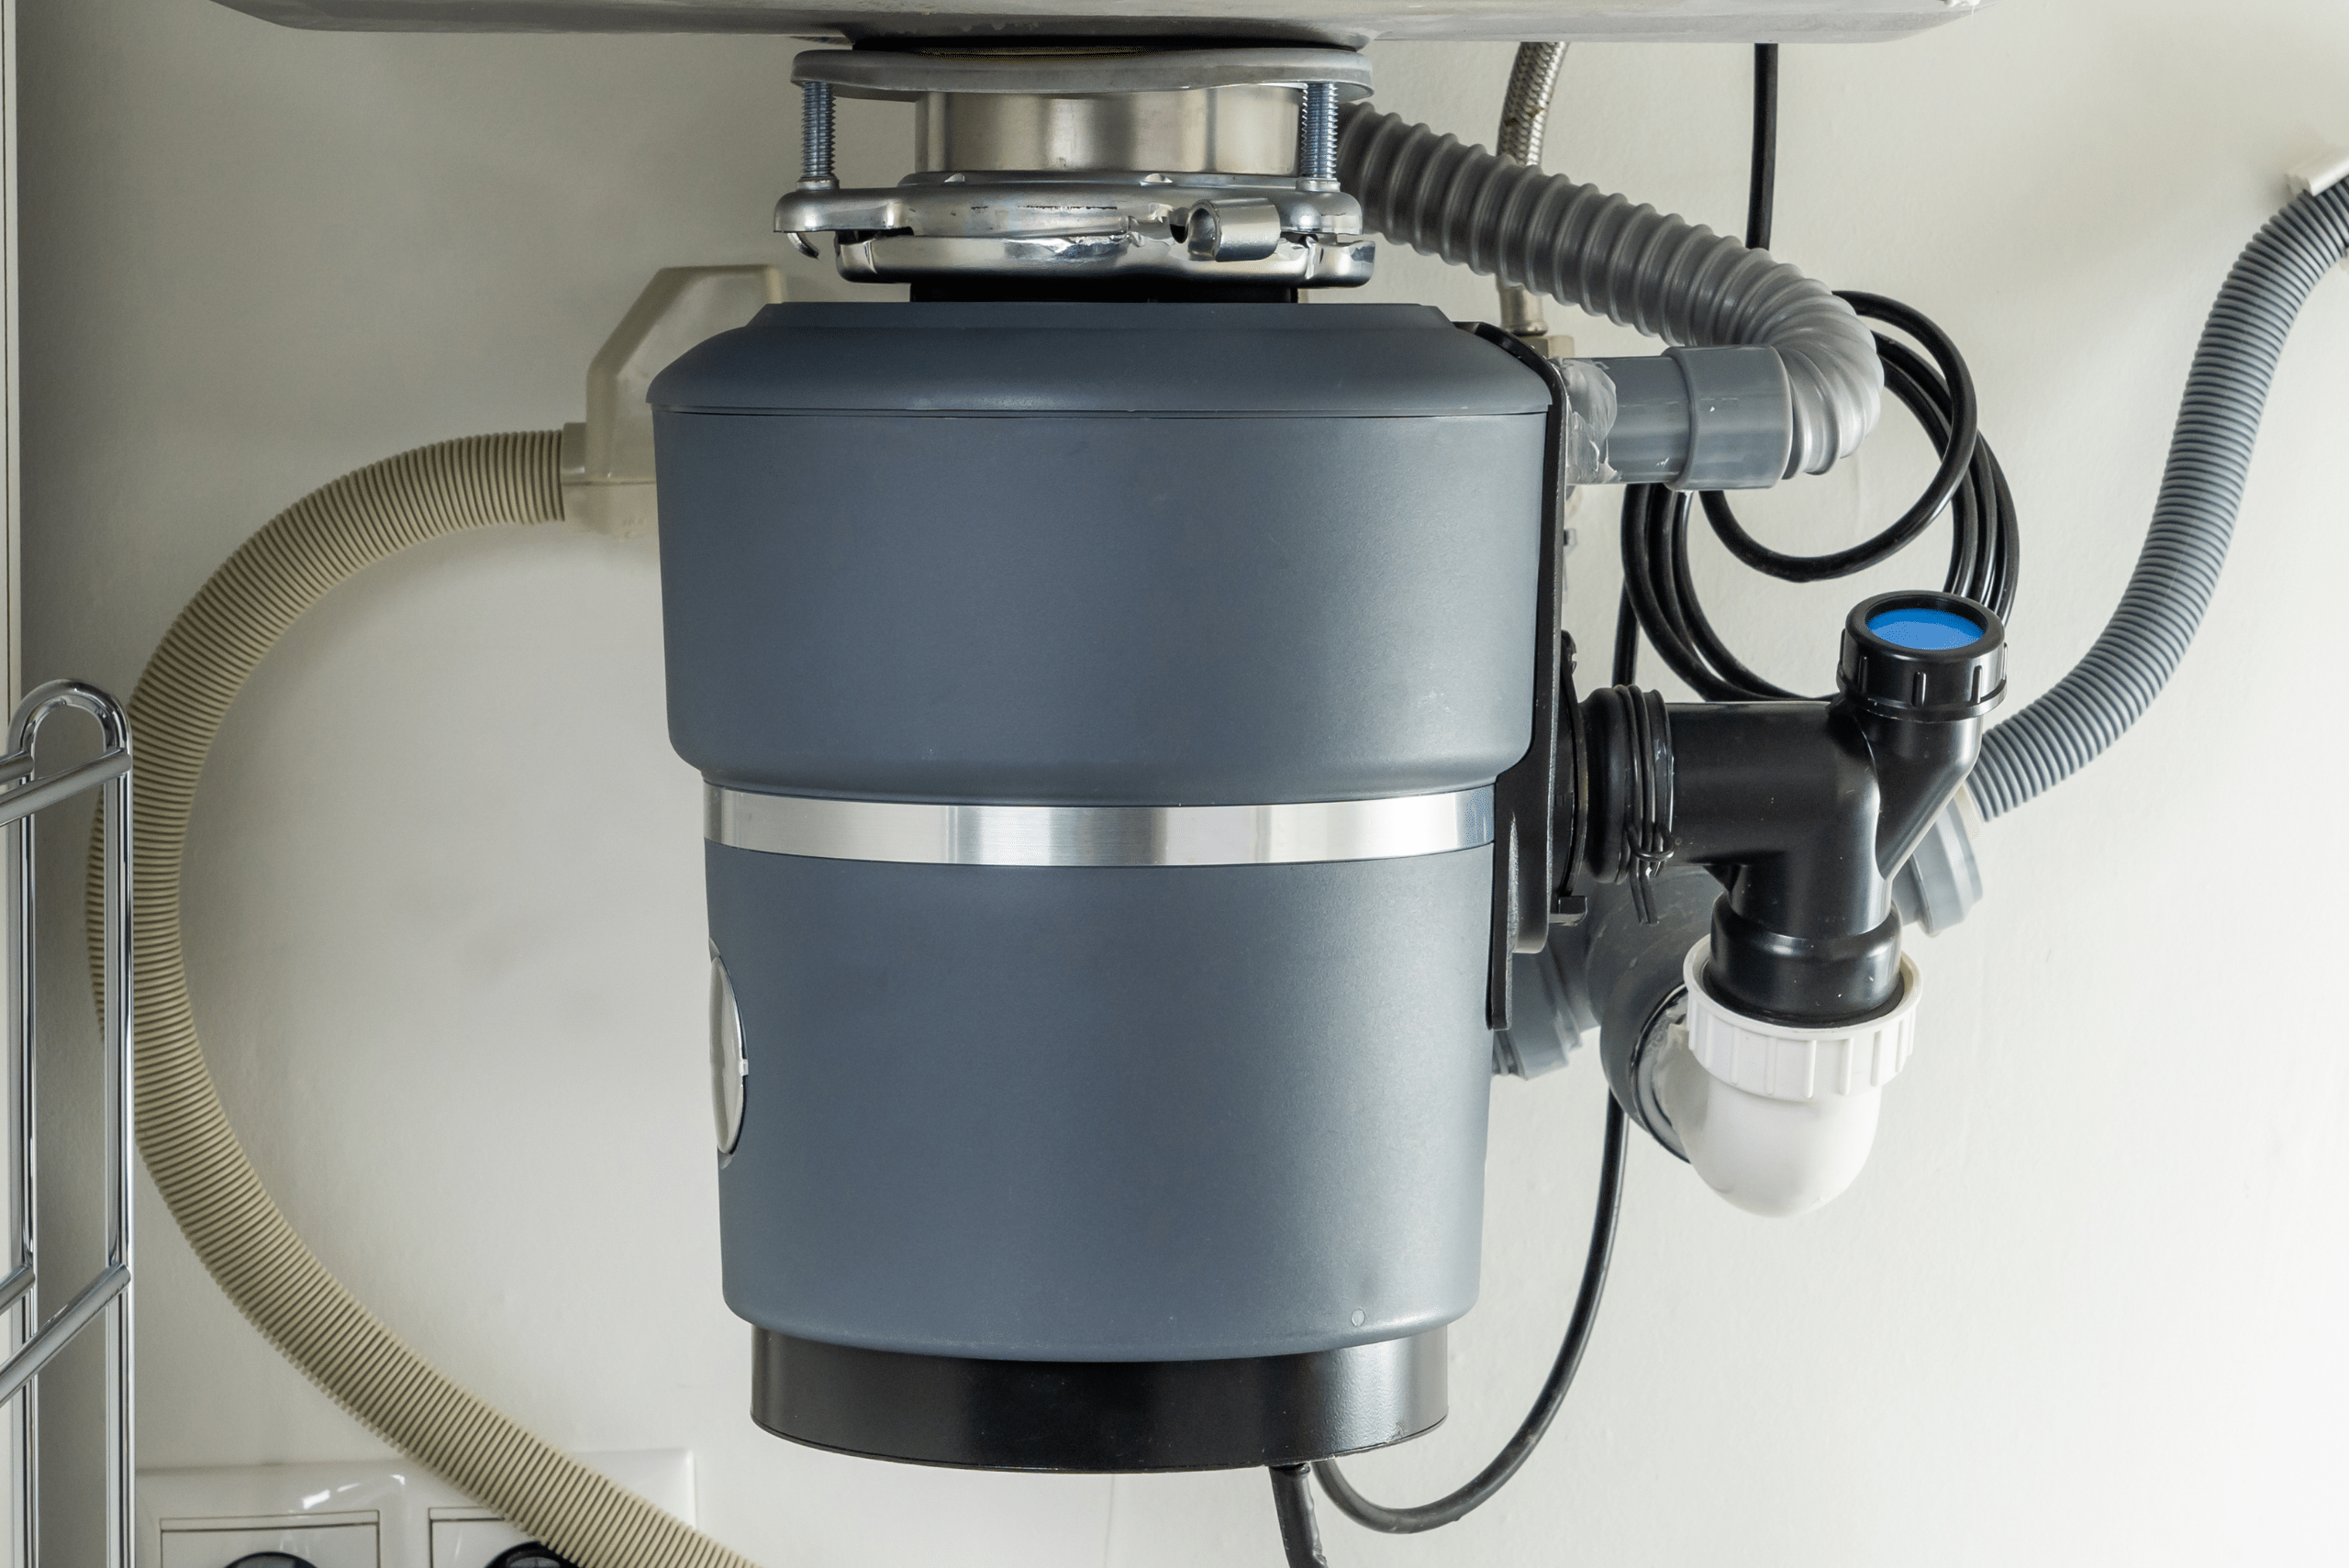
After clearing the blockage and manually rotating the blades, it’s time to reset the garbage disposal. Most units come equipped with a reset button located at the bottom of the unit. Once the jam has been cleared, press the reset button to restore power to the disposal.
Wait a few minutes after pressing the reset button before turning the disposal back on. This step allows the internal components to recalibrate, giving your garbage disposal a fresh start after being clogged.
5. Flush with Hot Water and Dish Soap
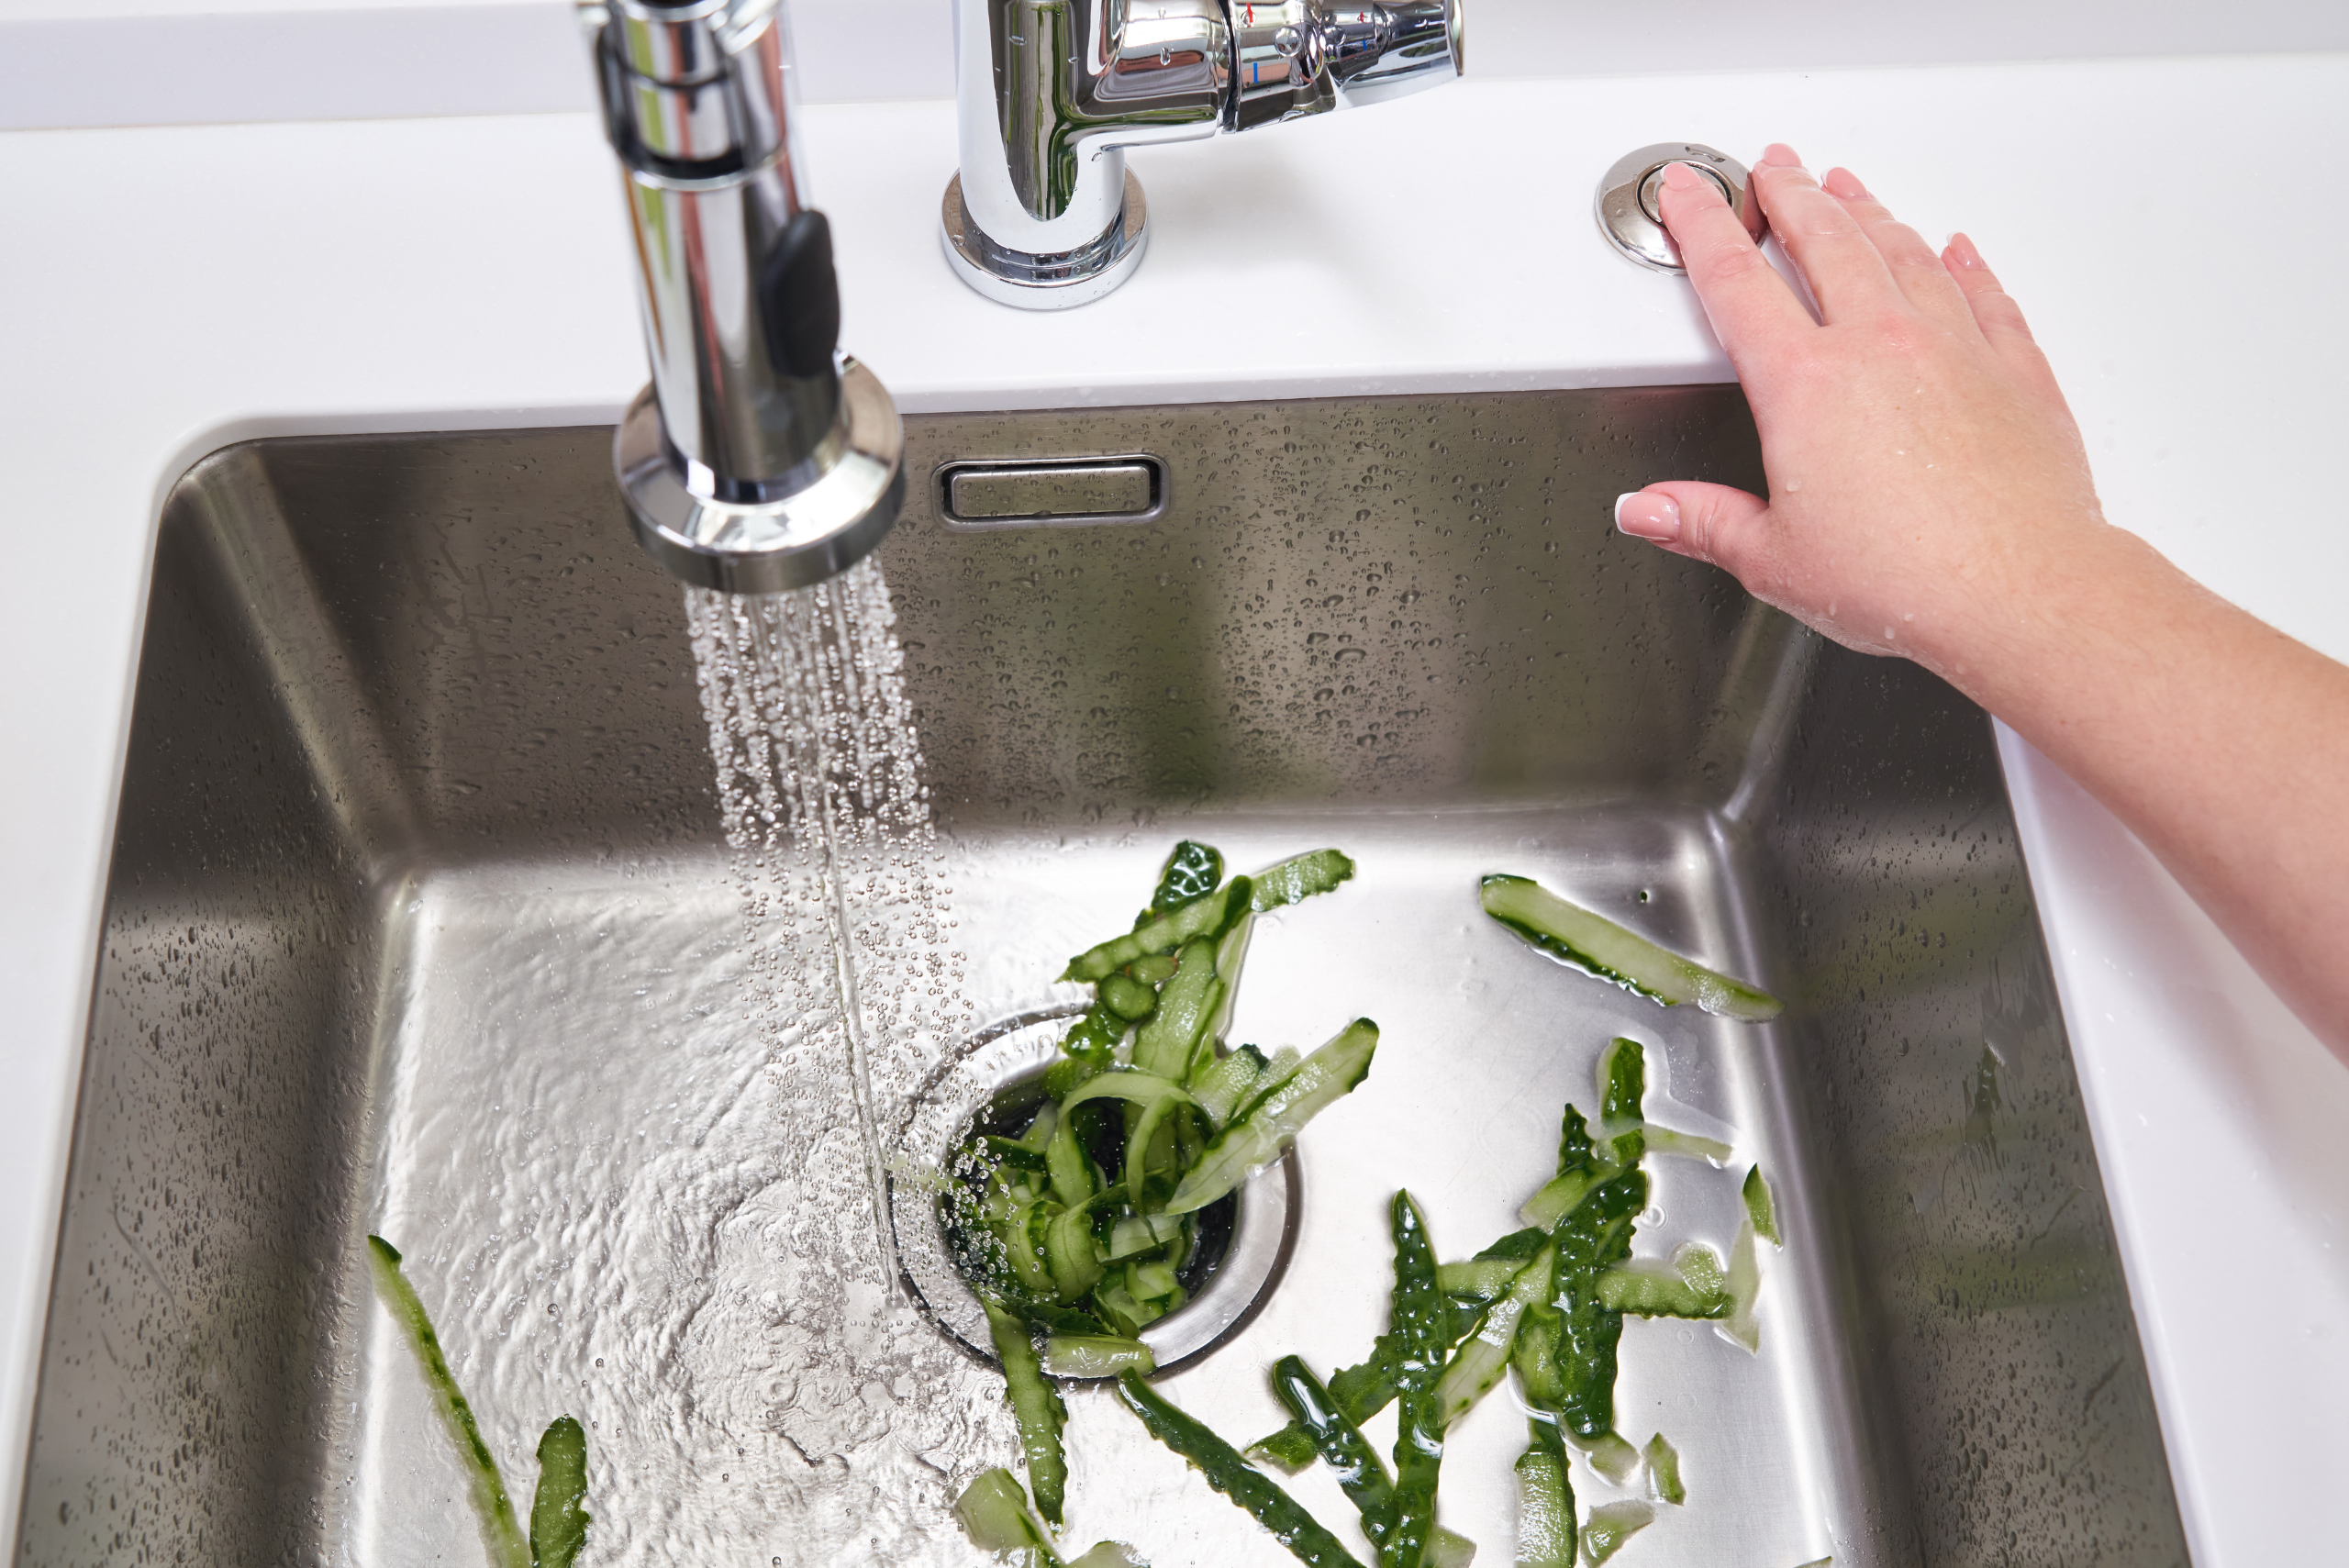
Now that your garbage disposal is free of obstructions and ready to run, it’s important to flush out any remaining debris. Turn the power back on and run hot water from your faucet while turning on the disposal. Adding a few squirts of dish soap to the running water will help break down grease or small food particles that might still be lingering.
Let the disposal run for about 30 seconds to ensure everything is fully cleared out. This final step helps prevent future clogs by washing away any residual debris that could accumulate over time.
Related Articles
- Avoid Clogs by Keeping These Items Out of Drains
- How To Unclog A Toilet Without A Plunger
- Effective Strategies to Prevent Clogs and Maintain a Healthy Plumbing System
Unclogging a garbage disposal when it’s completely jammed doesn’t have to be a complicated or stressful process. By following these simple steps, you can safely and efficiently resolve the issue without calling in a professional. Remember to always prioritize safety, and with a little bit of patience, you’ll have your disposal running smoothly again in no time.


