How to Unstick a Stubborn Window Without Breaking It
Getting a window stuck is a common frustration, especially in older homes where wood swells and paint layers pile up. Before you break out the sledgehammer, there are several simple and safe methods to help unstick a window without causing damage. Let’s walk through a few tried-and-true techniques so you can get your windows working smoothly again without any headaches.
Understanding the Root Cause
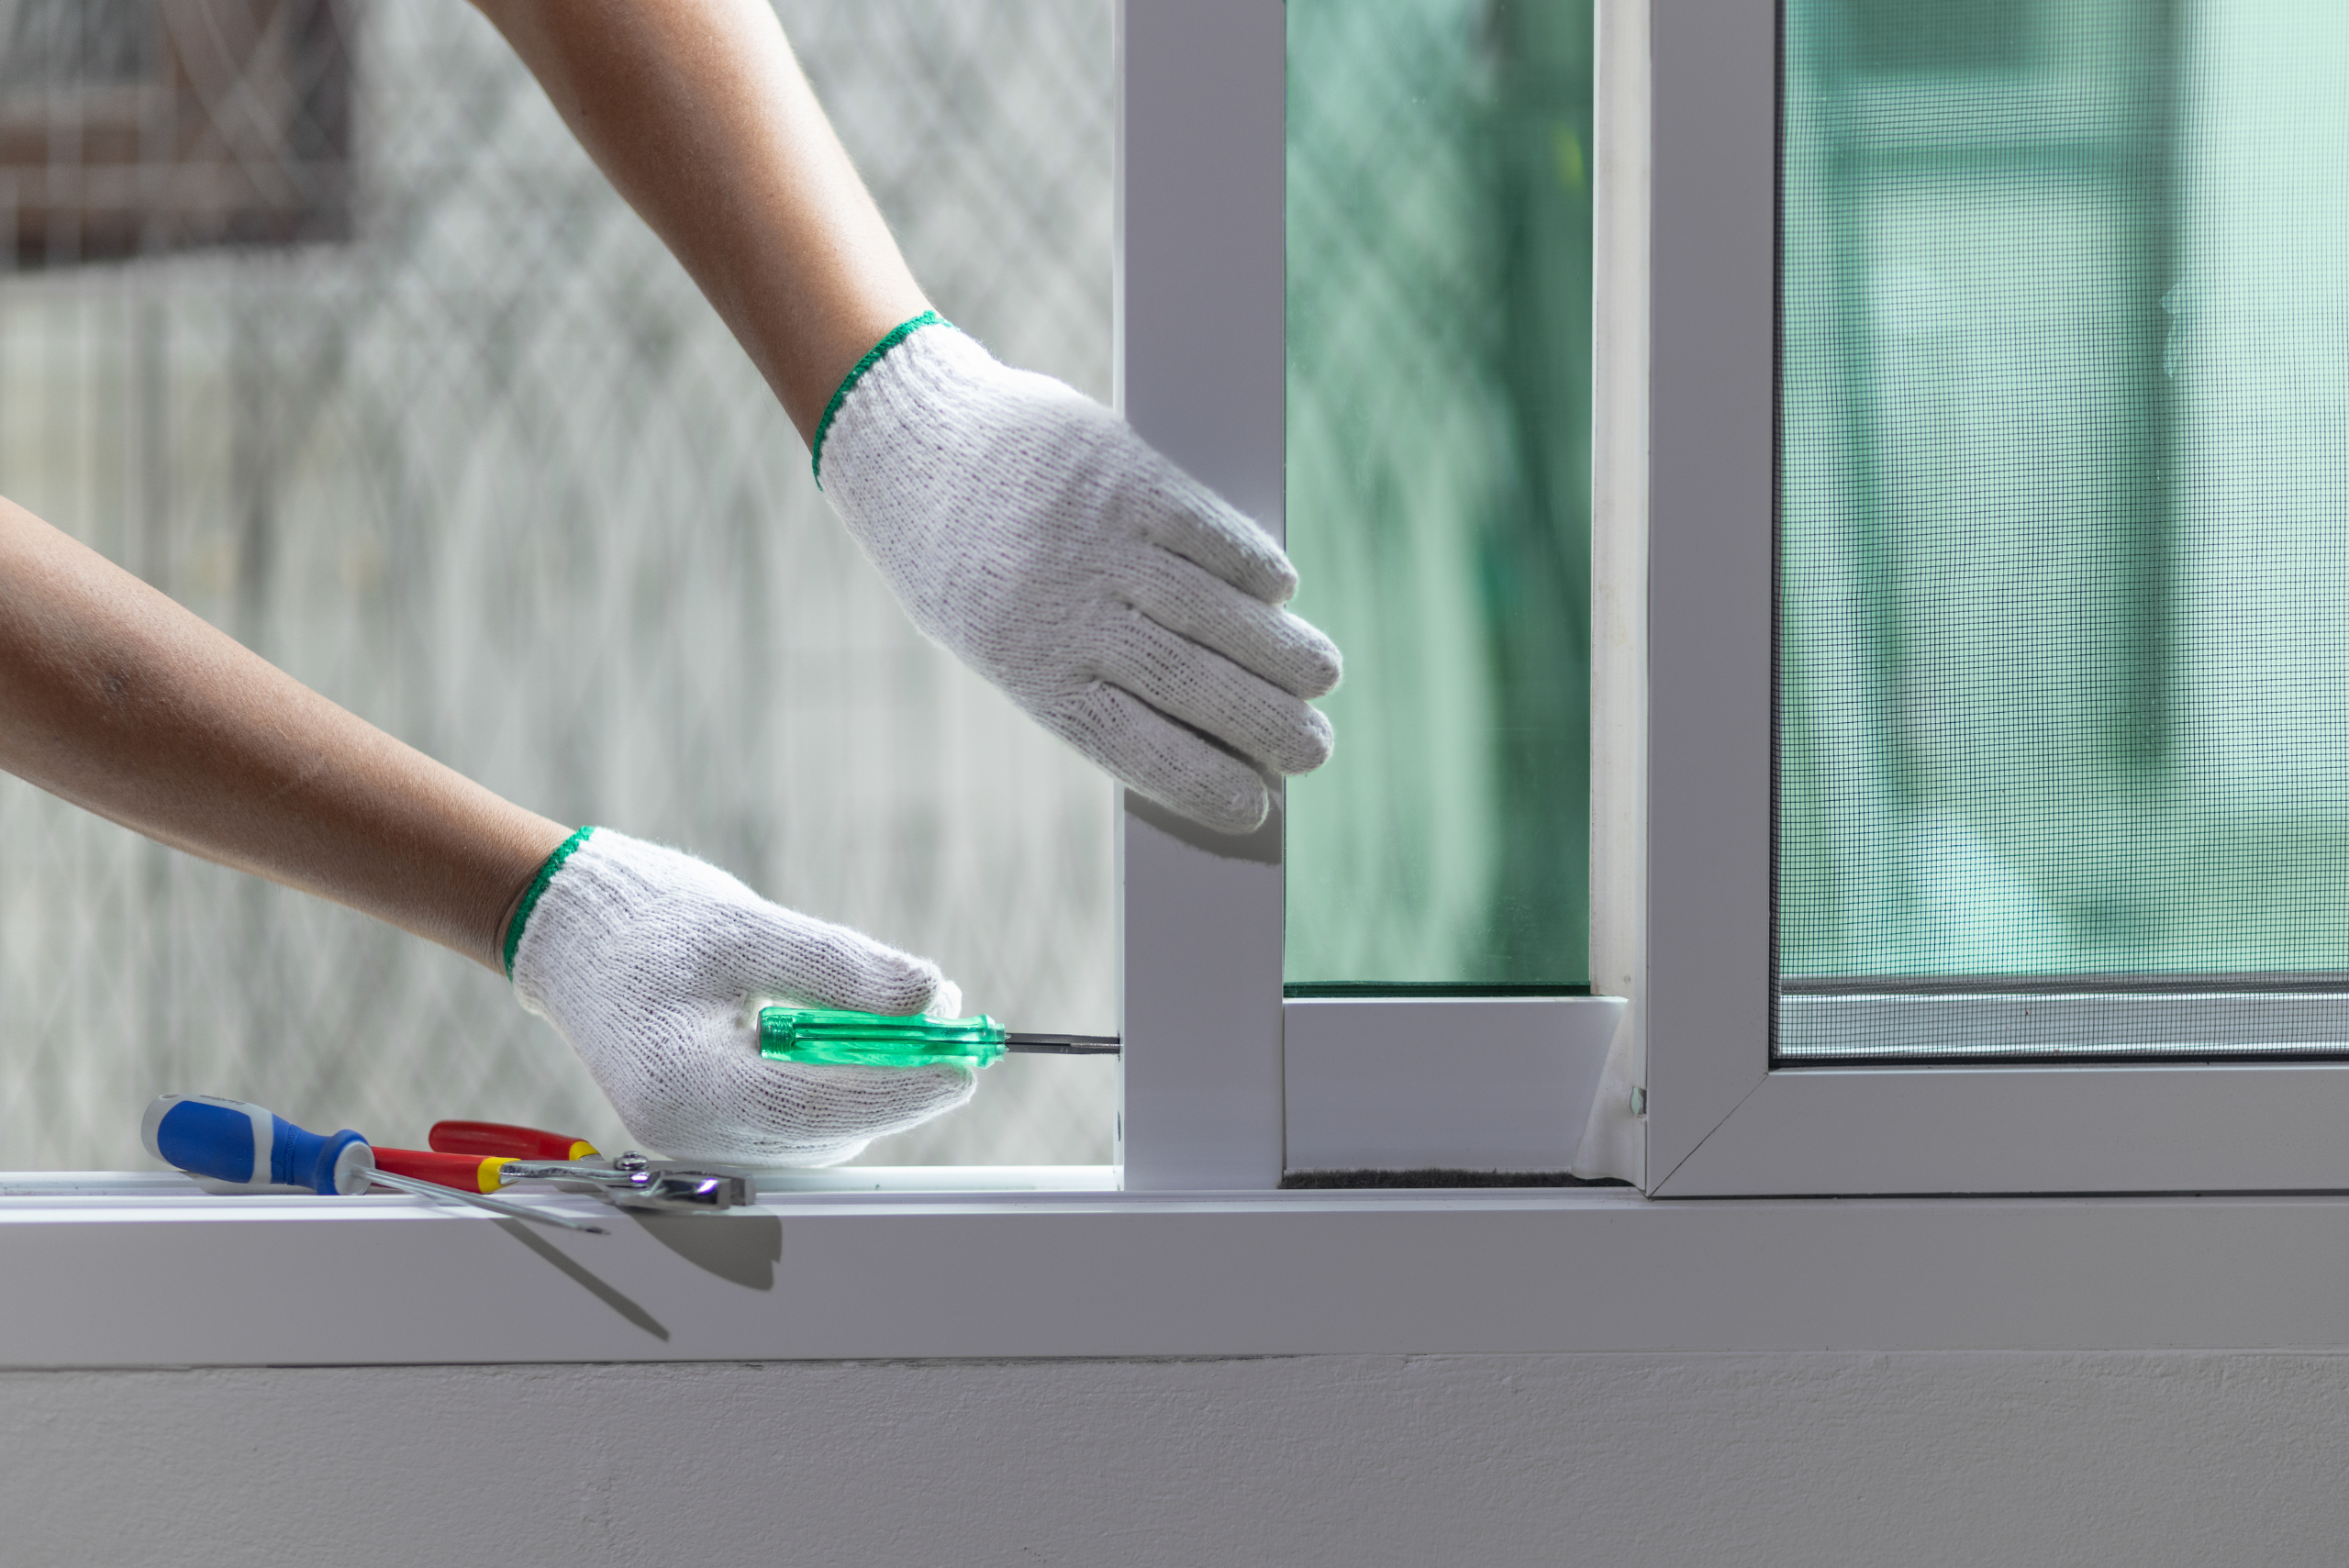
Windows can get stuck for a variety of reasons, and it’s important to pinpoint the issue before trying to force anything. Older windows tend to stick because of paint build-up, but humidity, dirt, or warped frames can also be the cause.
If your window sticks during humid months, swollen wood may be the issue. In drier climates, dirt in the tracks might be the culprit. Identifying the cause will help you choose the right solution and avoid making the problem worse.
1. Loosen Paint Seals Carefully

One of the most common reasons for a stuck window is layers of paint sealing the sash to the frame. Luckily, this can be fixed with a bit of patience and the right tools. Using a putty knife or utility knife, gently score the edges of the sash where it meets the frame.
Work your way around the entire window, carefully breaking the seal without damaging the wood. Take your time—it may take several passes to fully free the window, but this method ensures you don’t chip or crack anything.
Start your next woodworking adventure with TedsWoodworking! Dive into 16,000+ projects and bring your ideas to life. Build unique furniture and master new skills with Ted’s detailed, step-by-step plans guiding you every step of the way.
2. Lubricate the Tracks for Smooth Sliding
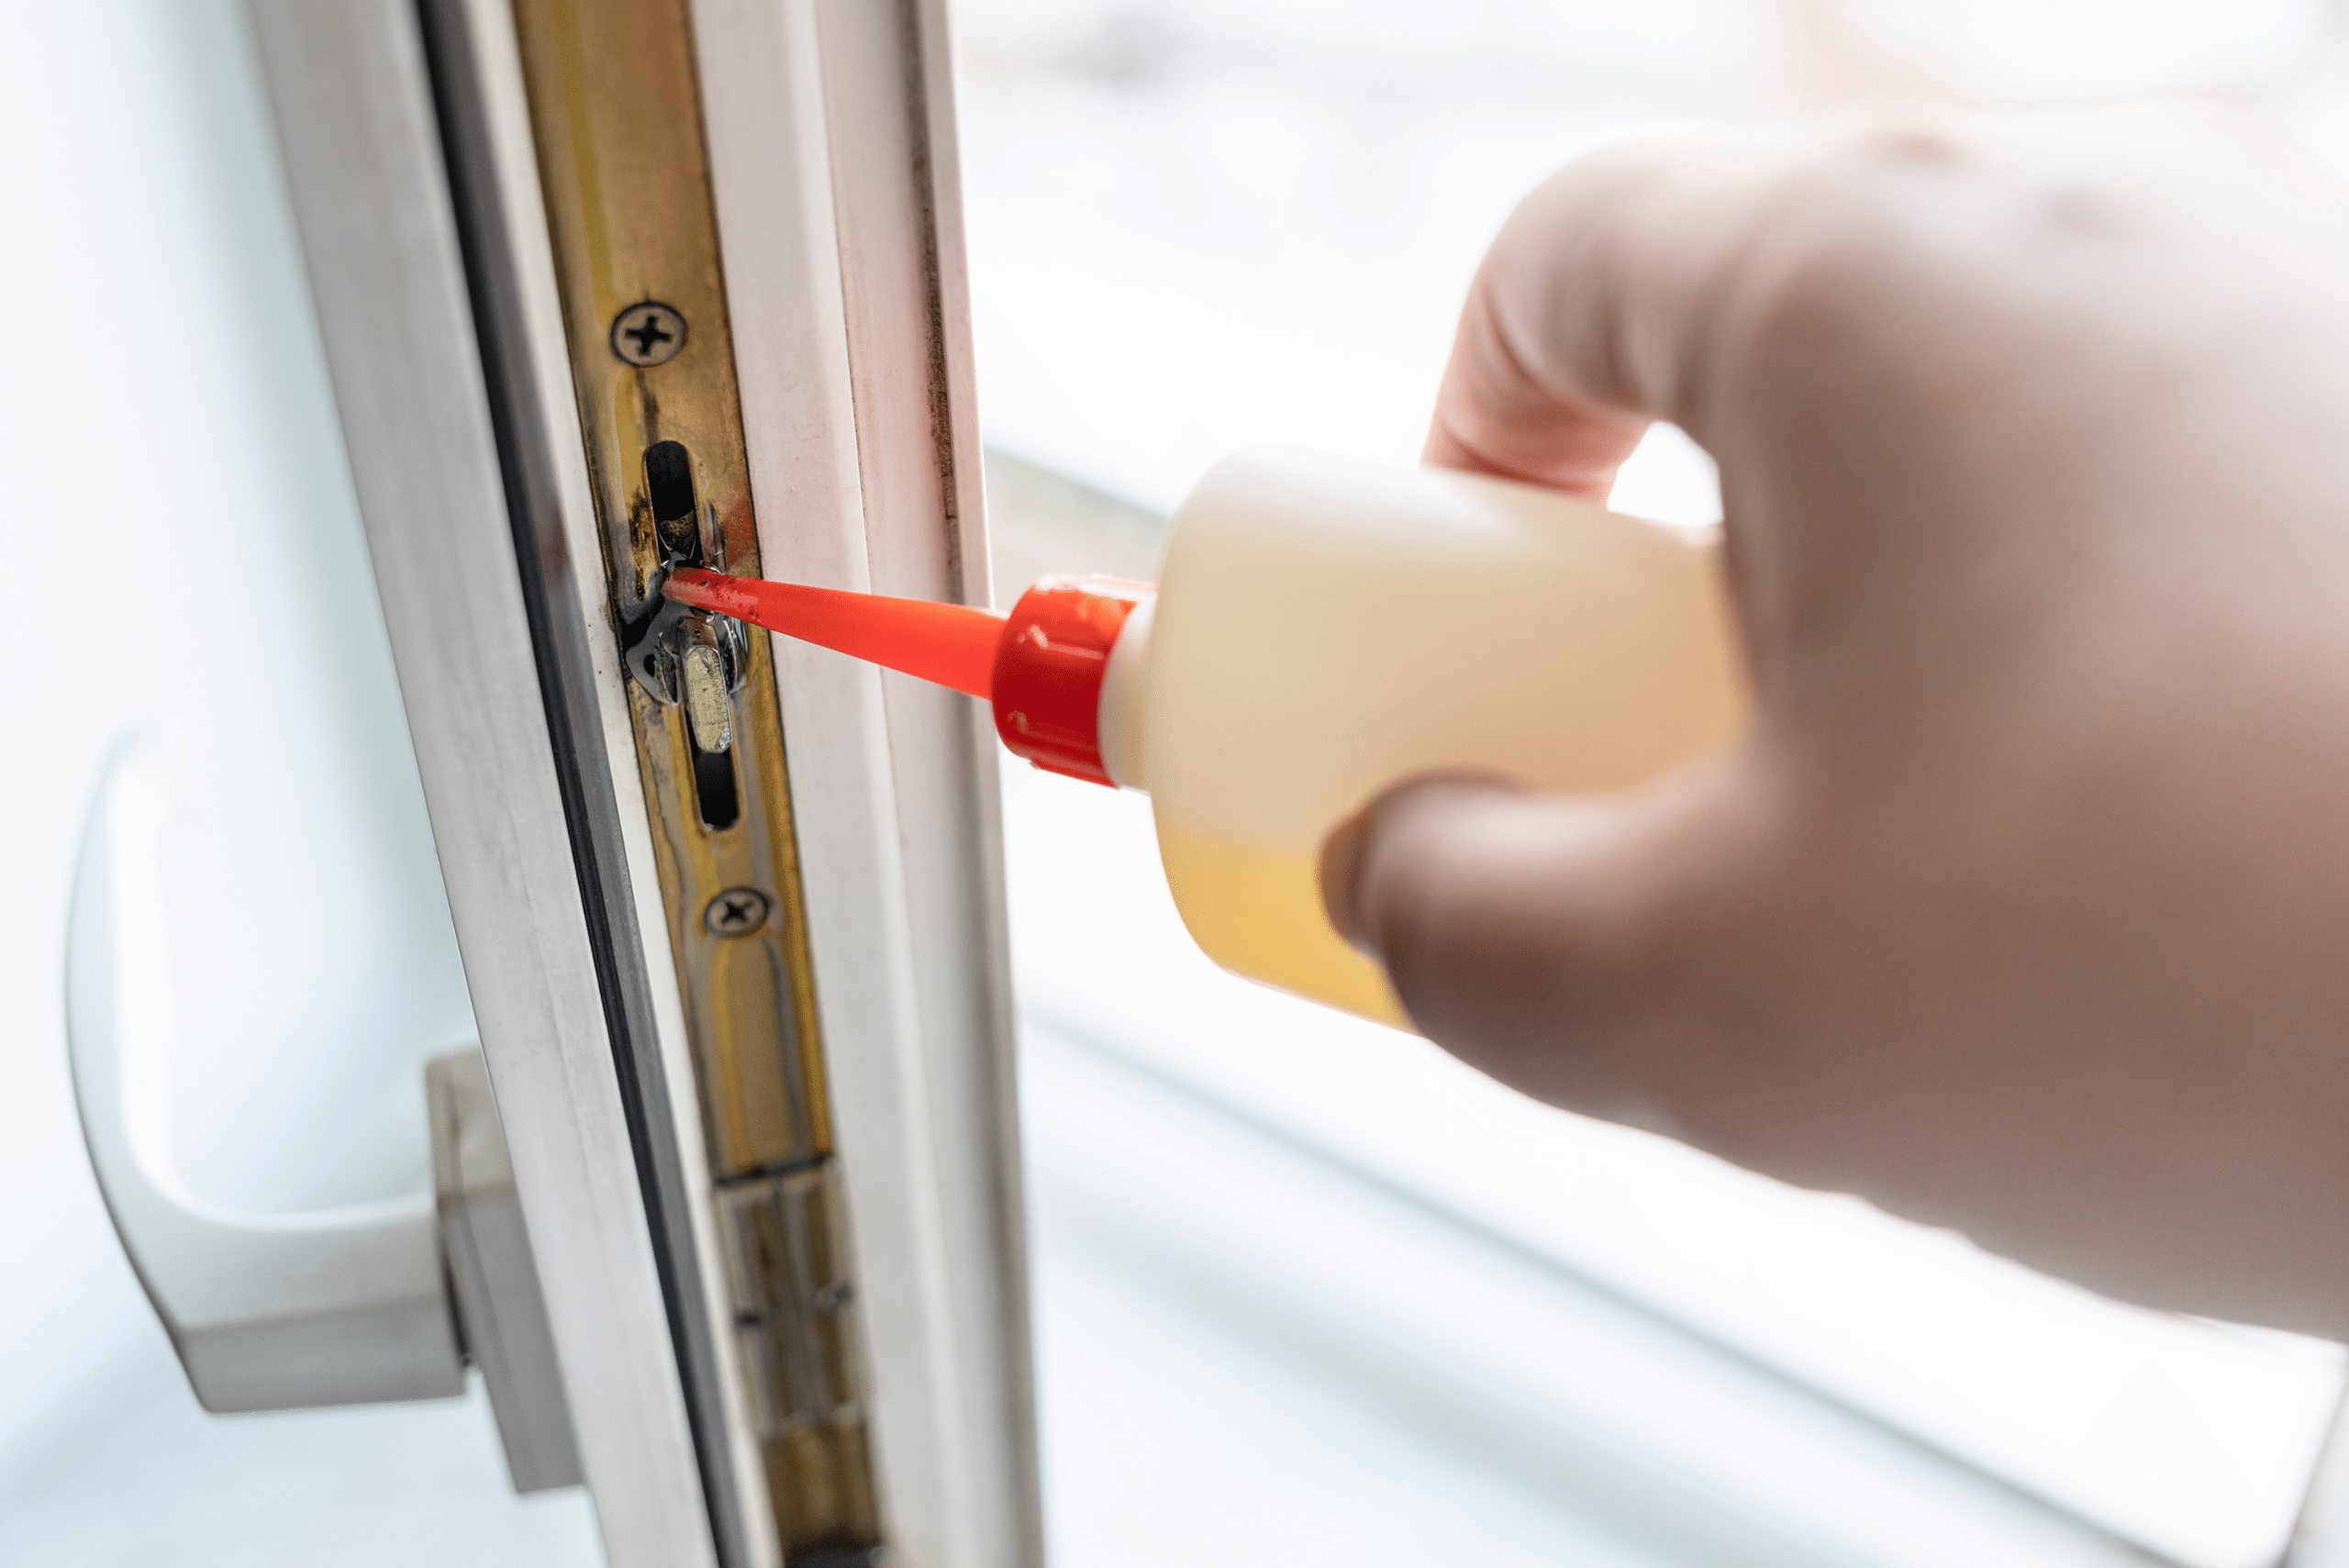
If your window isn’t stuck due to paint but is still difficult to open, it may just need a little help to move freely. Applying a lubricant like silicone spray or even rubbing a candle on the window tracks can do wonders.
After cleaning out any dirt or dust, apply the lubricant evenly along the tracks. Open and close the window a few times to work it in. This quick fix can make a huge difference, especially for windows that haven’t been used in a while.
3. Gently Tap with a Rubber Mallet

For wooden windows that have swelled due to moisture, you might need to apply a bit more force—but carefully! A rubber mallet is a handy tool for this. Place a block of wood against the window sash and gently tap with the mallet.
This method breaks the tight seal caused by swelling without risking damage to the window. Be sure to tap lightly and check the window’s movement between taps so you don’t apply too much force.
4. Check for Frame Alignment Issues
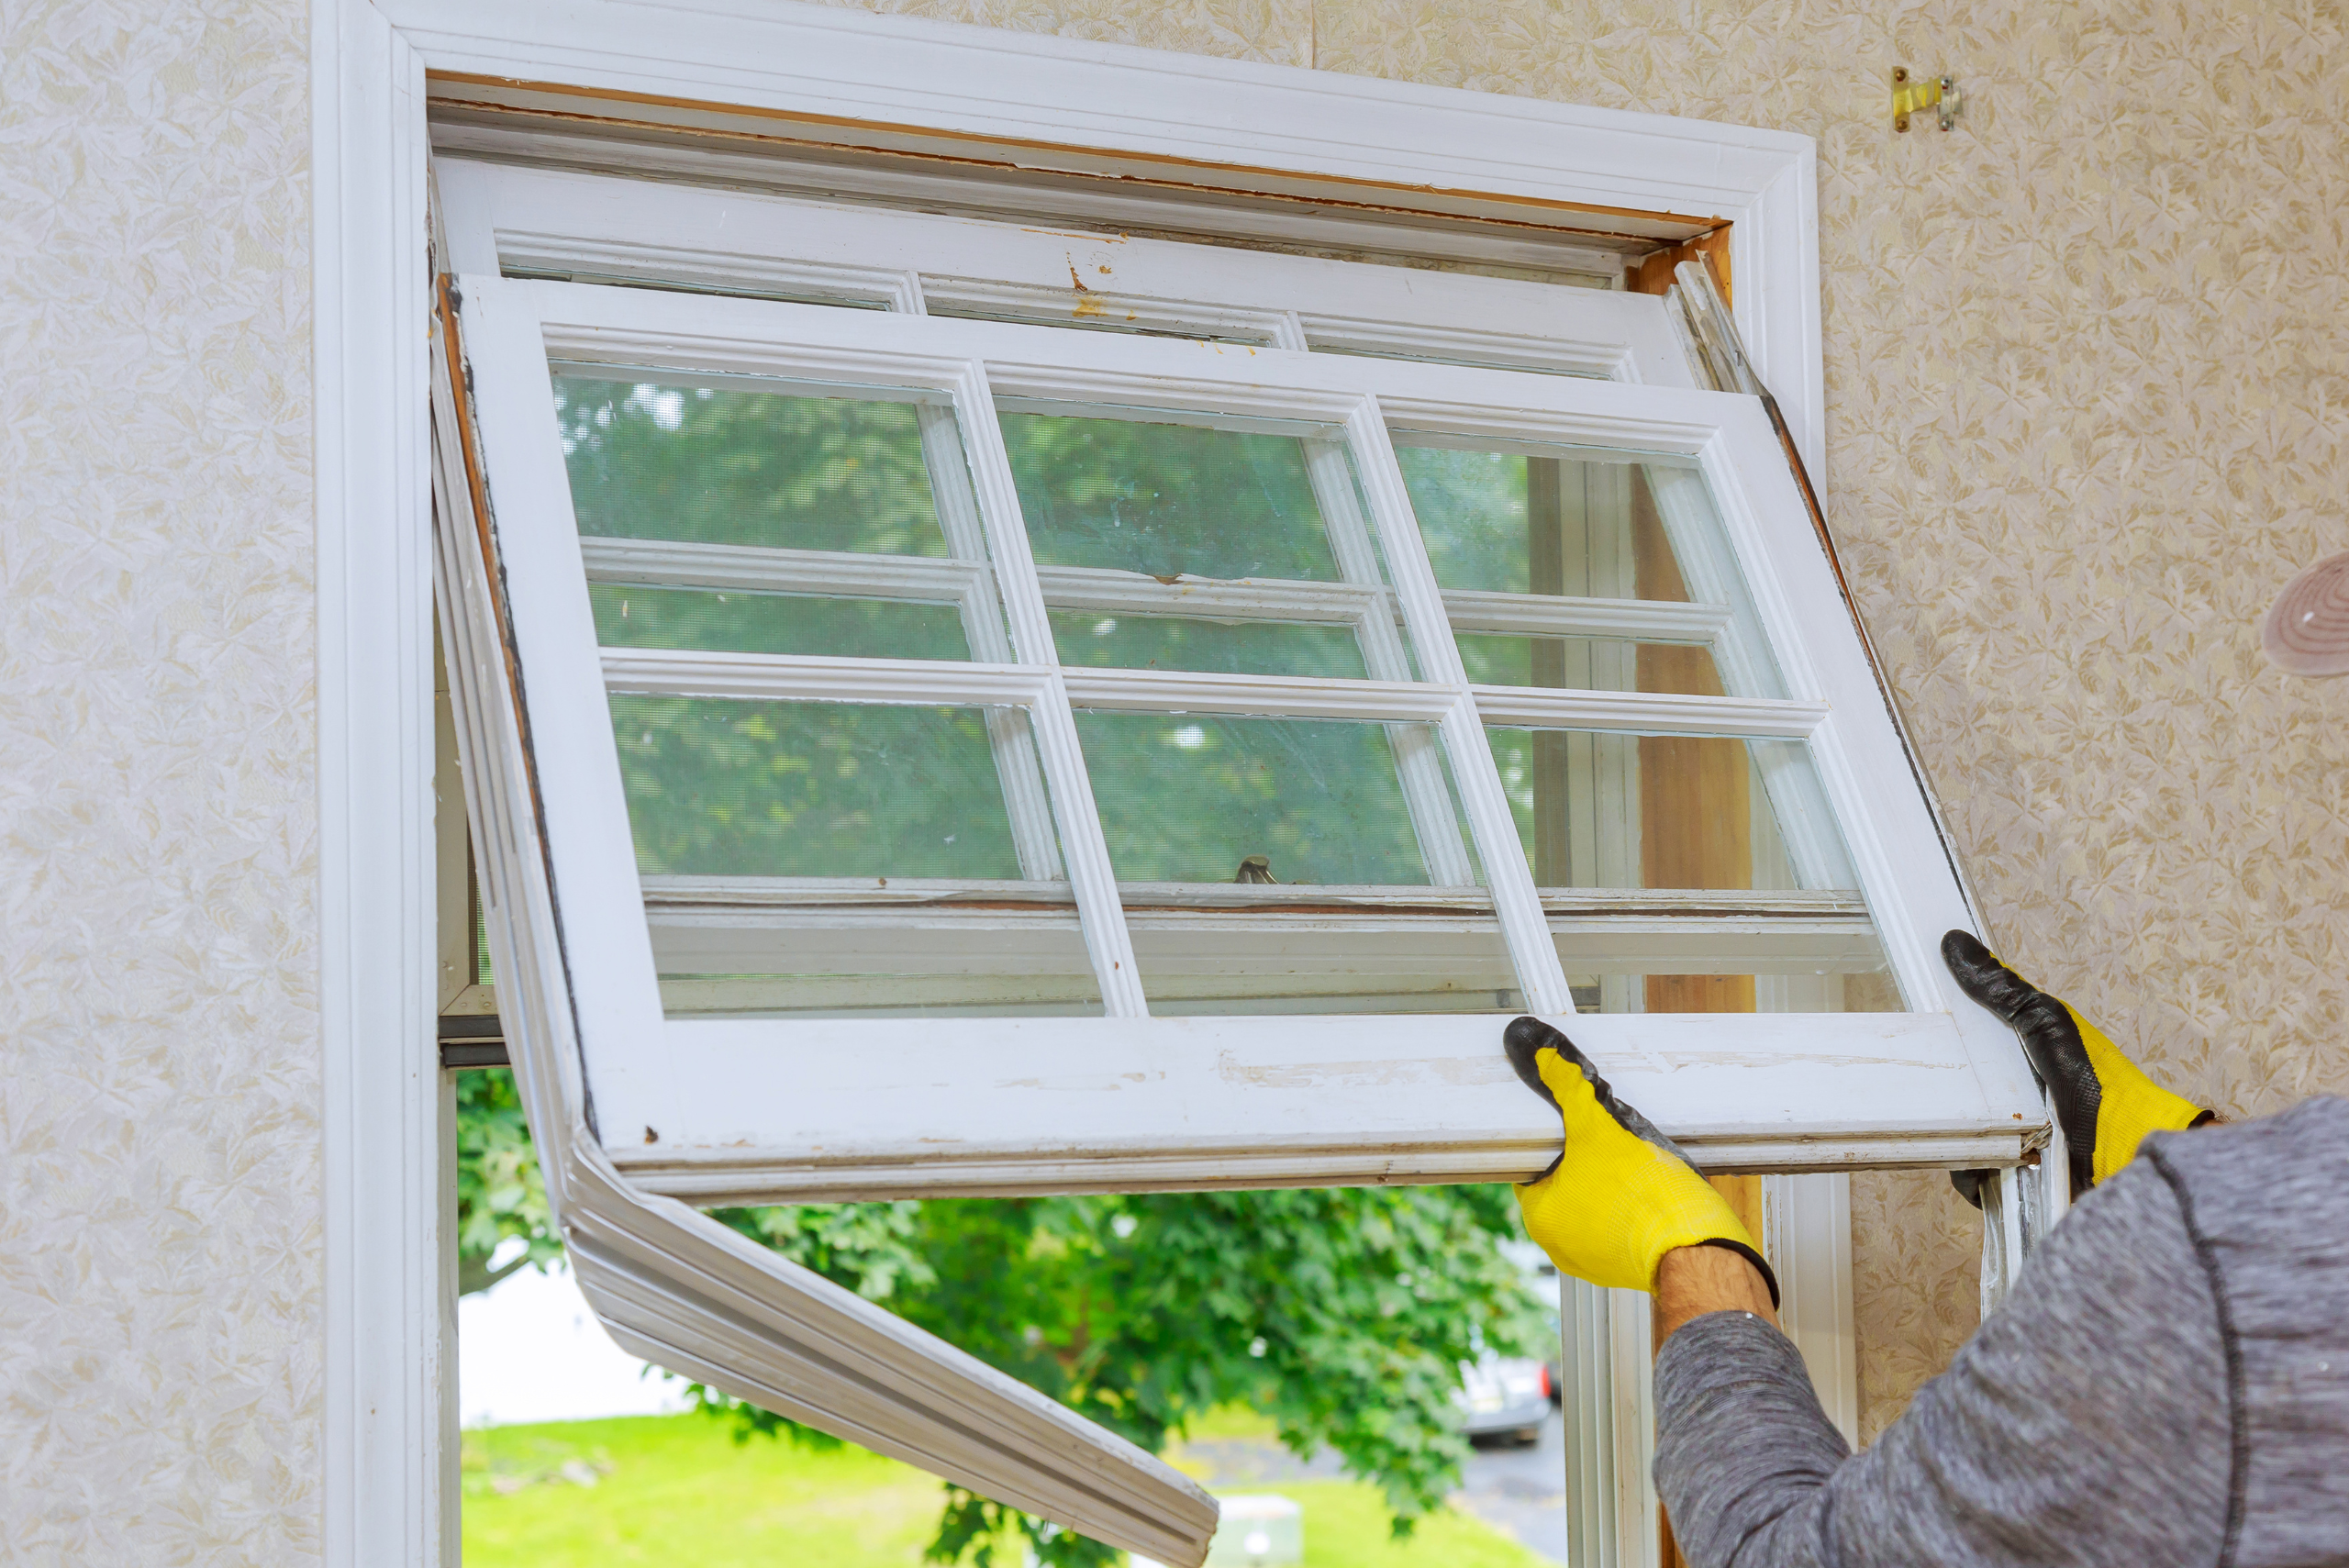
Sometimes, the problem is structural. Older homes can settle over time, causing window frames to warp or shift slightly. This misalignment can prevent the window from moving freely. Inspect the frame, looking for gaps or uneven sections.
If you notice the frame is slightly off, adjust any screws or brackets holding the window in place. A small adjustment can often realign the frame, allowing the window to open smoothly once more.
Prevent Future Sticking
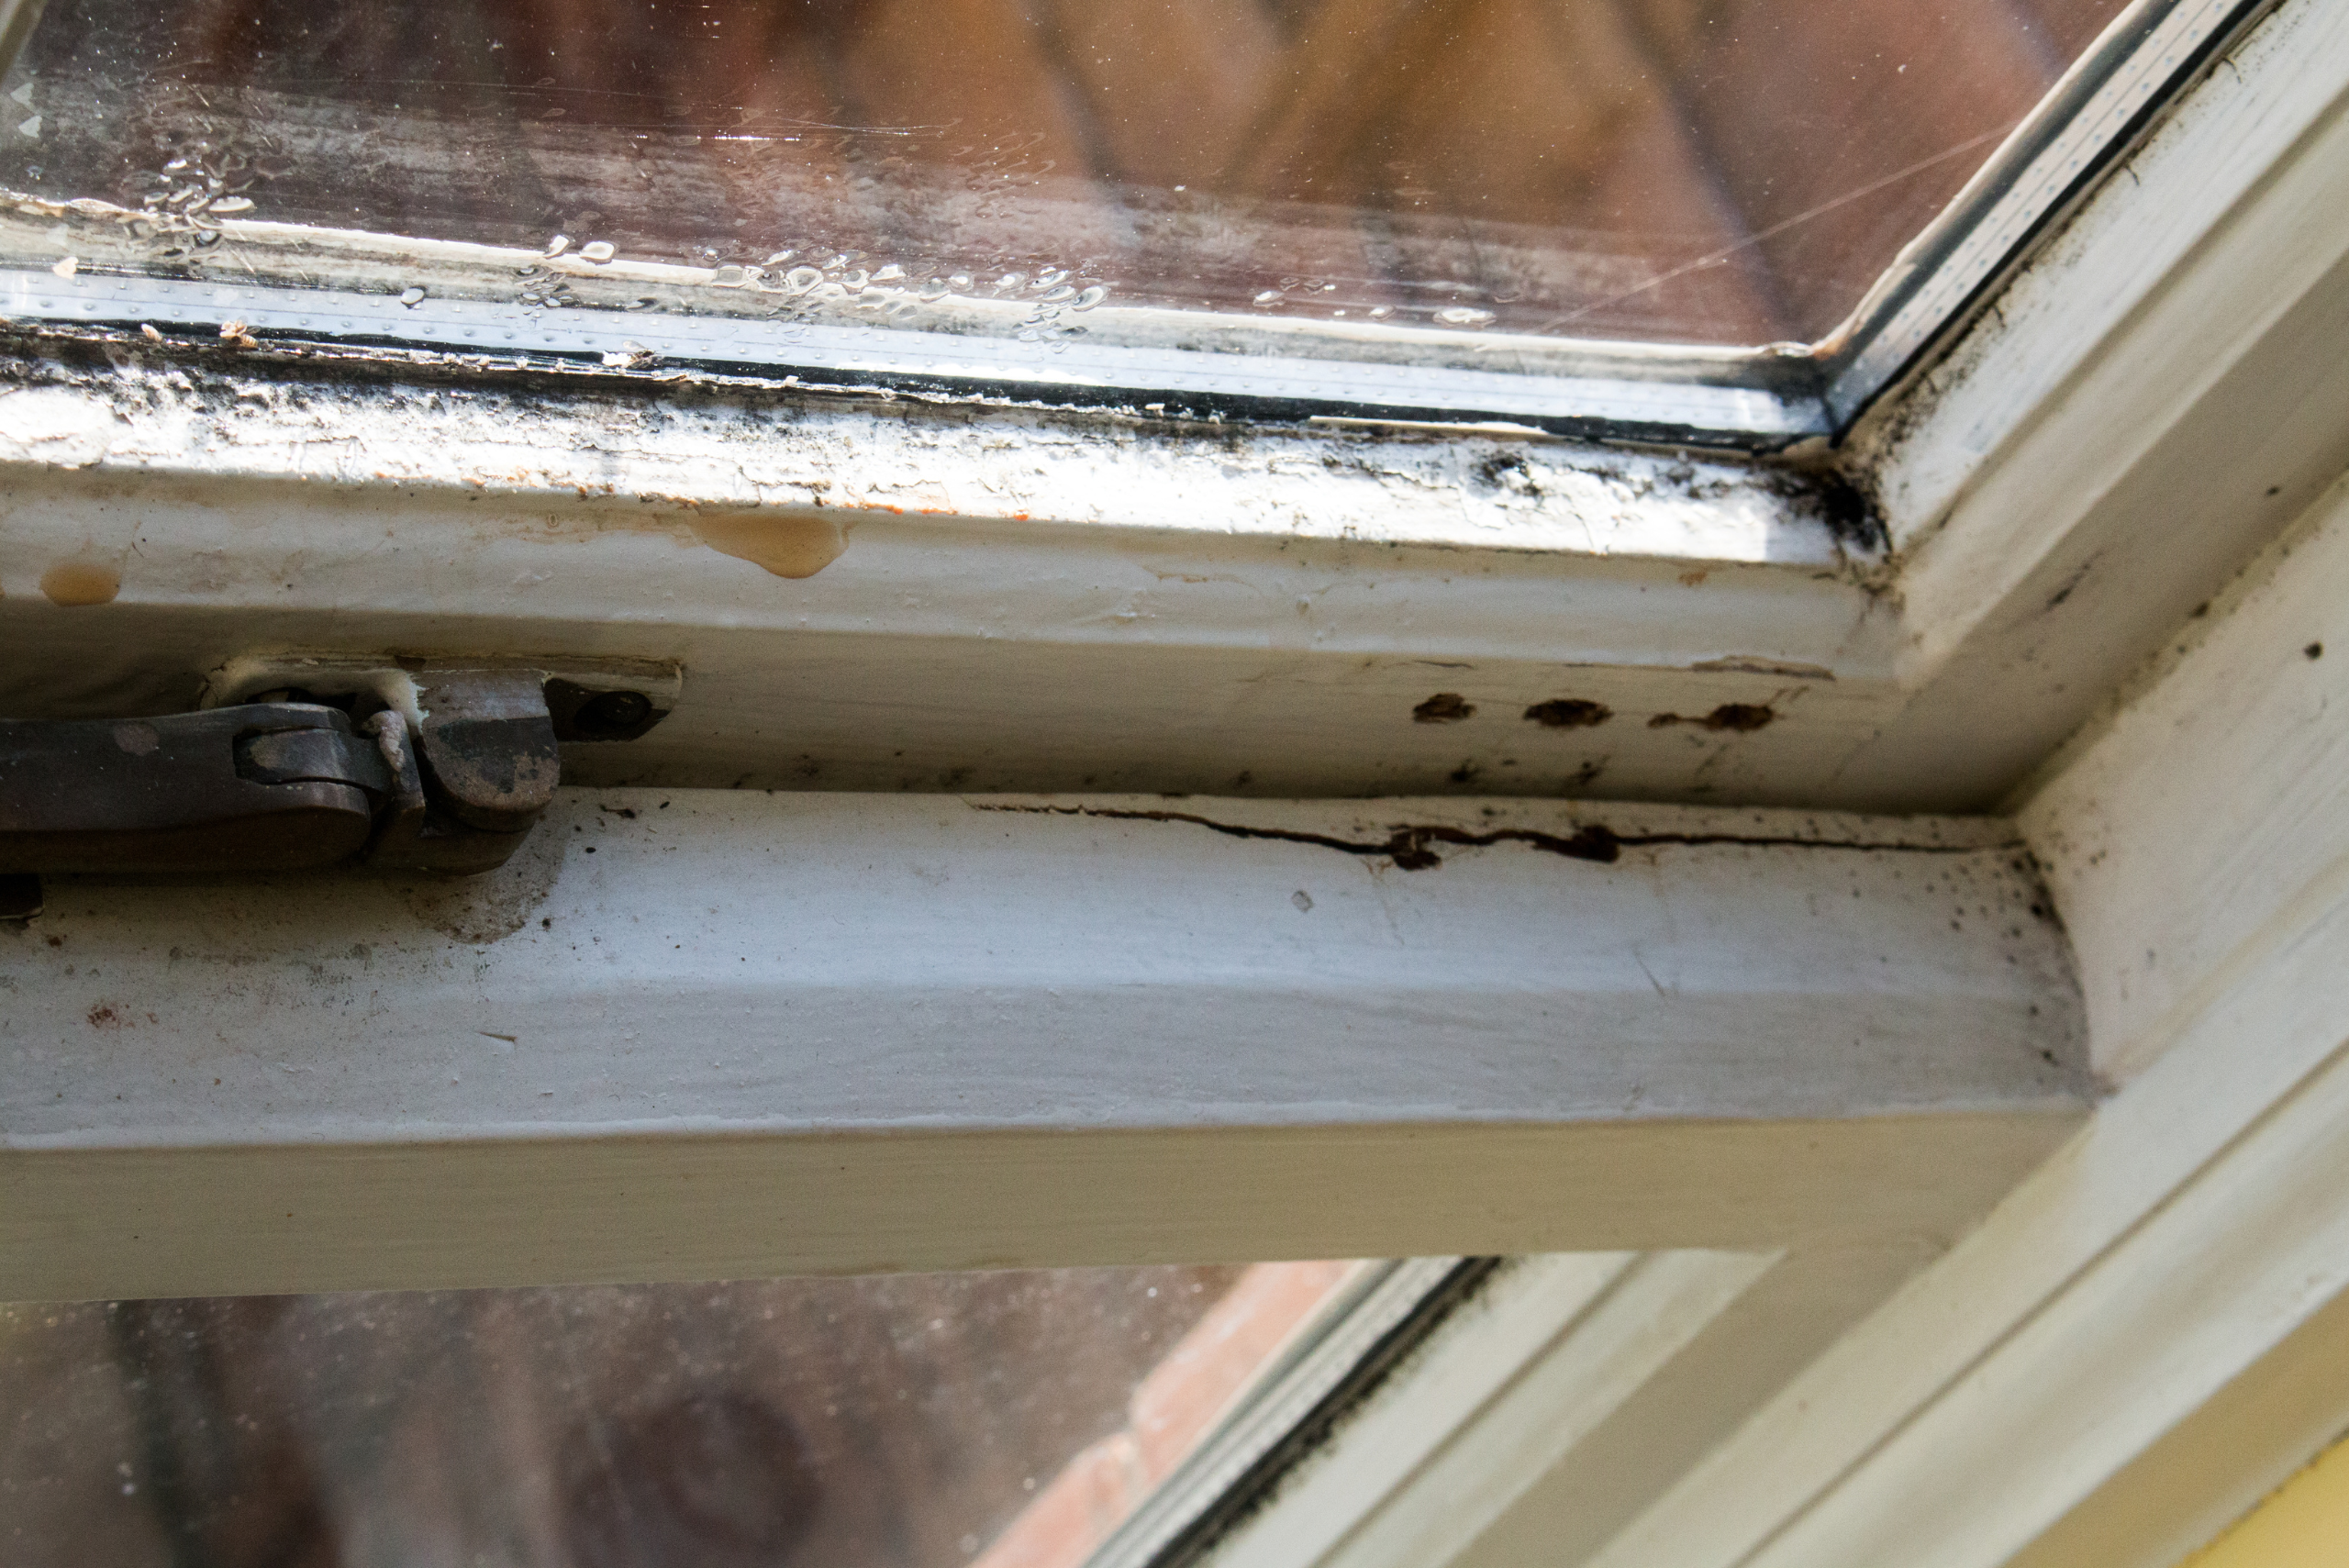
Once you’ve solved the problem, take a few steps to prevent future sticking. Regularly cleaning and lubricating the window tracks once or twice a year can make a big difference. If your windows tend to swell in humid weather, consider using a dehumidifier in the room.
Also, if you repaint your windows, be mindful of letting them dry fully before closing. Open and close the window a few times while the paint is still tacky to avoid sealing it shut again.
Related Articles
- 5 Once-a-Year Home Jobs That Prevent Costly Repairs Down the Road
- Boost Your Home’s Value With These 8 Upgrades That Deliver Big Returns
- 50 DIY Home Projects That Can Be Done Under An Hour
Unsticking a window doesn’t have to be a stressful or destructive process. By following these simple, non-invasive techniques, you can restore functionality without compromising the integrity of your window. Whether it’s carefully scoring away old paint, lubricating stubborn tracks, or gently tapping with a rubber mallet, the right approach makes all the difference.
Ready to start your next project? Join our DIY community to receive tool tips, how-to guides, and exclusive creative insights. Subscribe to the ManMadeDIY newsletter now! Click here to unlock a world of hands-on inspiration.


