How to Use a Router For Woodworking Projects
Woodworking can transform from a simple craft into an art form with the right tools, and one of the most versatile tools in any DIY enthusiast’s arsenal is the router. This powerful tool, essential for anyone keen on crafting detailed, precise work in wood, offers a plethora of creative possibilities. Whether you’re looking to shape edges, create intricate inlays, or even carve out complex patterns, understanding how to use a router will elevate your woodworking projects to new heights.
Embark on a journey of craftsmanship and creativity! Explore TedsWoodworking, your gateway to 16,000+ woodworking projects. Let’s turn your woodworking dreams into reality together.
What You Need to Know Before You Start Using a Router
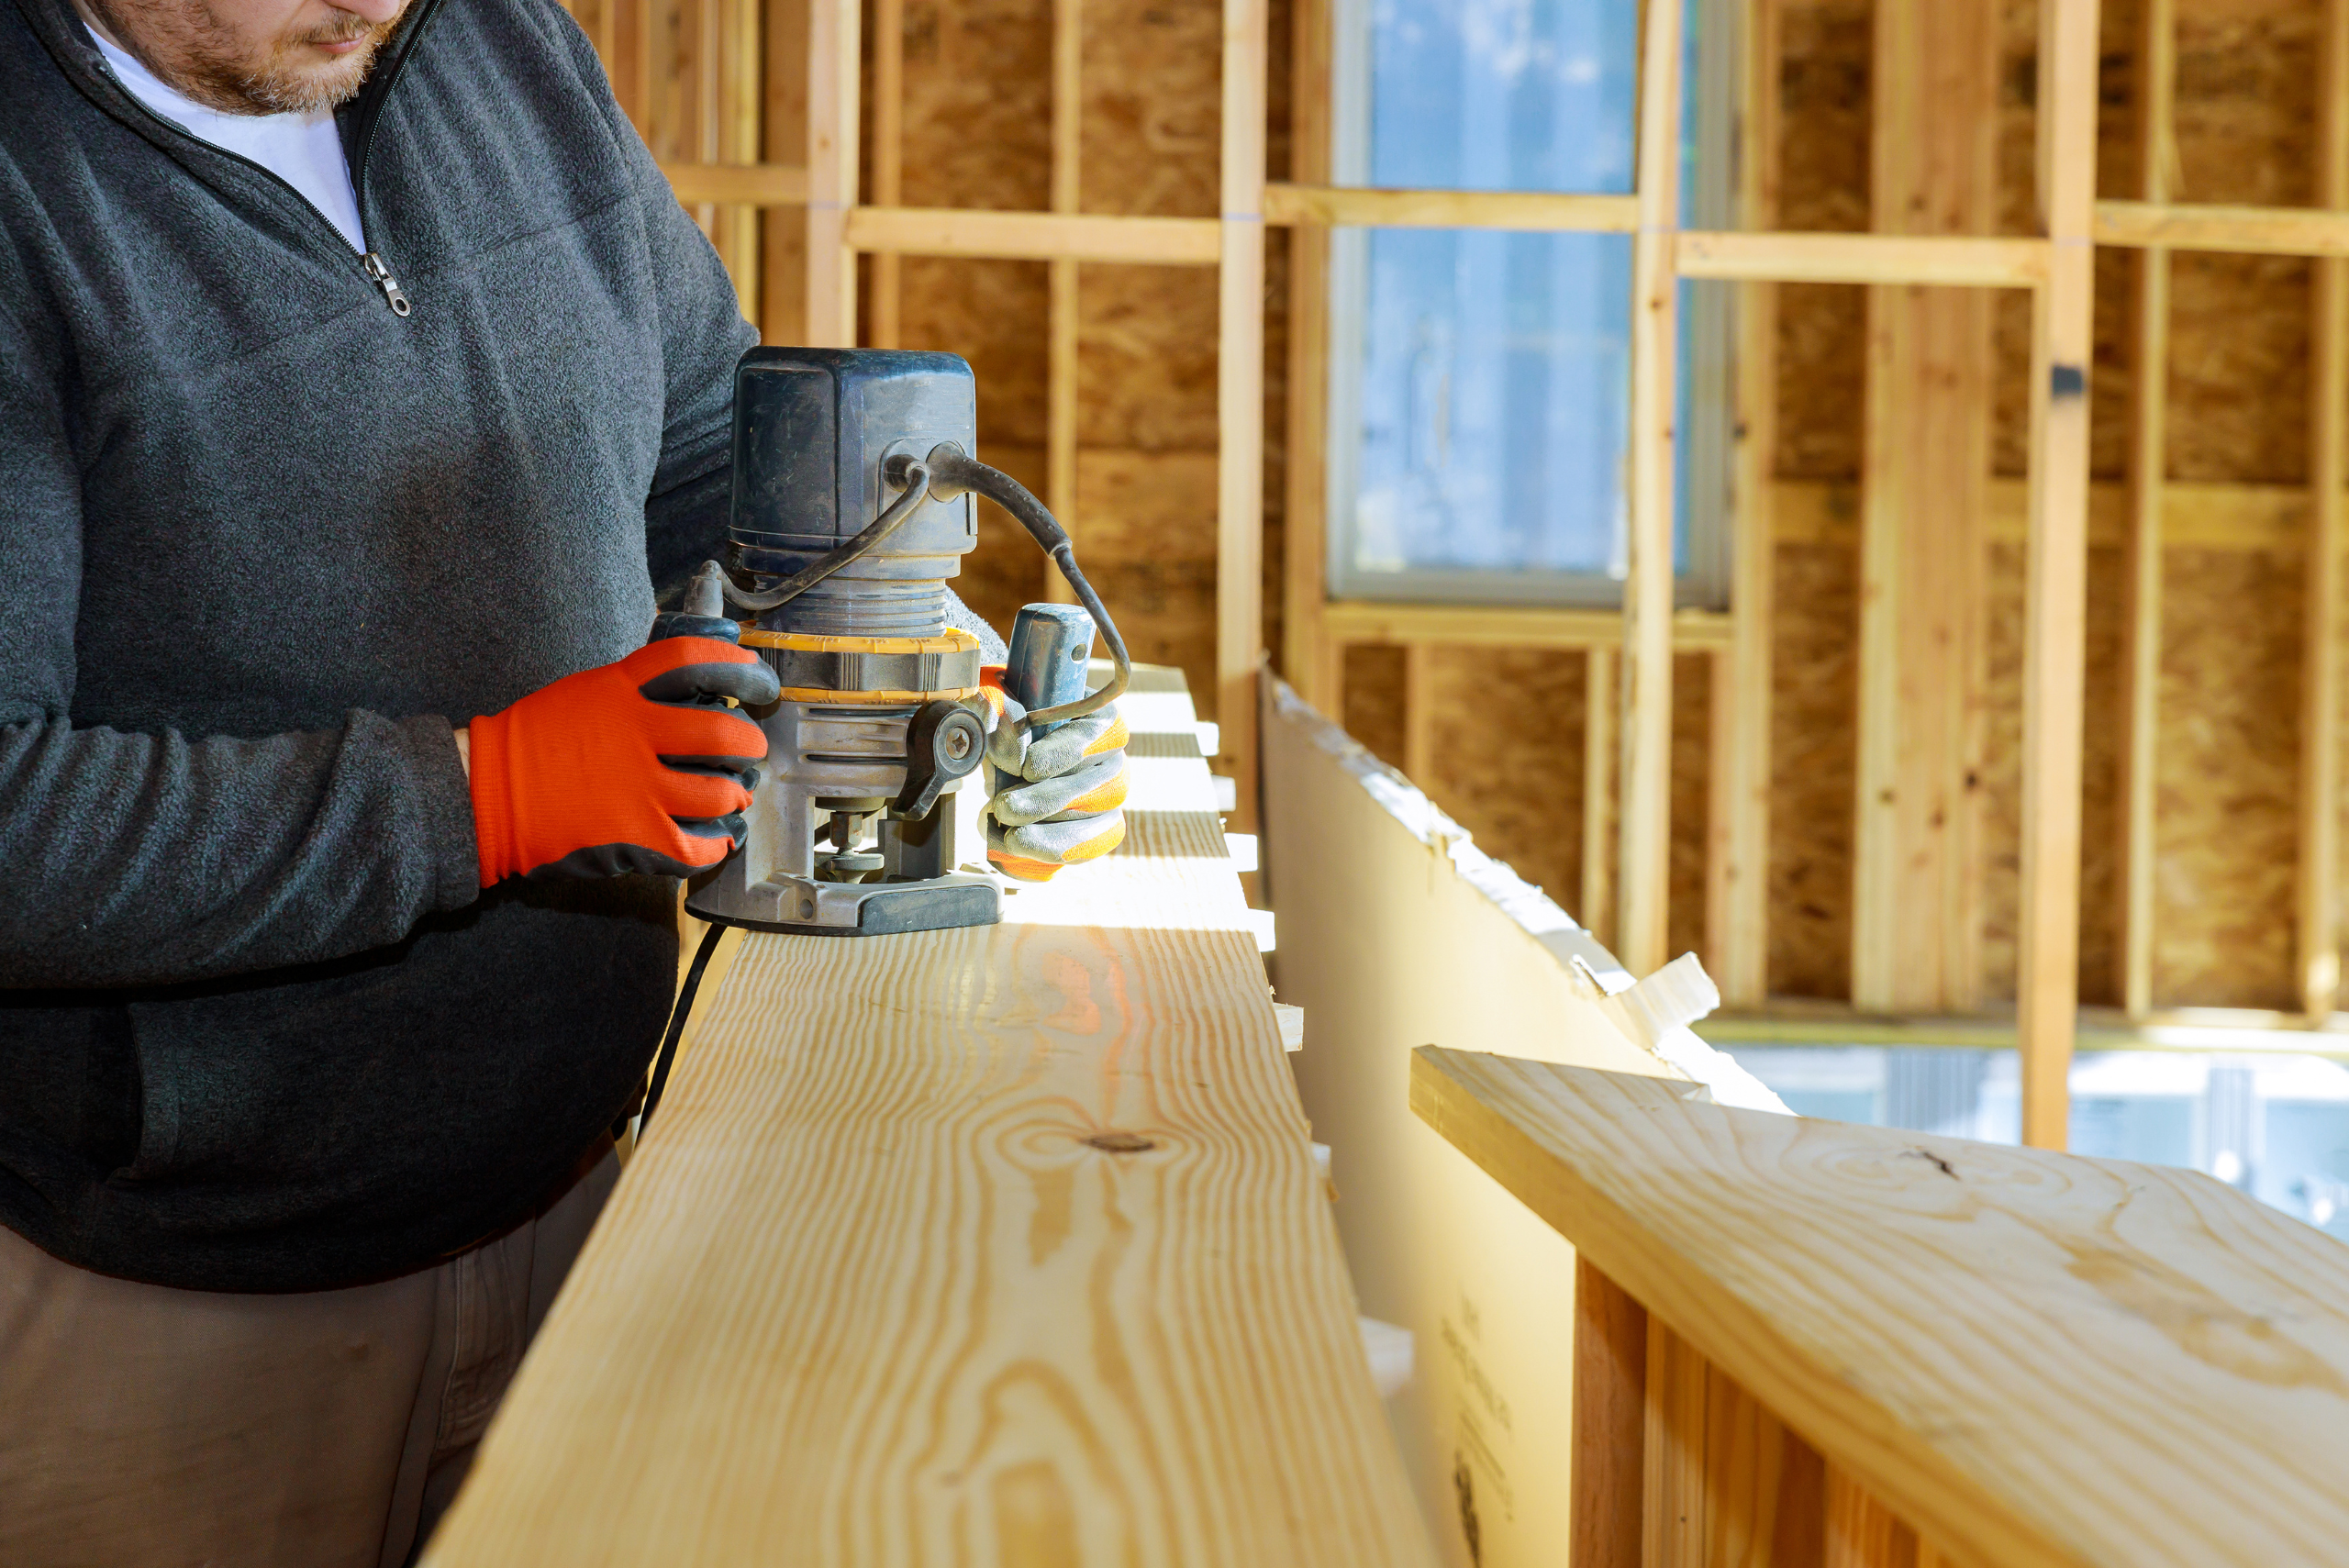
Before diving into the myriad of projects that a router can help you achieve, it’s crucial to grasp the basics of the tool itself. Routers come in various shapes and sizes, each suited for different tasks. The two primary types are fixed-base routers and plunge routers. A fixed-base router is excellent for edge work and molding, while a plunge router is your go-to for making deep cuts right in the middle of your workpiece, such as mortises or deep grooves. Familiarizing yourself with the components and capabilities of your router will ensure you are both safe and productive.

Setting up your router involves attaching the appropriate bit, setting the correct depth, and securing your wood piece. Safety is paramount when using any power tool, so always wear protective gear and ensure your workspace is well-organized and free of any unnecessary clutter. Getting comfortable with changing bits and adjusting settings is also a fundamental skill that will aid in your routing endeavors.

Tips for Choosing and Using Router Bits
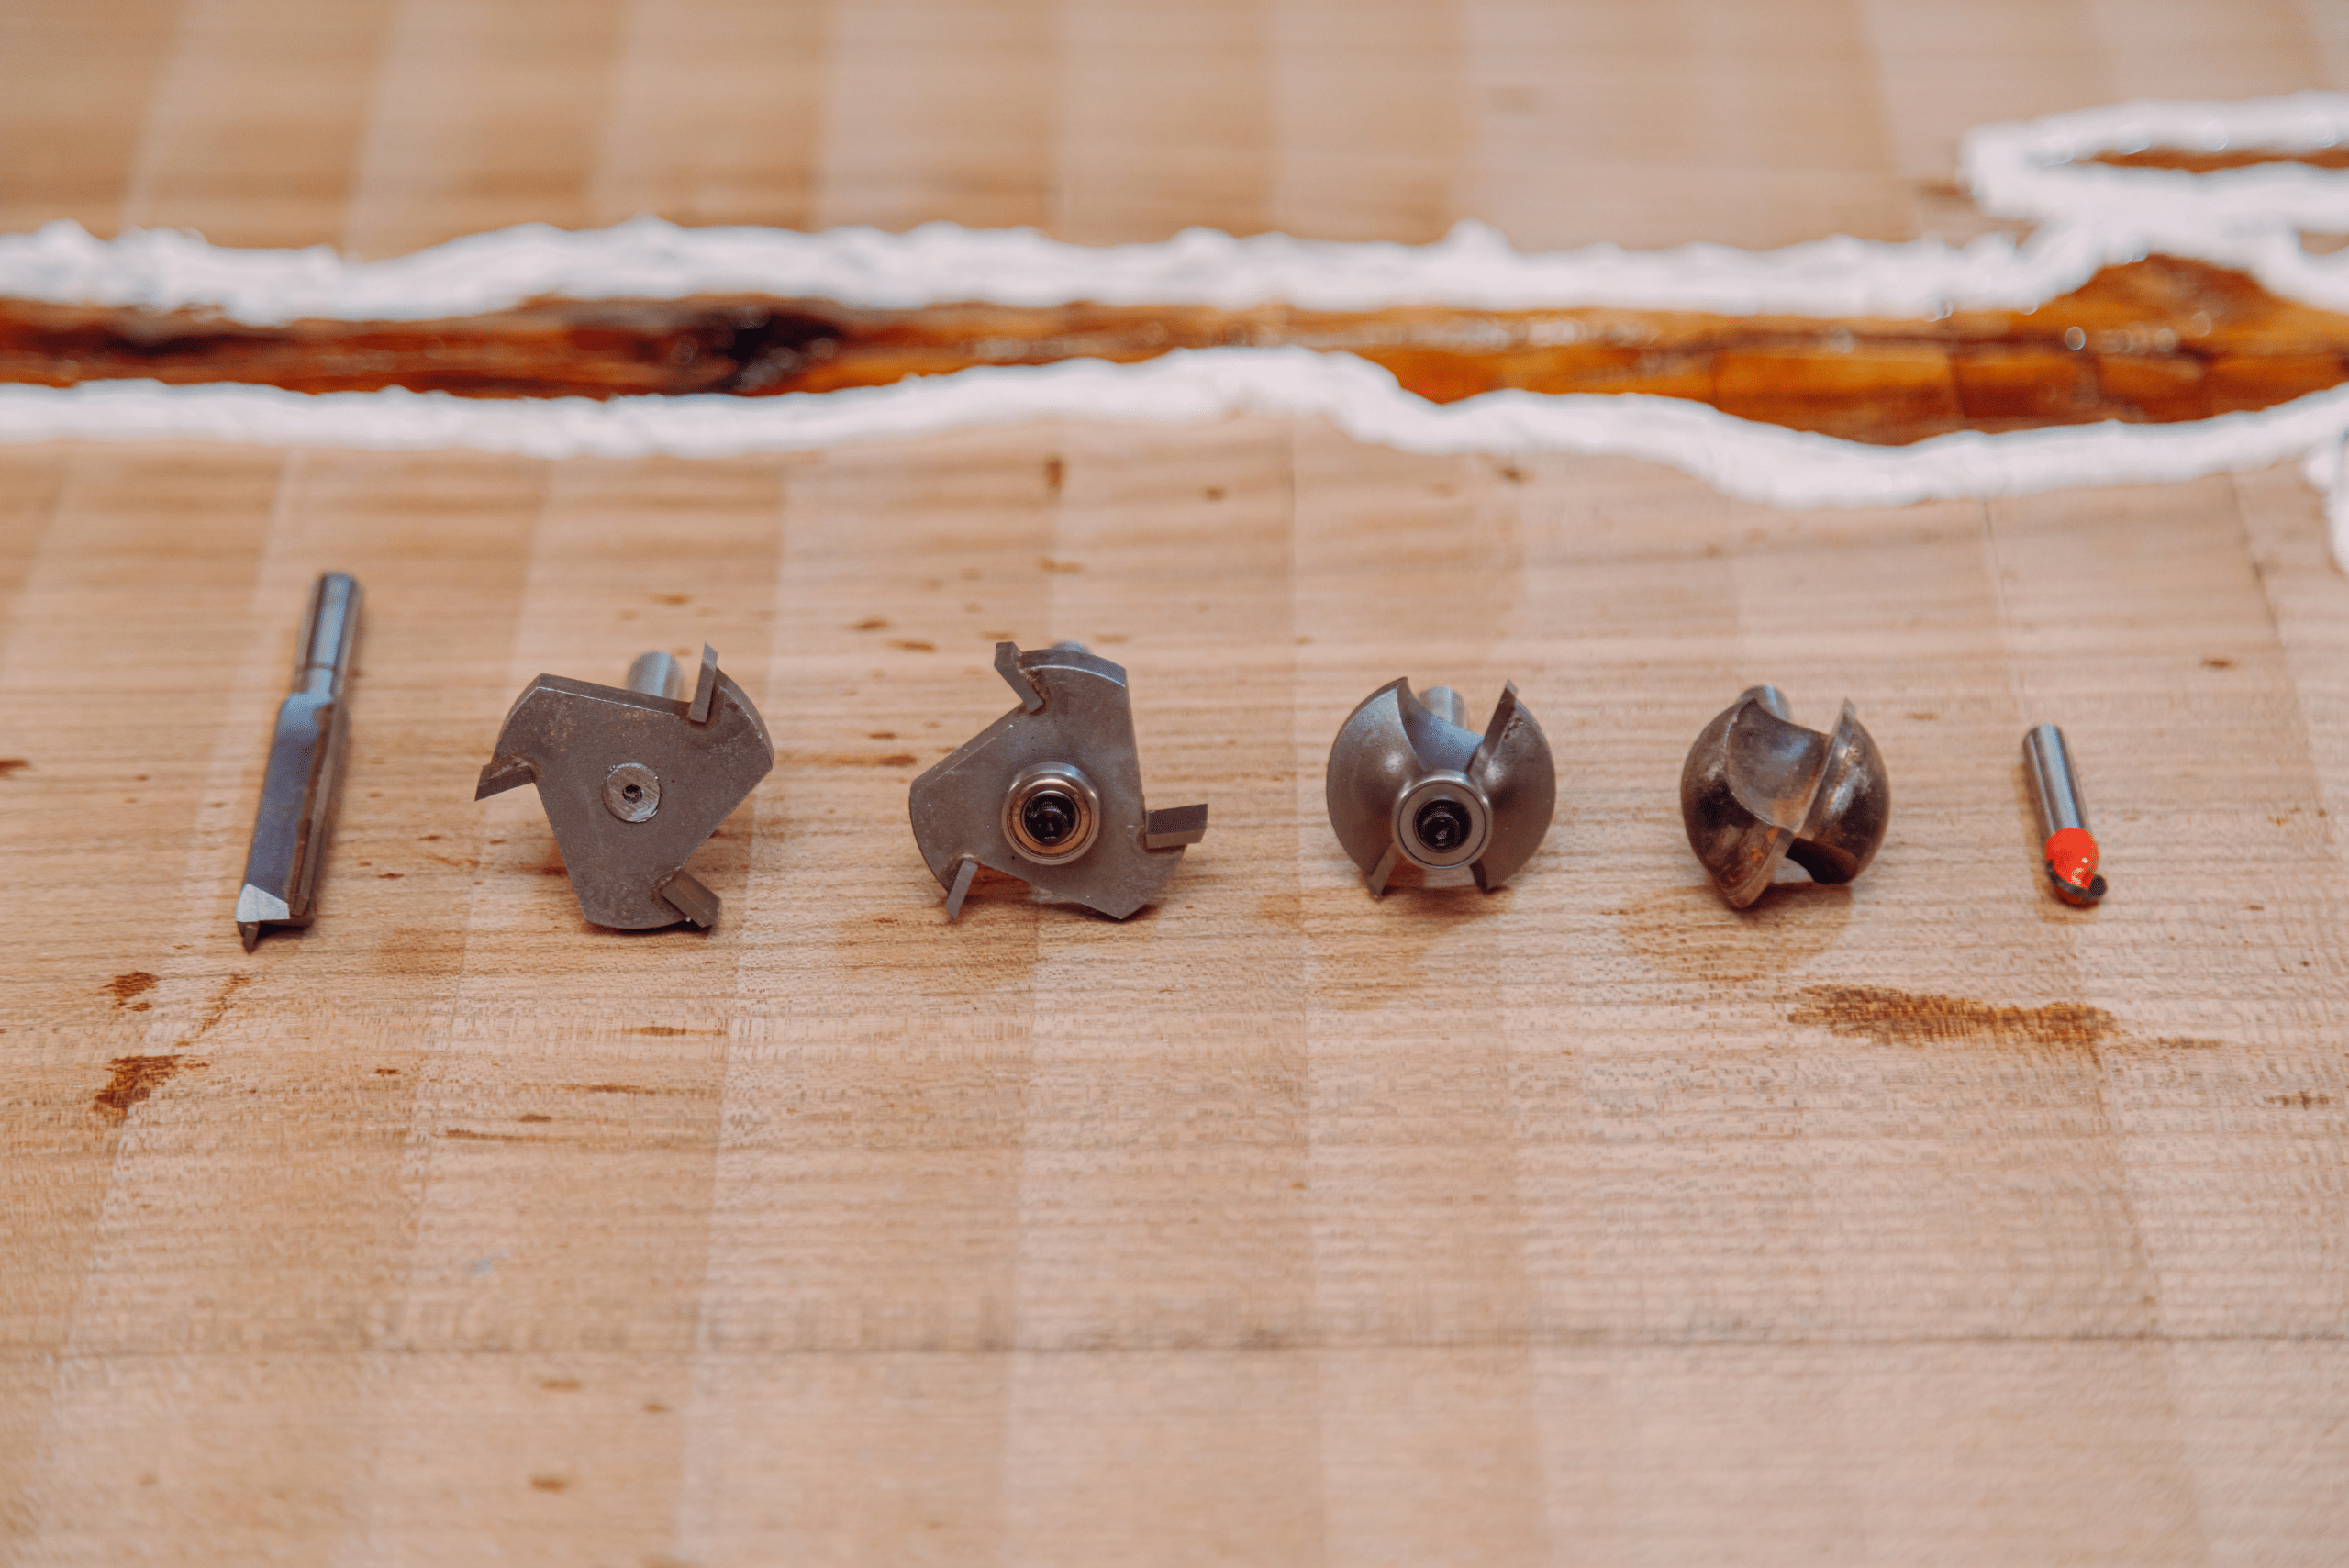
The true capability of your router is realized through the various bits available, each designed for specific tasks. From straight bits for hollowing out an area to dovetail bits for creating strong, interlocking joints, the options are vast. For beginners, it’s advisable to start with a basic set of bits, including straight, round-over, and chamfer bits. These will cover a broad range of projects.

Using the right bit for the job not only ensures a smoother workflow but also affects the finish of your product. It’s important to consider the material of your bit as well. Carbide-tipped bits, for instance, are known for their durability and precision, making them ideal for frequent use. Learning how to adjust the speed of your router according to the bit and the type of wood you are working with will also enhance your results, preventing burn marks and ensuring cleaner cuts.

How to Enhance Your Woodworking Projects by Mastering Router Techniques
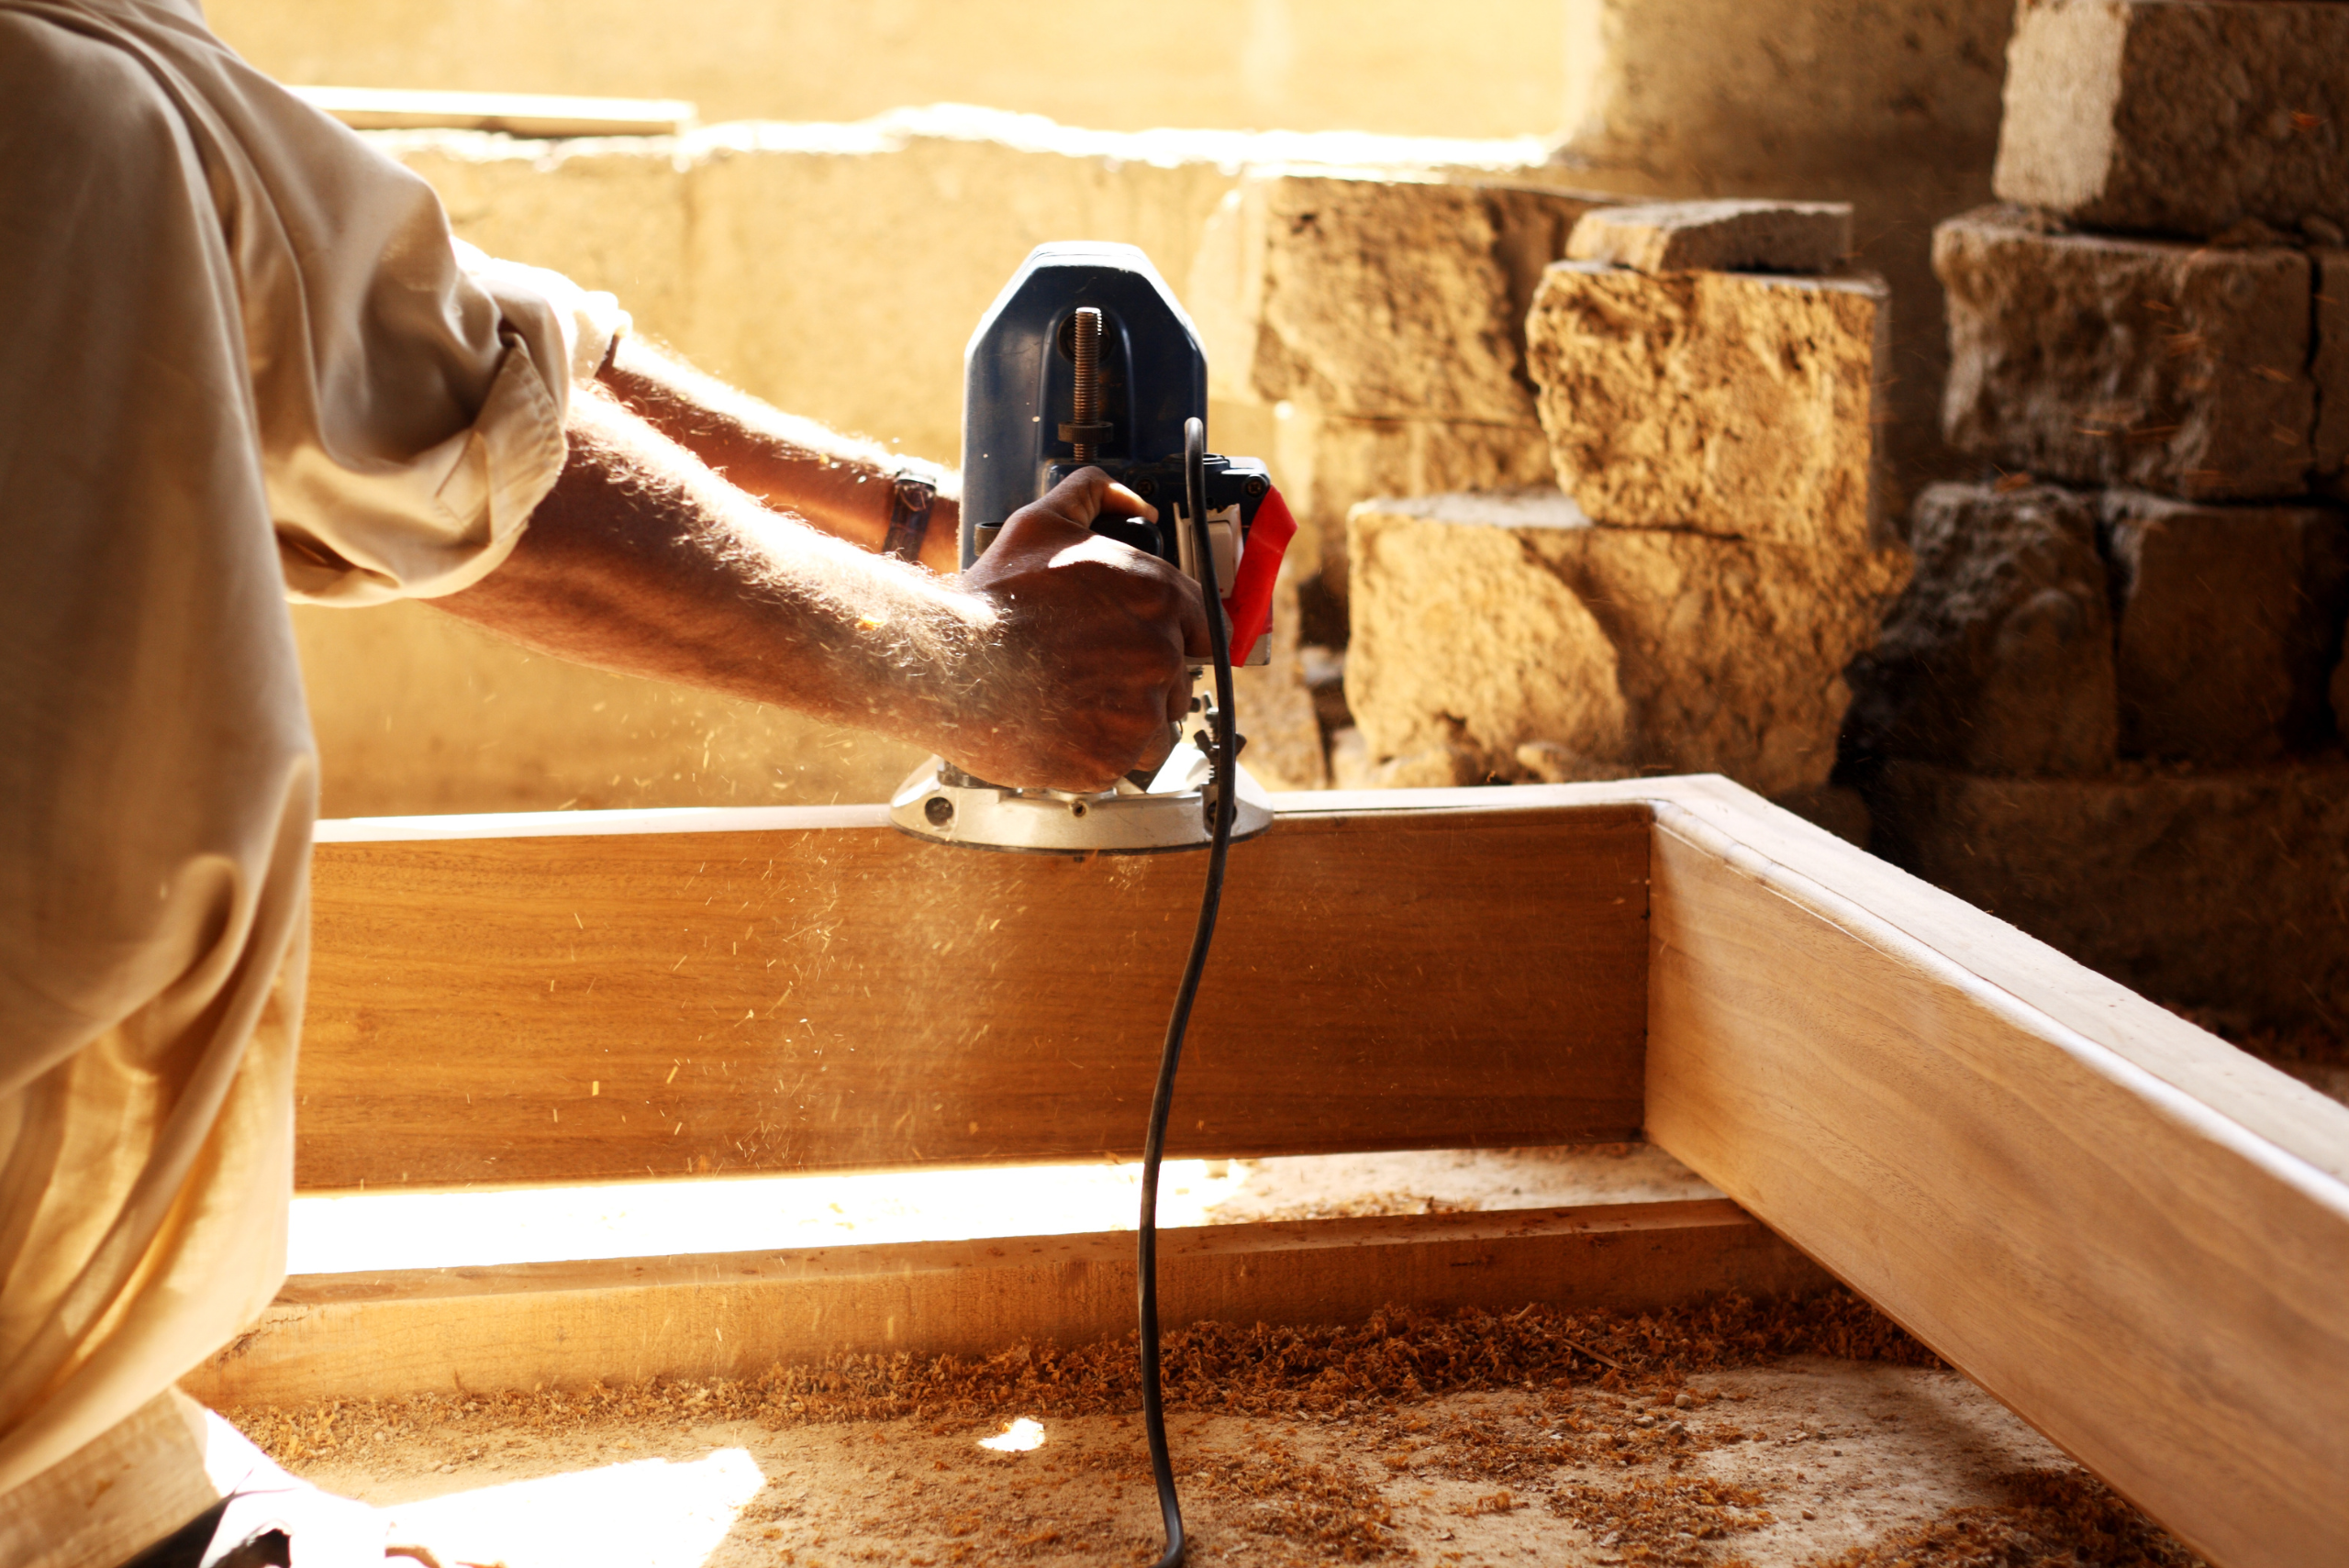
Once you’re familiar with the basics and the bits, it’s time to practice some common routing techniques. Edge routing is a great starting point. It involves guiding your router along the edge of the wood to create a finished look. This can be anything from a simple rounded edge to a more decorative Roman ogee profile. Practice on scrap pieces of wood to gain confidence and precision.

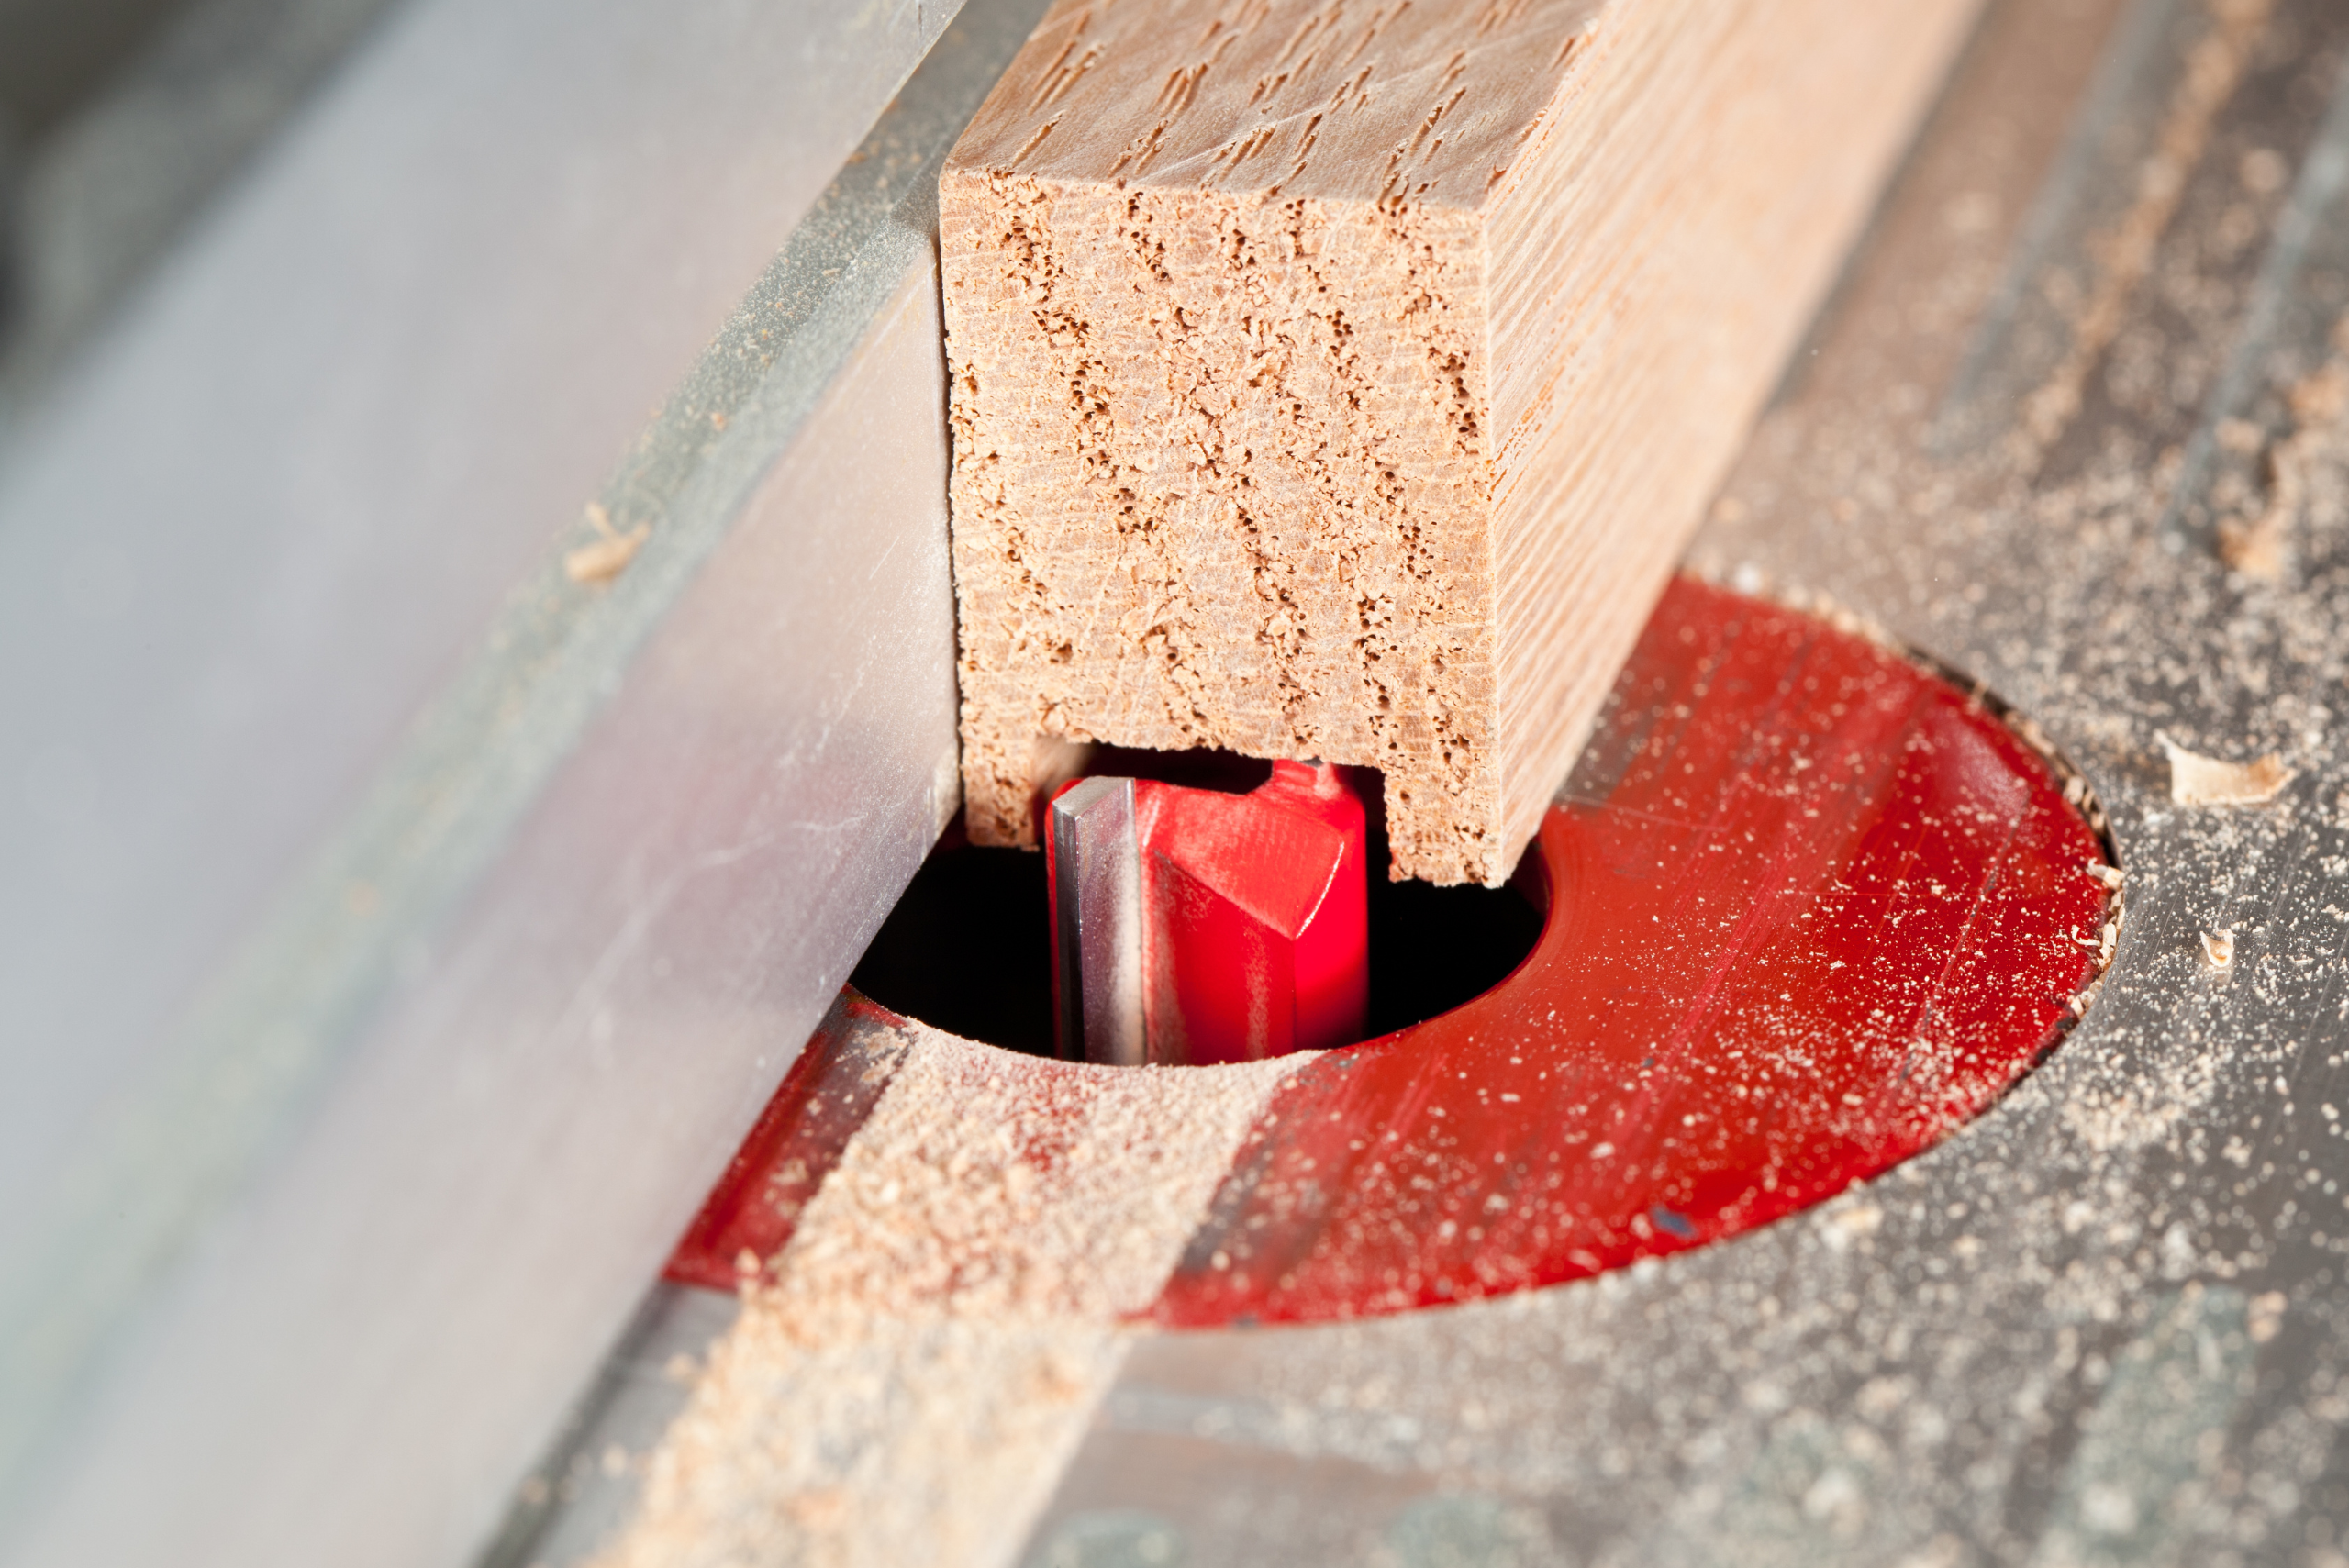
Another useful technique is using a router to create dadoes and grooves, which are essential for cabinet making and constructing shelves. These cuts need to be precise, as they will determine the structural integrity of your project. Using a straight bit and a steady hand, you can create seamless joins that are both aesthetically pleasing and functional.

As we conclude, remember – TedsWoodworking is your ally in woodworking aspirations. Dive into 16,000+ projects with ease. Your creativity knows no bounds.
Related Articles
- Ways to Prevent Router Tearout During Woodworking Projects
- 4 Effective Techniques For How to Cut Circles in Wood
- Craft Your Own Workshop Essential – DIY Router Table Build Guide for Craftsmen
Incorporating a router into your woodworking toolkit opens up a world of possibilities. With this tool, you can add intricate details and personal touches that truly make your projects stand out. The key is to start simple, build your skills, and always prioritize safety. Remember, every master woodworker was once a beginner, and the journey of learning how to use a router is filled with trial and error. Embrace the learning process and allow your creativity to flourish. Soon, you’ll be looking at every piece of wood as a potential masterpiece waiting to happen. Happy routing!
Ready to start your next project? Join our DIY community to receive tool tips, how-to guides, and exclusive creative insights. Subscribe to the ManMadeDIY newsletter now! Click here to unlock a world of hands-on inspiration.


