Five Ways to Use a Speed Square
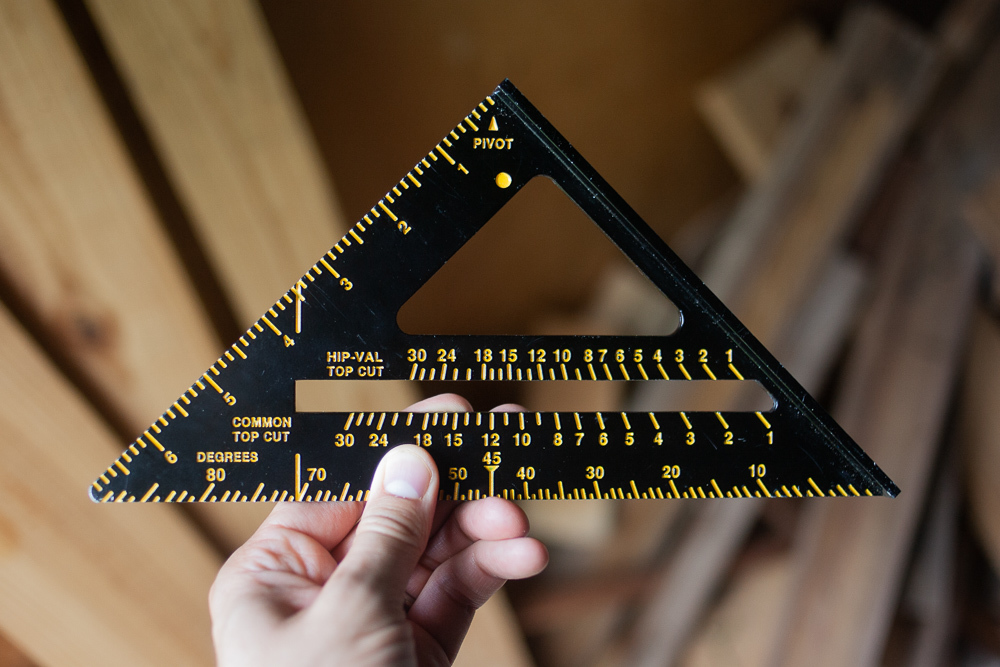
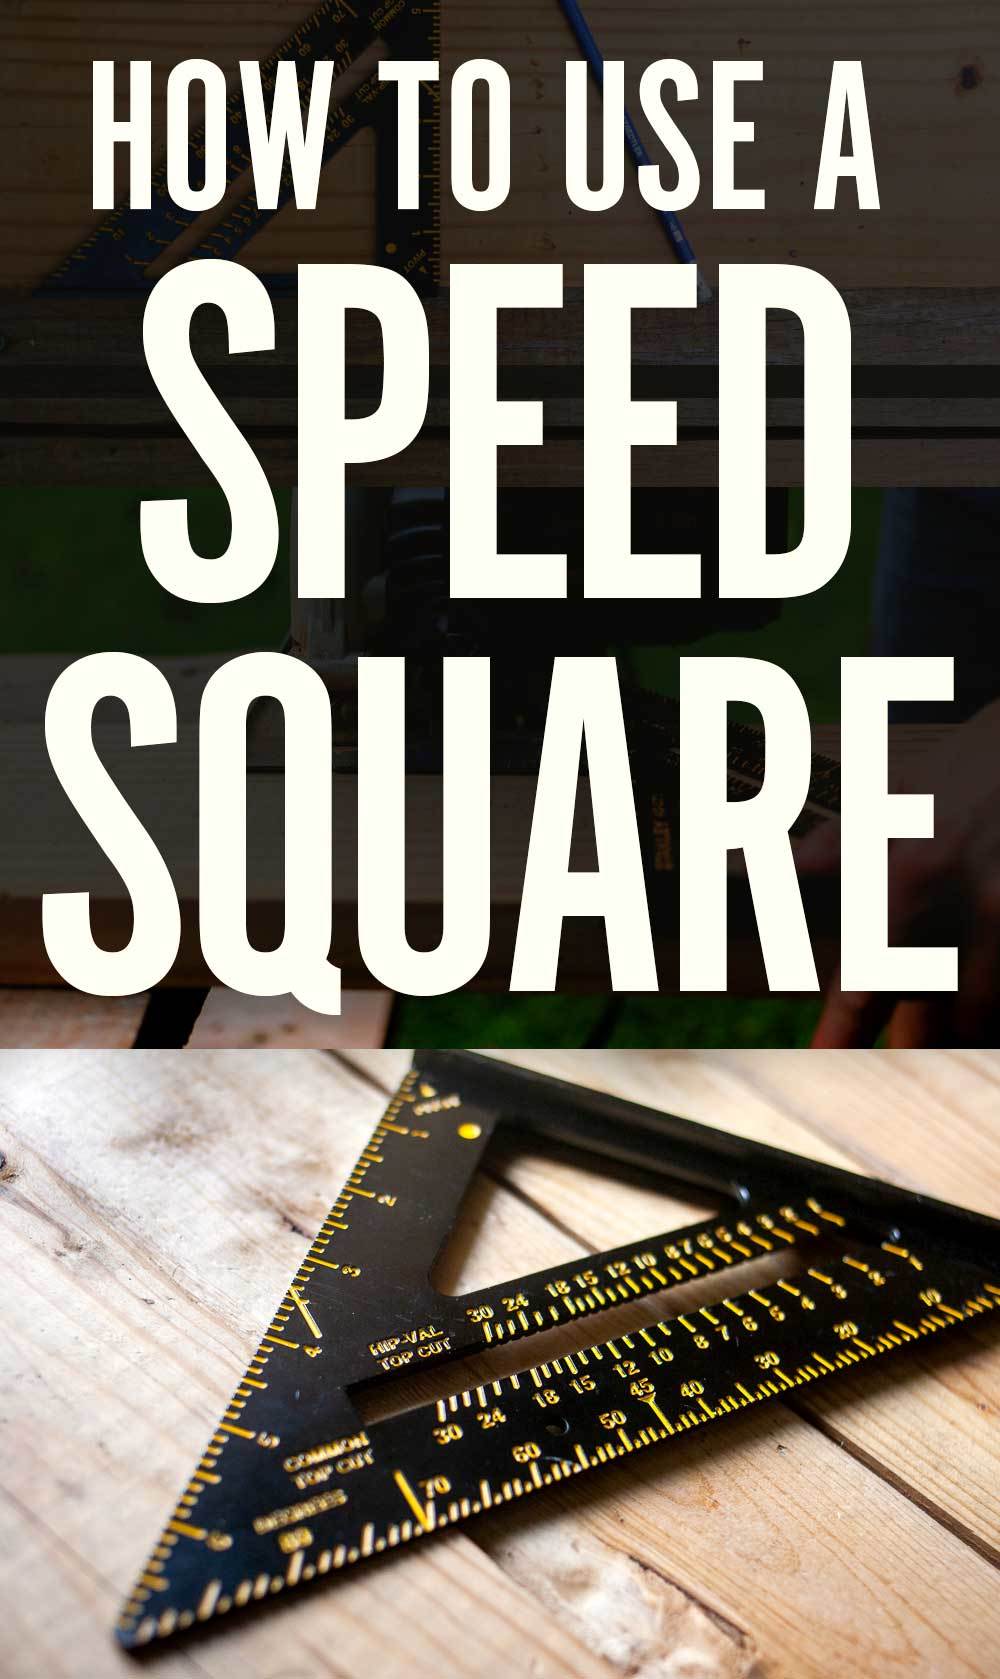
Learning how to use a speed square should be at the top of any DIYers arsenal. If you’re doing any kind of DIY or construction work, there are a handful of absolutely essential tools you need in your belt: hammer, tape measure, level, to name just a few. Batting cleanup in this list is the humble speed square. Easy to use, inexpensive, light, and portable, it’s made of one piece of metal so it won’t become untrue if dropped. And most importantly it’s multifunctional.
How multifunctional is a speed square? Read on for ManMade’s top five ways for how to use a speed square!
How To Use A Speed Square: Our Top 5 Picks
Before we get started, if you don’t own a speed square, the classic Swanson 7″ square costs around $8-9, has a proven design, and will likely last a lifetime. Pick one up today, and get making!
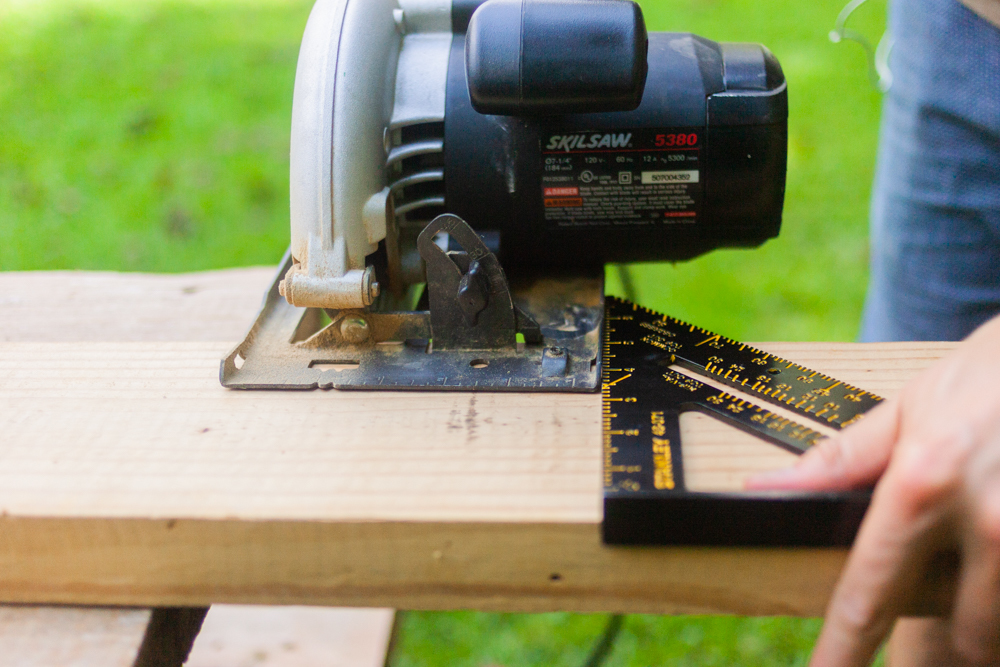
1. Using A Speed Square As A Saw guide
Your speed square is useful as a fence for keeping your circular saw true as you cross-cut lumber. Simply place the lip of the square on the outer edge of the lumber and line up the saw shoe against the straight edge of the square and cut. We use this approach daily to quickly and accurately cut wood.
2. Using Speed Squares To Scribe Lines
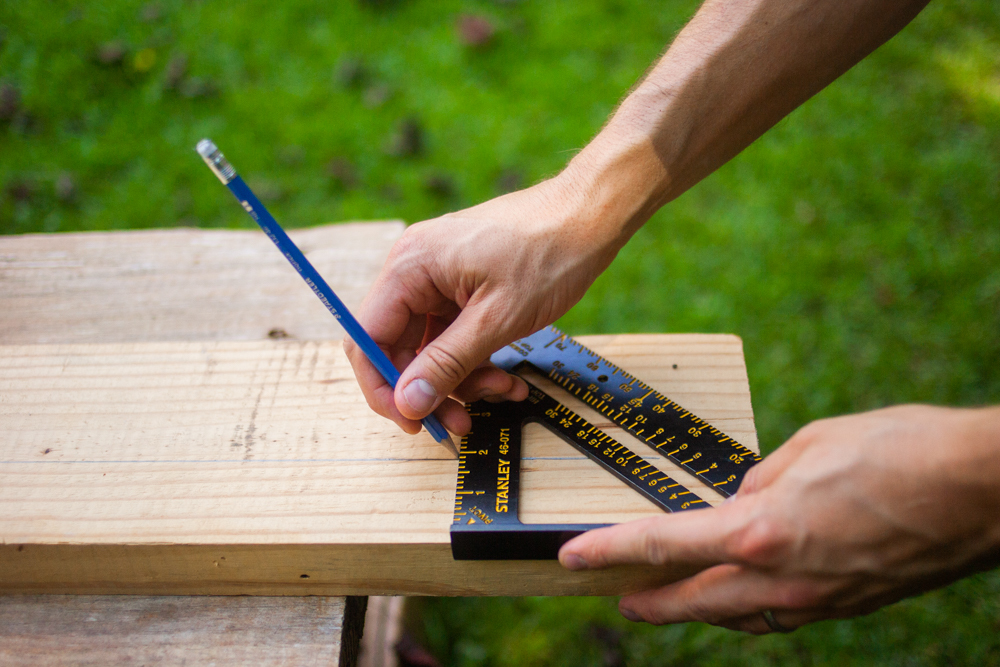
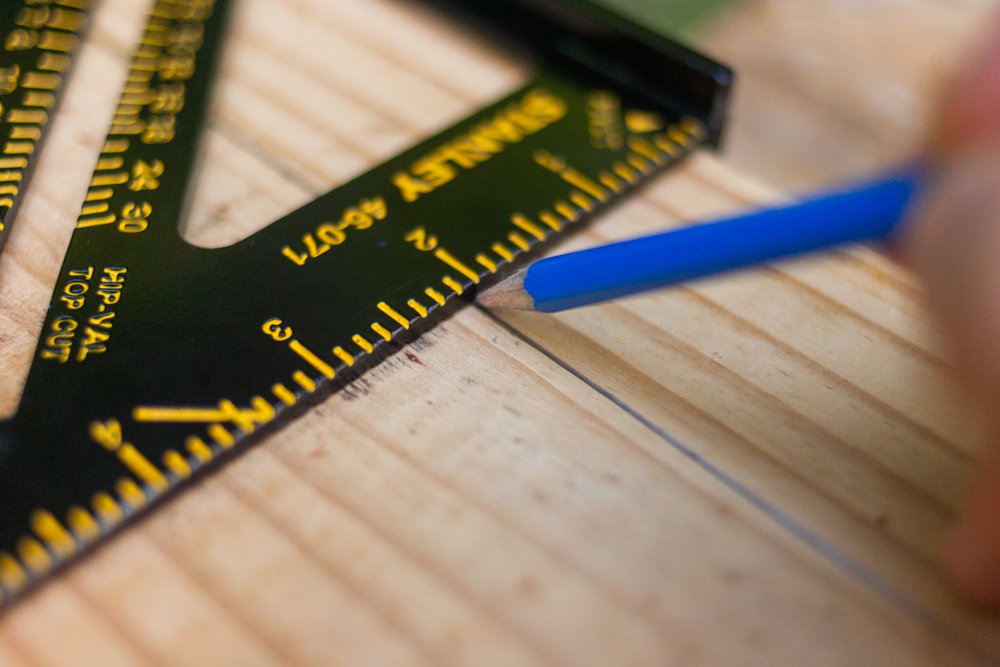
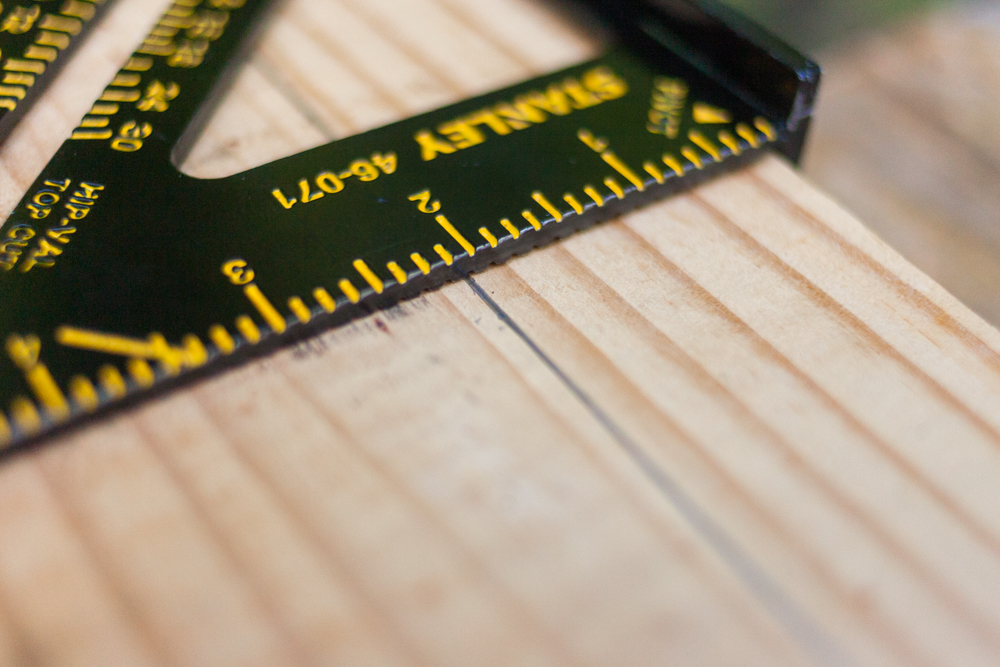
Need to draw a guideline on your lumber for making a rip cut? No problem—your speed square can help with any quick line scribing. Place the speed square lip along the outer edge of the board and then place your pencil tip in one of the notches, and boom, your straight line is ready to be cut.
Note: if you’re going this route, we do recommend the Swanson speed square, which has scribe line notches every 1/4.” Alternatively, as a test, I was able to get pretty consistent lines with my Stanley 7″ (pictured) because of the slight recess in the measurements. In any case, it makes for a great carpenter square
3. Using A Speed Square As A Roof Pitch Tool
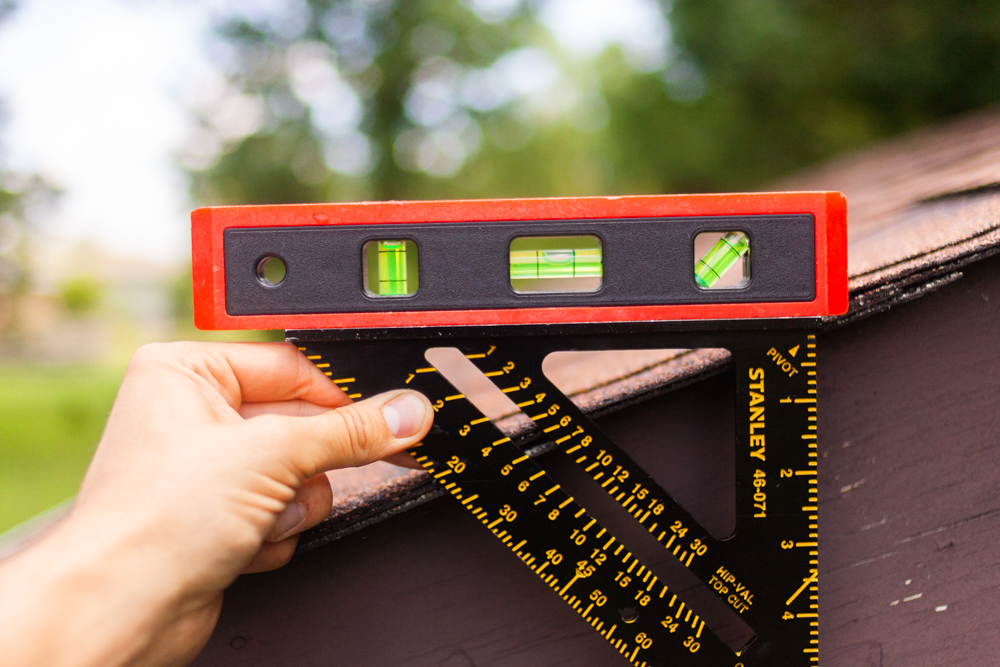
There are times when you’ll need to determine your roof pitch— when installing skylights, designing an addition, or getting an estimate for replacement, for example. Learning how to use a speed square with a level, can help you quickly get a ballpark idea of your pitch angle. We’re going to show you how to accomplish this angled approach on the outside of your roof, although it also works as a rafter square.
1. Set your speed square’s lip edge along the edge of your roof with a torpedo level on top of it.
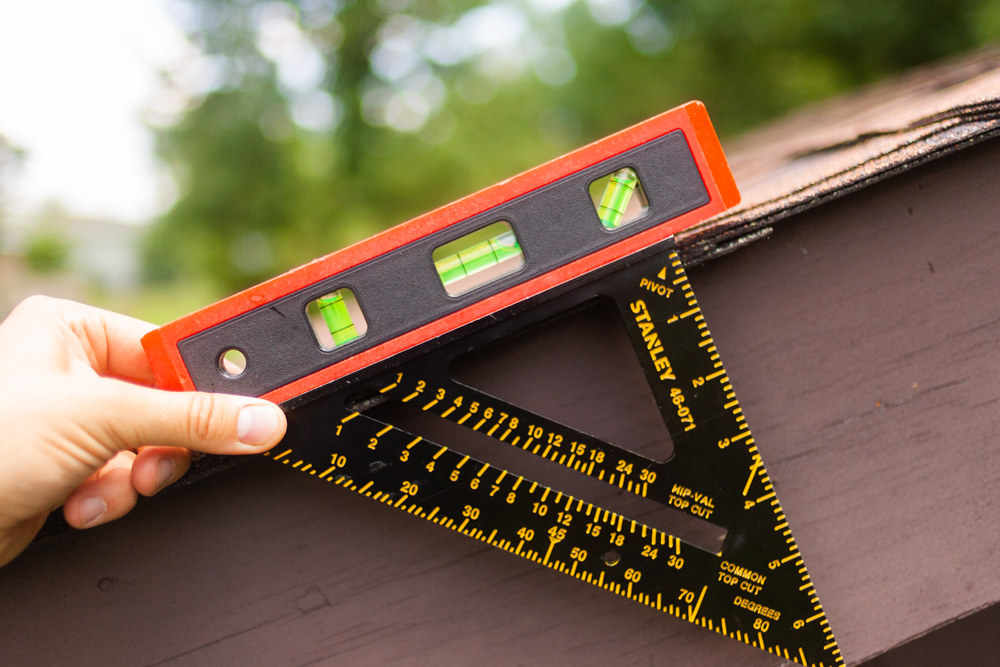
2. Pivot the speed square until the center bubble is level. Check your angle measurements to determine roof pitch.
4. Speed Square As A Square checker
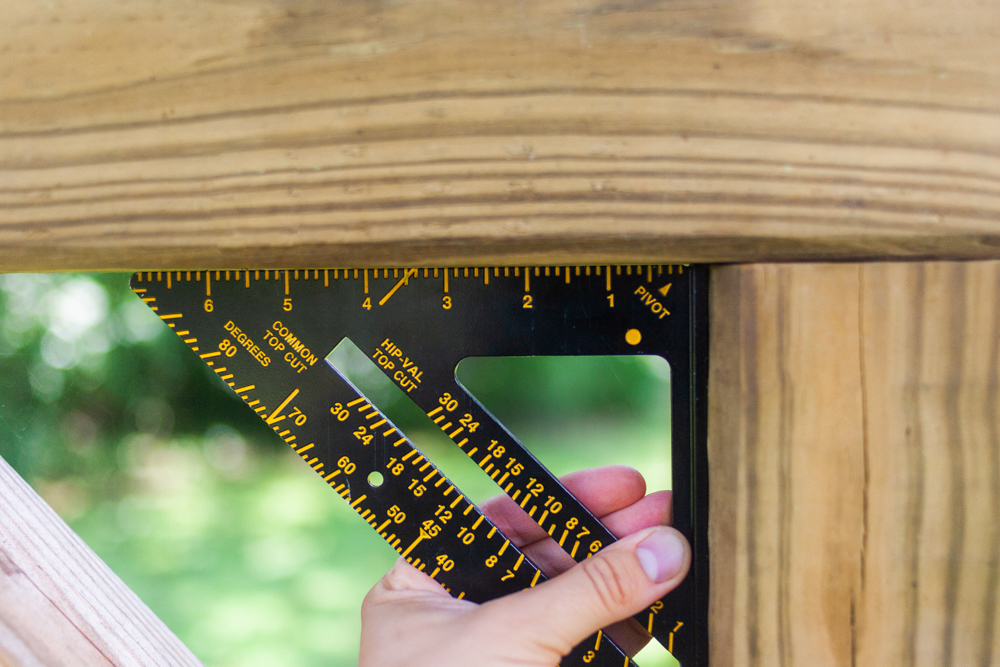
While you’ll probably be using another tool to check for square, like a combination square, framing square, or tri square, it’s handy to know that you have this option in case your other squares are halfway across the job site. Simply place the right angle of the speed square on the inside of your joined lumber and make adjustments as needed.
When using a speed square to check for square, it’s important to make sure your square’s edges are flush against the sides of the area you are checking. Warped wood can cause the square to protrude, leading to an invalid check.
5. Using A Speed Square As A Protractor
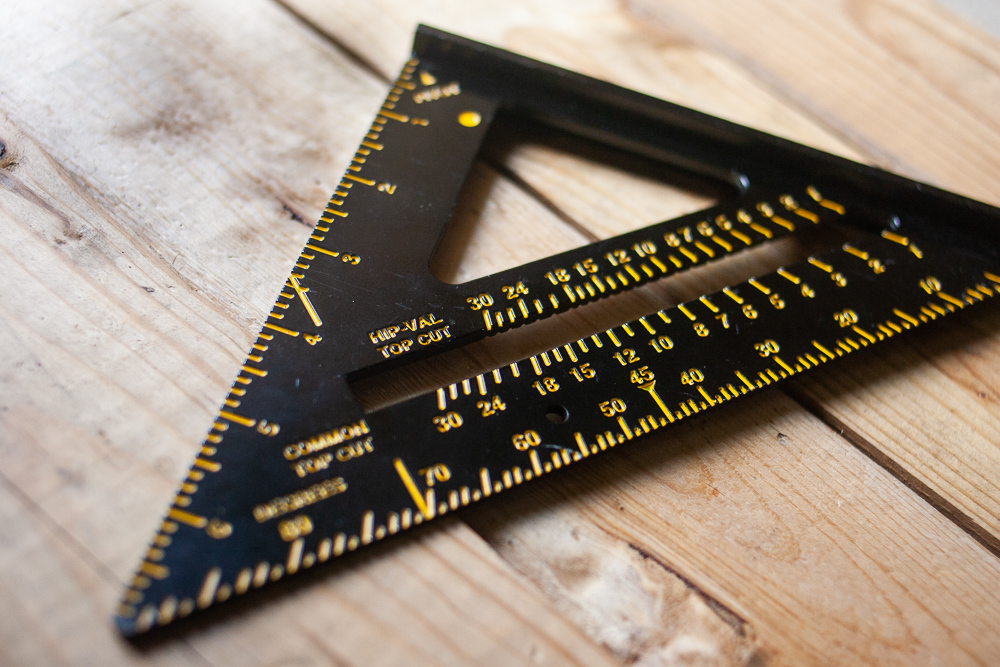
Finally, you can use your speed square to measure any angle for cross cuts — as a try square for 90° angles using the straight edge, a miter square for 45° angles using the hypotenuse, and as a protractor using the straight edge and the pivot point. It’s pretty easy once you get the hang of it.
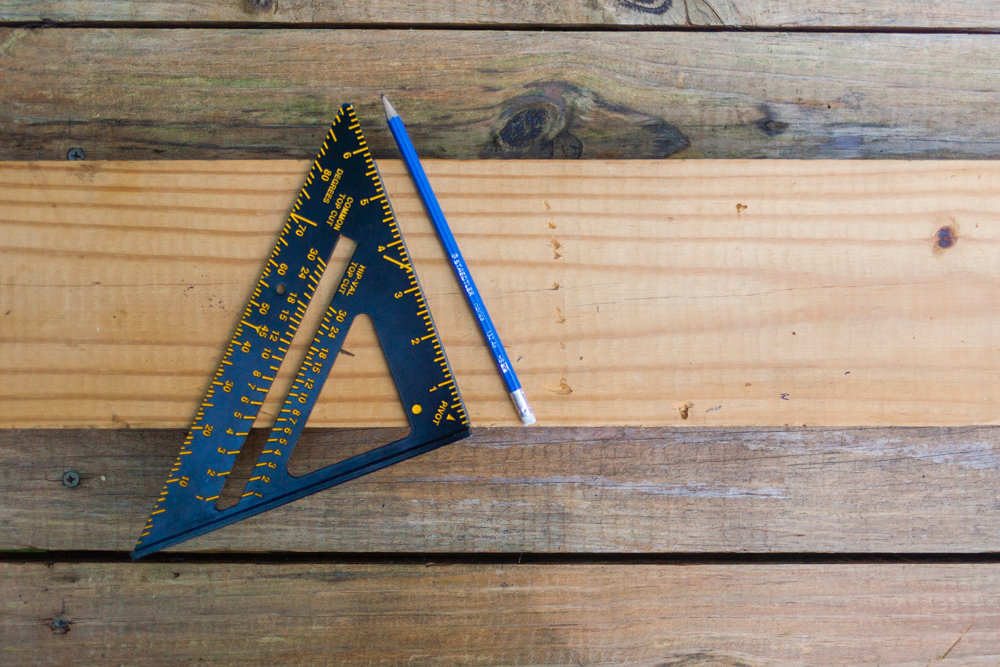
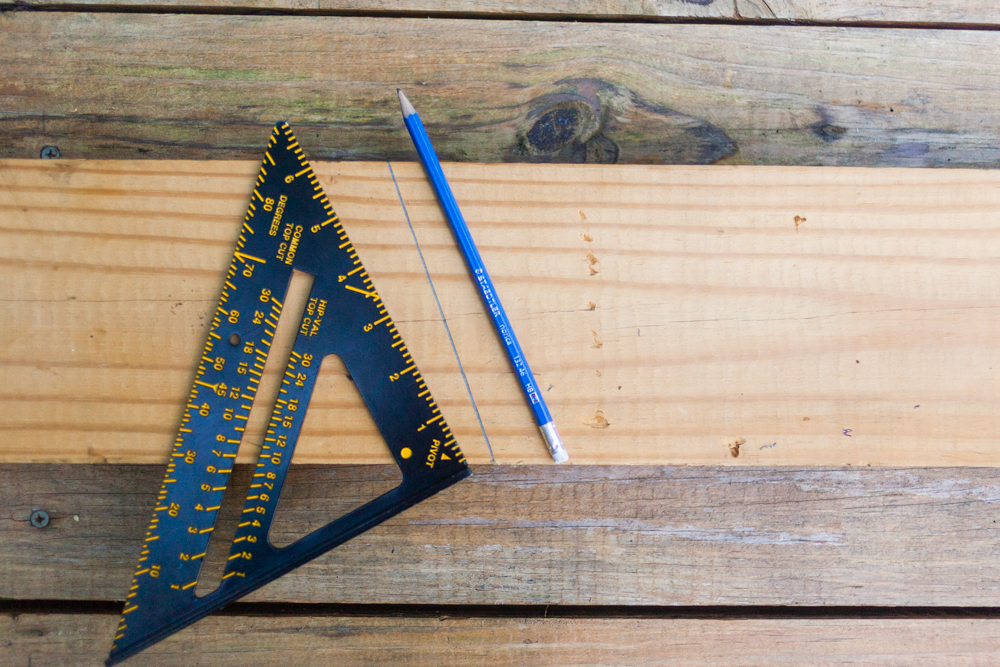
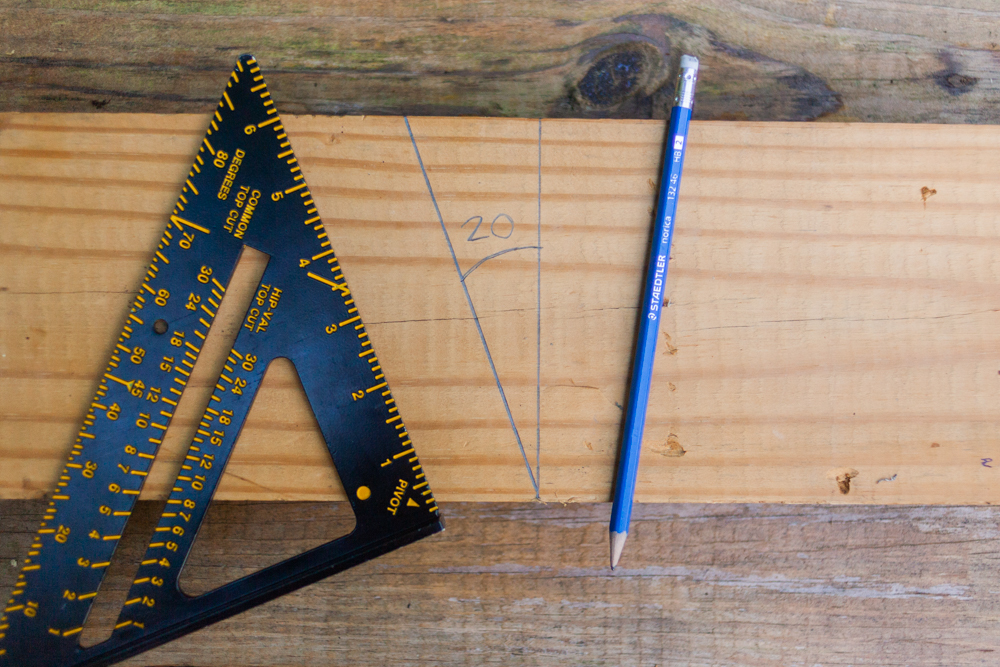
1. Place the edge of the speed square with the pivot point at the starting point of your angled cut.
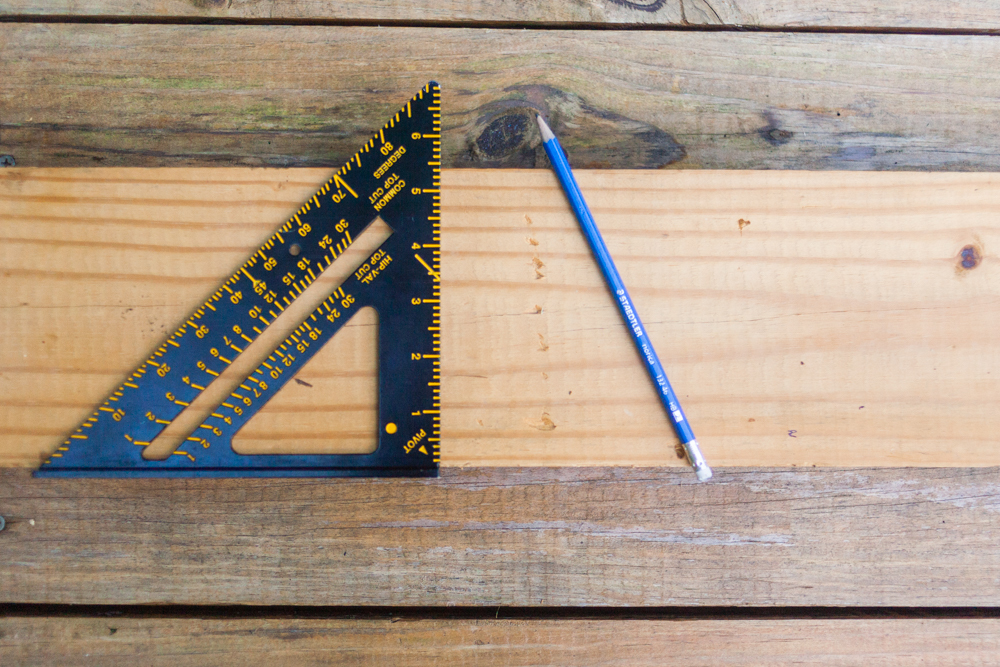
2. Pivot the lip away from your lumber’s near edge until the angle measurement reaches your desired angle.
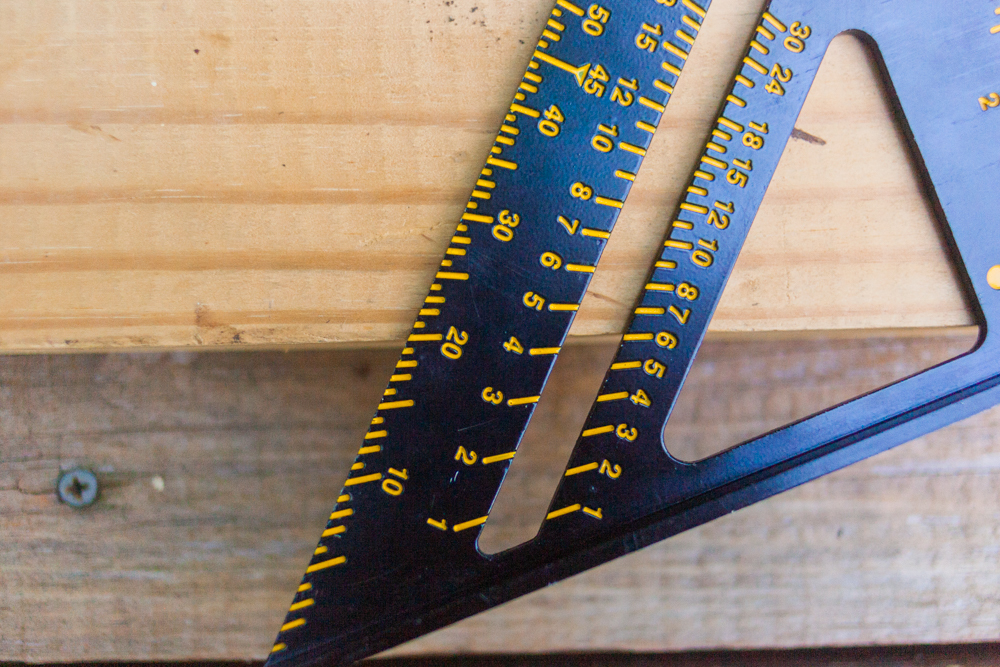
3. Draw your angle along the edge of the speed square. You’re ready to roll!
For a walkthrough, here’s a short video with This Old House’s inimitable Tom Silva showing the protractor basics (starting at 1:30), along with a summary of most of the techniques in this post:
What’s your favorite use for a speed square? Leave your comments below!
