The Need-to-Know Steps For How To Wire A Shed
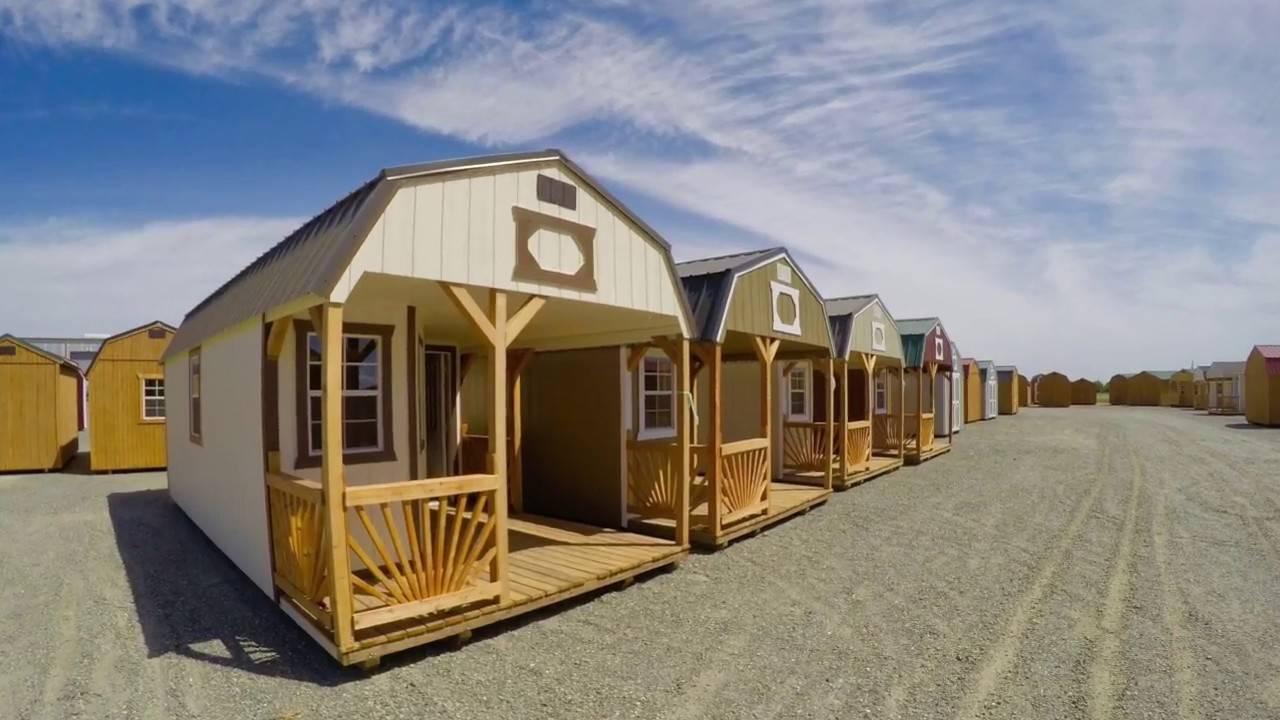
You built that storage shed for lawnmowers, power tools, and to get the junk out of the house. But after a few years, you’ve added cordless tools to your power tool inventory and you’re back where you started.
In a modern age translation of the adage, “If you can’t bring Mohammed to the mountain, bring the mountain to Mohammed” it’s time to bring power to that storage shed.
Power in a shed offers more than just outlets to charge power tools. It brings light, making it easier to access 24 hours a day, no matter whether its day, night, or dark inside from heavy cloud cover.
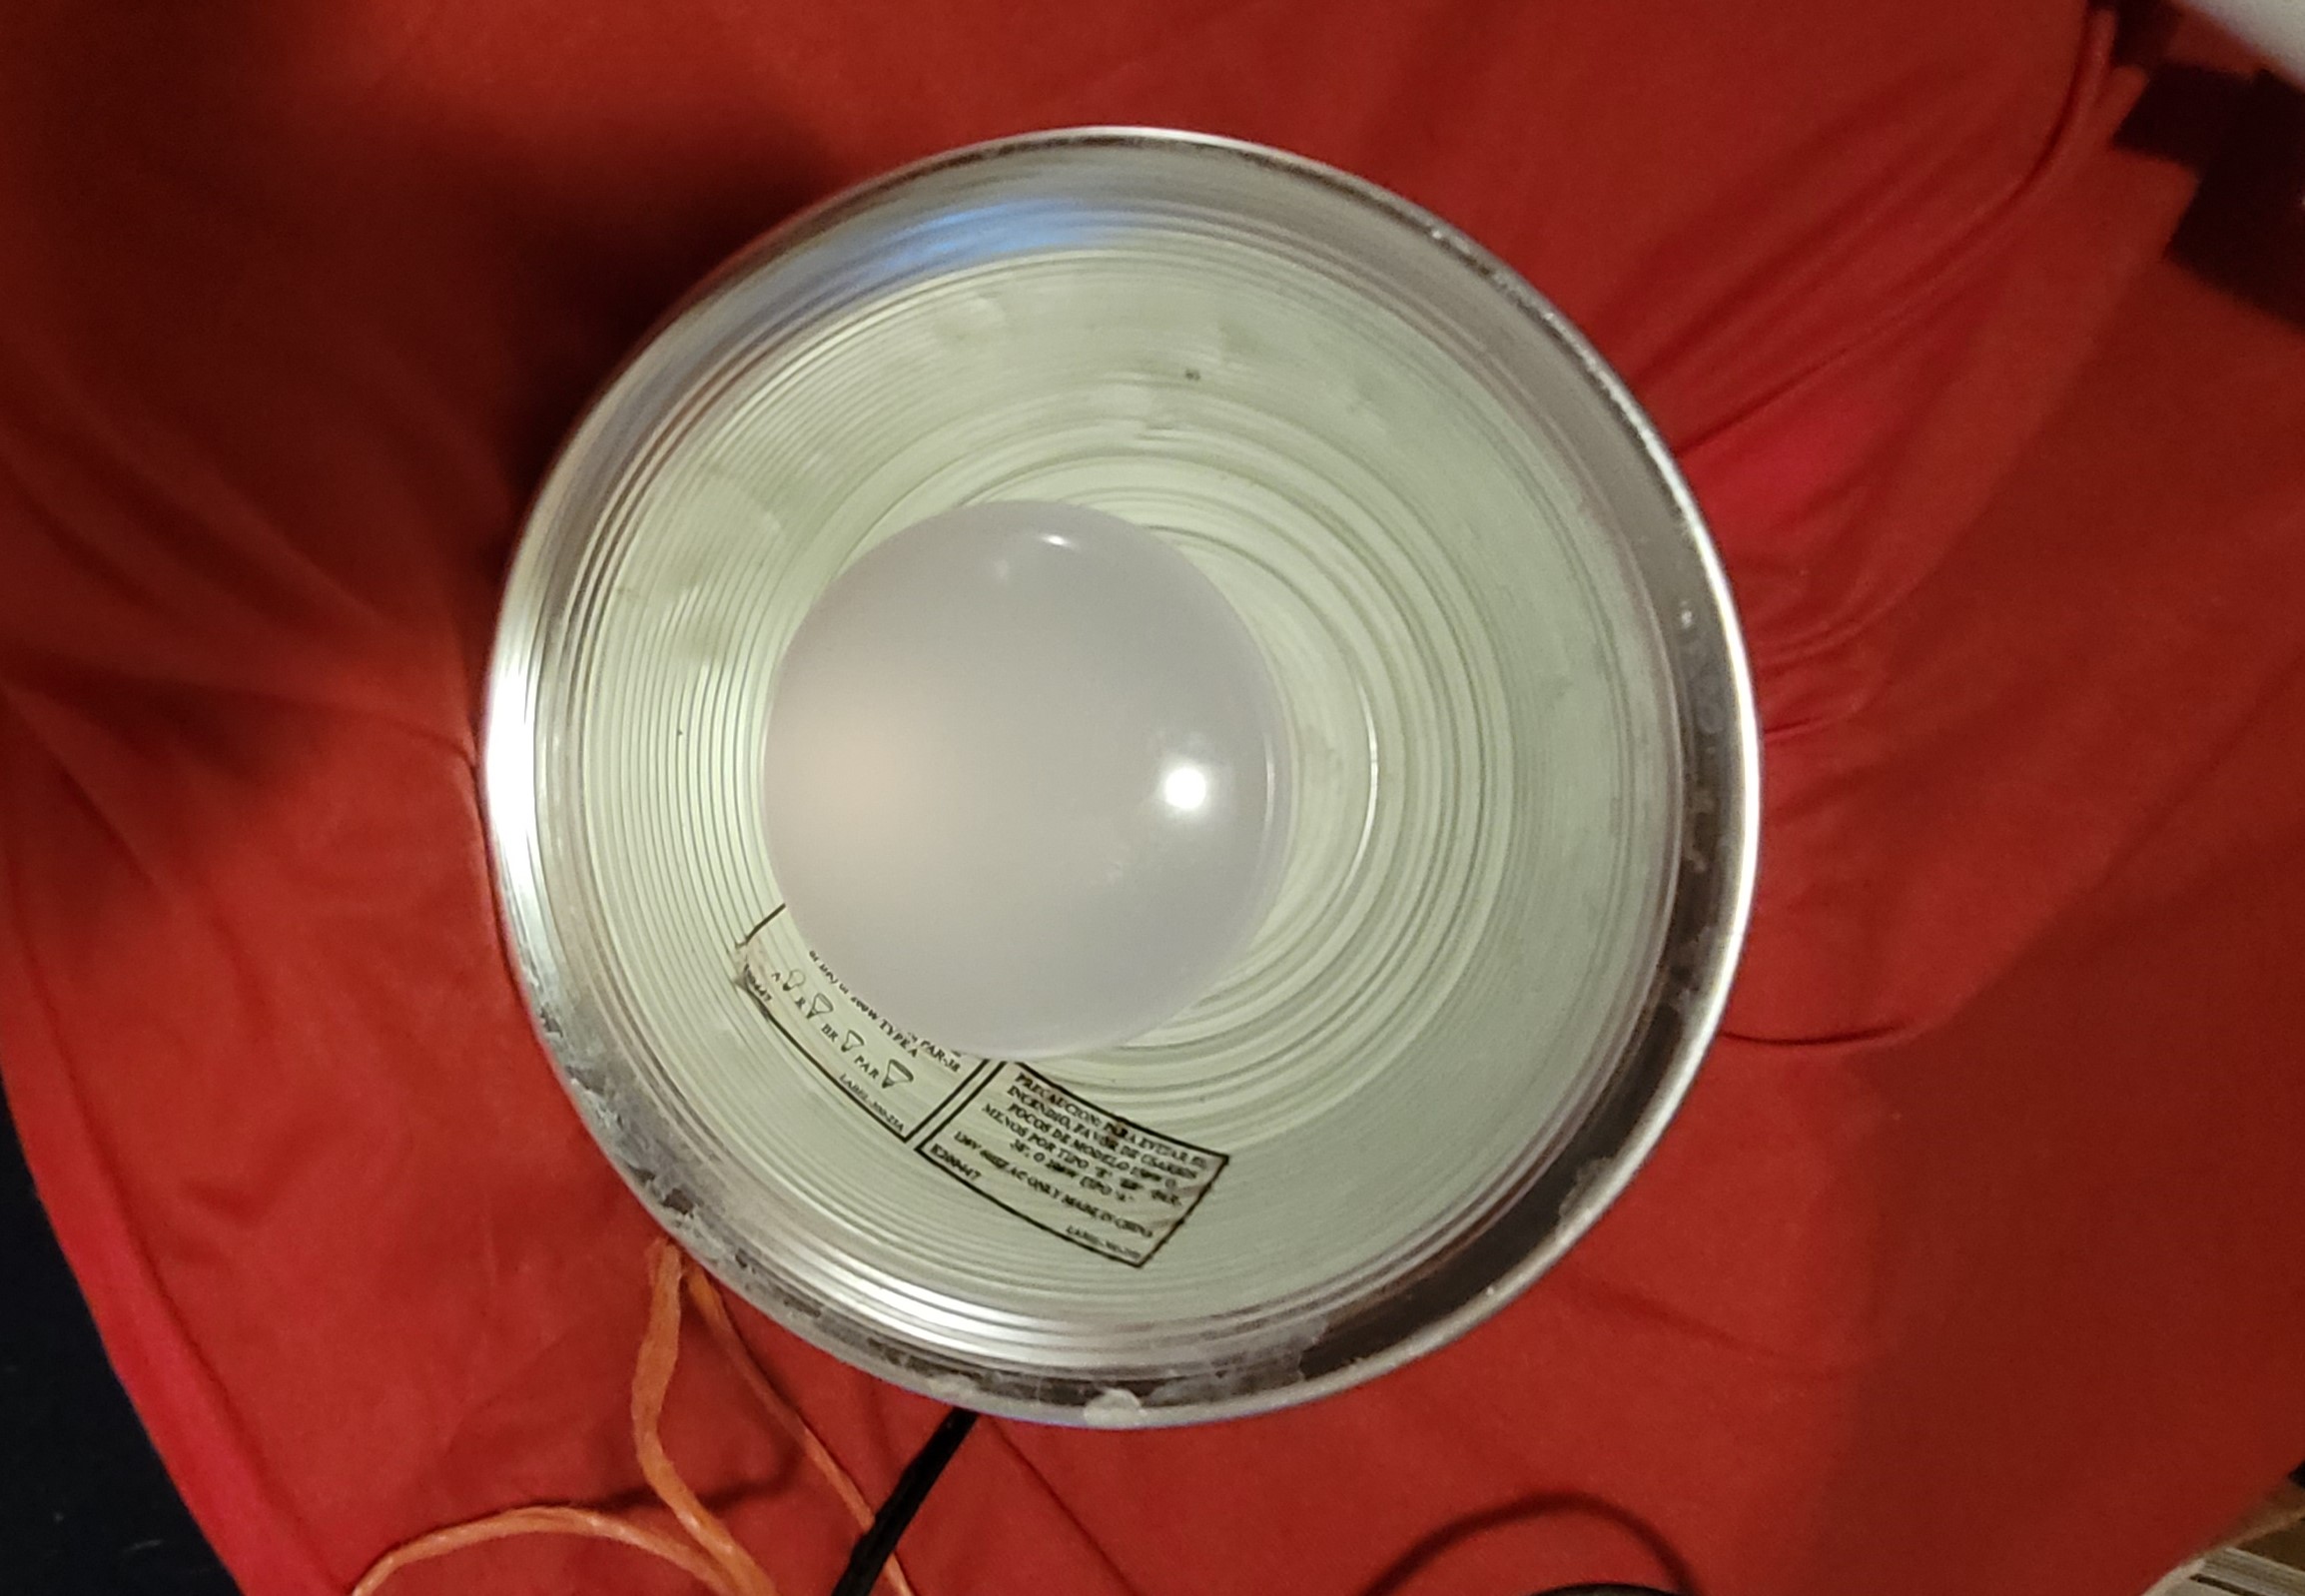
Getting electricity to a shed doesn’t have to be a challenge.
All you need to do is wire the shed, connect those wires to receptacle boxes, wire outlets into those boxes and connect power from your house to the shed. The work isn’t that difficult, but the planning can be. Let’s walk through the steps involved.
Power Demand
How much electricity do you need in your shed? If it’s just a few 120V outlets and an overhead light, you don’t need to install a panel or use heavy gauge wire. If you do have heavier demands—like perhaps installing a 240V welder—you’ll need a panel in the shed, and heavier gauge wire to connect the house with the sub-panel.
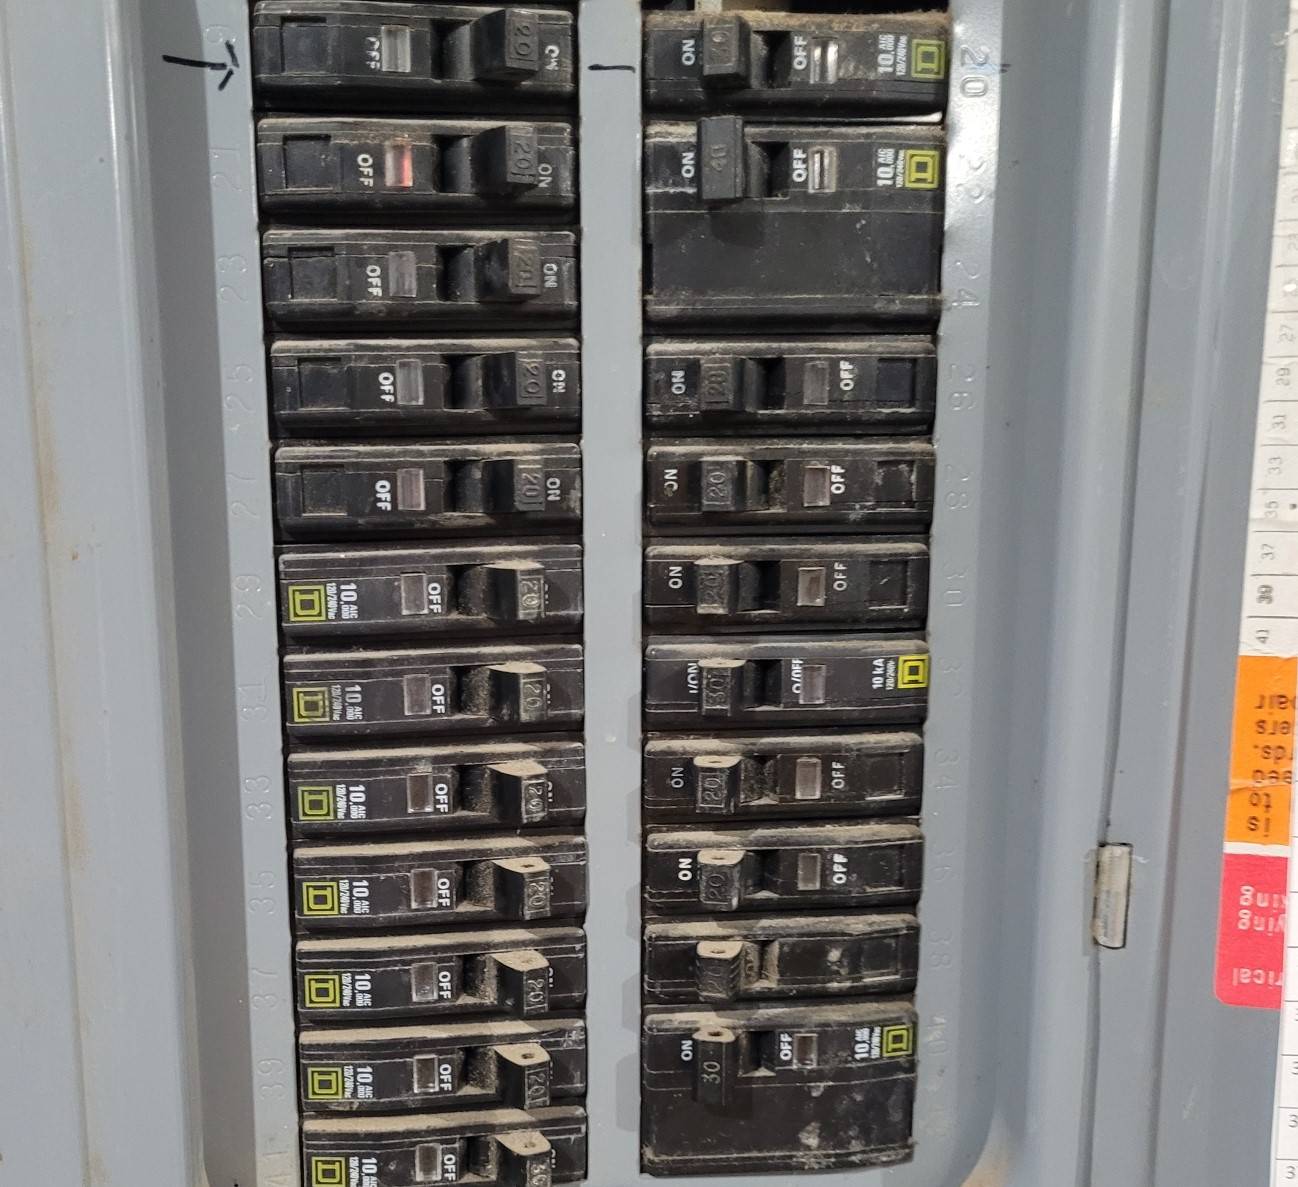
Depending on your power demand, a 50AMP 240V breaker will probably suffice as an addition to your home power panel. Create a spot for the circuit breaker, run 6 or 8 gauge triple strand copper or aluminum wire to it (you can go as large as four gauge if needed) and pull the wire through buried conduit to your shed. On the shed side, pull the wire into a smaller sub-panel. Connect the cables then flip the breaker and you’ll have a hot sub-panel in your shed.
If your demands are lower, just run 10-gauge with ground exterior wire through the same style conduit. Add a 30 amp 120V breaker to your house panel and run the wire directly to your first outlet in the shed. Connect all the outlets and lights, flip the breaker, and if successful, your shed will be fully powered!
Wiring
Once the power supply is established, you need to install outlets and lights.
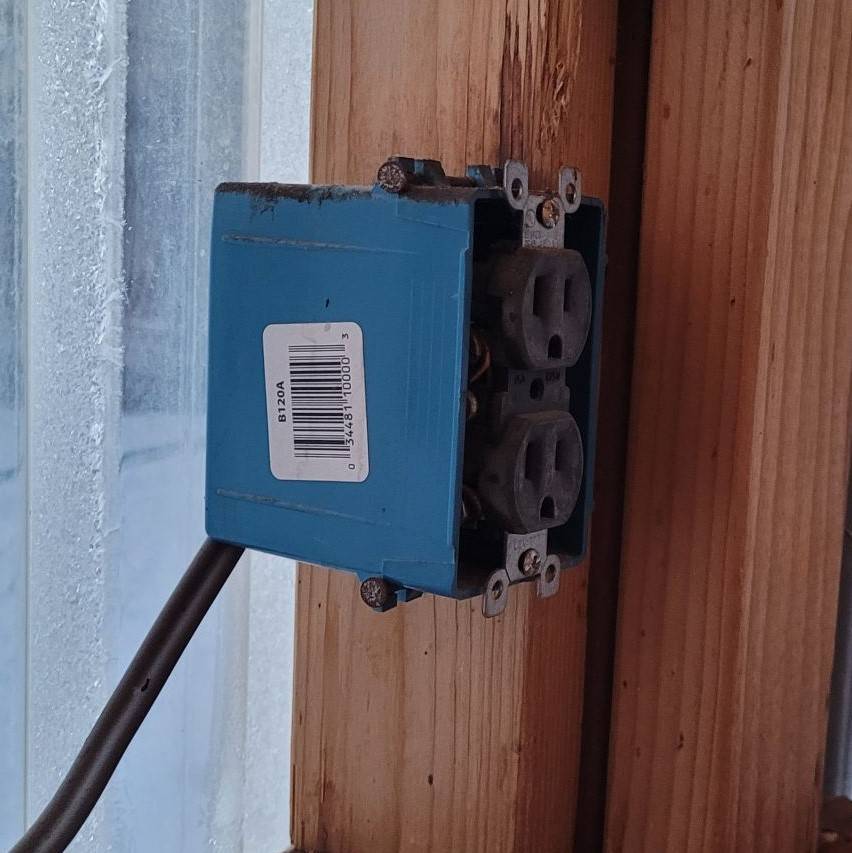
An outlet box should be placed with a plan in mind. Higher rechargeable equipment like trimmers usually have a connecting wire or mounting bracket so set a higher outlet. Traditional power outlets are set at 18 to 20 inches from the floor.
Once you have your outlets in place, drill ½ inch holes through the studs of your shed and pull 12/2 gauge wire from outlet to outlet. The maximum on one circuit including overhead lights should be six total.
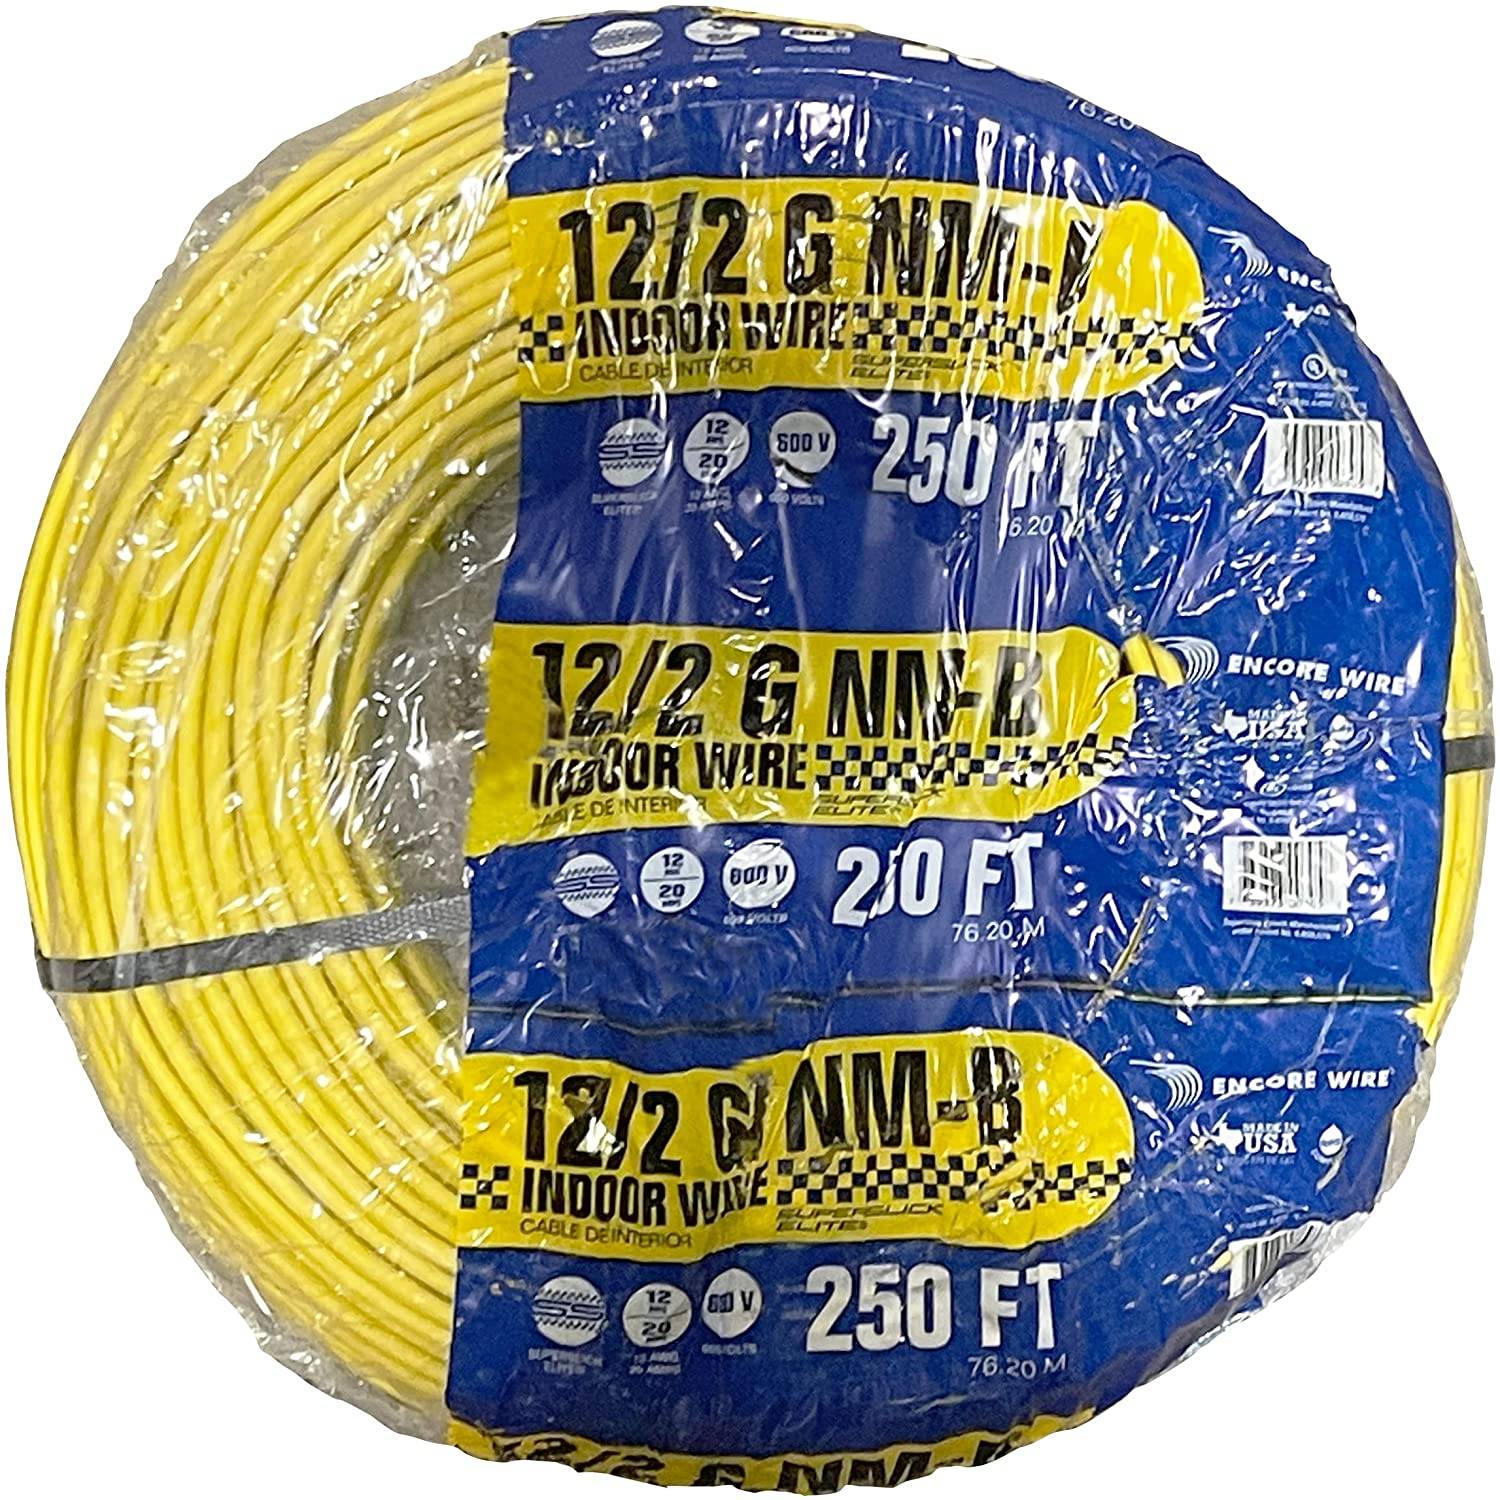
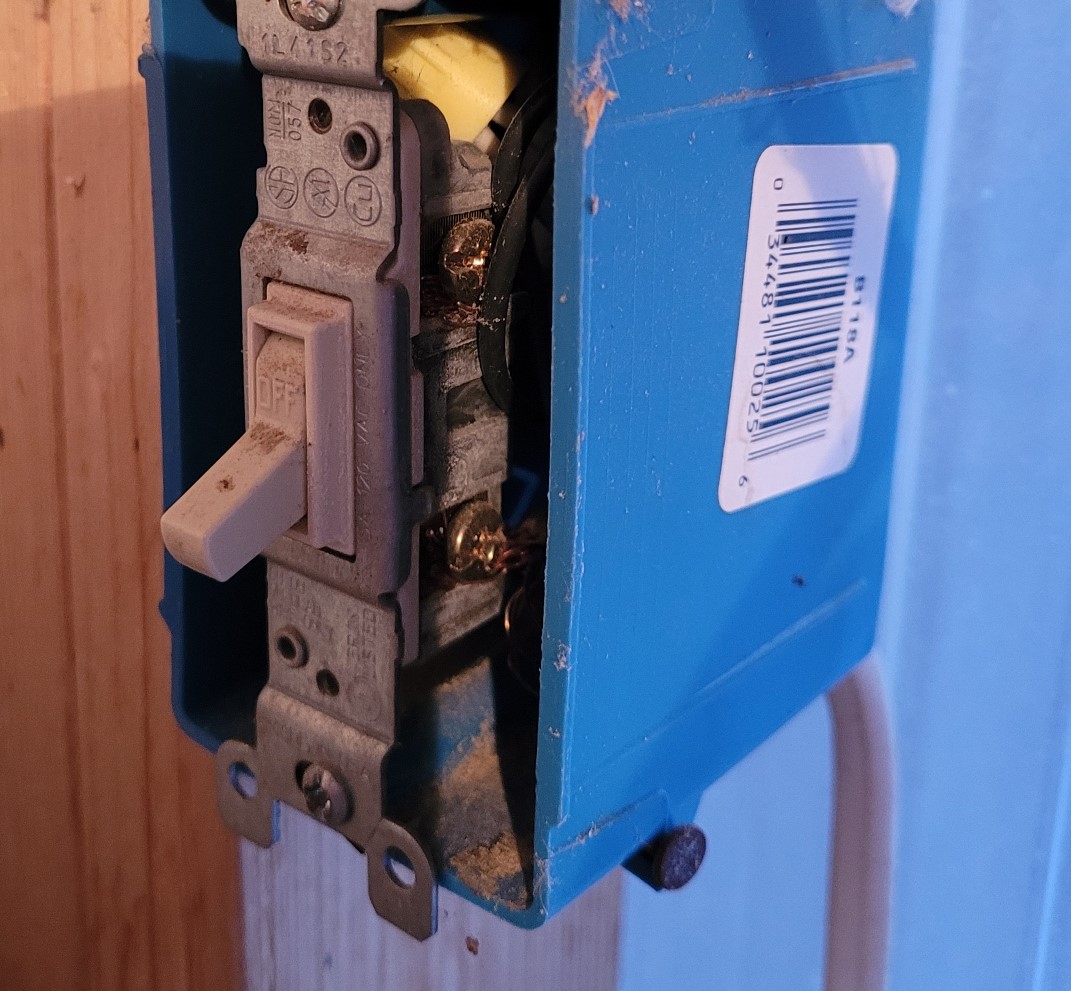
For lights, you’ll need power to the light and a control wire for the switch to turn the power on and off. The same 12/3 wire provides power, but you can use a lighter 14/3 wire for the switch if you wish.
When the layout is done, the wire’s pulled, and the panels are in place, you can attach the outlets, the light fixtures and then finish the job.
Once everything is in place, flip on the breaker inside your house and enjoy the power in your shed.

