Ice and Snow Removal Hacks You’ll Be Glad to Know
As the first snowflakes of the season begin to fall, a sense of wonder fills the air. However, that magical feeling quickly fades when you realize it’s time to clear the driveway. But fear not, fellow DIY enthusiasts! We’ve got your back with some ingenious snow removal hacks that will make your winter chores a breeze.
In this article, we’ll explore a variety of clever techniques and homemade solutions to help you tackle snow removal like a pro. From preventative measures to innovative tools, you’ll discover how to keep your property safe and accessible throughout the winter months without breaking your back or the bank.
Essential Tools for Efficient Snow Removal
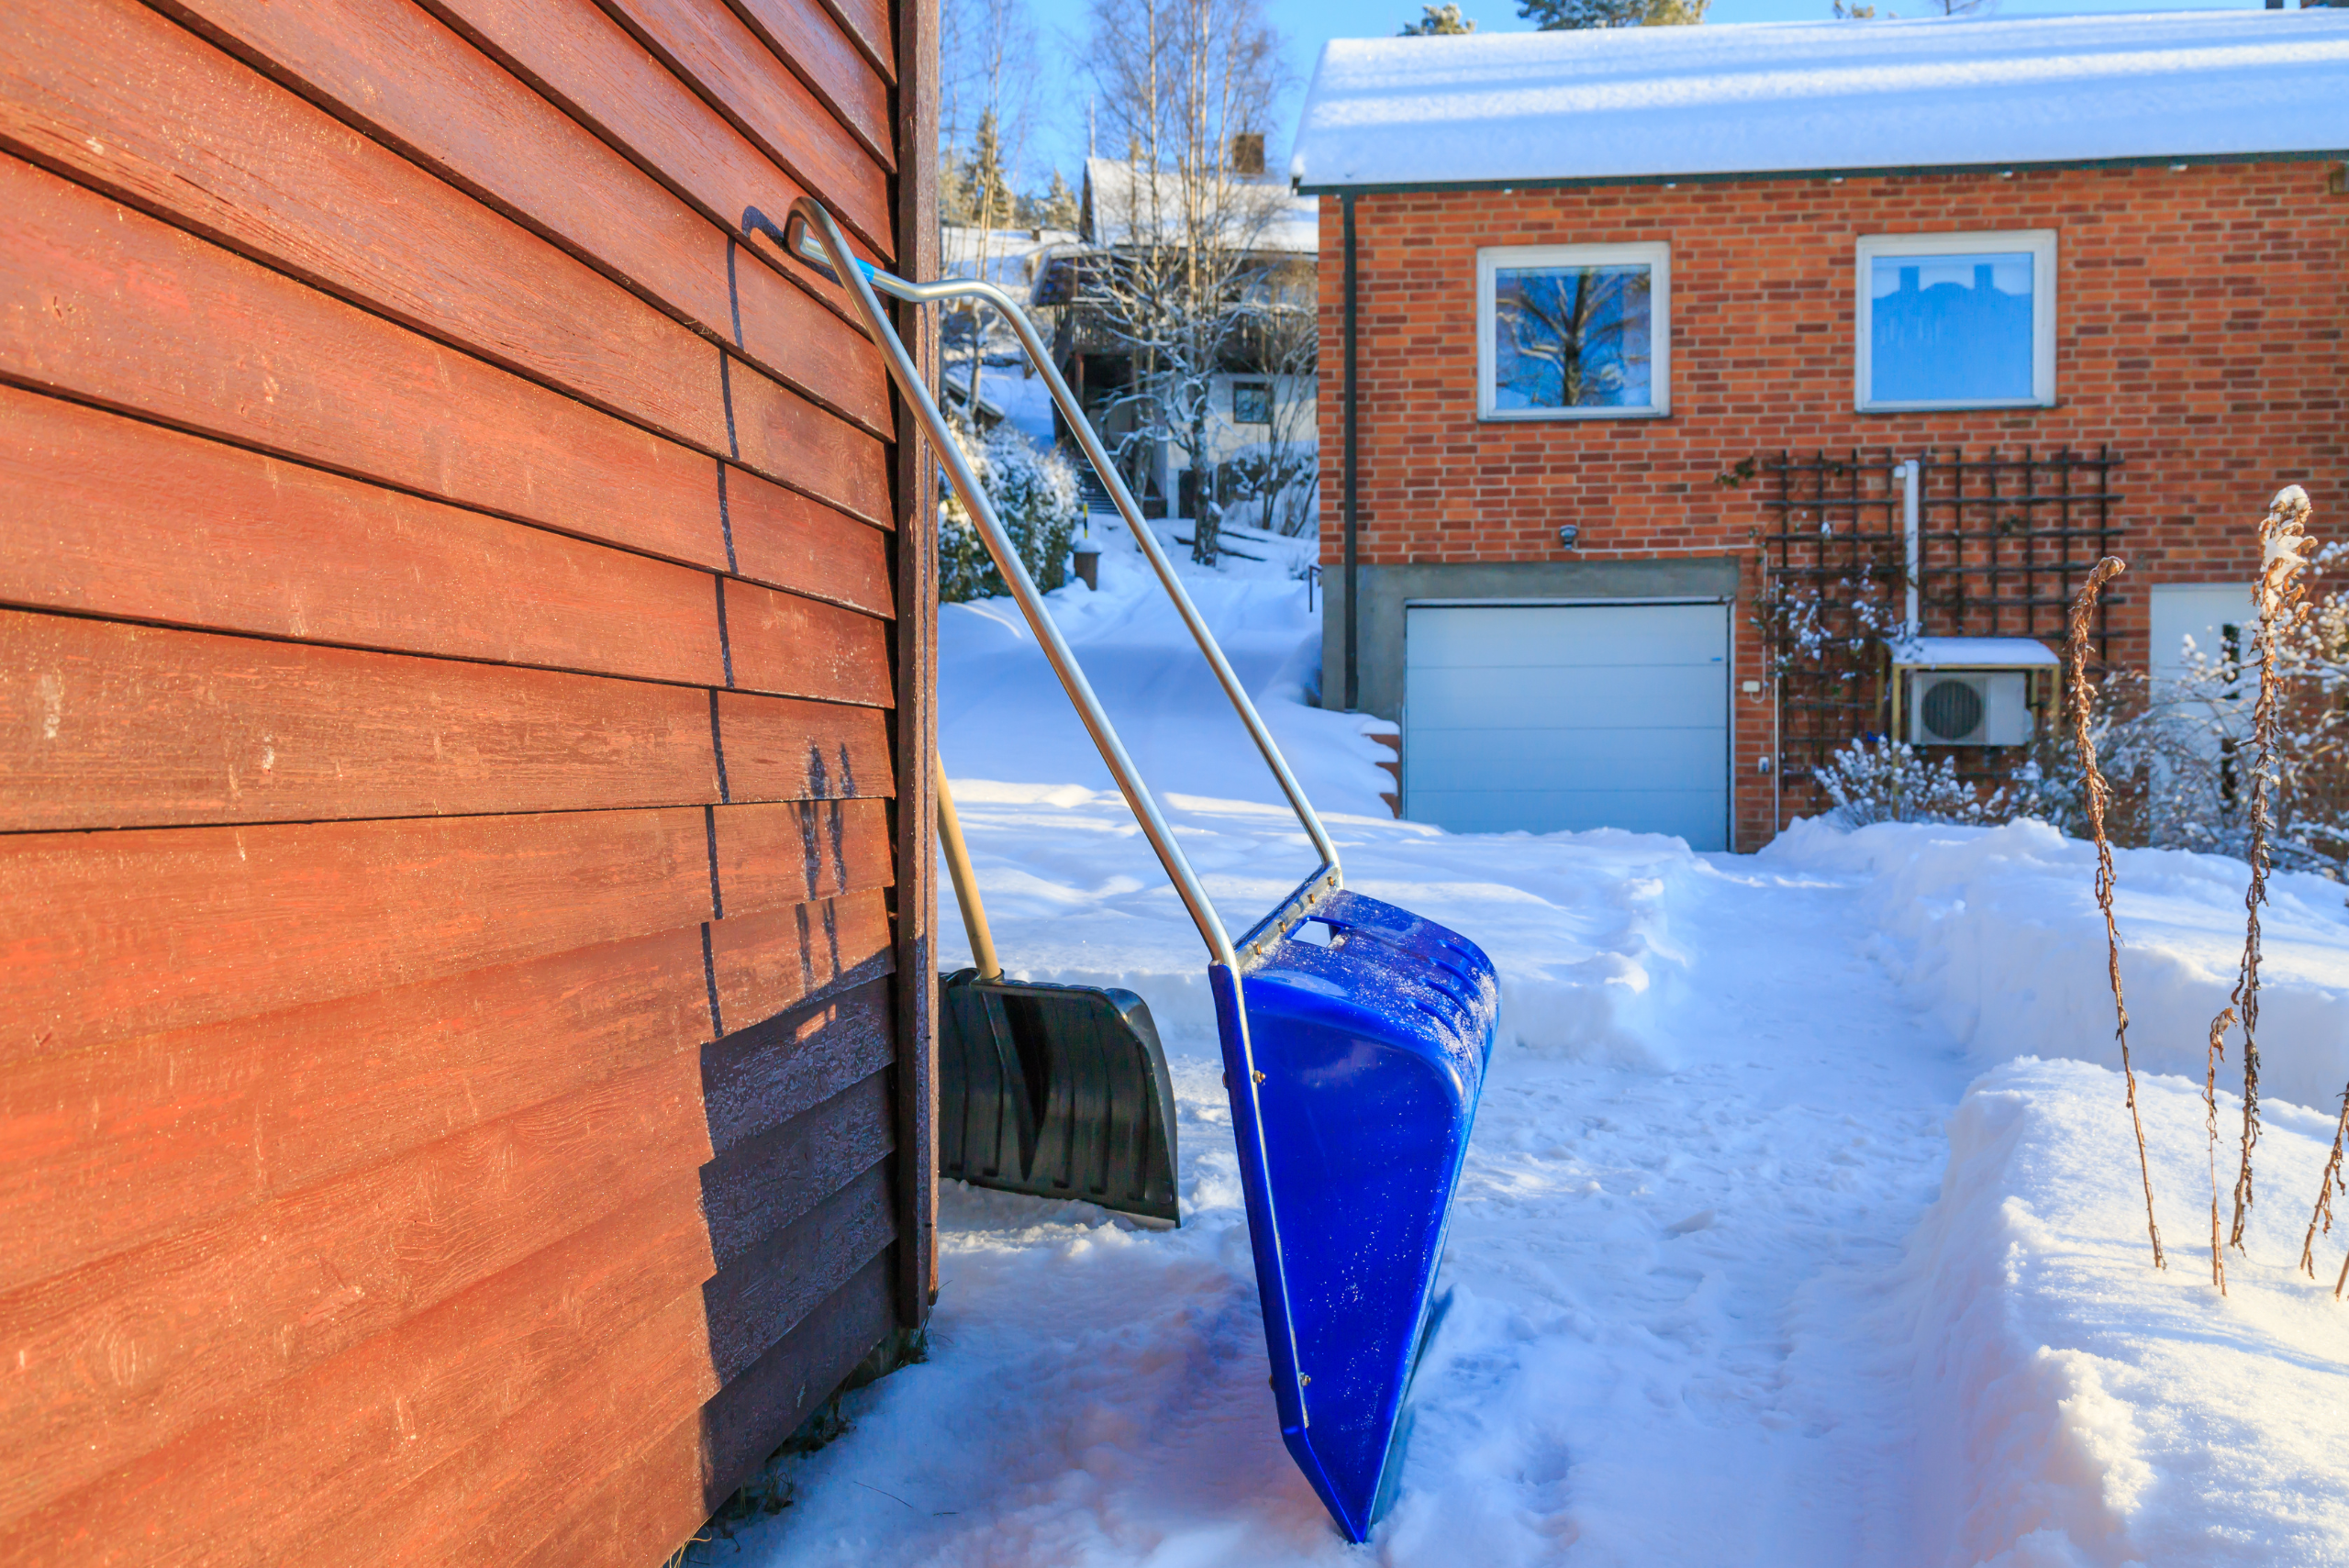
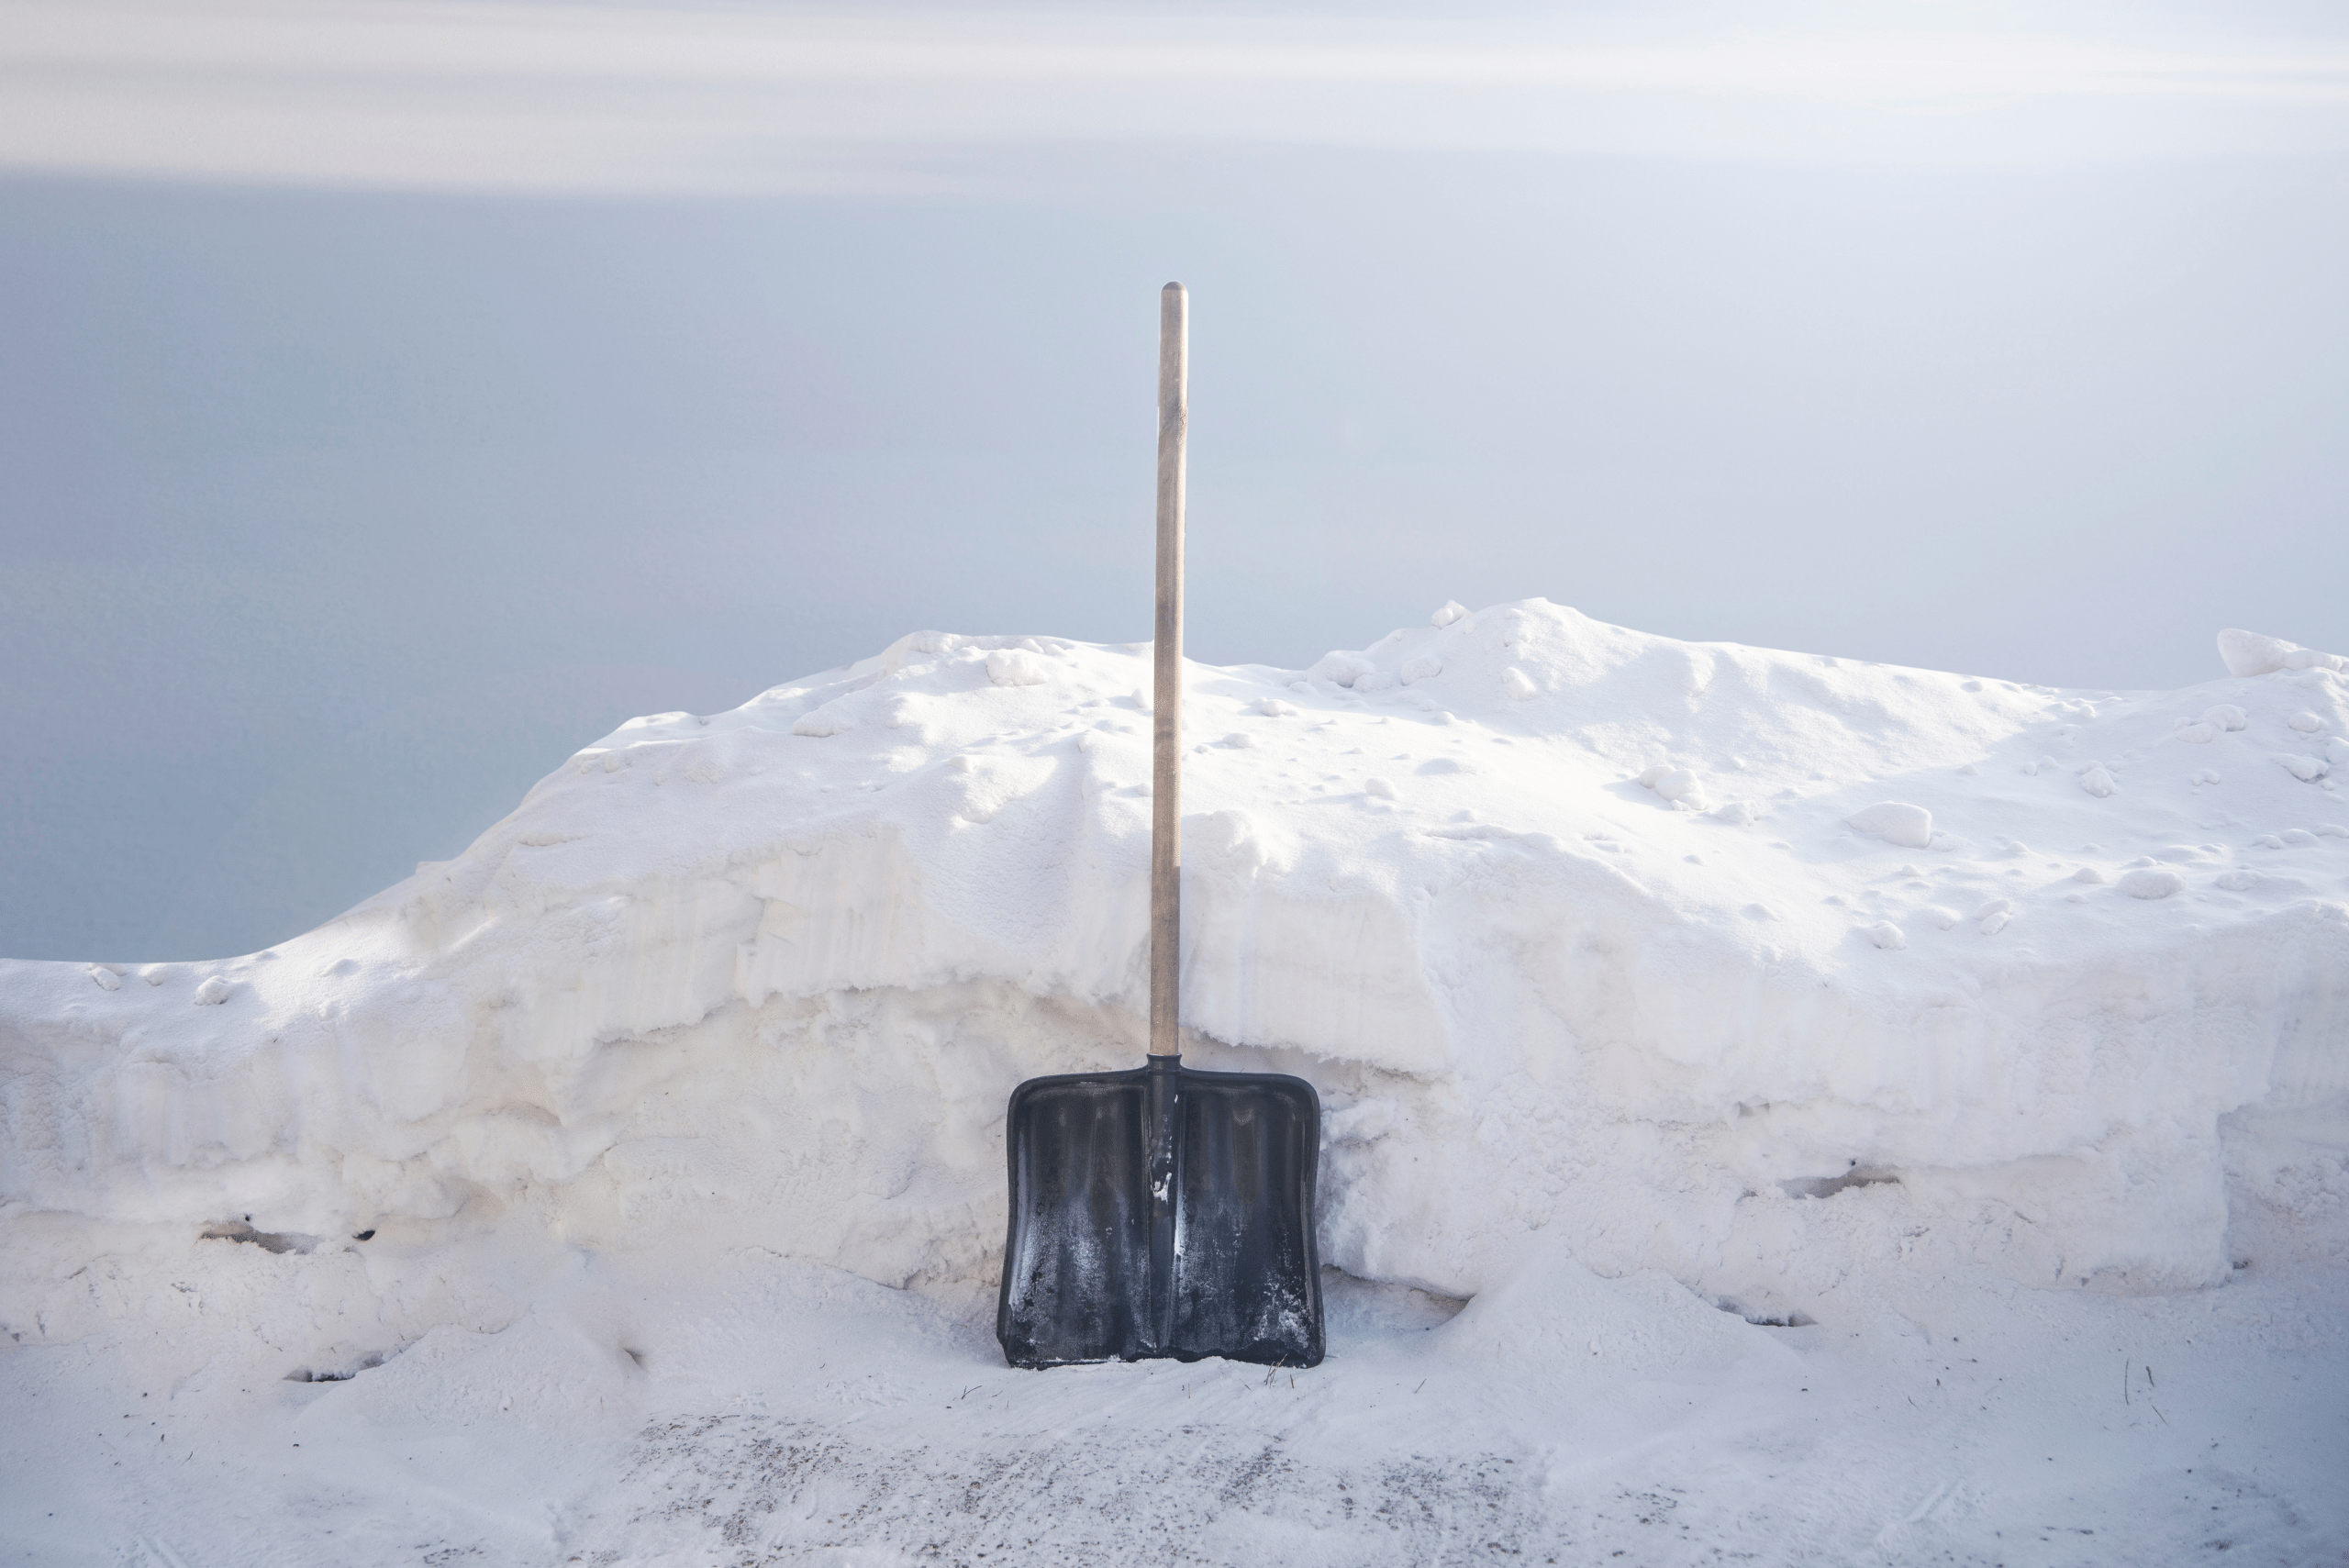
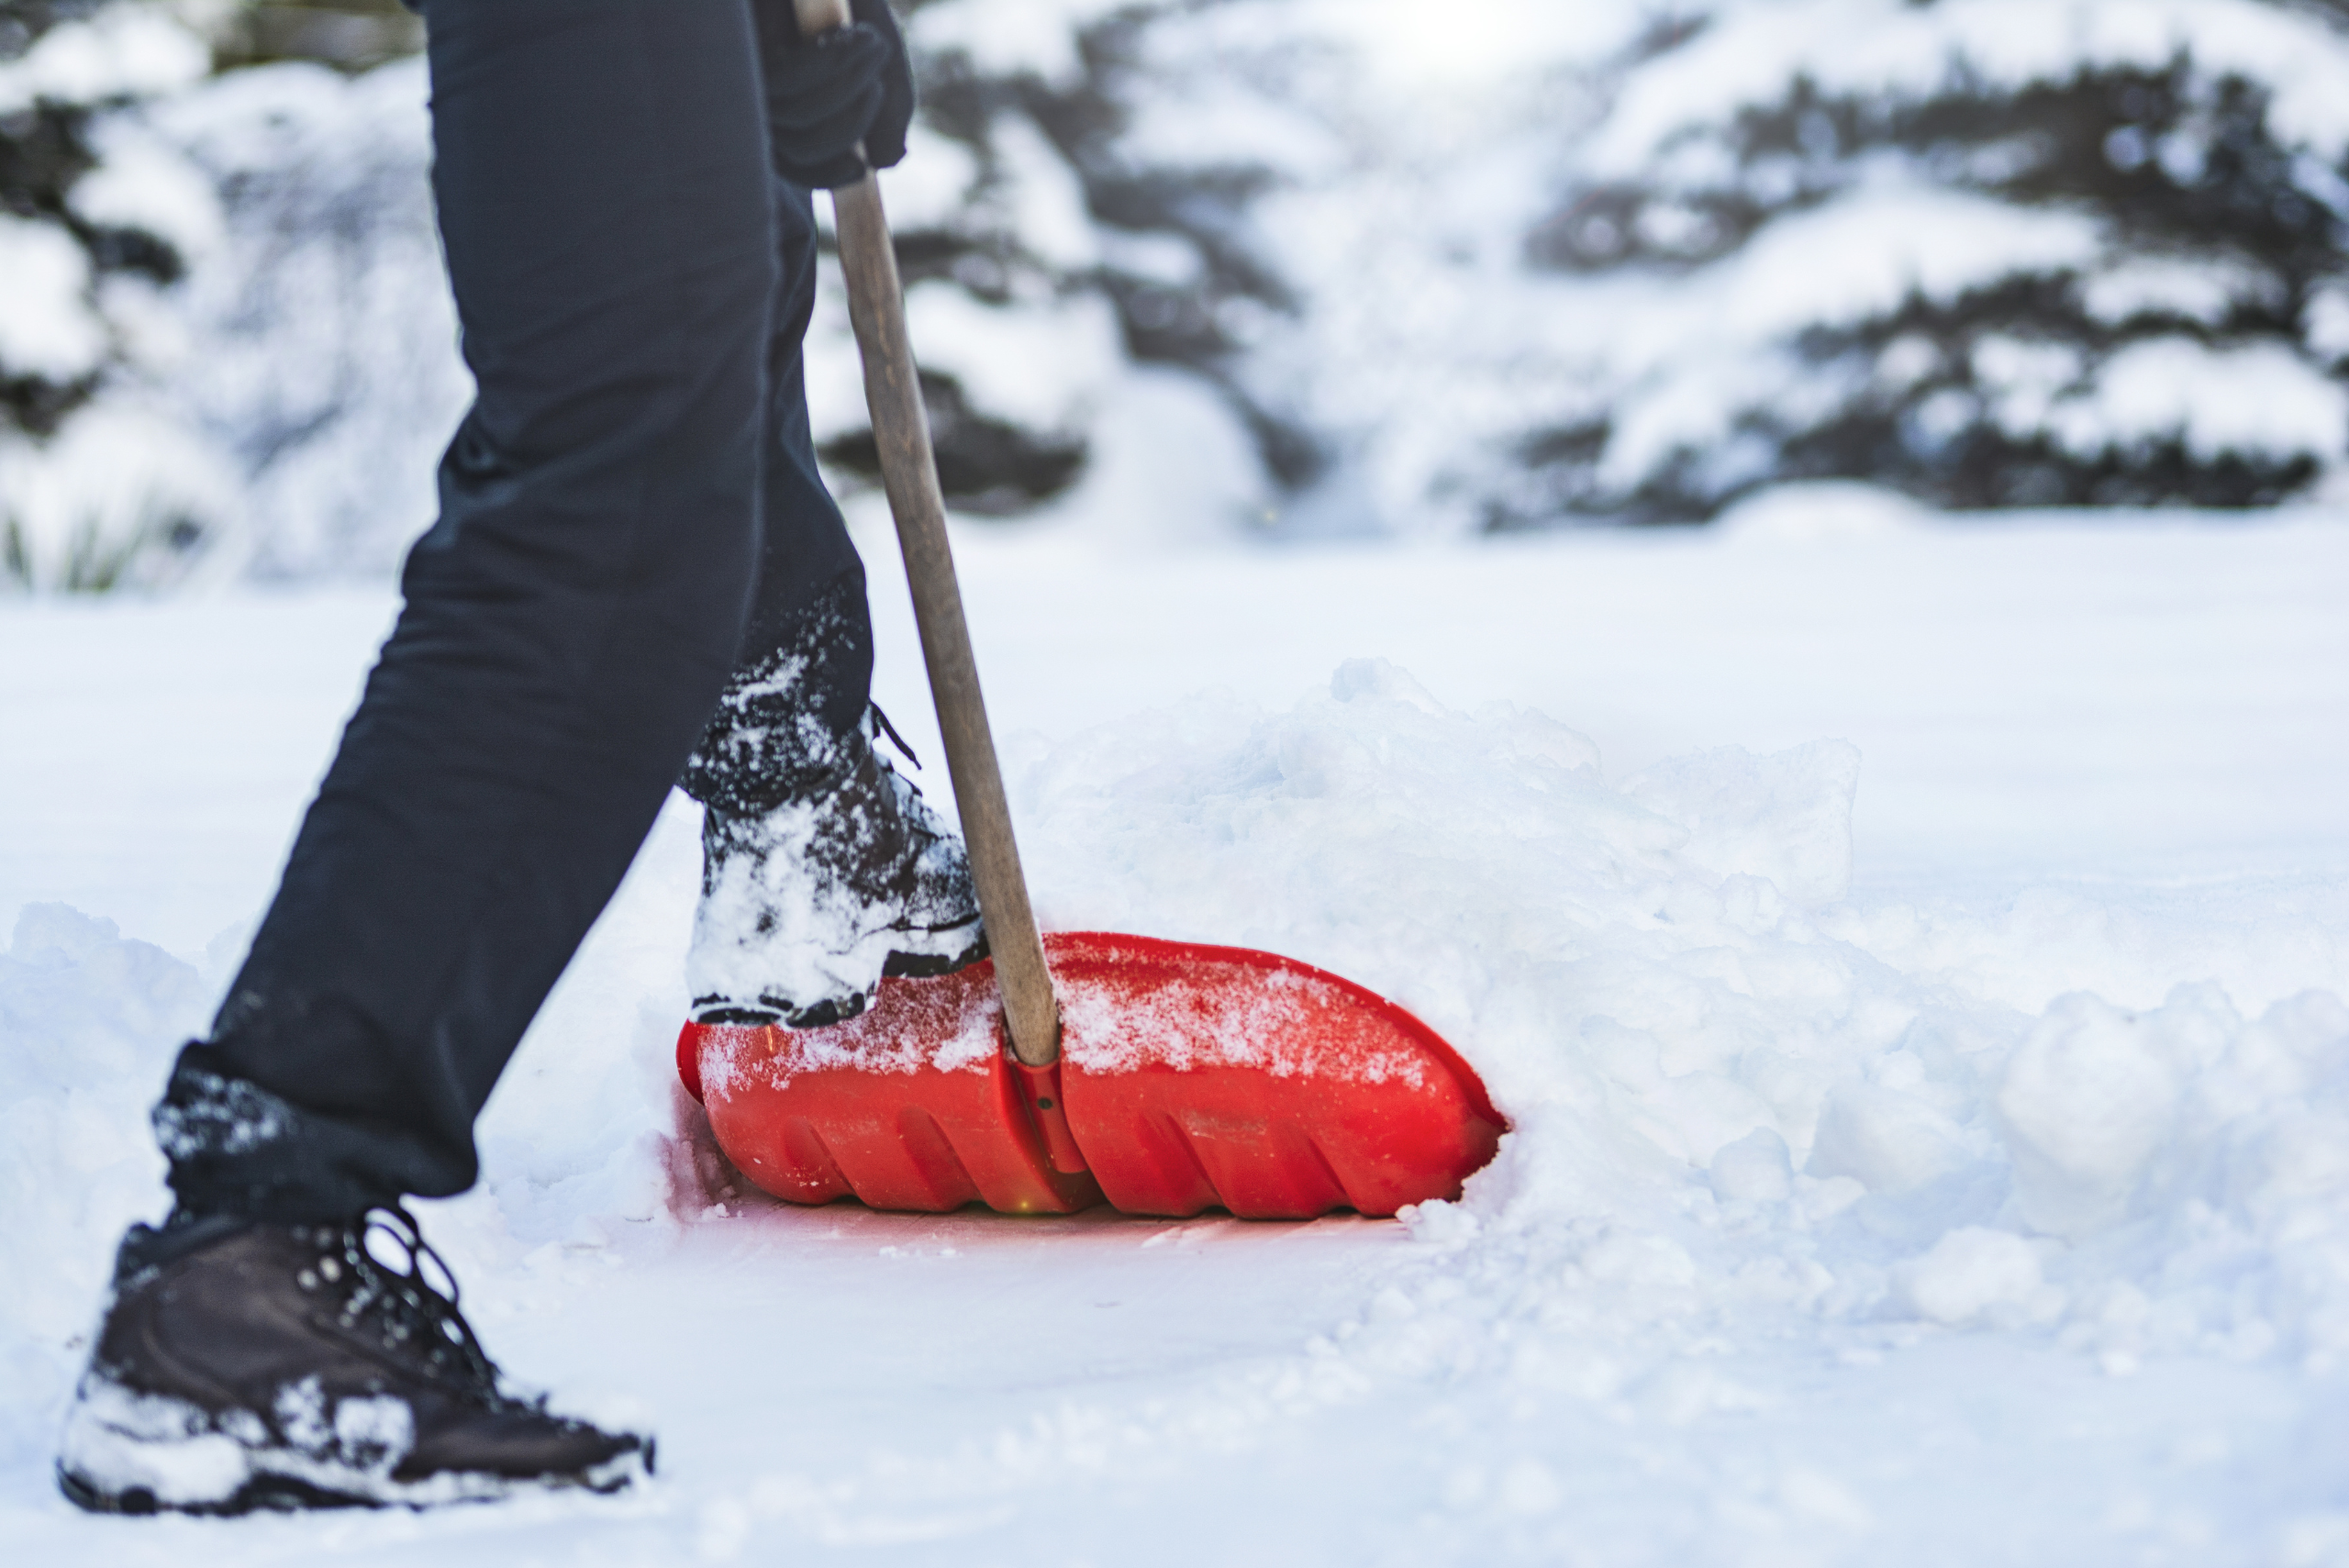
Before the snow starts piling up, it’s crucial to have the right tools at your disposal. Invest in a sturdy snow shovel with an ergonomic handle to reduce strain on your back. Consider adding a snow pusher to your collection for clearing large, flat areas quickly and efficiently.
Don’t forget about ice scrapers, roof rakes, and salt or sand spreaders. Having these tools ready and easily accessible will save you time and frustration when the flurries start to fly. Remember, preparation is key to tackling winter’s worst with ease.
1. Spray and Pray: Prevent Snow Buildup with DIY Anti-Stick Solutions
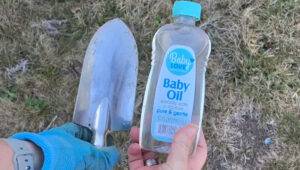
One of the most frustrating aspects of snow removal is dealing with snow that sticks to your shovel or snowblower. Combat this issue by creating a simple anti-stick spray using household items. Mix equal parts vegetable oil and rubbing alcohol in a spray bottle and apply it to your snow removal tools before use.
Alternatively, you can use cooking spray or car wax to achieve a similar effect. These DIY solutions will help snow slide right off your equipment, making the clearing process much faster and less strenuous. Say goodbye to constantly stopping to scrape off stubborn snow!
2. Melt It Away: Homemade De-Icing Solutions for Walkways and Driveways
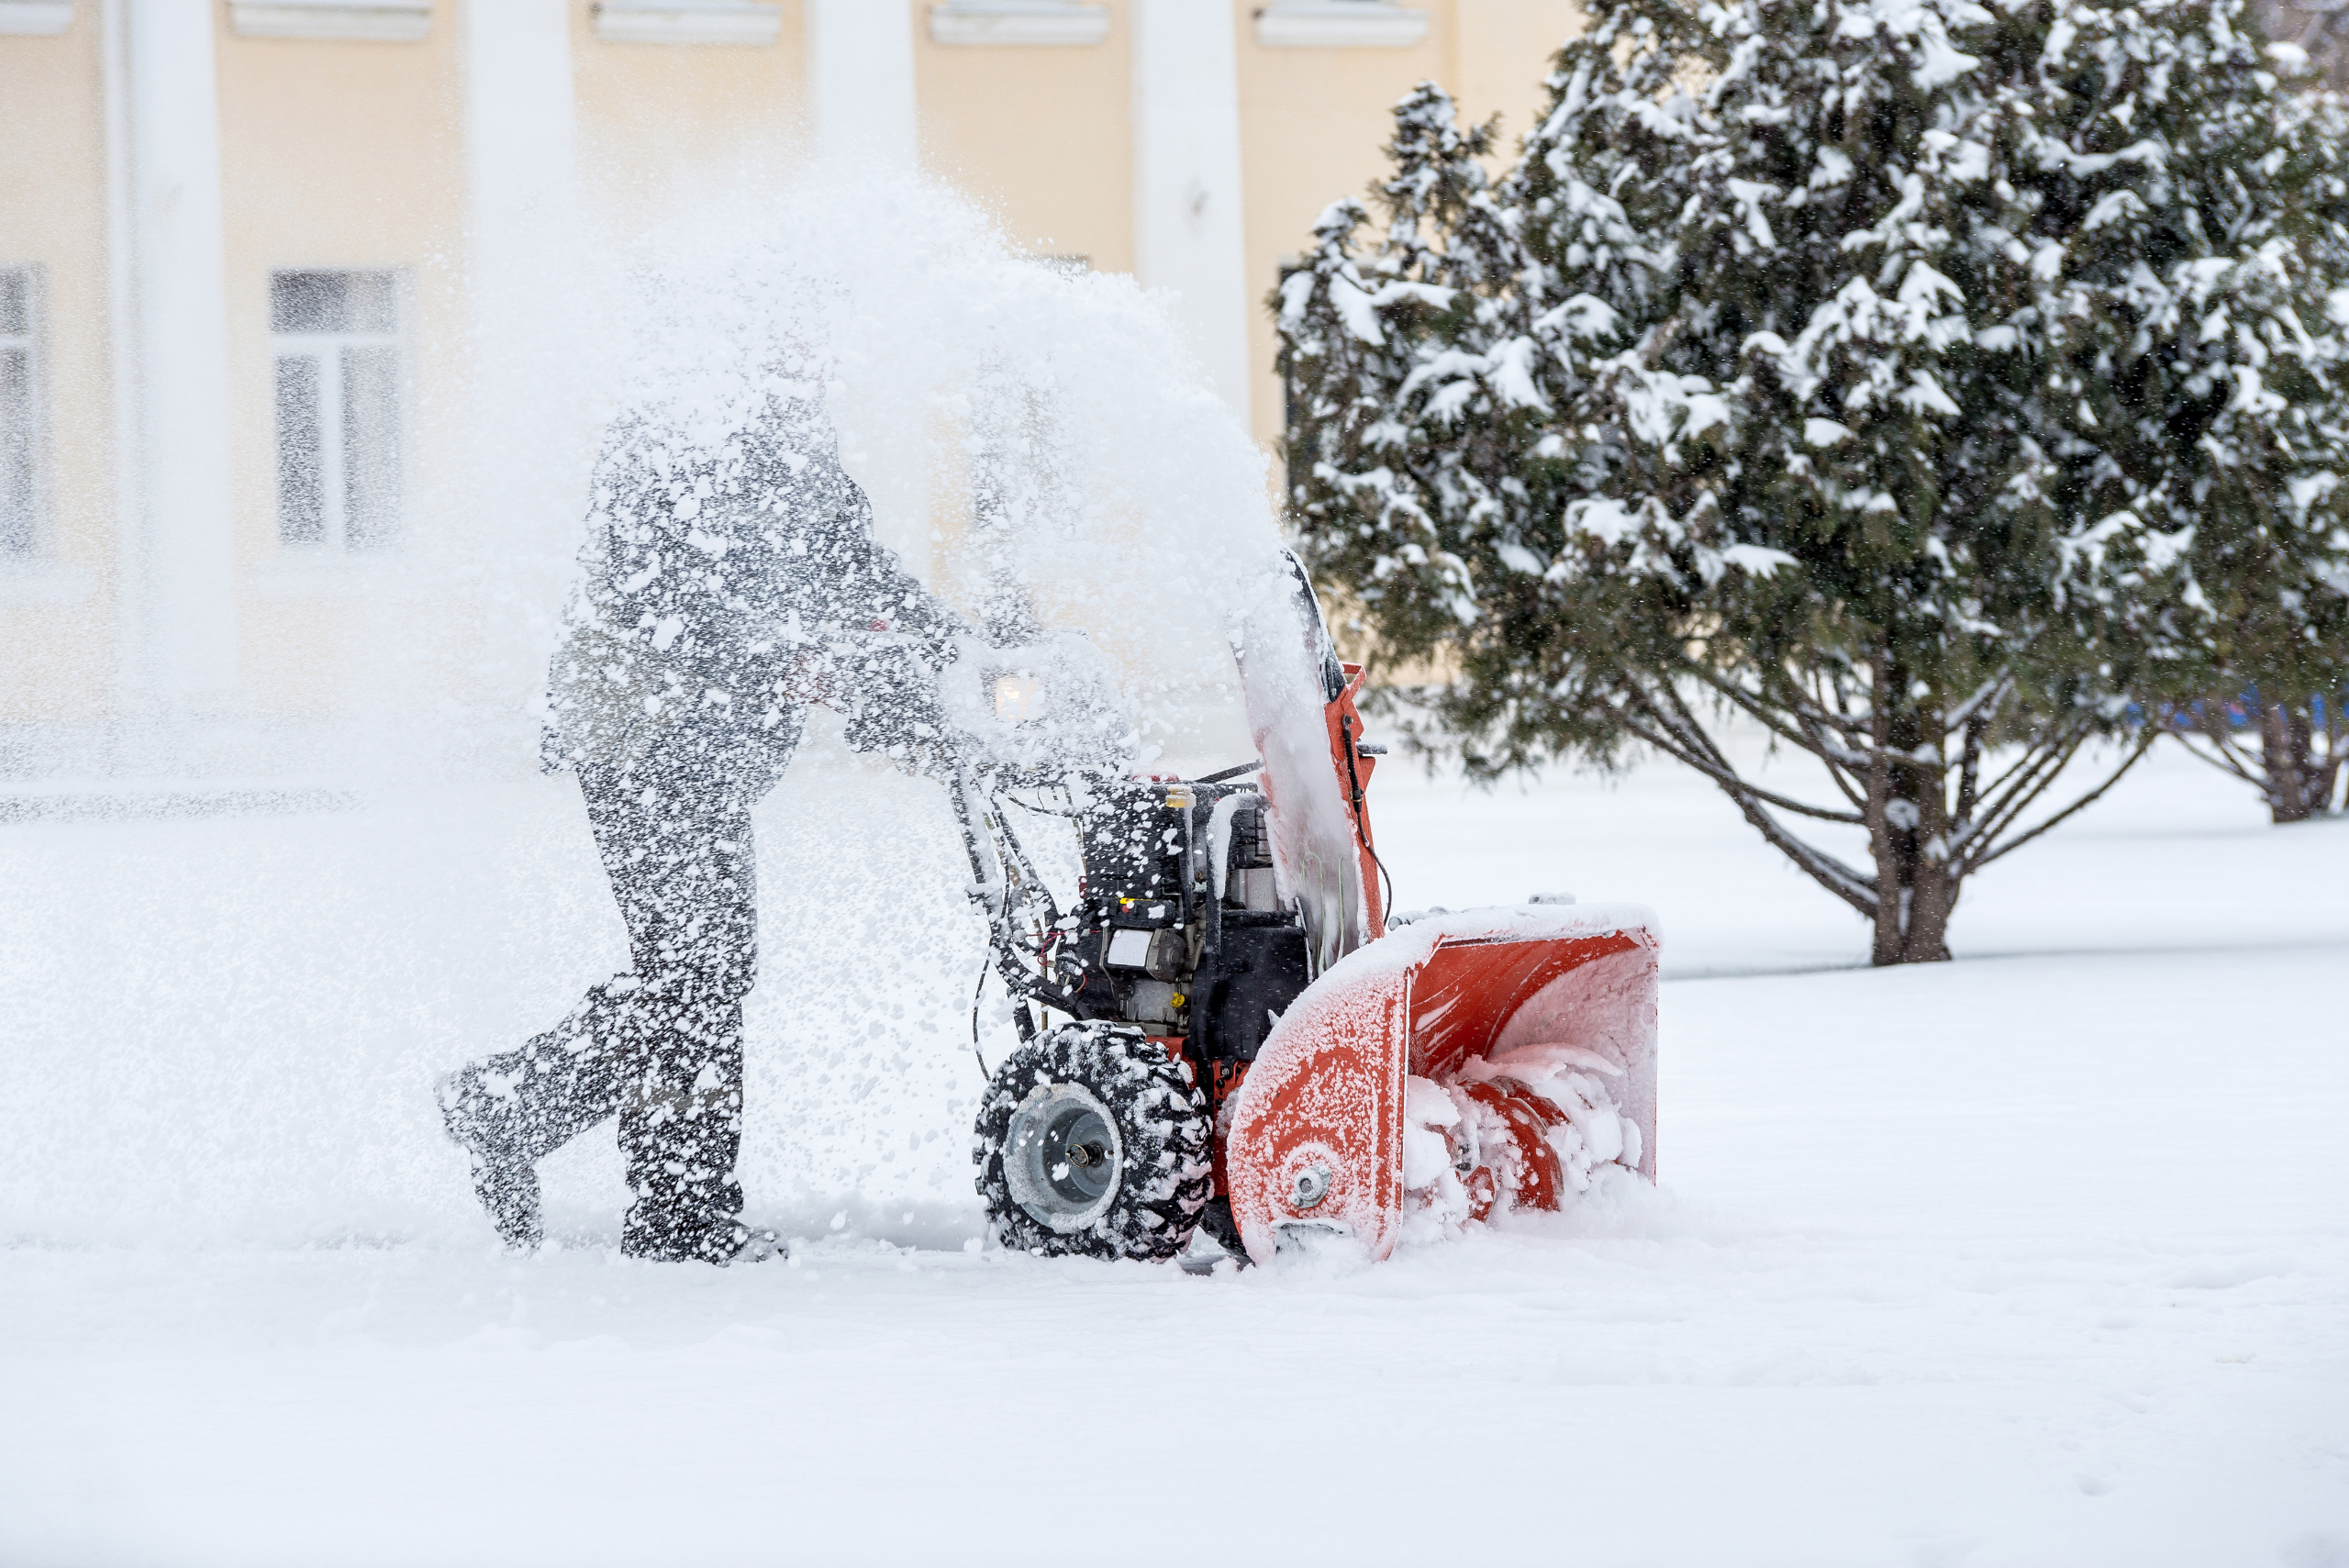
While store-bought rock salt is effective, it can be harsh on concrete and harmful to plants. Create your own eco-friendly de-icing solution using common household ingredients. Mix 1 teaspoon of dish soap, 1 tablespoon of rubbing alcohol, and 1/2 gallon of hot water in a bucket.
Pour this mixture over icy areas to melt snow and prevent refreezing. For added traction, sprinkle sand or kitty litter on top. This homemade solution is gentler on surfaces and safer for pets’ paws, making it a win-win for both you and the environment.
3. Cover Up: DIY Snow Covers to Minimize Accumulation on Cars
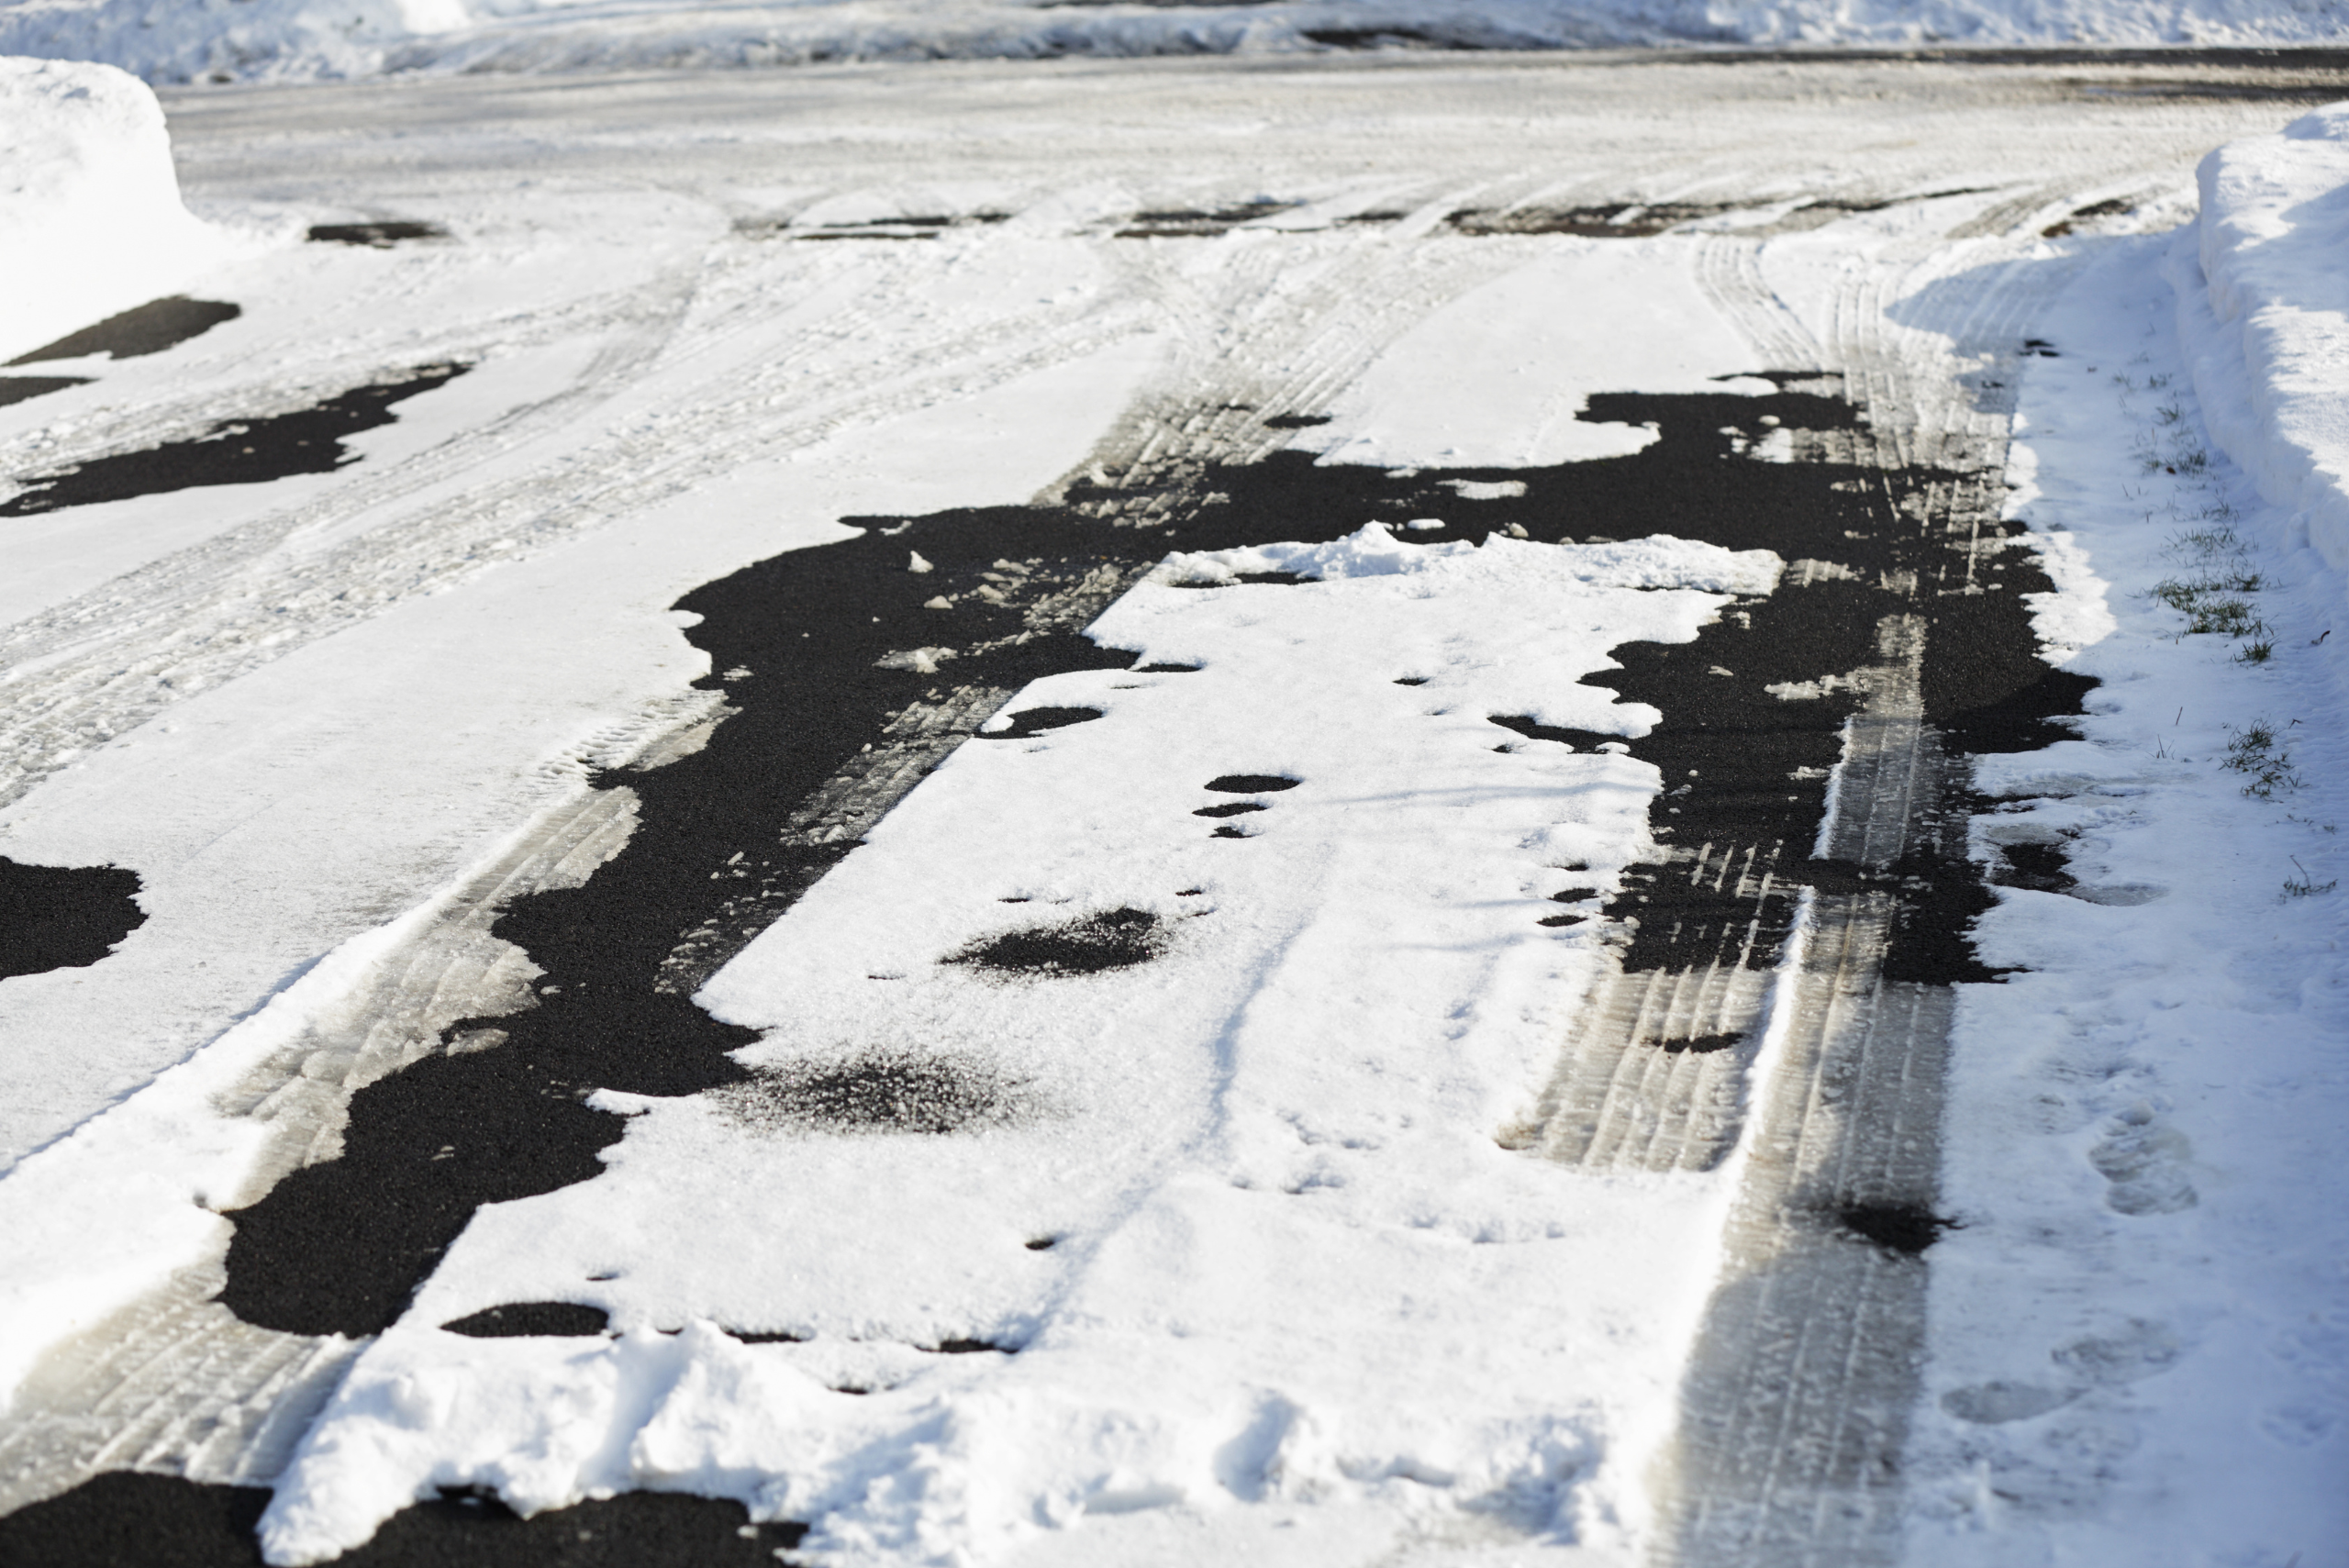
Tired of spending precious morning time scraping ice off your windshield? Create a simple DIY car cover using a tarp or old bed sheet. Secure it over your car’s windshield and side mirrors the night before a snowstorm to prevent ice and snow buildup.
For a more permanent solution, consider building a carport or installing a retractable awning. These DIY projects not only protect your vehicle from snow but also provide shade during the summer months. With a little preparation, you can say goodbye to frosty mornings and hello to stress-free commutes.
4. Divide and Conquer: Efficient Snow Removal Techniques for Large Areas
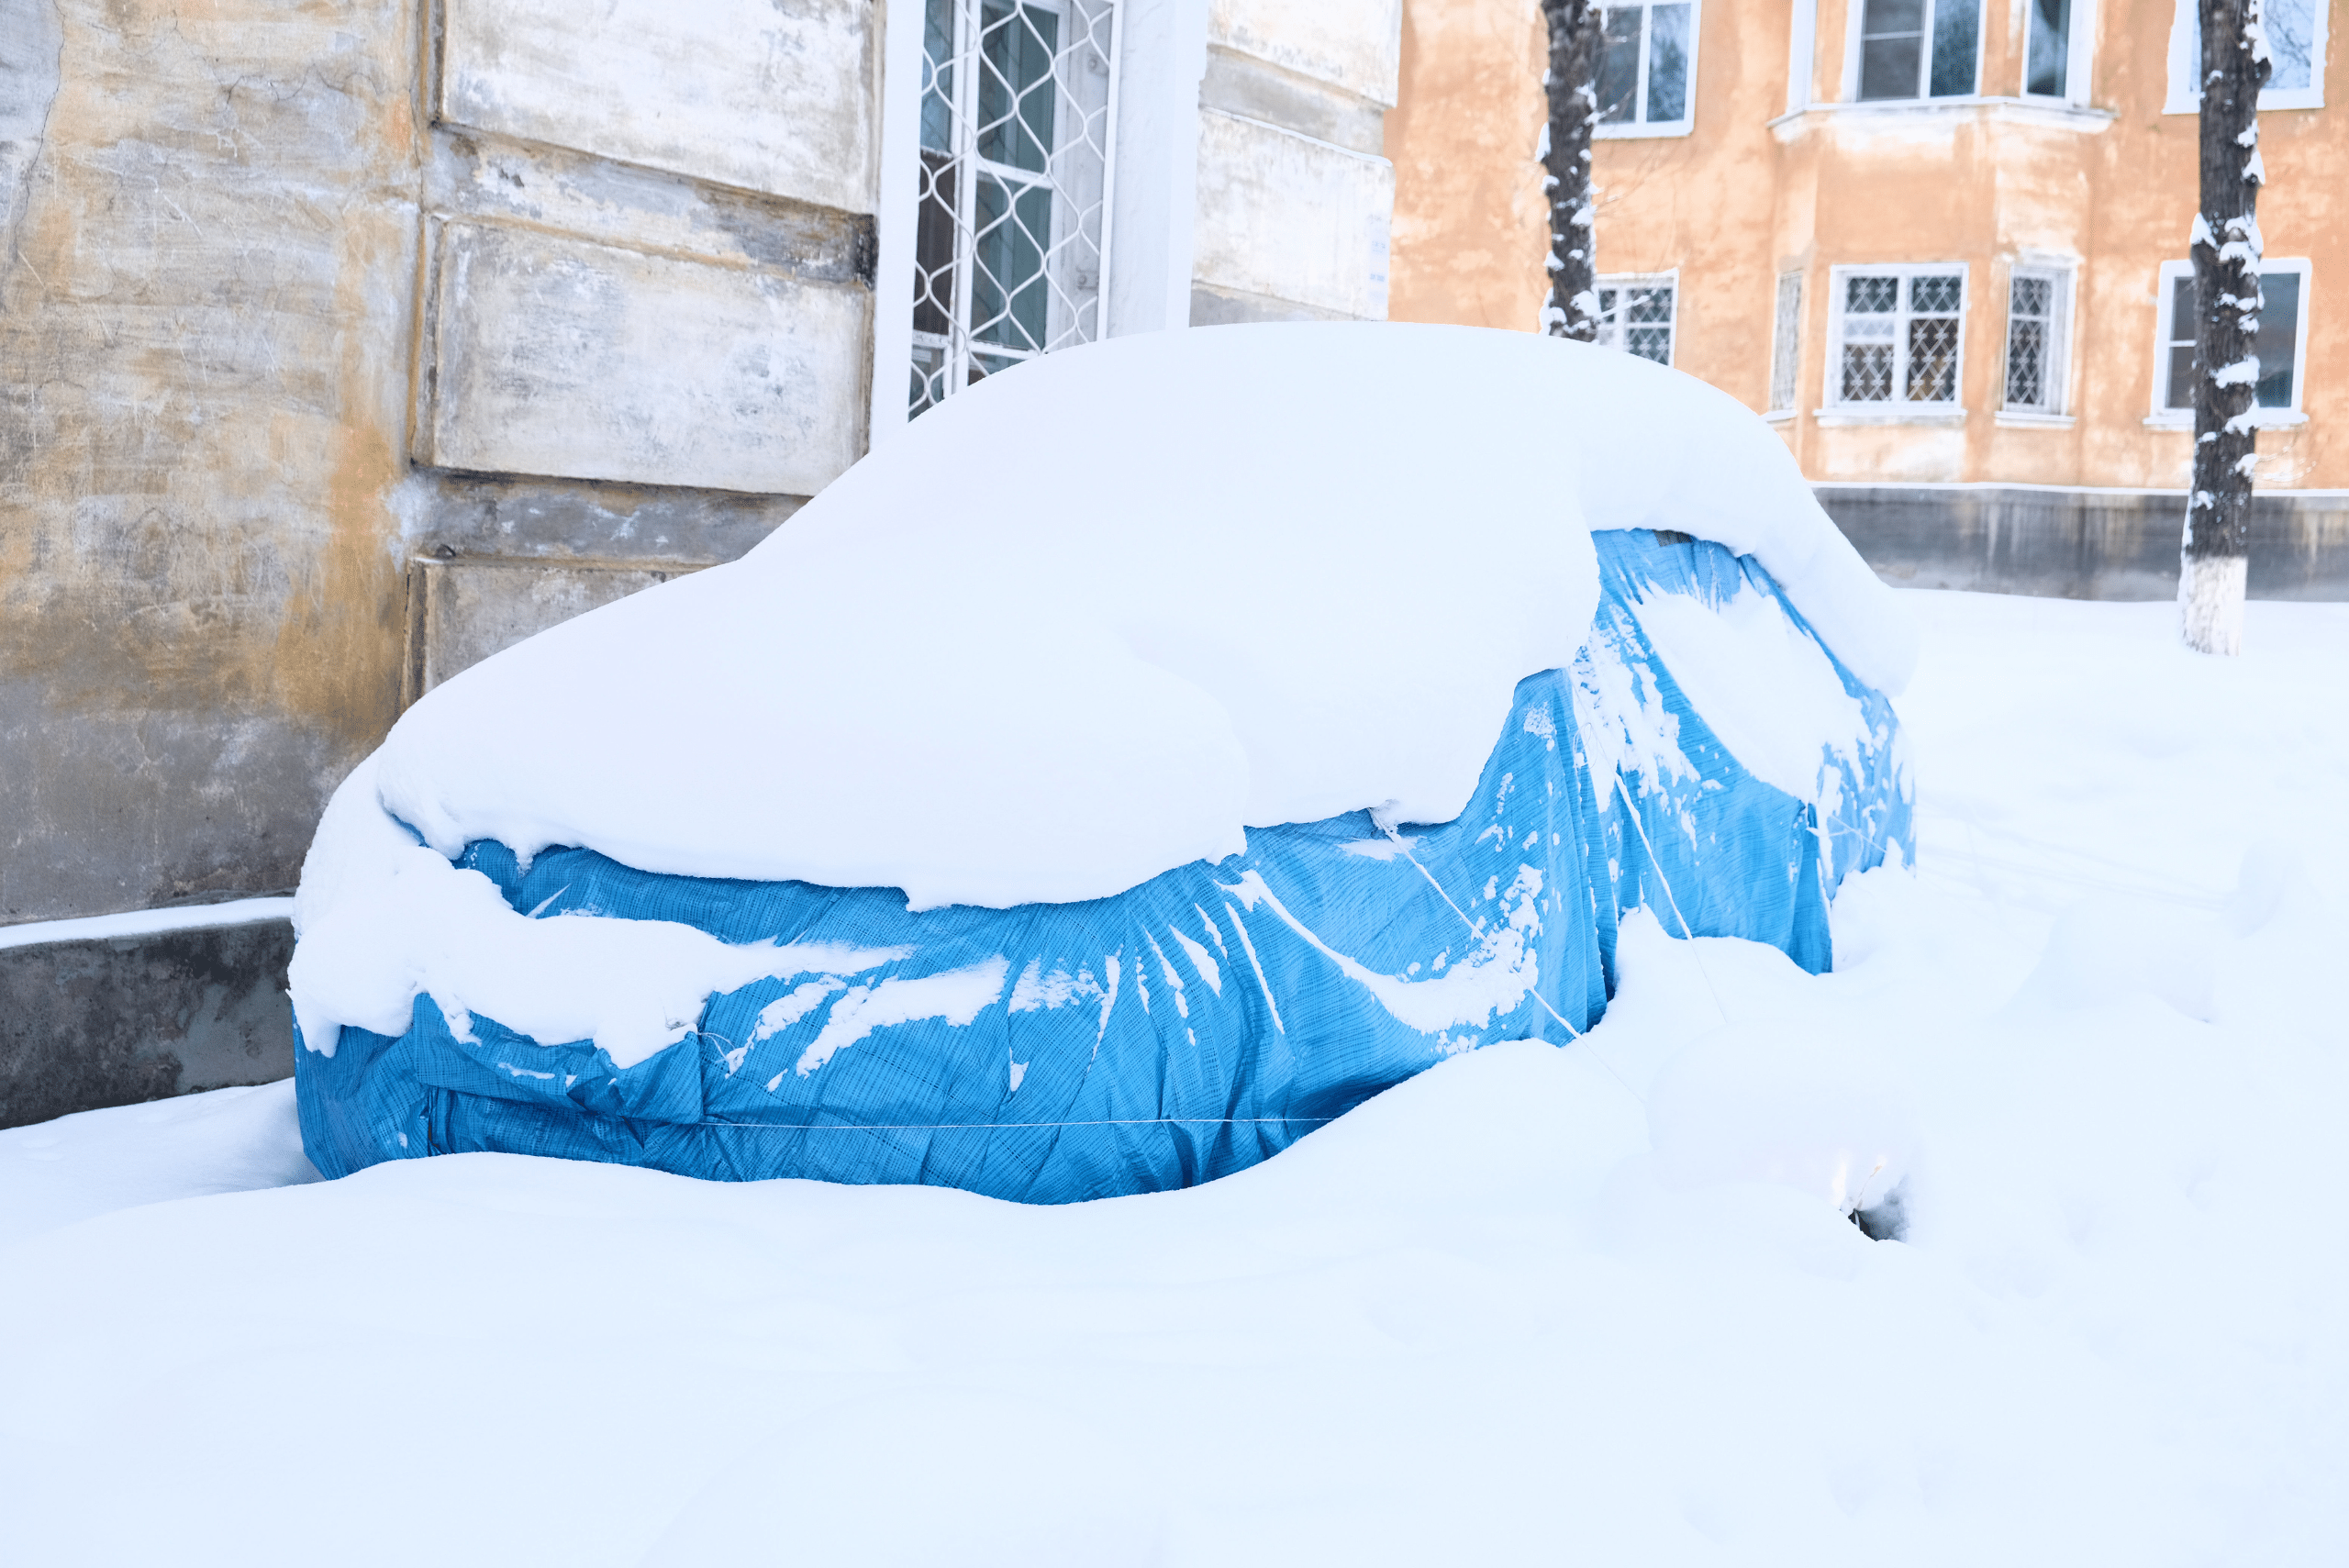
When faced with a large area to clear, it’s essential to have a game plan. Start by dividing the space into manageable sections, working from the center outward. This method prevents you from having to move the same snow multiple times and helps distribute the workload evenly.
For long driveways, consider creating snow fences using stakes and plastic sheeting to redirect drifting snow. This simple DIY solution can significantly reduce snow accumulation in high-traffic areas, making clearing efforts more efficient and less time-consuming.
5. Leverage Technology: Smart Home Solutions for Automated Snow Removal
Embrace the power of technology to make snow removal easier than ever. Install heated driveway mats or a snow-melting system beneath your driveway surface. While these options require an initial investment, they can save you time and effort in the long run.
For a more budget-friendly approach, set up smart outdoor lighting with motion sensors. This will illuminate your driveway and walkways automatically, making early-morning or late-night snow clearing safer and more convenient. Pair this with a weather station to receive alerts when snow is on the way.

6. Think Outside the Box: Repurpose Household Items for Snow Removal
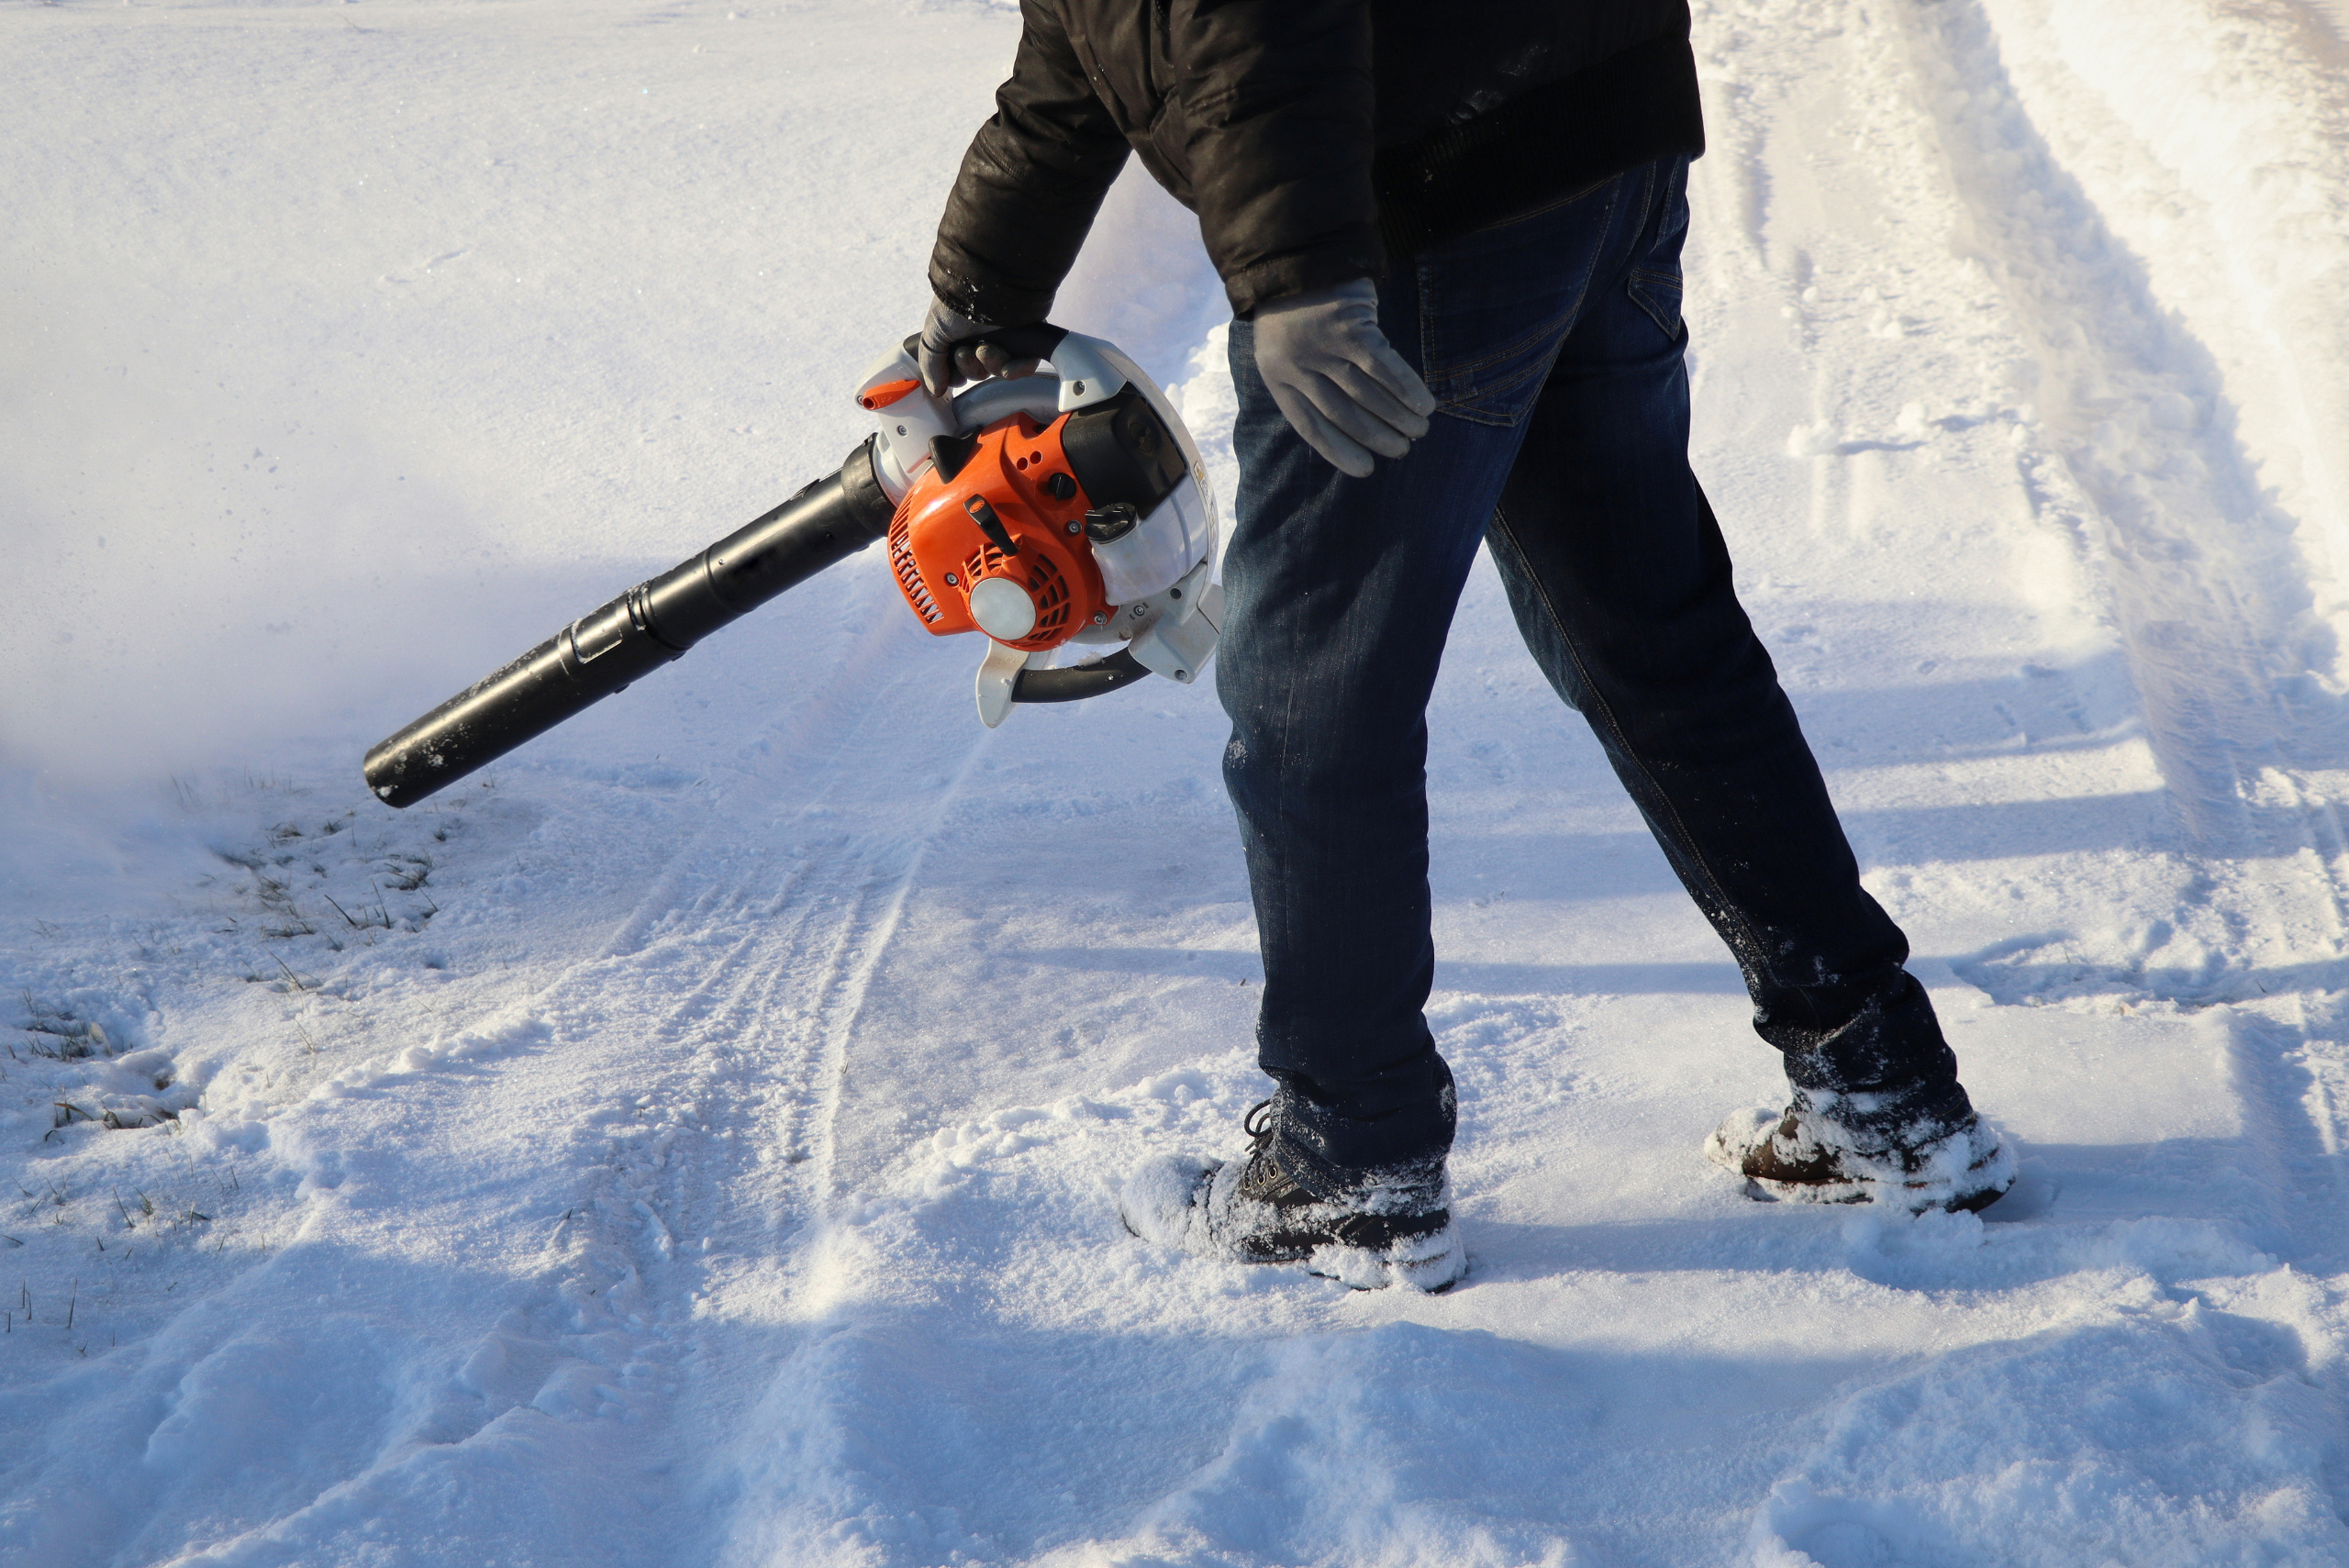
Get creative with items you already have around the house to tackle snow removal. Use a leaf blower to clear light, powdery snow from steps and walkways. Repurpose an old push broom to sweep away thin layers of snow quickly and efficiently.
For those hard-to-reach areas, attach a paint roller extension pole to your snow shovel. This DIY hack allows you to clear snow from high places, like the roof of your car or the top of your porch, without overextending yourself or risking injury.
7. Stay Safe: DIY Traction Solutions for Slippery Surfaces
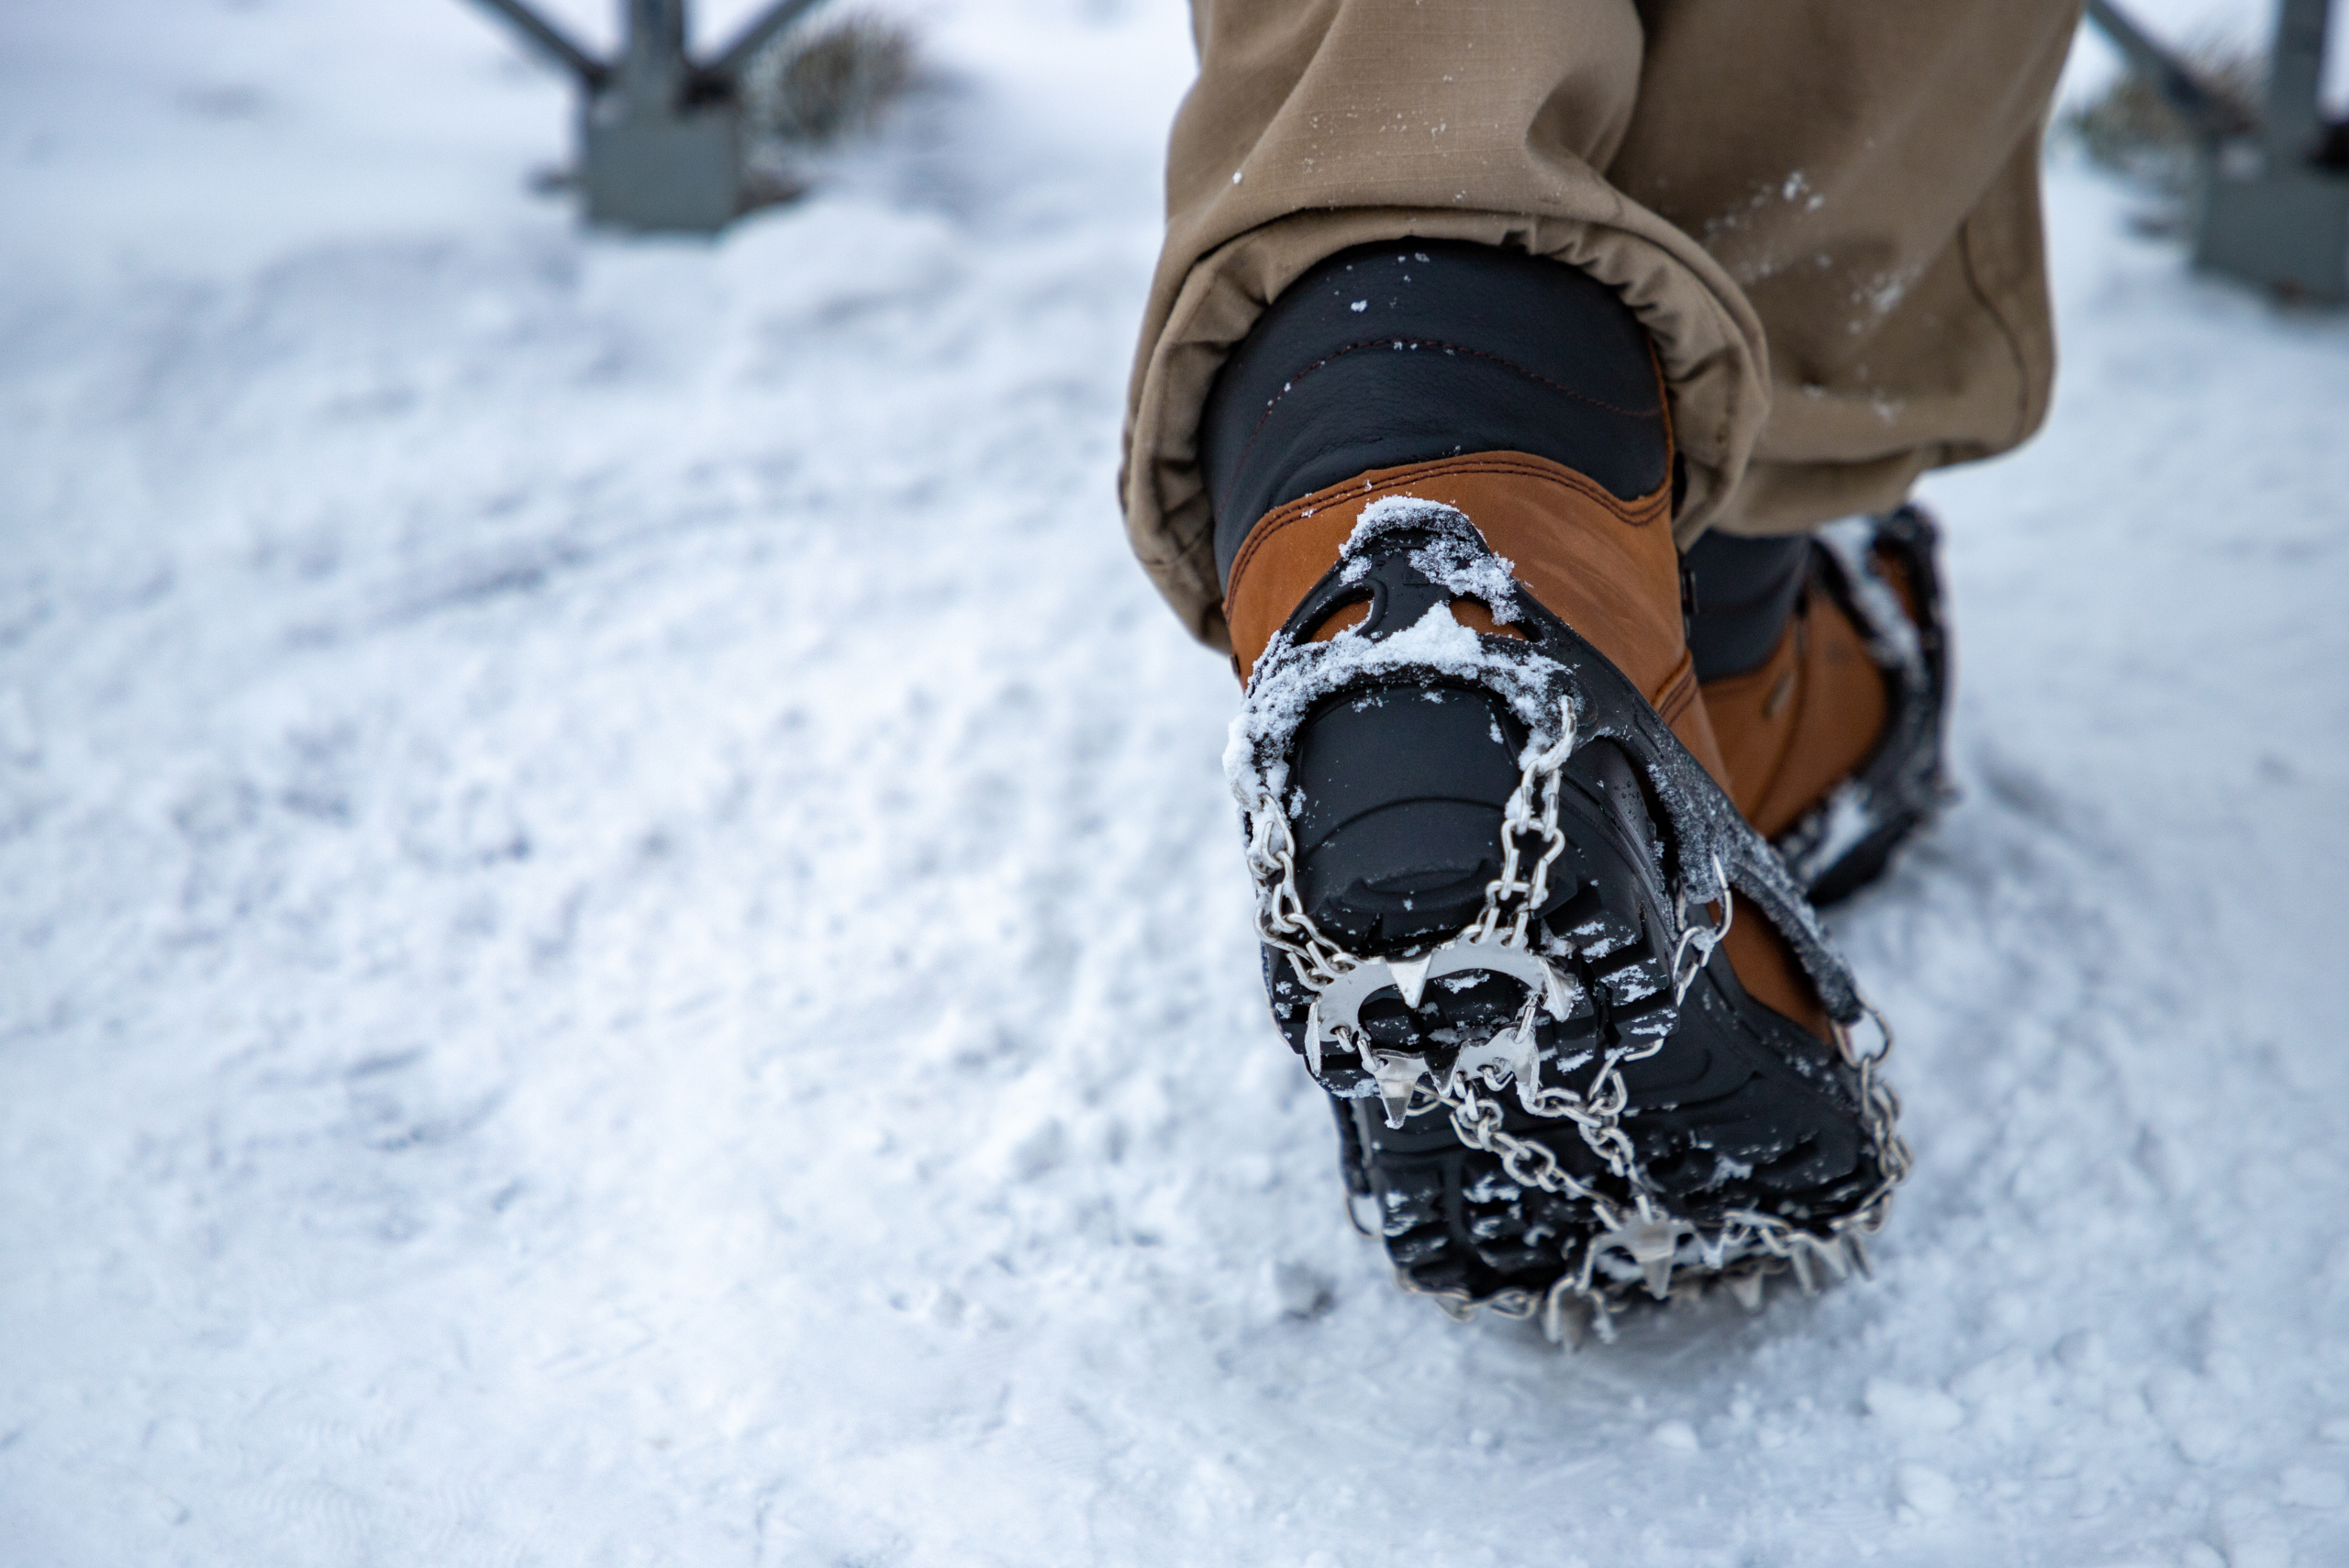
Prevent slips and falls by creating your own traction aids for shoes and boots. Attach zip ties or screws to the soles of old shoes to create makeshift ice cleats. For a quick fix, slip old socks over your shoes to provide extra grip on icy surfaces.
Don’t forget about your vehicle’s traction needs. Keep a bag of kitty litter or sand in your trunk to spread under tires when stuck in snow. You can also create DIY tire chains using rope or zip ties in a pinch, providing extra grip for your wheels in snowy conditions.
8. Protect Your Property: Prevent Ice Dams and Roof Damage
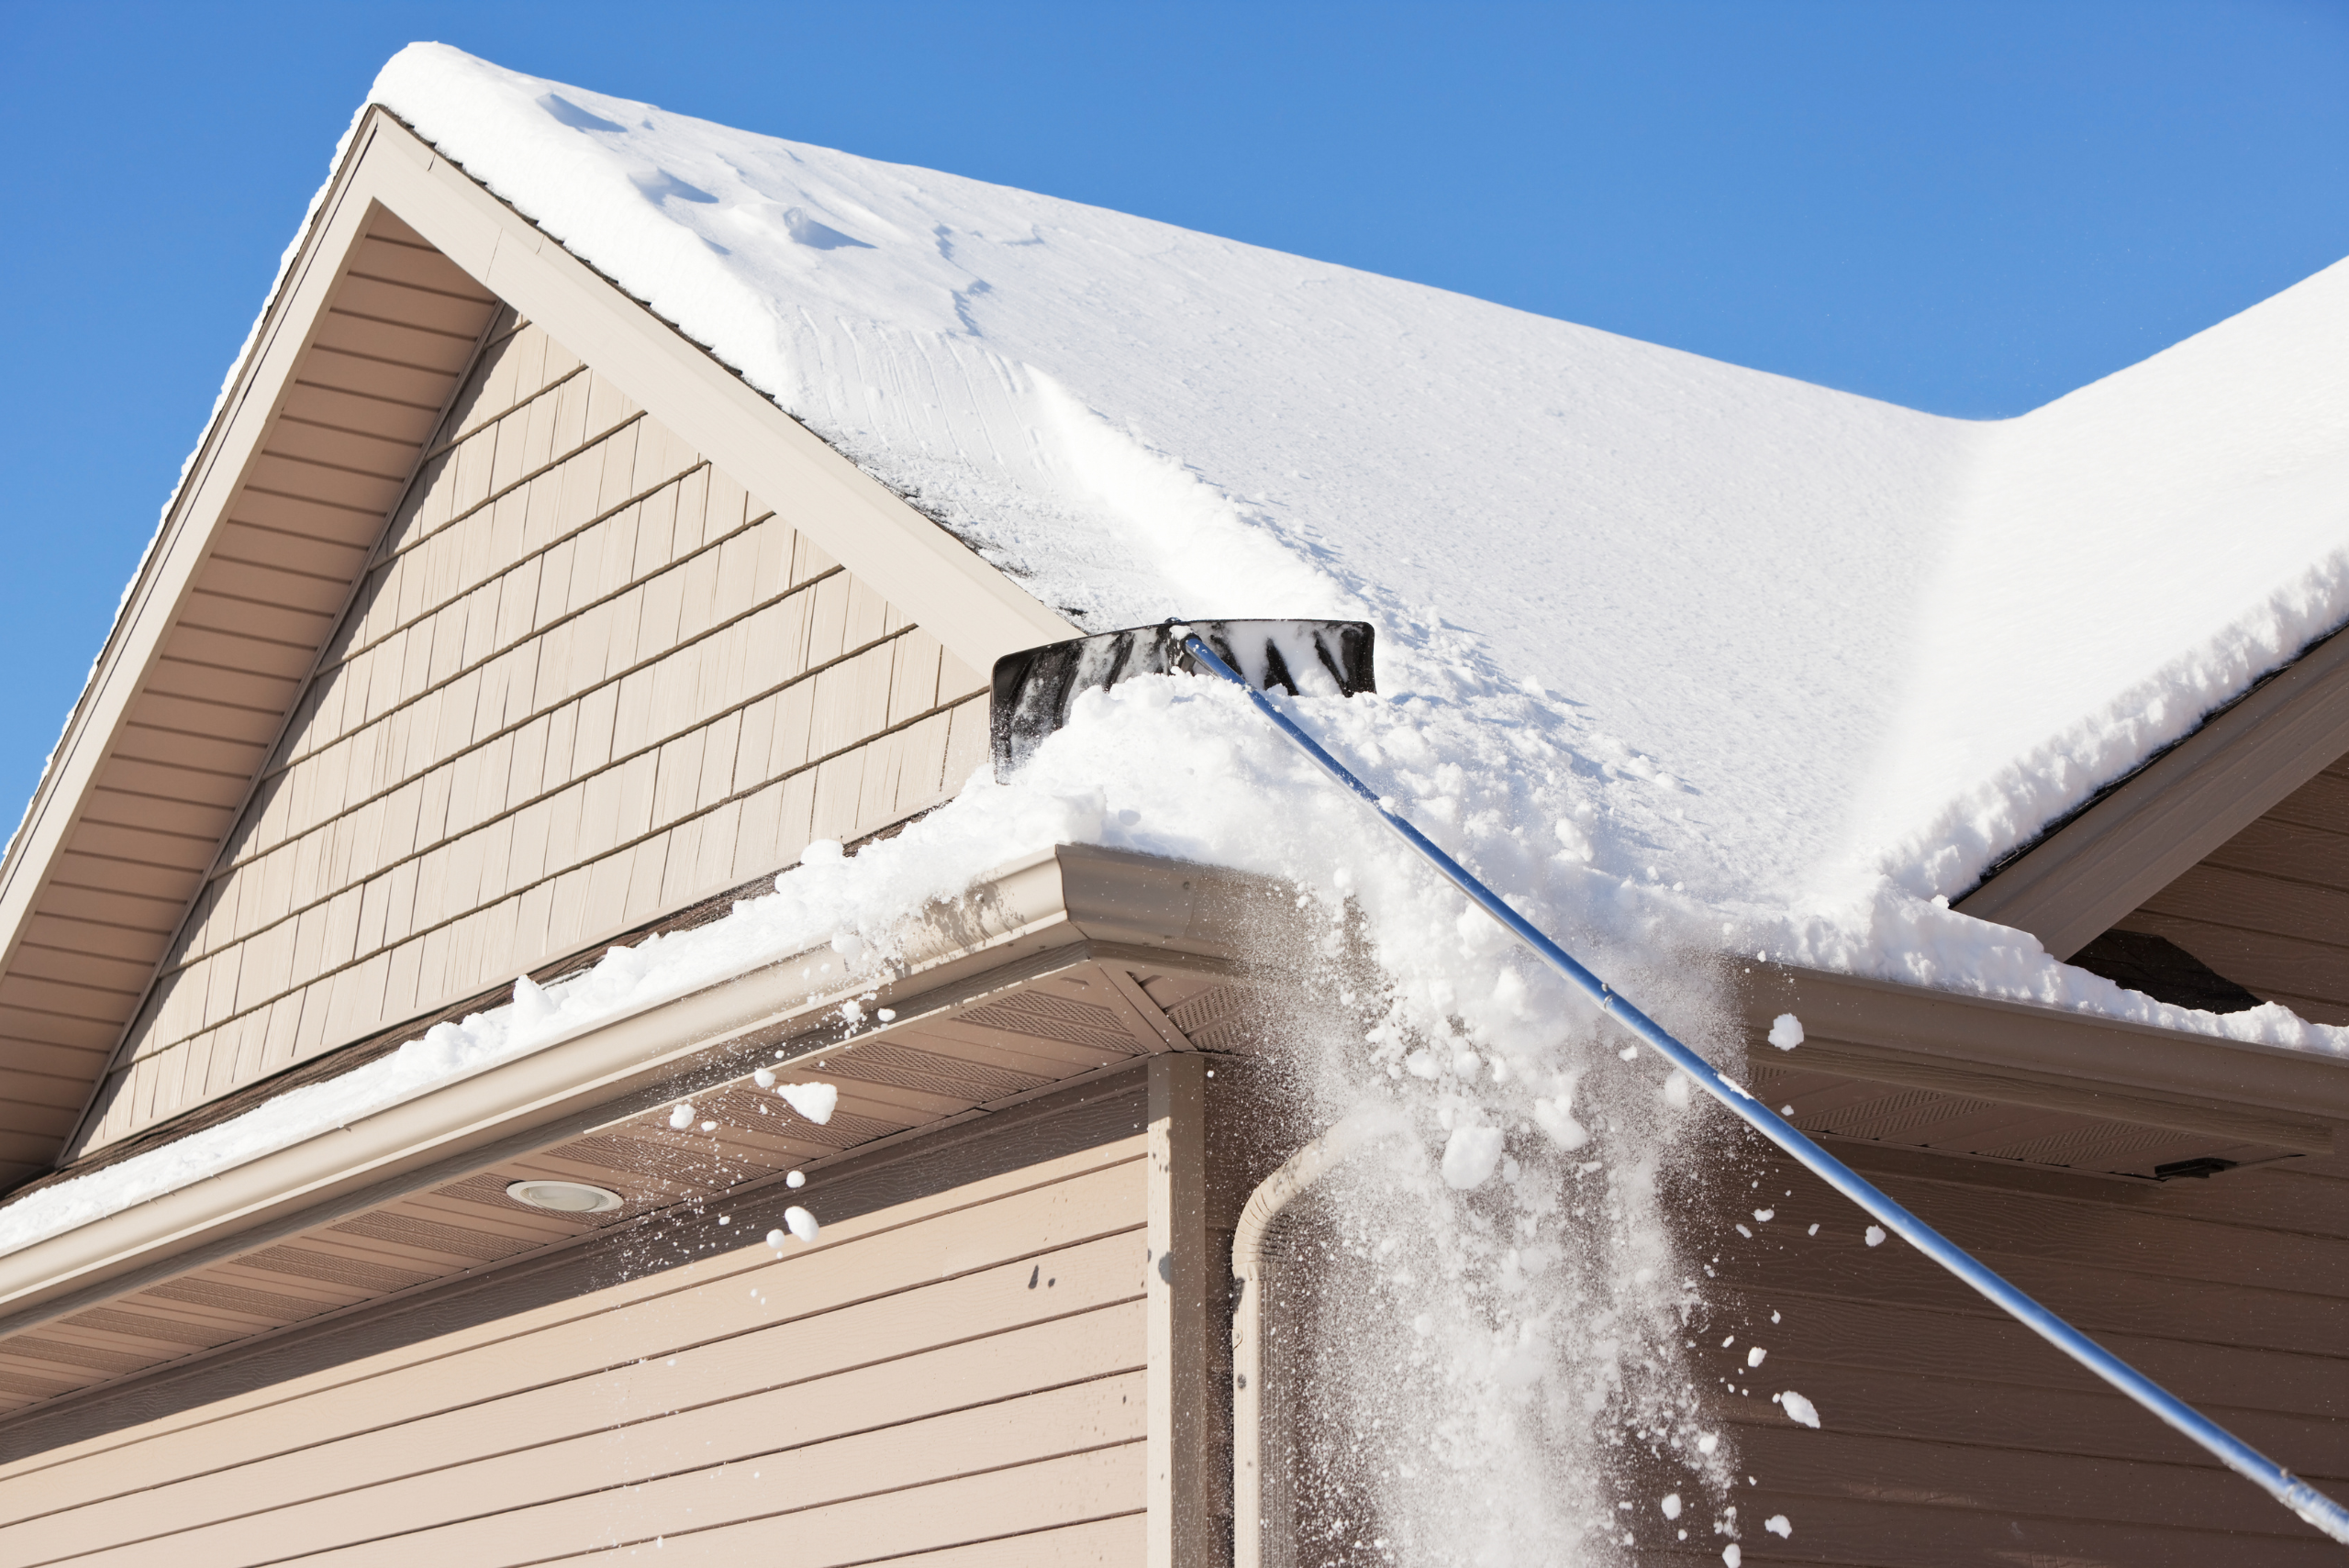
Ice dams can cause significant damage to your roof and gutters. Create a simple roof rake using a long piece of PVC pipe and a sturdy piece of plywood. Use this DIY tool to remove snow from the edges of your roof, preventing ice dam formation.
Install heat cables along your roof’s edge and in gutters to melt snow and ice before it can accumulate. For a low-tech solution, fill old pantyhose with calcium chloride ice melt and place them perpendicular to the roof’s edge. This will create channels for melting snow to drain safely.
9. Post-Snow Care: Maintain Your Equipment and Prepare for Next Time
After the snow has been cleared, take time to properly clean and store your equipment. Rinse off salt residue from shovels and other tools to prevent rust. Apply a thin coat of oil to metal surfaces for added protection.
Create a designated storage area for your snow removal tools, keeping them easily accessible for the next storm. Consider building a simple DIY tool rack or repurposing a pallet to organize your equipment. By taking care of your tools, you’ll ensure they’re ready to tackle whatever winter throws your way.
