Improve Your Home’s Ventilation and Air Quality by Installing a Screen Door
Installing a screen door is one of those home improvement projects that seems daunting but is incredibly rewarding once completed. Not only does it enhance the curb appeal of your home, but it also improves ventilation, keeping your home cool during those sweltering summer months while keeping bugs at bay. Whether you’re a seasoned DIY enthusiast or a novice looking to tackle your first project, this guide will walk you through the process of installing a screen door with ease and confidence.
Understanding the Basics of Choosing the Right Screen Door
Before you dive into the installation process, selecting the right screen door for your home is crucial. The market is flooded with various options, including traditional wooden doors, durable metal ones, and modern vinyl options. Each material offers its unique benefits and aesthetic appeal. Wooden doors, for instance, offer a classic look but require more maintenance to protect against the elements. Metal doors, on the other hand, are sturdy and provide enhanced security, while vinyl doors are affordable and easy to care for. Consider the style of your home, your budget, and your needs when choosing the right screen door.
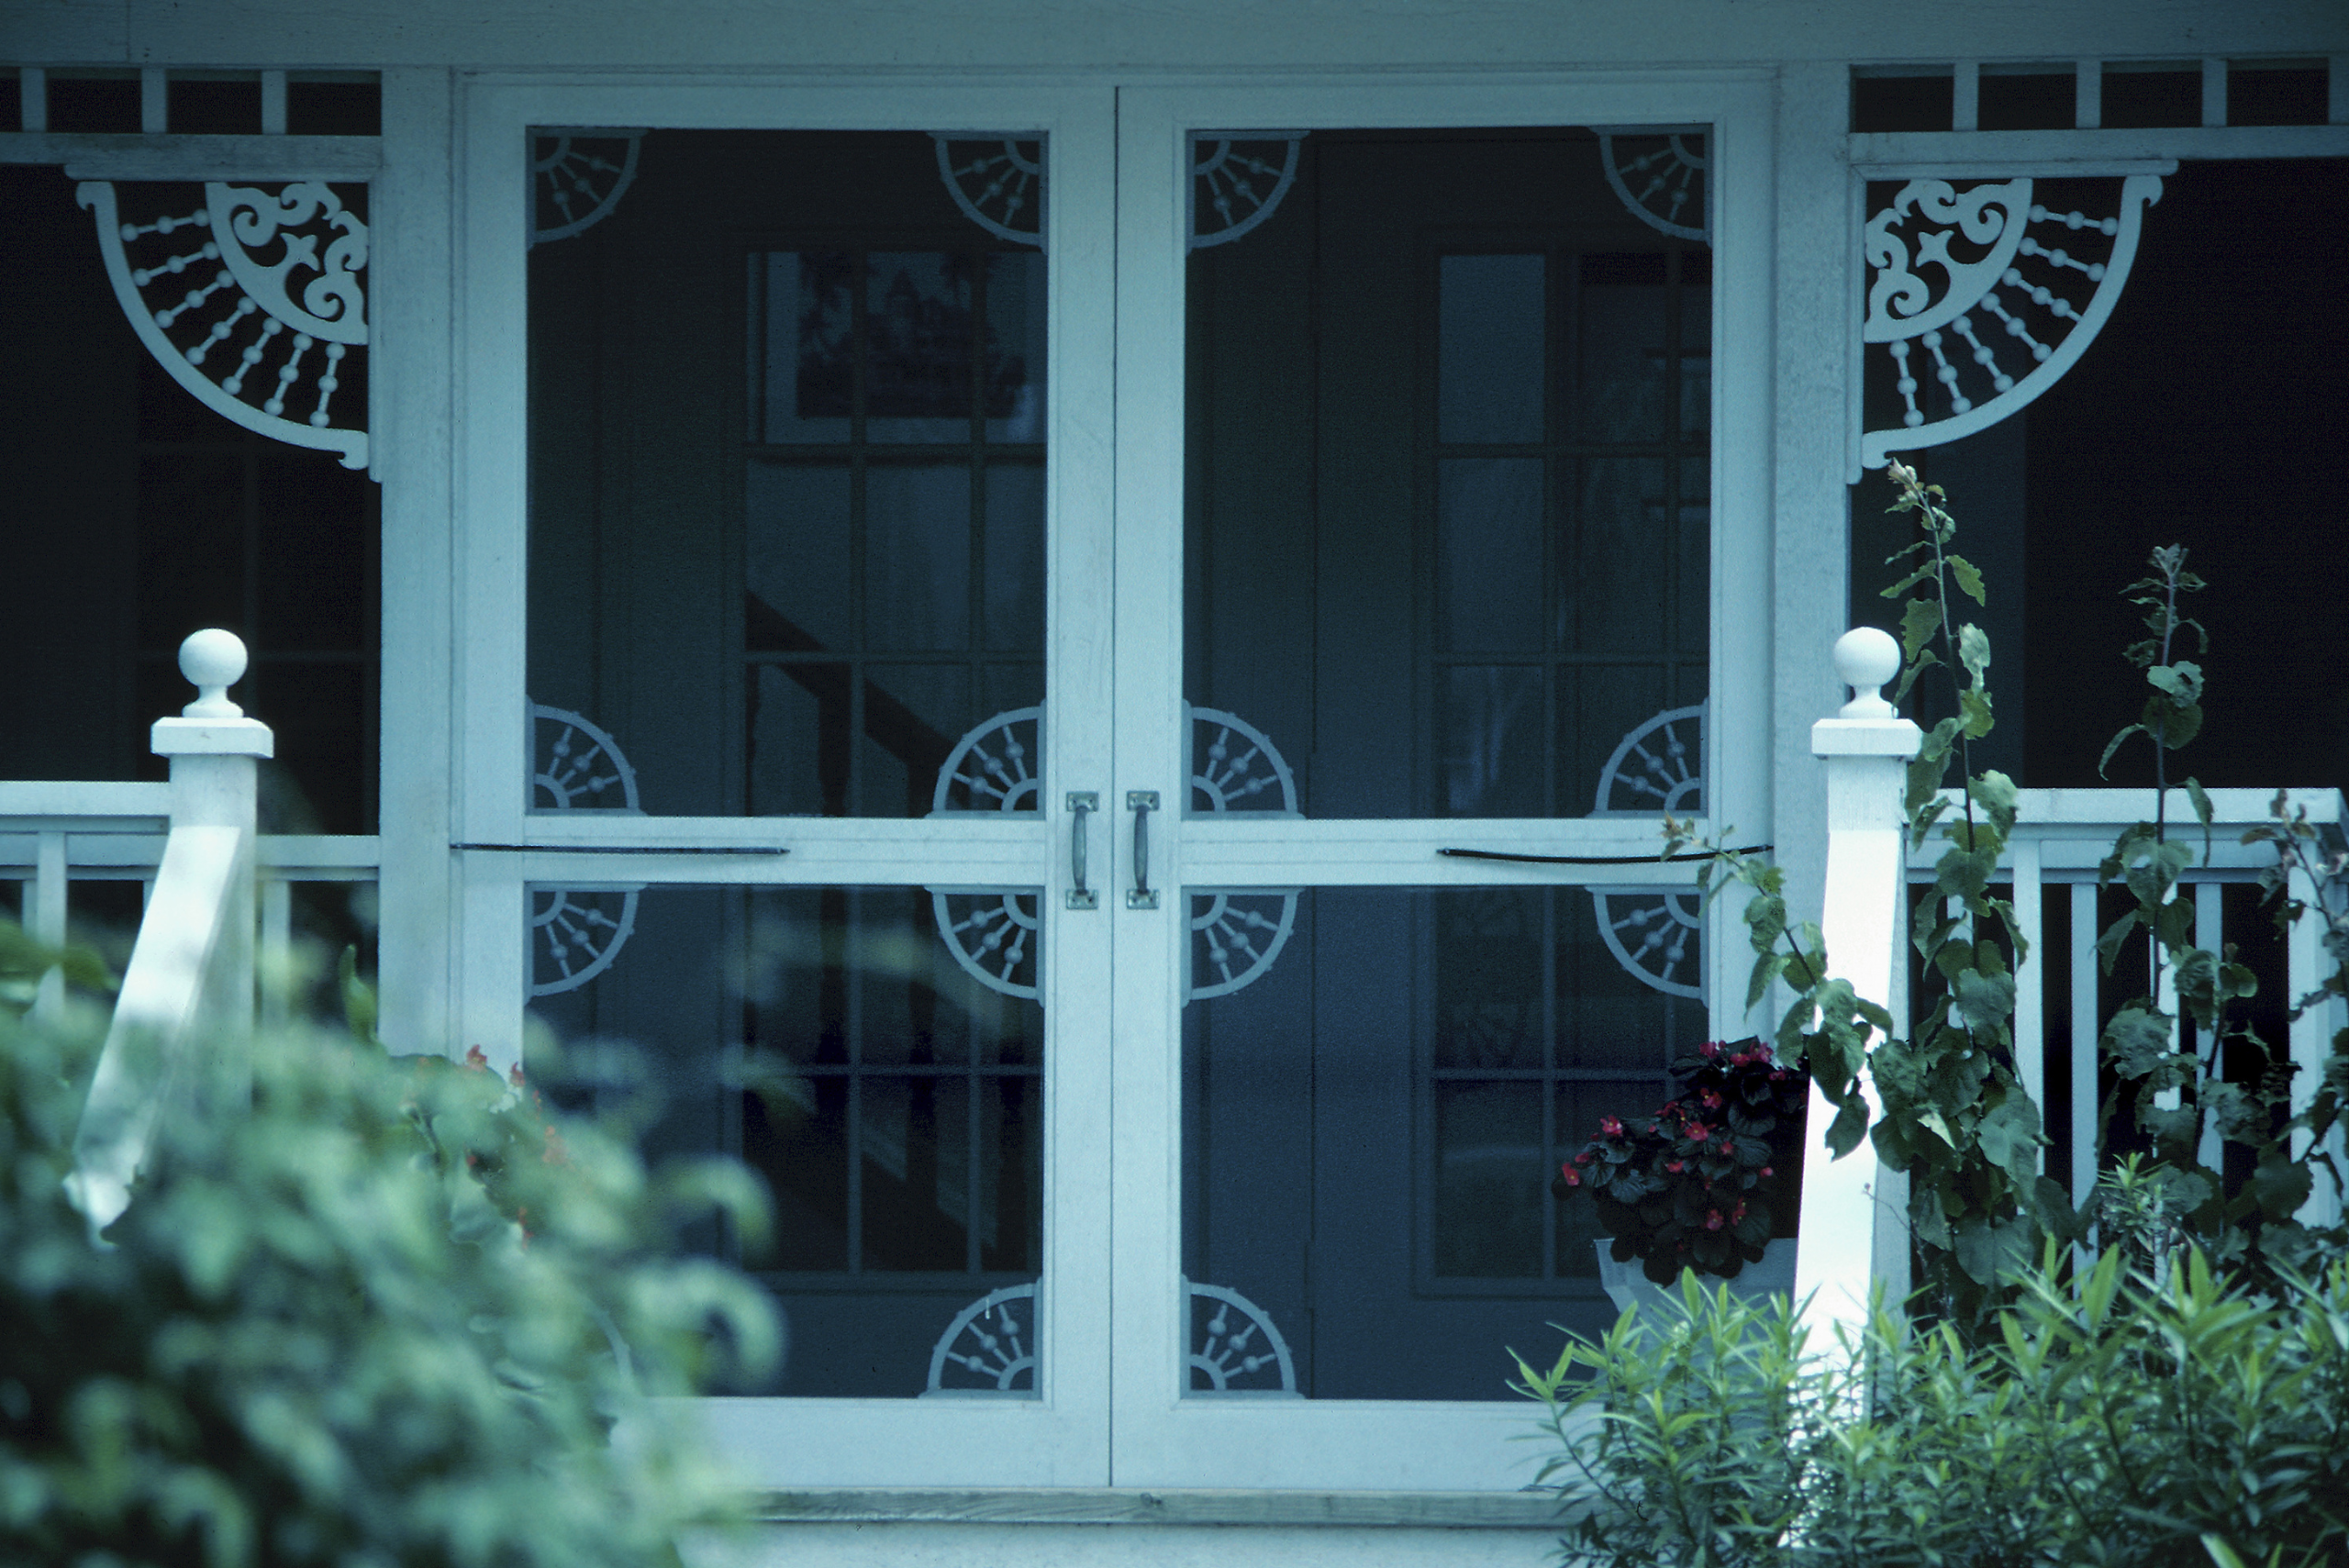
Moreover, measuring your door frame accurately is paramount to ensure your new screen door fits perfectly. A poorly fitted screen door can detract from its functionality and overall look. Take your time to measure the height and width of your door frame from different points to account for any irregularities. Armed with the right measurements and having selected the ideal screen door, you’re ready to move on to the installation phase.
The Steps To Installing Your New Screen Door
Starting the installation process might seem intimidating, but with the right tools and a bit of patience, it’s entirely achievable. Begin by gathering all the necessary tools and hardware you’ll need for the installation. Typically, you’ll require a screwdriver, drill, level, tape measure, and the hardware that comes with your screen door, such as hinges and screws.
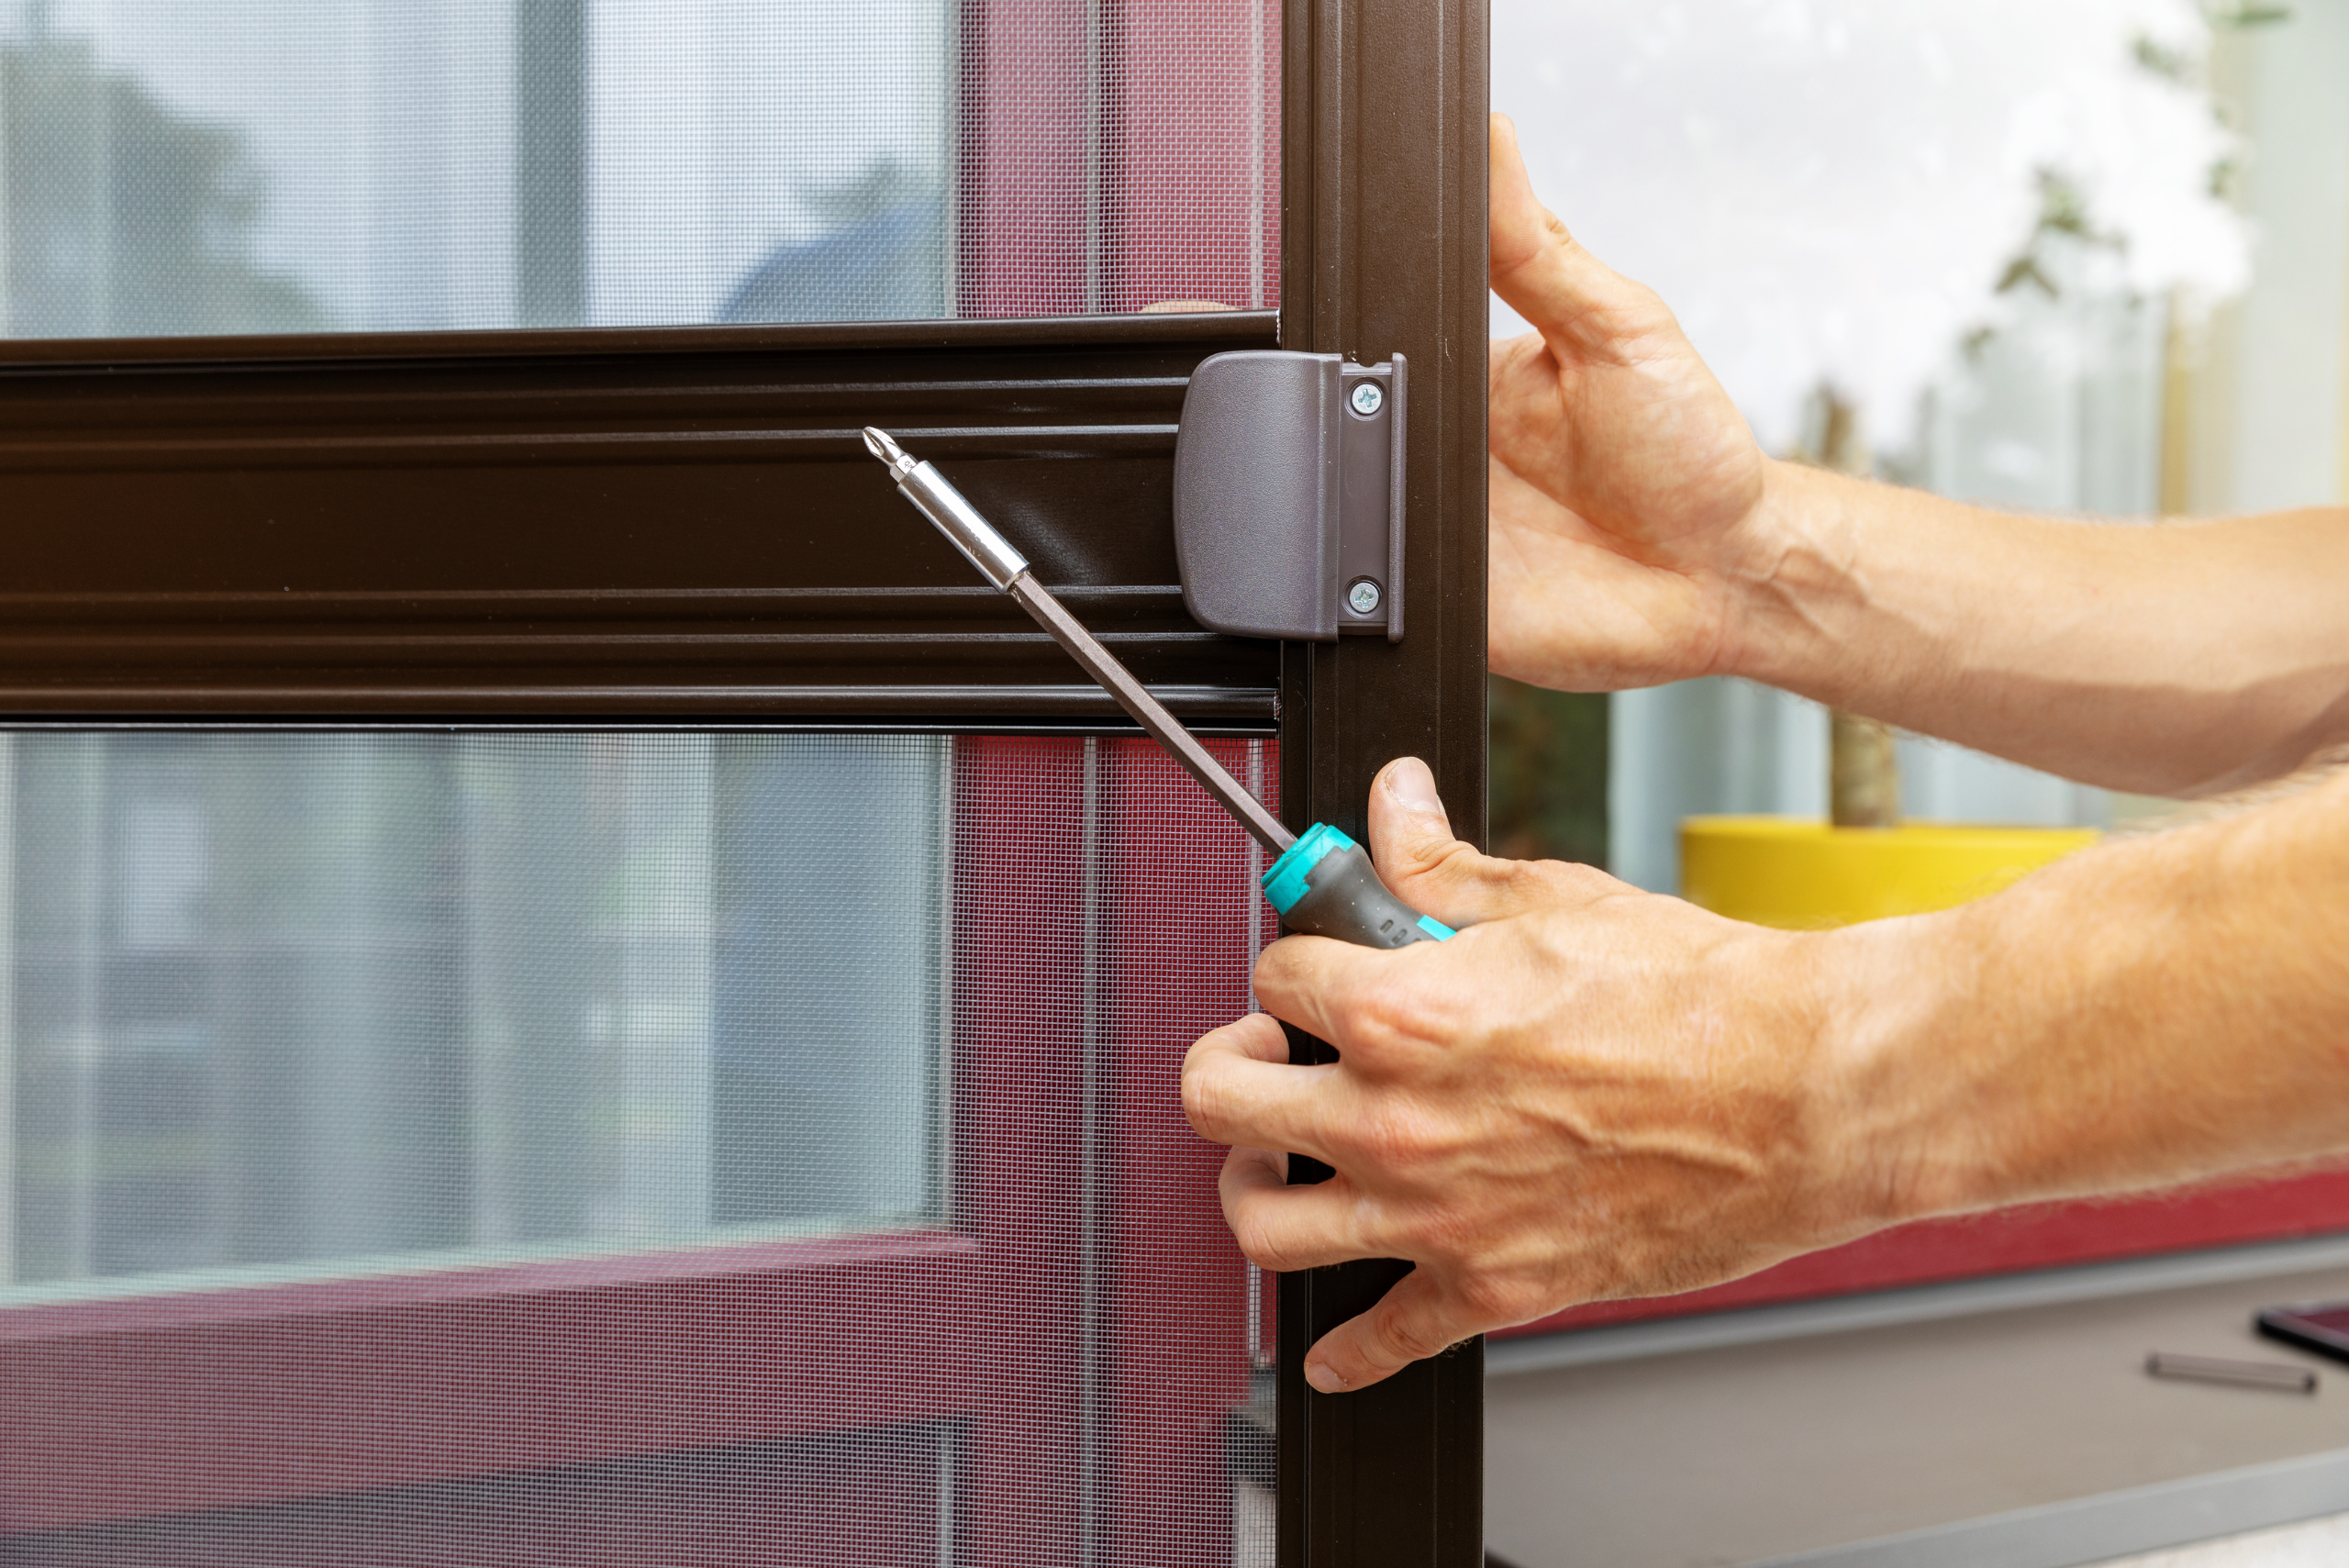
With your tools at hand, start by attaching the hinges to your screen door. If you’re replacing an old screen door, you might be able to use the existing hinge placements. Otherwise, mark the placement of the new hinges carefully, ensuring they’re level to prevent your screen door from hanging crookedly. Proceed to attach the door handle and any additional hardware your screen door might have. Remember, taking your time during this step can save you headaches later on.
Ensuring a Perfect Fit – Adjustments and Troubleshooting
Even with the most meticulous measurements, you might find that your screen door requires some adjustments for a perfect fit. If the door sticks or doesn’t close properly, check the hinges and ensure they’re tightly secured and properly aligned. Sometimes, slight adjustments to the hinge placement can make a significant difference.
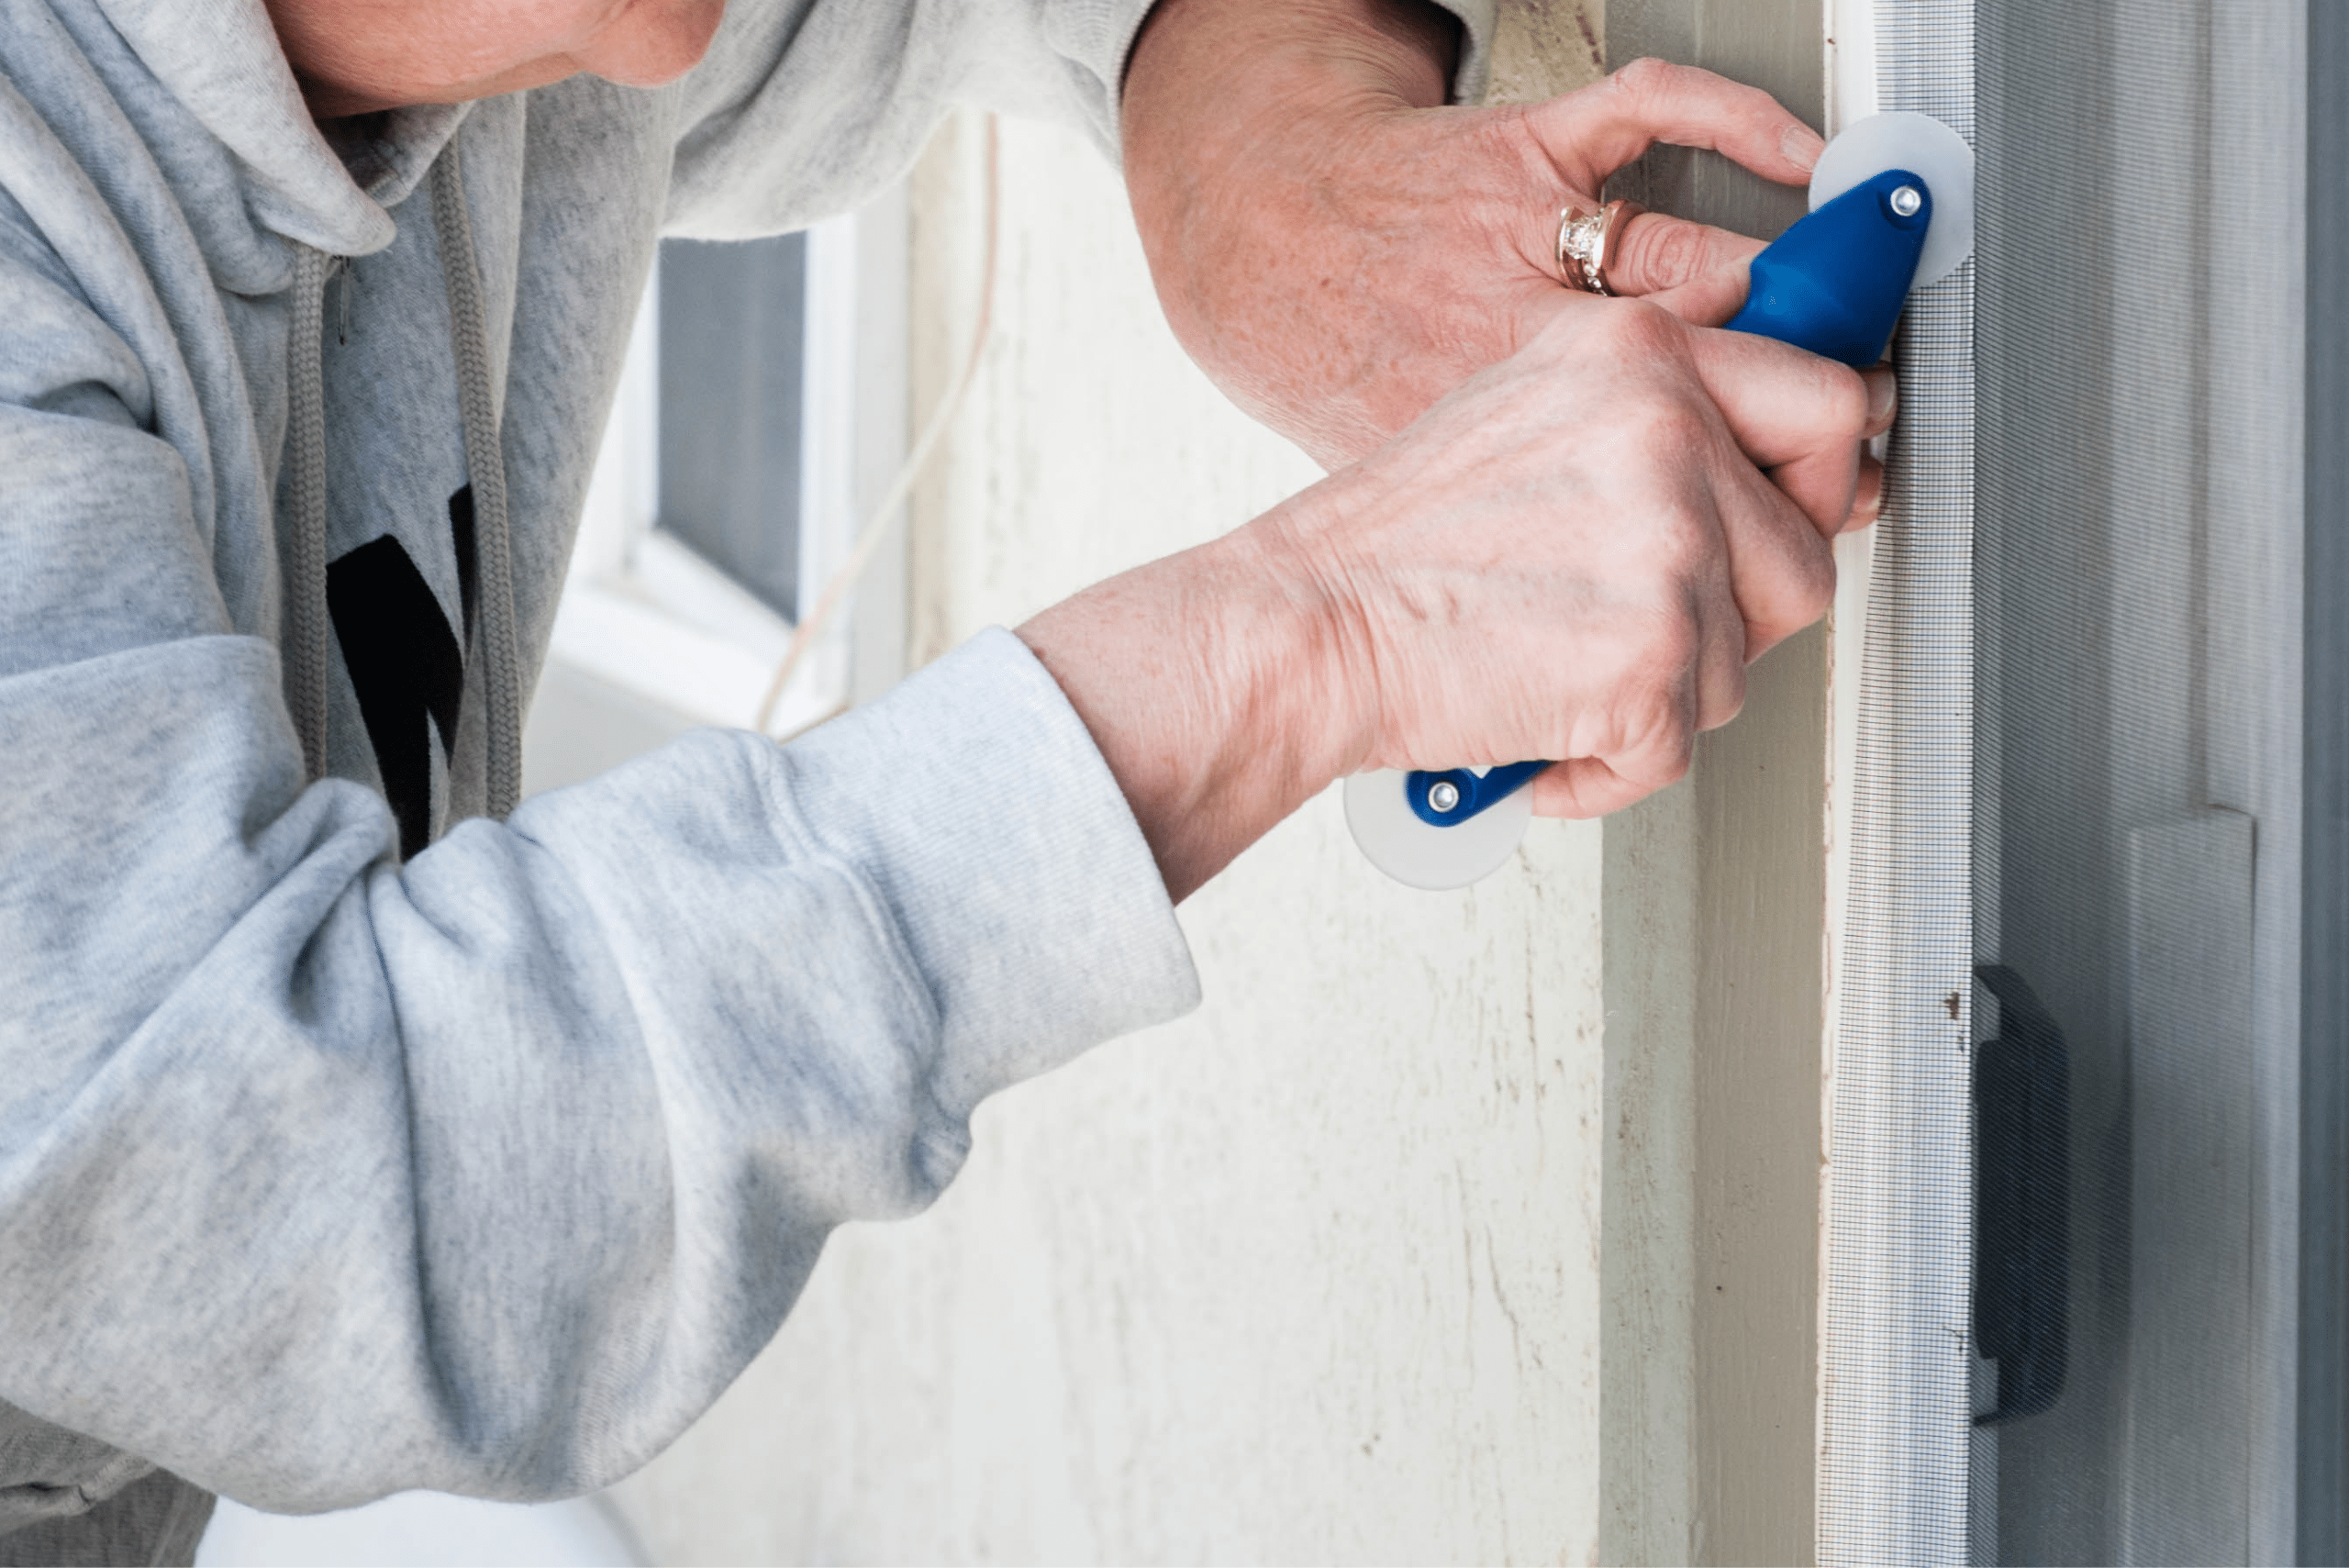
In some cases, the door frame might be the culprit. Older homes, in particular, can have door frames that are slightly warped or not perfectly square. If this is the case, you may need to trim the door slightly or use shims to adjust the fit. Don’t forget, it’s always better to remove a little at a time – you can always trim more if needed, but you can’t add back what you’ve cut away.
Adding the Finishing Touches to Your Screen Door Installation
Once your screen door swings smoothly and closes properly, it’s time to add those finishing touches that will make it truly part of your home. If you’ve opted for a wooden screen door, consider giving it a coat of paint or stain to match your home’s exterior. Not only will this enhance its appearance, but it will also offer additional protection against the elements.
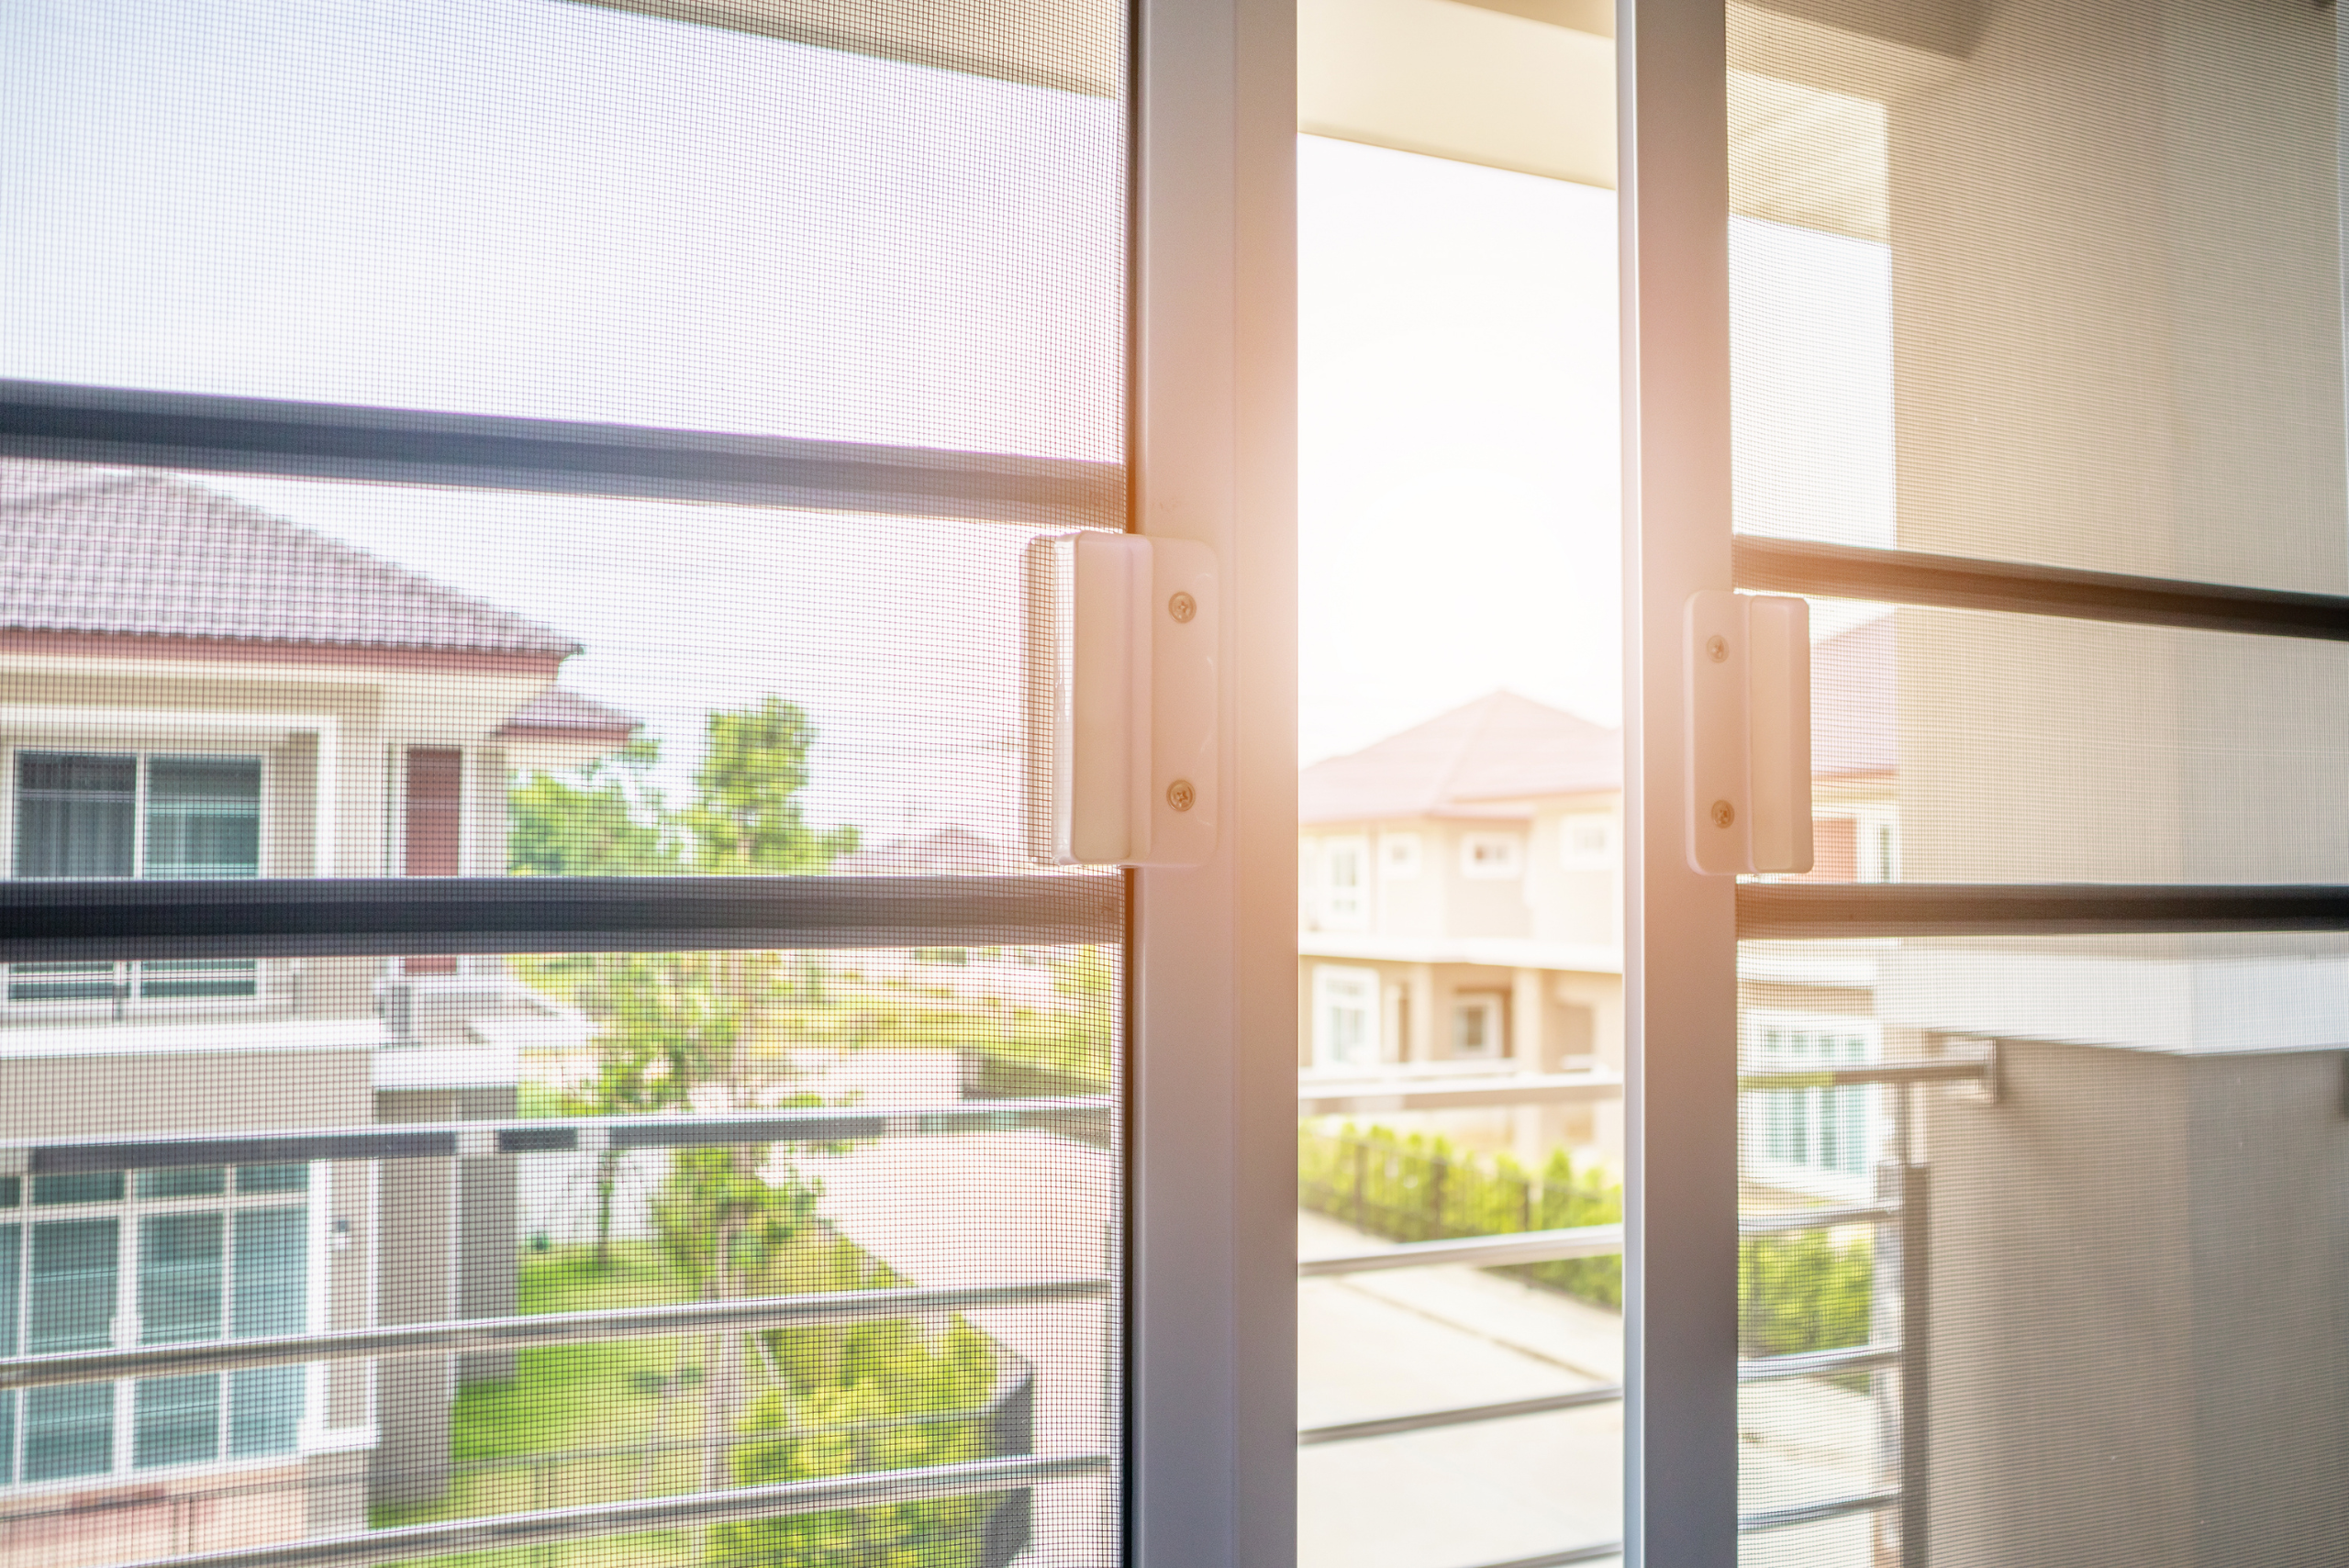
Additionally, consider installing a door closer to prevent your screen door from slamming. This simple addition can prolong the life of your screen door and make it more convenient to use, especially when your hands are full. Lastly, adding a nice doormat and some potted plants can create a welcoming entrance for you and your guests.
Congratulations! You’ve successfully installed your new screen door, transforming the look and feel of your home. Not only have you added an element of charm and curb appeal, but you’ve also created a more comfortable living environment. Enjoy the breeze without the bugs, and take pride in having completed this project on your own.
Ready to start your next project? Join our DIY community to receive tool tips, how-to guides, and exclusive creative insights. Subscribe to the ManMadeDIY newsletter now!


