Are You Missing This Simple Trick to Installing Sconce Lights Yourself?
Sconce lights are a stylish and functional way to enhance your home’s lighting and decor. Whether you want to brighten up a hallway, add ambiance to a bedroom, or create a statement piece in your living room, installing sconce lights yourself is a manageable and rewarding project.
In this guide, we’ll walk you through everything you need to know to install sconce lights, from choosing the right fixture to safely wiring and mounting it. With the right tools and a bit of patience, you’ll have beautiful new lighting in no time.
1. Choose the Right Sconce for Your Space
Before you begin, it’s important to select a sconce light that complements your home’s style and meets your lighting needs. Sconces come in a variety of designs, including modern, traditional, and industrial styles.
Consider the placement of the light—do you want it to provide focused task lighting, ambient glow, or decorative flair? Also, check the size and weight of the fixture to ensure it fits the intended space and can be securely mounted.

2. Gather Your Tools and Supplies
Having the right tools on hand makes the installation process smoother and safer. Here’s what you’ll need:
- Sconce light fixture
- Screwdriver
- Drill and drill bits
- Wall anchors (if needed)
- Electrical tester
- Wire connectors
- Ladder (if mounting high)
- Wire stripper/cutter
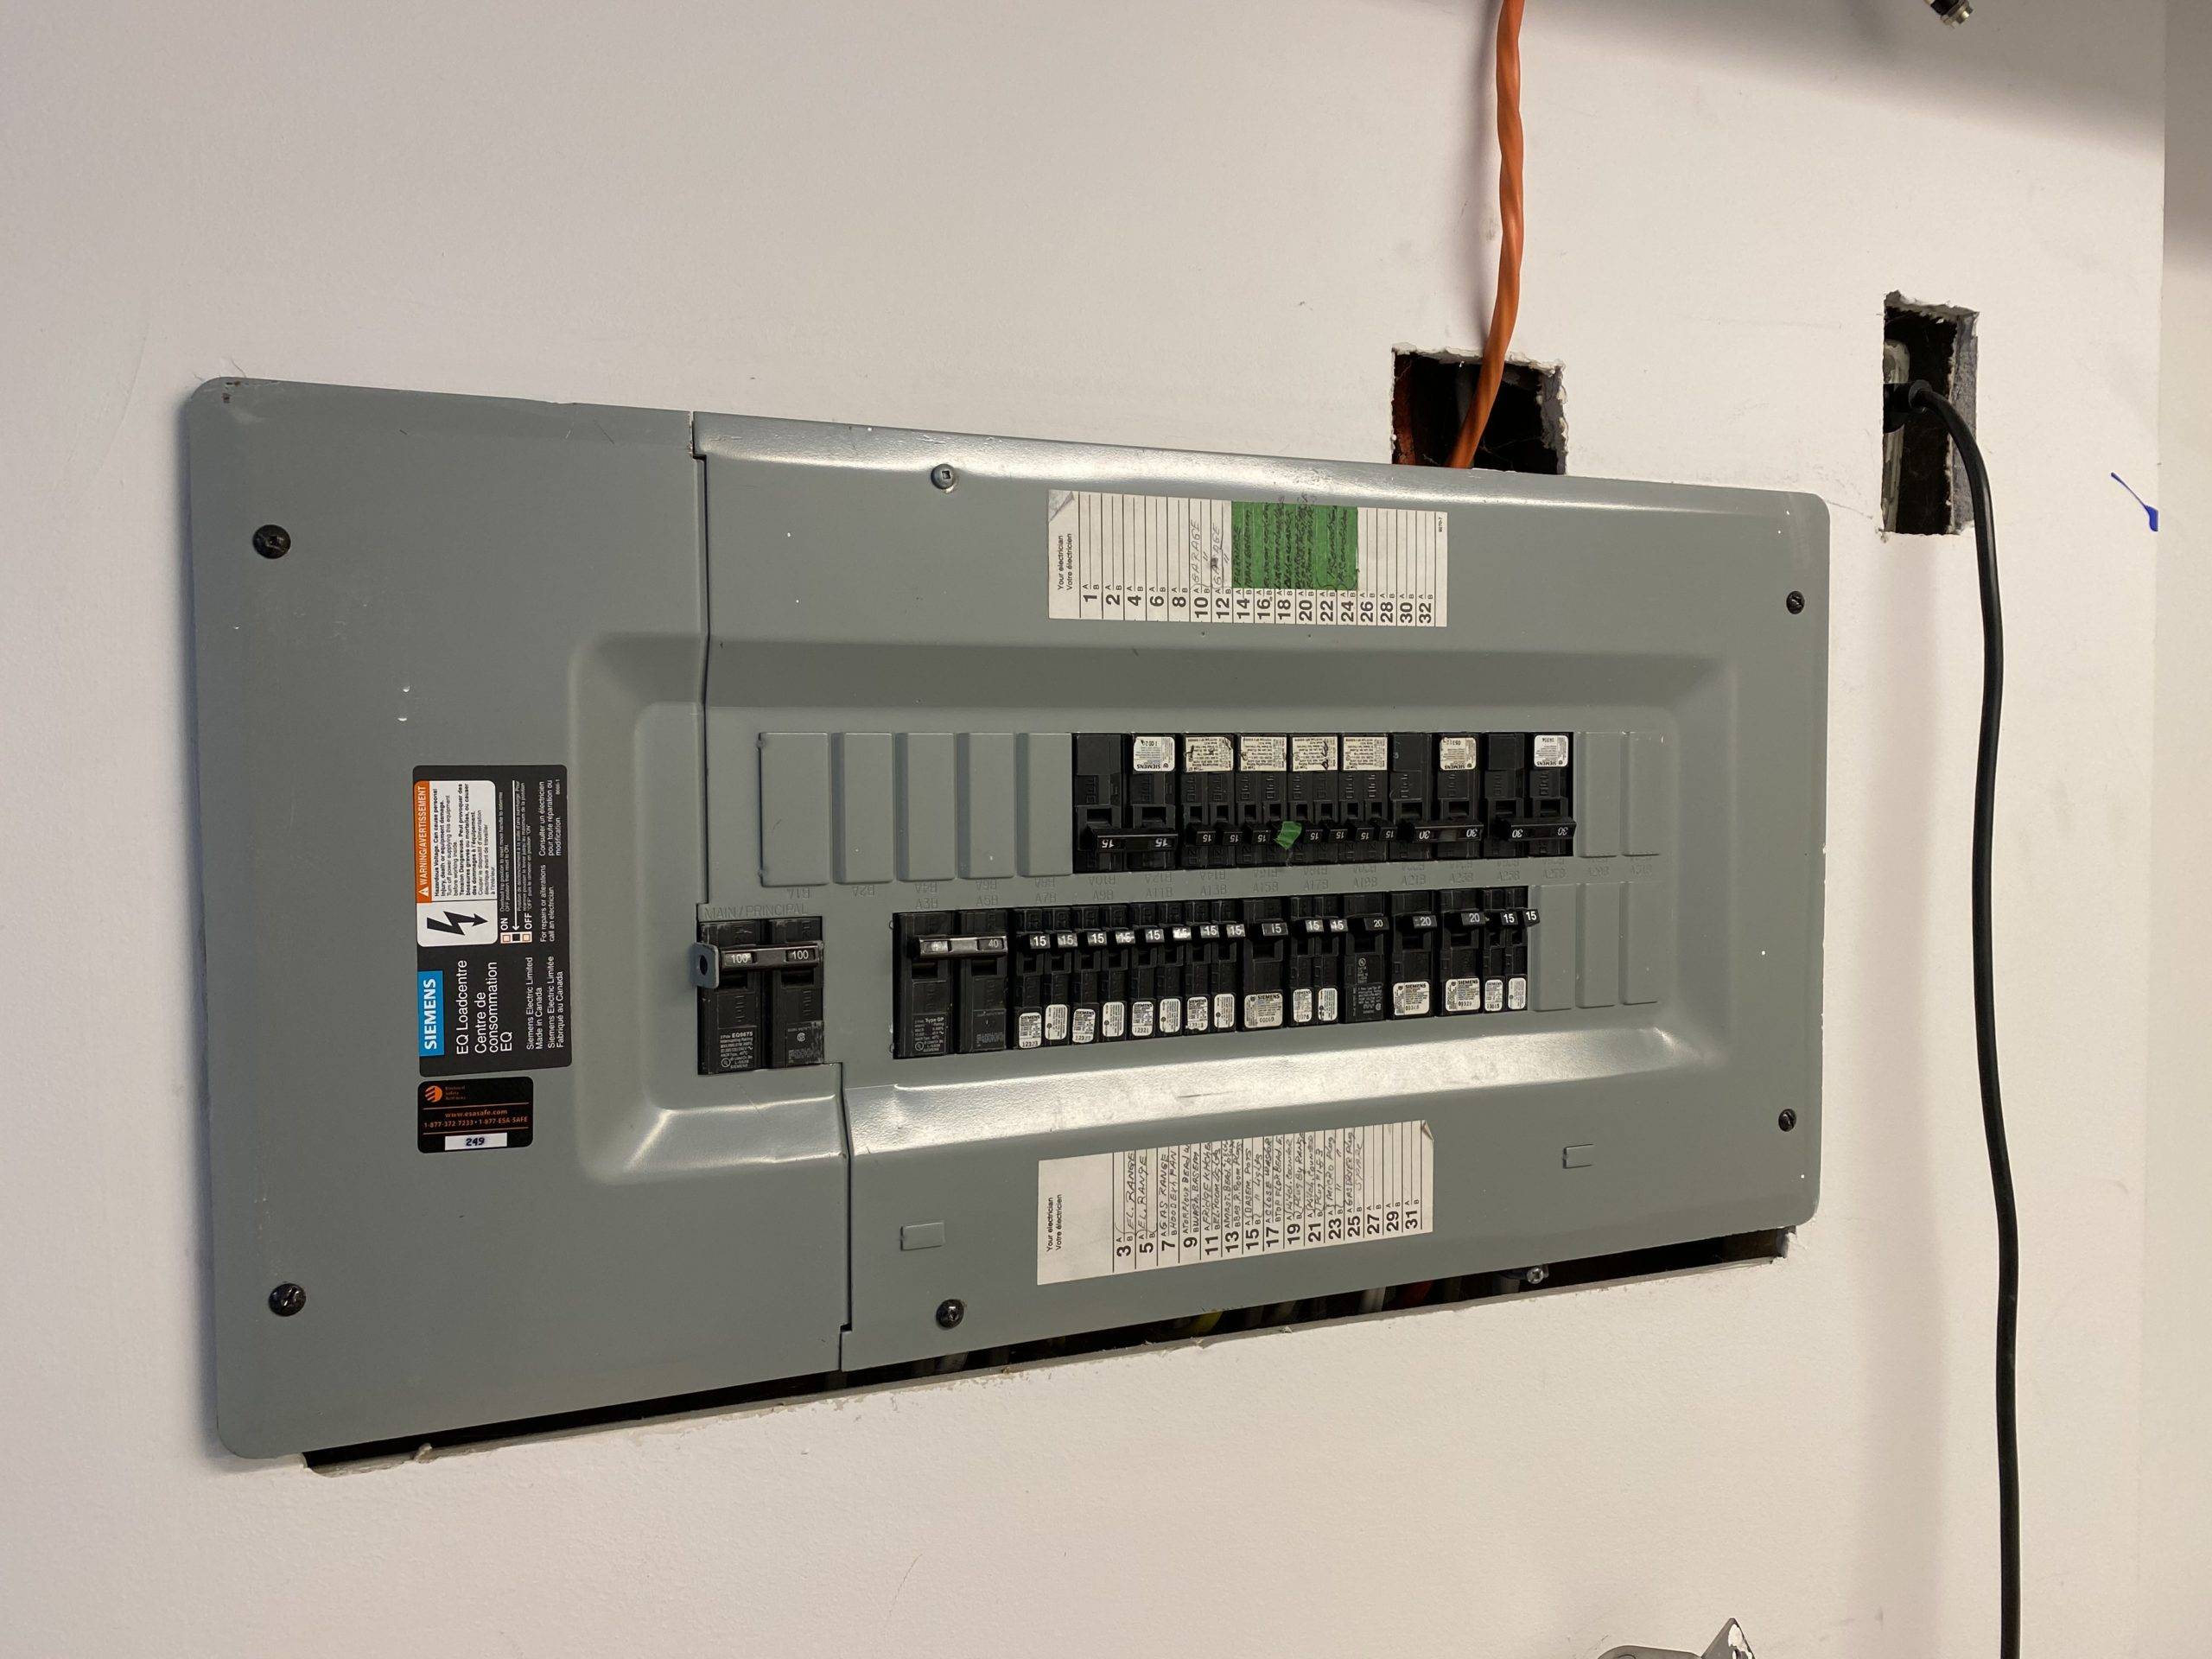
Before starting, make sure the power to the area where you’ll install the sconce is turned off at the breaker box to avoid accidents.
3. Prepare the Mounting Area
Start by marking the spot where you want to install the sconce. Use a measuring tape to ensure it’s at the desired height and level. Most sconces are mounted about 5–6 feet from the floor, but this can vary depending on your preference and room layout.
If the wall doesn’t already have an electrical box, you’ll need to install one. This step may require cutting a hole in the wall and running wiring, so it’s a good idea to consult an electrician if you’re unfamiliar with electrical work.
4. Connect the Wires Safely
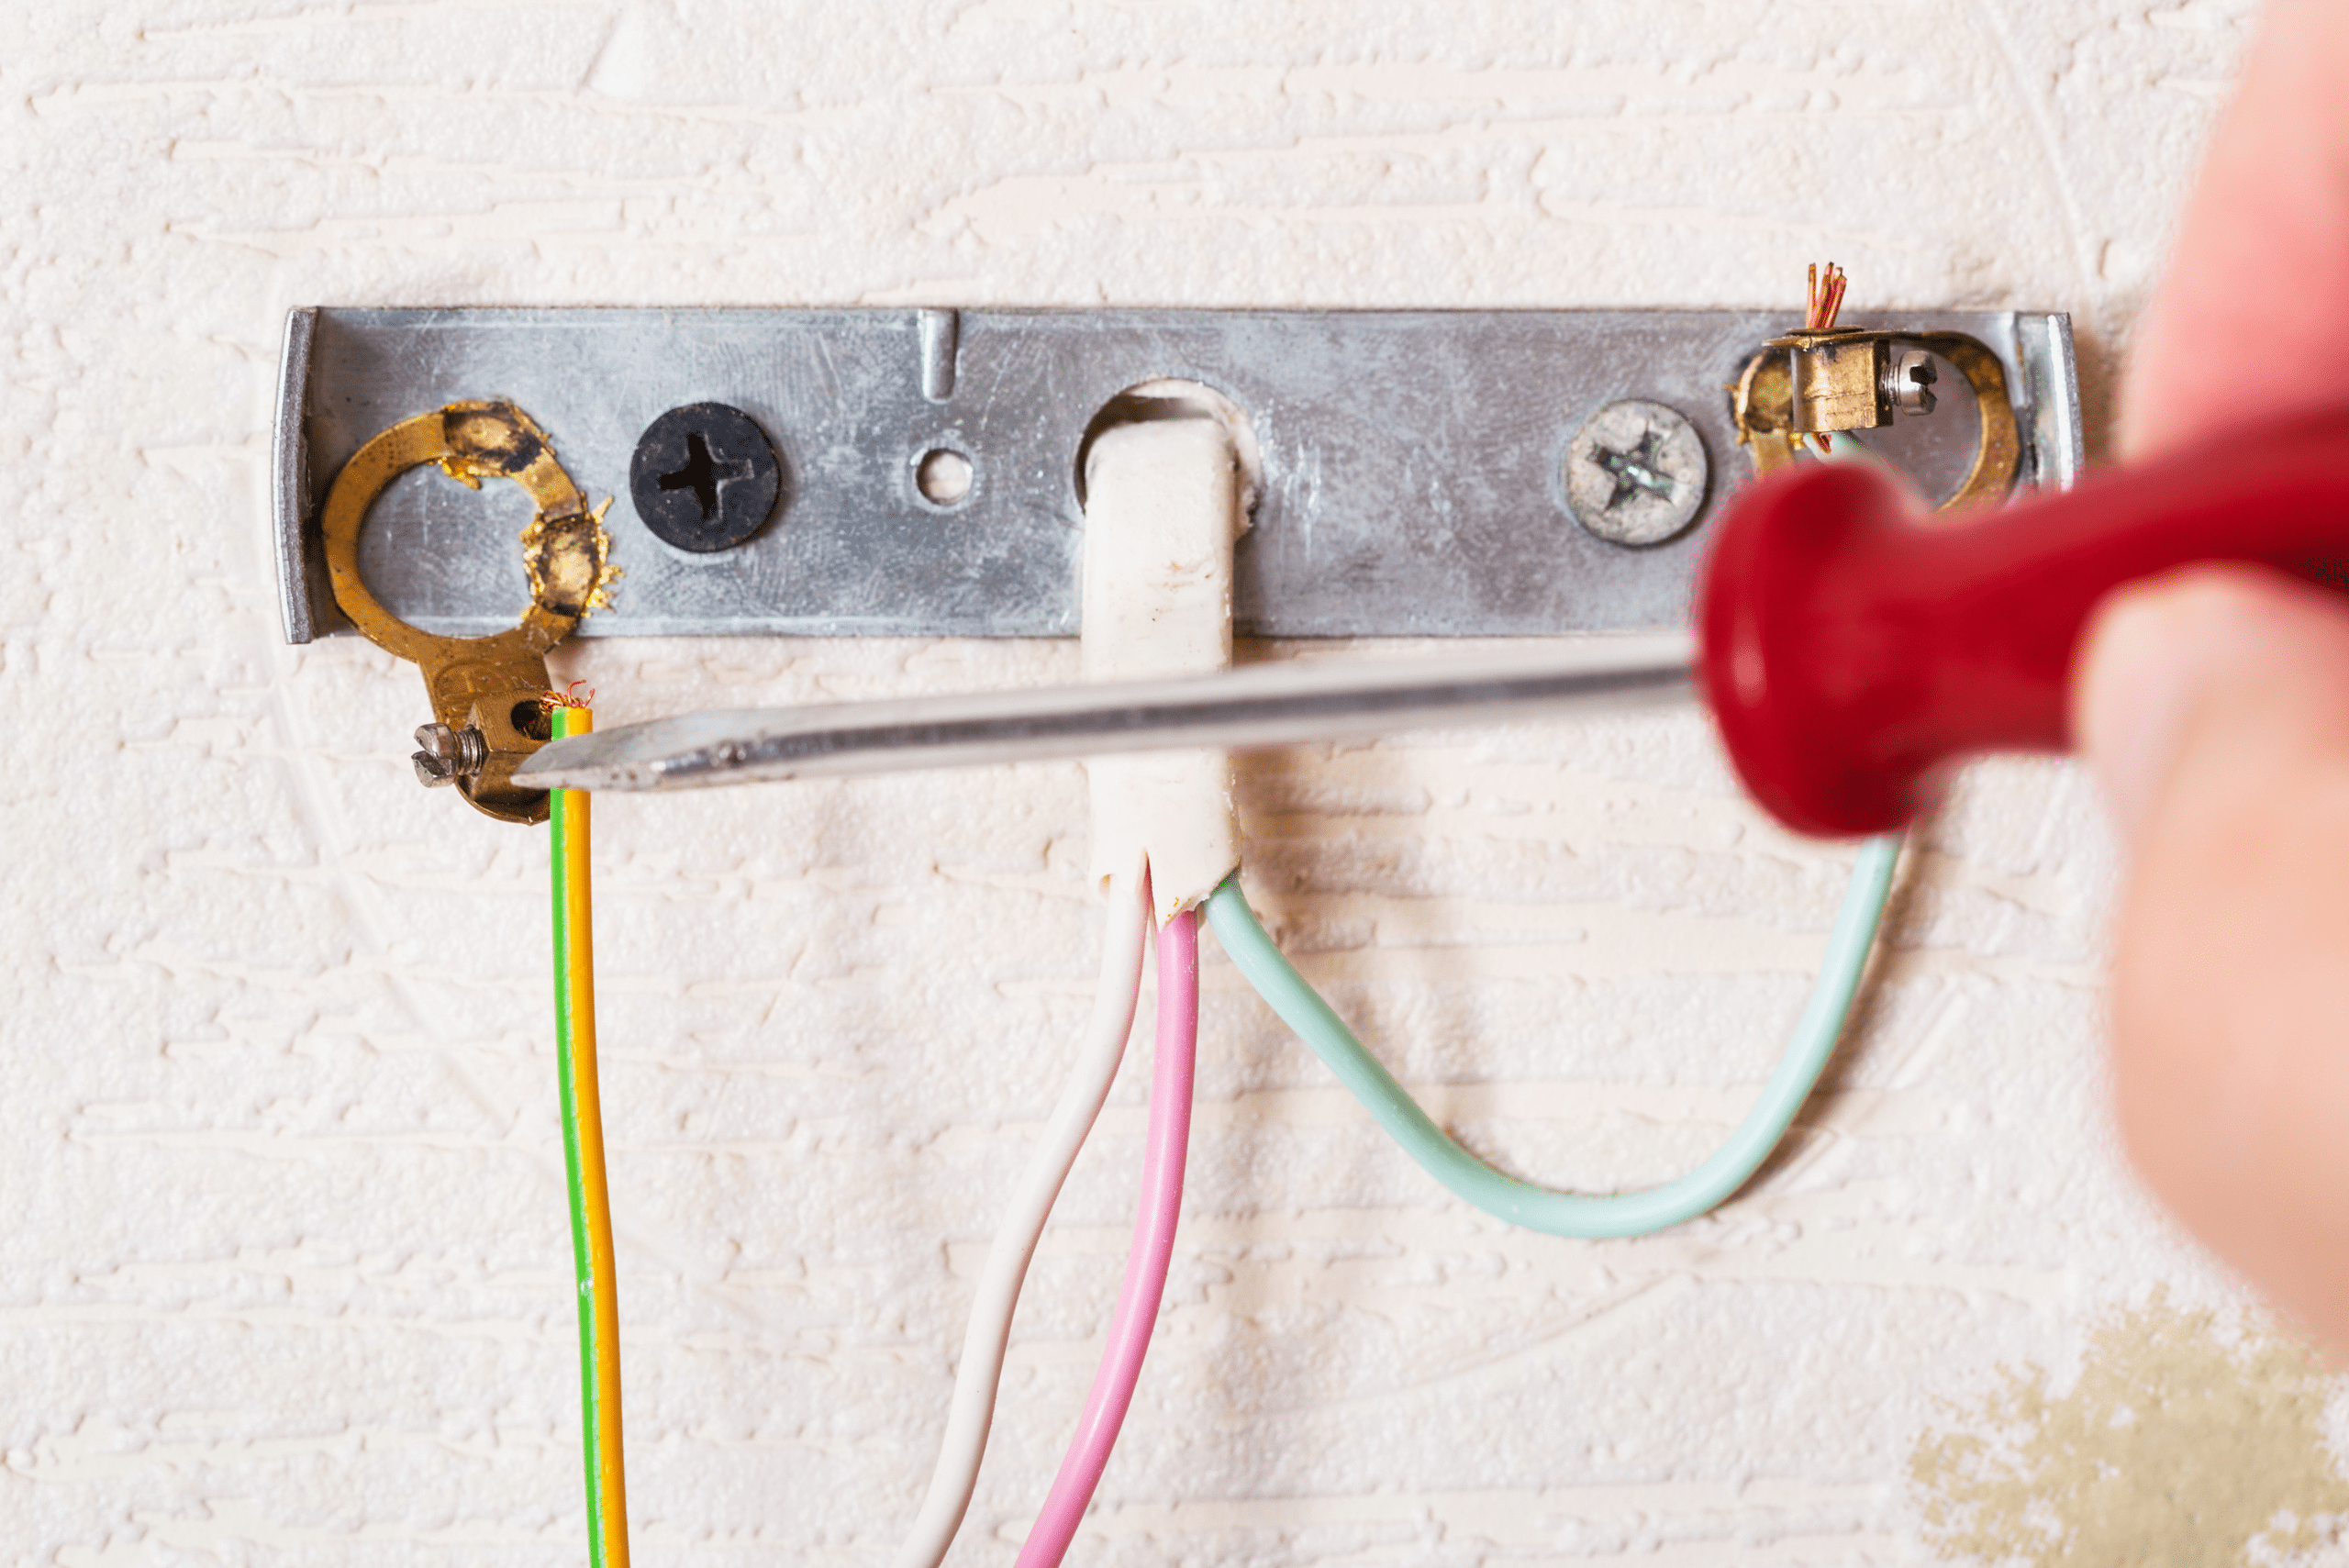
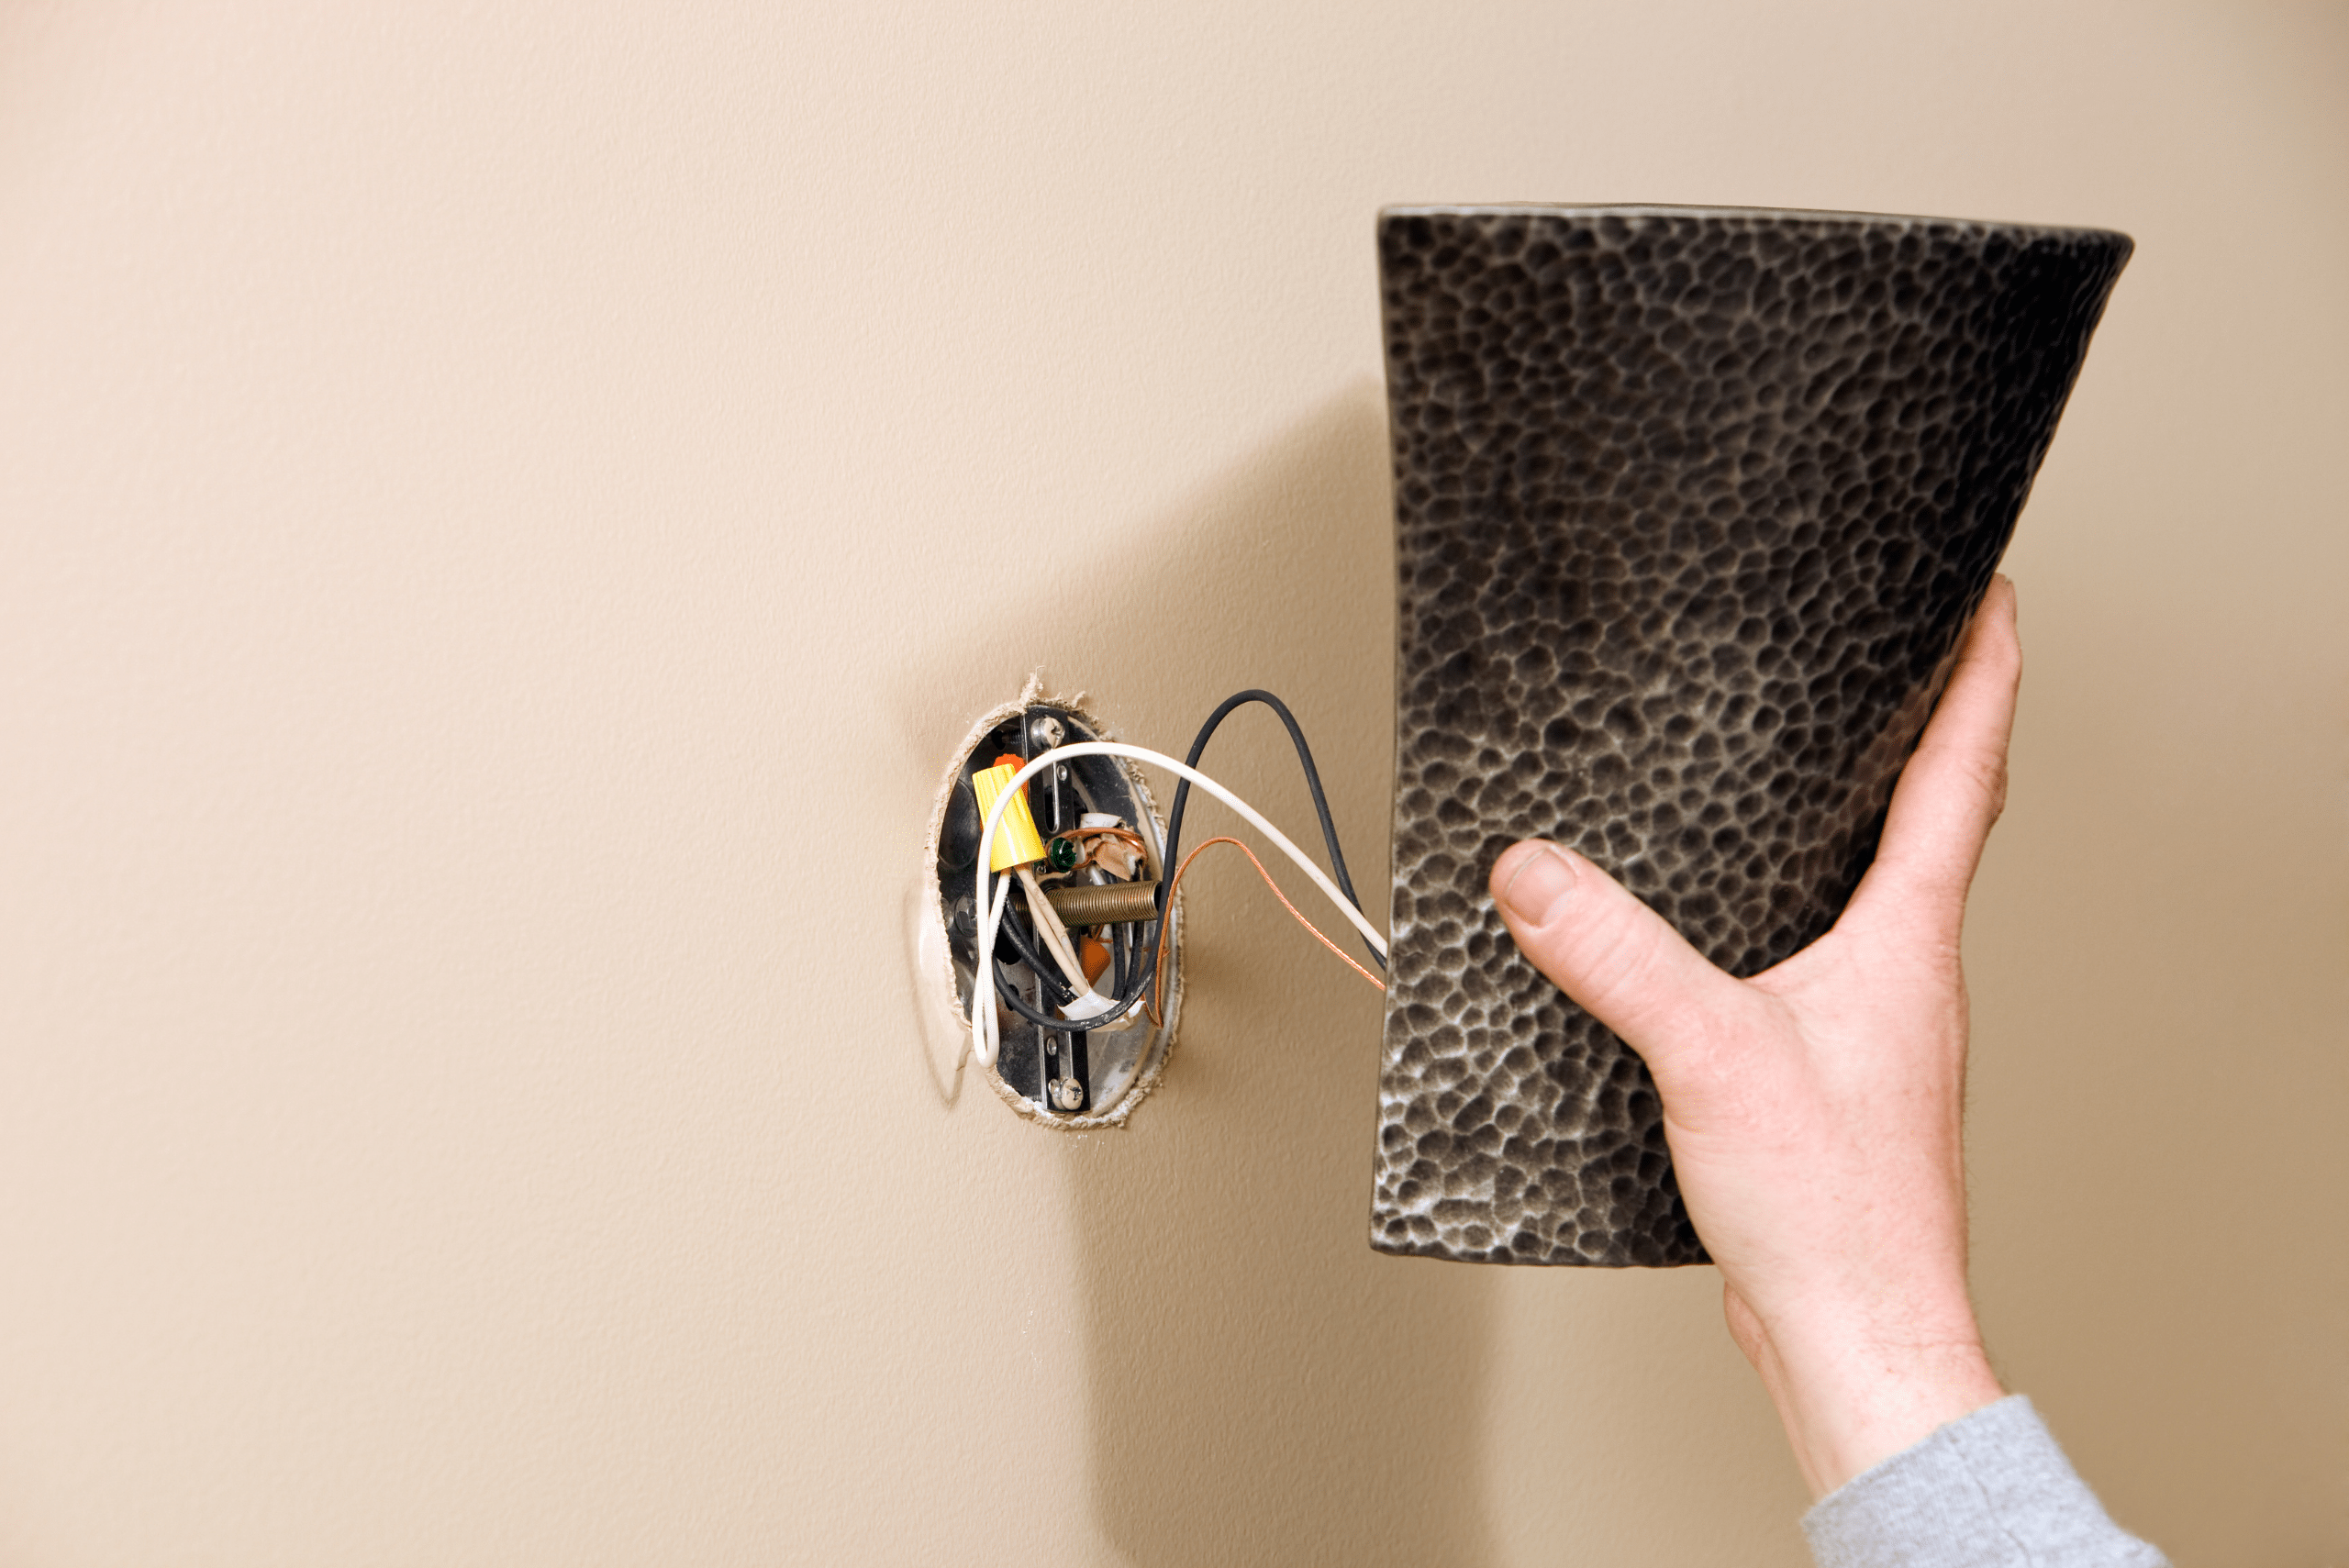
With the power turned off, carefully connect the wires from the sconce to the wires in the electrical box. Typically, you’ll match the colors: black to black (hot wire), white to white (neutral wire), and green or copper to the ground wire.
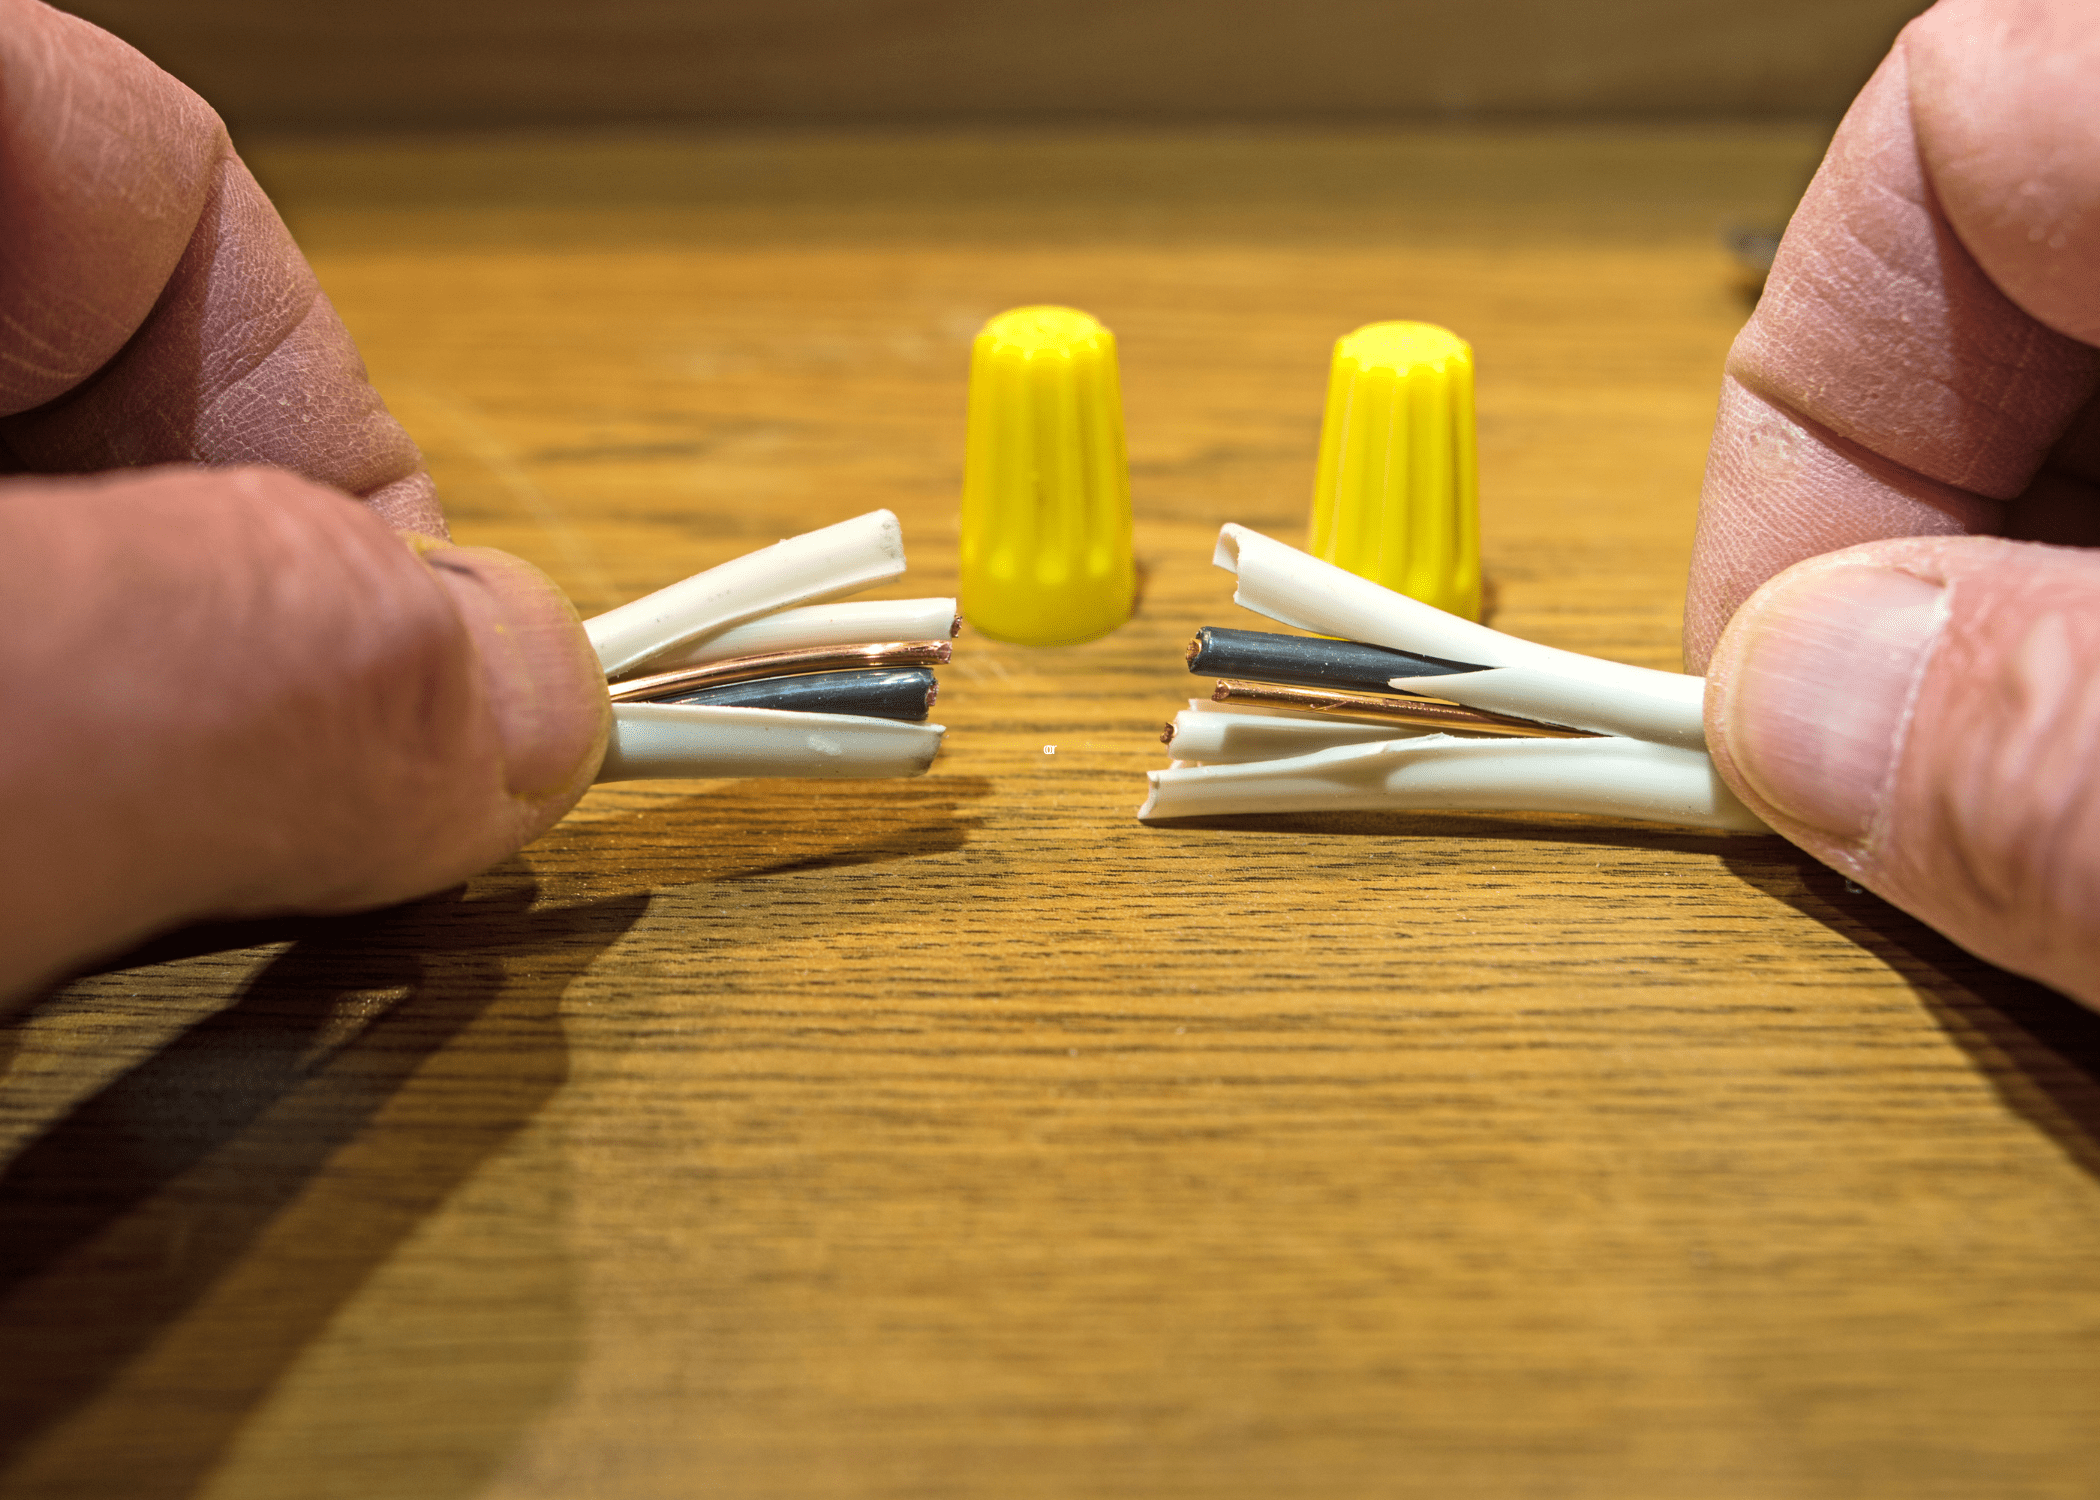
Use wire connectors to secure the connections and wrap them with electrical tape for added safety. Test the connections with an electrical tester to ensure there’s no power before moving on.
5. Mount the Sconce and Finish the Installation
Once the wiring is complete, secure the mounting bracket to the wall or electrical box. Follow the manufacturer’s instructions to attach the sconce fixture to the bracket, making sure it’s level and tightly secured.
Install the lightbulb and any additional decorative elements, then turn the power back on to test your new light. Adjust the fixture as needed to ensure it’s working properly and looks great in your space.
6. Add the Finishing Touches
After your sconce is securely installed and functioning, consider how it fits into the overall look of the room. Add dimmer switches for customizable lighting, or pair the sconce with complementary decor like mirrors or artwork to enhance its impact.
Regularly check the fixture for stability and clean it to keep it looking its best. Small maintenance tasks will ensure your DIY sconce installation remains a lasting improvement to your home.
Related Articles
- How to Fix Flickering Christmas Lights for a Season-Long Glow
- Garage Lighting Ideas That Will Totally Brighten Your Space
- How to Safely Remove a Stuck Light Bulb Without Breaking It
Installing sconce lights yourself is an excellent way to elevate your home’s style and lighting on a budget. With the right tools, careful preparation, and attention to detail, you can complete this project confidently and safely. Whether you’re adding ambiance or making a bold design statement, DIY sconces are a rewarding upgrade. Follow this guide, and enjoy the satisfaction of lighting up your space with your own hands.
Ready to start your next project? Join our DIY community to receive tool tips, how-to guides, and exclusive creative insights. Subscribe to the ManMadeDIY newsletter now! Click here to unlock a world of hands-on inspiration.


