DIY Kitchen Floating Shelves – Plus Installation and Design Tips
In the world of home improvement and interior design, the concept of kitchen floating shelves has gained immense popularity for their sleek appearance and functionality. These shelves offer a modern twist to traditional storage, creating an airy and open ambiance in the heart of the home. We will guide you through the ins and outs of incorporating kitchen floating shelves into your space, ensuring that you not only enhance the aesthetic appeal of your kitchen but also improve its organizational efficiency.
Exploring the Appeal of Kitchen Floating Shelves
The enchantment surrounding kitchen floating shelves is not merely due to their contemporary look; it’s also about the versatility and practicality they bring to the kitchen. Unlike conventional cabinets that can make a space feel cramped, floating shelves introduce a sense of openness, making the kitchen appear larger and more inviting. This open shelving concept allows for easy access to dishes, glasses, and other frequently used items, making everyday tasks more convenient. Moreover, it provides an excellent opportunity to display decorative items, such as vases, cookbooks, or a collection of vintage spice jars, adding a personal touch to the kitchen.
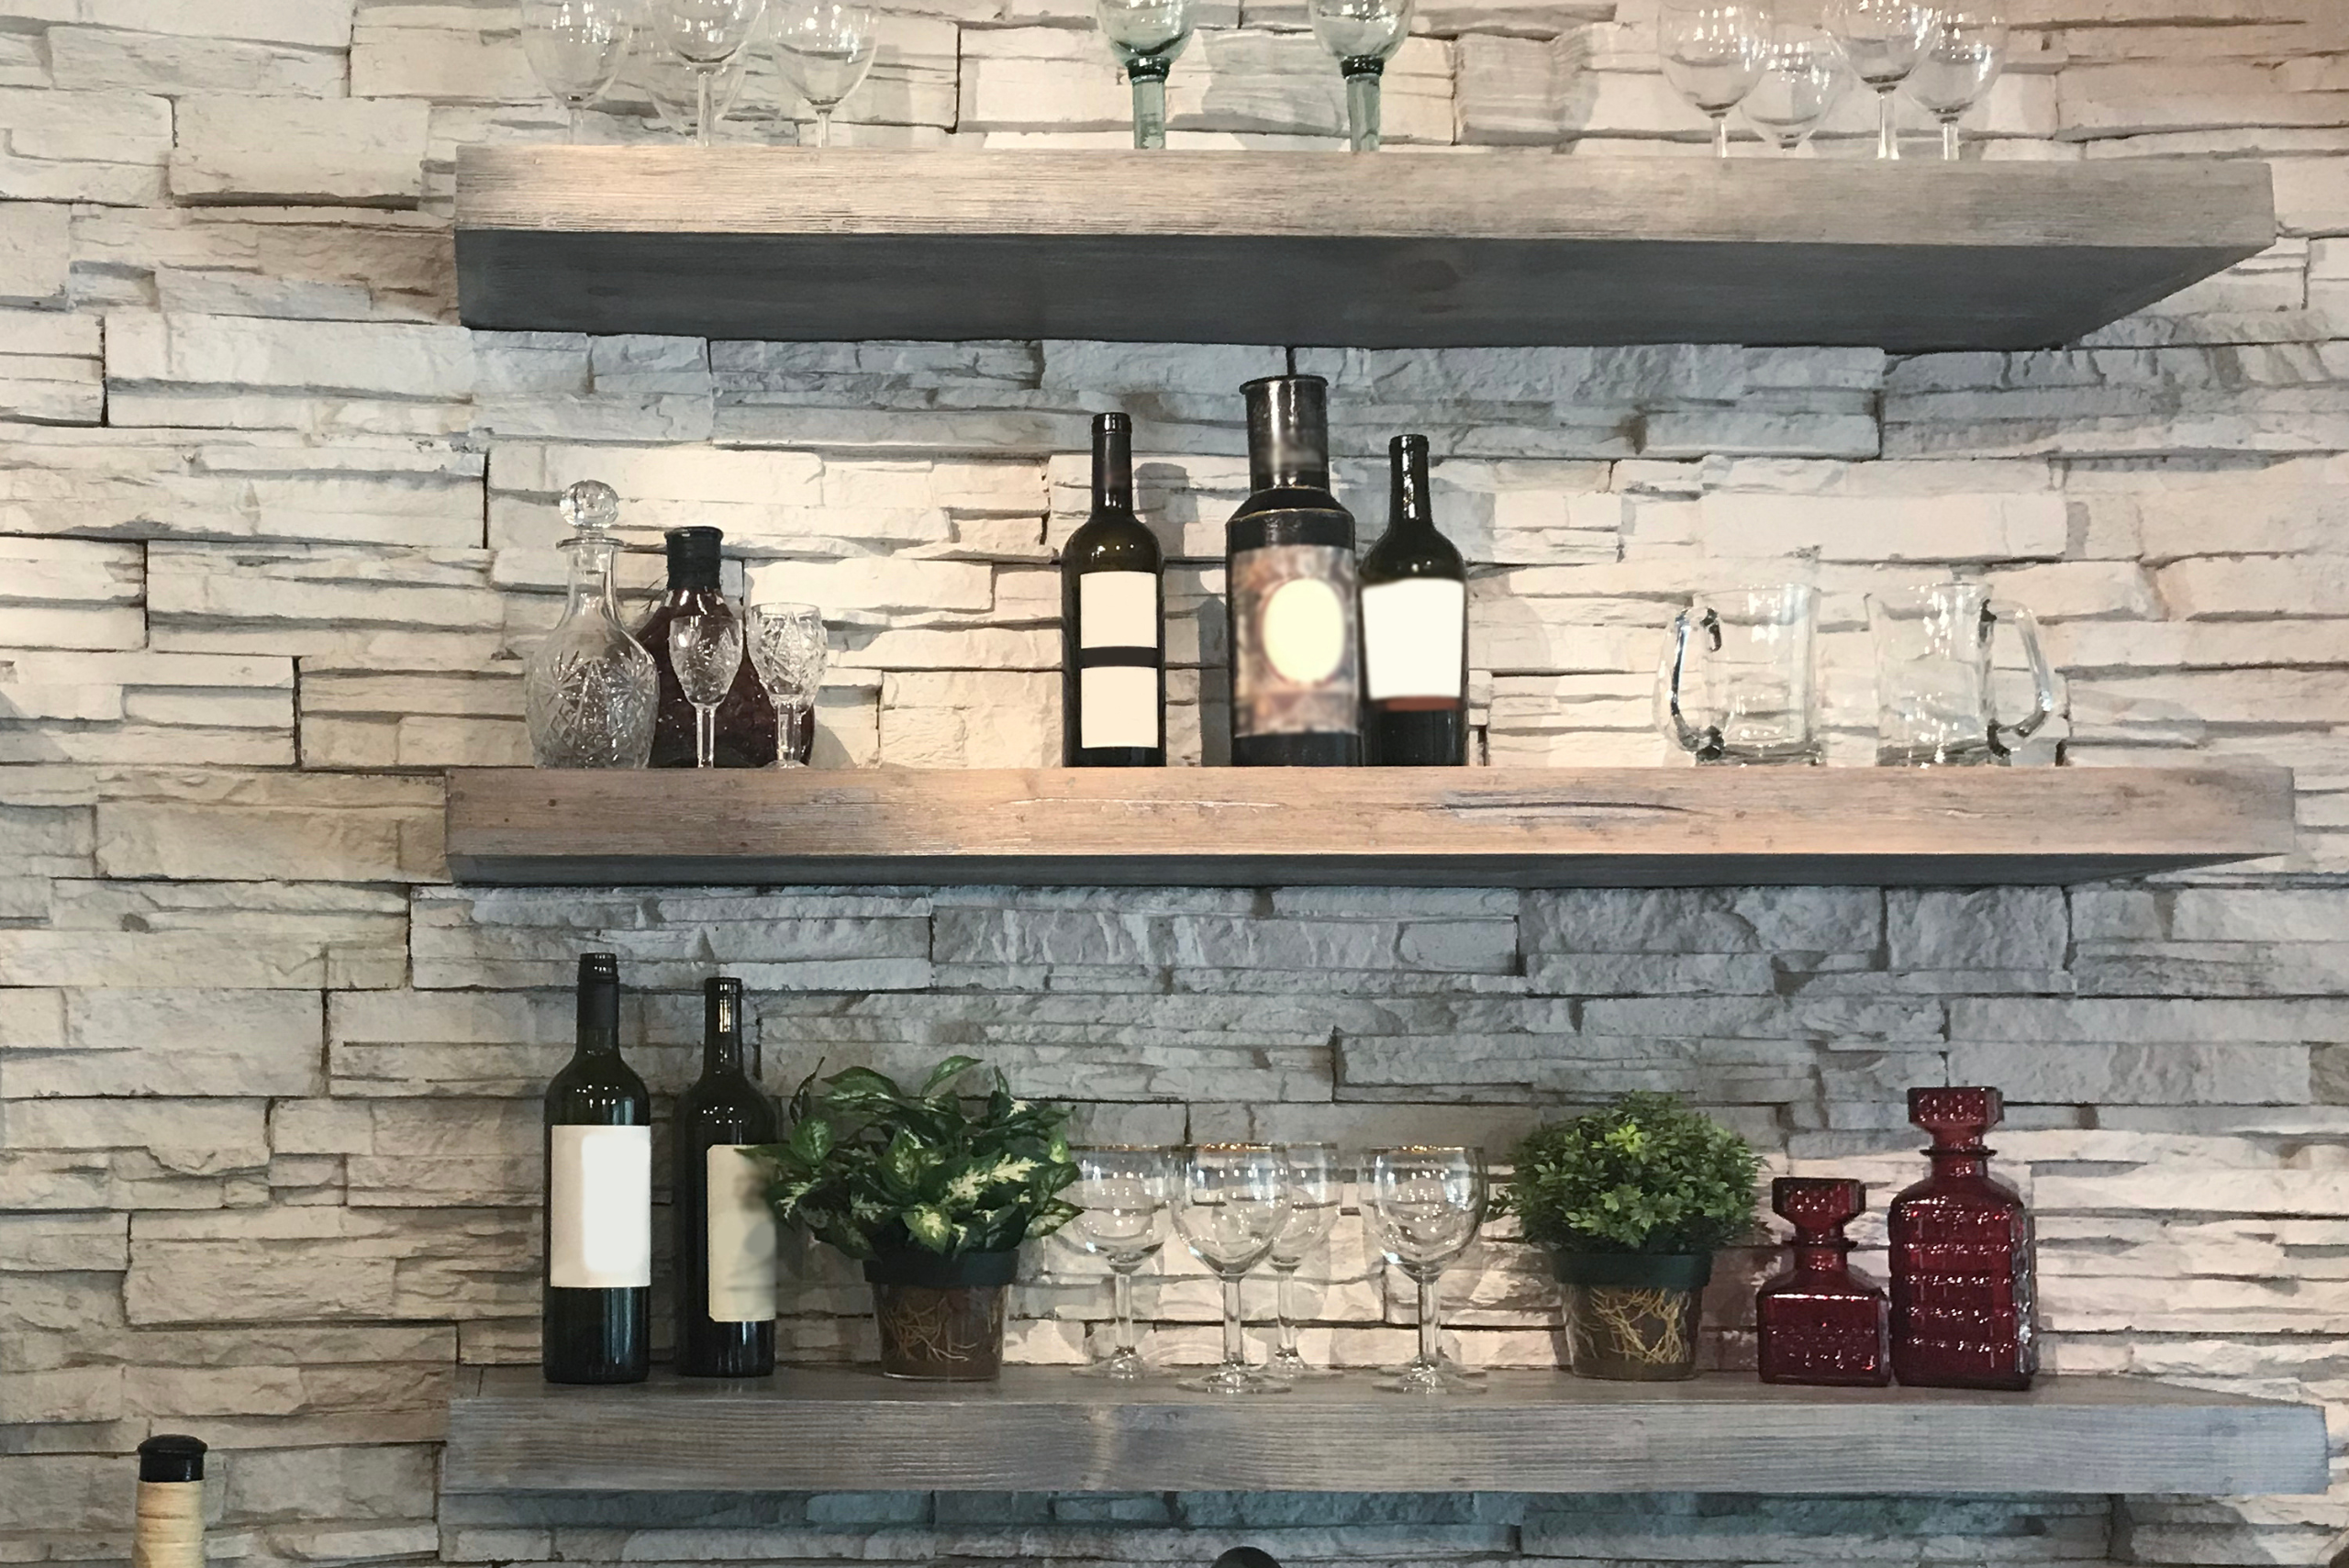
However, the decision to opt for floating shelves should not be taken lightly. It requires a thoughtful consideration of the kitchen’s layout and the homeowner’s lifestyle. For instance, those who love showcasing their fine china or have an impressive array of kitchen gadgets would find floating shelves a delightful addition. On the other hand, individuals who prefer hiding their kitchenware behind closed doors might find this option less appealing. Regardless, integrating floating shelves can significantly impact the kitchen’s functionality and style, striking a balance between form and function.
The Step-by-Step Guide to Installing Your Own Kitchen Floating Shelves
Tackling a DIY kitchen floating shelves install might seem daunting at first, but with the right tools and a bit of patience, it can be a rewarding endeavor.
The first step involves planning and measuring the space where the shelves will be mounted. It’s crucial to consider the weight they’ll need to support to choose the appropriate brackets and hardware. After marking the wall and ensuring the alignment is perfect, the actual installation begins. This process might vary slightly depending on the type of shelves and the wall material, but generally, it involves securing the brackets to the wall and then attaching the shelf to these brackets.
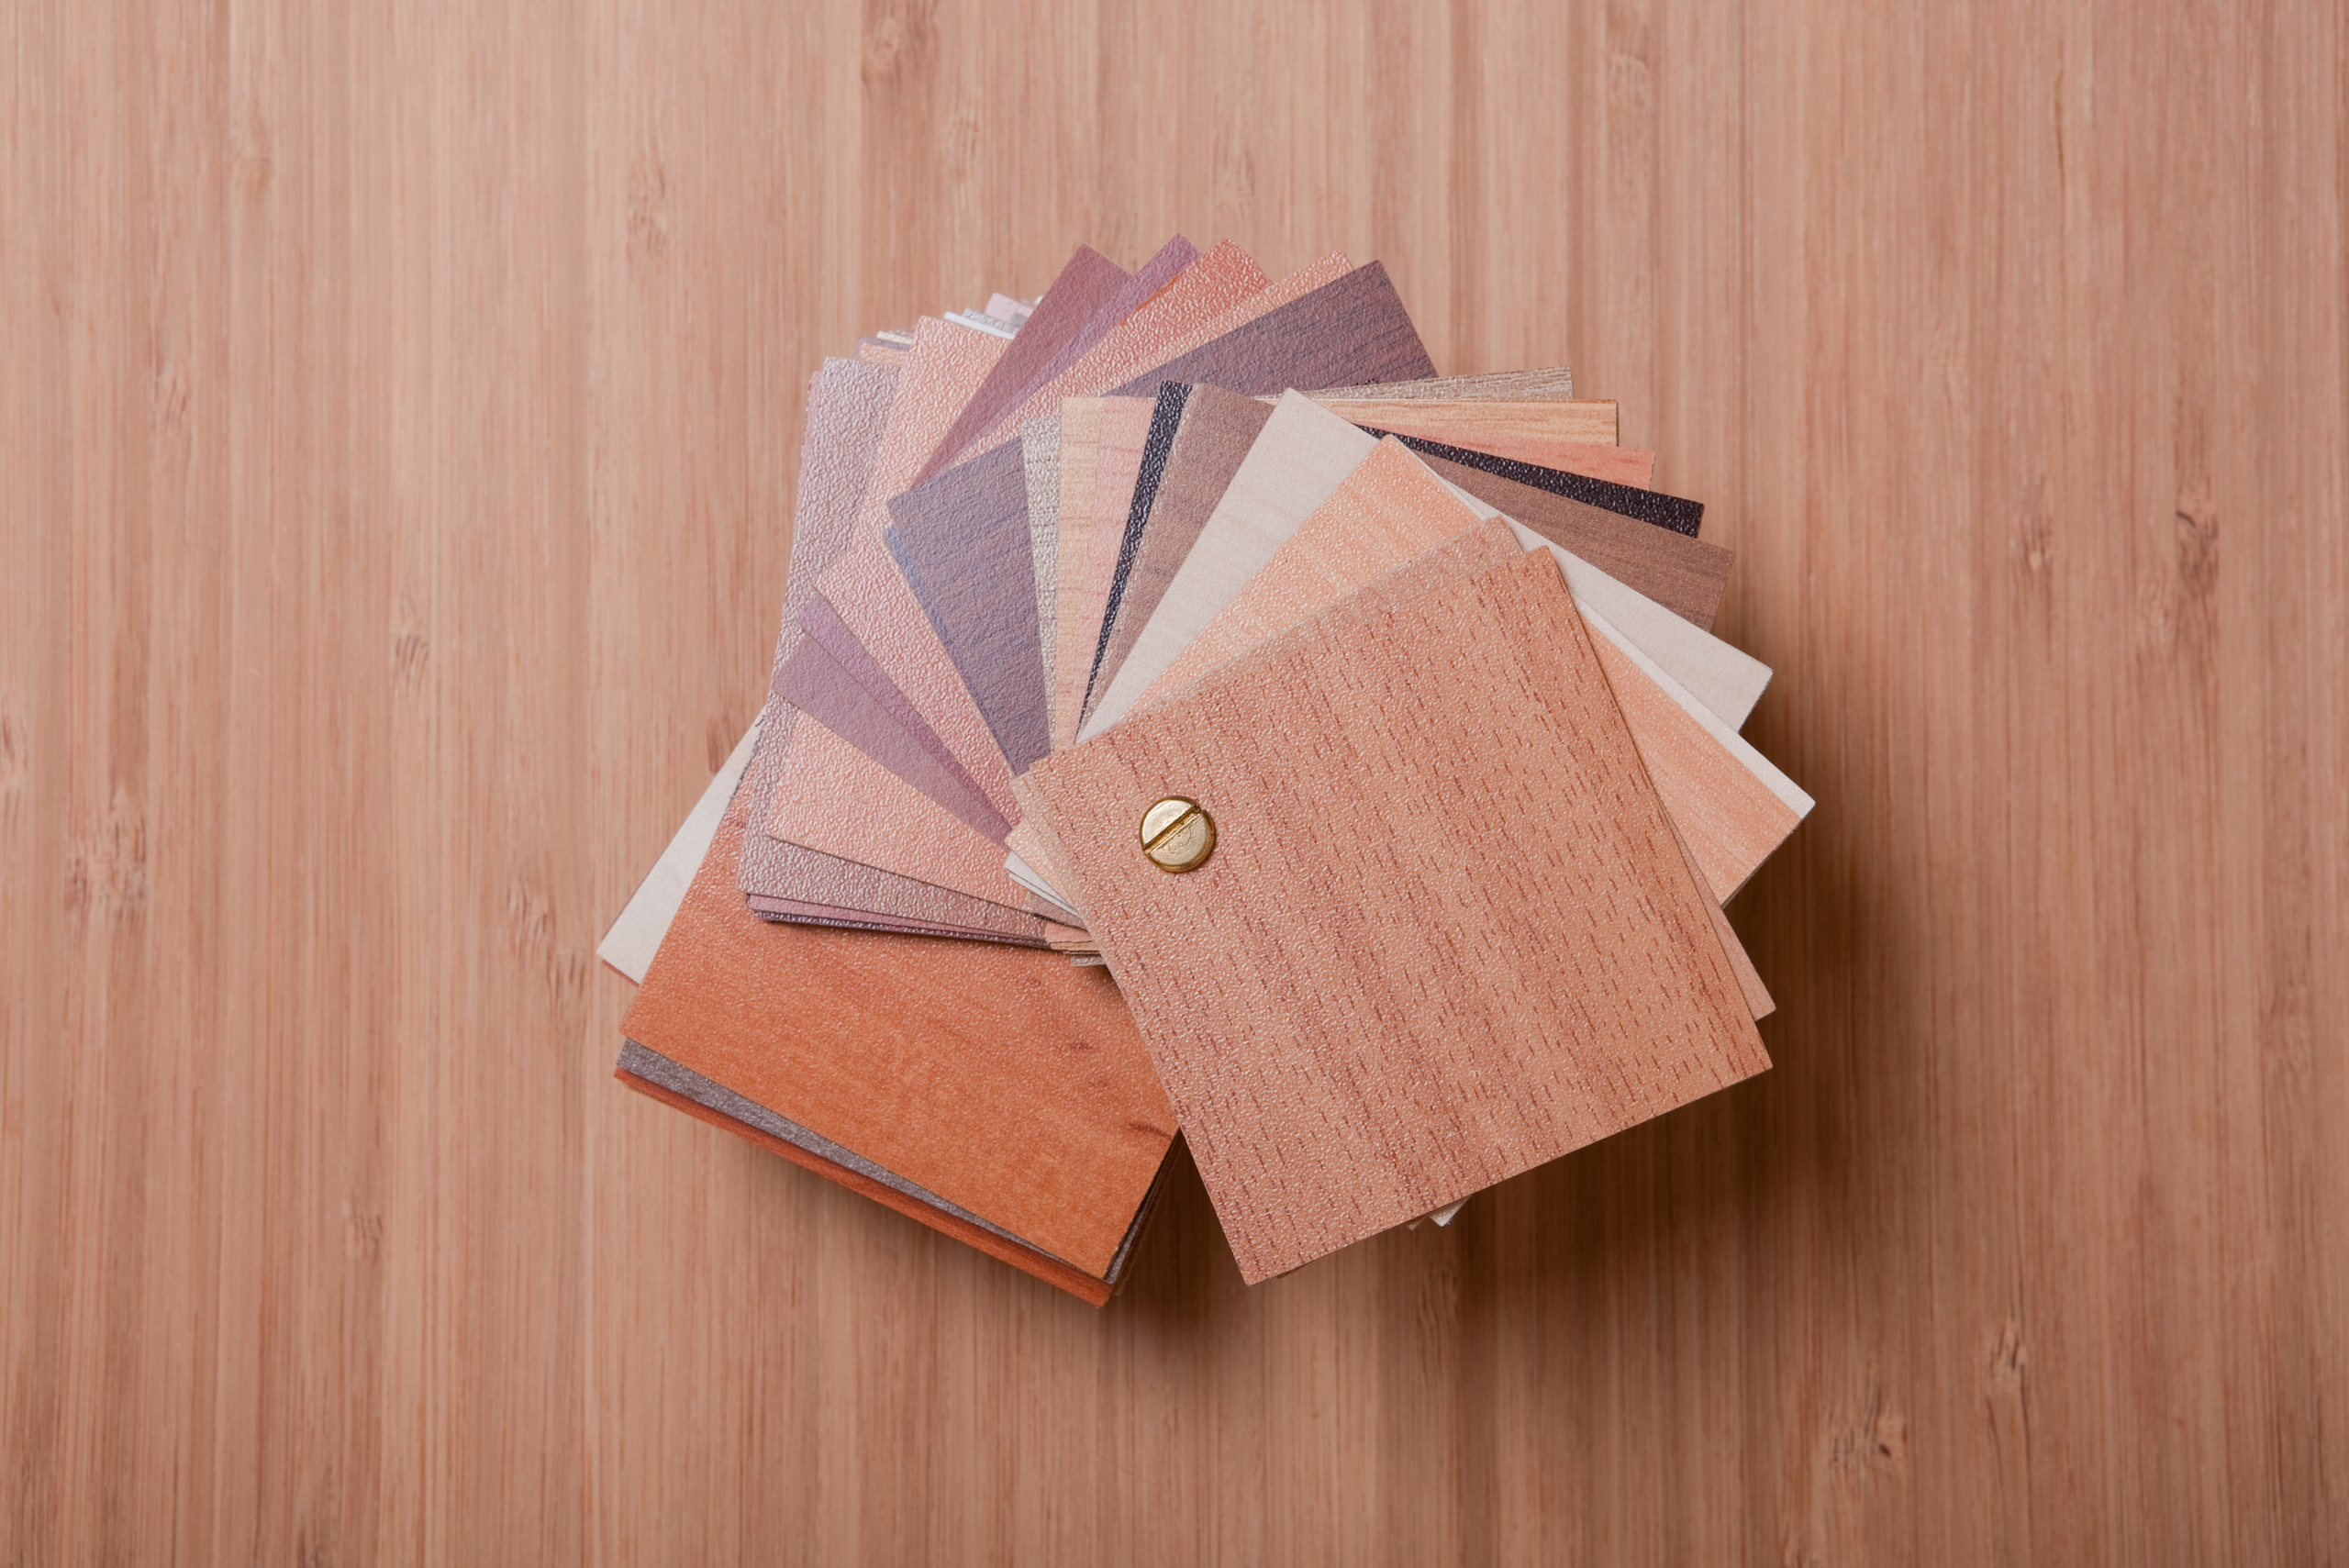
One of the most satisfying aspects of DIY floating shelves is the customization potential. You can select the wood type, finish, and size that perfectly match your kitchen’s decor. Whether you opt for a natural wood finish for a rustic charm or a sleek, painted look for a more modern vibe, the choice is yours. It’s an opportunity to infuse your personality into your kitchen’s design, making the space truly your own.
Step-by-Step Floating Shelves Build Instructions
Materials Needed:
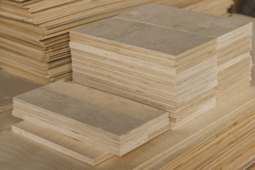
- 1×6 or 1×8 lumber (length depends on desired shelf size)
- Wood screws
- Wall anchors (if not mounting directly into studs)
- Wood glue
- Sandpaper
- Stain or paint (optional)
- Polyurethane (optional for sealing)
Tools Needed:
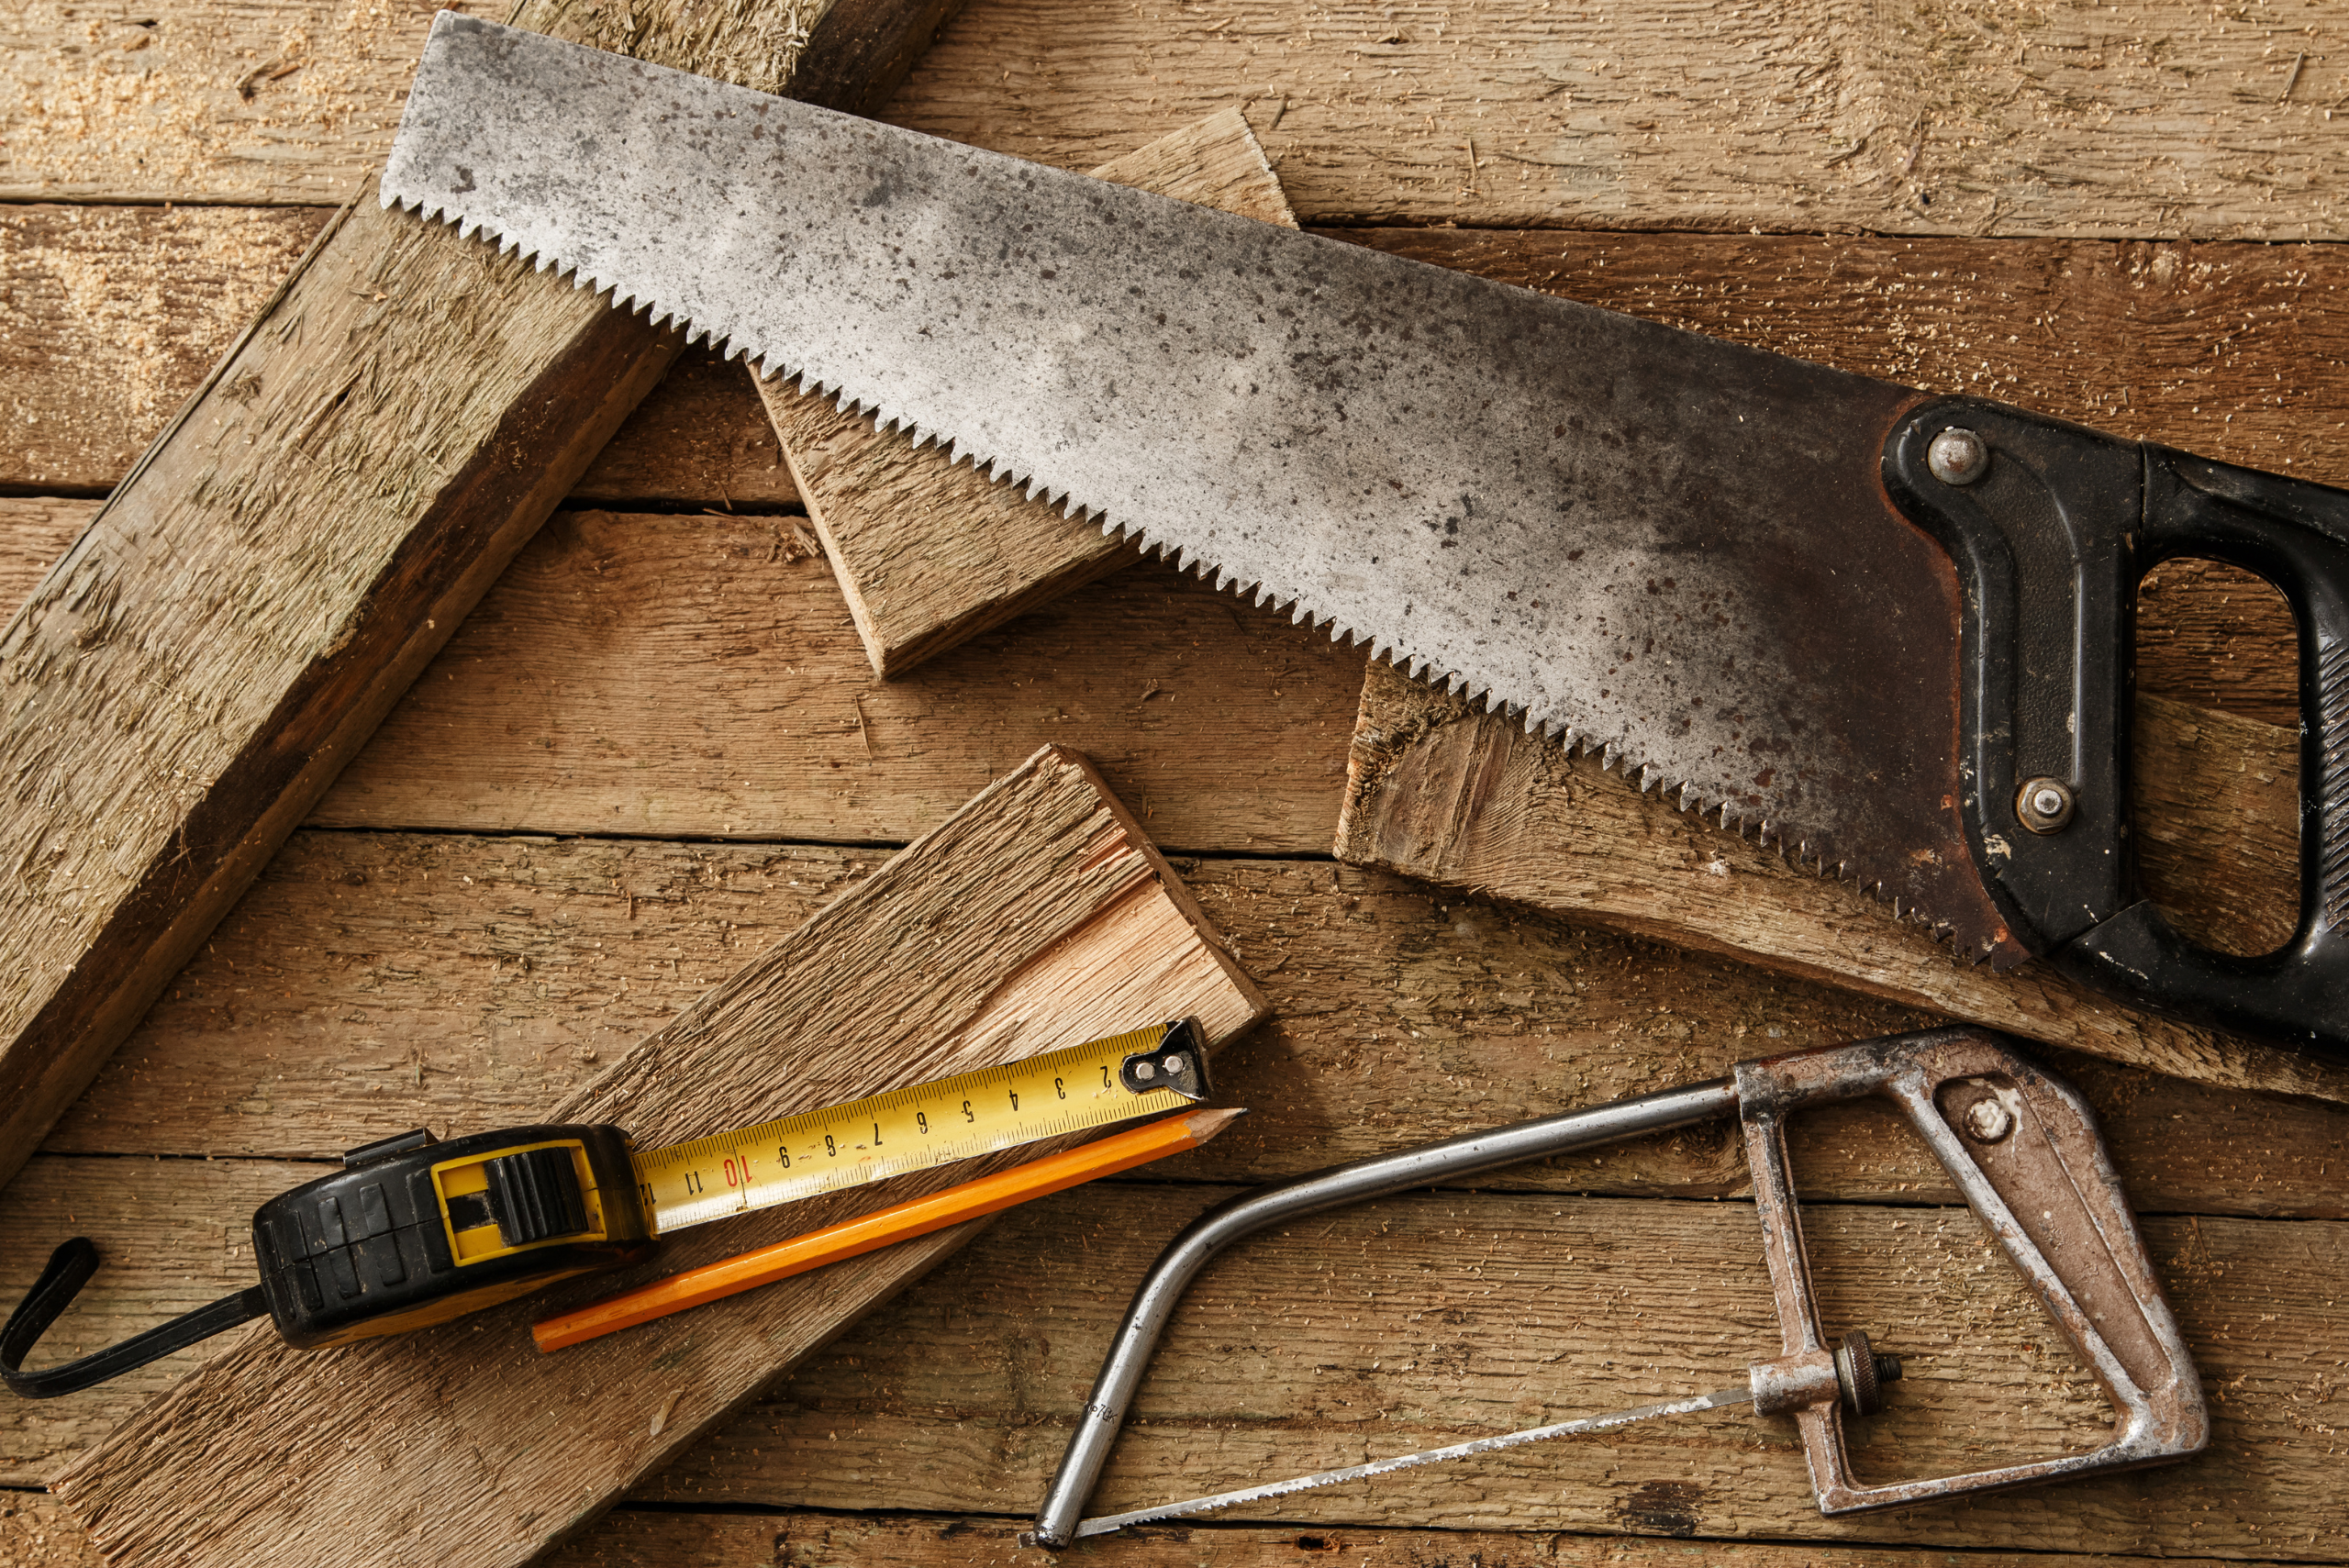
- Saw (circular or miter)
- Drill
- Level
- Tape measure
- Sanding block or electric sander
- Paintbrush or stain applicator
Step-by-Step Instructions:
- Measure and Cut Lumber: Measure the desired length for your shelves and cut the lumber to size using a saw. If you’re making multiple shelves, repeat this step for each.
- Sand the Lumber: Use sandpaper or an electric sander to smooth out any rough edges and surfaces of the lumber pieces.
- Stain or Paint (Optional): If desired, apply stain or paint to the shelves following the manufacturer’s instructions. Allow the shelves to dry completely before proceeding.
- Apply Wood Glue: Run a bead of wood glue along the edge of the shelf that will be attached to the wall.
- Attach Brackets: Position the shelf brackets on the backside of the shelf, ensuring they are evenly spaced. Secure them in place using wood screws.
- Pre-drill Holes: If your wall studs are not evenly spaced where you want to hang the shelves, mark and pre-drill holes for wall anchors. Use a drill bit slightly smaller than the diameter of the anchors.
- Mount the Shelves: With the help of a level, hold the shelf against the wall at the desired height and mark the locations of the bracket screw holes on the wall.
- Secure the Shelves: Drill pilot holes into the wall at the marked locations. If using wall anchors, insert them into the pilot holes. Then, attach the shelves to the wall by driving screws through the bracket screw holes into the wall studs or anchors.
- Check Level: Once the shelves are attached, use a level to ensure they are straight and adjust as necessary.
- Final Touches (Optional): Apply a coat of polyurethane to seal the shelves and protect them from moisture and wear. Allow the polyurethane to dry completely before placing any items on the shelves.
Your floating kitchen shelves are now ready to use!
Styling Your Kitchen Floating Shelves To Achieve A Blend of Functionality and Aesthetics
Once the floating shelves are securely in place, the next exciting phase is styling them. This is where functionality meets aesthetics. The key is to strike a balance between decorative items and everyday kitchen essentials. Start with larger items like serving platters or cutting boards as a base, then layer with medium-sized items such as bowls or spice jars, and finally, sprinkle in smaller, decorative objects like succulents or figurines. Remember, the aim is to create a visually appealing display that also serves your daily needs.
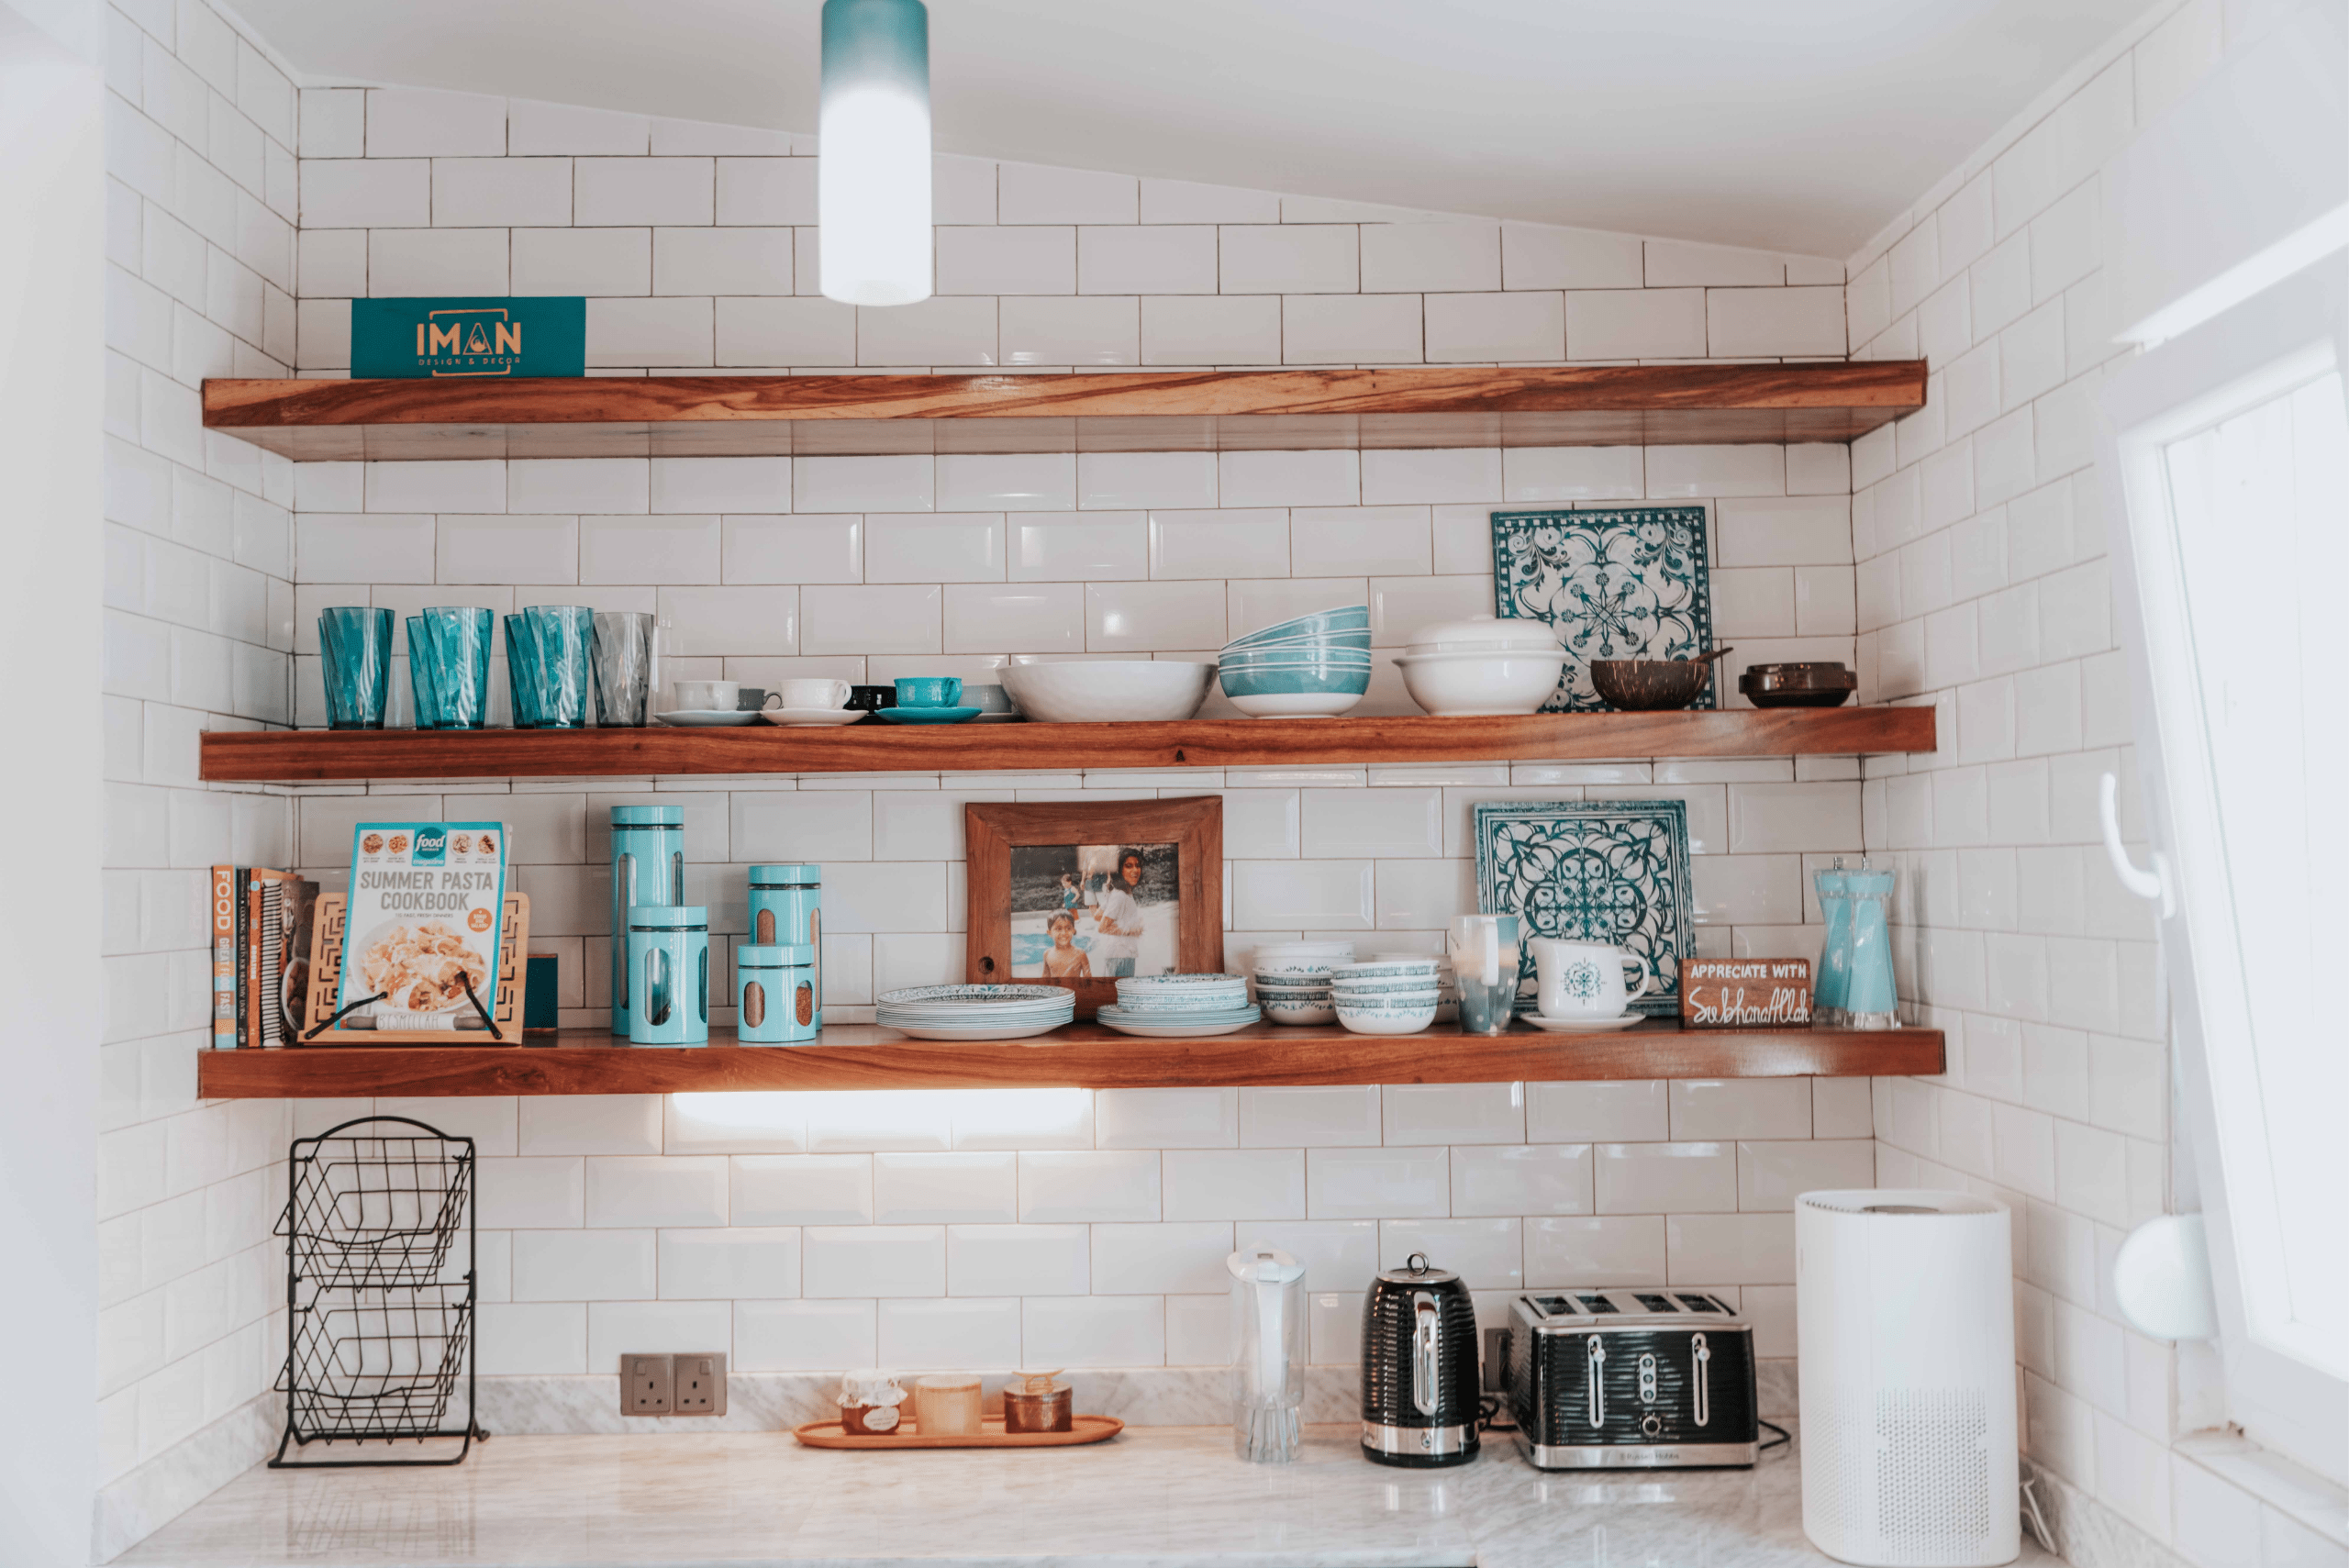
It’s also important to consider the visual weight distribution to maintain a harmonious look. Arrange items in a way that draws the eye across the entire length of the shelf, mixing heights and textures to add depth and interest. Additionally, keeping a cohesive color scheme can help unify the display, making it look well-thought-out and intentional. With a bit of creativity and experimentation, styling your kitchen floating shelves can transform your kitchen into a magazine-worthy space.
Maintenance Tips for Keeping Your Kitchen Floating Shelves Pristine
Maintaining the beauty and functionality of your kitchen floating shelves is essential for ensuring they remain an asset rather than a liability. Regular cleaning is a must, as open shelving is prone to collecting dust and grease, especially in a kitchen environment. A soft cloth and a mild cleaner are usually sufficient for wiping down the shelves and the items displayed on them. For wooden shelves, using a wood-specific cleaner can help preserve their finish and protect them from damage.
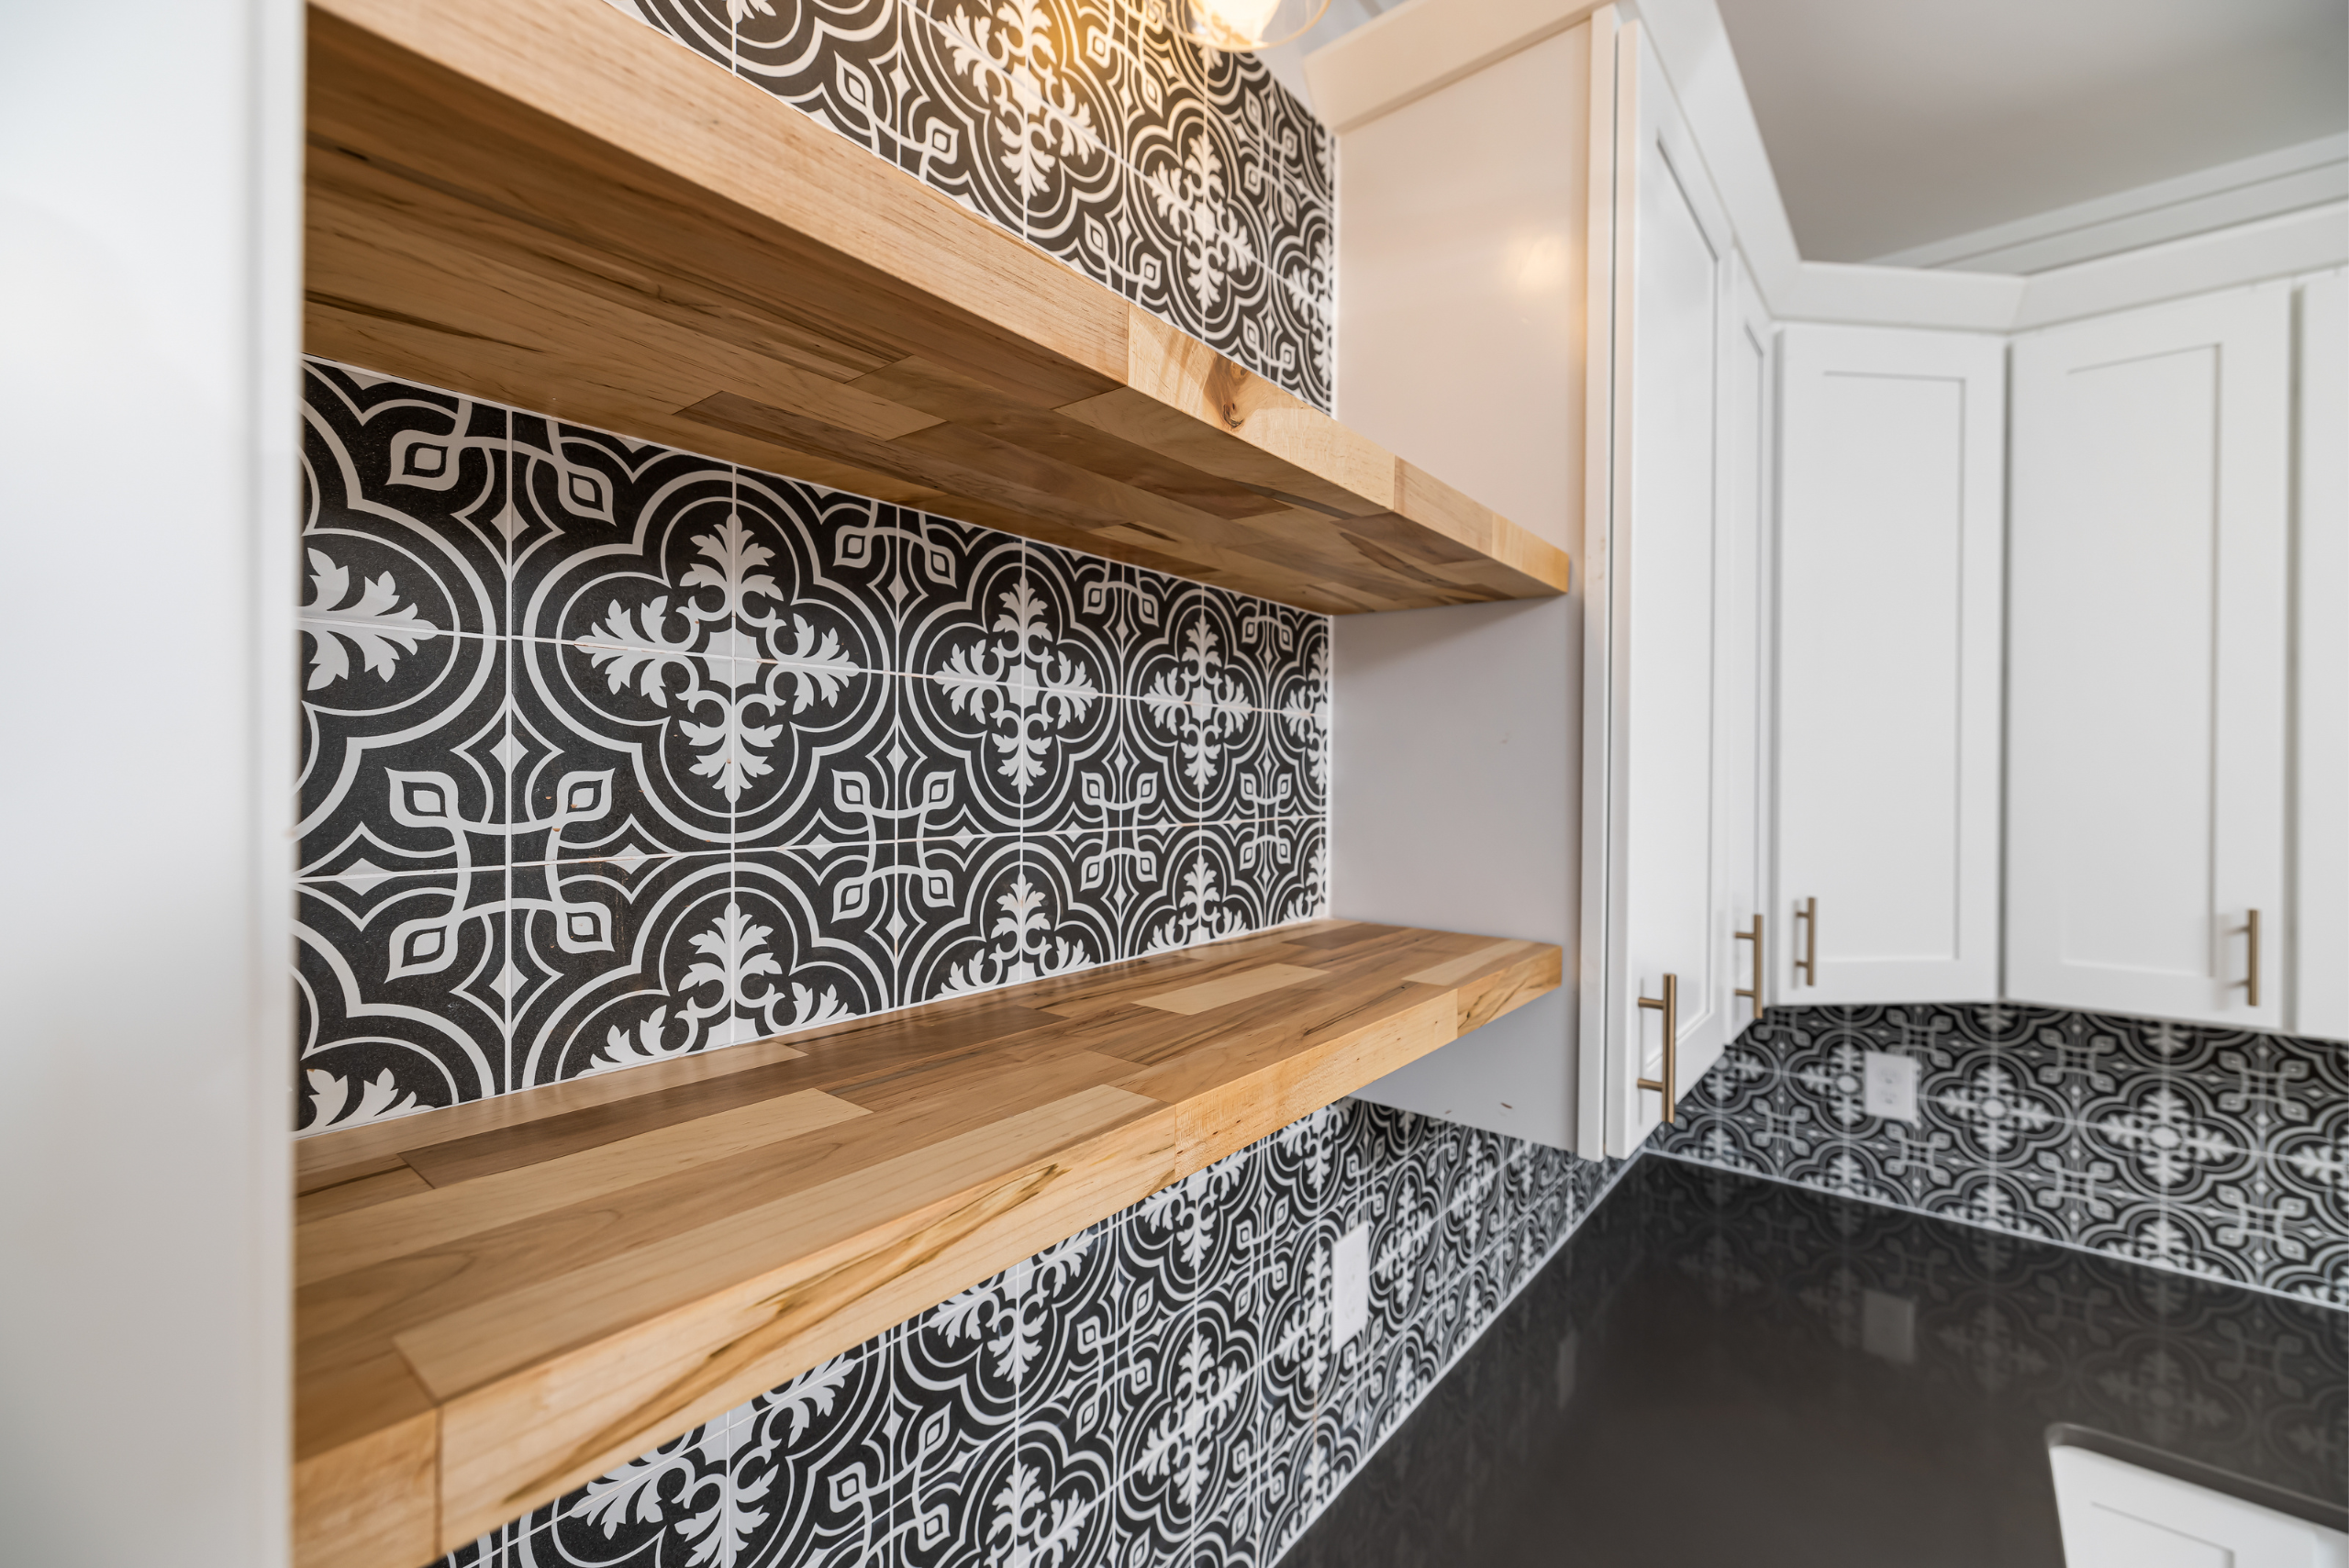
In addition to cleaning, periodically checking the shelves for signs of wear or damage is crucial. Over time, the weight of stored items can cause shelves to sag or brackets to loosen. Addressing these issues promptly can prevent accidents and extend the life of your shelves. Furthermore, rotating the items displayed on your shelves not only gives your kitchen a fresh look but also ensures that all pieces are used and cleaned regularly, preventing dust accumulation.
Related Articles:
- Types of Kitchen Counters: Explore The Best Options
- Simple Outdoor Kitchen Ideas: Enhance Your Home
- 10 Essential Kitchen Gadgets Every Foodie Should Have
Integrating kitchen floating shelves into your home is more than just a design trend; it’s a way to revitalize the heart of your home. By combining practicality with aesthetic appeal, floating shelves can transform your kitchen into a space that feels open, inviting, and uniquely yours. Whether you’re a seasoned DIY enthusiast or a novice looking to make your mark, the journey of creating, installing, and styling floating shelves is an enriching experience that yields both functional and decorative rewards.
FAQs
Are floating shelves in a kitchen a good idea? Floating shelves in a kitchen can be a great idea for several reasons. They can add a modern and streamlined look to the space, create additional storage without taking up floor space, and provide a convenient way to display decorative items or frequently used kitchen essentials. However, they may not be suitable for heavy items or excessive clutter, as they have weight limitations compared to traditional cabinets.
What are the rules for floating shelves in the kitchen? When installing floating shelves in the kitchen, there are a few guidelines to consider. Firstly, ensure they are securely anchored to the wall studs or using appropriate mounting hardware to support the weight of items you intend to place on them. Secondly, consider the height and spacing between shelves to accommodate the items you plan to store or display. Most importantly, it’s essential to keep them away from sources of moisture or heat to prevent damage or premature wear.
Is it cheaper to buy or build floating shelves? The cost-effectiveness of buying versus building floating shelves depends on various factors such as material quality, size, and personal skill level. In general, buying pre-made floating shelves may be more convenient and less time-consuming but can be more expensive, especially if you’re looking for customized options or higher-end materials. On the other hand, building floating shelves yourself can be cheaper, especially if you already have the necessary tools and materials or are willing to use more budget-friendly options.
What is the best depth for floating shelves in a kitchen? The best depth for floating shelves in a kitchen typically ranges from 10 to 14 inches. This depth provides enough space to store common kitchen items such as plates, bowls, glasses, and jars without protruding too far into the room. However, the ideal depth may vary depending on your specific needs and the available space in your kitchen. It’s essential to consider what items you plan to store on the shelves and how much clearance you need between the shelf and nearby countertops or appliances.
As we’ve explored, from understanding their appeal to mastering the installation and styling process, kitchen floating shelves offer a world of possibilities. By following the tips and insights shared in this article, you’re well-equipped to embark on this rewarding project.
So why not take the leap and add a touch of elegance and openness to your kitchen with beautifully styled floating shelves? After all, the kitchen is not just a place for cooking; it’s a canvas for your creativity and a central gathering spot for those you love. Let your kitchen floating shelves reflect your personality, taste, and the warmth of your home.
Ready to start your next project? Join our DIY community to receive tool tips, how-to guides, and exclusive creative insights. Subscribe to the ManMadeDIY newsletter now! Click here to unlock a world of hands-on inspiration.

