Step-by-Step Guide for Fixing a Leaky Bathtub Faucet
Discovering a leaky bathtub faucet is a common woe among homeowners, but fear not – you’re not alone in this predicament. However, fear not, as we’ll take you through the process of fixing a leaky bathtub faucet step by step. With a bit of time and effort, you’ll soon have your faucet functioning like new.
Understanding the Problem: Identifying a Leaky Bathtub Faucet
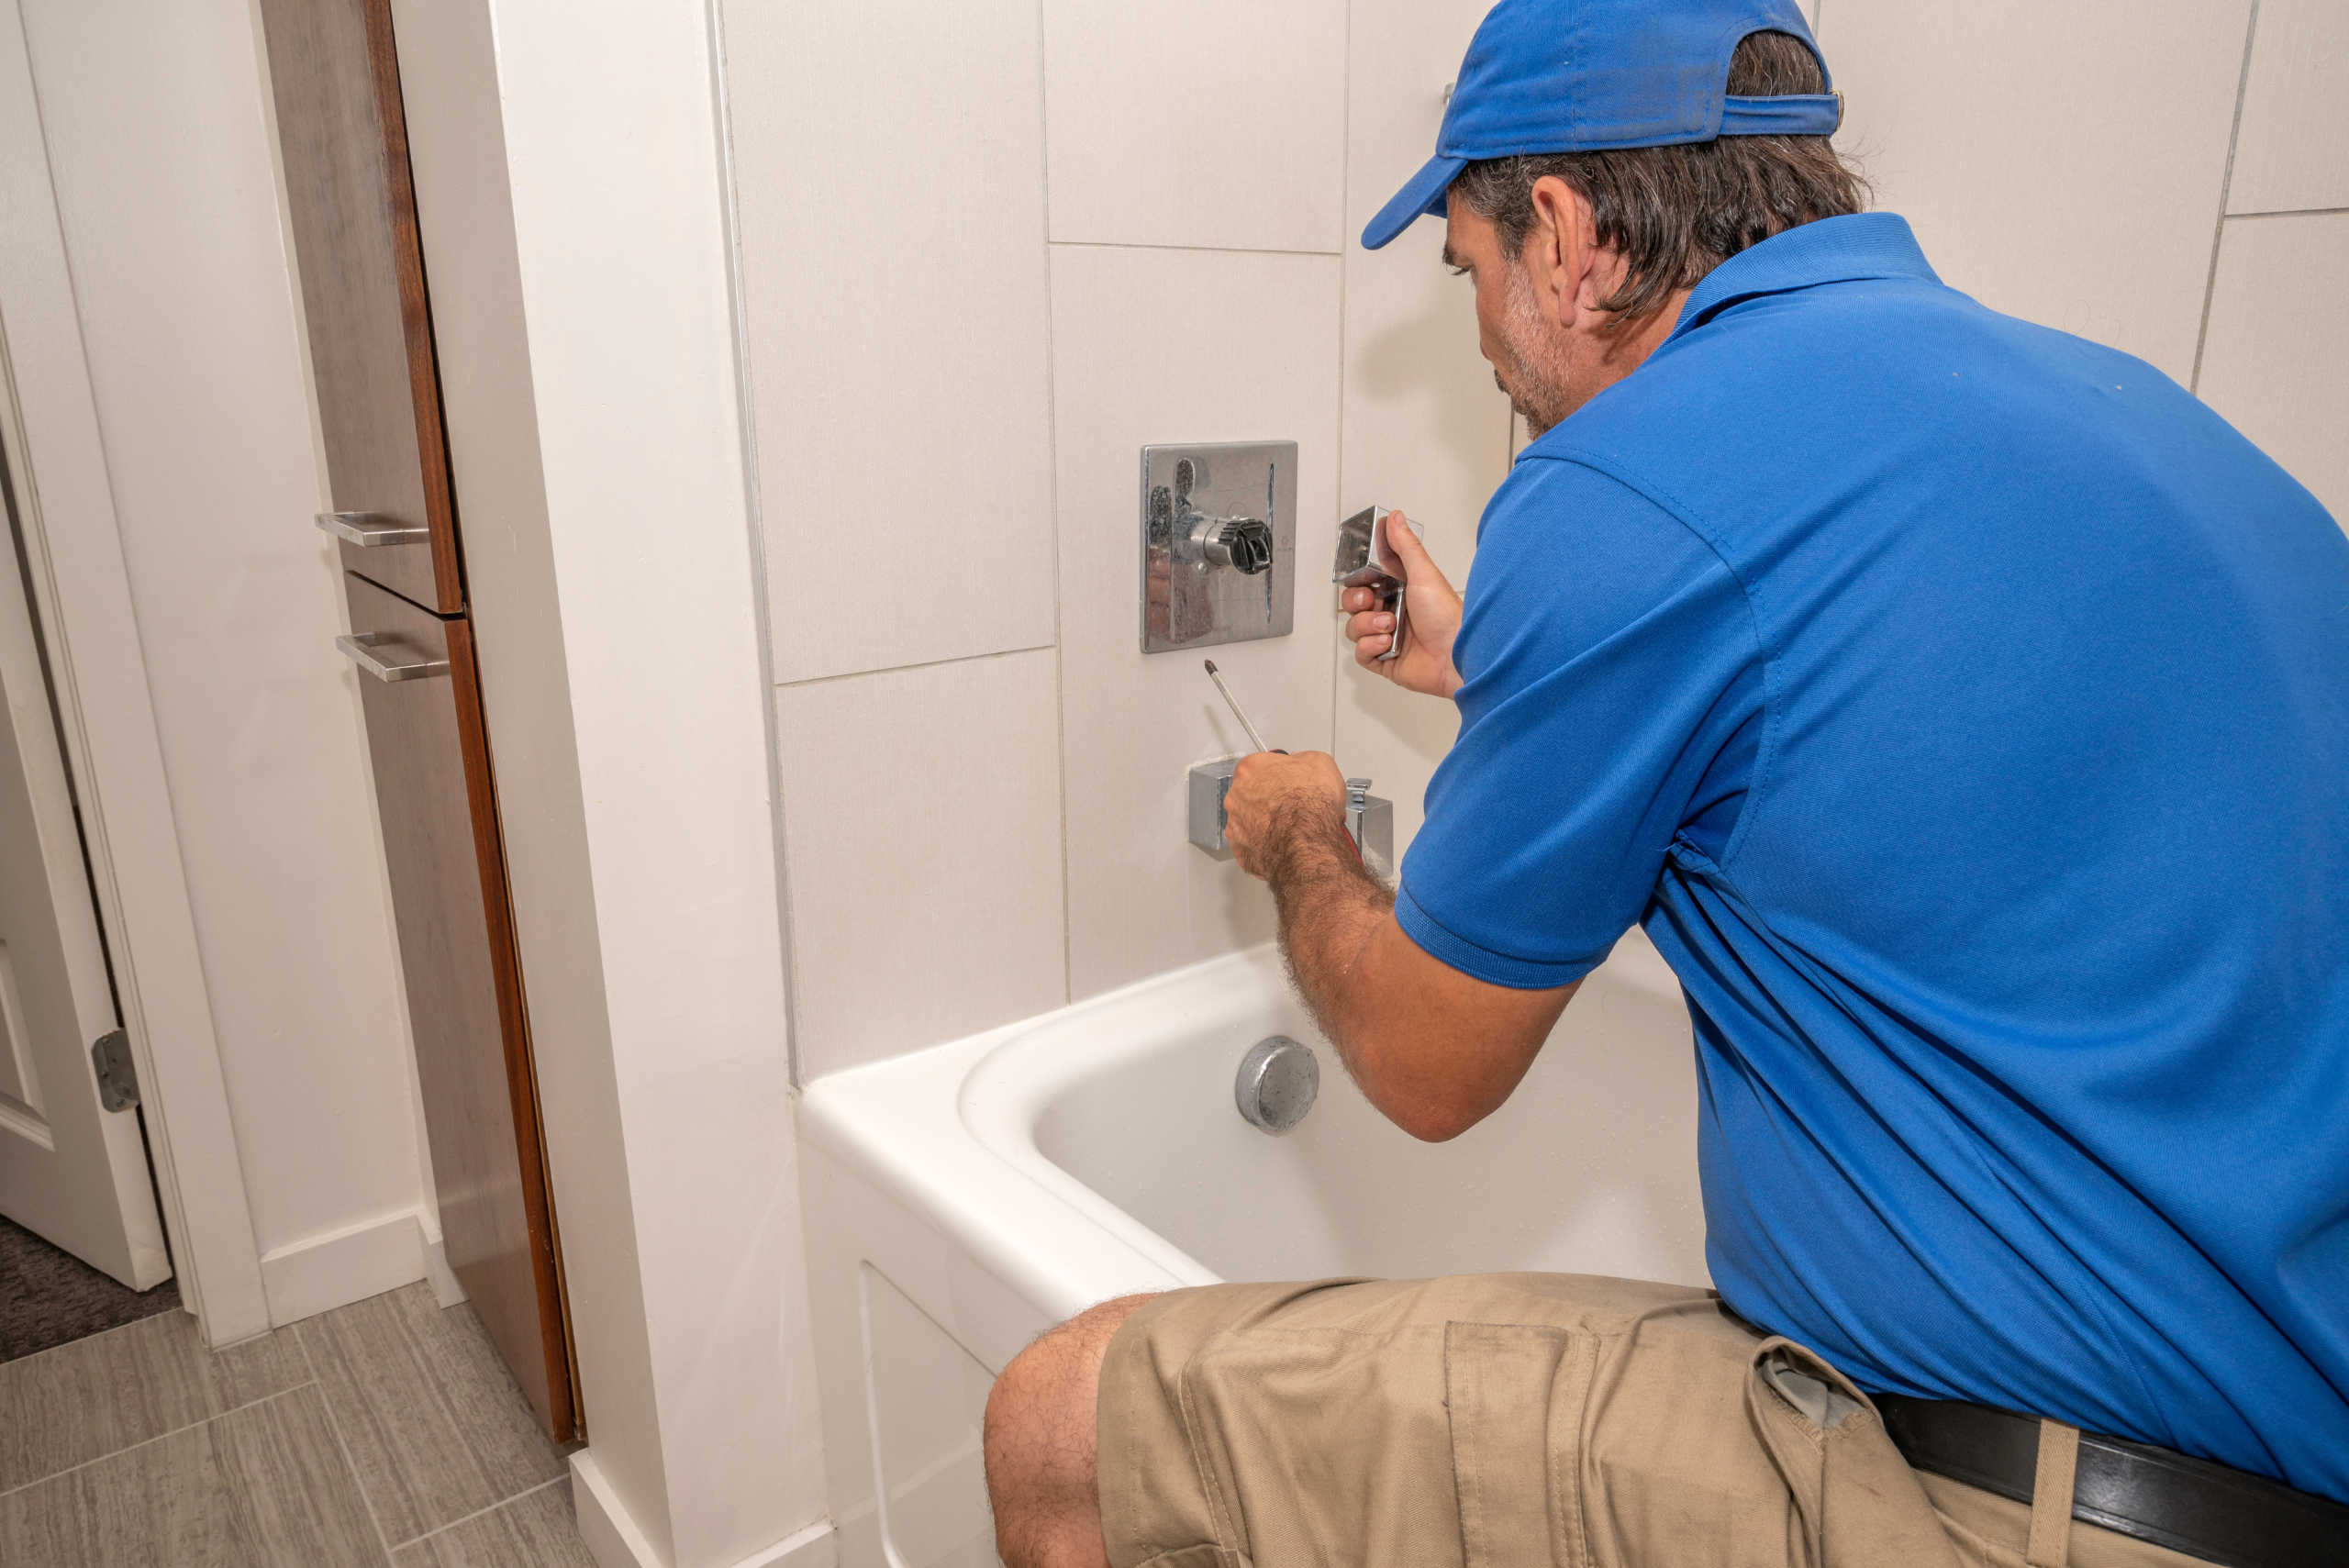
When faced with a leaky bathtub faucet, unraveling the mystery behind the issue is paramount before initiating any repairs. The primary culprits for this common problem are often a worn-out cartridge or a deteriorating O-ring. Understanding the intricacies of these components and recognizing the potential causes is key to resolving the leakage effectively.
1. Worn-Out Cartridge
- Functionality Over Time: The cartridge, a crucial part of the faucet mechanism, can wear down with prolonged use. As it experiences the daily turning on and off, the constant friction can lead to deterioration, compromising its ability to form a tight seal.
- Signs of Wear: Look for signs such as persistent dripping, inconsistent water flow, or difficulty turning the faucet off completely. These are indicators that the cartridge may be reaching the end of its functional lifespan.
2. Deteriorating O-Ring
- Location and Purpose: The O-ring is a small, circular rubber component typically found near the base of the faucet handle. It serves as a seal, preventing water from leaking out around the handle.
- Causes of Deterioration: Over time, the O-ring can degrade due to exposure to water, minerals, and the natural aging process. When it loses its flexibility and integrity, it allows water to escape, resulting in a leak.
3. Regular Use and Mineral Buildup
- Impact of Daily Use: The wear and tear on the faucet components intensify with daily use. Turning the faucet handles, adjusting the water temperature, and the constant flow of water contribute to the gradual breakdown of parts.
- Mineral Buildup: In areas with hard water, mineral deposits can accumulate within the faucet, affecting its performance. Minerals like calcium and magnesium can lead to corrosion and hinder the smooth operation of internal components.
Identifying the Issue
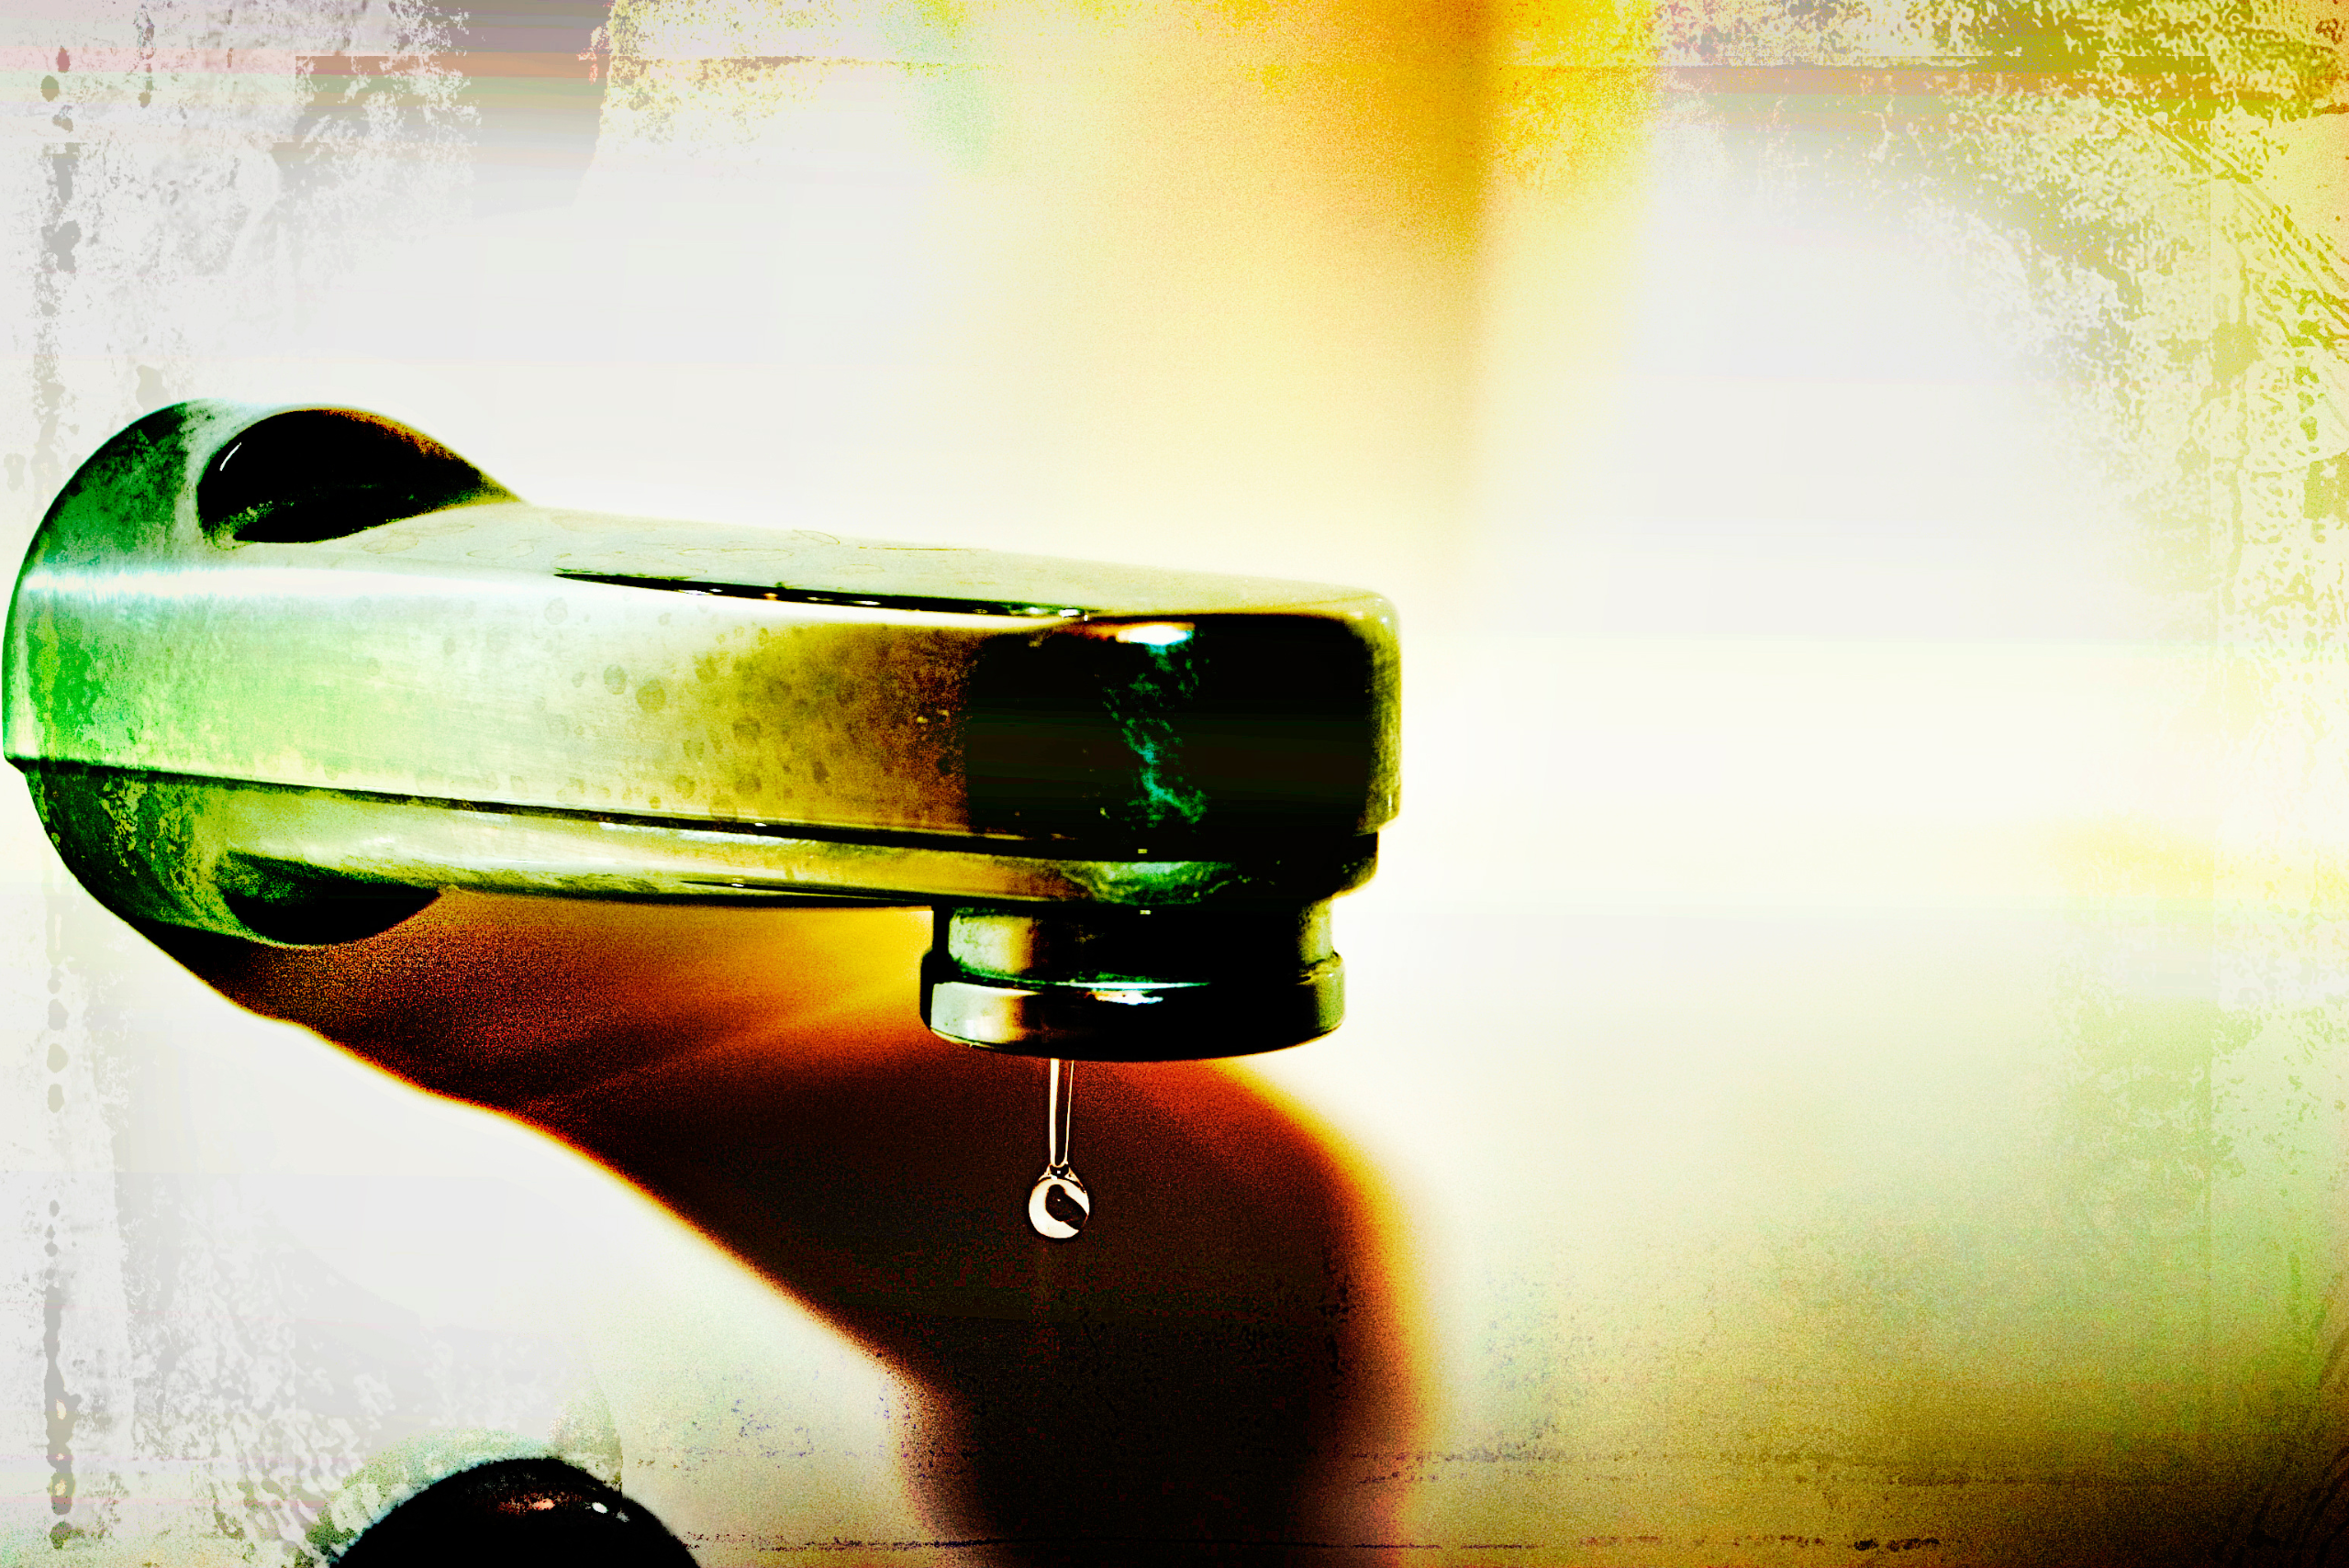
- Observation: Take note of the specific characteristics of the leak. Is it a slow drip, a constant stream, or does it occur only when the faucet is turned on or off? Observing these details can provide clues about which component might be compromised.
- Examination: Carefully examine the area around the faucet handle and spout for visible signs of wear, corrosion, or mineral deposits. Additionally, listen for any unusual sounds, such as grinding or squeaking, which may indicate internal issues.
By delving into the nuances of a leaky bathtub faucet and recognizing the role of a worn-out cartridge or deteriorating O-ring, you’re equipped to tackle the repair process with precision. Identifying the root cause lays the foundation for a successful resolution, allowing you to restore your faucet’s functionality efficiently.
Gathering the Necessary Tools and Materials
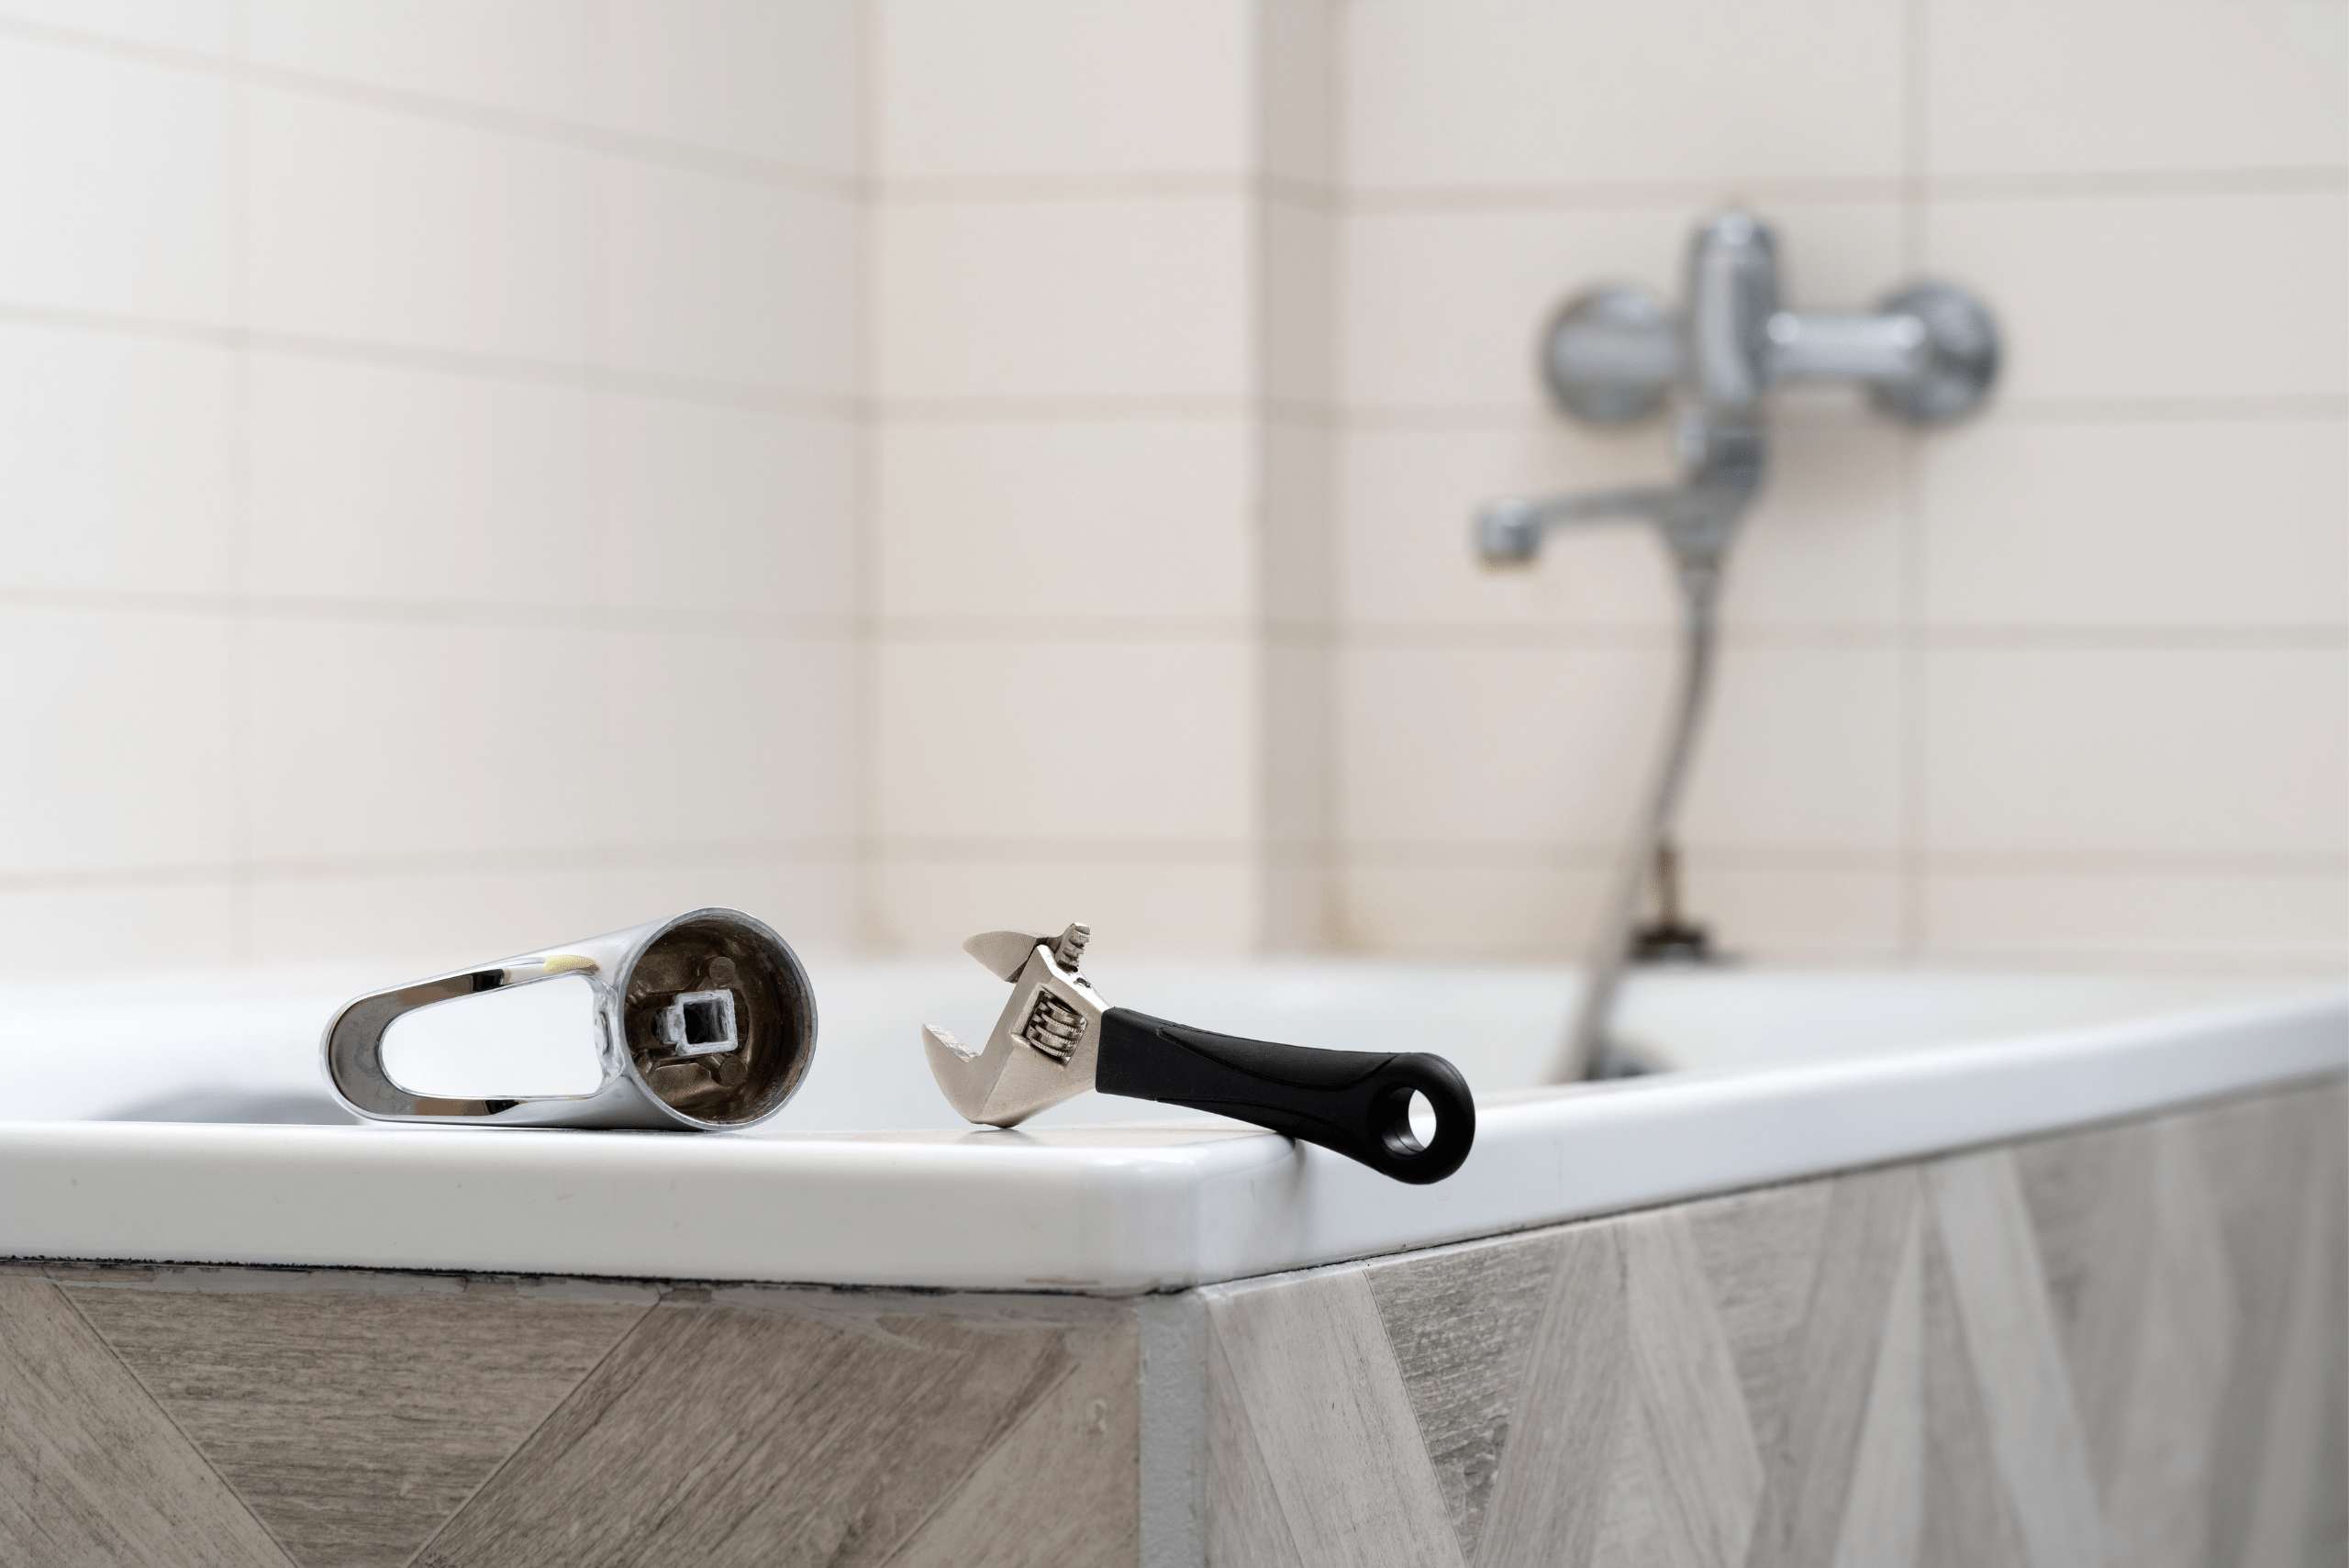
To successfully address a leaky bathtub faucet, make sure you have the essential tools and materials ready for a smooth repair process. Consider the following comprehensive list:
- Adjustable Wrench:
- Purpose: An adjustable wrench is crucial for securely loosening and tightening nuts and bolts during the disassembly and reassembly of the faucet components.
- Usage: Use the adjustable wrench to grip and turn nuts and bolts of varying sizes, ensuring a firm and controlled grasp.
- Screwdriver:
- Purpose: A screwdriver is essential for removing screws that secure the faucet handle and accessing internal components.
- Usage: Depending on the faucet design, a Phillips or flat-head screwdriver may be required. Ensure you have the appropriate type for your specific faucet.
- Replacement Cartridge or O-Ring:
- Purpose: At the heart of the repair, having a replacement cartridge or O-ring ensures that you can swap out the worn or damaged components.
- Selection: Bring the old parts to your local hardware store to guarantee you get the correct replacement. This step ensures a precise fit and optimal functionality.
- Plumber’s Tape:
- Purpose: Plumber’s tape, also known as Teflon tape, plays a crucial role in preventing water leaks at threaded connections.
- Usage: Wrap plumber’s tape around the threads of pipes and fittings to create a watertight seal. This step is particularly important during the reassembly process.
- Cloth or Towel:
- Purpose: Having a cloth or towel on hand is essential for containing and cleaning up any water that may escape during the repair.
- Usage: Place the cloth or towel strategically around the work area to catch water droplets and prevent potential damage to surrounding surfaces.
Fixing a Leaky Bathtub Faucet: The Step-by-Step Guide
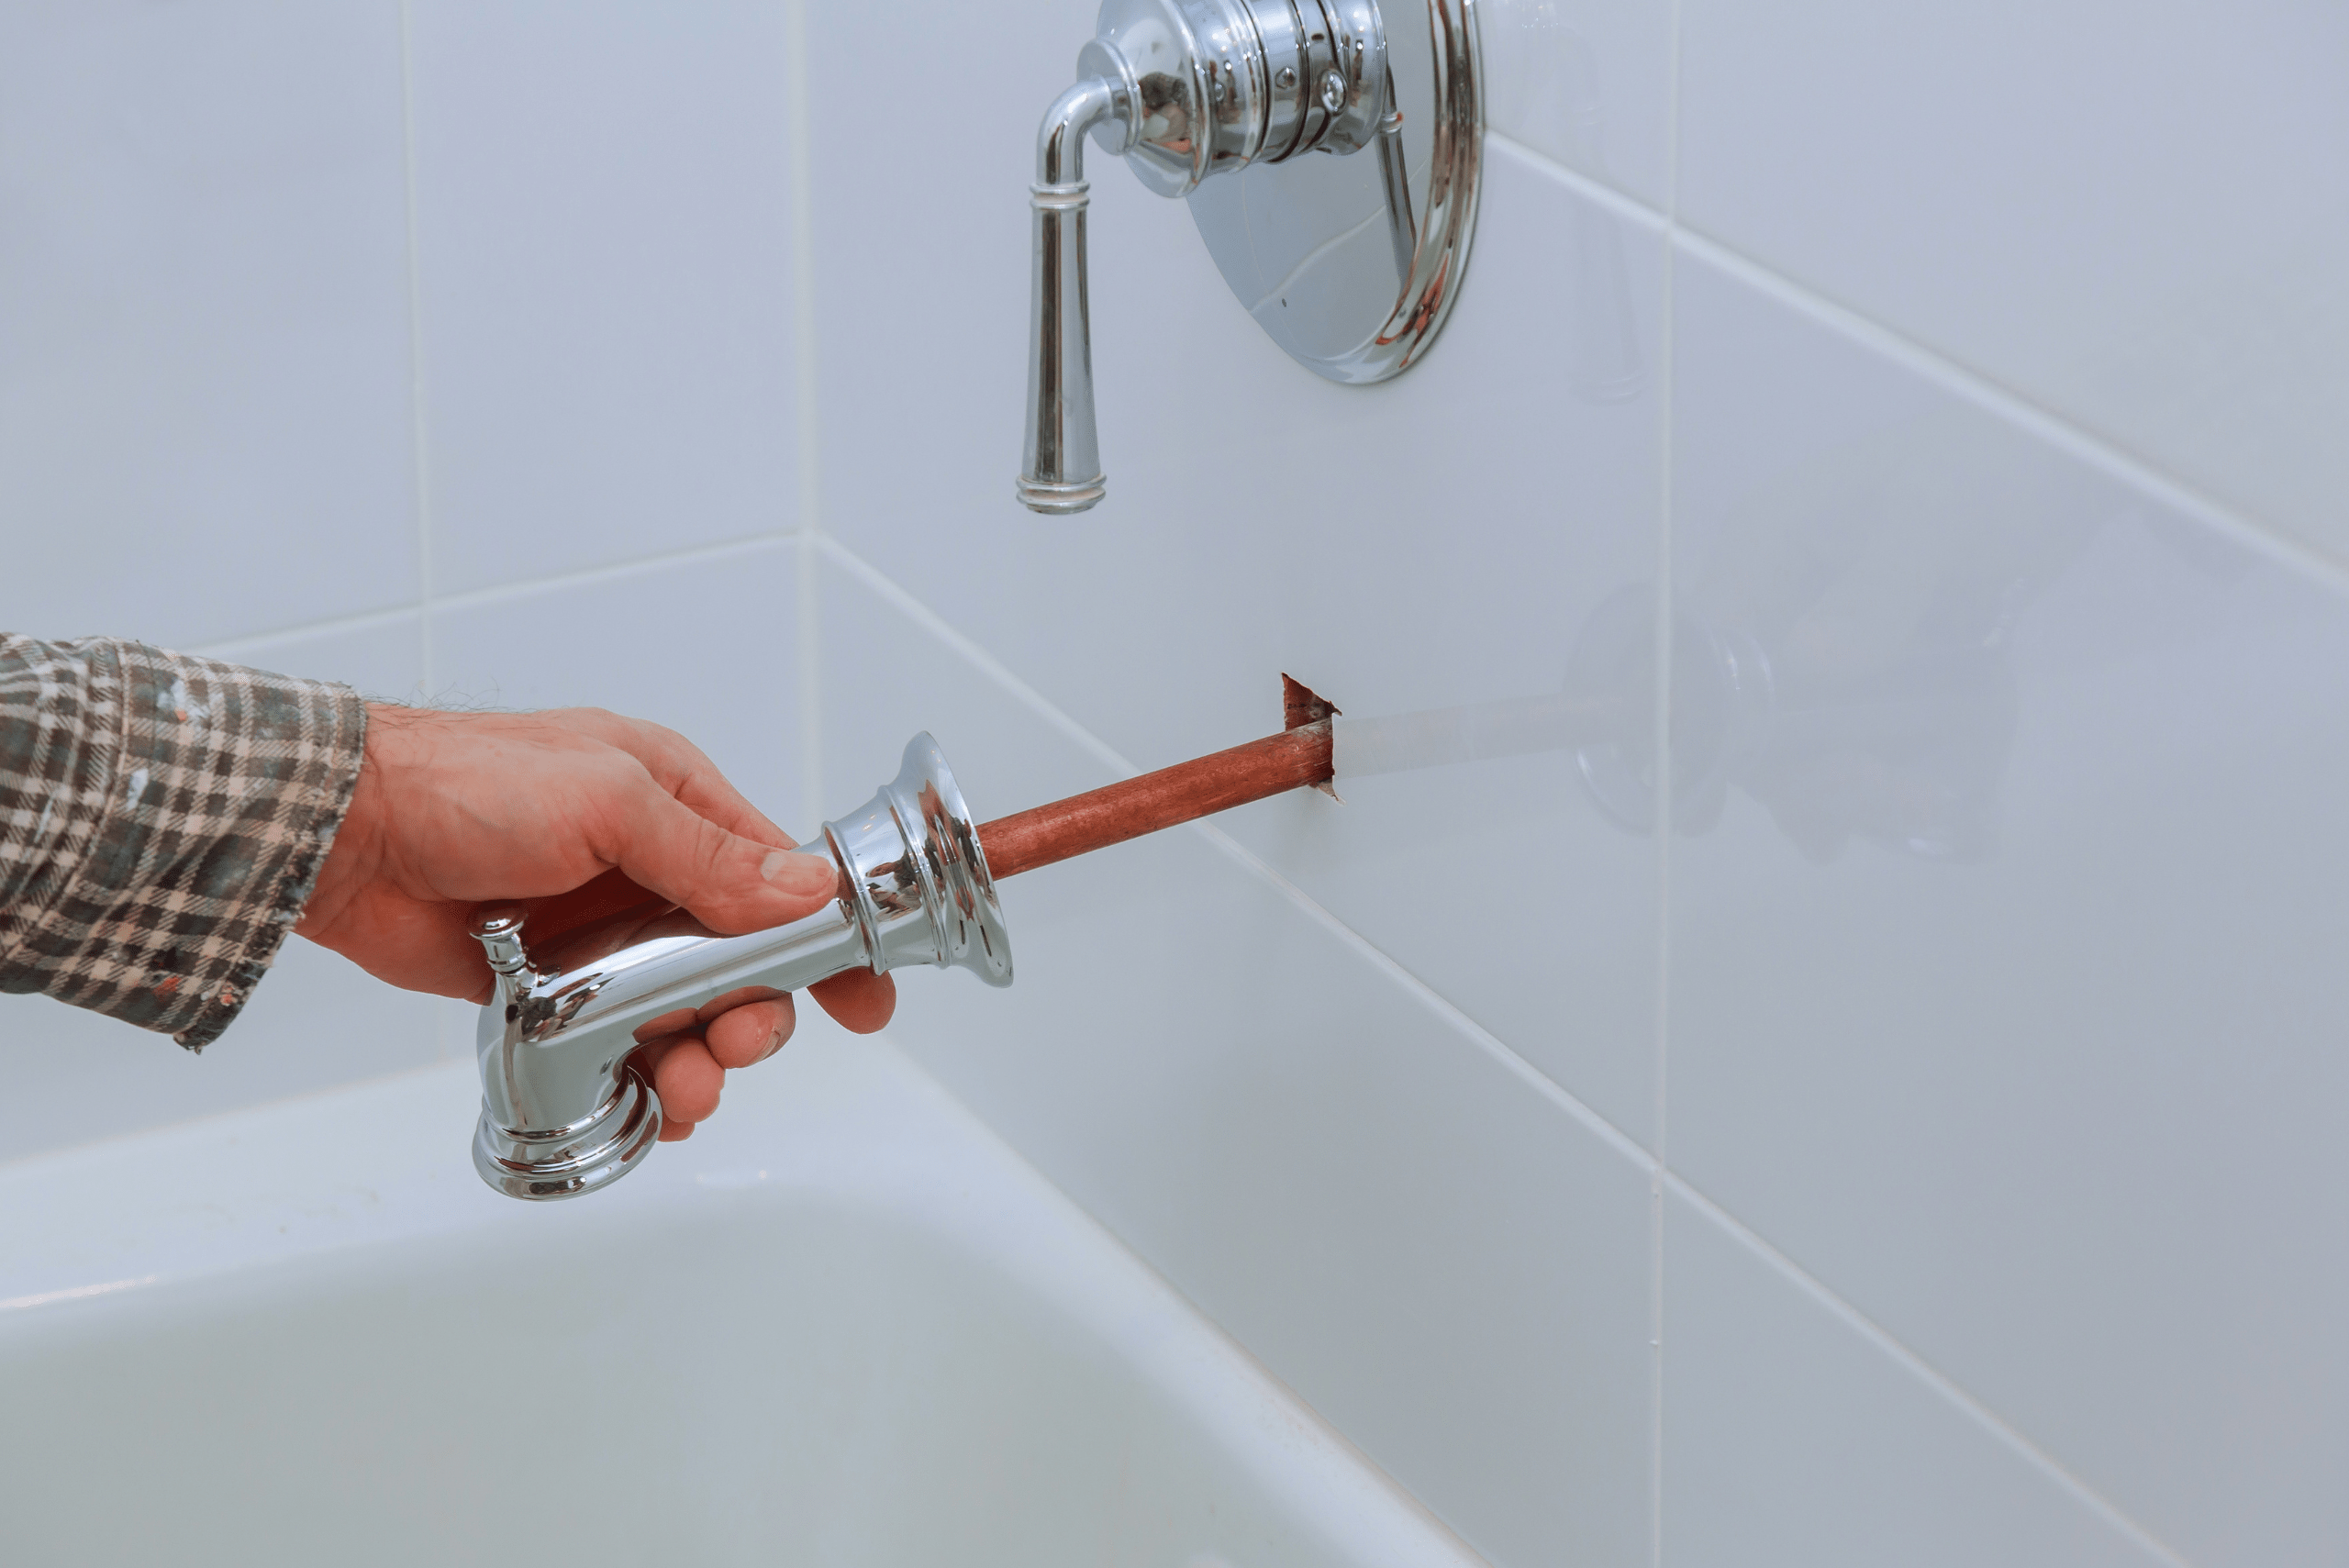
Step 1: Shutting Off the Water Supply
Prior to initiating any repairs, it’s imperative to turn off the water supply to your bathtub. Follow these steps to ensure a hassle-free repair process:
- Locate the Main Shut-Off Valve: Identify the main shut-off valve in your home. This valve is typically situated near the water meter or where the main water line enters your house.
- Turn Off the Valve: Use a clockwise motion to turn off the main shut-off valve completely. This action prevents unexpected water flow during the repair, allowing you to work on the faucet without any surprises.
Step 2: Removing the Faucet Handle
Now that the water supply is safely turned off, you can proceed with removing the faucet handle. Follow these detailed steps:
- Locate the Small Screw or Cap: Examine the faucet handle for a small screw or cap. Depending on your faucet model, this may be on the top, front, or sides of the handle.
- Loosen the Screw: Utilize a screwdriver or wrench to loosen the screw. In some cases, you might need to pry off a cap to access the screw.
- Gently Remove the Handle: Once the screw is loosened, gently pull the faucet handle away from the faucet body. Exercise caution to avoid causing damage to the surrounding parts.
Step 3: Inspecting and Replacing the Cartridge or O-Ring
With the faucet handle successfully removed, move on to inspecting and, if necessary, replacing the problematic cartridge or O-ring:
- Access the Cartridge or O-Ring: Examine the internal components exposed after removing the handle. Locate the cartridge or O-ring, which is often responsible for the leak.
- Inspect for Damage: Thoroughly inspect the cartridge and O-ring for signs of wear, damage, or deterioration. If issues are evident, replacement is necessary.
- Visit the Hardware Store: Take the old parts to your local hardware store to ensure accurate replacements. Seek assistance if needed to find the correct cartridge or O-ring for your faucet model.
- Install the New Components: Follow the manufacturer’s instructions to install the new cartridge or O-ring. Ensure a secure and snug fit to guarantee optimal performance.
Step 4: Reassembling the Faucet Handle
With the new components in hand, proceed to reassemble the faucet handle with precision:
- Slide the Handle Back On: Position the faucet handle back onto the faucet body, ensuring proper alignment.
- Secure the Screw or Cap: Use the screw or cap (depending on your faucet model) to secure the handle in place. Tighten it appropriately to prevent any future leaks.
By following these step-by-step instructions, you can effectively fix a leaky bathtub faucet. Remember to exercise care during each stage of the process to avoid further damage and ensure the longevity of your repair.
Testing for Leaks
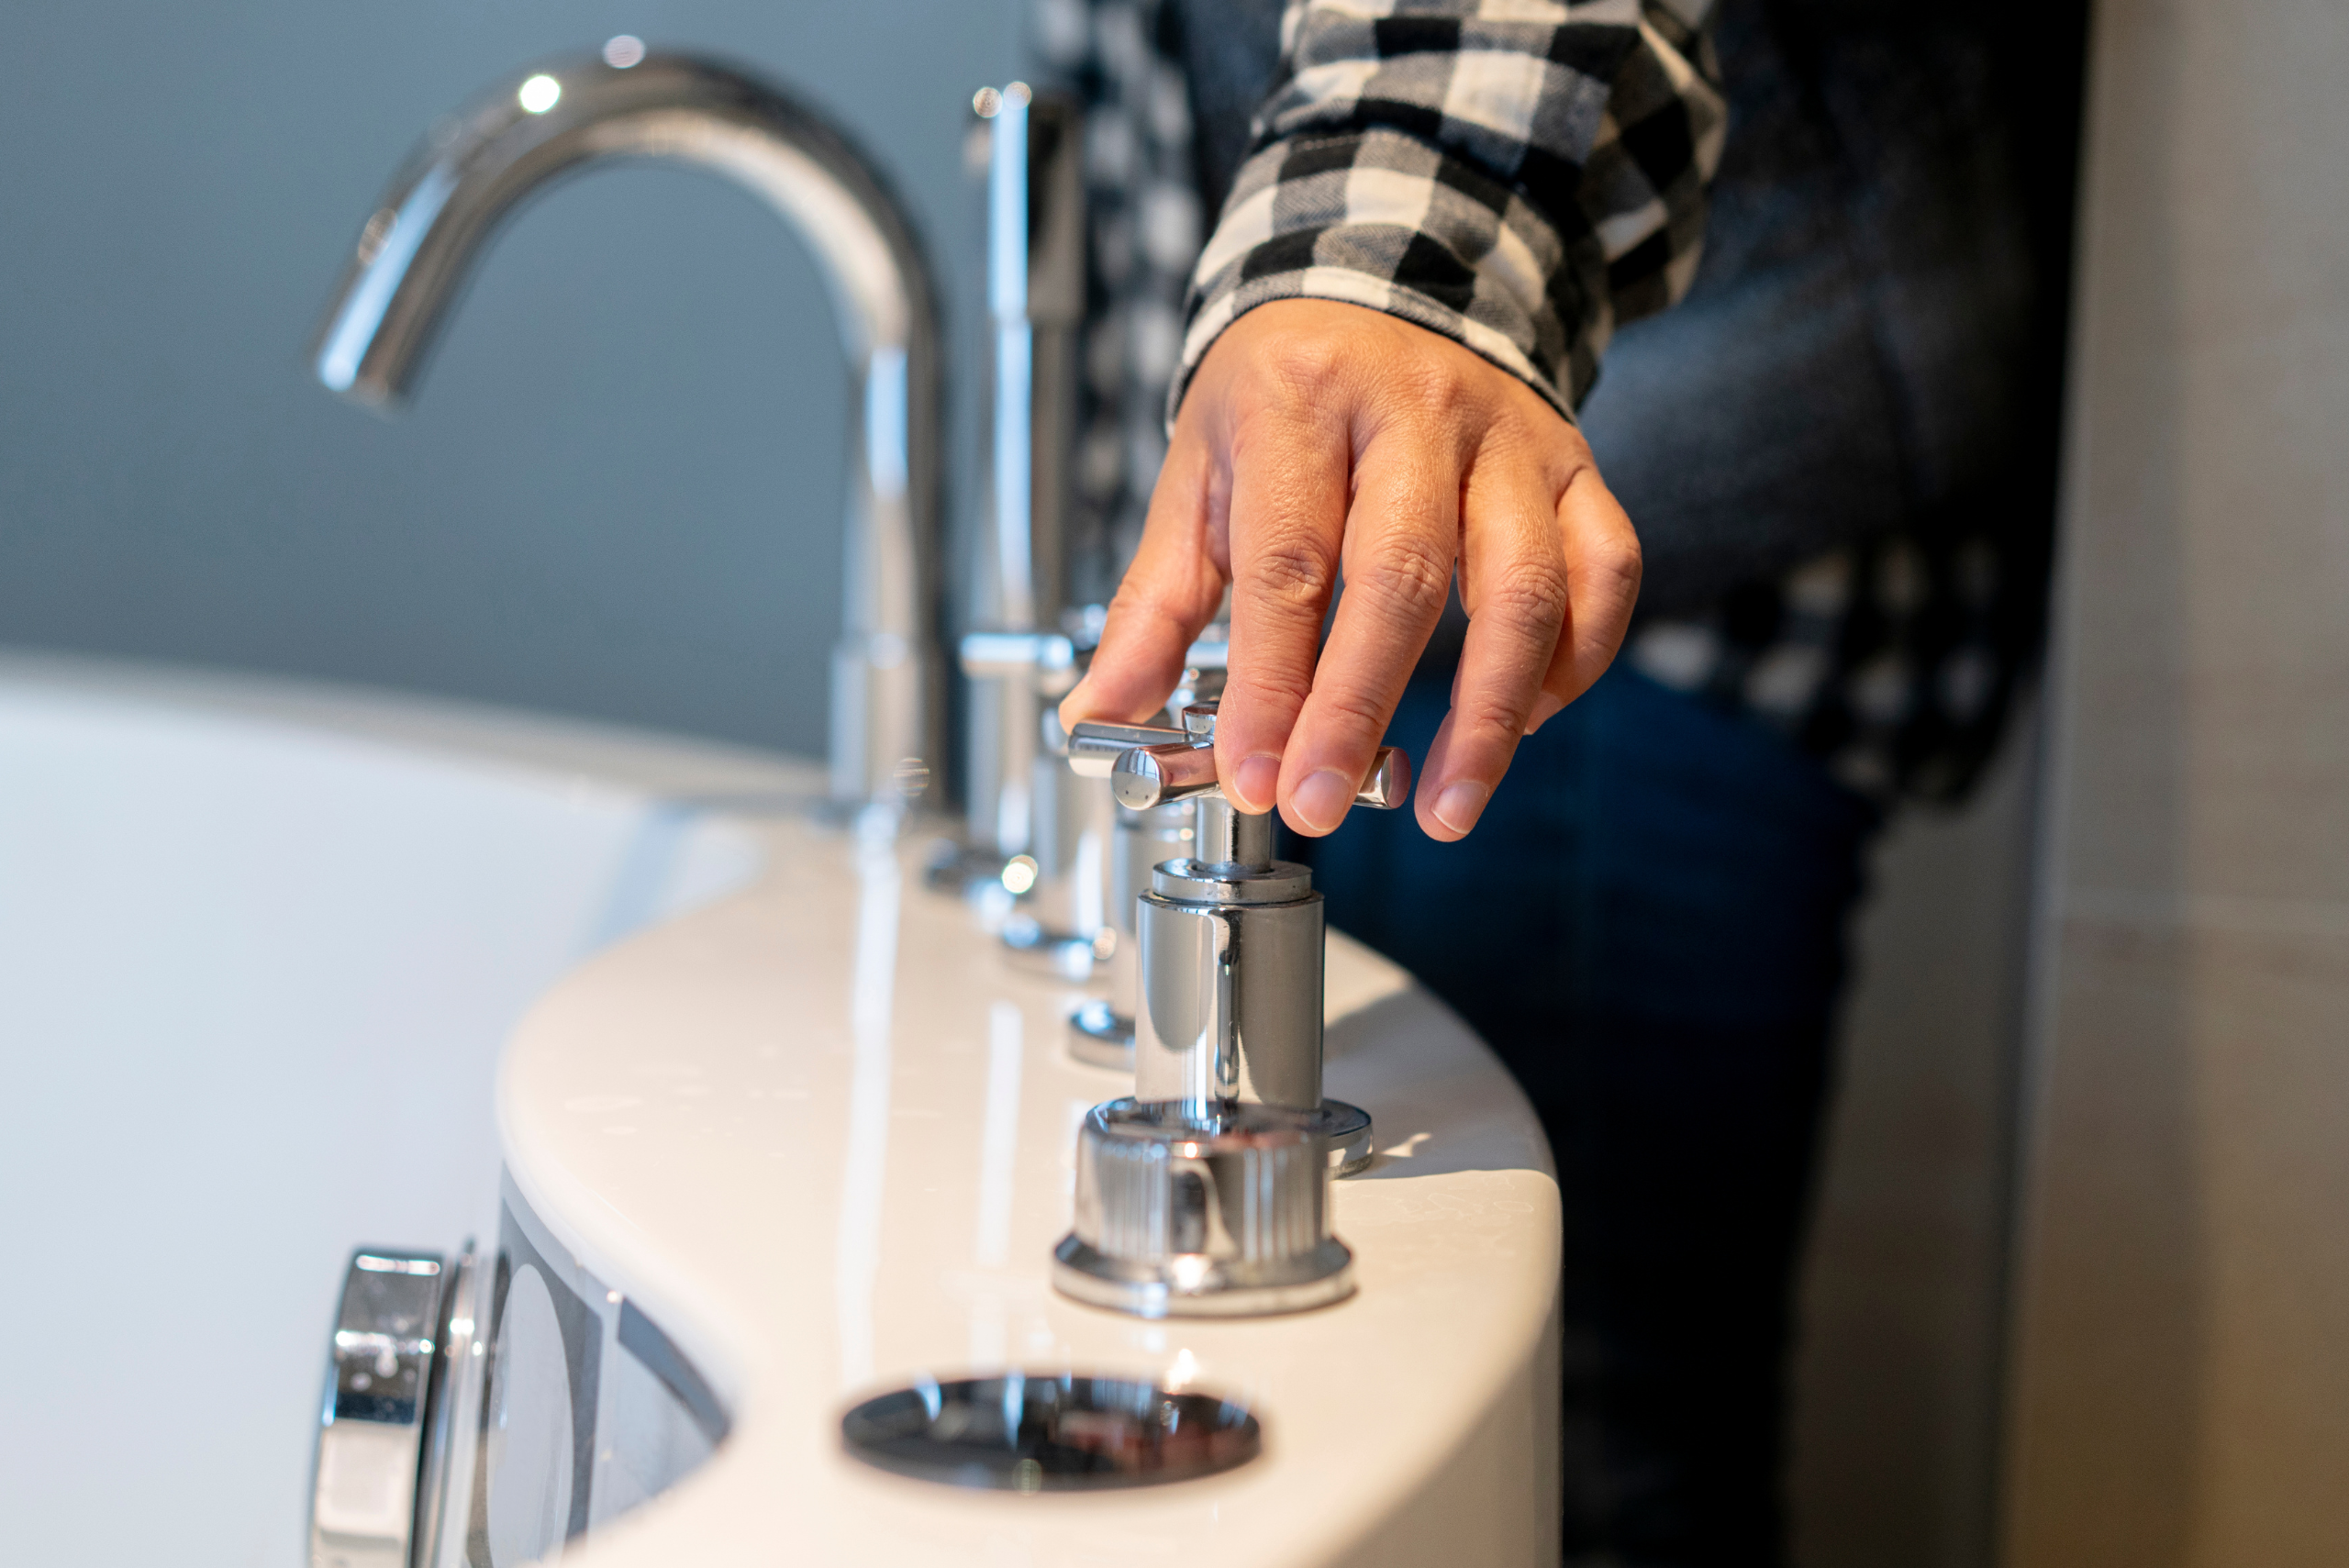
With everything reassembled, it’s time for a test. Turn on the water supply and slowly open the faucet. Keep an eye out for leaks; if all seems well, congratulations! You’ve successfully fixed your leaky bathtub faucet. If a leak persists, double-check the components and consider seeking professional assistance.
Additional Tips and Troubleshooting

If you encounter challenges, don’t panic. Here are some additional tips:
- Use plumber’s tape for a secure seal during reassembly.
- If leaks persist after replacing the cartridge or O-ring, clean any mineral deposits or debris from the faucet body.
- If uncertain, consult the manufacturer’s instructions or seek professional plumbing advice.
Other articles you might enjoy:
- How to Locate and Repair A Roof Leak
- How to Ignite a Pilot Light for Water Heater
- Toilet Wax Seal Installation: A Step-by-Step Guide
Fixing a leaky bathtub faucet is a manageable task with the right tools and guidance. Save money on potential water damage by taking your time, being patient, and following the steps outlined in this article. Soon, that irritating leak will be a distant memory, and you can enjoy a fully functional bathtub faucet once again.


