How to Level Uneven Concrete Pavers for a Smoother Walkway
Uneven pavers can turn your picturesque walkway into a potential hazard. Over time, shifts in the ground, tree roots, or weather can make concrete pavers sink or rise, creating an unsightly and unsafe surface. Fortunately, with a few simple steps, you can re-level your walkway without the need to call in the pros. This guide walks you through everything you need to know about leveling uneven concrete pavers, so you can restore the look and safety of your outdoor space.
A smooth, even path enhances curb appeal and ensures a safe and comfortable walk. With a bit of effort, you can transform your bumpy pavers into a flawless surface. Let’s dive in and learn how to tackle this common issue with ease.
Step 1: Identify and Mark the Problem Areas
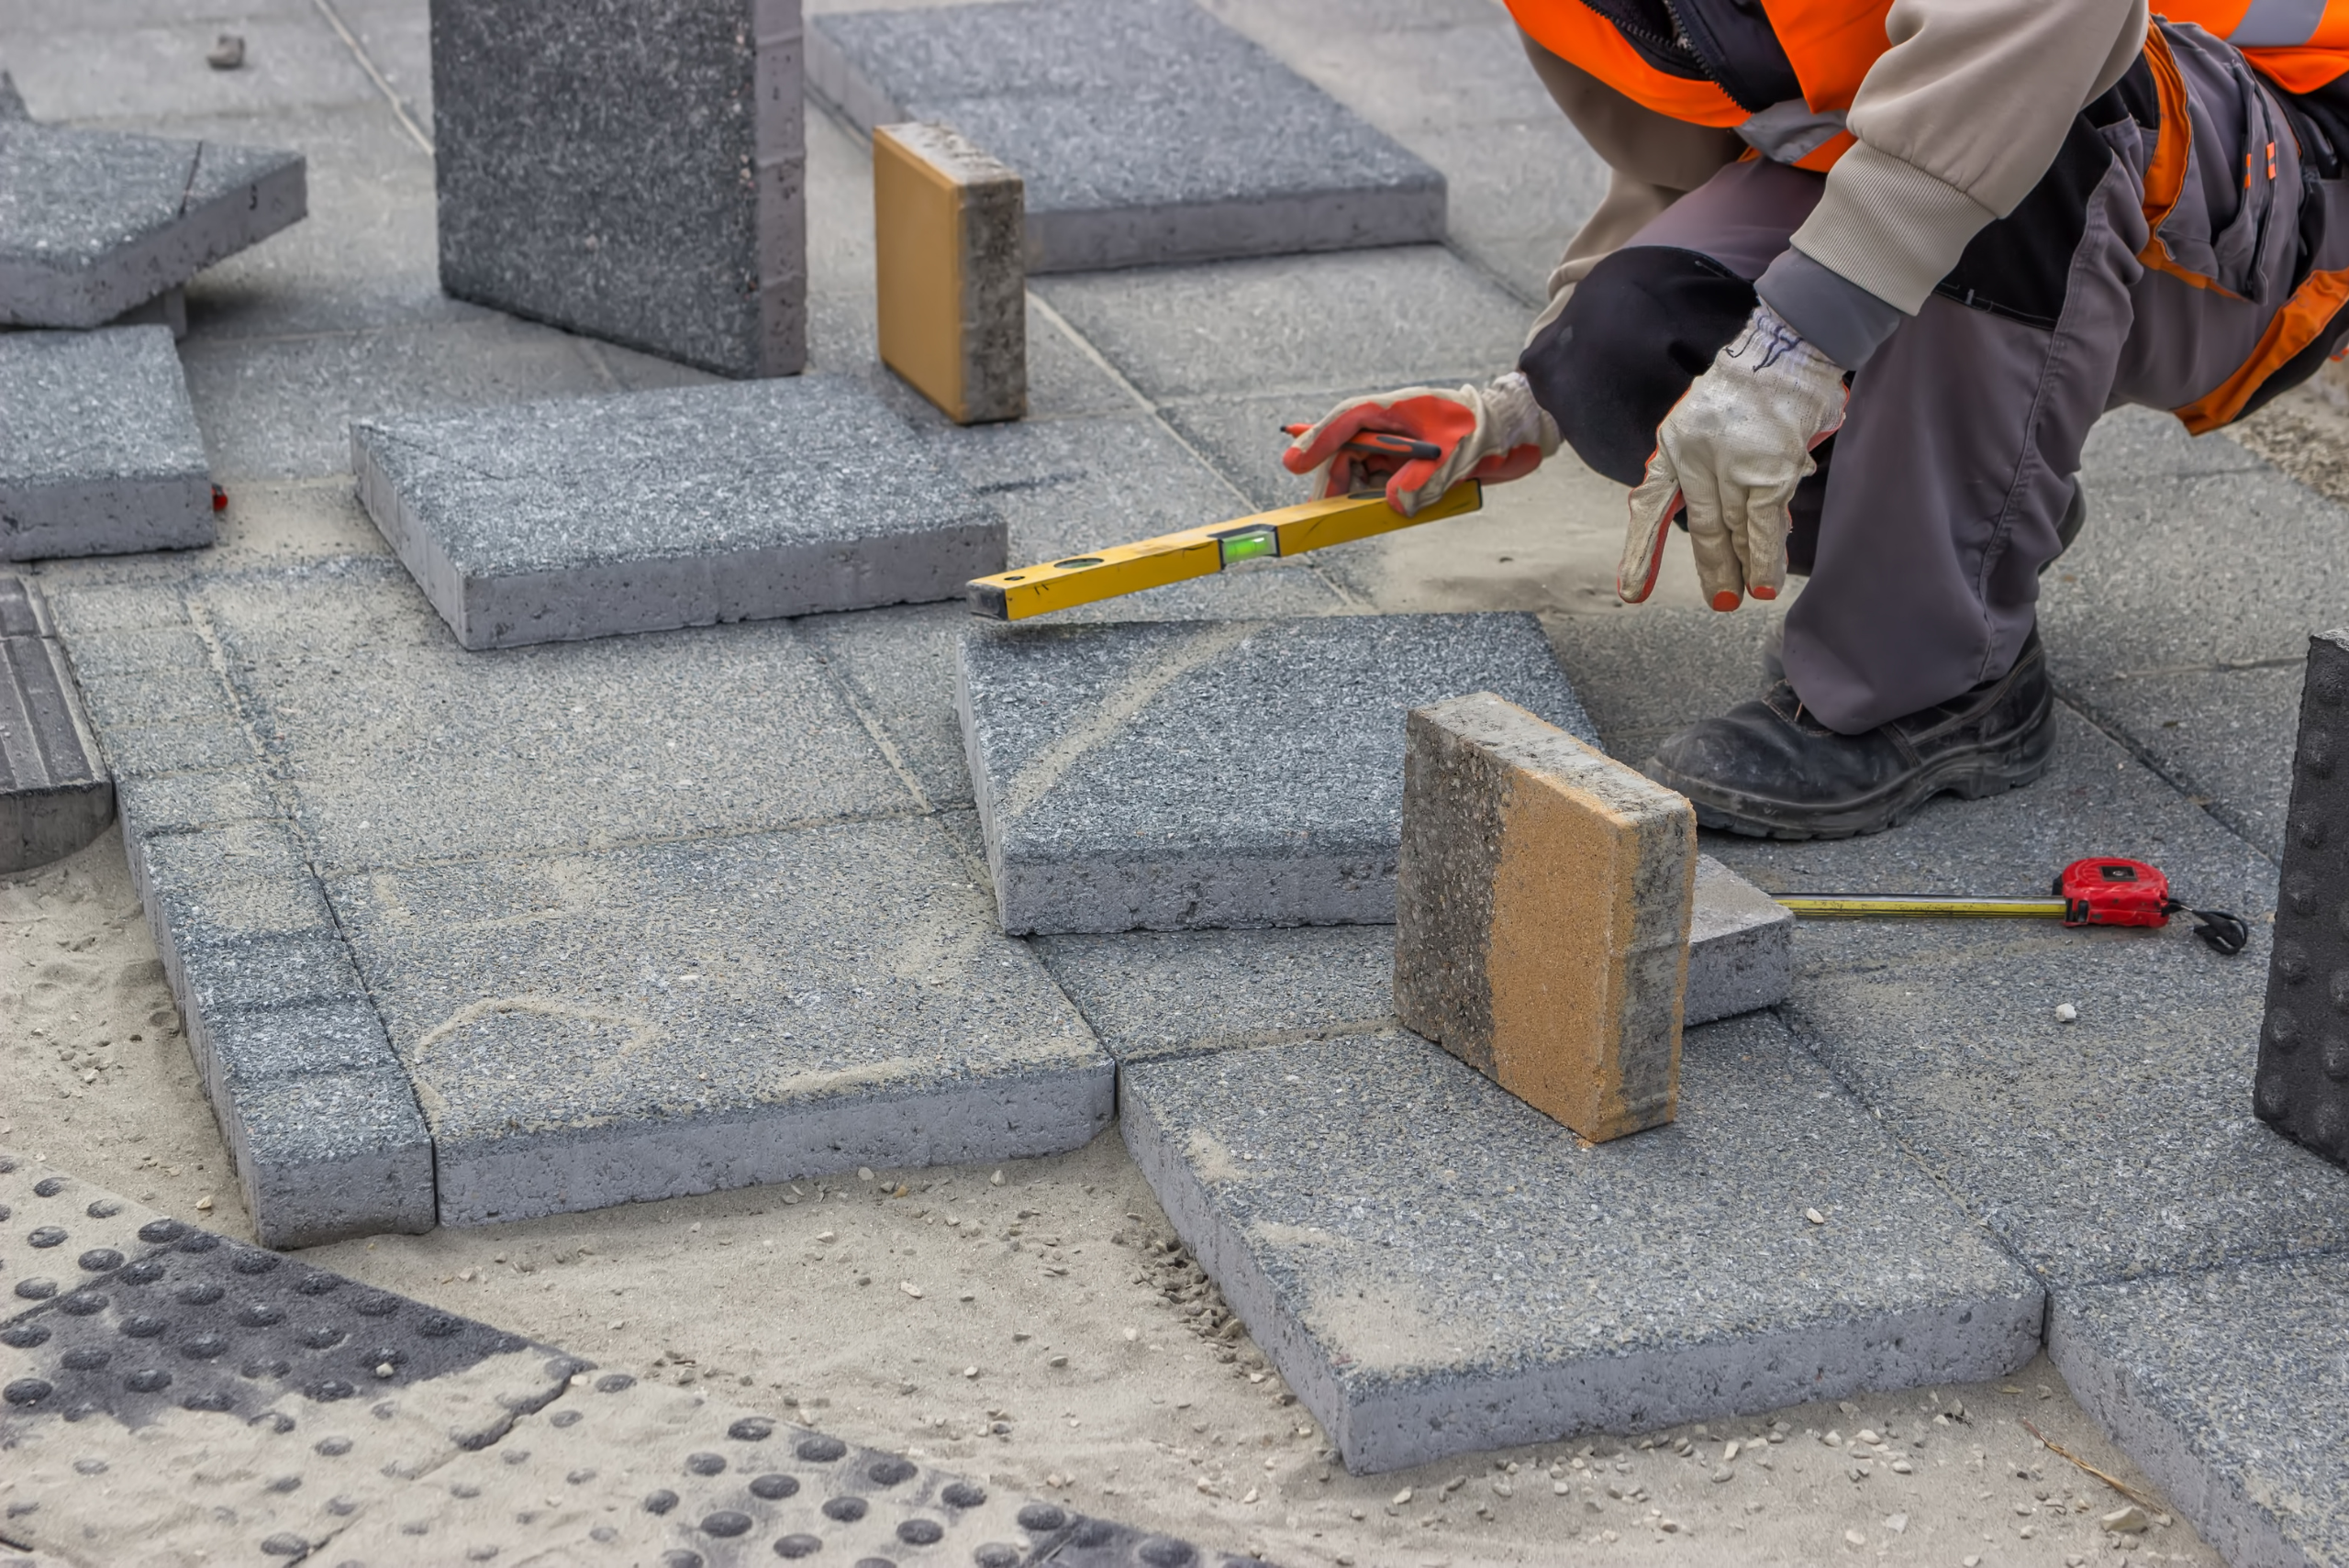
Sometimes, a walkway might appear uneven, but not all sections need adjusting. Start by examining the entire pathway closely, looking for raised or sunken areas. Walk over it slowly to feel for uneven spots and mark any areas that need adjustment. You can use chalk or tape to easily keep track.
Once you’ve marked the trouble areas, focus on the sections that are the most visibly uneven or create tripping hazards. Targeting only the problem spots saves time and helps retain the integrity of the rest of the walkway. Remember that each problem may have different causes, so identifying them will also guide you in choosing the right fix.
Step 2: Carefully Remove the Affected Pavers
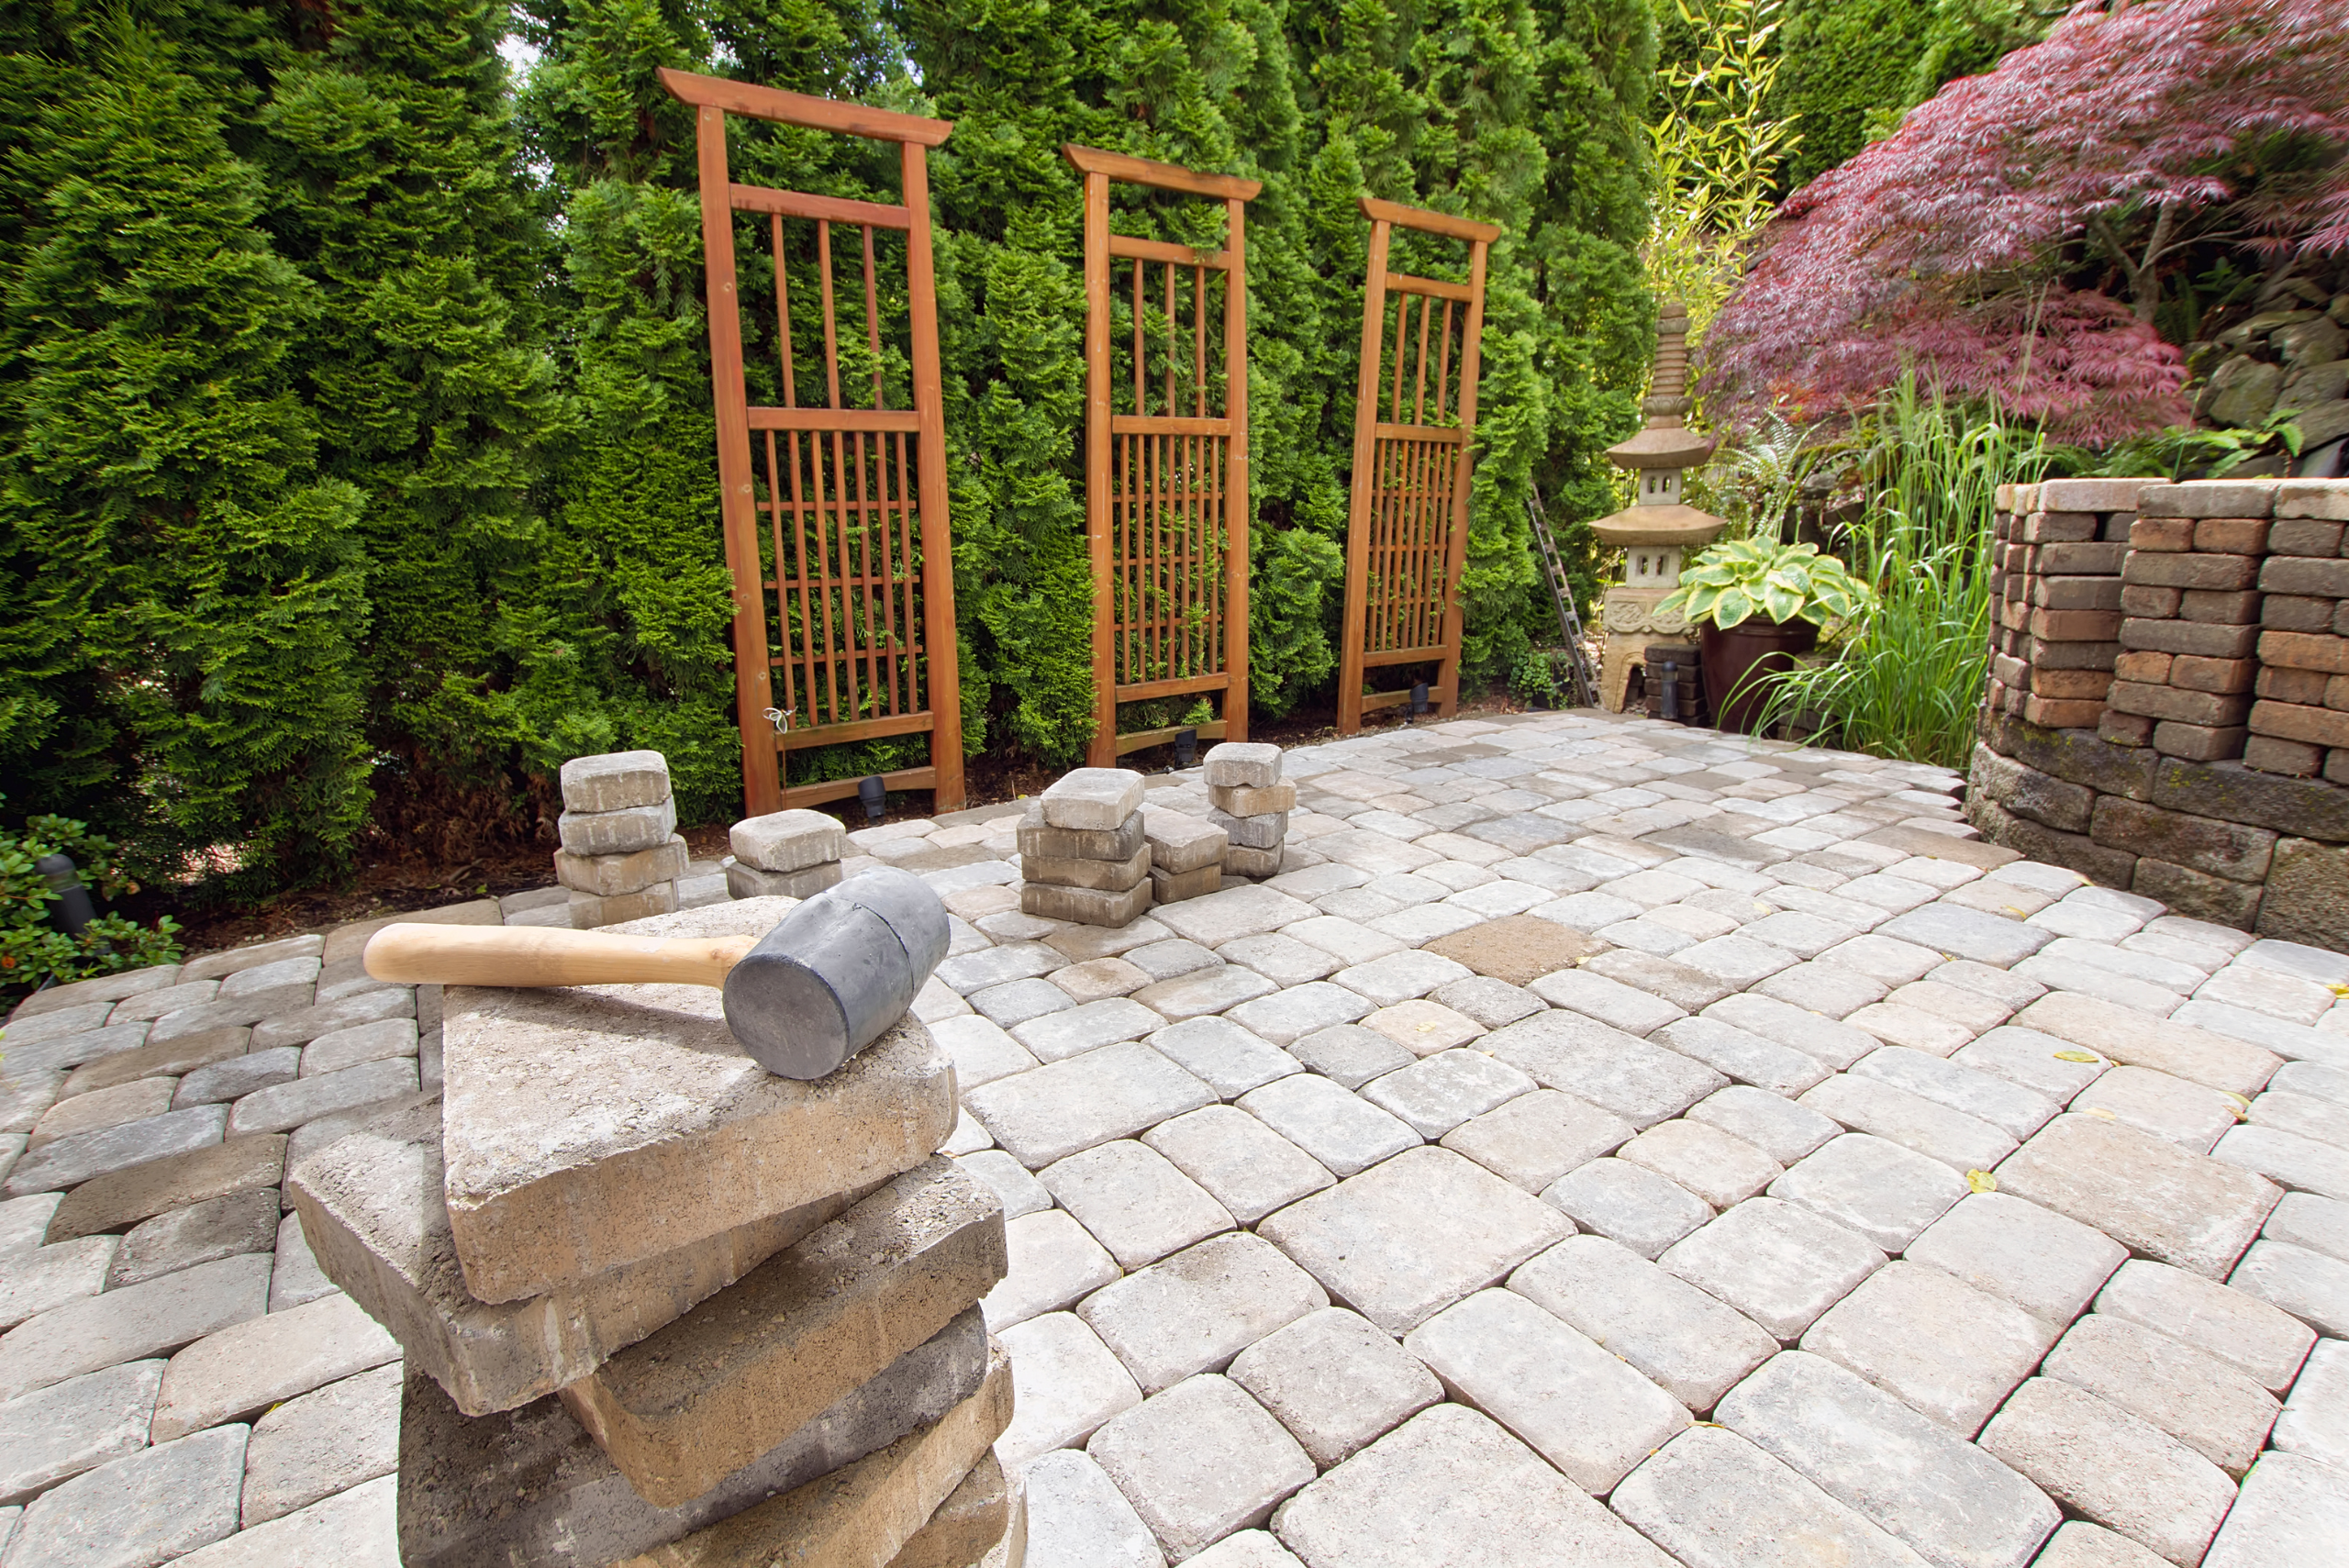
Once you know which pavers need adjusting, it’s time to carefully remove them without causing damage. Begin by loosening the edges with a flat screwdriver or pry bar, gently lifting each paver out of place. If the pavers are particularly heavy, you may want to use two tools for extra leverage or have someone help lift them.
After lifting each paver, set them aside in the same arrangement to make it easier to replace them later. Be cautious with your prying technique to avoid cracking or chipping the edges. Clearing out any debris from the spaces where the pavers were removed will make re-leveling simpler and more effective.
Step 3: Prepare the Base for Leveling
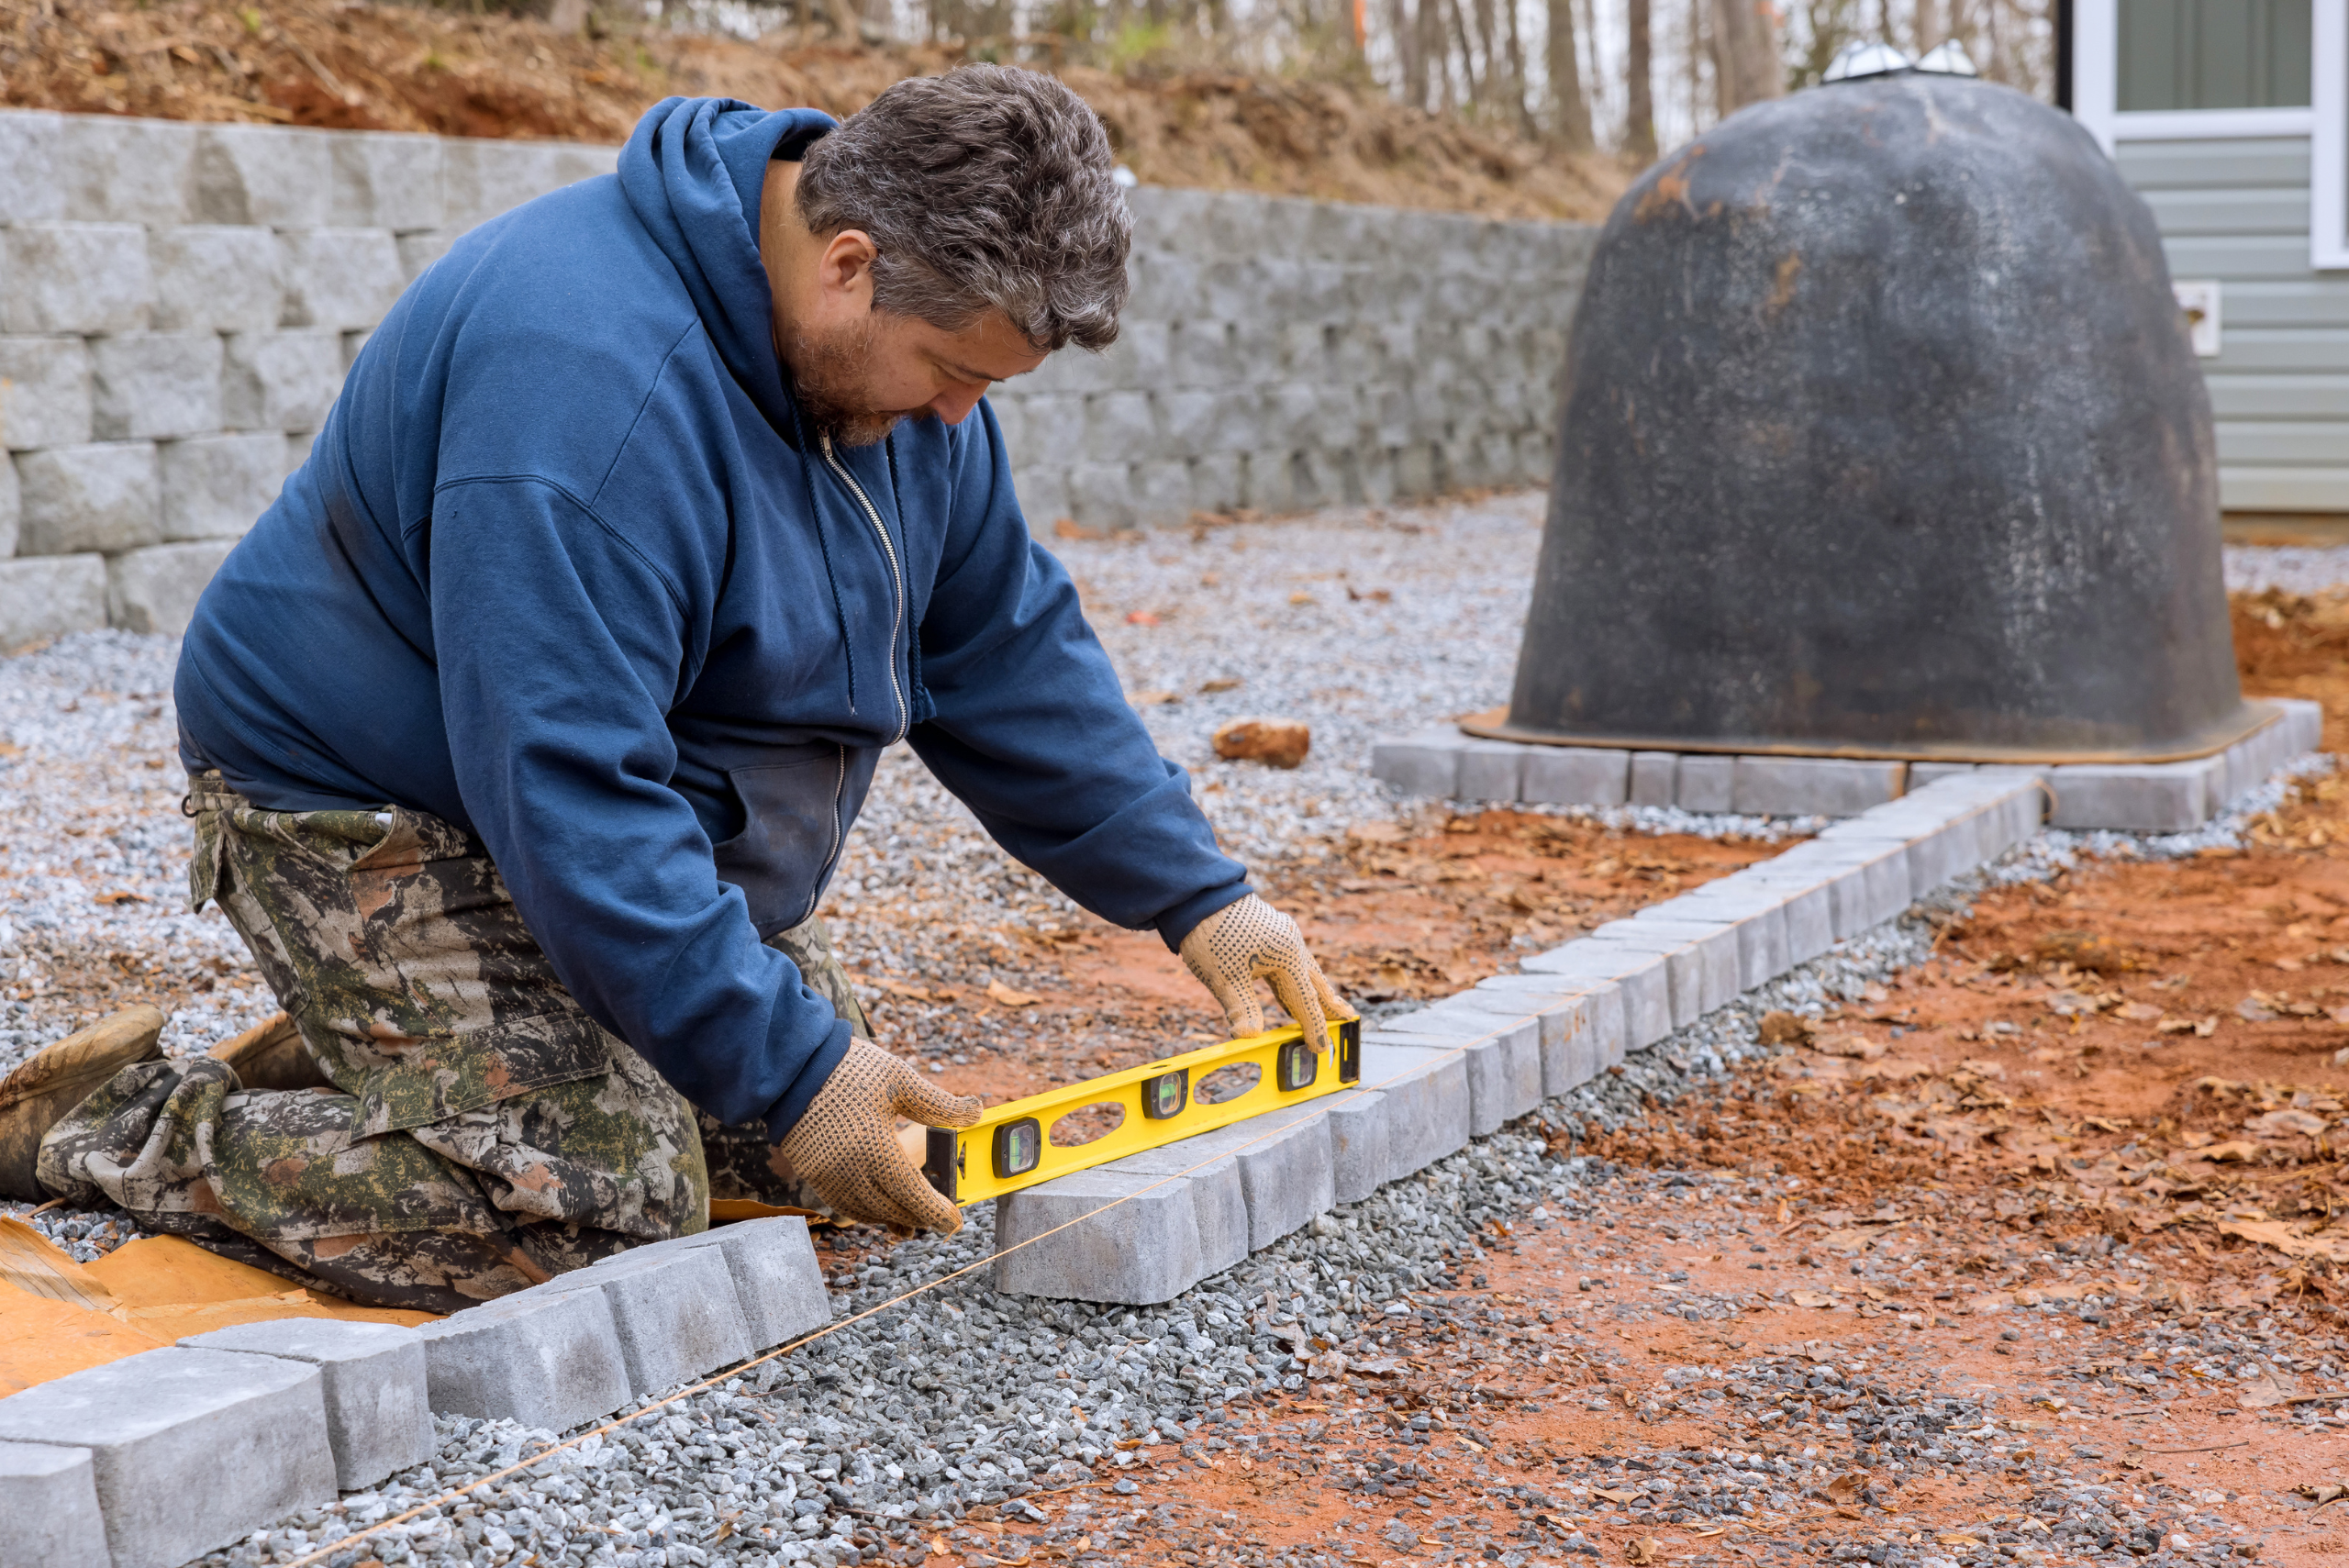
An uneven walkway often results from a shifting base layer. After removing the pavers, inspect the sand or gravel foundation underneath and level it out if it’s become uneven. Use a small hand trowel or a flat-edged shovel to add or remove material as needed, ensuring that the base is firm and compact.
Once you’ve leveled the base, consider adding a new layer of sand or gravel to support the pavers. Spread it evenly across the area, and use a leveling tool or a long piece of wood to smooth it out. This step will create a stable foundation and prevent the pavers from shifting over time.
Step 4: Reinstall the Pavers with Precision
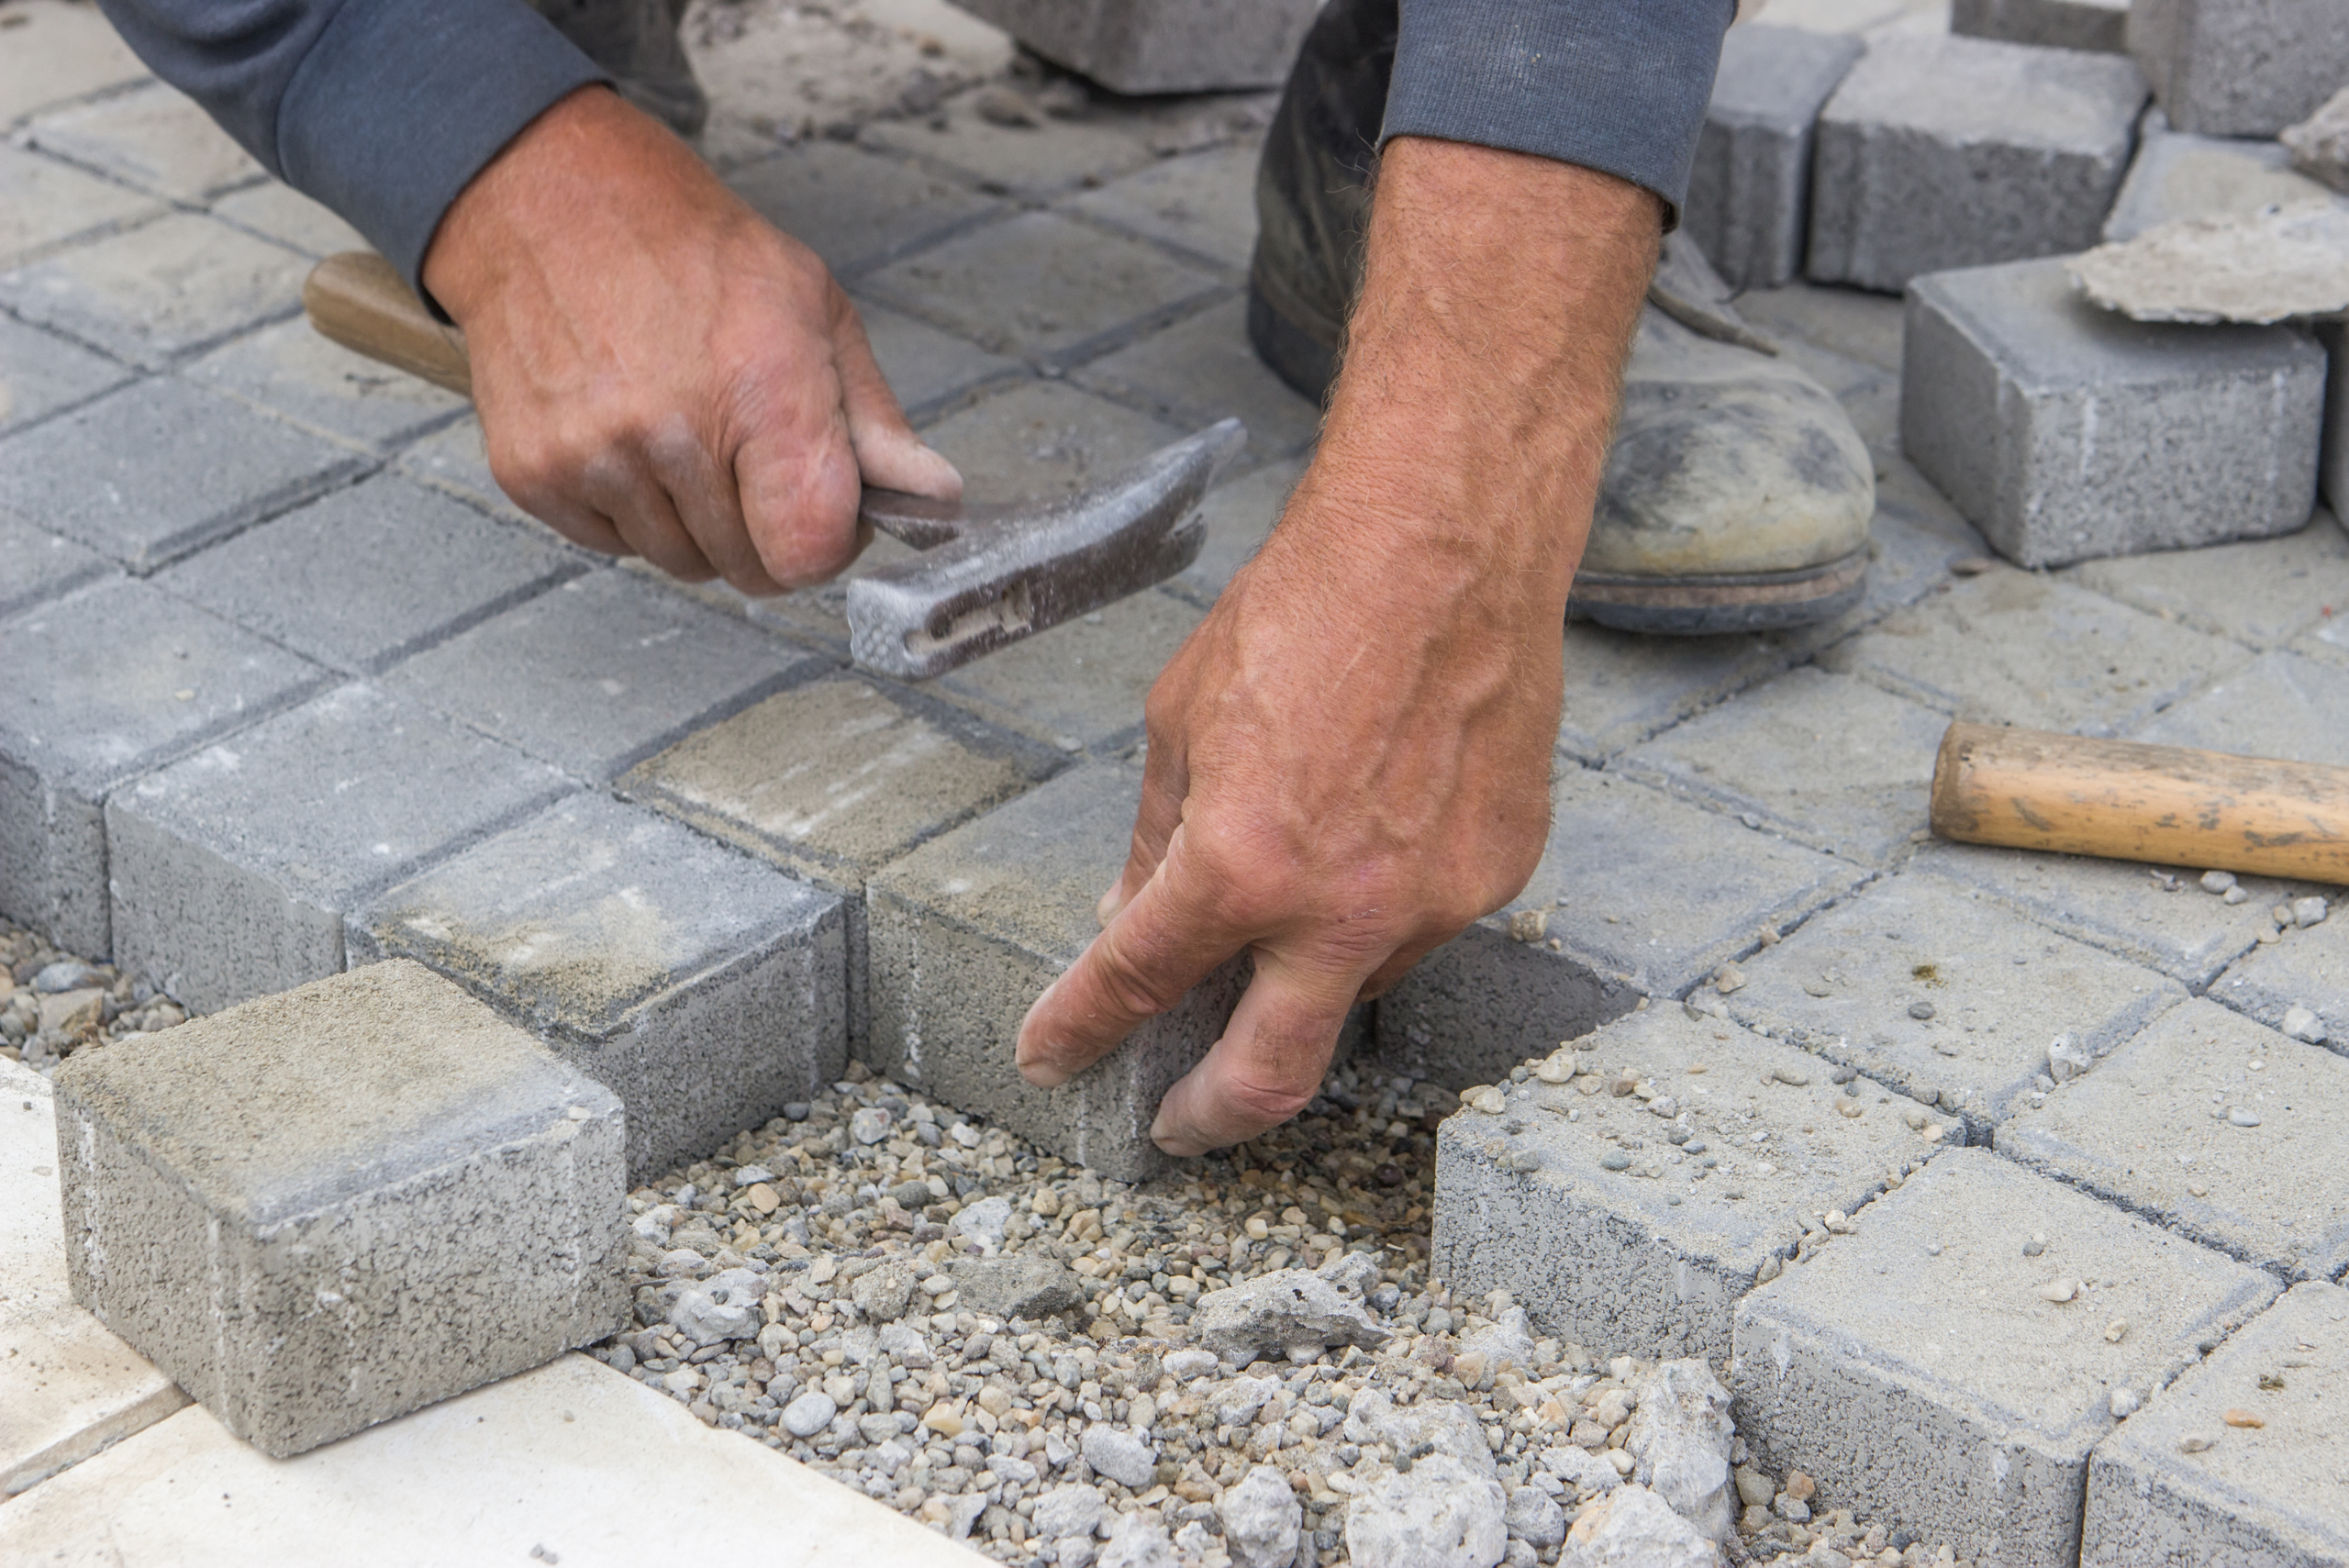
Now that you’ve leveled the base, it’s time to reinstall the pavers. Place each one back into its original spot, aligning it carefully with the surrounding stones to create a smooth and even surface. Use a rubber mallet to gently tap each paver into place, ensuring it’s flush with the others. Avoid using excessive force, as it can cause pavers to sink unevenly or lead to cracks.
As you go, check that each paver is level by using a spirit level. Make small adjustments as needed by adding or removing a bit of sand underneath. Taking your time during this step will pay off with a perfectly even surface and a more professional result.
Step 5: Fill in the Gaps and Finalize the Walkway
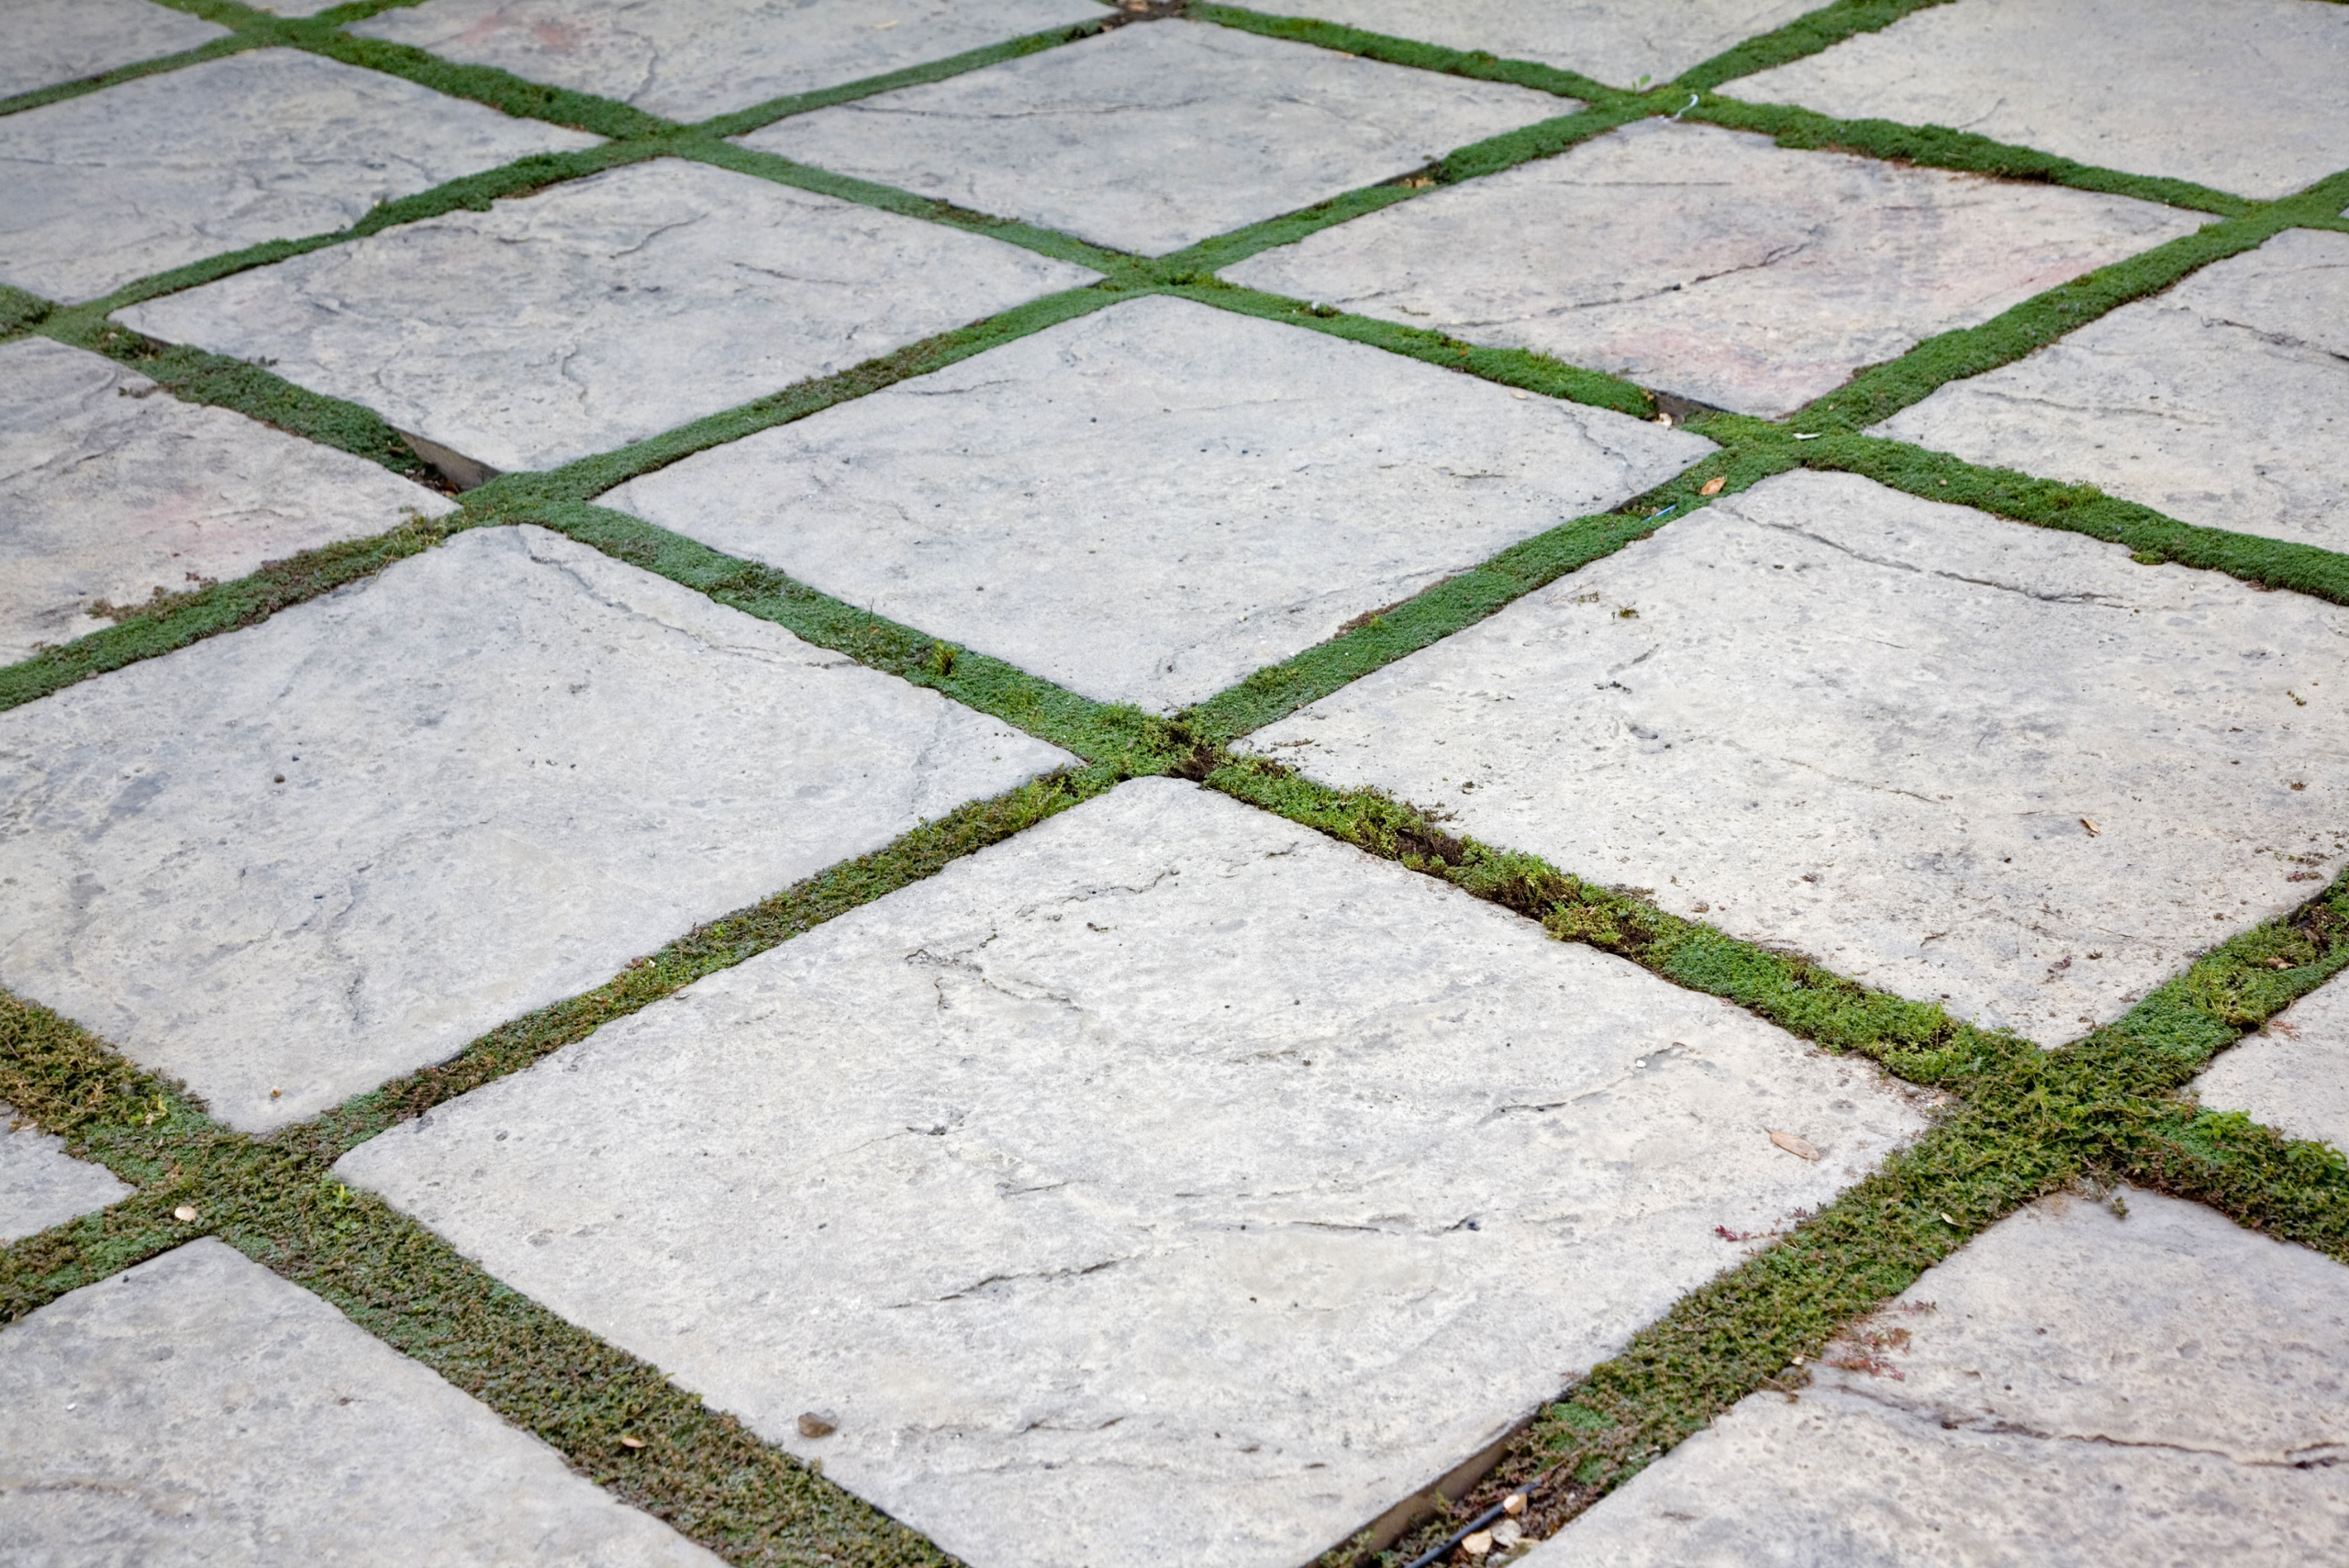
After all the pavers are in place, you’ll need to fill the gaps between them with sand to stabilize the surface. Pour polymeric sand over the walkway, then use a broom to sweep it into the joints between pavers. This sand helps lock the pavers together, preventing them from shifting and reducing weed growth.
Once the gaps are filled, spray a light mist of water over the entire walkway. The water activates the polymeric sand, which will harden and secure the pavers in place. Allow the walkway to dry completely before walking on it, and enjoy the smoother, safer pathway you’ve created.
Related Articles
- Step-by-Step Guide to Creating DIY Concrete Pavers
- Pour Concrete Right with These 11 Essential Tips for Success
- A Guide For How to Fix Concrete Cracks Ensuring Durable Repairs
Leveling uneven concrete pavers is a manageable DIY project that brings both aesthetic and functional benefits to your outdoor space. With some time, effort, and the right tools, you can revive a bumpy walkway and make it safe for family and friends. With your freshly leveled walkway, you’ll enjoy a safer and more attractive pathway that will enhance the overall look of your yard. So, whether it’s a weekend project or a quick fix before guests arrive, this guide makes it simple to level your pavers like a pro.

