Easy Ways to Spot Drafts and Seal Air Leaks in Your Home
Most homeowners aren’t aware of air leakages popping up in their homes until they see an increase in their hydro bill. Preventing drafts is essential to maintaining climate control within your house. Two easy tell-tale signs will help determine if you are dealing with air loss. Your monthly hydro bill has increased, or you catch a breezy draft.
Inspecting for air leaks in your house should be a part of your annual home maintenance routine. Add this to your home maintenance binder. It is suggested to perform this task in the early fall when the wind picks up, and the air gets bitter, but you can still check for them any time throughout the year. Let’s review some DIY tricks to help prevent leakage in your home.
From The Window To The Door
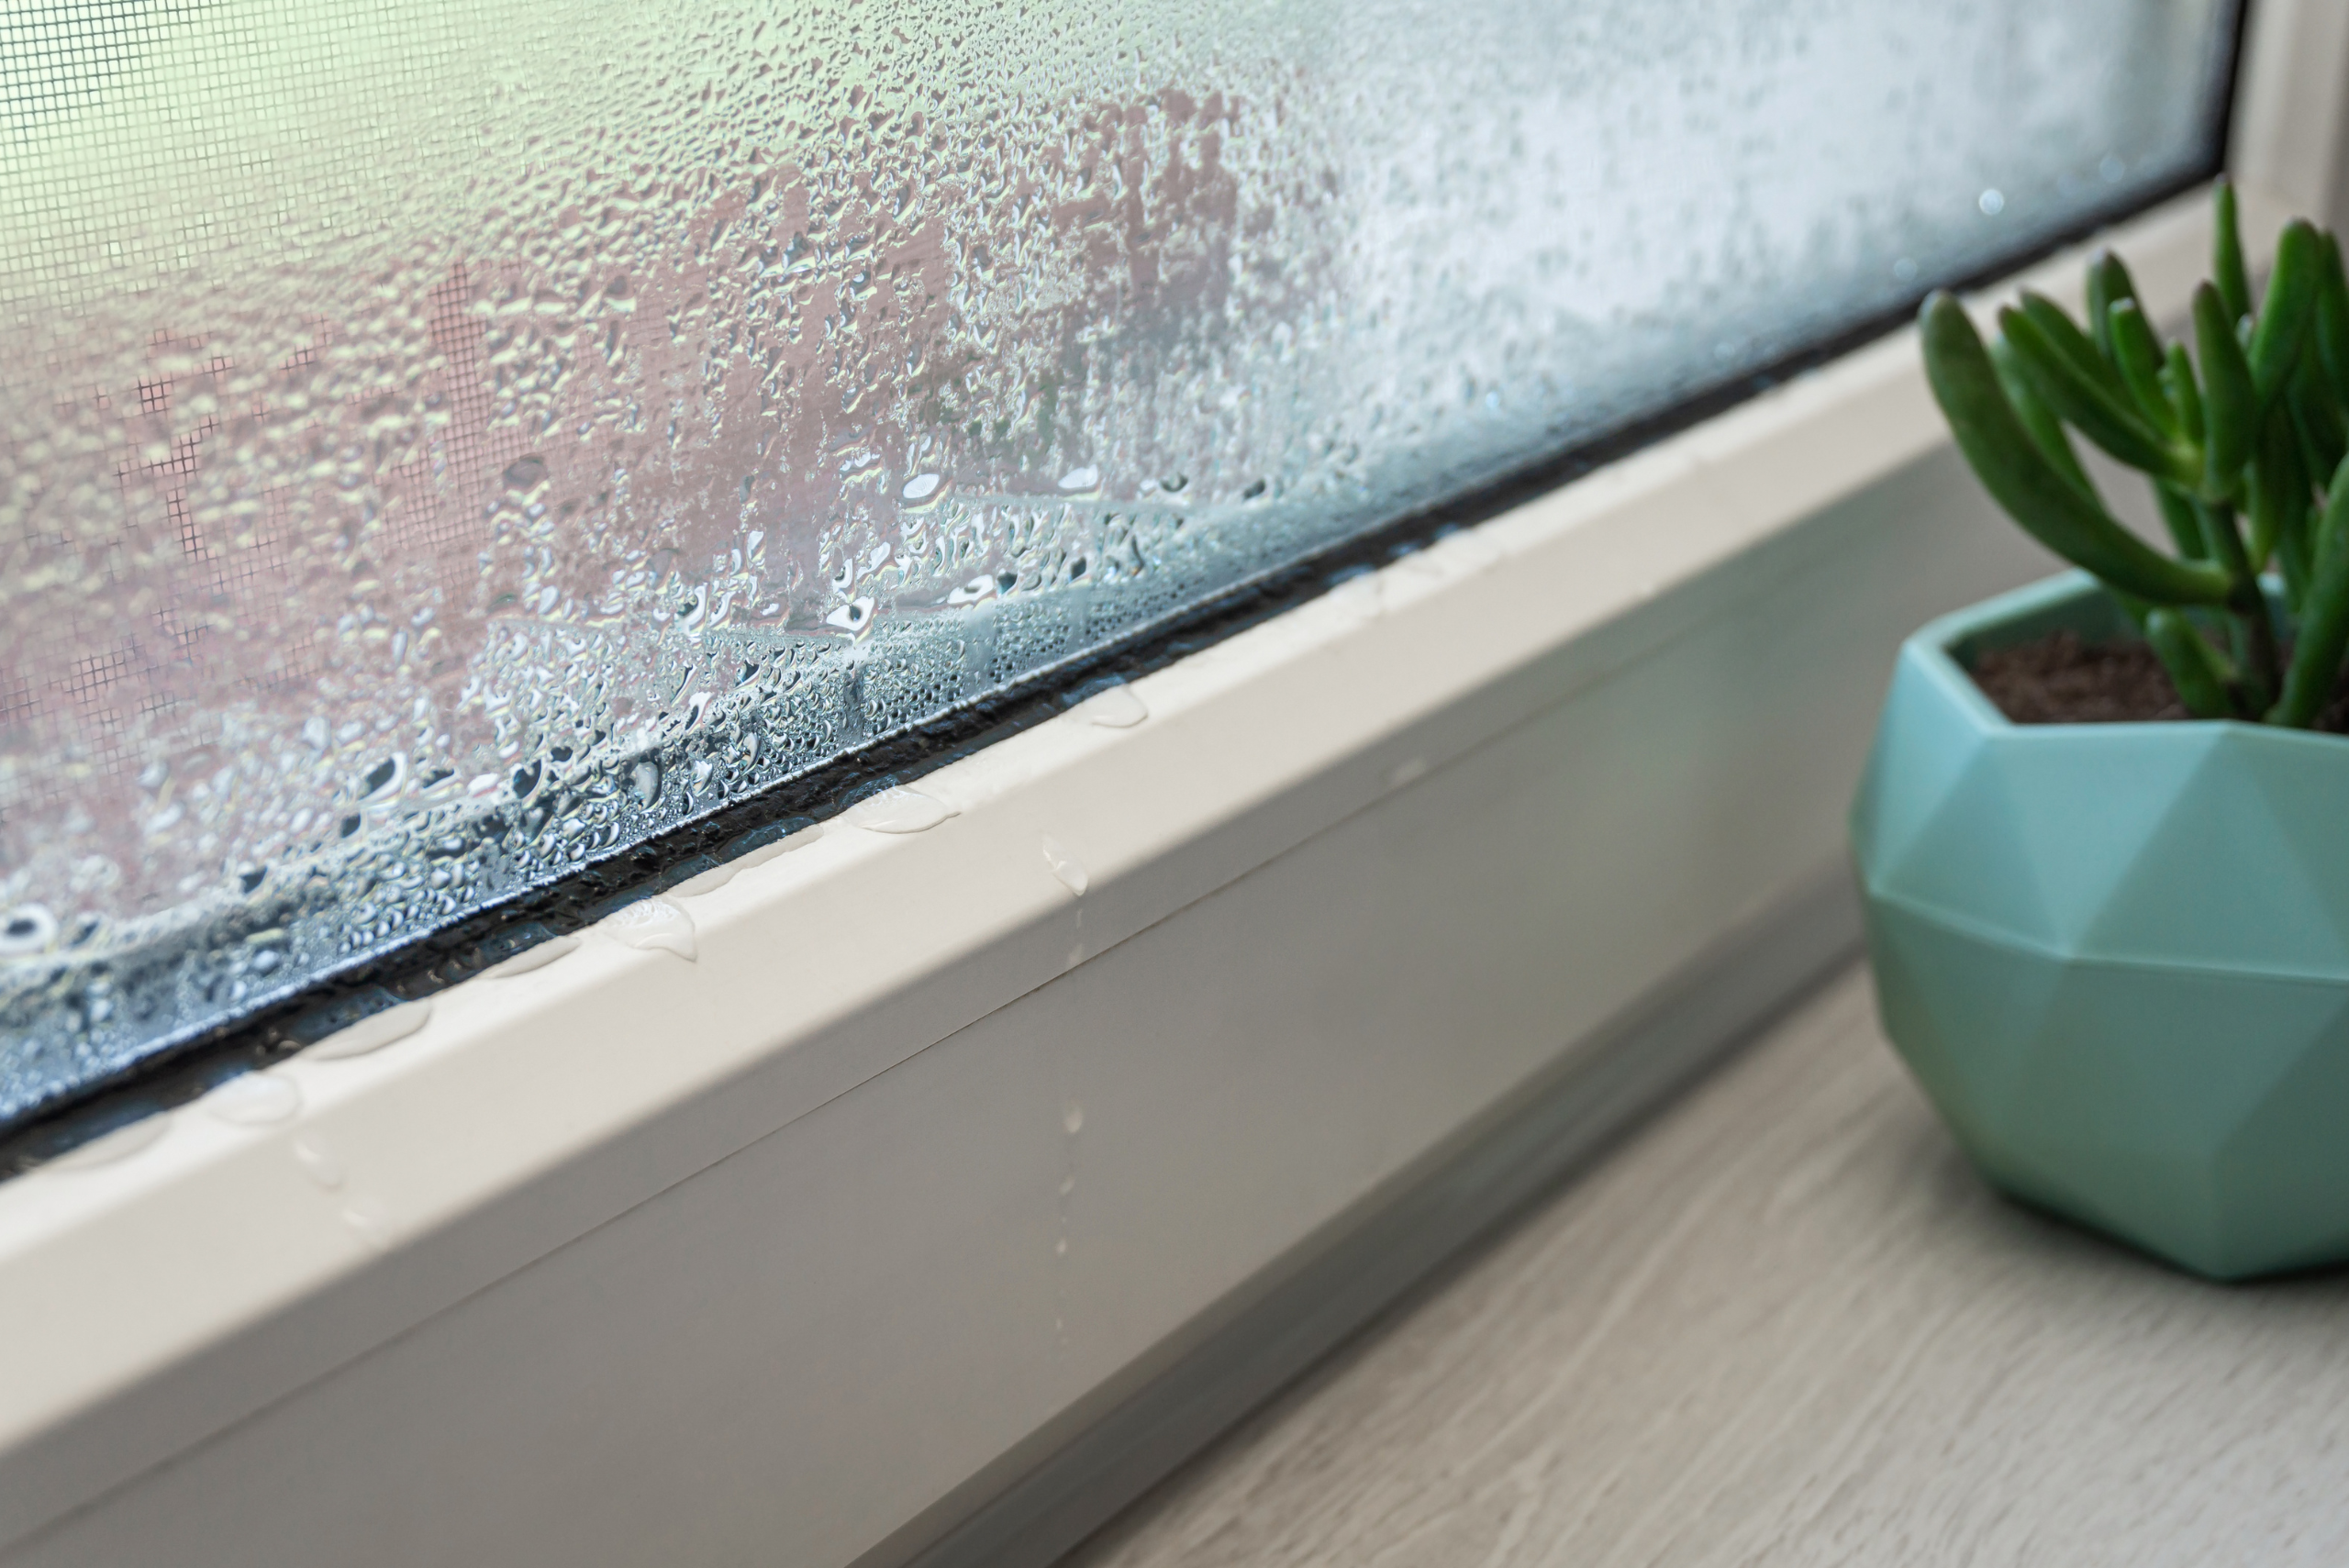
Some areas in the home are more common for air to seep through and luckily you can quickly fix these up yourself. Your windows and doors are usually the culprits and should be the first place you go to inspect. Seals, weather stripping, and thresholds wear down over time, allowing that chilly wind to sneak right in.
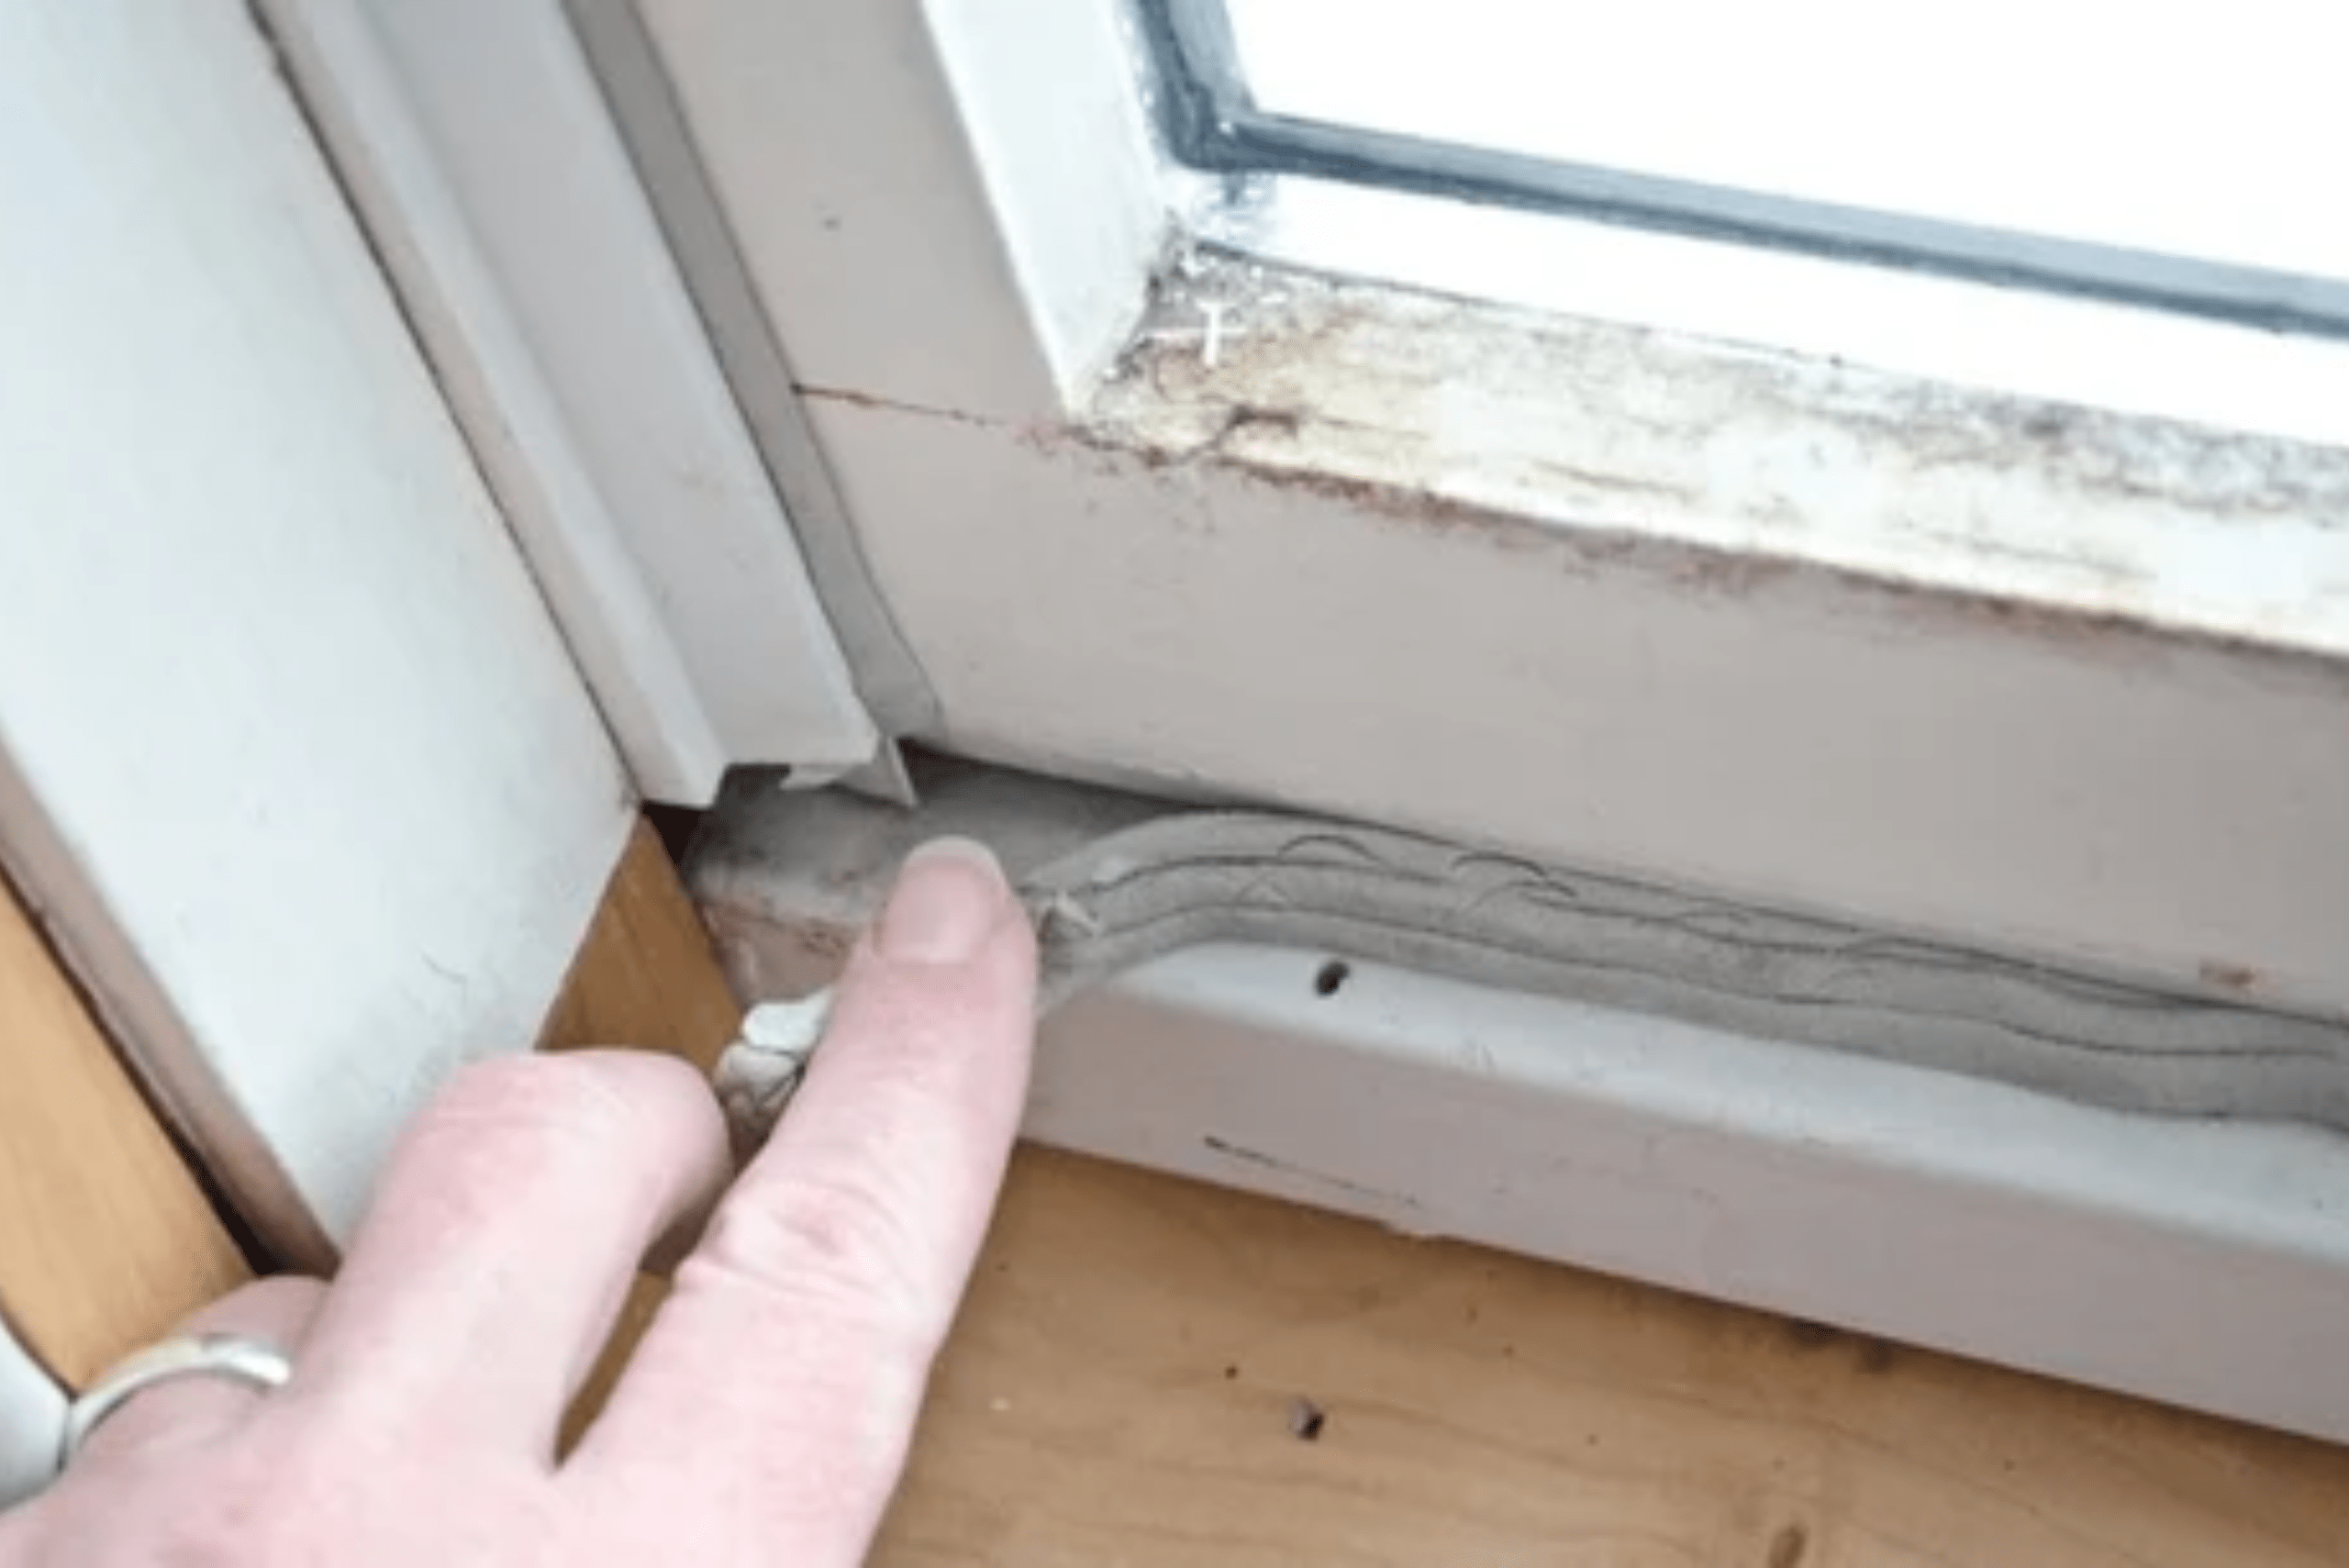
The Palm Test
The quickest way to inspect for drafts is to move an open hand around the seals slowly. If you feel air on your palm, you found a leak.
Tip: I place a piece of painter’s tape on the leak to easily identify the area. Then I can collect the materials for the fix and easily locate it when I return.
The Flame Test
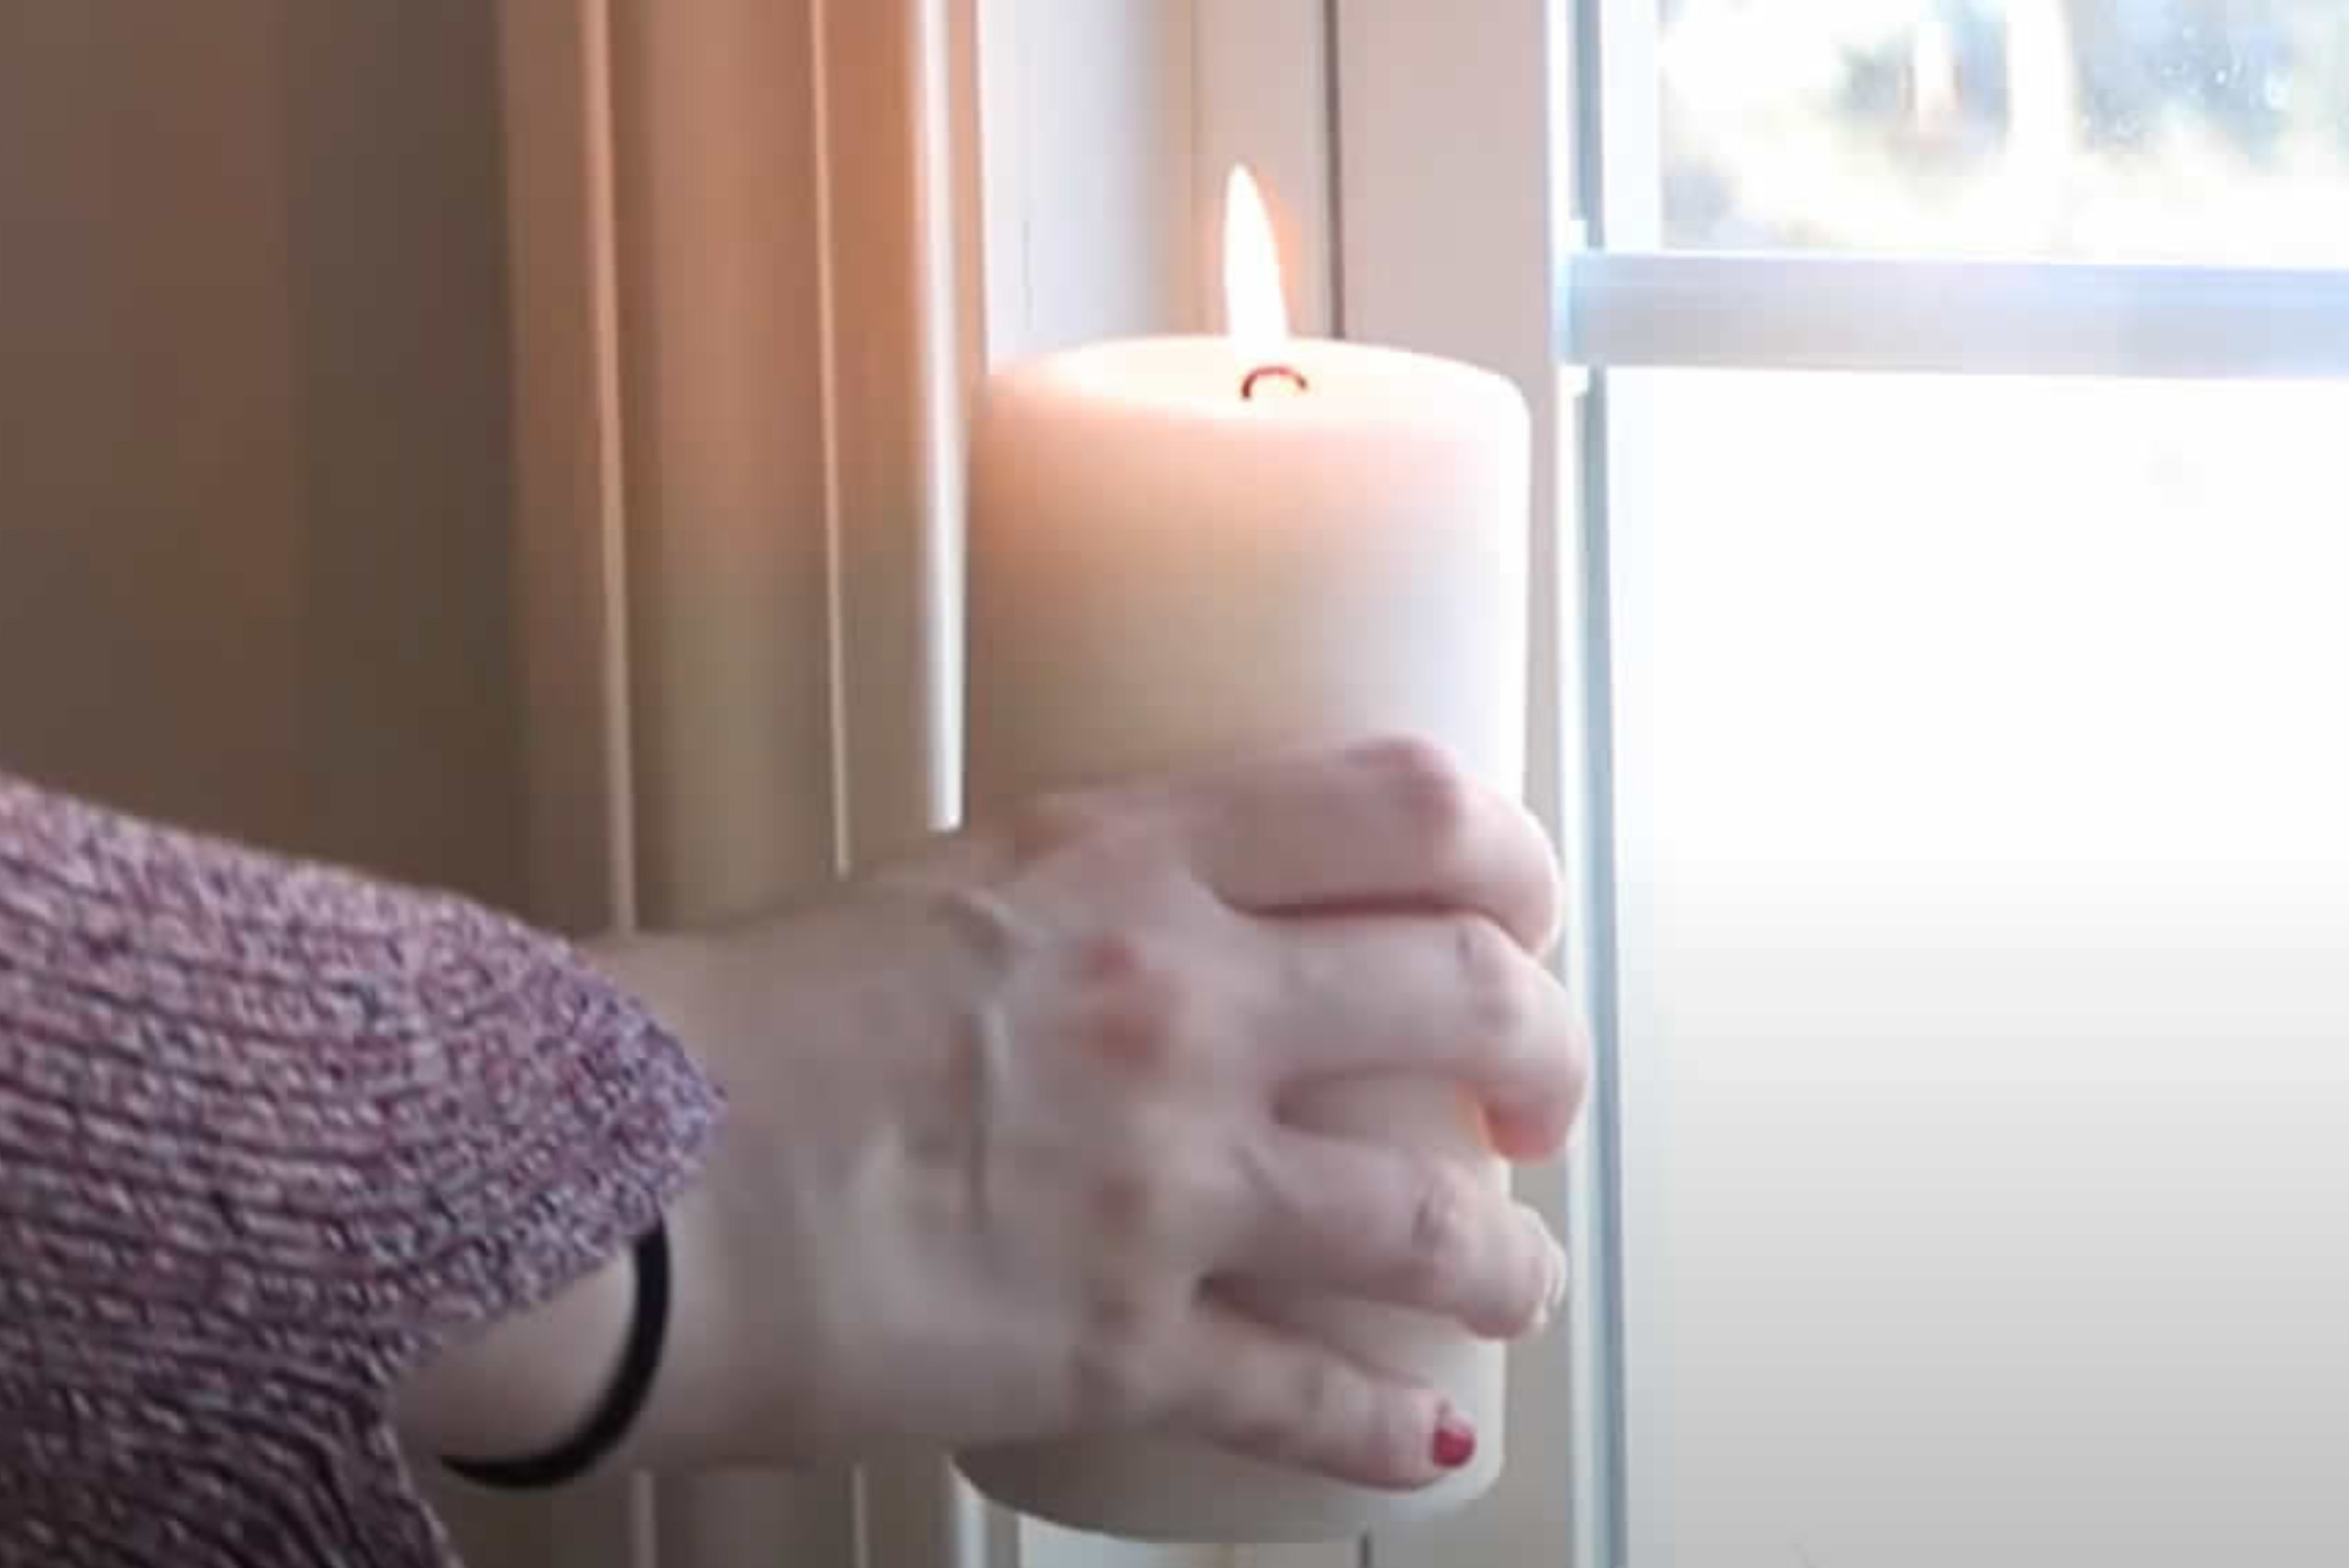
The hand test is quick but not necessarily accurate. It’s difficult to feel out smaller leaks. To locate tiny gaps, light up a candle and start walking around your house. When you hold the flame to the seals, the candle will flicker where the air is leaking in.
If the flame gently bounces, you have a small leak. If it’s flailing all over like the tube man, you have a larger leak on your hands. You can use the flame test on your fans and vents, too; just make sure you turn them off before going at it.
Invest in a Detector
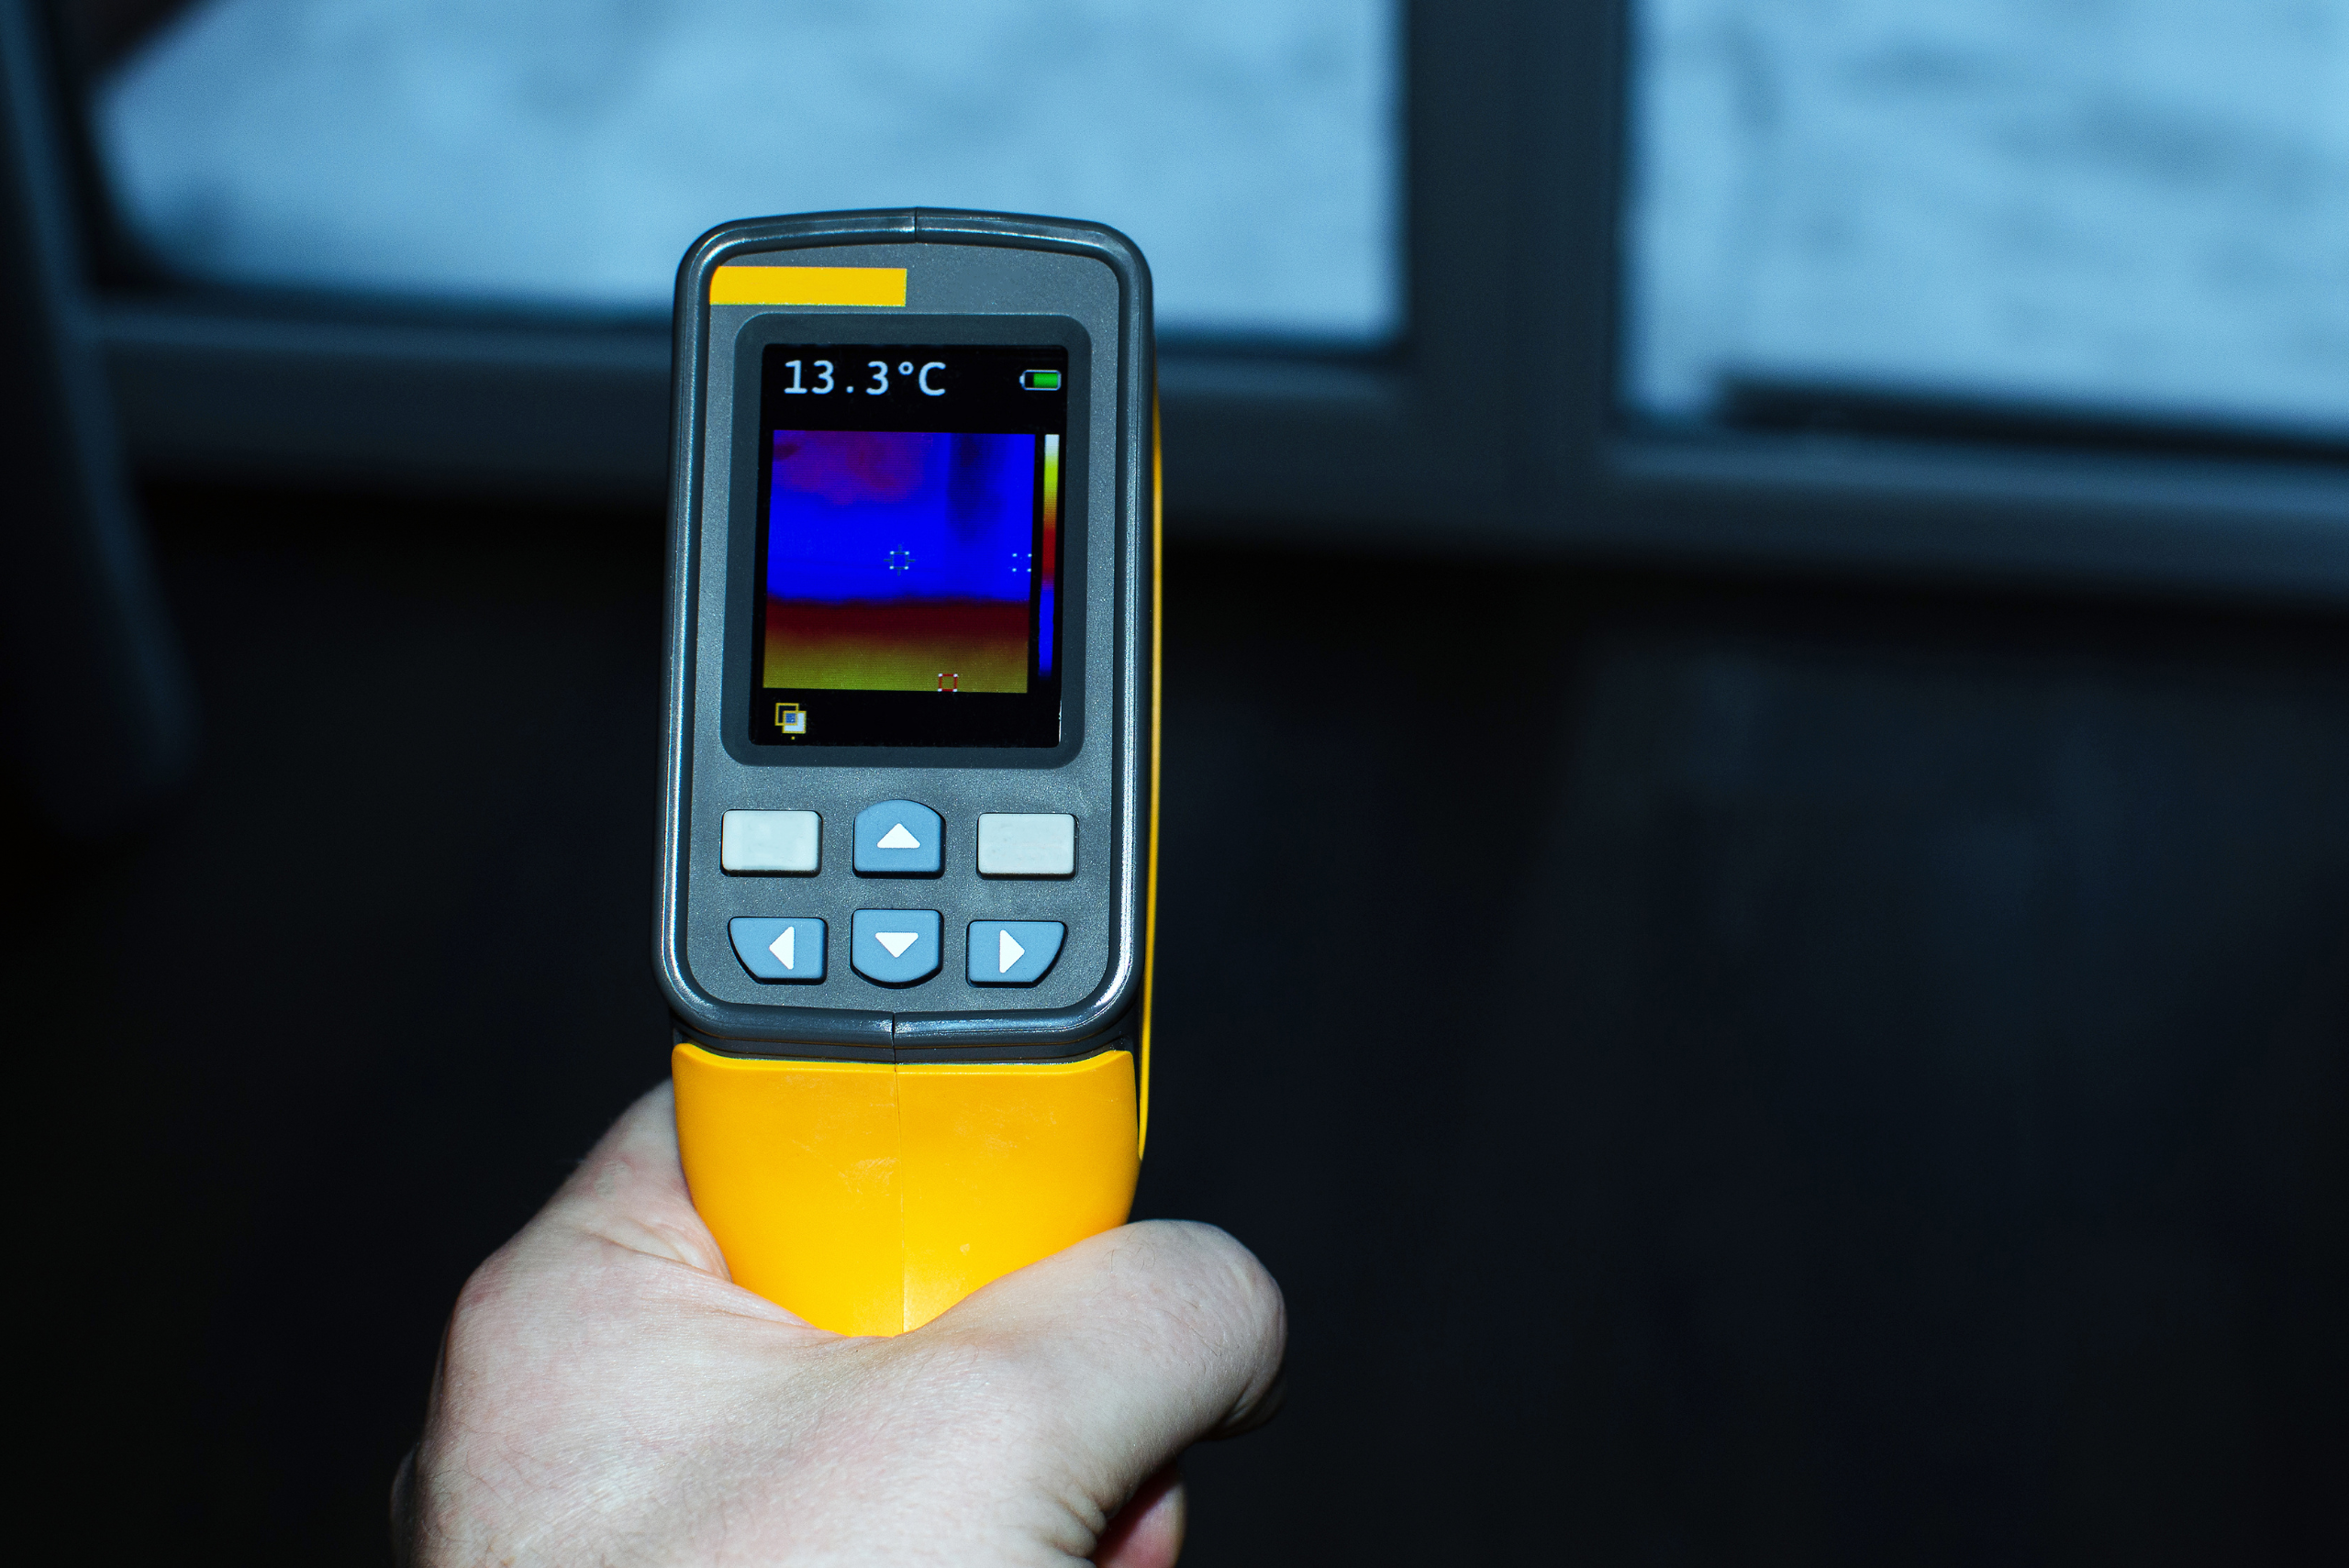
If you are willing to fork out some extra cash, adding an airflow detector to your ManMade Essential toolbox can save you a lot of time and provide more accurate results. Amazon offers the BLACK+DECKER Thermal Leak Detector for only $38.00. This little gadget uses infrared sensors to read surface temperatures. It can reveal issues with the insulation of your home and identify airy drafts. This device even comes backed with a solid two-year warranty.
Patch It Up
Replacing your windows and doors is outrageously expensive! There are a ton of low budget tricks that you can do to temporarily repair window and door leaks while you save up for replacements.
One of my favorite temporary patching products on the market is Neoprene Weather Stripping Foam Tape. It’s only $14.95 on Amazon and will last a few years depending on how many windows you have. Just peel off the backing and stick the strips over the seals on your windows and doors to block any airflow. I replace them each fall for a superior tight winter seal. It was shocking to see the results on my hydro bill after slapping these on.
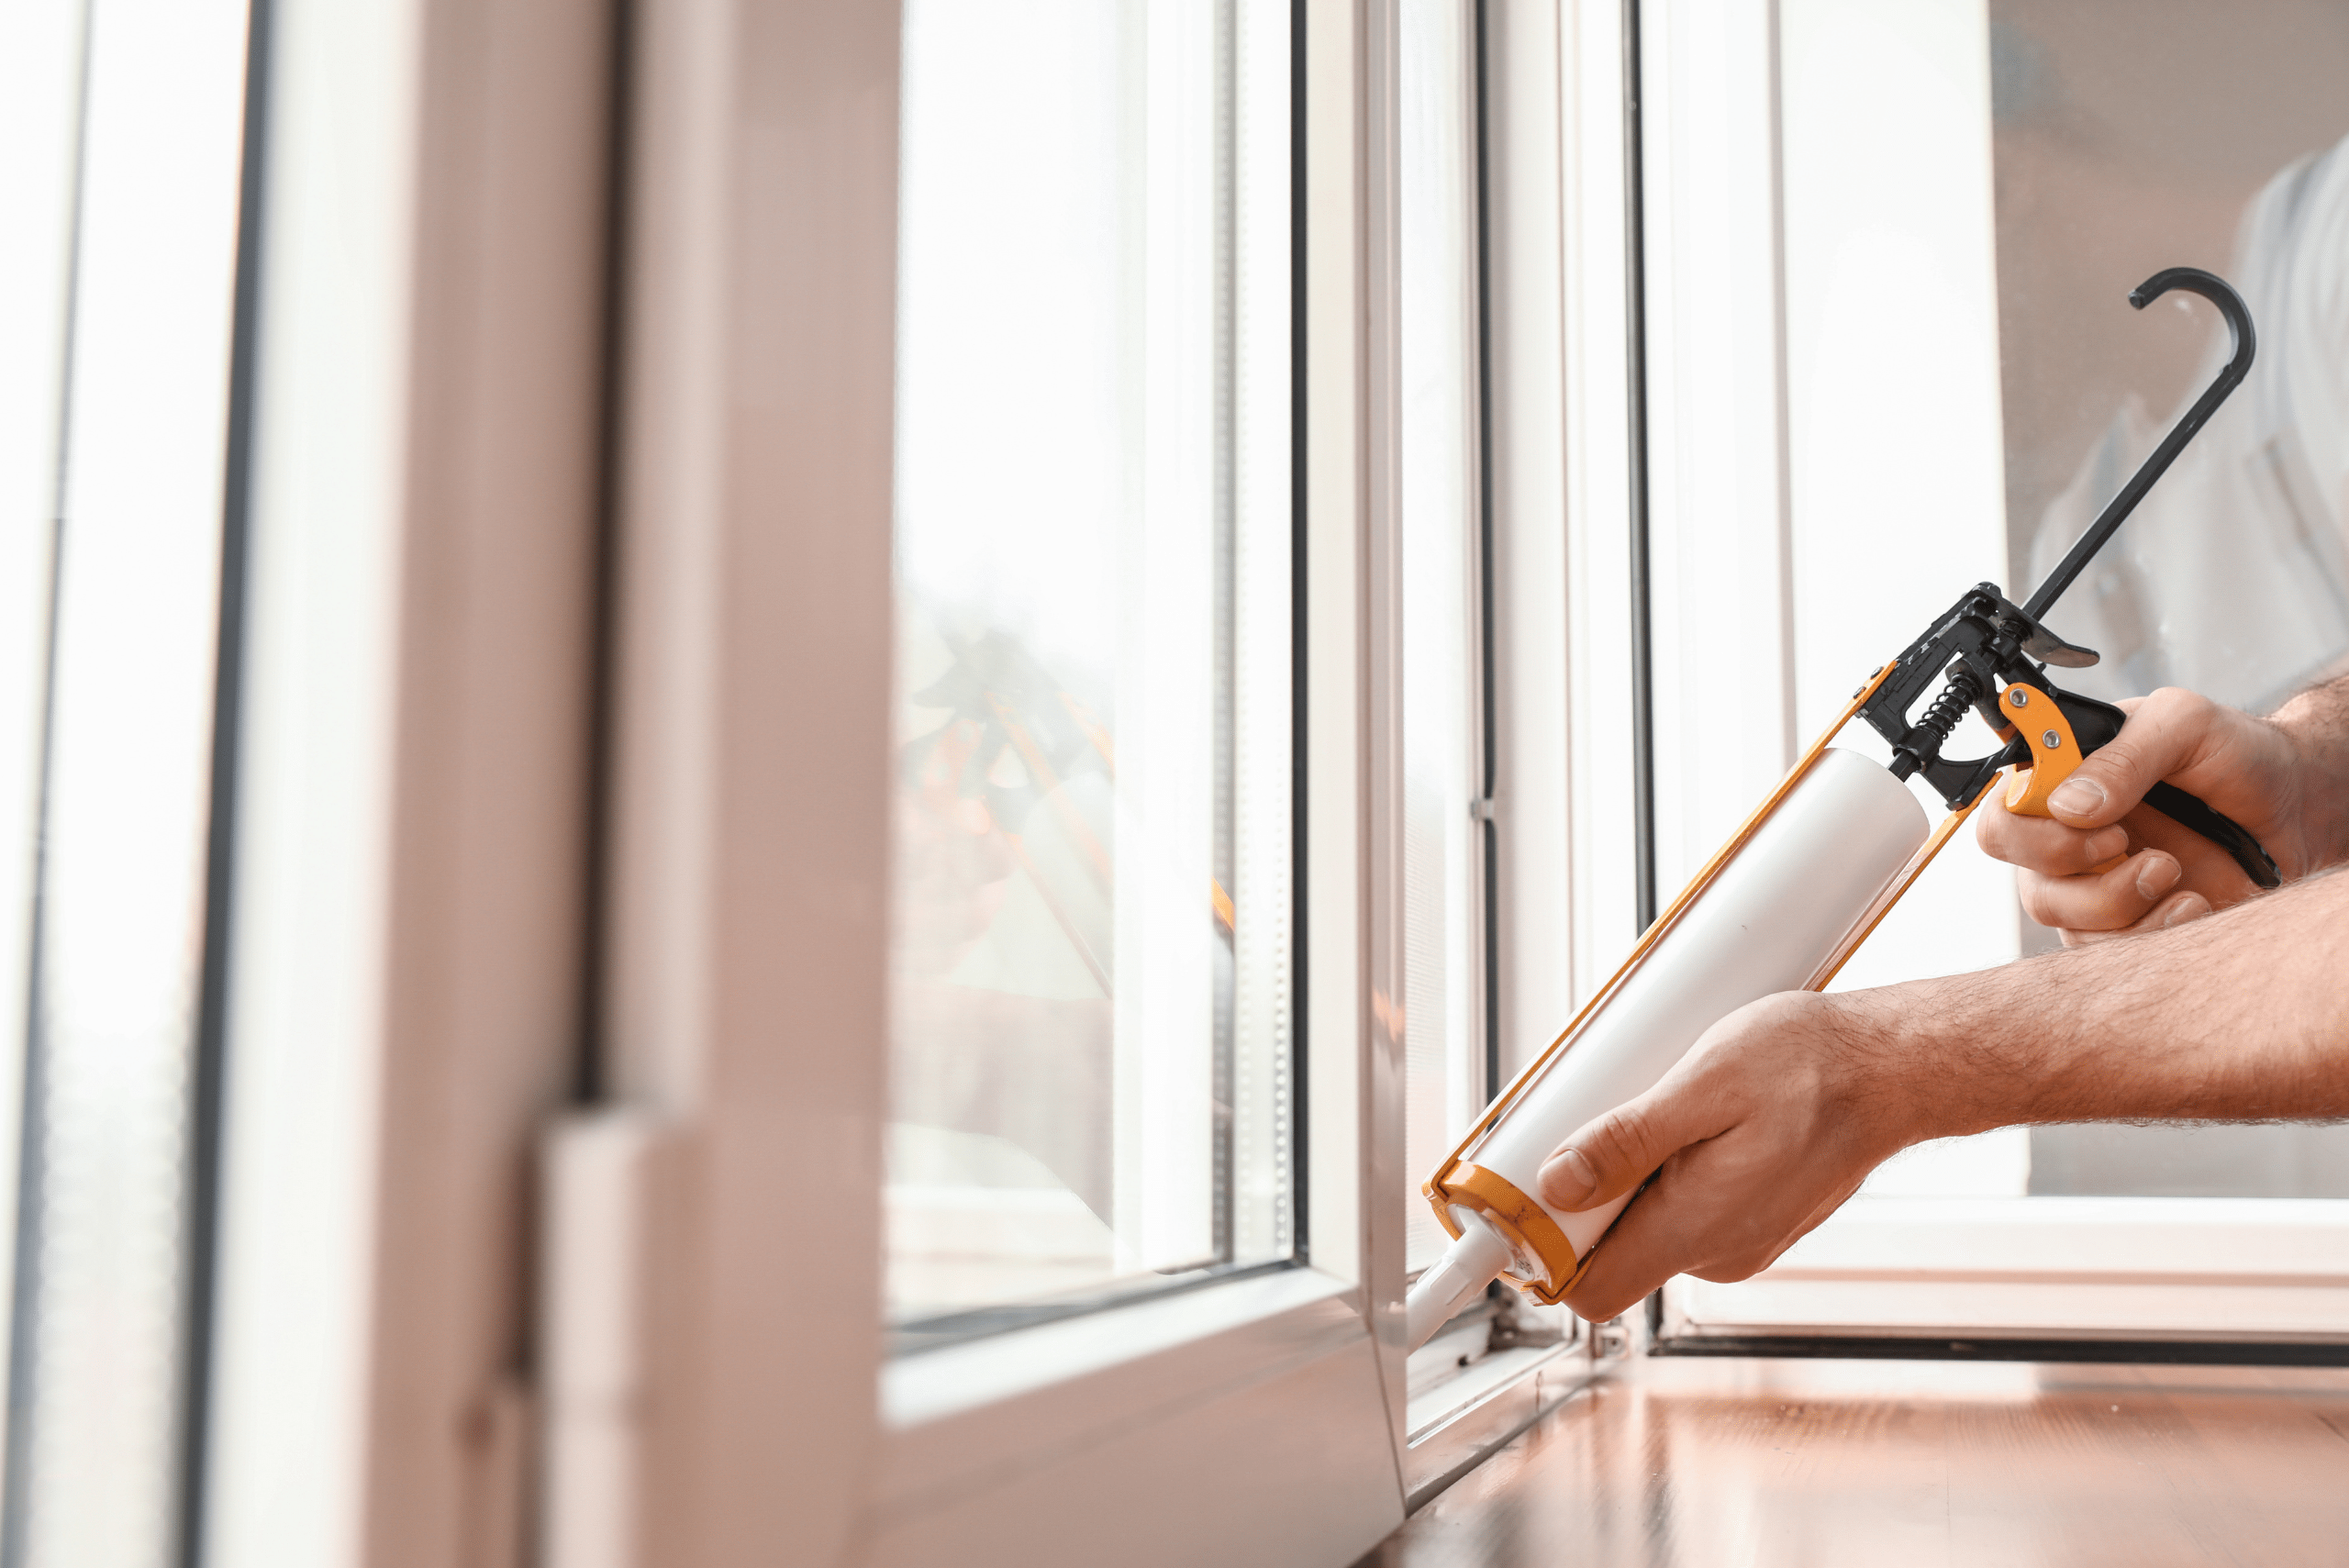
For longer-lasting results, plug and seal air gaps with liquid sealing products. Smaller holes can be filled with caulking, while larger cavities may require something extra durable like spray foam.
Professional Help
Sometimes air leakage isn’t as easy to locate, and you need to toss in the towel and hire it out. Professionals can perform an energy evaluation on your home and provide you with all of the requirements to up your home’s efficiency levels.

There are several financial incentives available that you can take advantage of at the same time. Upgrading your insulation, purchasing new appliances and smart technologies, installing new windows and doors, and updating your lighting are just a few examples. Check out the EnergyStar rebate finder and see if you qualify for these savings.
The Google Nest Learning Thermostat is a smart technology thermostat and can be rebated, depending on your energy provider.
We all love saving money, so pay it forward and let your pals know about these energy-saving tips and tricks.


