How to Make a Portable Solar-Powered USB Charger from Scratch
Have you ever found yourself with a dead phone battery in the middle of nowhere? Imagine having a portable power source that harnesses the sun’s energy to keep your devices charged, no matter where you are. In this article, we’ll guide you through the process of creating your very own solar-powered USB charger from scratch. Not only is this project eco-friendly, but it’s also a fun and rewarding DIY adventure that will leave you with a useful gadget for your outdoor excursions.
Start your next woodworking adventure with TedsWoodworking! Dive into 16,000+ projects and bring your ideas to life. Build unique furniture and master new skills with Ted’s detailed, step-by-step plans guiding you every step of the way.
Understanding the Basics of Solar-Powered USB Charging Technology
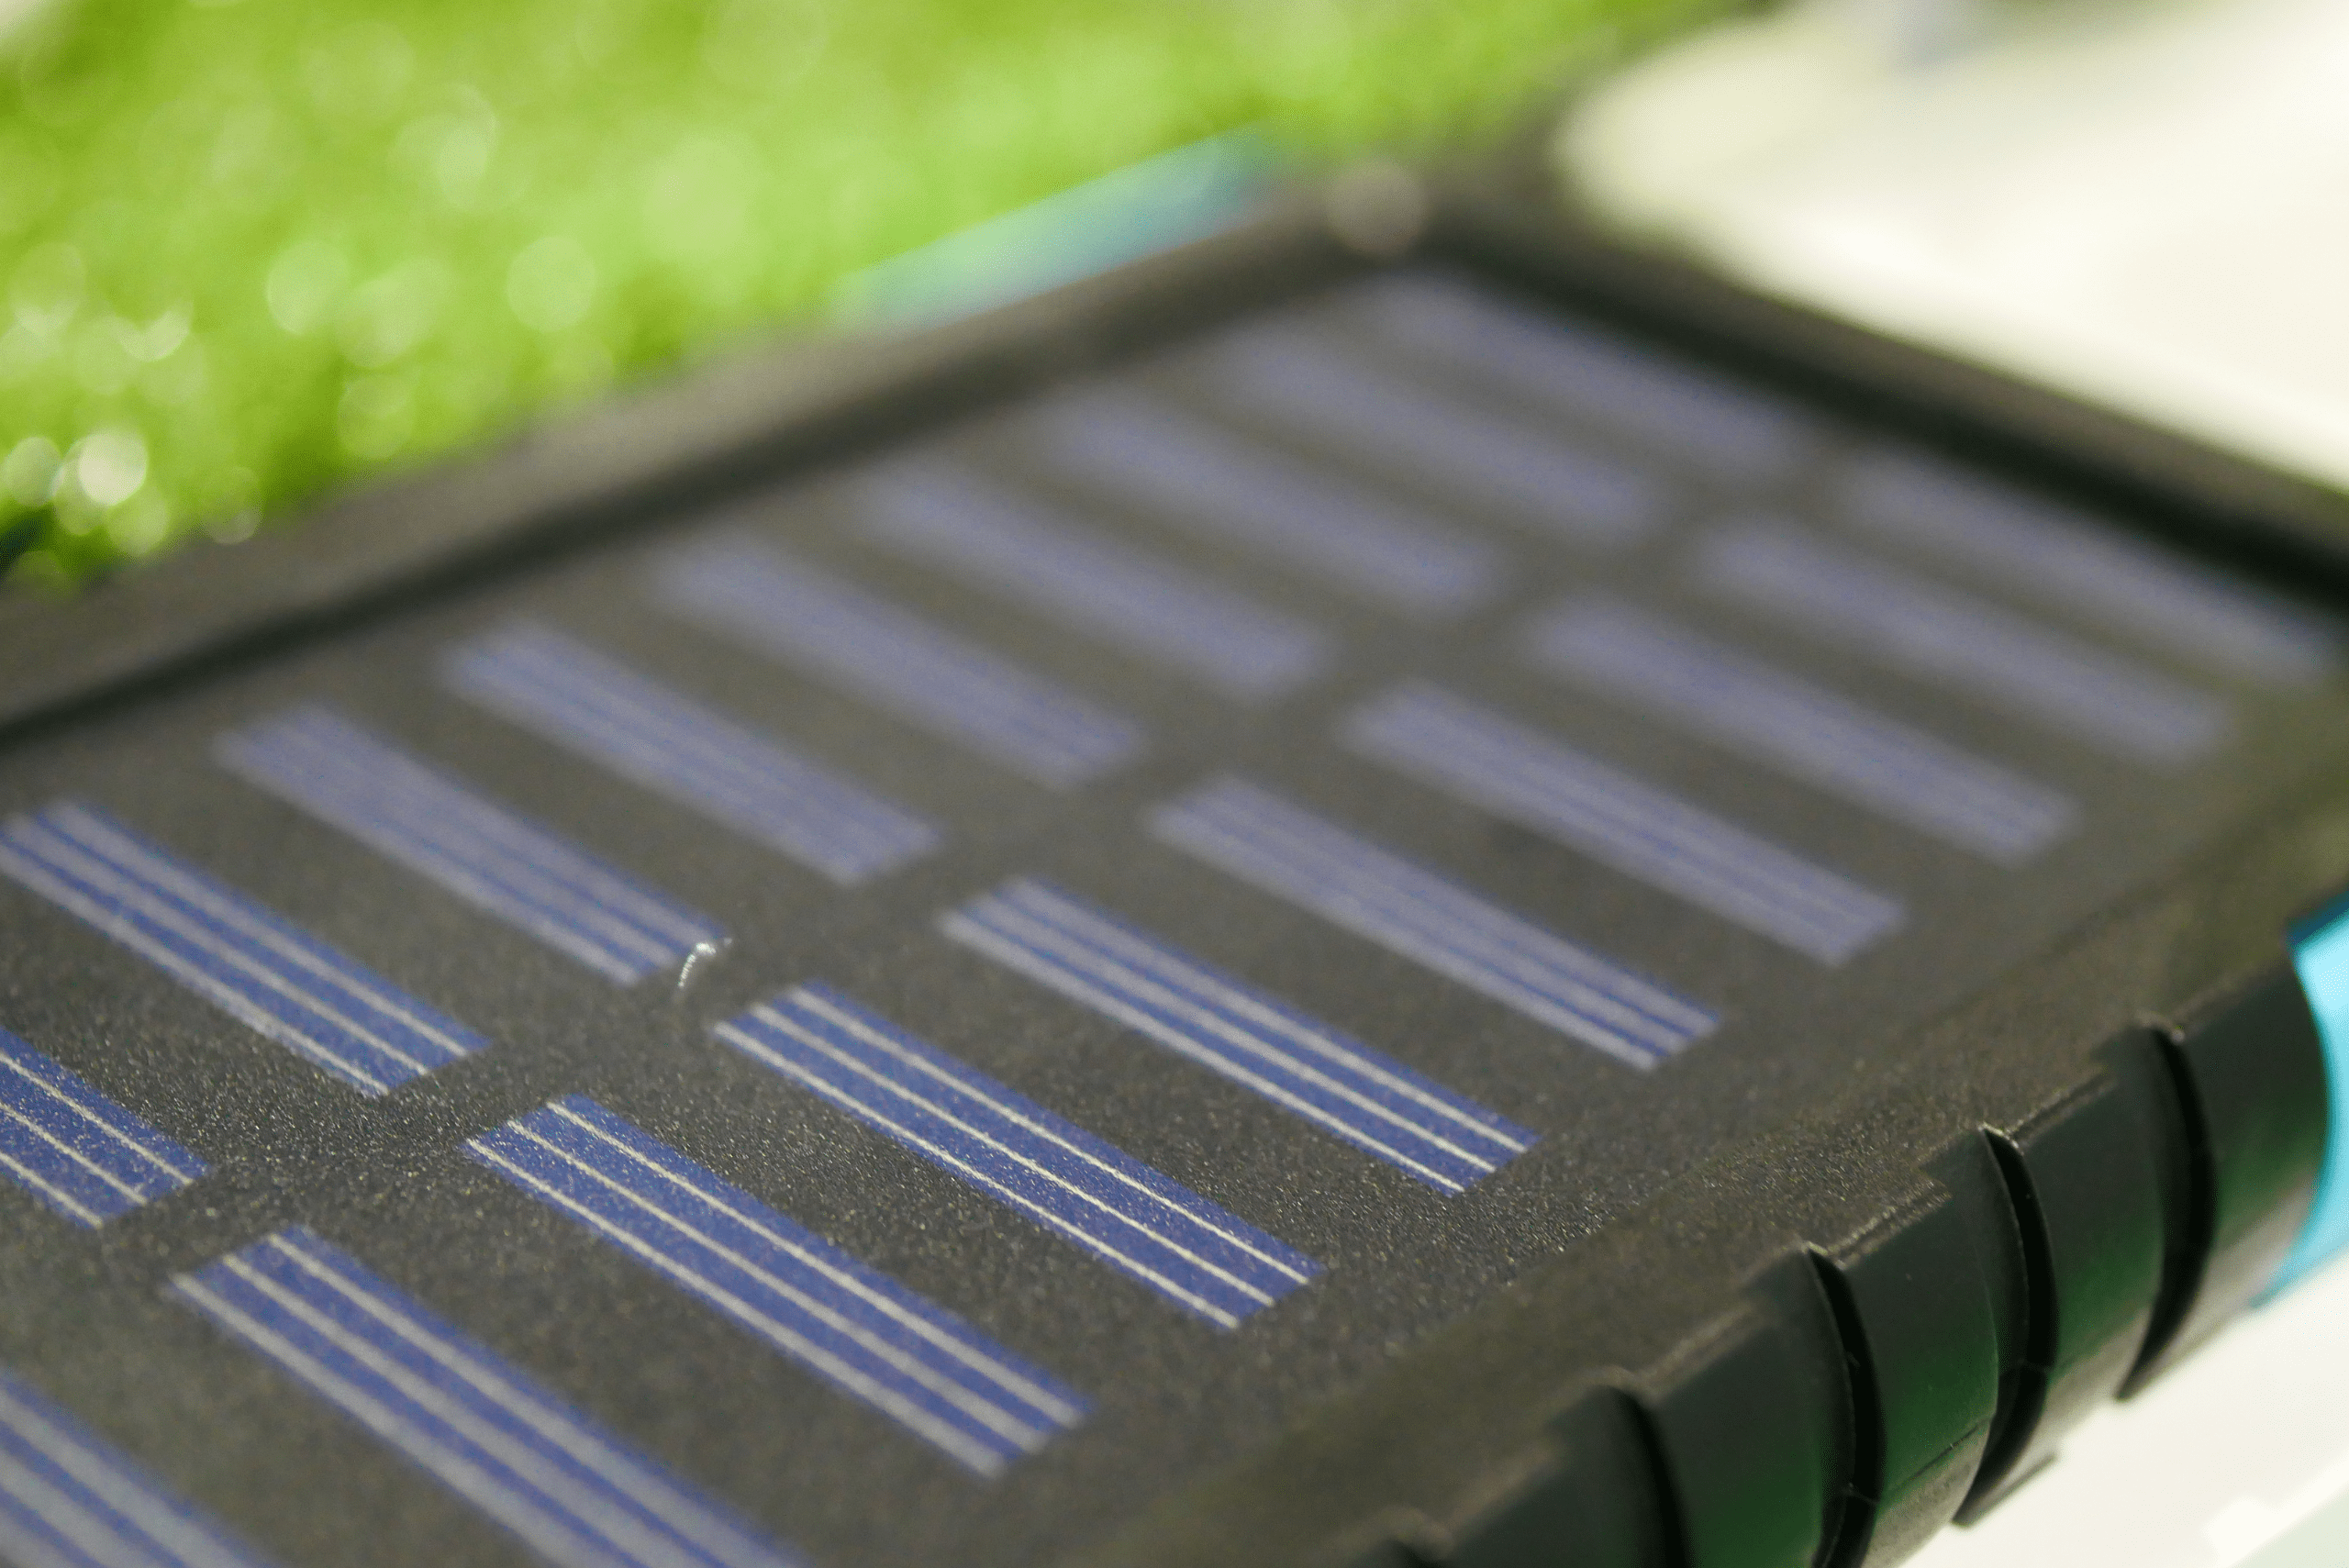
Solar-powered USB chargers work by converting sunlight into electrical energy that can be used to charge your devices. These chargers typically consist of a solar panel, a voltage regulator, and a USB port. The solar panel captures sunlight and converts it into electricity, while the voltage regulator ensures a steady output of power suitable for charging USB devices.
Unlike traditional power banks, pure solar chargers don’t rely on internal batteries, making them more eco-friendly and longer-lasting. While they may only work during daylight hours, they offer the advantage of being completely independent of the power grid, making them ideal for outdoor adventures and emergency situations.
Gathering the Necessary Materials and Tools for Your DIY Project
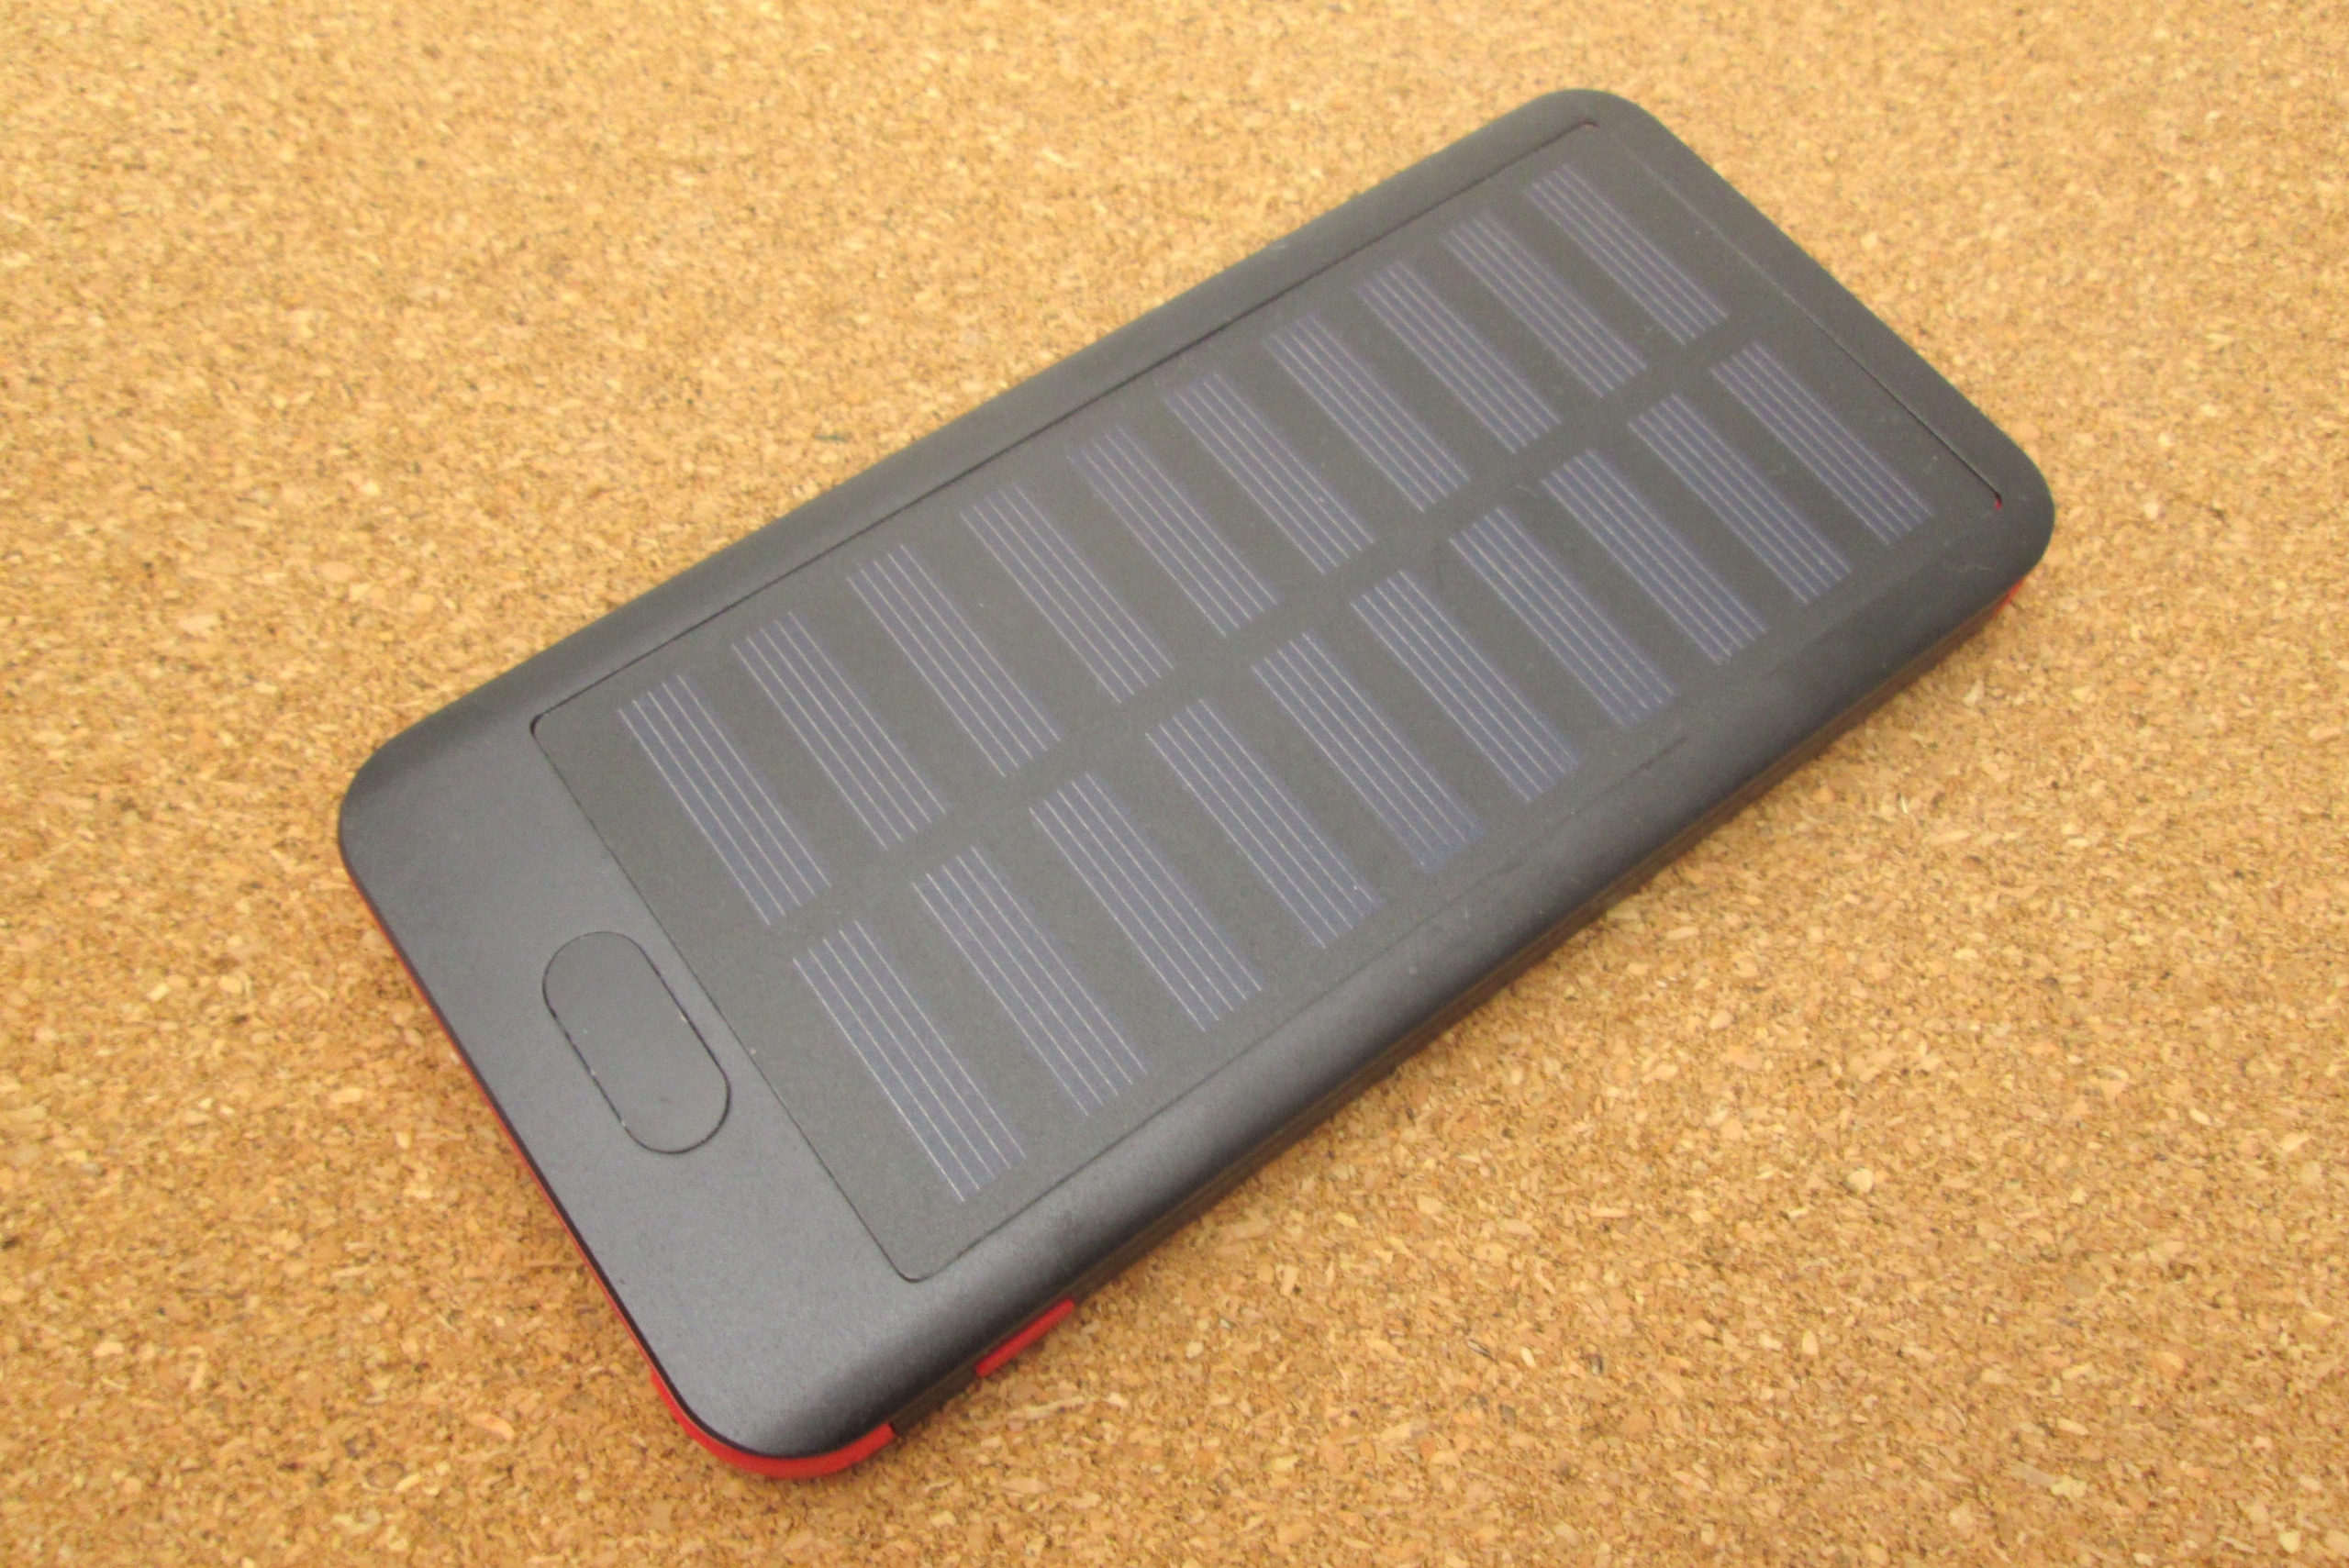
To create your solar-powered USB charger, you’ll need a few key components. The main items include a 6V mini solar panel, a 5V step-up/inverter USB charger circuit, and a flexible plastic card for the stand. You’ll also need your smartphone and charging cable for testing purposes.
As for tools, you’ll require a hot glue gun, a 30W soldering iron, and a multi-tool. These items are readily available at most hardware stores or online retailers. When sourcing your materials, look for quality components to ensure the longevity and efficiency of your charger.
Selecting the Right Charger Module for Optimal Performance and Efficiency
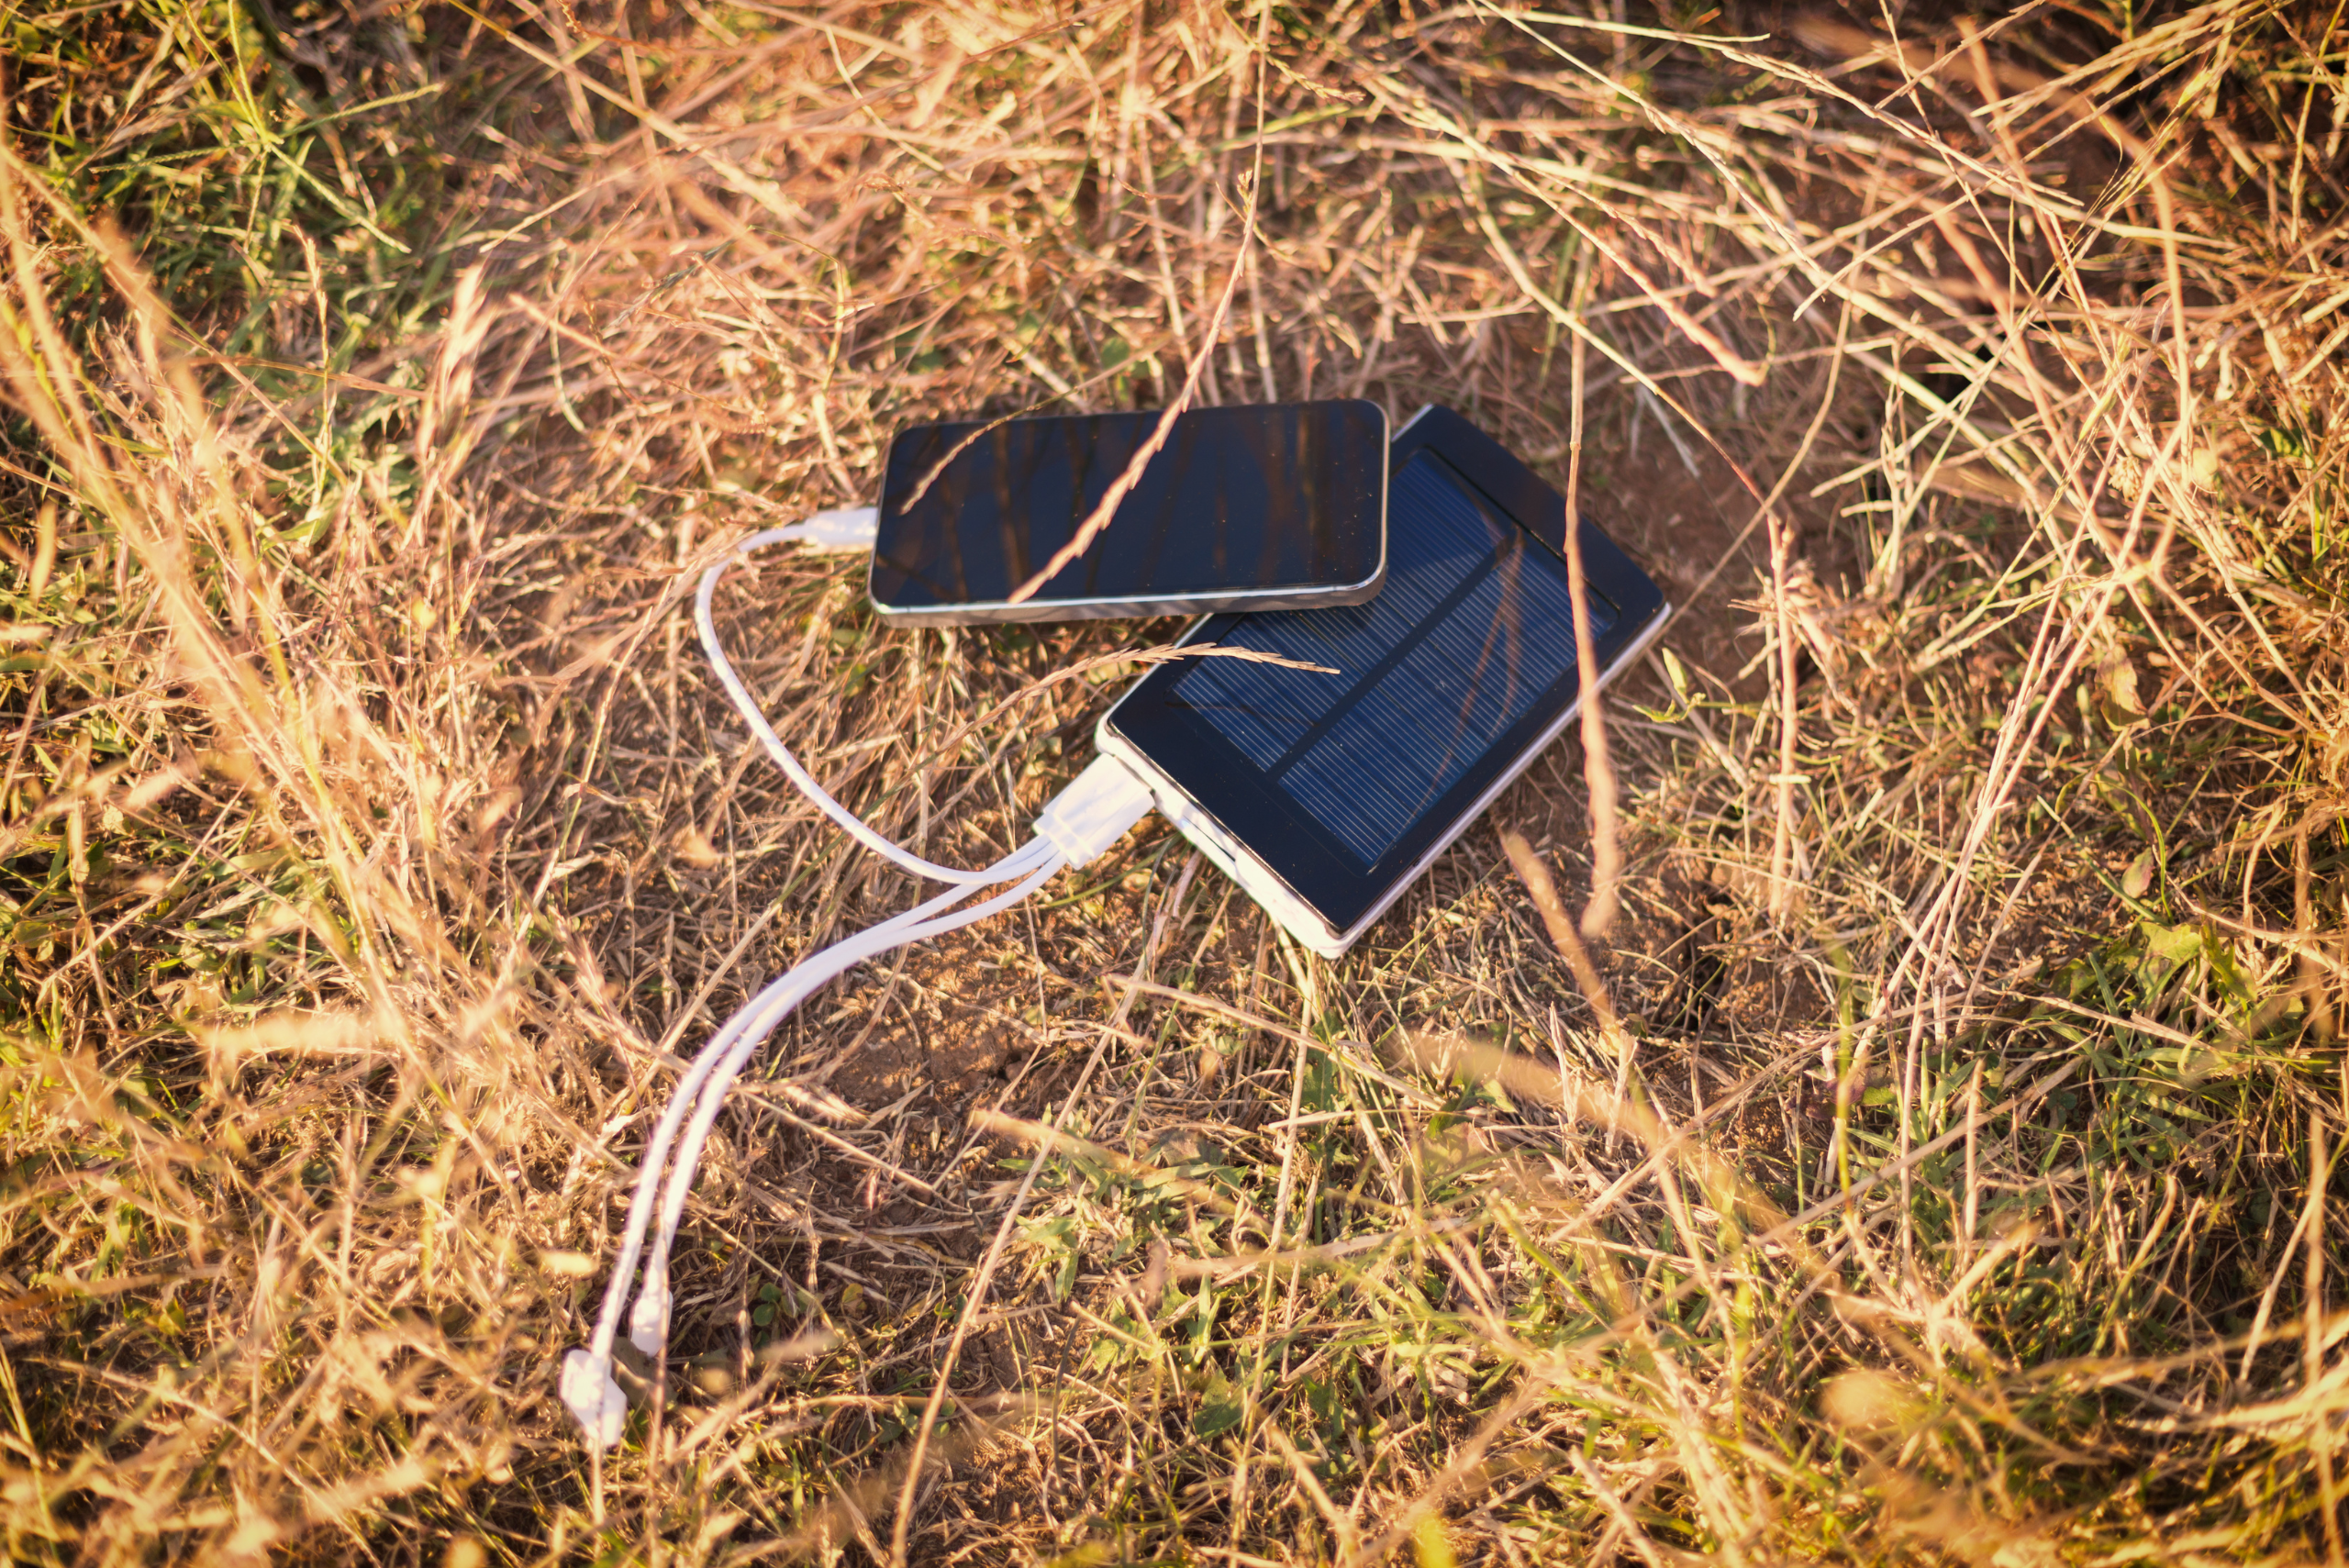
Choosing the appropriate charger module is crucial for the success of your DIY solar USB charger. There are several options available, each with its own advantages. A simple step-up/inverter USB charger module is an affordable and effective choice, typically costing around $3-$4 with free shipping.
For those who want more features, consider a 5V USB charger with an LCD voltage monitoring screen. This option allows you to keep track of the power output, but it comes at a slightly higher price point. Alternatively, you could opt for a bare 5V step-up inverter circuit if you’re comfortable with more advanced electronics assembly.
Step-By-Step Guide to Assembling Your Solar-Powered USB Charger Device
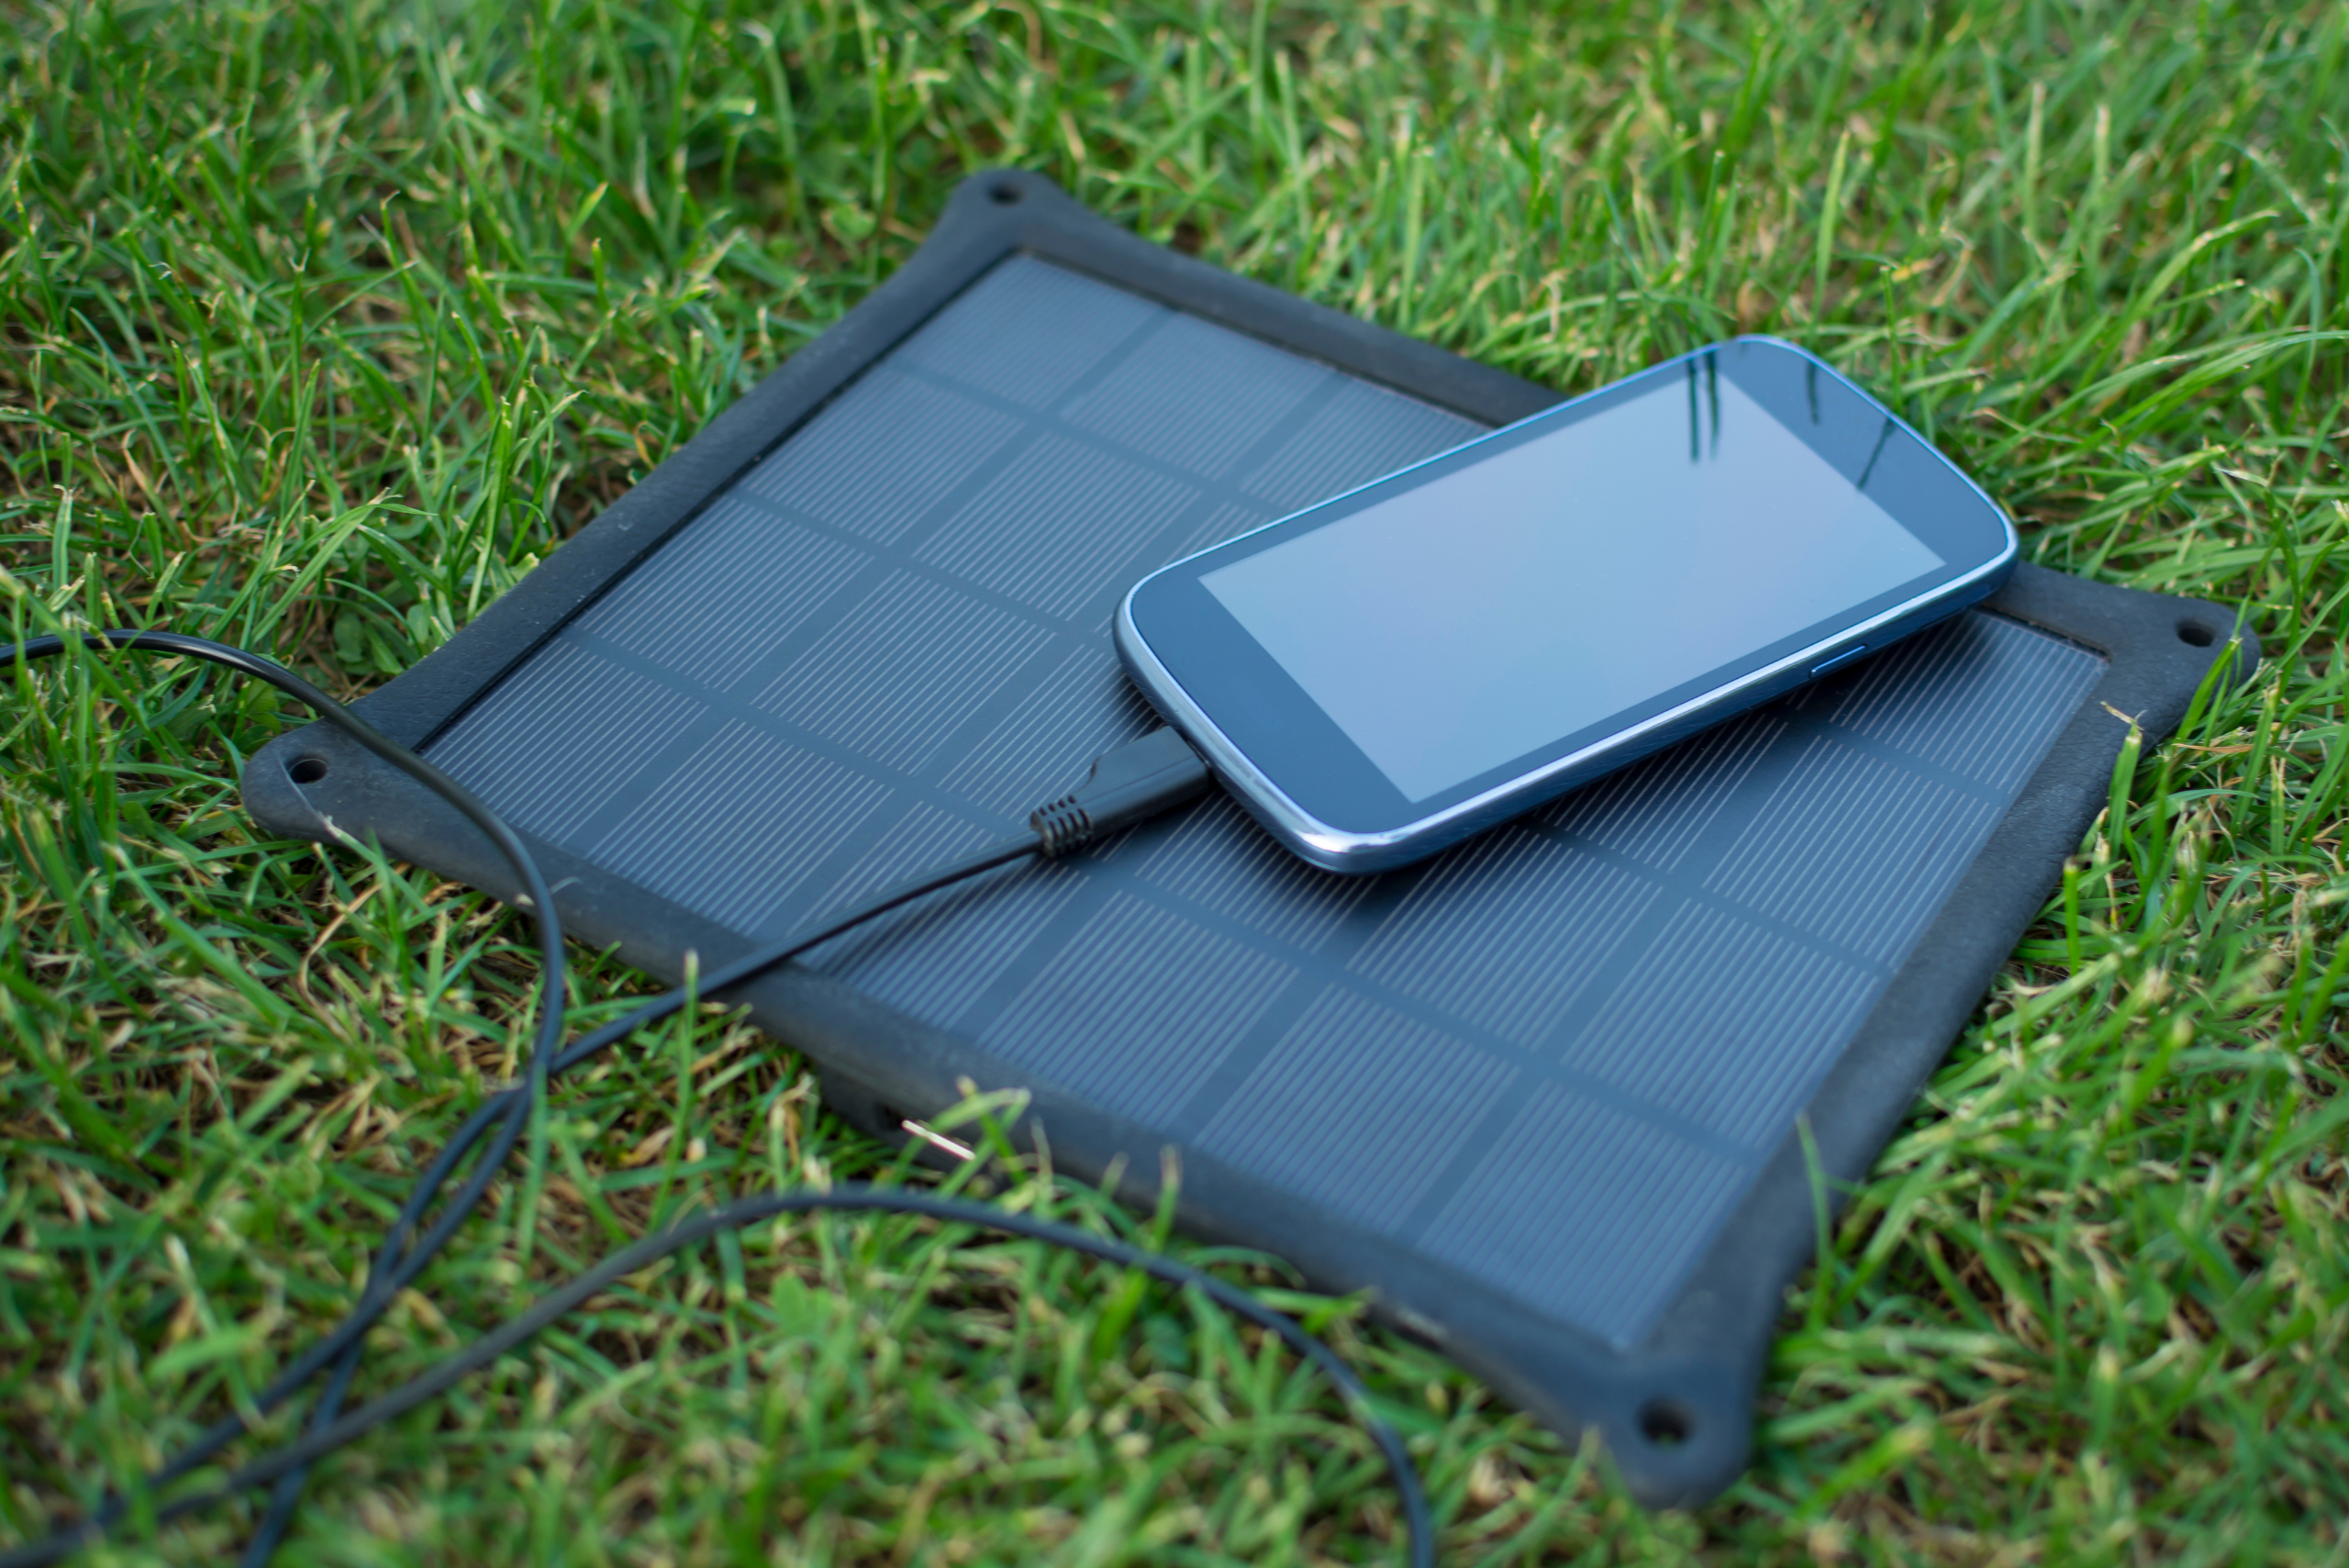
Begin by carefully disassembling a 12V high-power USB charger to extract the circuit board. Cut the wires to an appropriate length for mounting on the solar panel. Next, solder the charger circuit to the solar panel, ensuring proper connections. If desired, you can add a switch for more control over the charging process.
Use a hot glue gun to securely mount the charger circuit to the solar panel. Take care to position the USB port so it doesn’t protrude and ensure that the circuit doesn’t come into contact with any other leads on the panel. This careful assembly will help protect your charger from damage and ensure its longevity.
Adding a Foldable Stand for Convenient Positioning and Sun Exposure
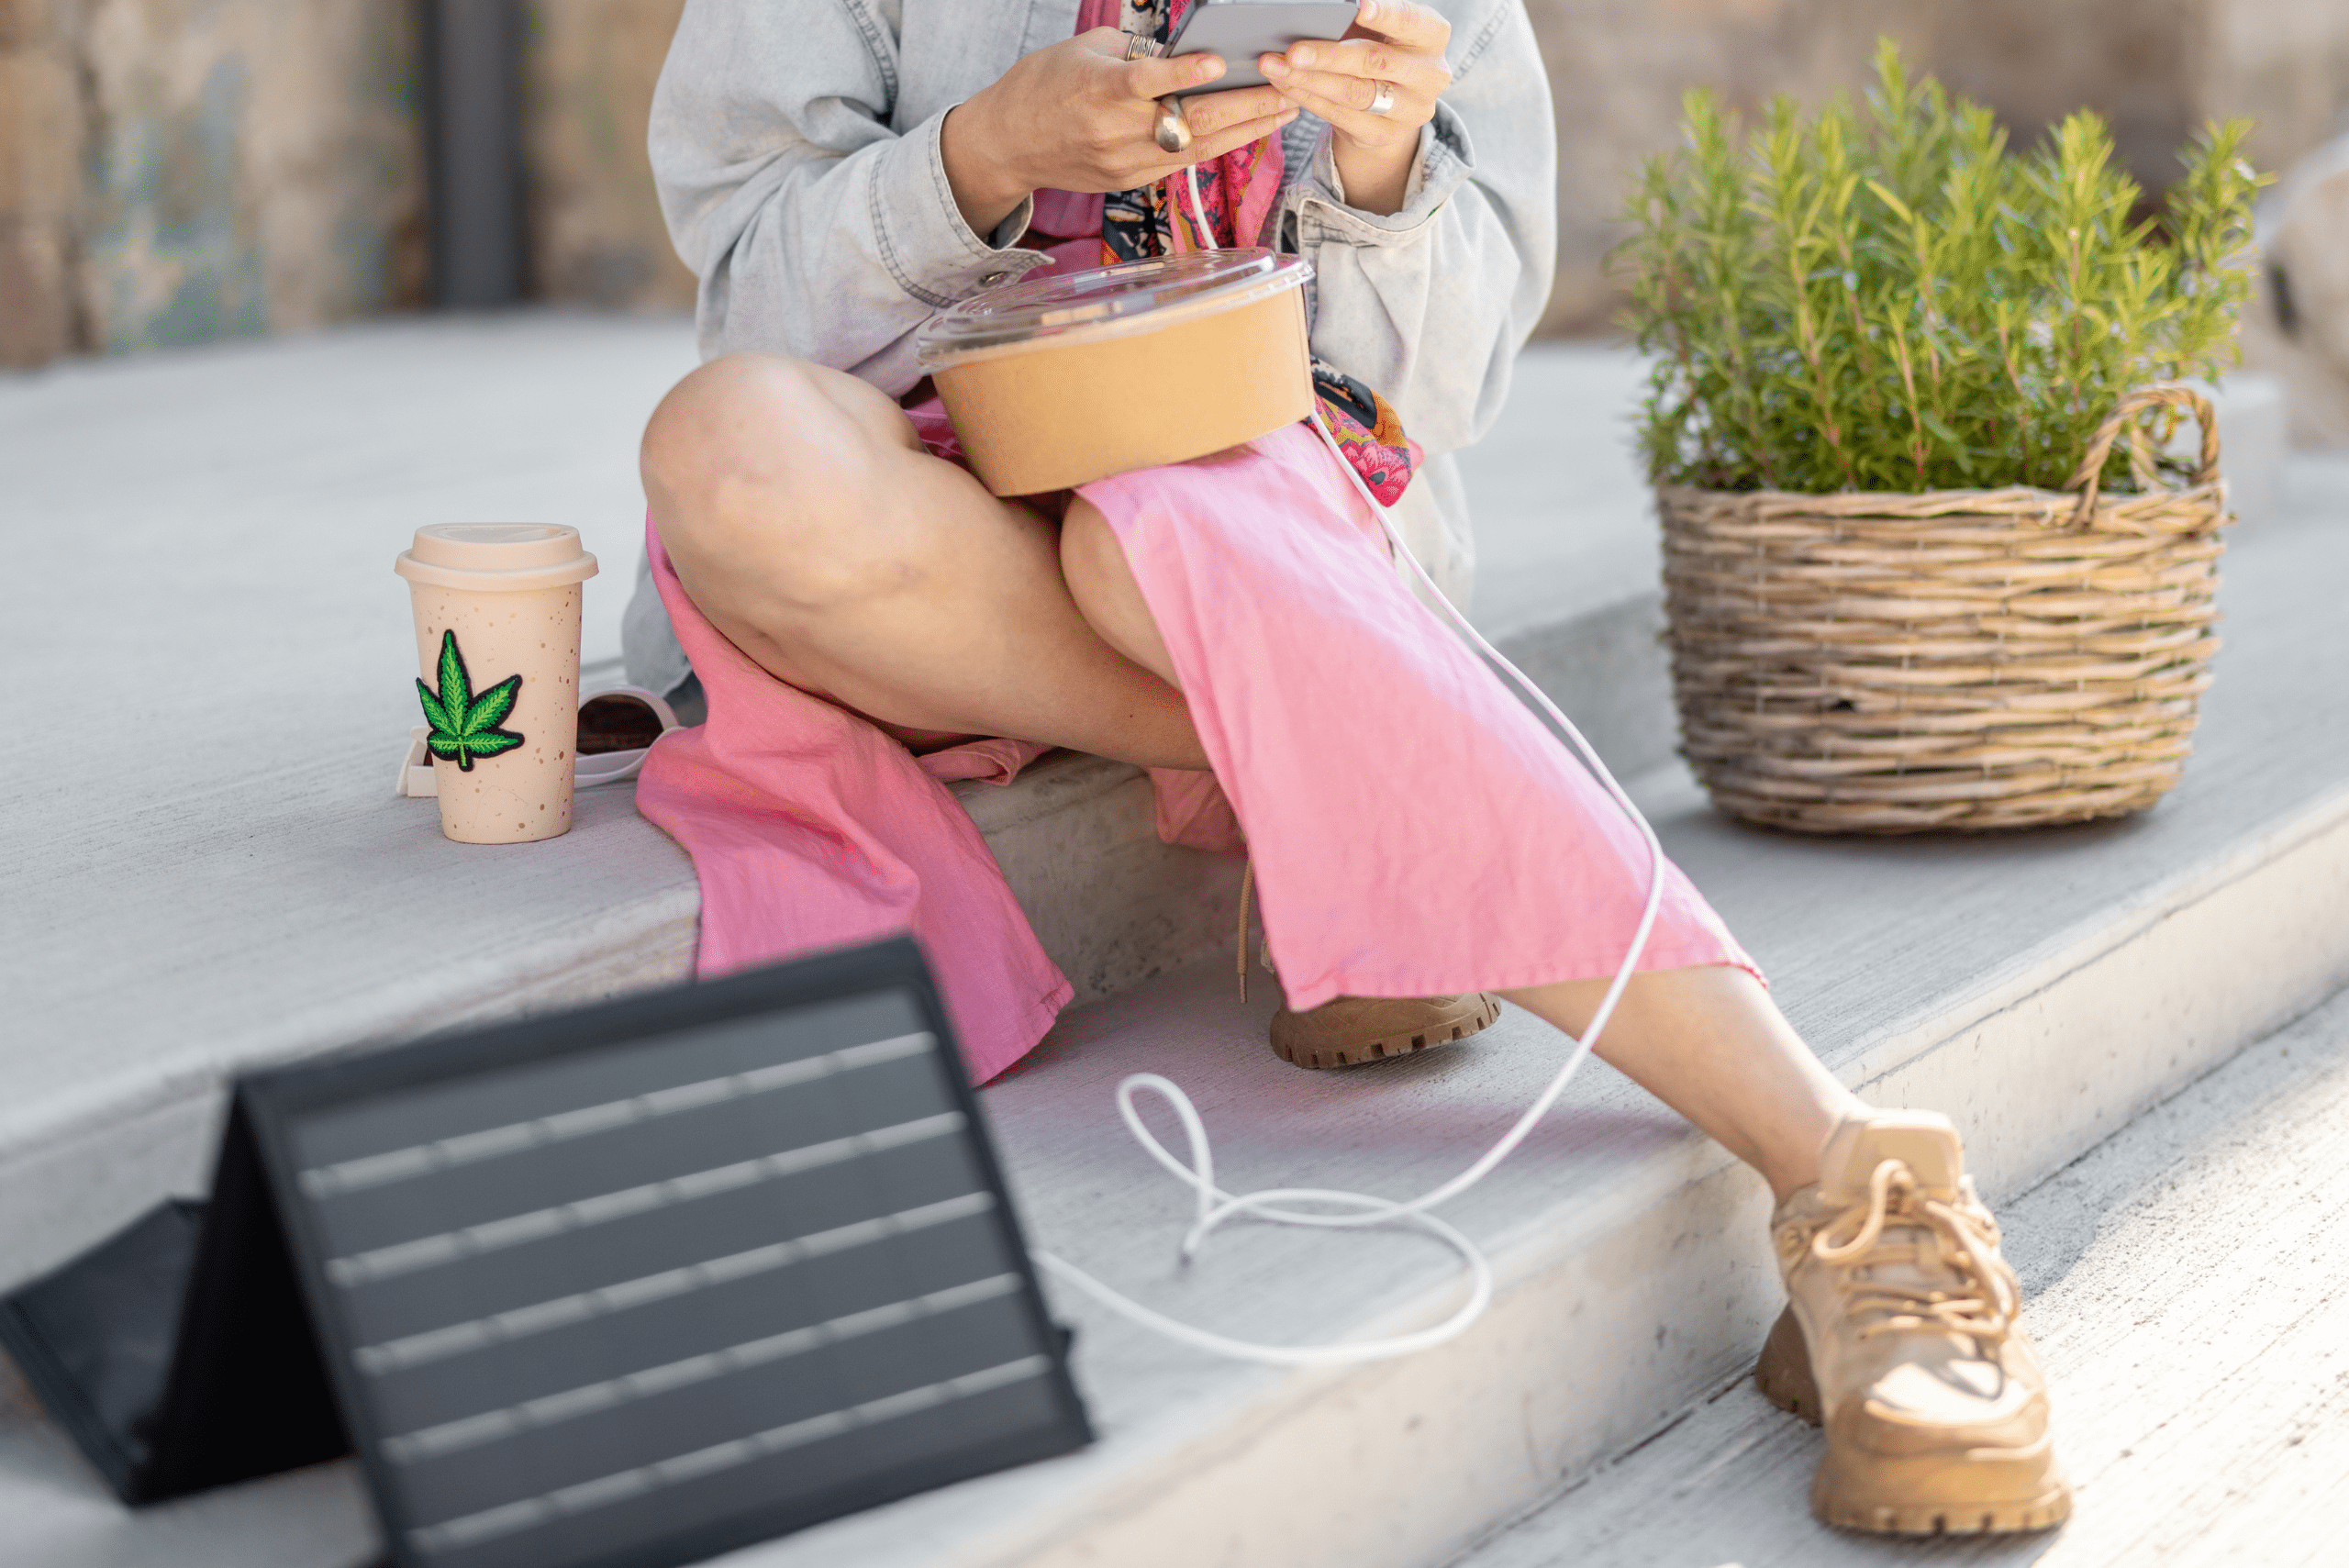
To maximize your charger’s efficiency, it’s helpful to add a foldable stand. This allows you to position the solar panel at the optimal angle for capturing sunlight. Repurpose an old plastic card, such as a gift card or expired credit card, for this purpose.
Using a ruler, carefully bend the plastic card to create a sturdy stand. Attach it to the right side of the solar panel using hot glue. This simple addition greatly enhances the functionality of your charger, making it easier to use in various settings and ensuring better sun exposure.
Testing and Troubleshooting Your Newly Created Solar USB Charger
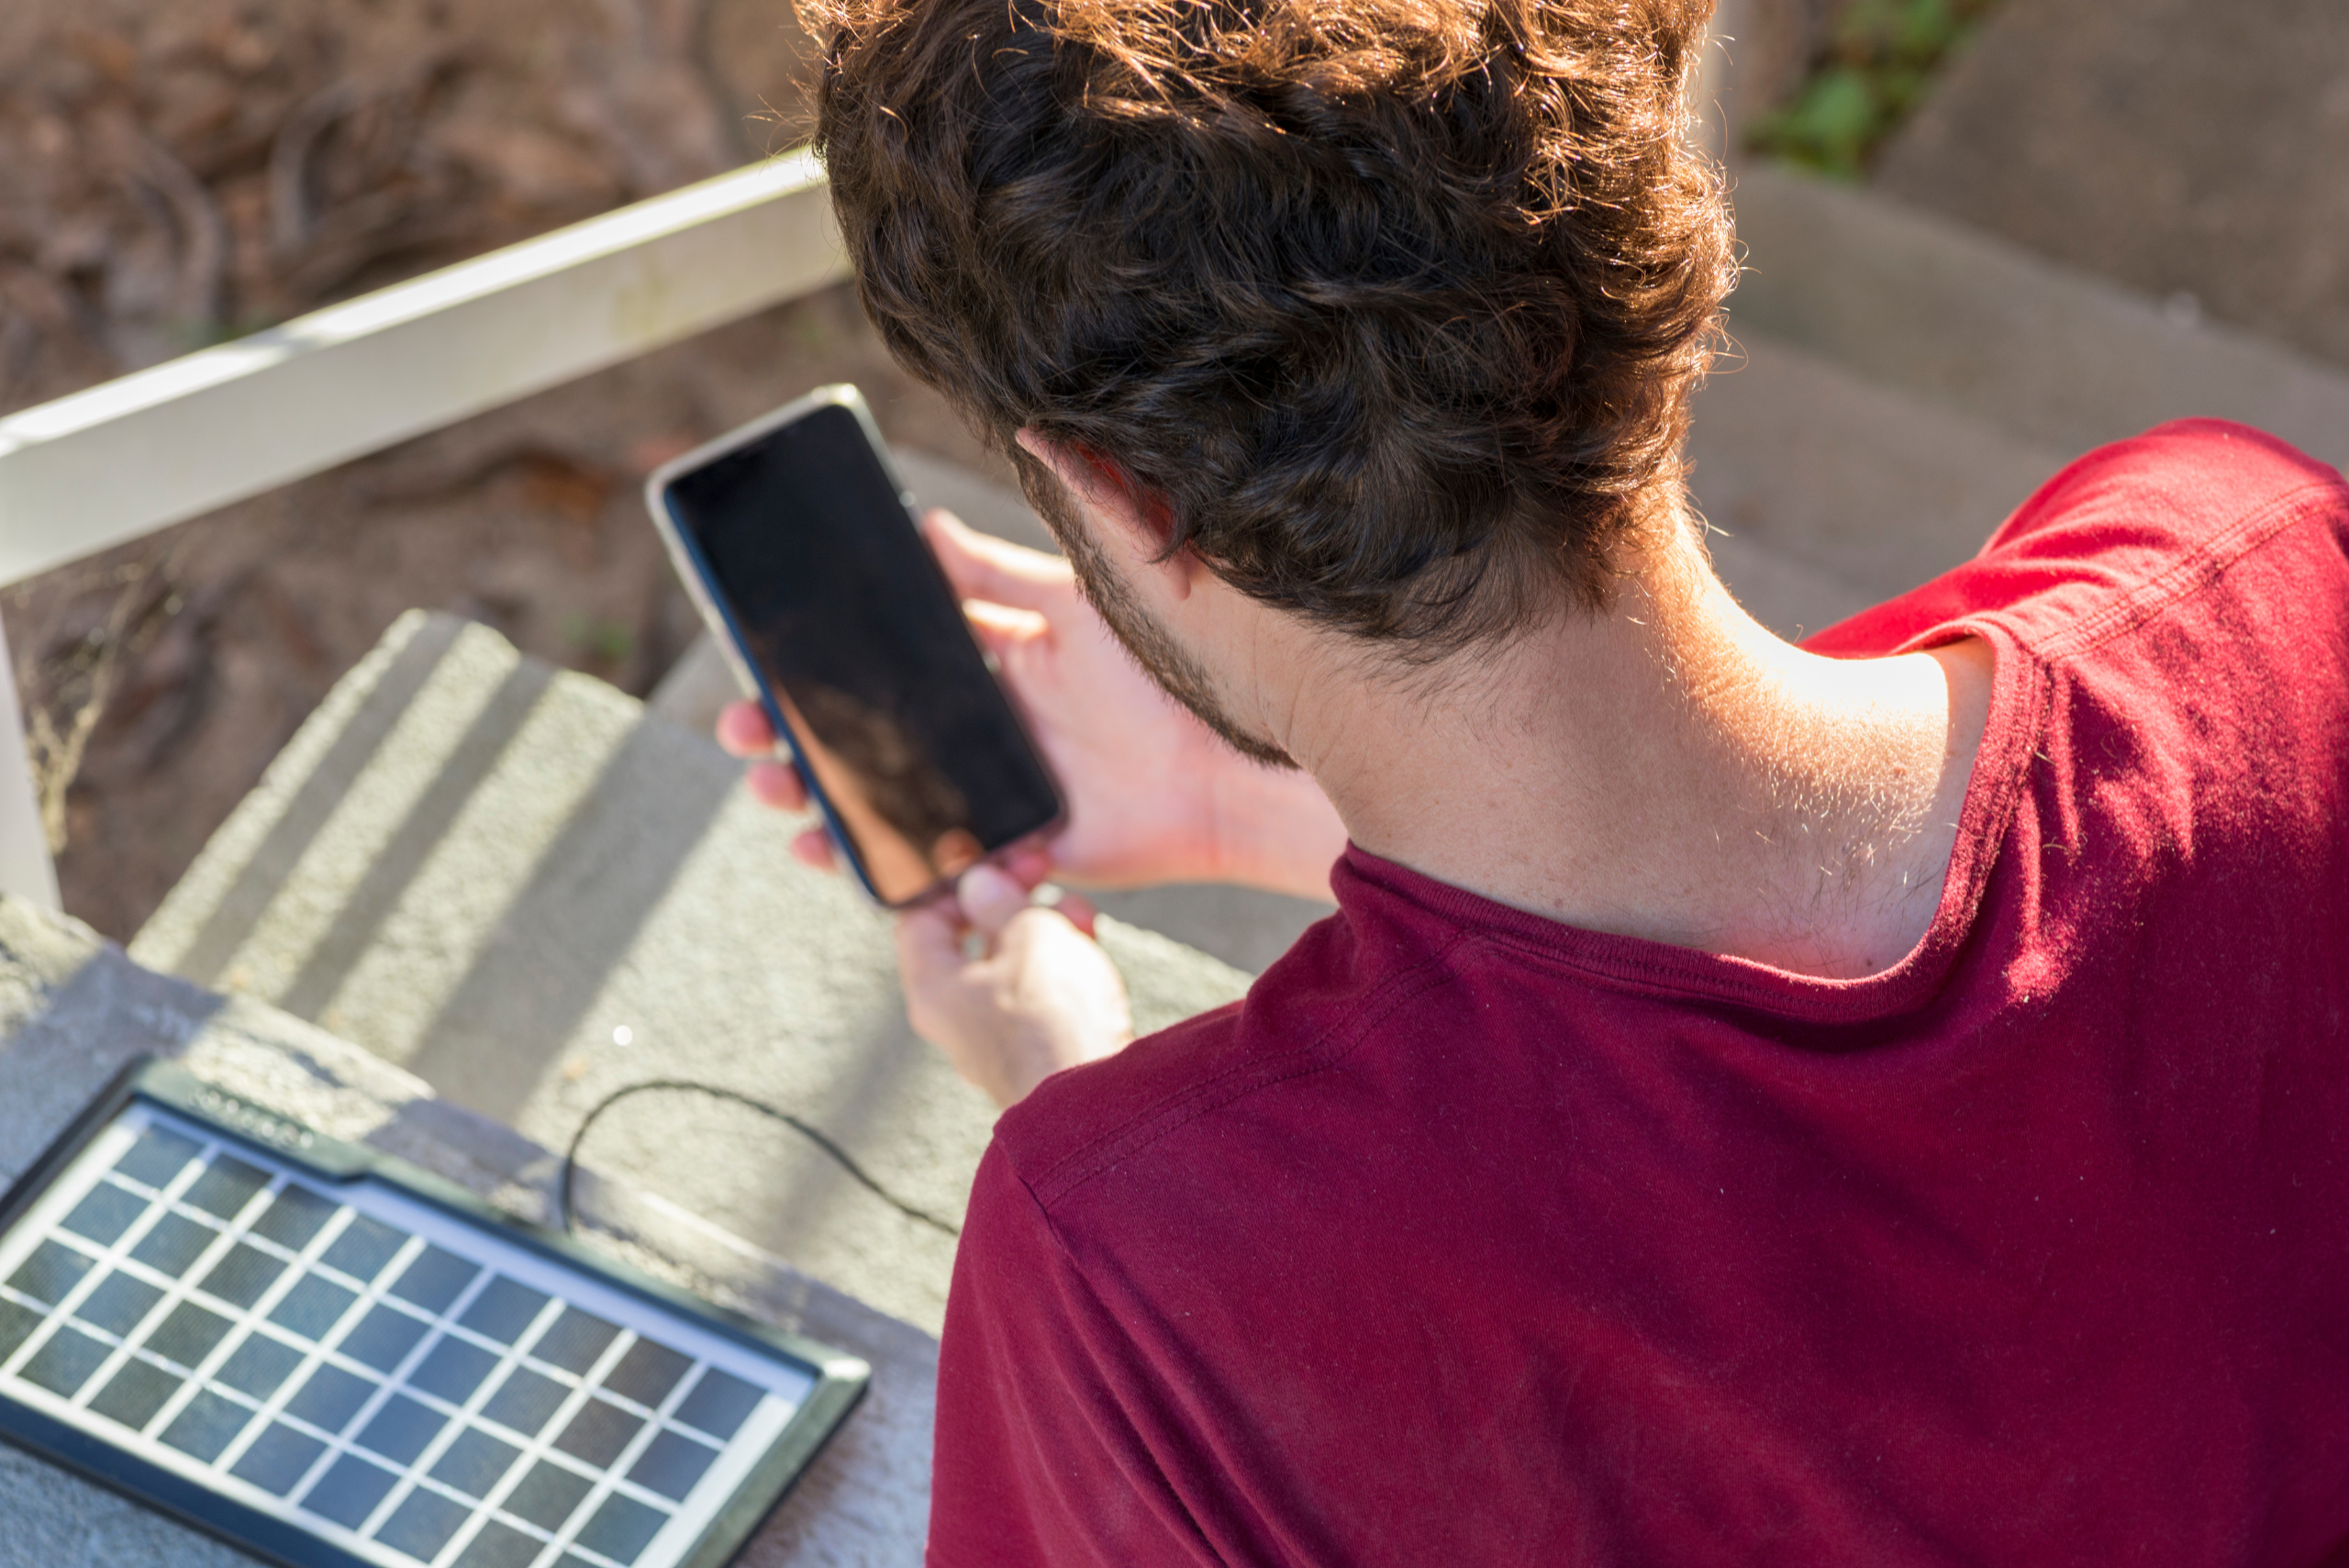
Once your charger is assembled, it’s time to test it out. Take your device outside on a sunny day and connect it to your newly created solar USB charger. Monitor the charging process to ensure it’s working correctly. If you’re not seeing the expected results, double-check your connections and make sure the solar panel is receiving adequate sunlight.
Remember that charging times may vary depending on the strength of the sunlight and the power requirements of your device. Be patient, as solar charging can be slower than traditional methods. If you encounter any issues, review each step of the assembly process to identify and rectify any potential problems.
Ready to start your next project? Join our DIY community to receive tool tips, how-to guides, and exclusive creative insights. Subscribe to the ManMadeDIY newsletter now! Click here to unlock a world of hands-on inspiration.

