Installing Metal Roofing Over Shingles [DIY]
If you’re considering making the switch, we’ll tell you if you can place metal roofing right over asphalt and cedar shake, then give you the how-to steps to do it! But why should you consider the switch to a metal roof? Metal roofing has many advantages, the primary one being durability. Higher-end designs often carry 50-year warranties. They also come in a rainbow of color schemes, some even with textured designs that resemble shingles. Advances in metal roofing design over the past decade have moved it to a premium product, a product that many choose to overlay traditional asphalt shingles with. Deciding to upgrade to a metal roof comes with one major question we have to answer first: do I have to tear off my existing roof shingles or can I lay the metal roof right overtop?
Can You Put Metal Roofing Over Asphalt?
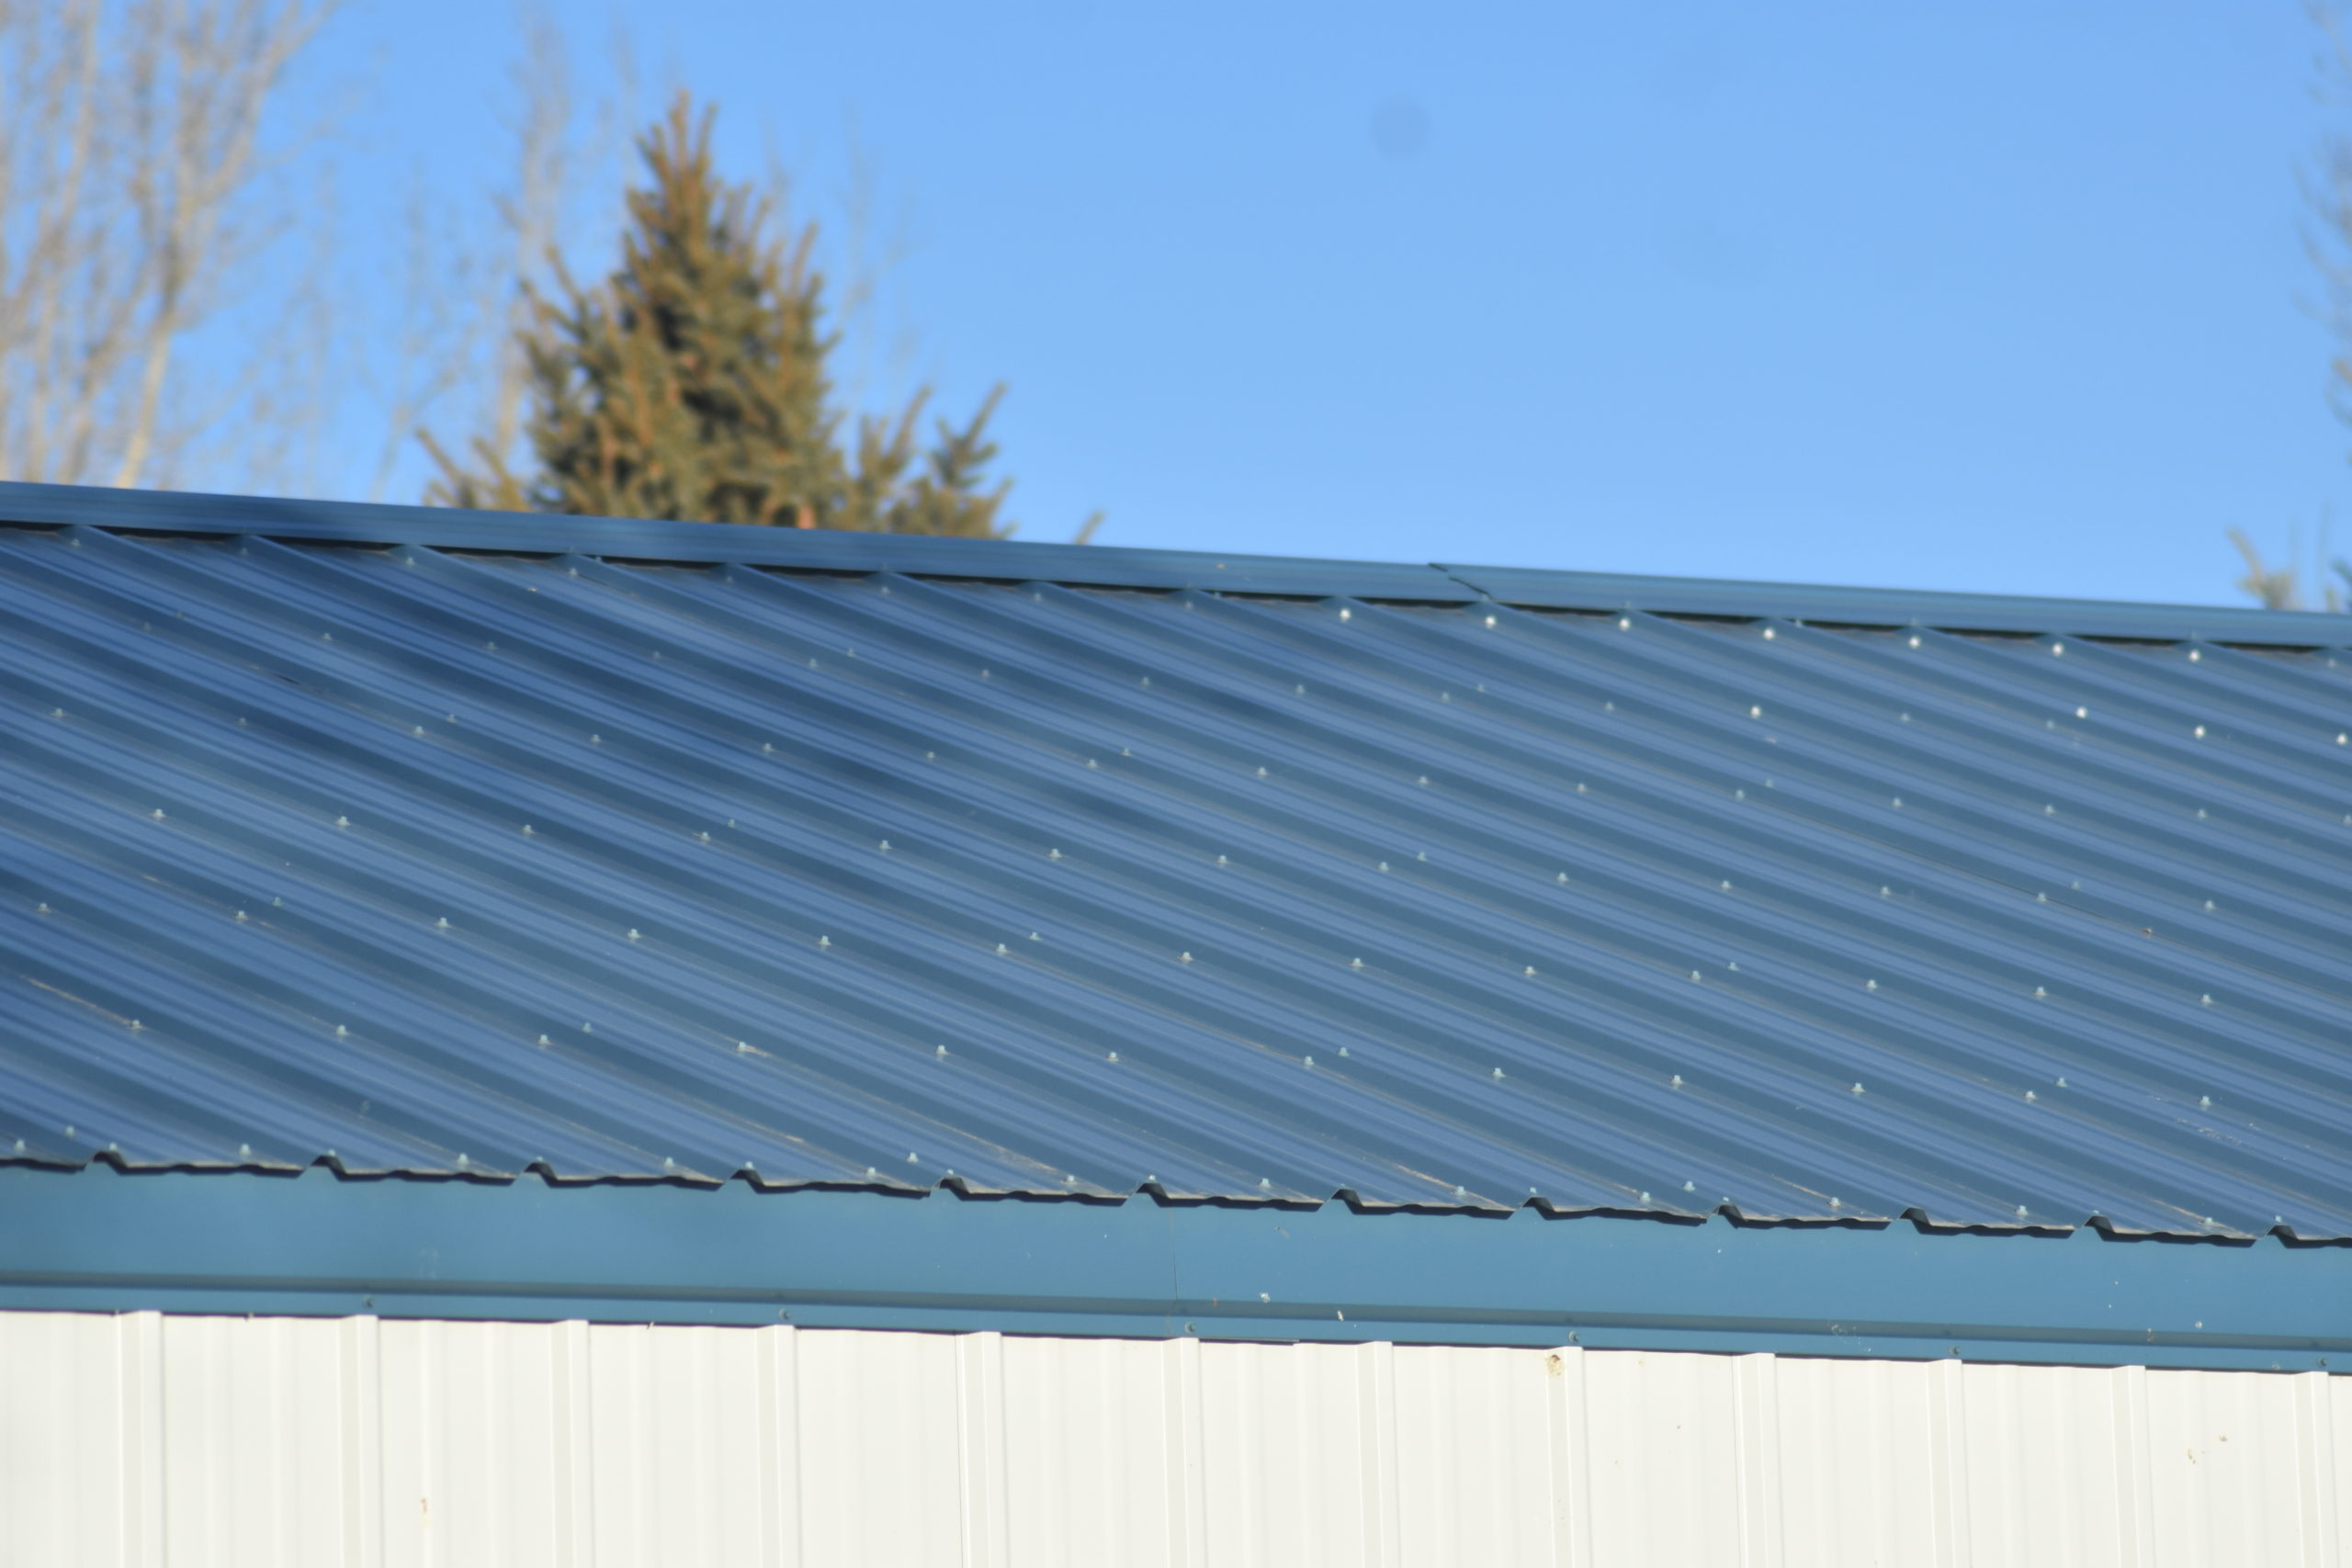
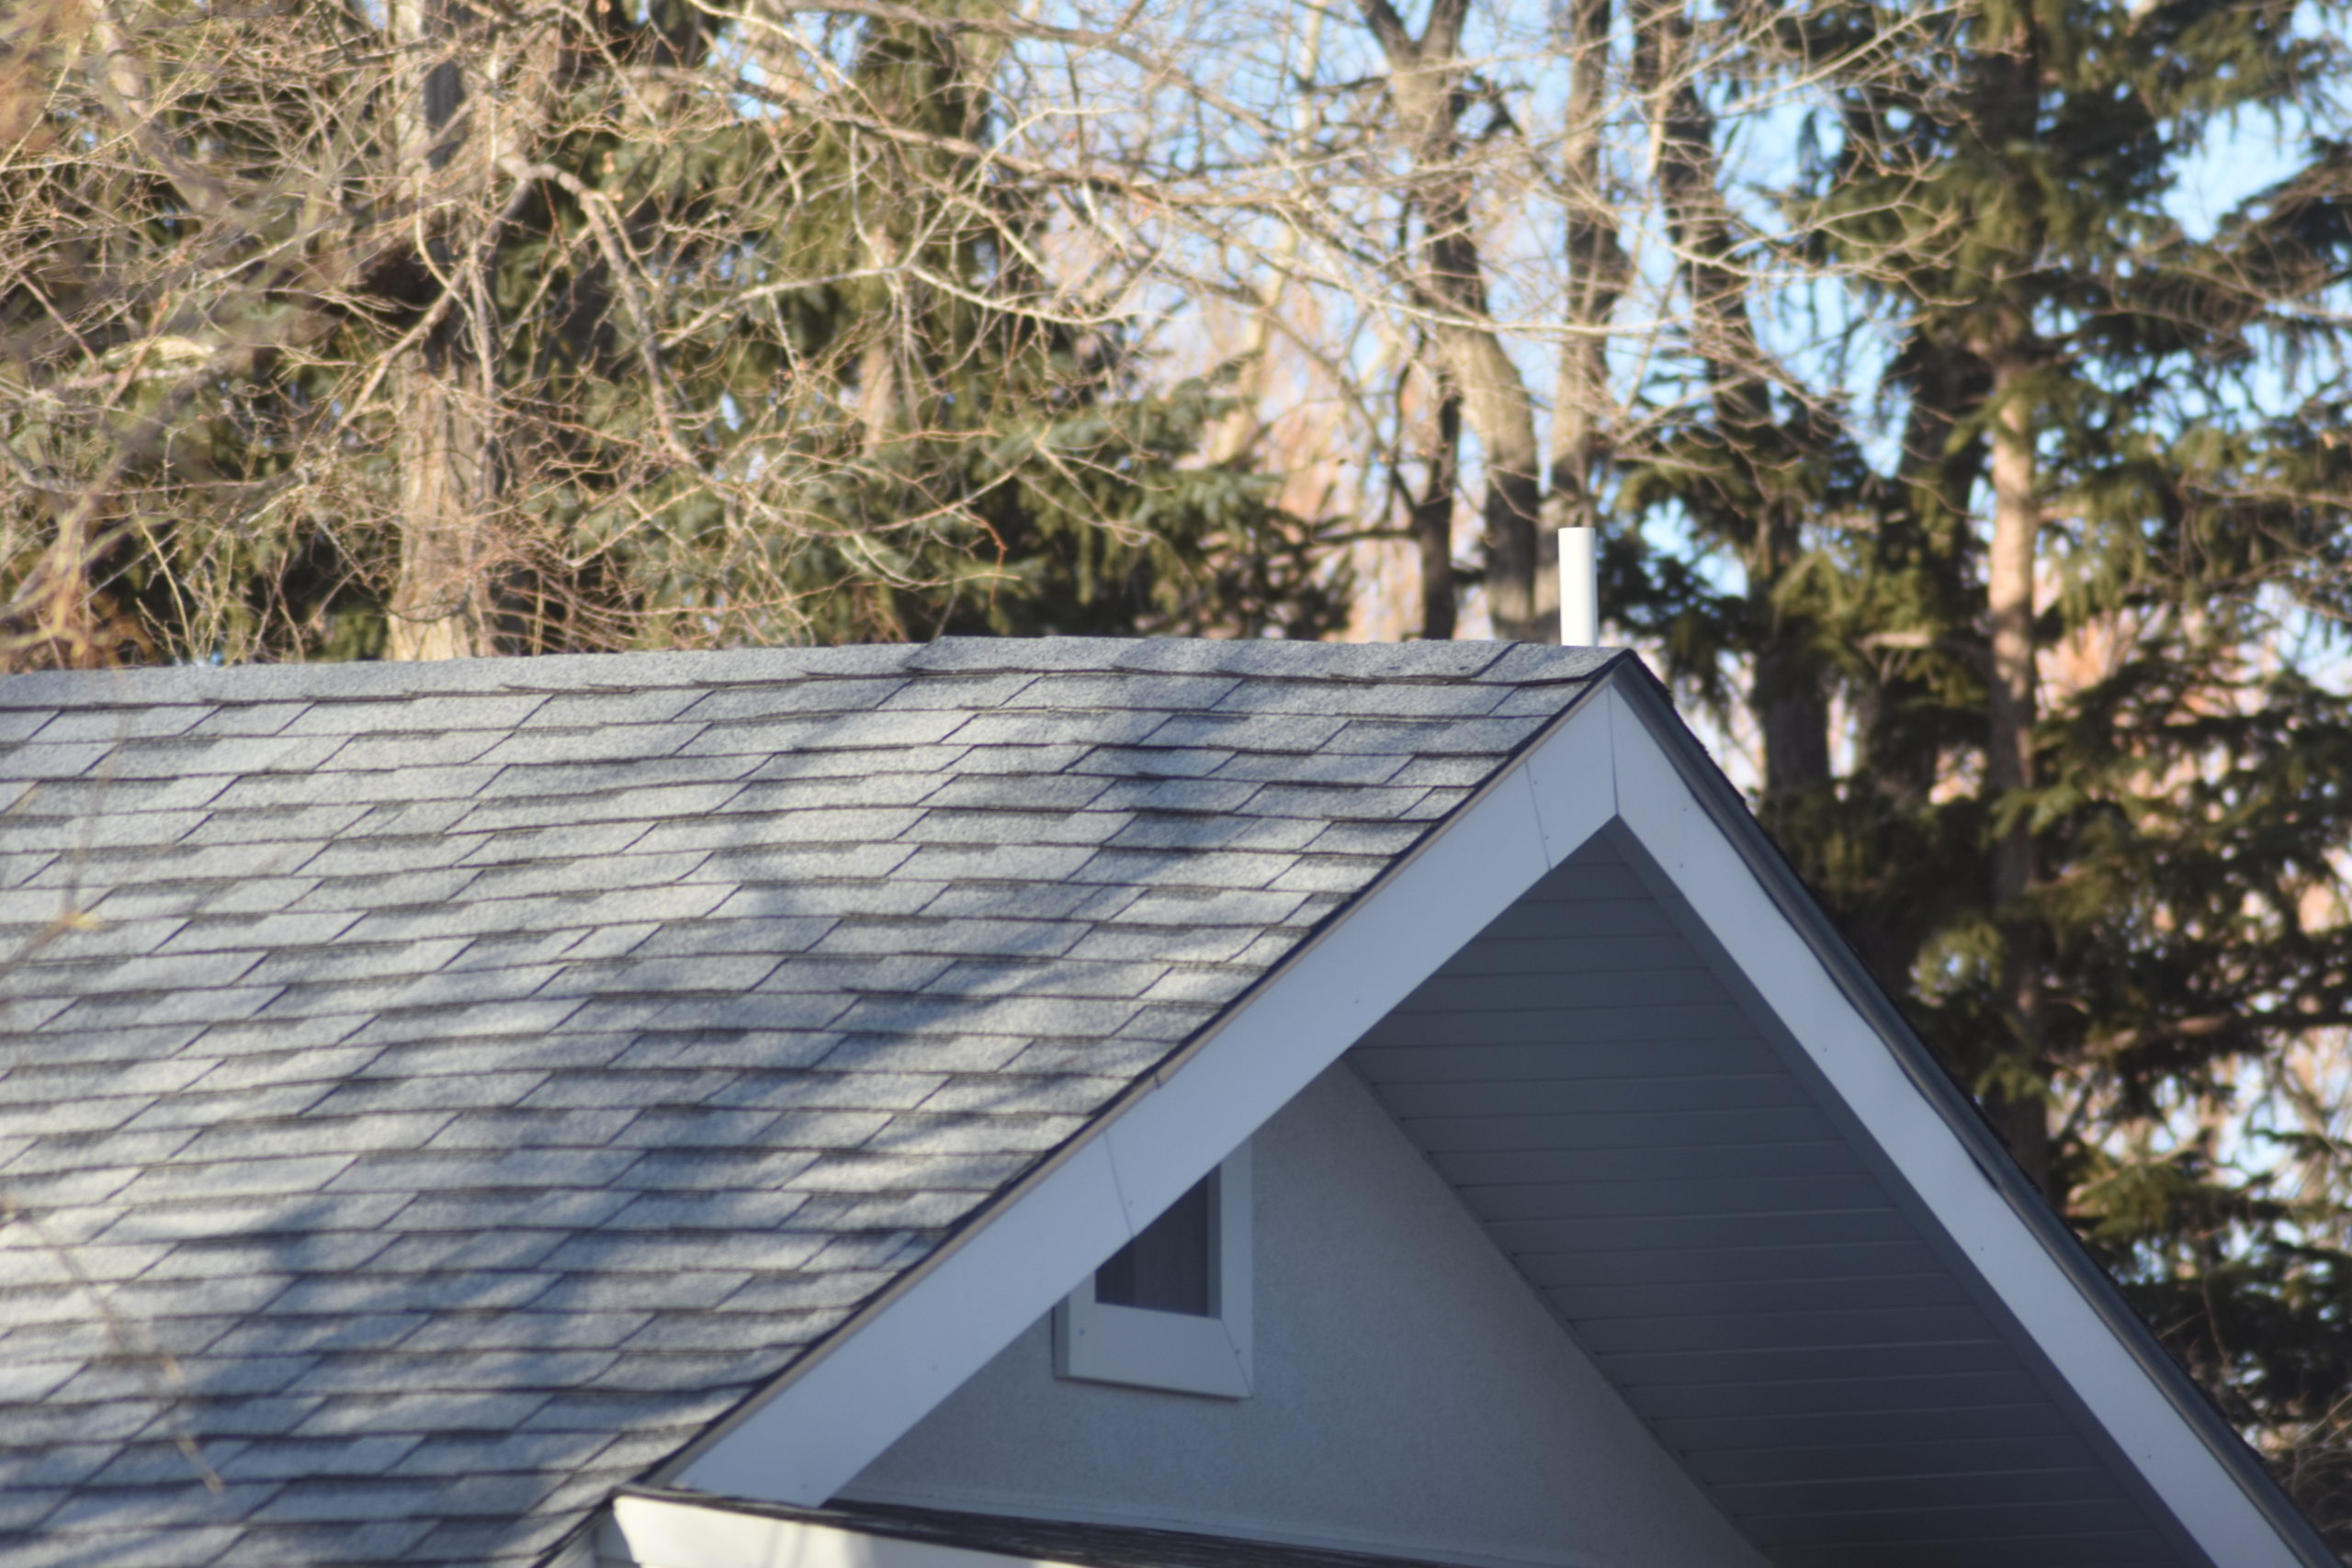
The first thing many people face in choosing a metal roof is the question of whether they can overlay their existing shingles with it. The Uniform Building Code only allows two layers of shingles on a roof. Shingles are heavy and more than two layers affect the carrying capacity of roof trusses and supporting members. Metal roofing is substantially lighter than asphalt shingles, but it is still heavy. So the answer to this is yes, you can put metal roofing over your asphalt shingles so long as you only have one layer of shingles.
Can You Put Metal Roofing Over Cedar Shake?
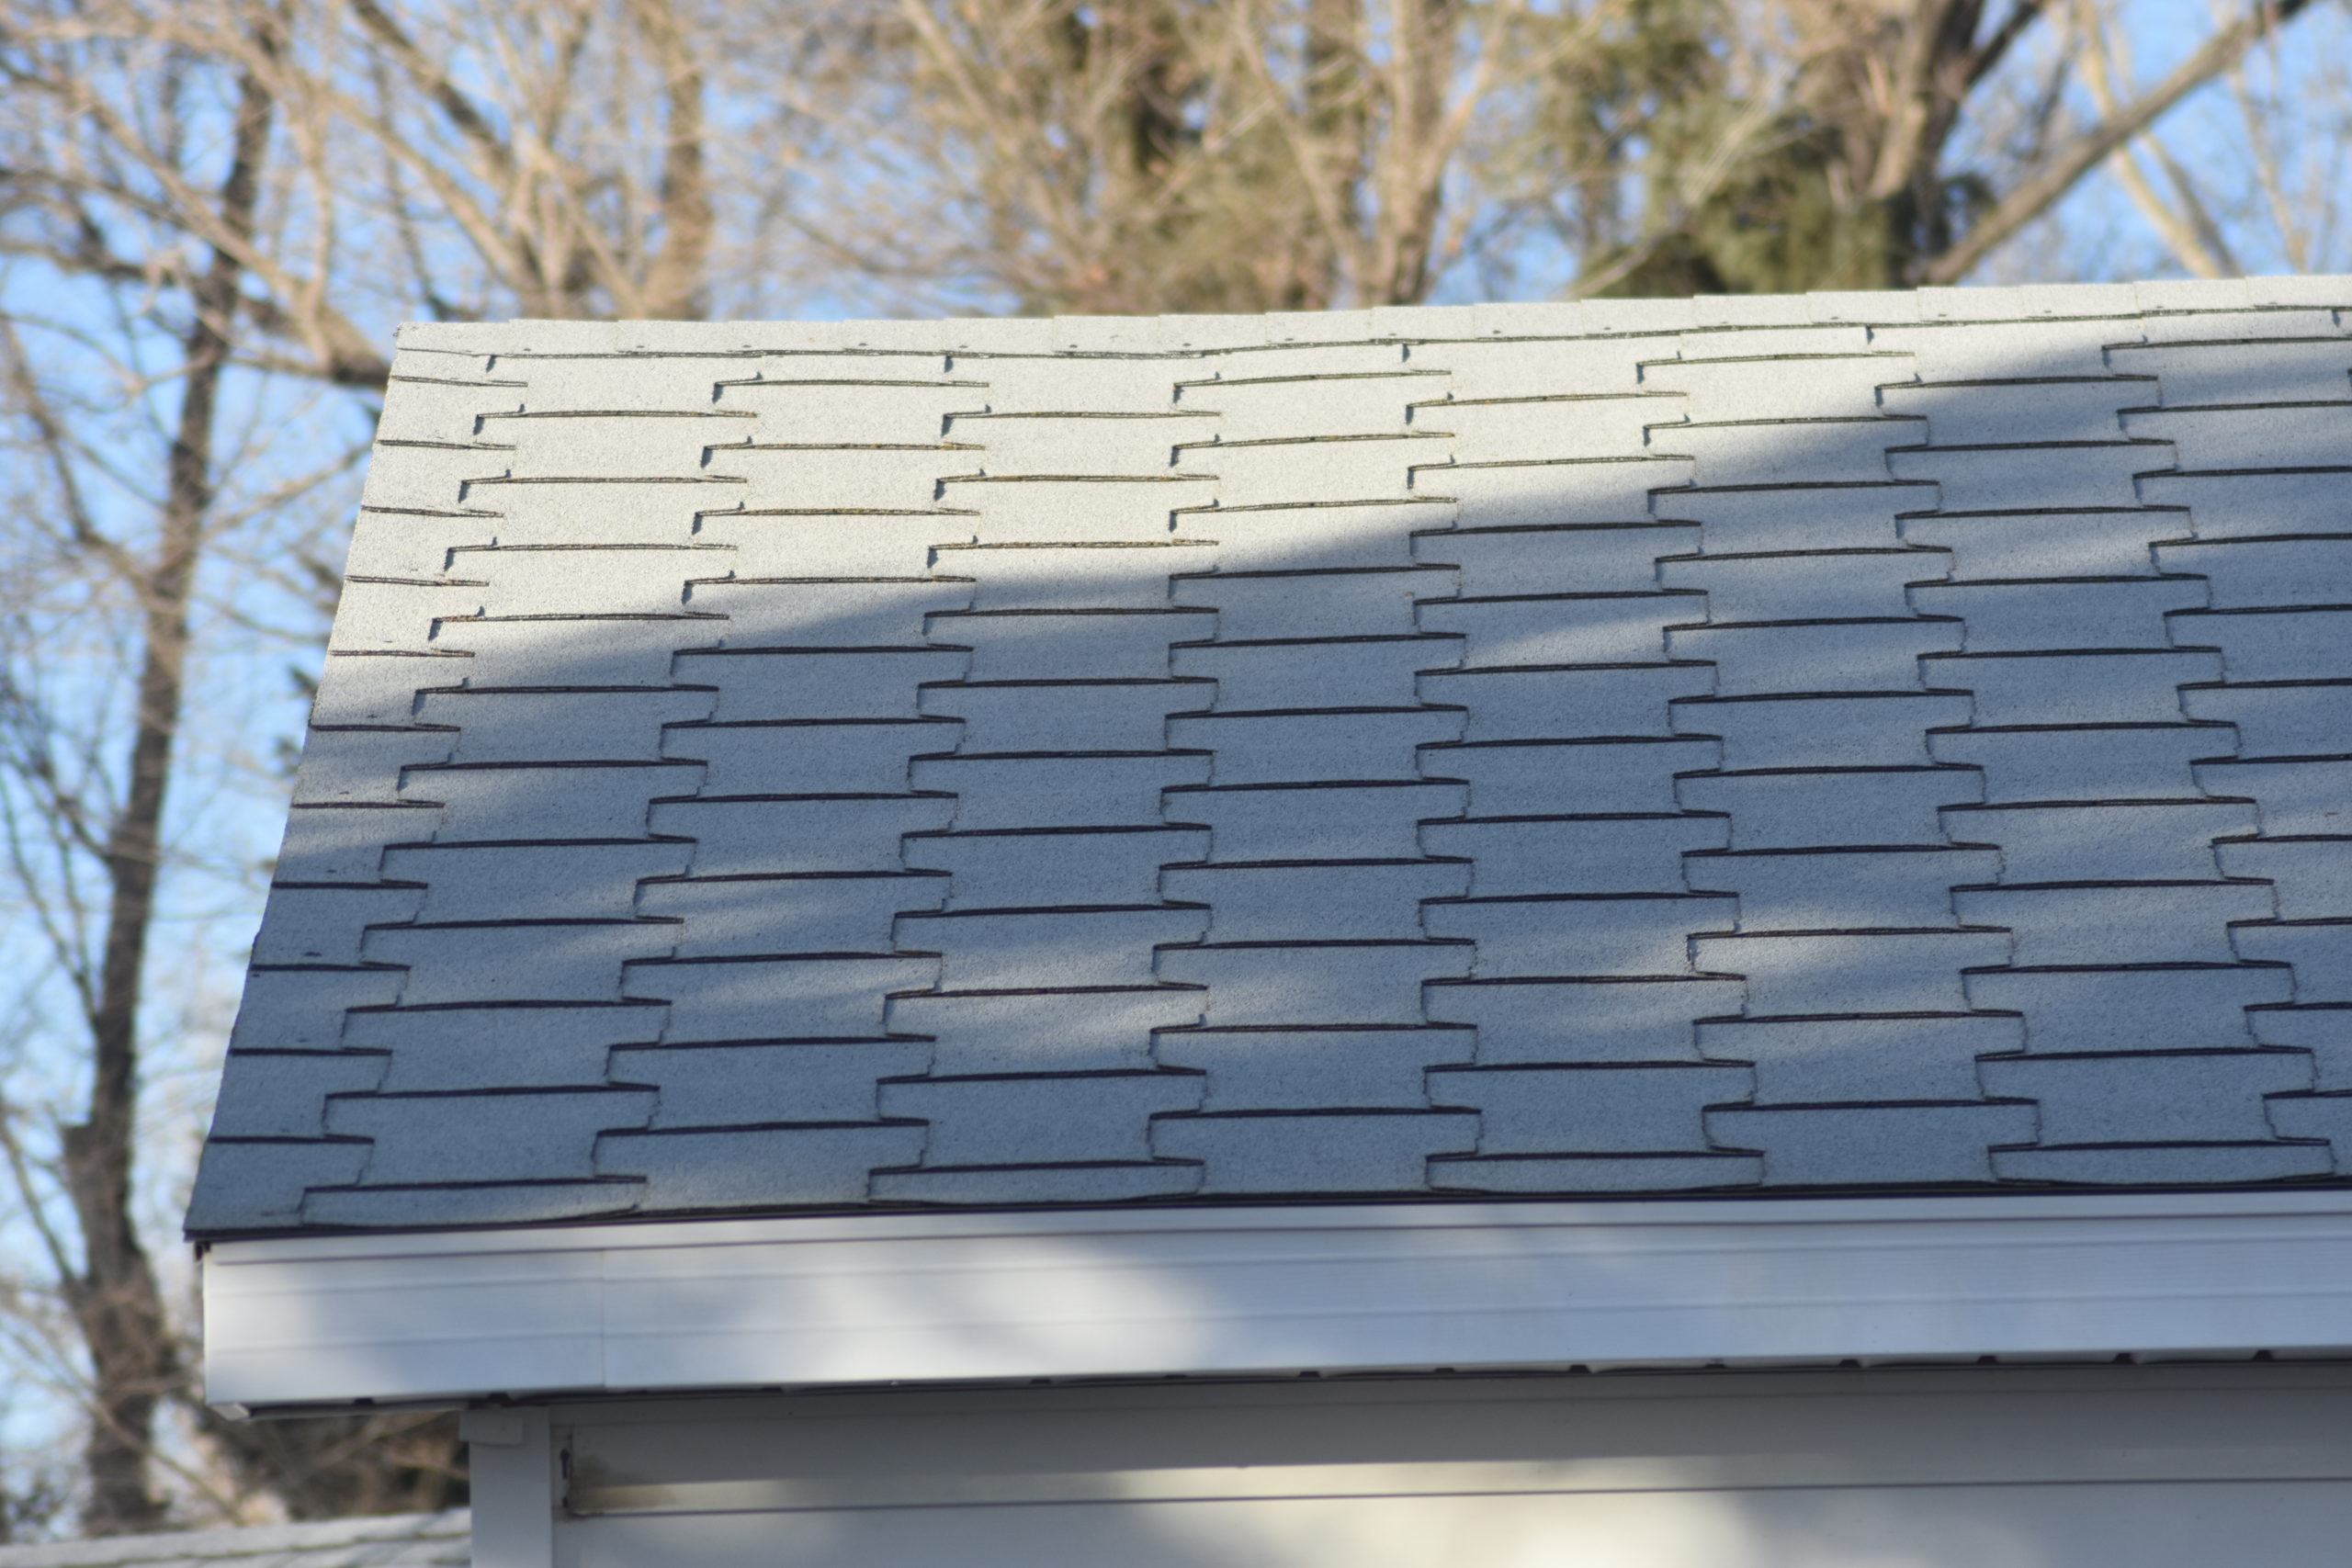
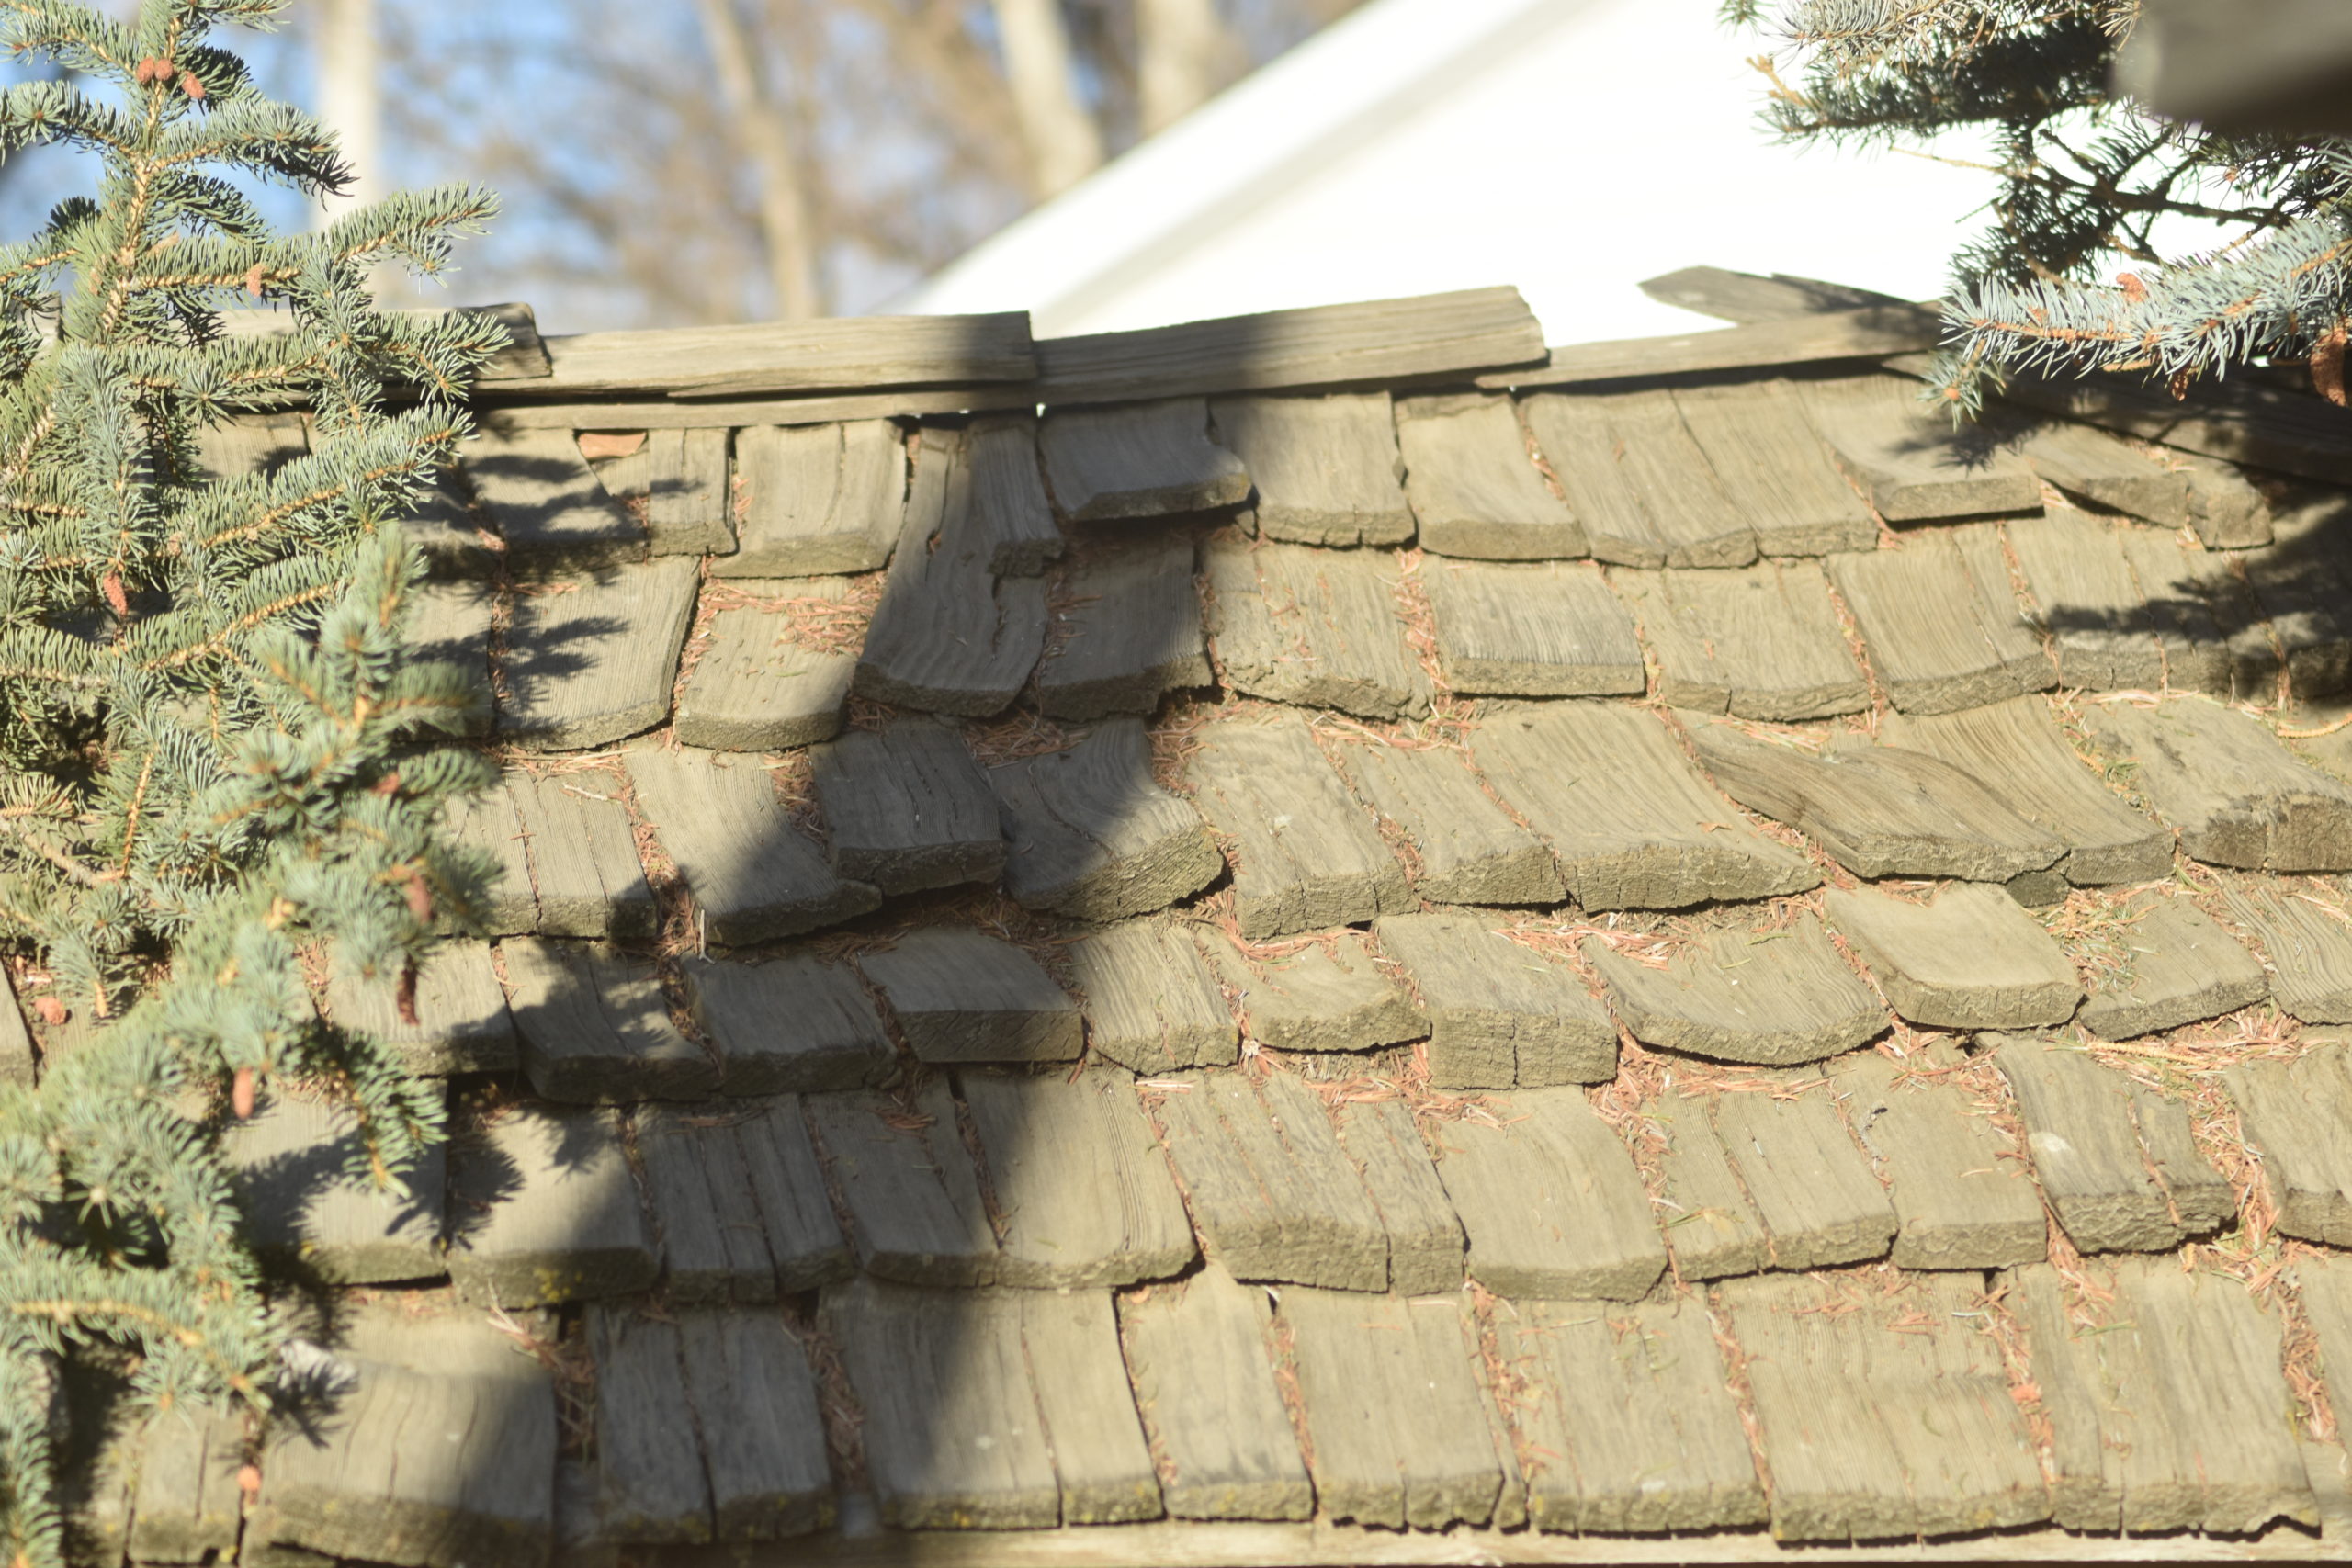
Some municipal codes require a complete stripping of shingles down to the bare wood. It is wise to check with your local building inspector before you start the project. You’ll need a building permit for a new roof anyway. If you have cedar shake shingles, they’ll have to come off before the metal goes on.
How To Install Metal Roofing
If you choose to overlay a single layer of asphalt shingles there are quite a few things you’ll have to do to prep your existing roof properly.
Prepare Your Old Roof
Any portion of your existing roof that is already metal, which means valley tin, gutters, roof jacks, and chimney flashing, should come off. You can overlay the valleys and gutters, but you’re asking for future problems if you do.
Cut back the shingles along the valley or gutter apron about two inches beyond the width of the metal. Pull the nails and metal off the roof. Remove all the roof jacks and any chimney flashing. You may be able to use the chimney flashing again if it’s not badly damaged.
Start With The Gutters
Following the manufacturers’ instructions, start with the new metal roof. If you’re going through a layer of shingles, you’ll want self-taping sheet metal screws a little longer than the standard 1 5/8” screws used on new metal roof installations. The zip screws for the overlapping seams will still work fine.
Set the valleys/gutters in place with the roofing material provided in your metal roofing package. Make sure you don’t screw or nail anything into the valley pan, the “business end” of the valleys. If water runs down it and it hits a screw, the water will find a path inside if you have an errant fastener in your valley/gutter assembly.
Lay Down The Roof In Complete Sheets
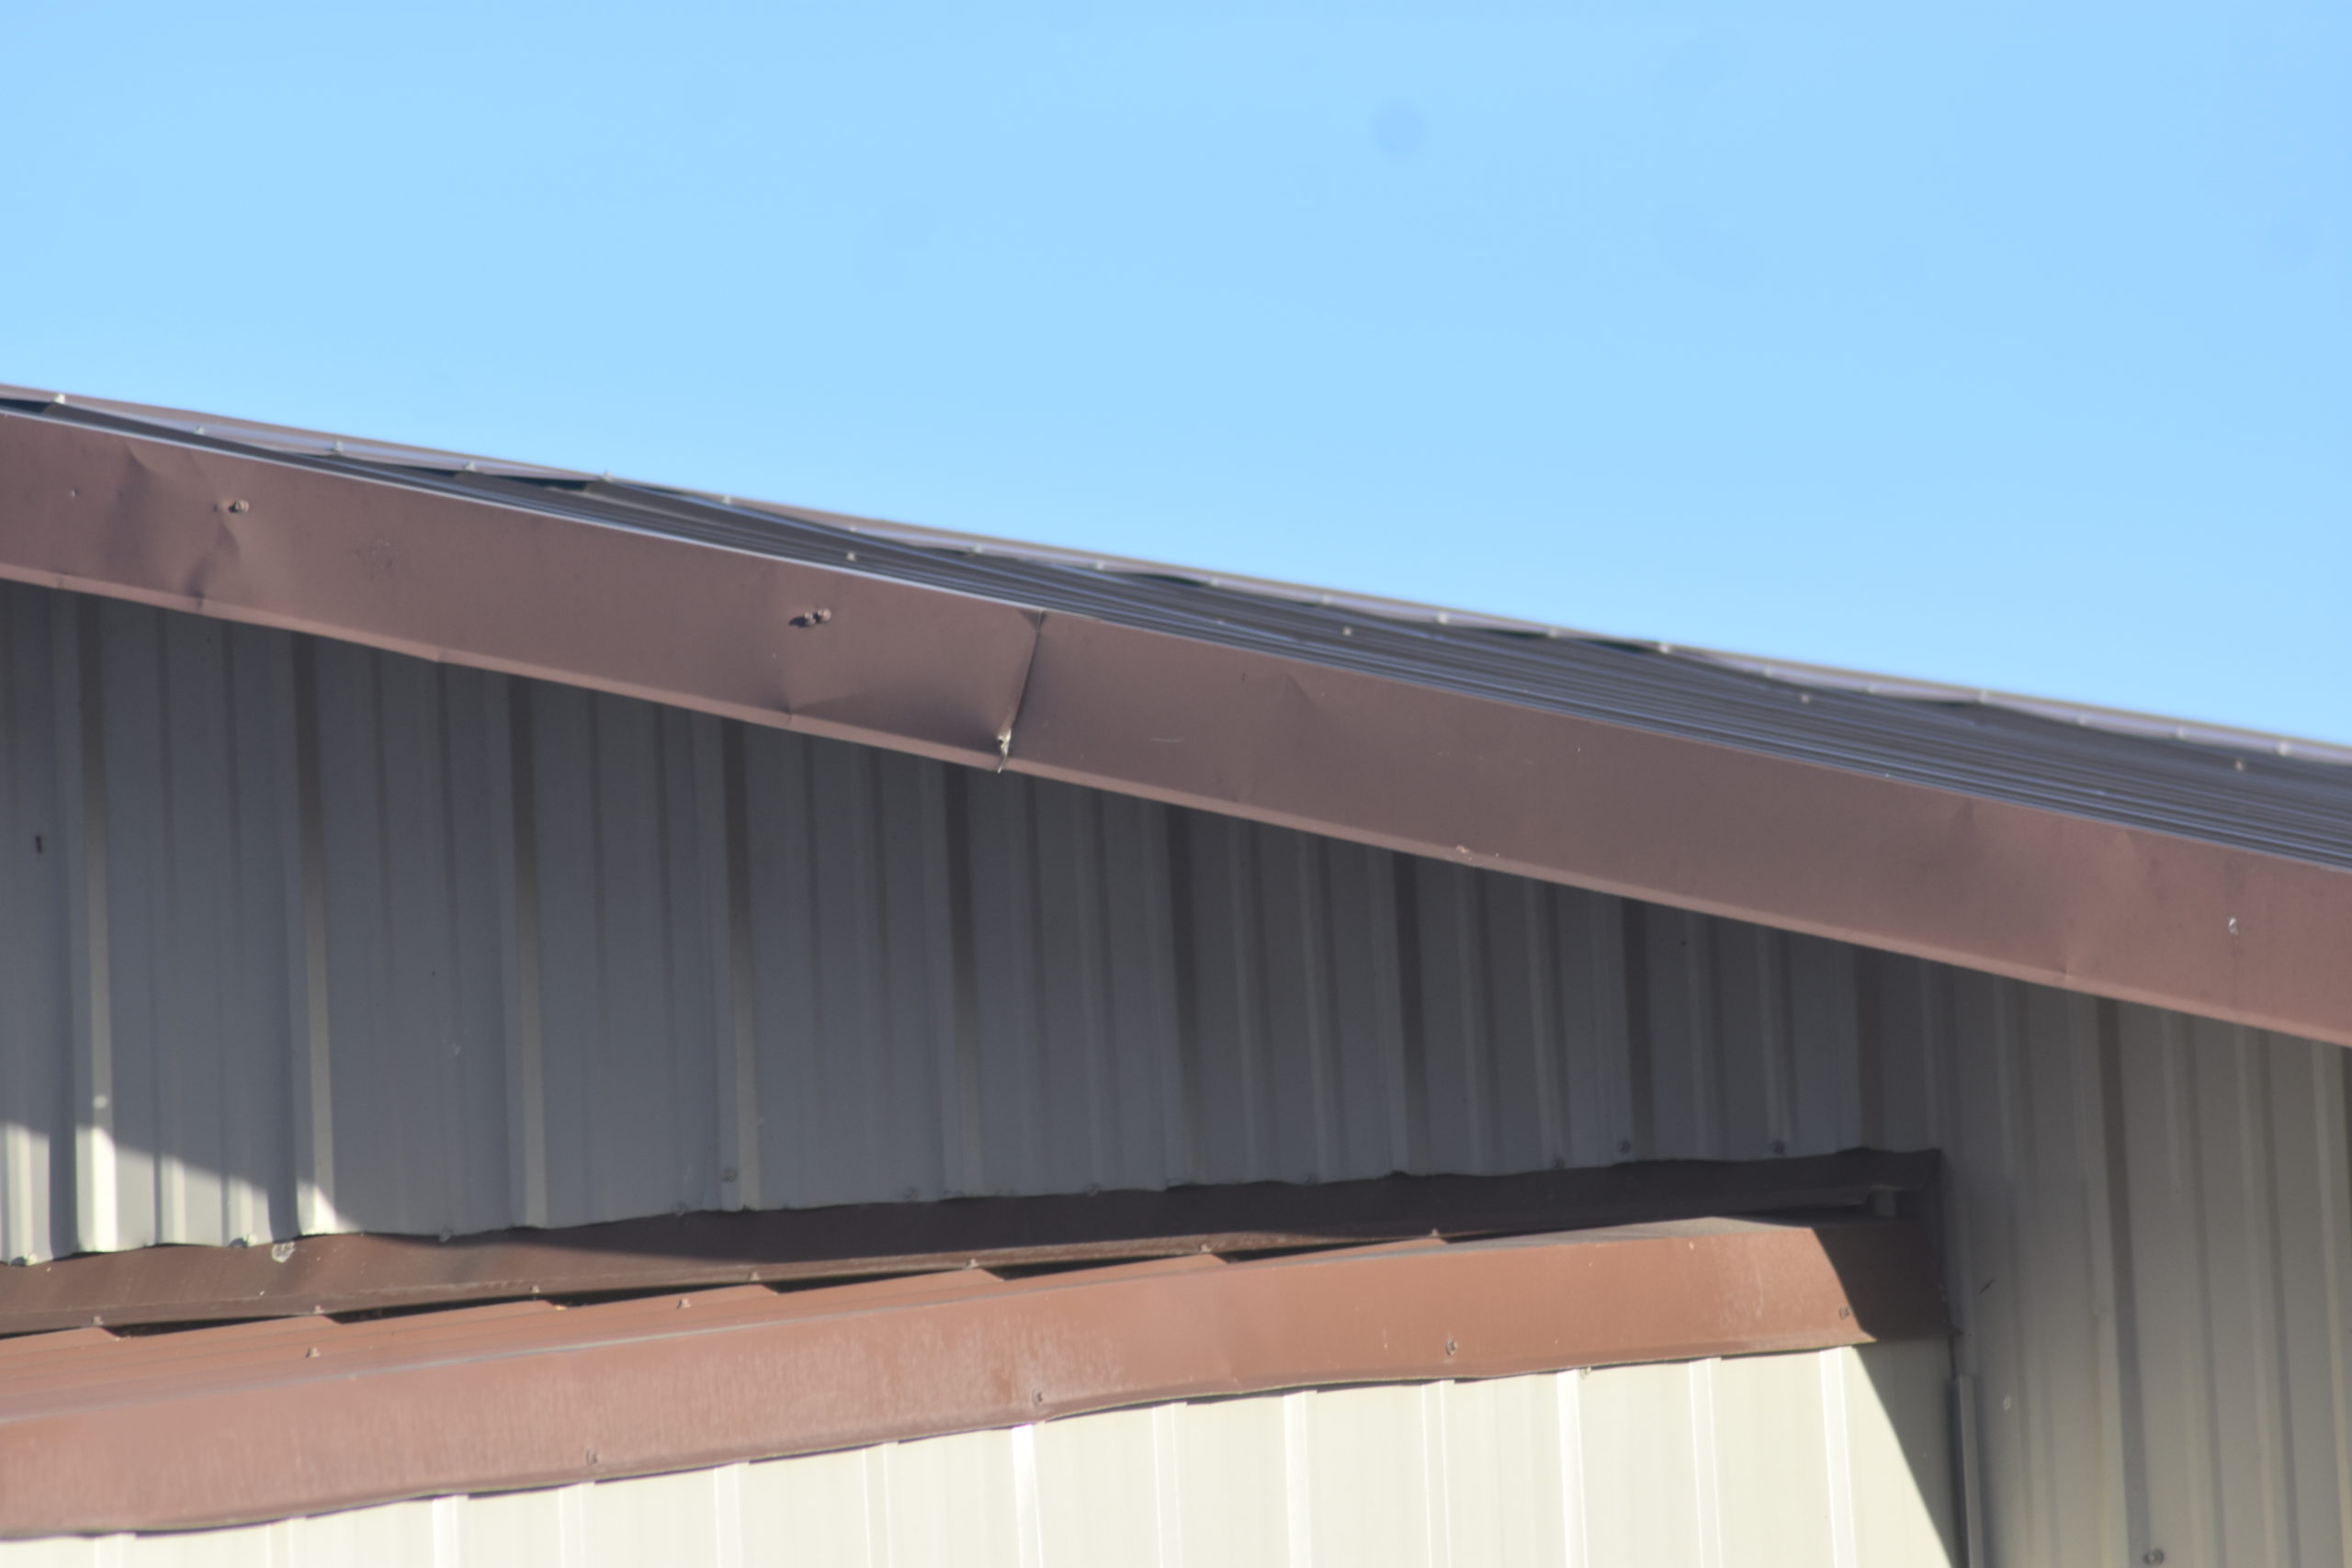
Once the valleys/gutters are in place, the metal roof edge is attached on all exterior sides and the jacks are pulled, you can lay down the new roof in complete sheets, usually 36 inches wide, with a two-inch overlap.
When you come to a jack, cut a hole in the metal directly above the pipe or vent. Attach the roof jacks per instructions. The top has to go under the metal roof and the bottom over it. Water flows down the slope of your roof. It will run off the roof onto the jack, but can’t go inside since it continues to run over the bottom and back onto the metal roof. Squeeze a thick bead of blackjack calking under every connection between jack and metal roof. Screw securely in place and it should last a half-century.
Metal flashing on chimneys is always a stair-step design, also with the top underneath and the bottom over the top. Don’t scrimp on calking, it is your best friend. Avoid water trips, often referred to as “crickets” around a chimney. That’s a spot where there is no slop and it allows water and ice to build up, eventually creating problems.
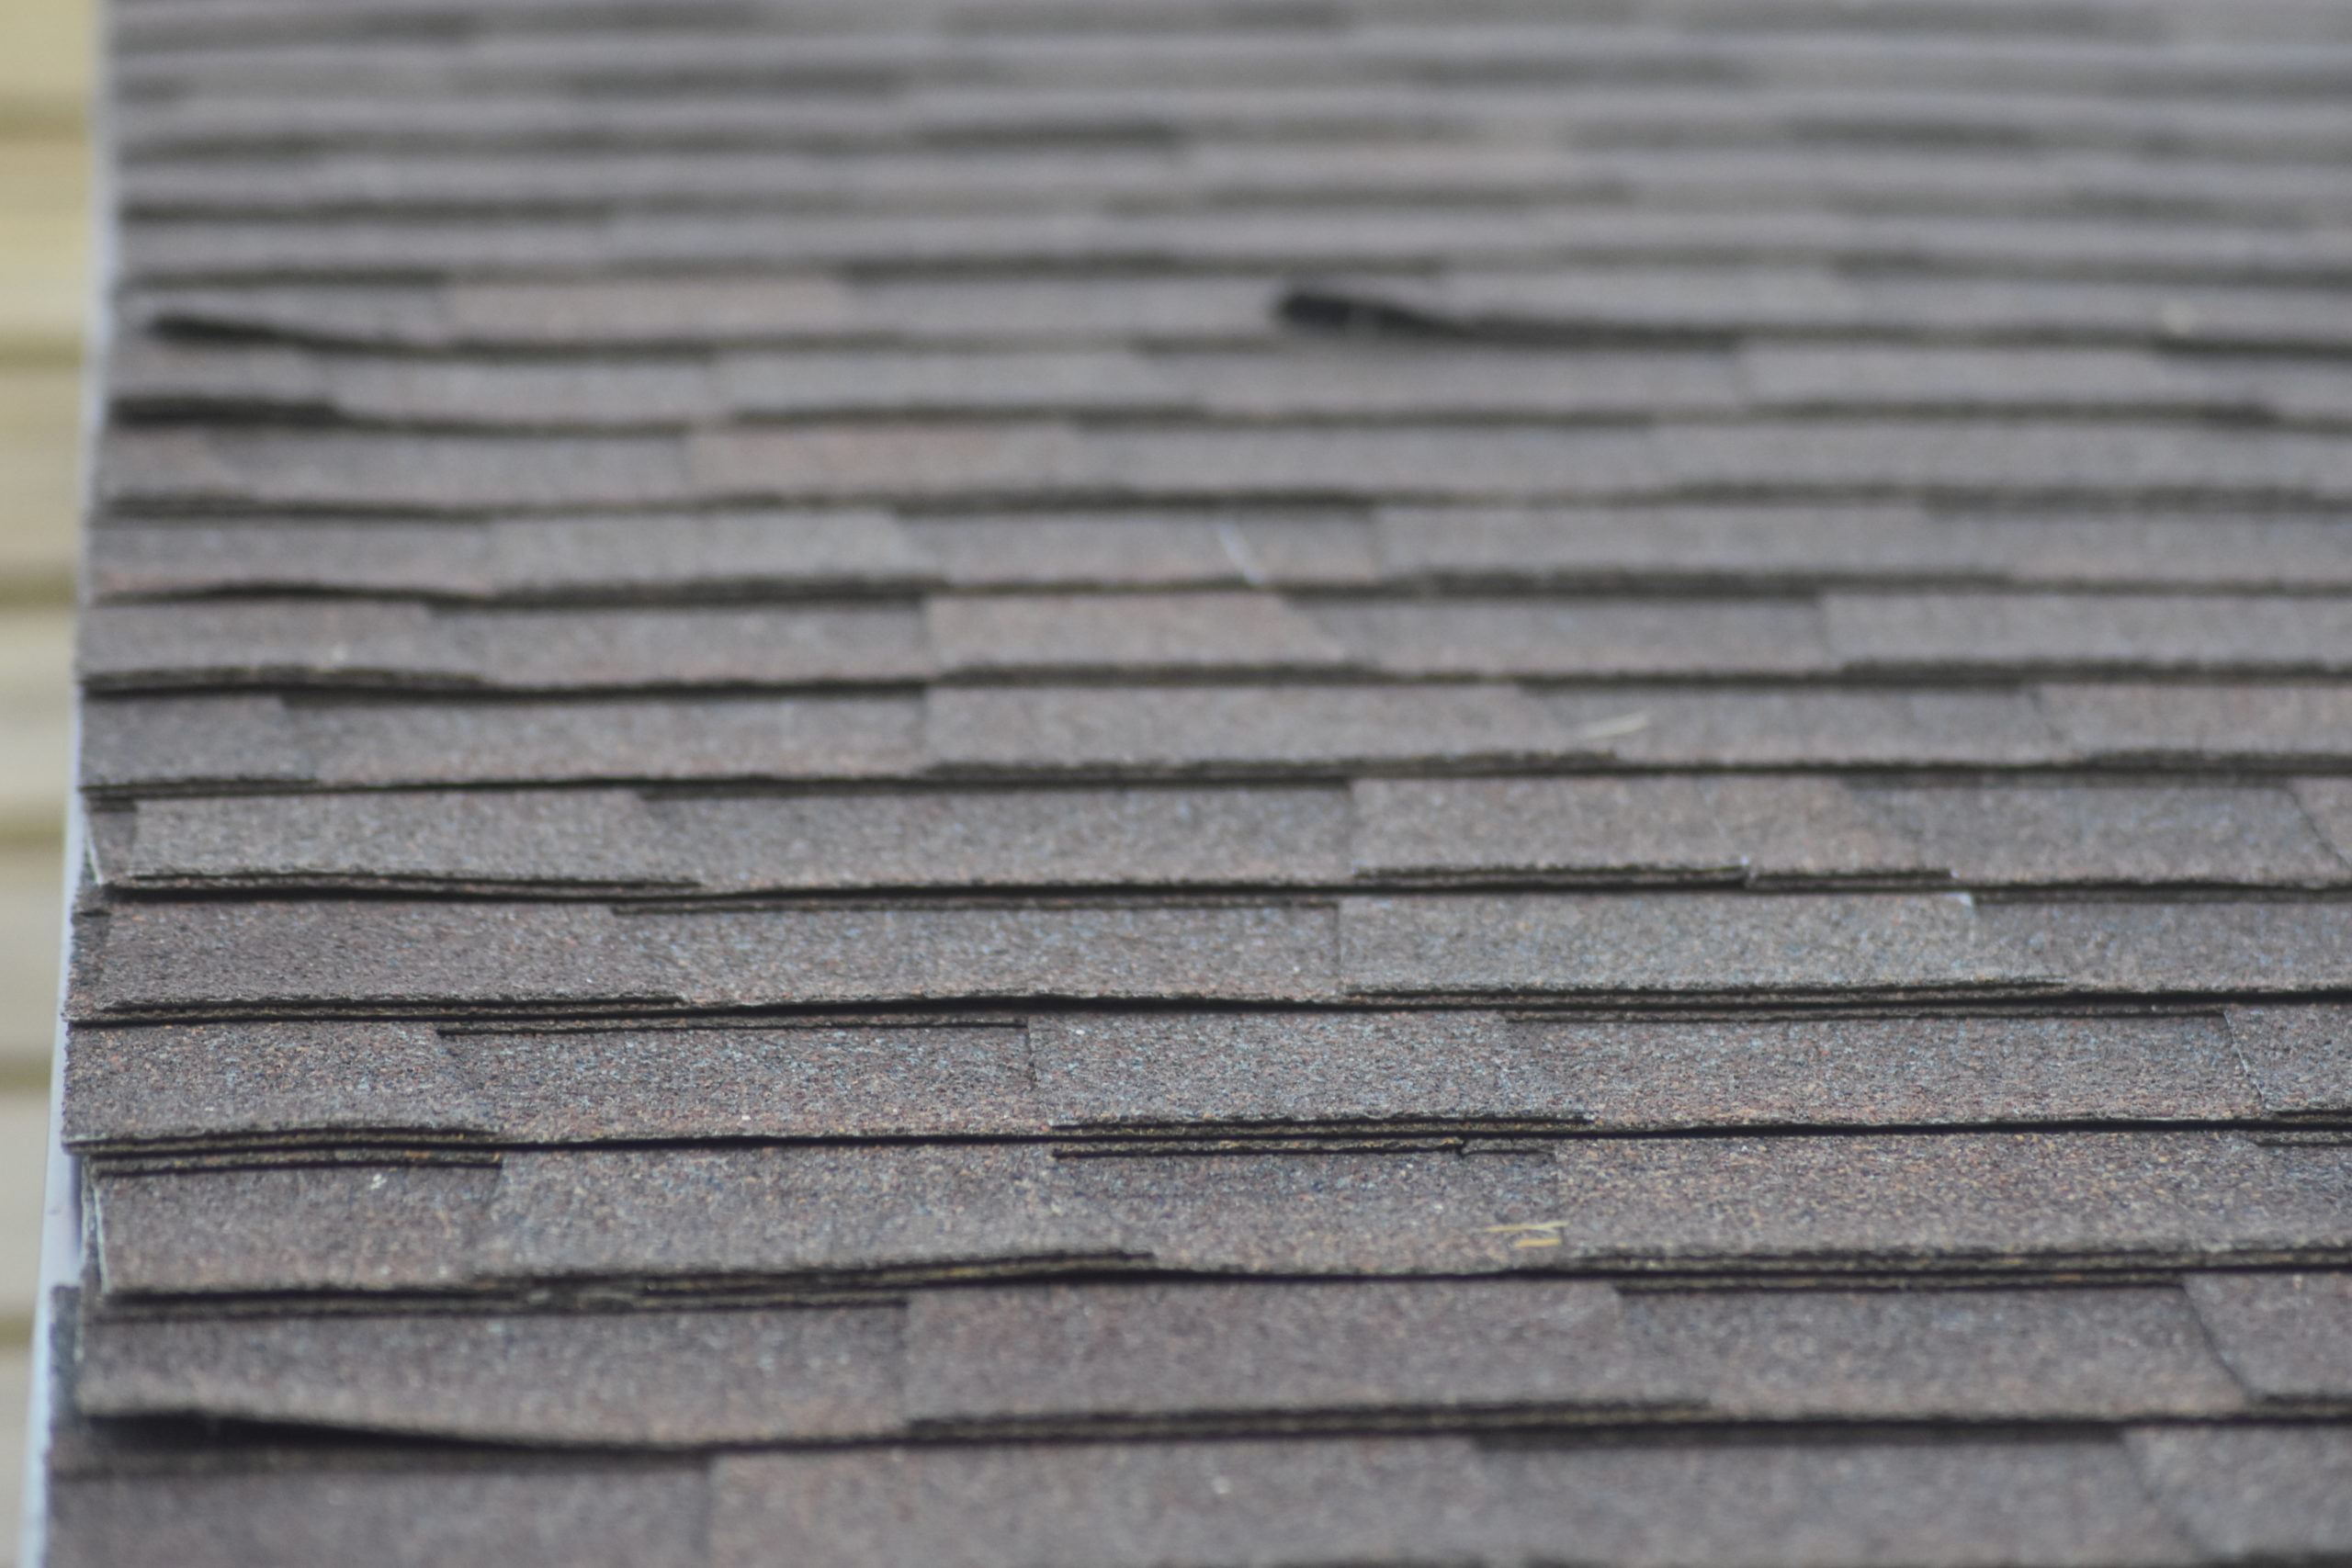
That’s about it for the roof. Attach the metal cap with the foam insulation strips securely screwed in place, and cover the exposed ends of your roof with gable trim. Metal goes on fast and gives you a sense of accomplishment. If you installed your own metal roof show it off with the ManMade Community on Facebook or Pinterest!

