Mastering the Art of Miter Cuts on a Miter Saw
Miter cuts are essential in woodworking and carpentry projects, providing clean and precise angled cuts for various applications such as framing, molding, and furniture making. A miter saw is a powerful tool designed specifically for making these cuts with accuracy and efficiency.
Embark on a journey of craftsmanship and creativity! Explore TedsWoodworking, your gateway to 16,000+ woodworking projects, and discover projects that will help you master the art of miter cuts on a miter saw. Whether you’re a seasoned woodworker or just starting, let’s turn your woodworking dreams into reality together as we delve into the precision and technique required to achieve perfect miter cuts every time.
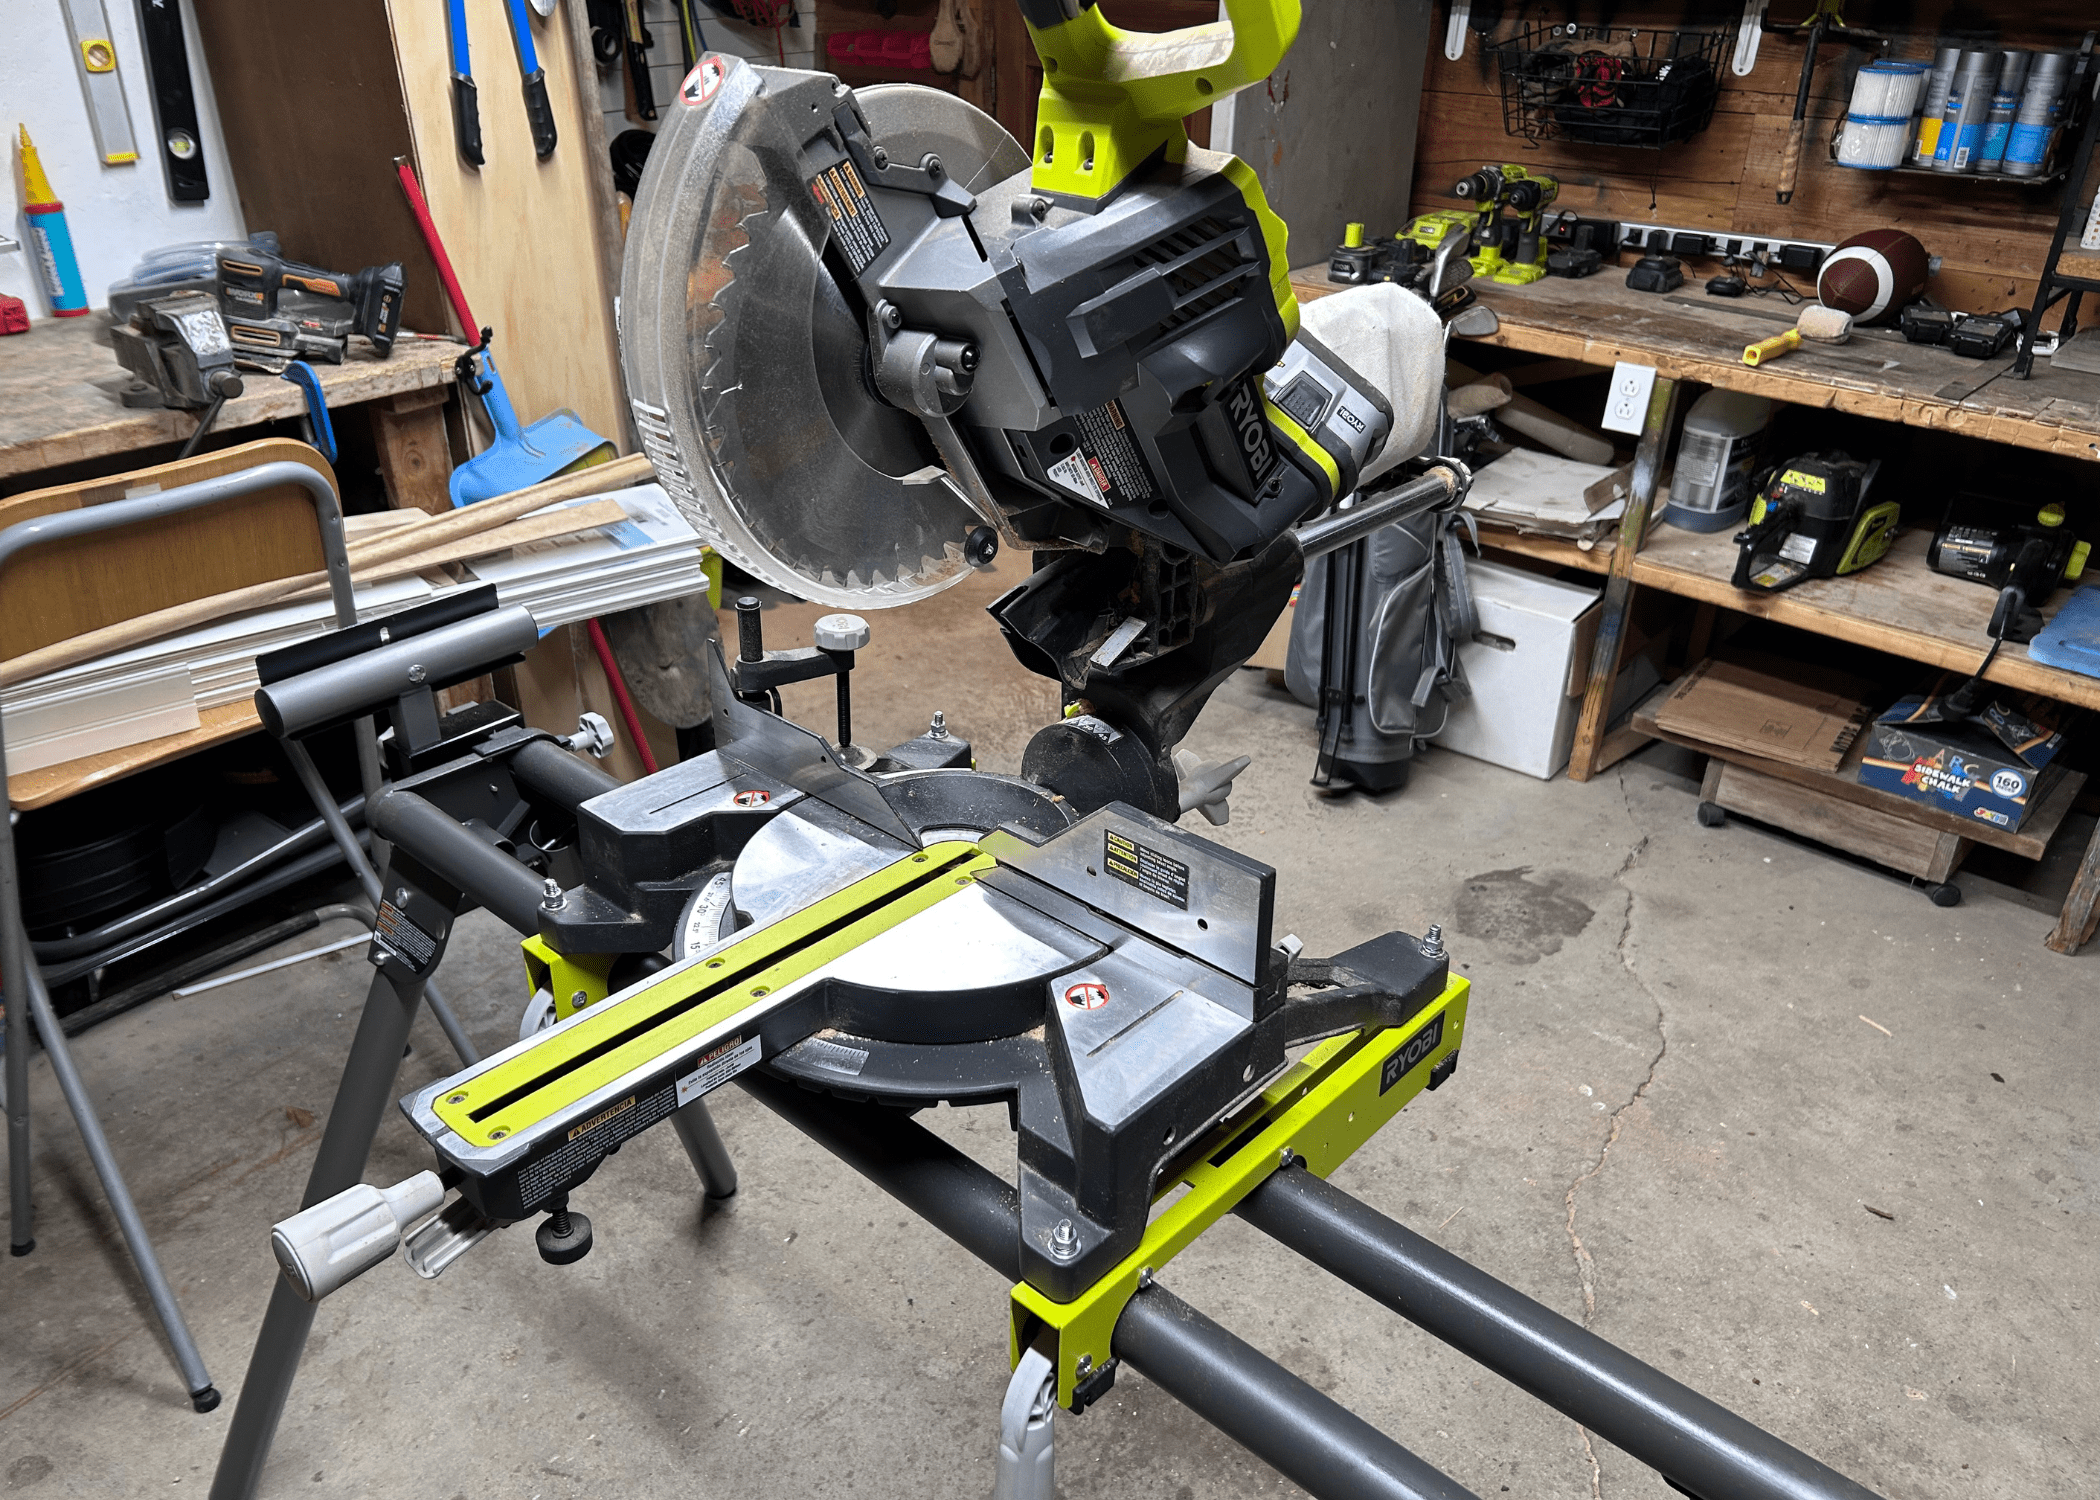
Mastering the technique of performing miter cuts on a miter saw can elevate the quality of your woodworking projects. This detailed guide will walk you through the step-by-step process of achieving perfect miter cuts, along with valuable tips and tricks to enhance your skills in using a miter saw effectively.
Step-by-Step Guide
Prepare the Workpiece: Begin by measuring and marking the angle at which you want to make the cut on your workpiece. Ensure the piece is securely clamped to the miter saw’s fence to prevent any movement during cutting.
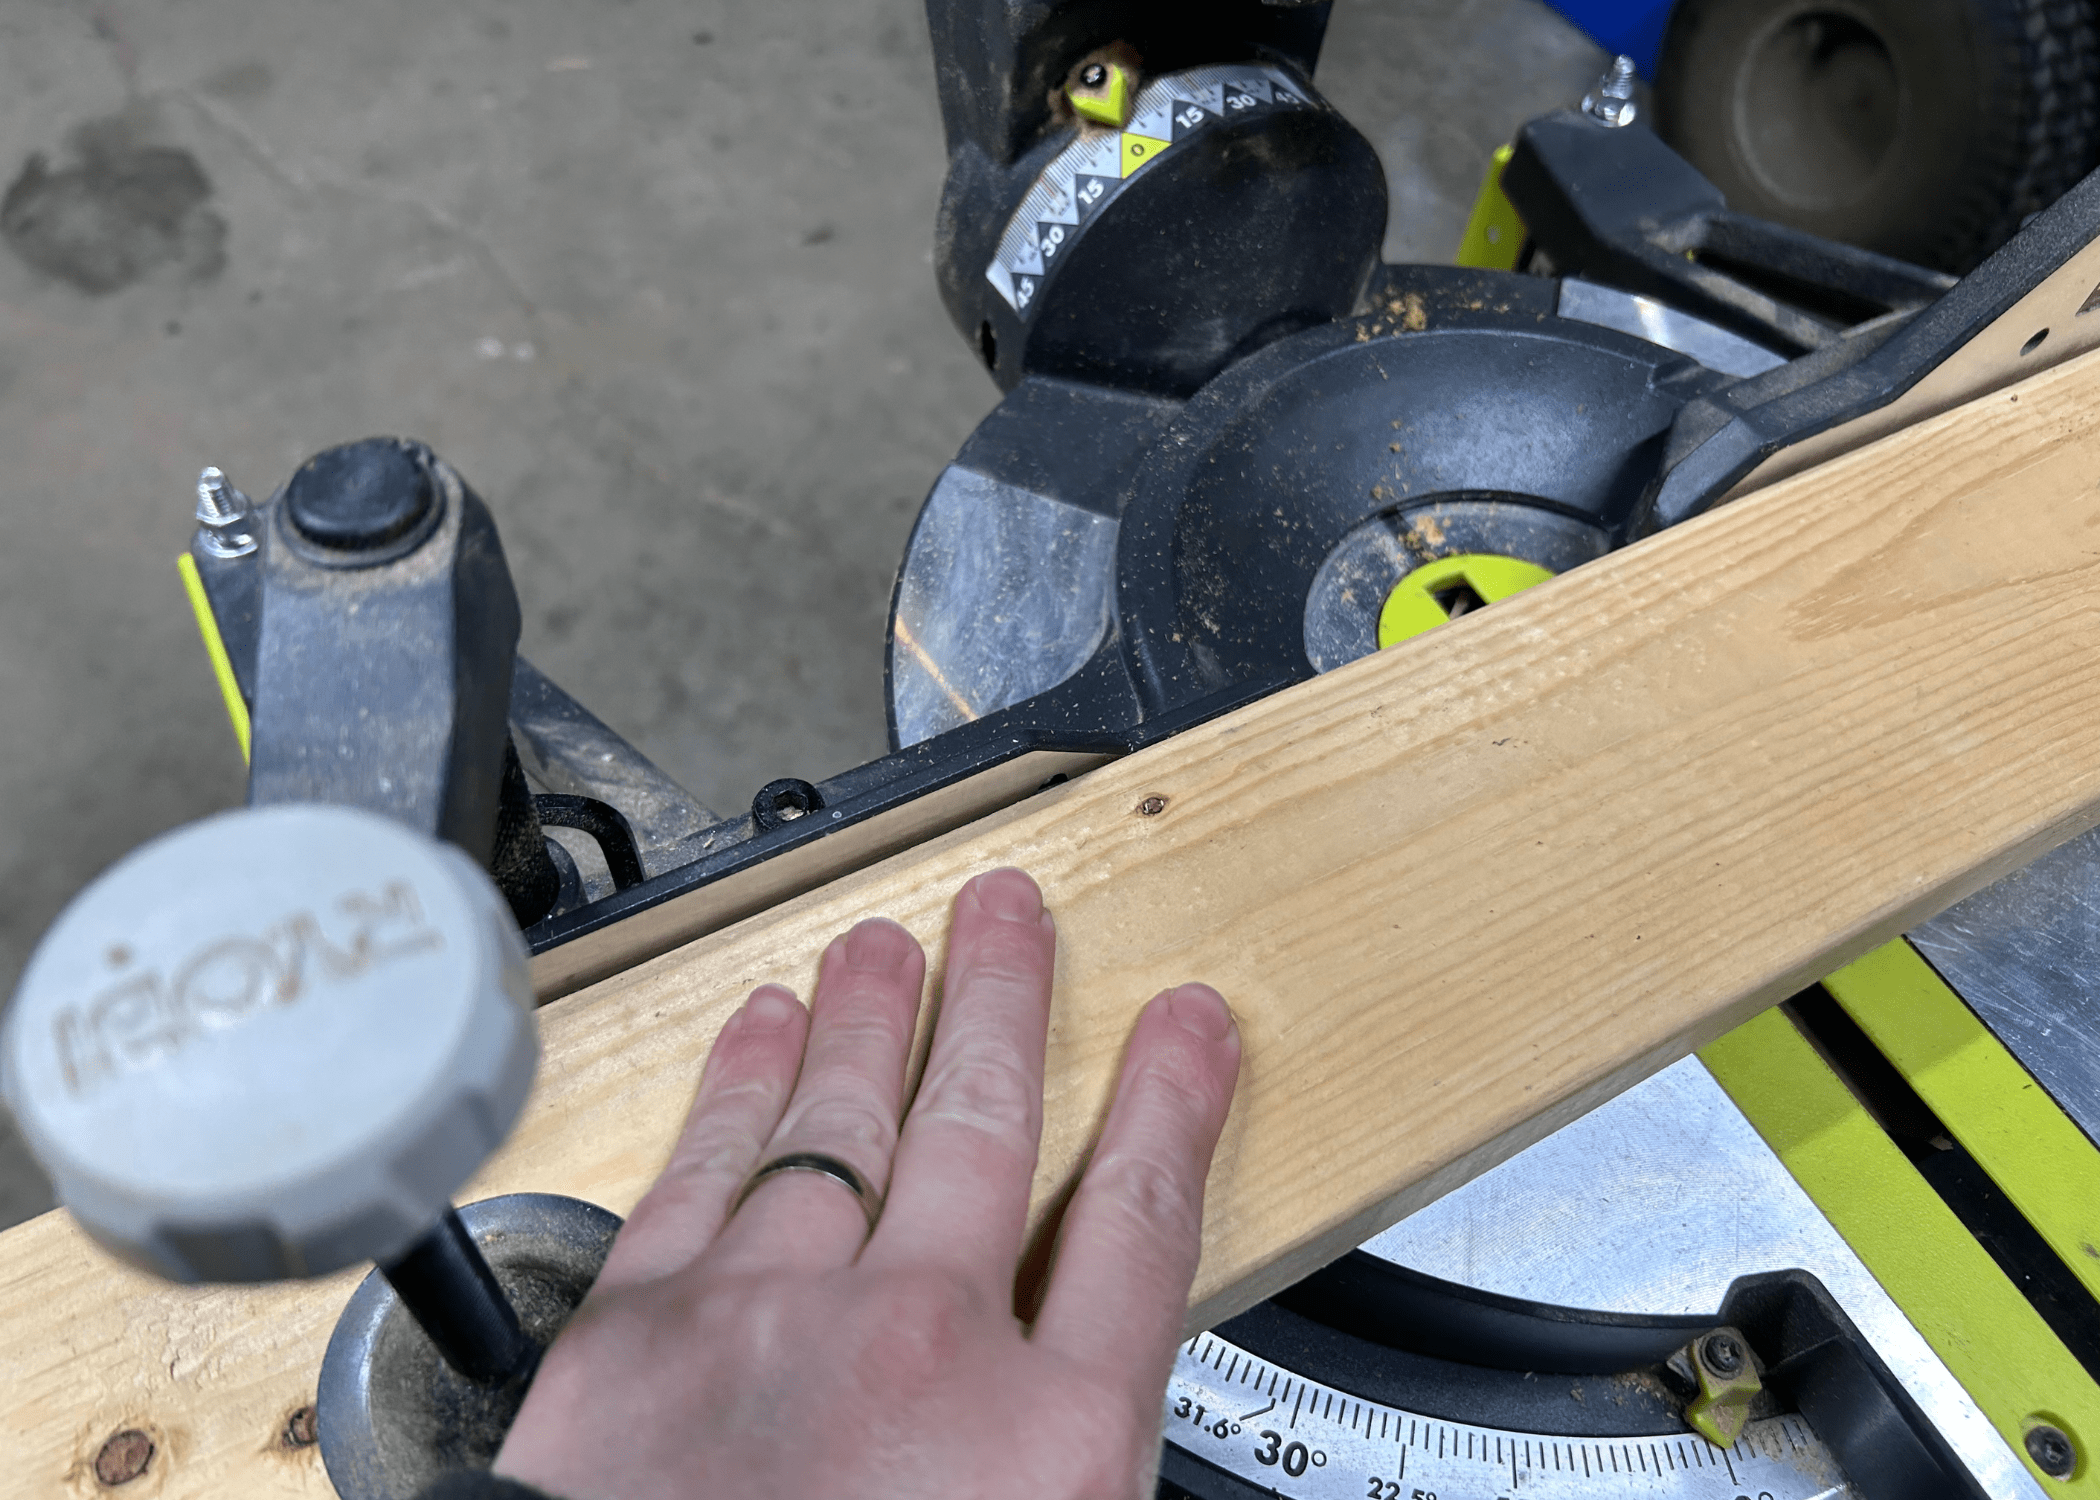
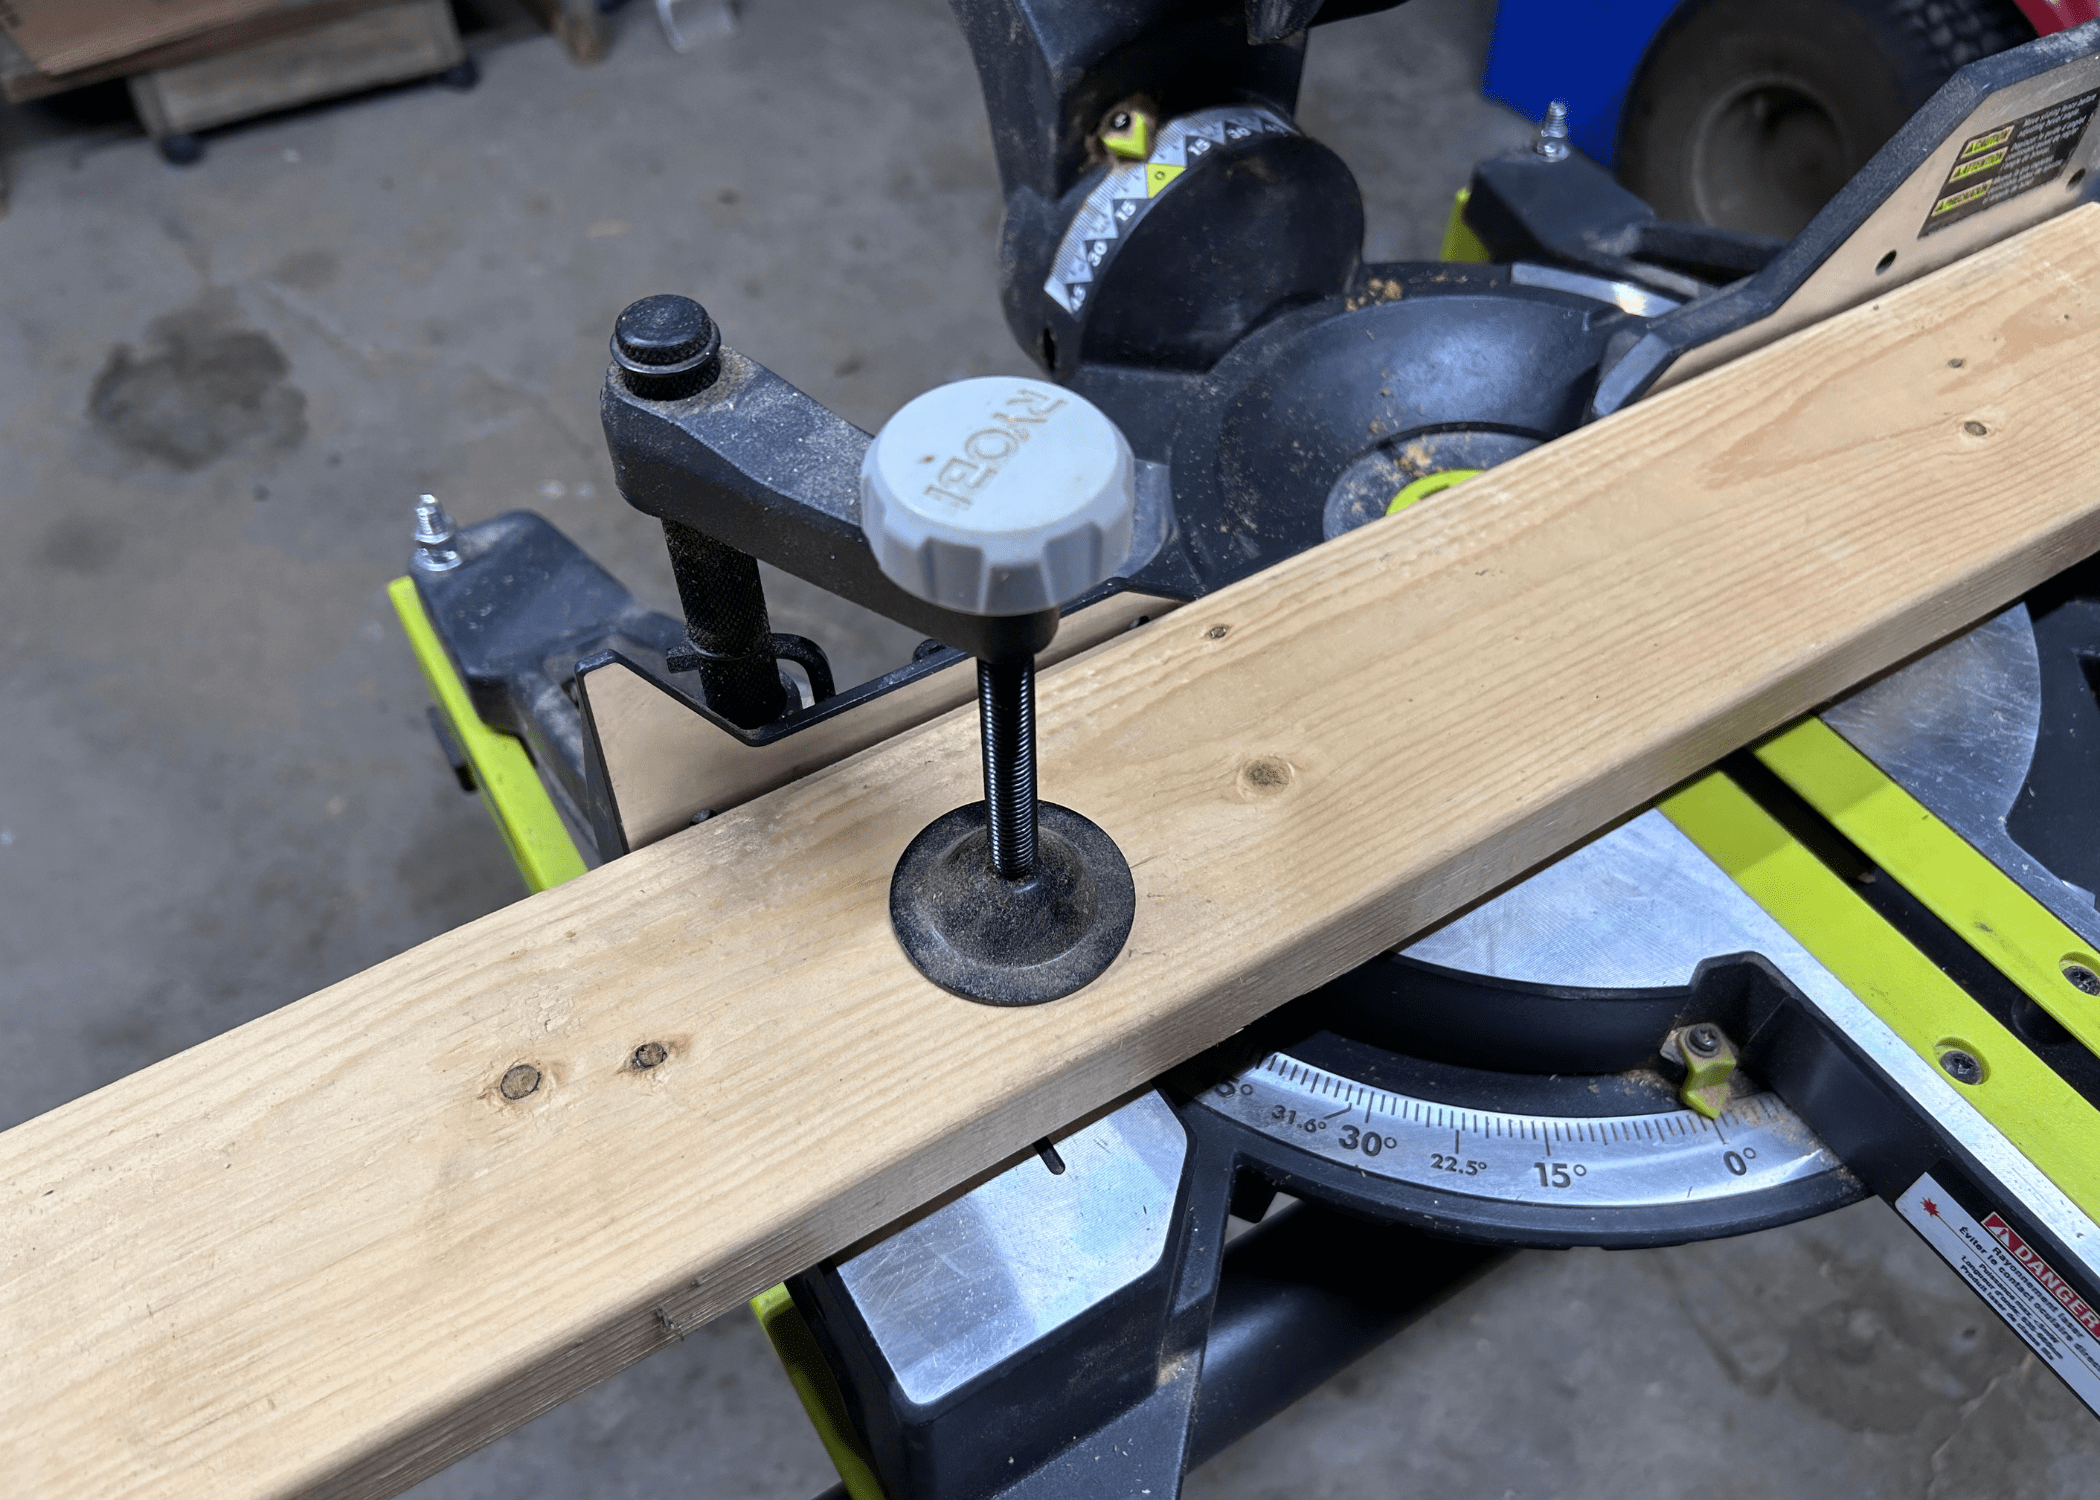
Adjust the Miter Angle: Set the miter saw to the desired angle by loosening the miter lock handle, rotating the saw blade to the correct angle, and tightening the handle to secure it in place.
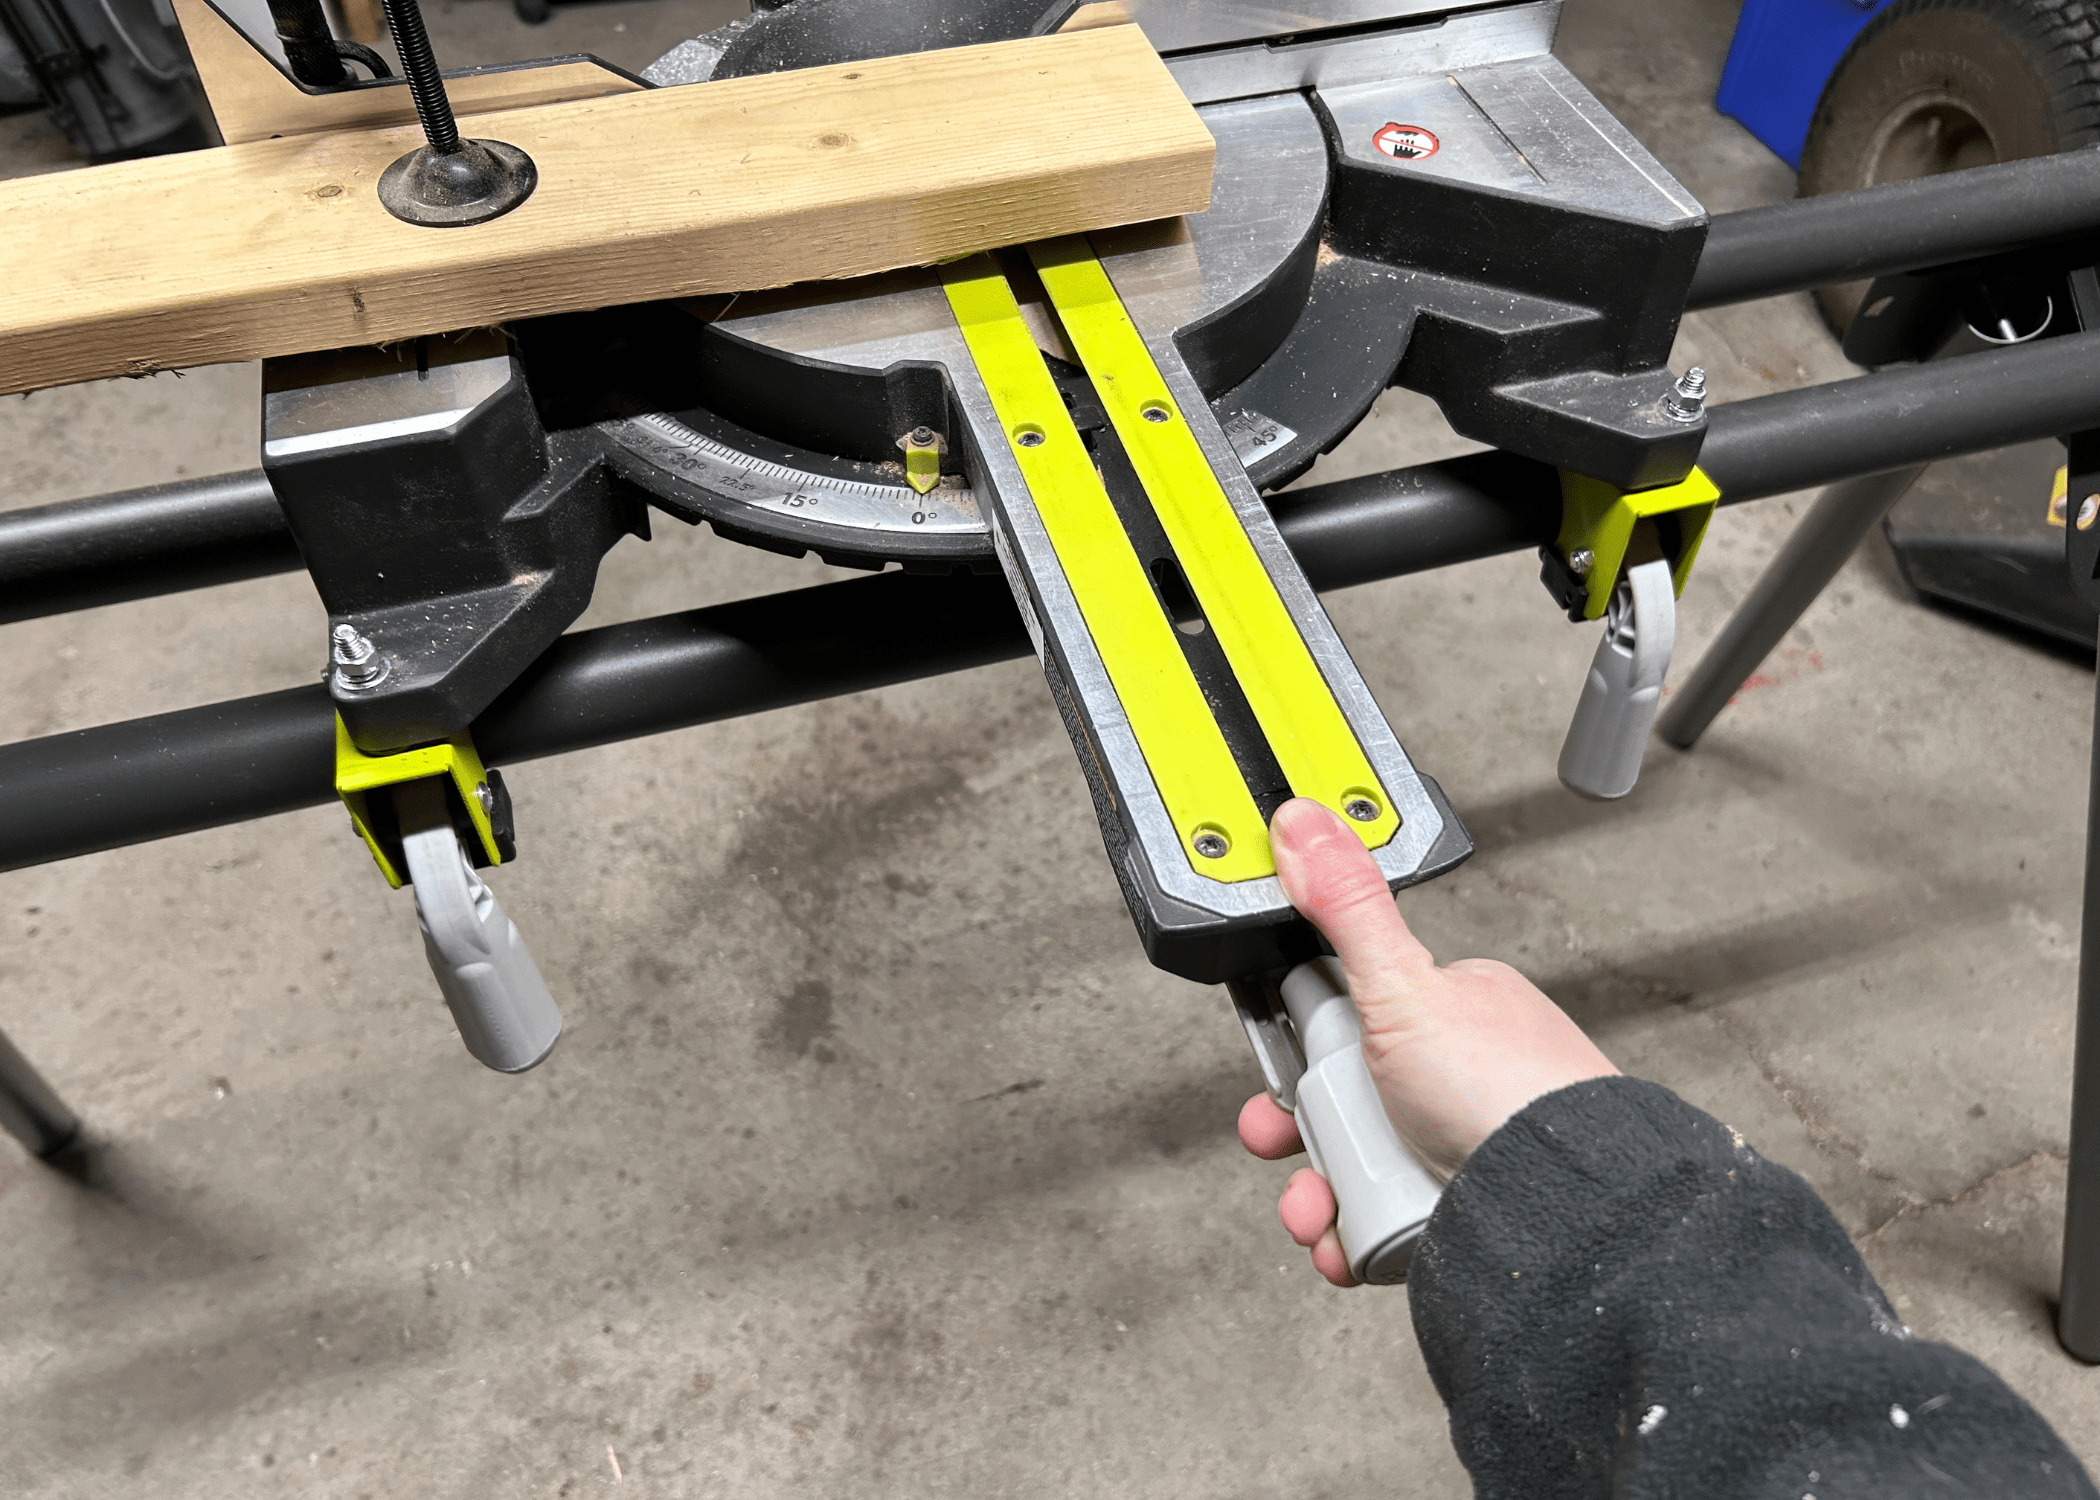
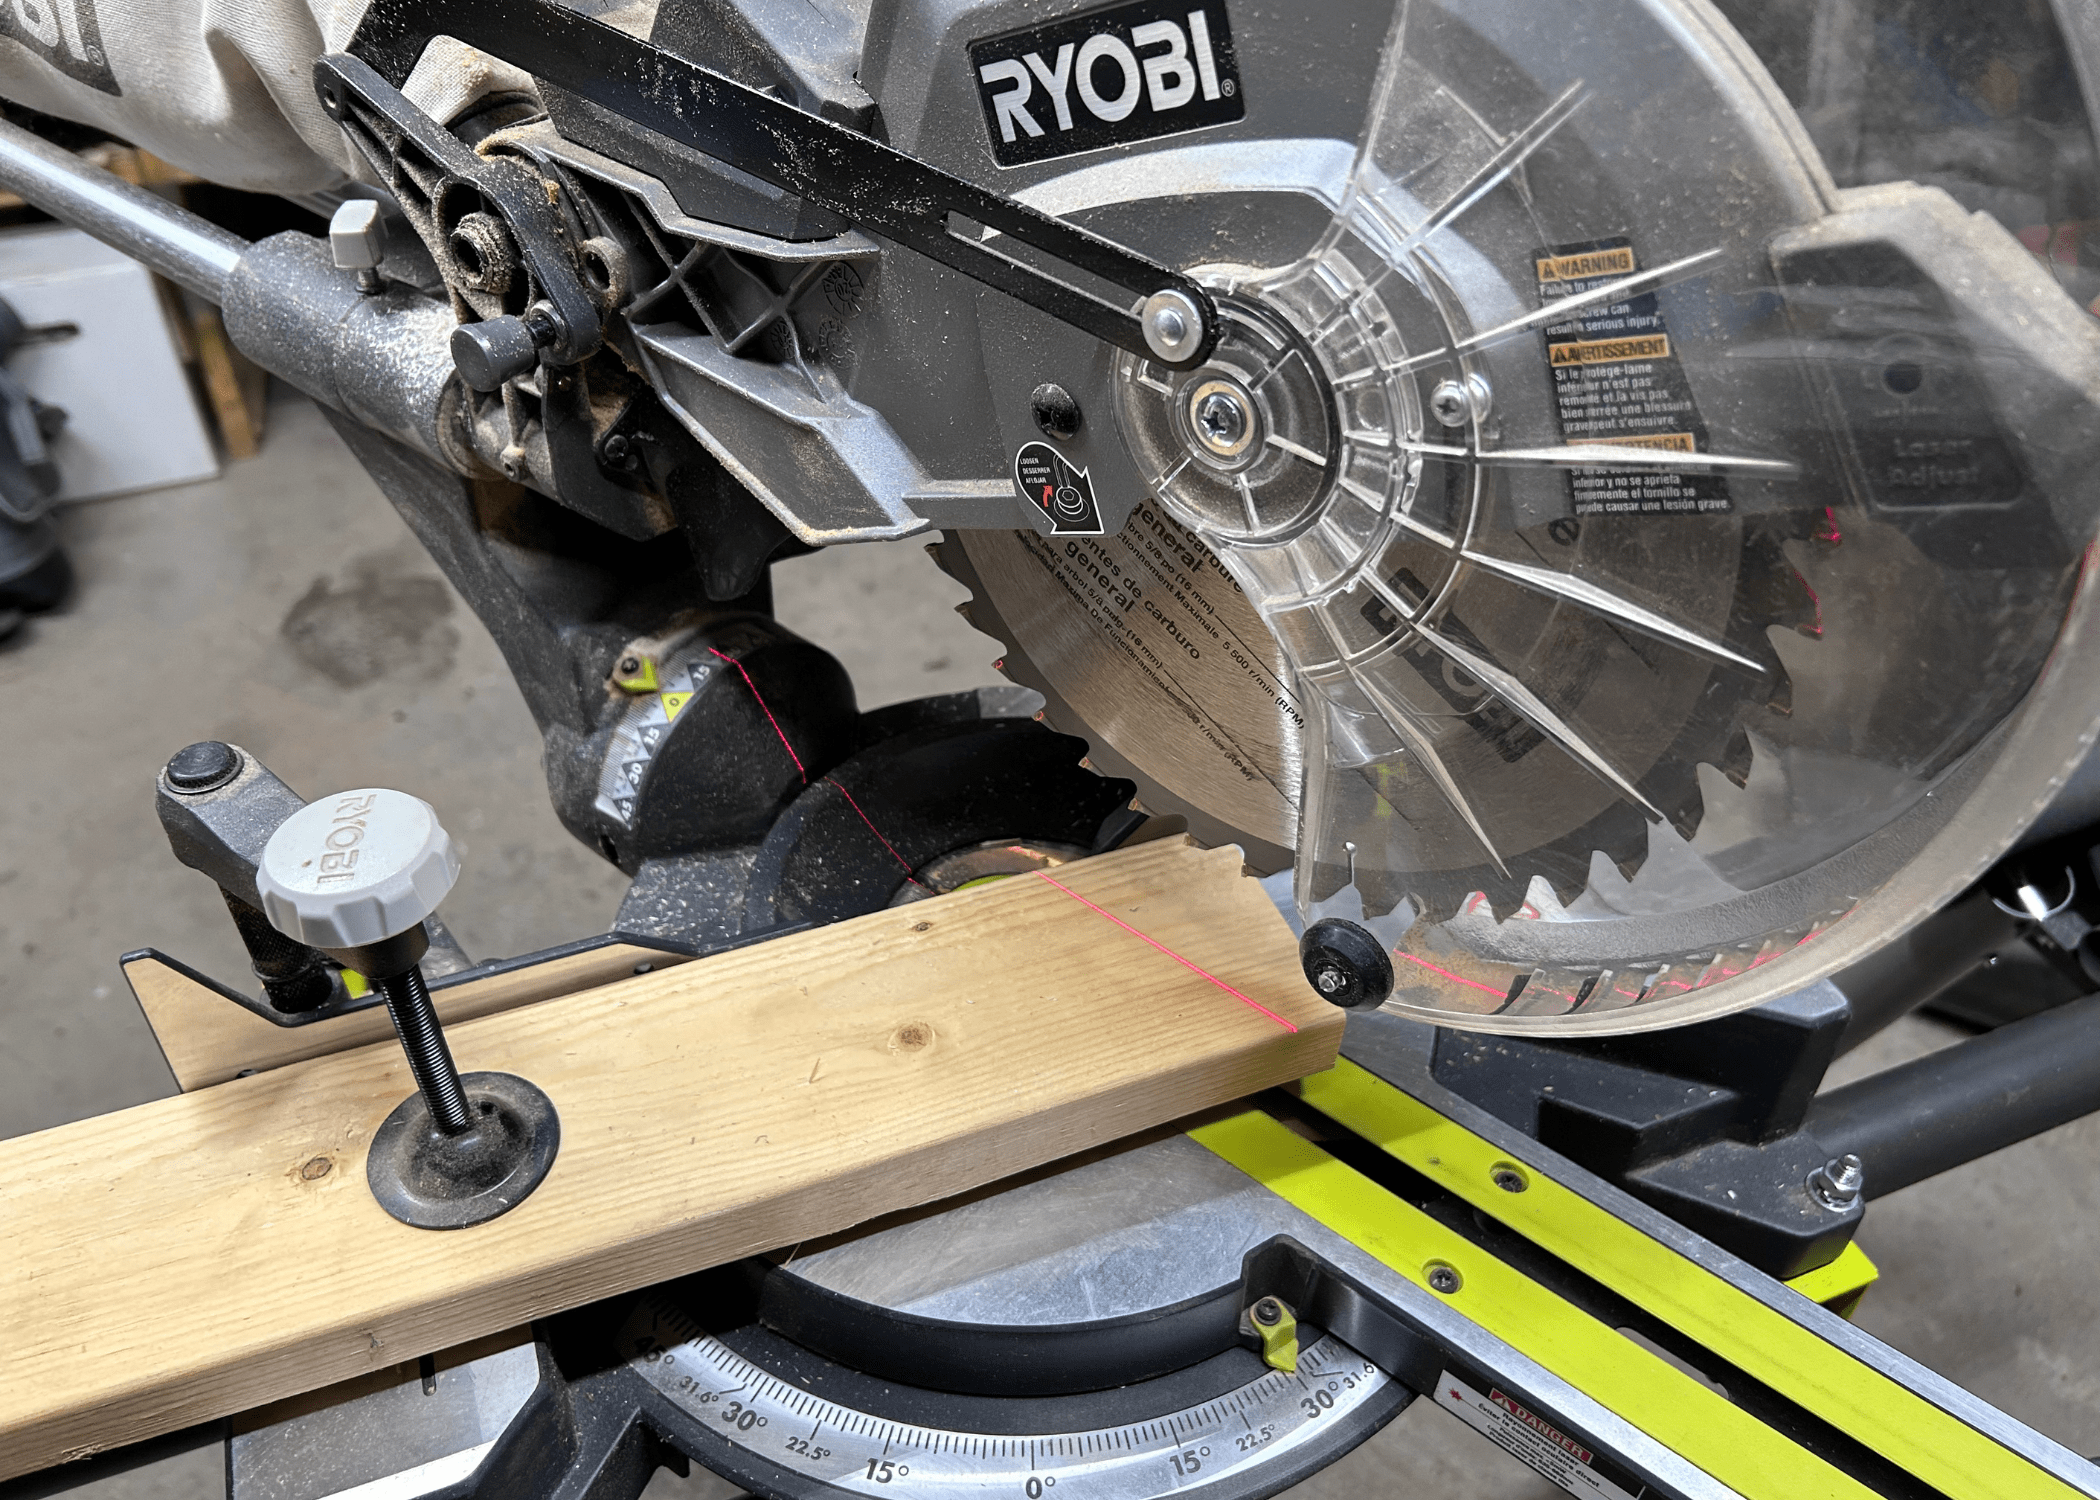
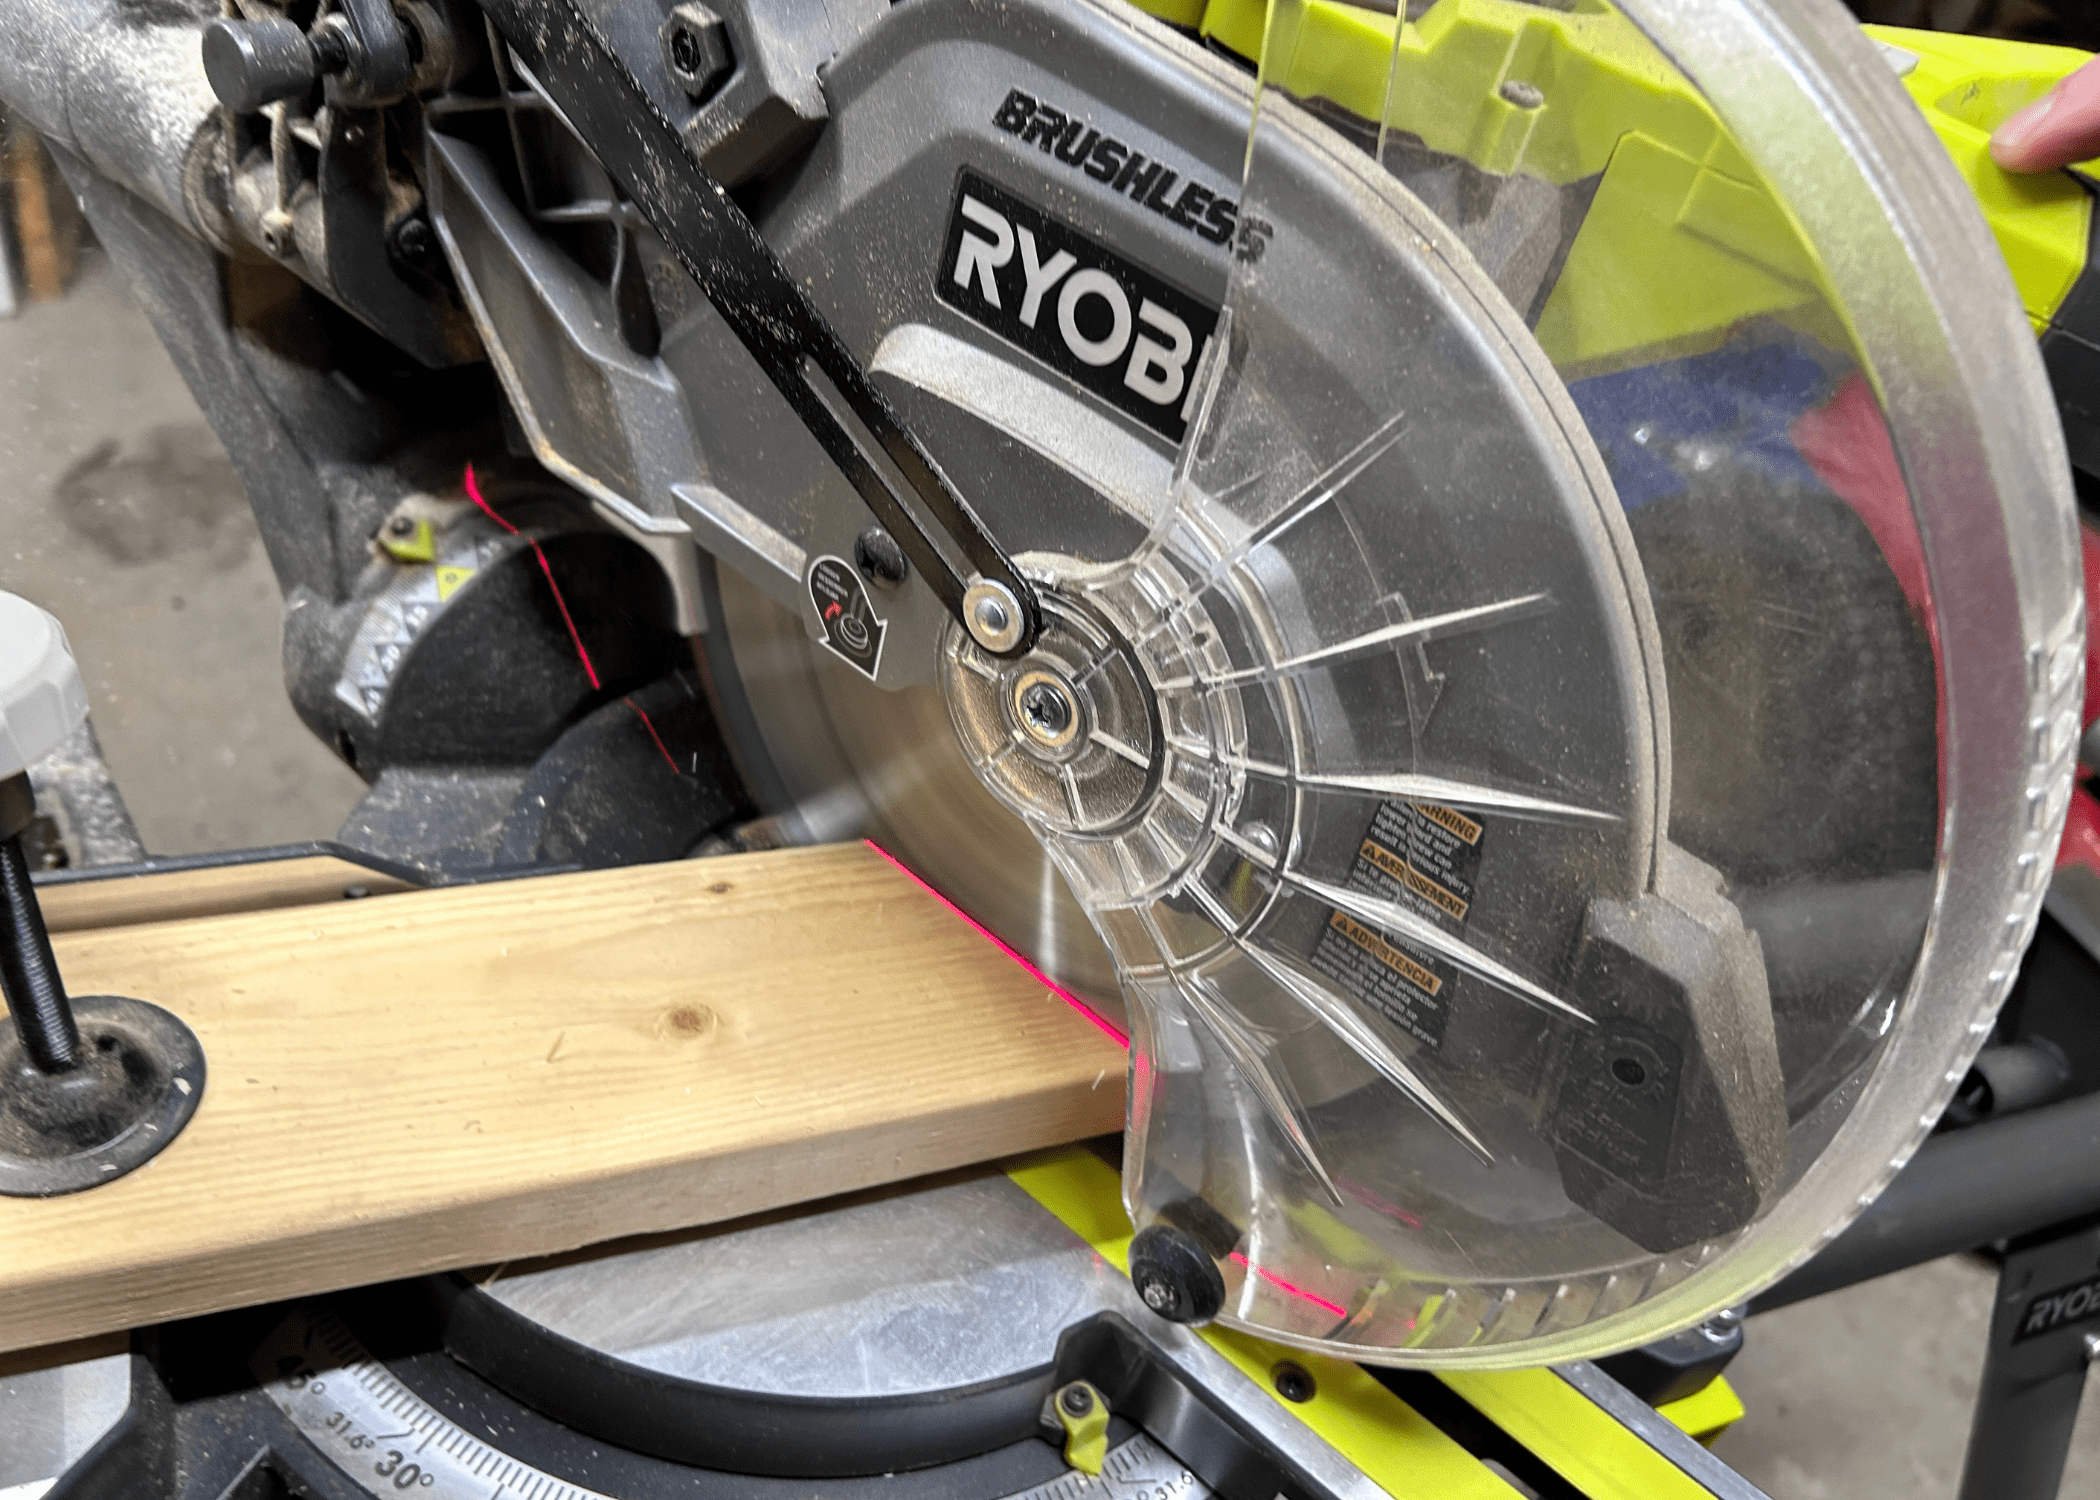
Make the Cut: Position the workpiece against the fence and lower the blade onto the material. Activate the saw and smoothly push the blade through the wood to complete the miter cut.
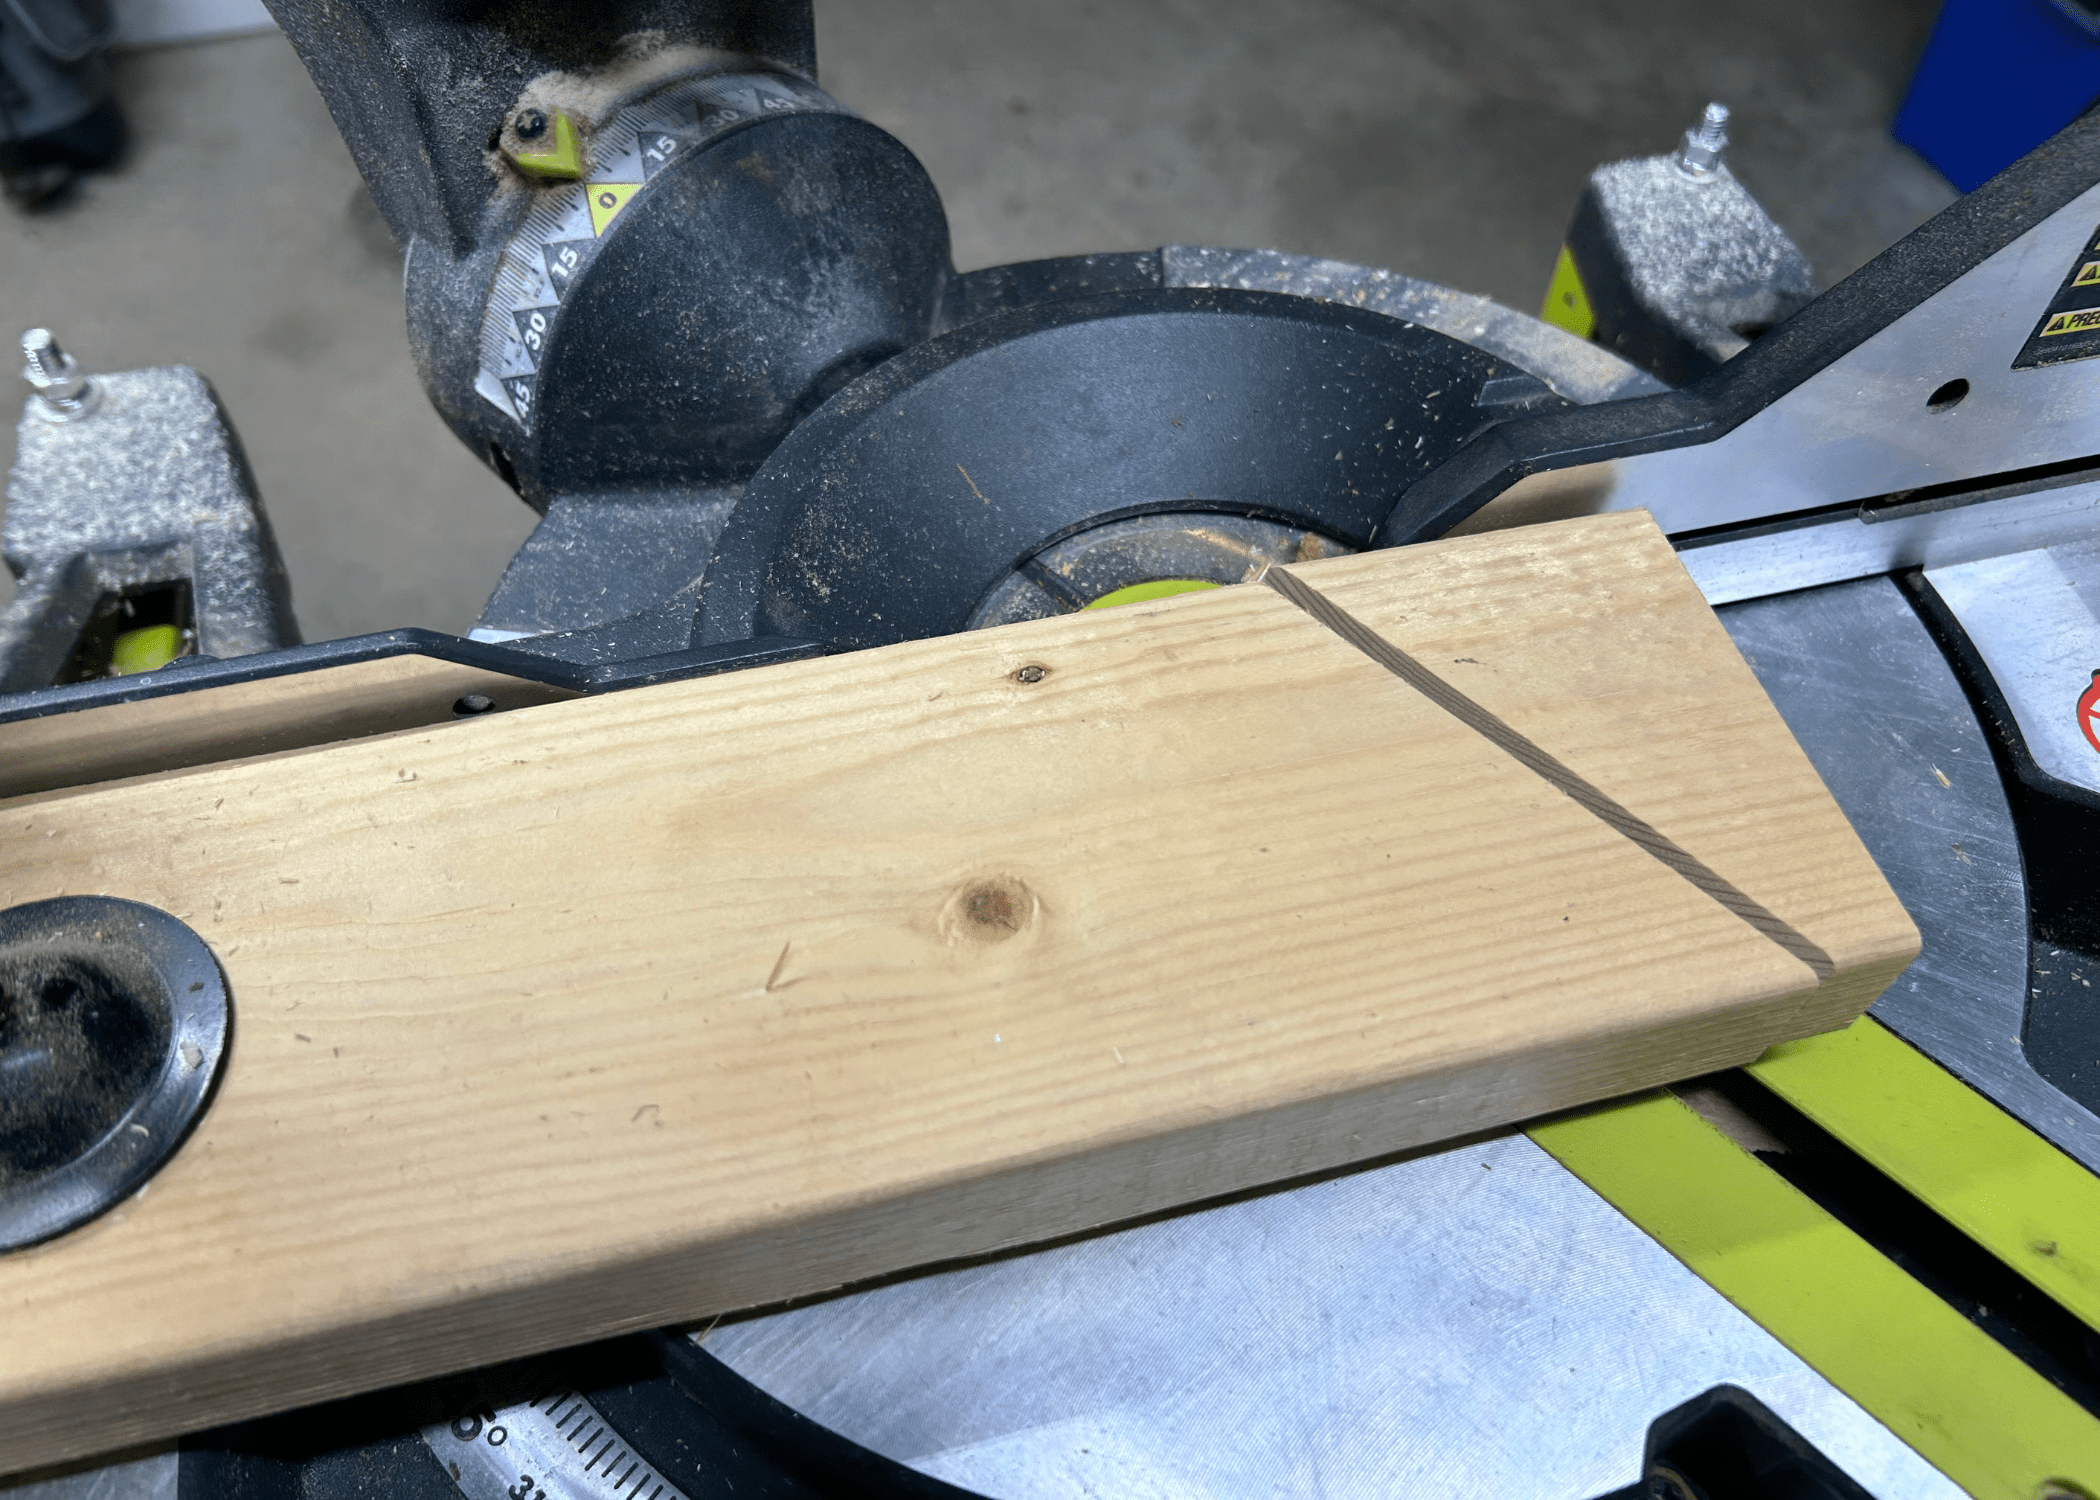
Check the Accuracy: After making the cut, inspect the angle to ensure it meets your specifications. Make any necessary adjustments for precision.
Different Angles
Some of the common angles that a miter saw can cut include 90 degrees (straight cuts), 45 degrees (common for corner joints), 30 degrees, and 22.5 degrees.
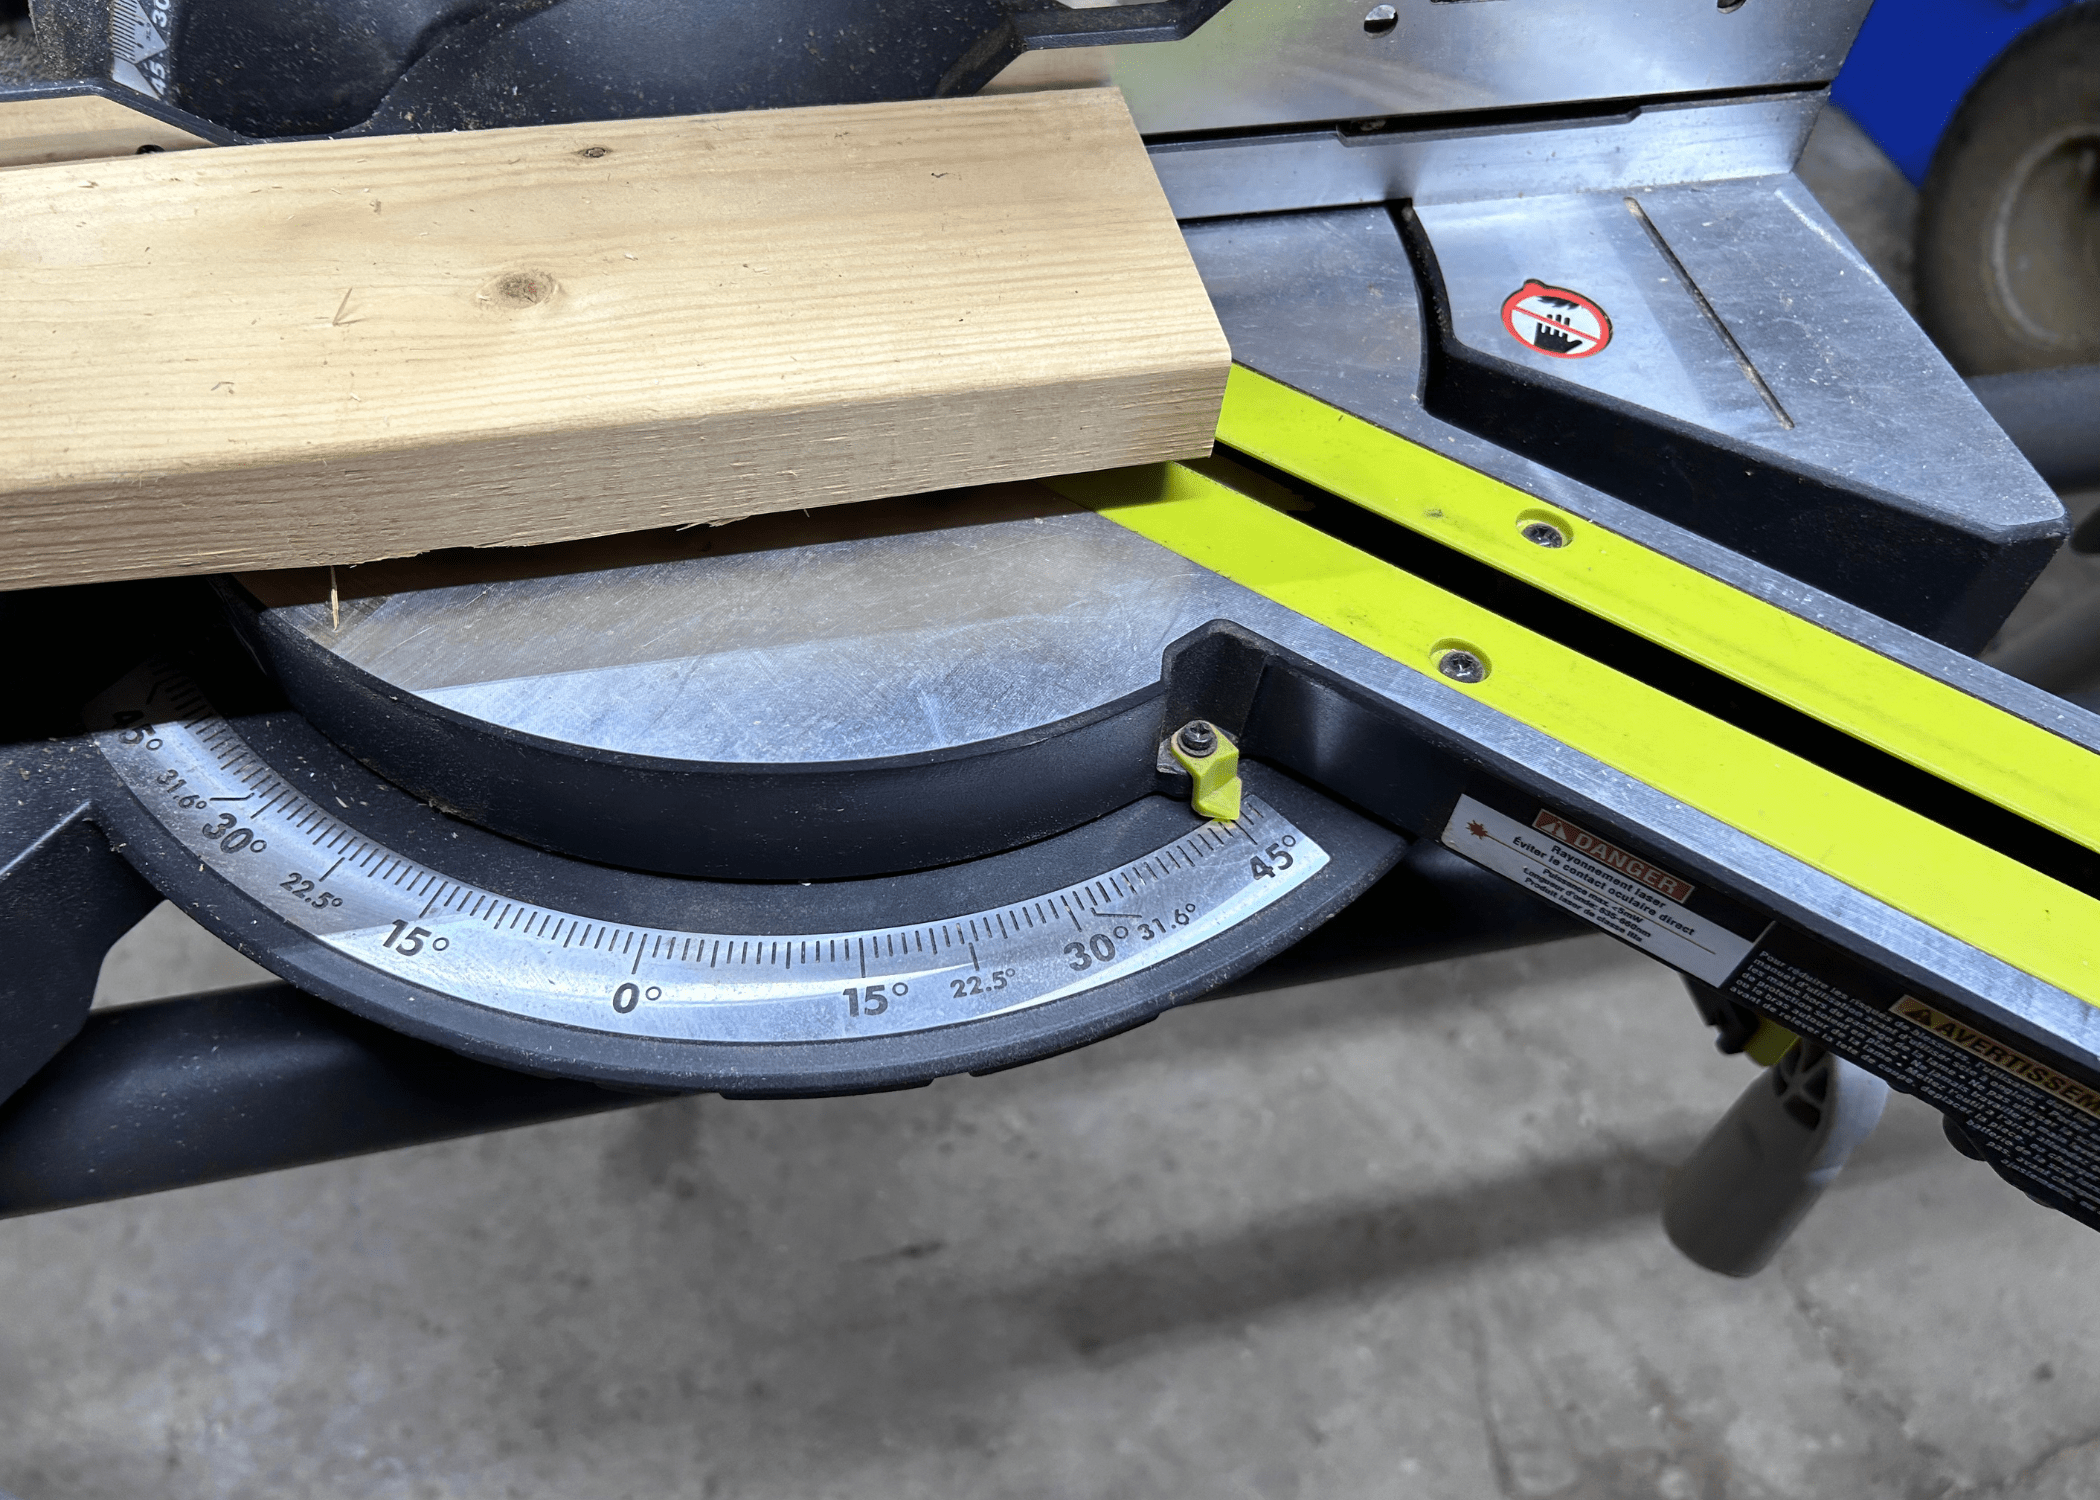
These angles enable the user to create precise cuts for various woodworking projects such as framing, crown molding, and trim work. Additionally, miter saws often come with features like adjustable bevel angles, allowing for compound cuts where both the angle and bevel can be adjusted simultaneously.
Tips and Tricks for Perfect Miter Cuts:
- Use a high-quality miter saw blade for cleaner and more precise cuts.
- Make test cuts on scrap wood to fine-tune your angles before cutting your actual workpiece.
- Consider using a laser guide or marking pencil for improved accuracy in aligning your cuts.
- Support longer workpieces with extensions or additional stands to prevent sagging and ensure stability during cutting.
- Regularly clean and maintain your miter saw to prolong its lifespan and optimize cutting performance.
By following these steps and incorporating the provided tips and tricks into your woodworking routine, you can confidently master the art of miter cuts on a miter saw. Practice, patience, and attention to detail are key to achieving professional-quality results in your woodworking projects.
As we conclude, remember – TedsWoodworking is your ally in woodworking aspirations. Dive into 16,000+ projects with ease. Your creativity knows no bounds. Happy crafting!
Ready to start your next project? Join our DIY community to receive tool tips, how-to guides, and exclusive creative insights. Subscribe to the ManMadeDIY newsletter now! Click here to unlock a world of hands-on inspiration.


