Must-Have Jigs You Can Build or Buy to Ensure Woodworking Precision
Woodworking is a craft where precision is paramount. The slightest deviation can lead to misaligned joints or uneven surfaces. To achieve the highest level of accuracy, woodworkers often rely on jigs—custom-made tools that guide tools or hold workpieces in place. Here’s a detailed guide to some essential woodworking jigs that can significantly enhance your precision.
1. Crosscut Sled
A crosscut sled is a must-have for making precise crosscuts on a table saw. It provides a stable platform that holds the workpiece and allows it to slide smoothly through the blade.

How to Build One:
- Use a flat piece of plywood for the base.
- Attach hardwood runners that fit into the miter slots of your table saw.
- Add a sturdy fence at the front and back to hold the workpiece securely.
Tools & Materials:
2. Dovetail Jig
Dovetail joints are revered for their strength and aesthetics, but they require precision to execute. A dovetail jig can help you achieve perfect dovetails every time.

How to Use One:
- Secure the jig to your workbench.
- Adjust the template to fit your workpiece.
- Use a dovetail router bit to cut the tails and pins.
Tools & Materials:

3. Featherboards
Featherboards apply consistent pressure to the workpiece, keeping it firmly against the fence or table. This ensures clean, straight cuts and reduces kickback.

How to Use One:
- Attach the featherboard to the table saw or router table using the miter slot or T-track.
- Adjust the fingers of the featherboard to apply light pressure to the workpiece.
Tools & Materials:
4. Box Joint Jig
Box joints are strong and visually appealing. A box joint jig helps you cut evenly spaced fingers that fit together perfectly.

How to Build One:
- Construct a sled that slides in the miter slot of your table saw.
- Attach a fence perpendicular to the blade.
- Use a key that matches the width of the blade to space the cuts evenly.
Tools & Materials:
5. Doweling Jig
A doweling jig ensures that dowel holes are perfectly aligned, making it easier to join pieces accurately.

How to Use One:
- Clamp the jig to the workpiece.
- Use the built-in guides to drill straight holes for dowels.
- Align and glue the dowels into place.
Tools & Materials:
6. Tapering Jig
A tapering jig allows you to cut precise angles, making it ideal for creating tapered legs and other angled cuts.

How to Use One:
- Adjust the jig to the desired angle.
- Secure the workpiece to the jig.
- Run the jig along the table saw fence to make the cut.
Tools & Materials:
7. Router Table
A router table enhances your router’s versatility, allowing for precise edge treatments, grooves, and moldings.

How to Use One:
- Mount the router to the table.
- Use the fence and featherboards to guide the workpiece.
- Adjust the bit height for consistent cuts.
Tools & Materials:
8. Tenoning Jig
A tenoning jig helps you cut precise tenons for mortise and tenon joints, which is essential for strong frame and panel construction.

How to Use One:
- Secure the jig to the table saw.
- Clamp the workpiece to the jig.
- Adjust the jig to cut each face of the tenon accurately.
Tools & Materials:
9. Circle Cutting Jig
A circle-cutting jig makes it easy to cut perfect circles with a router, which is useful for tabletops and decorative pieces.

How to Use One:
- Attach the jig to the router base.
- Adjust the pivot point to the desired radius.
- Rotate the router around the pivot to cut the circle.
Tools & Materials:
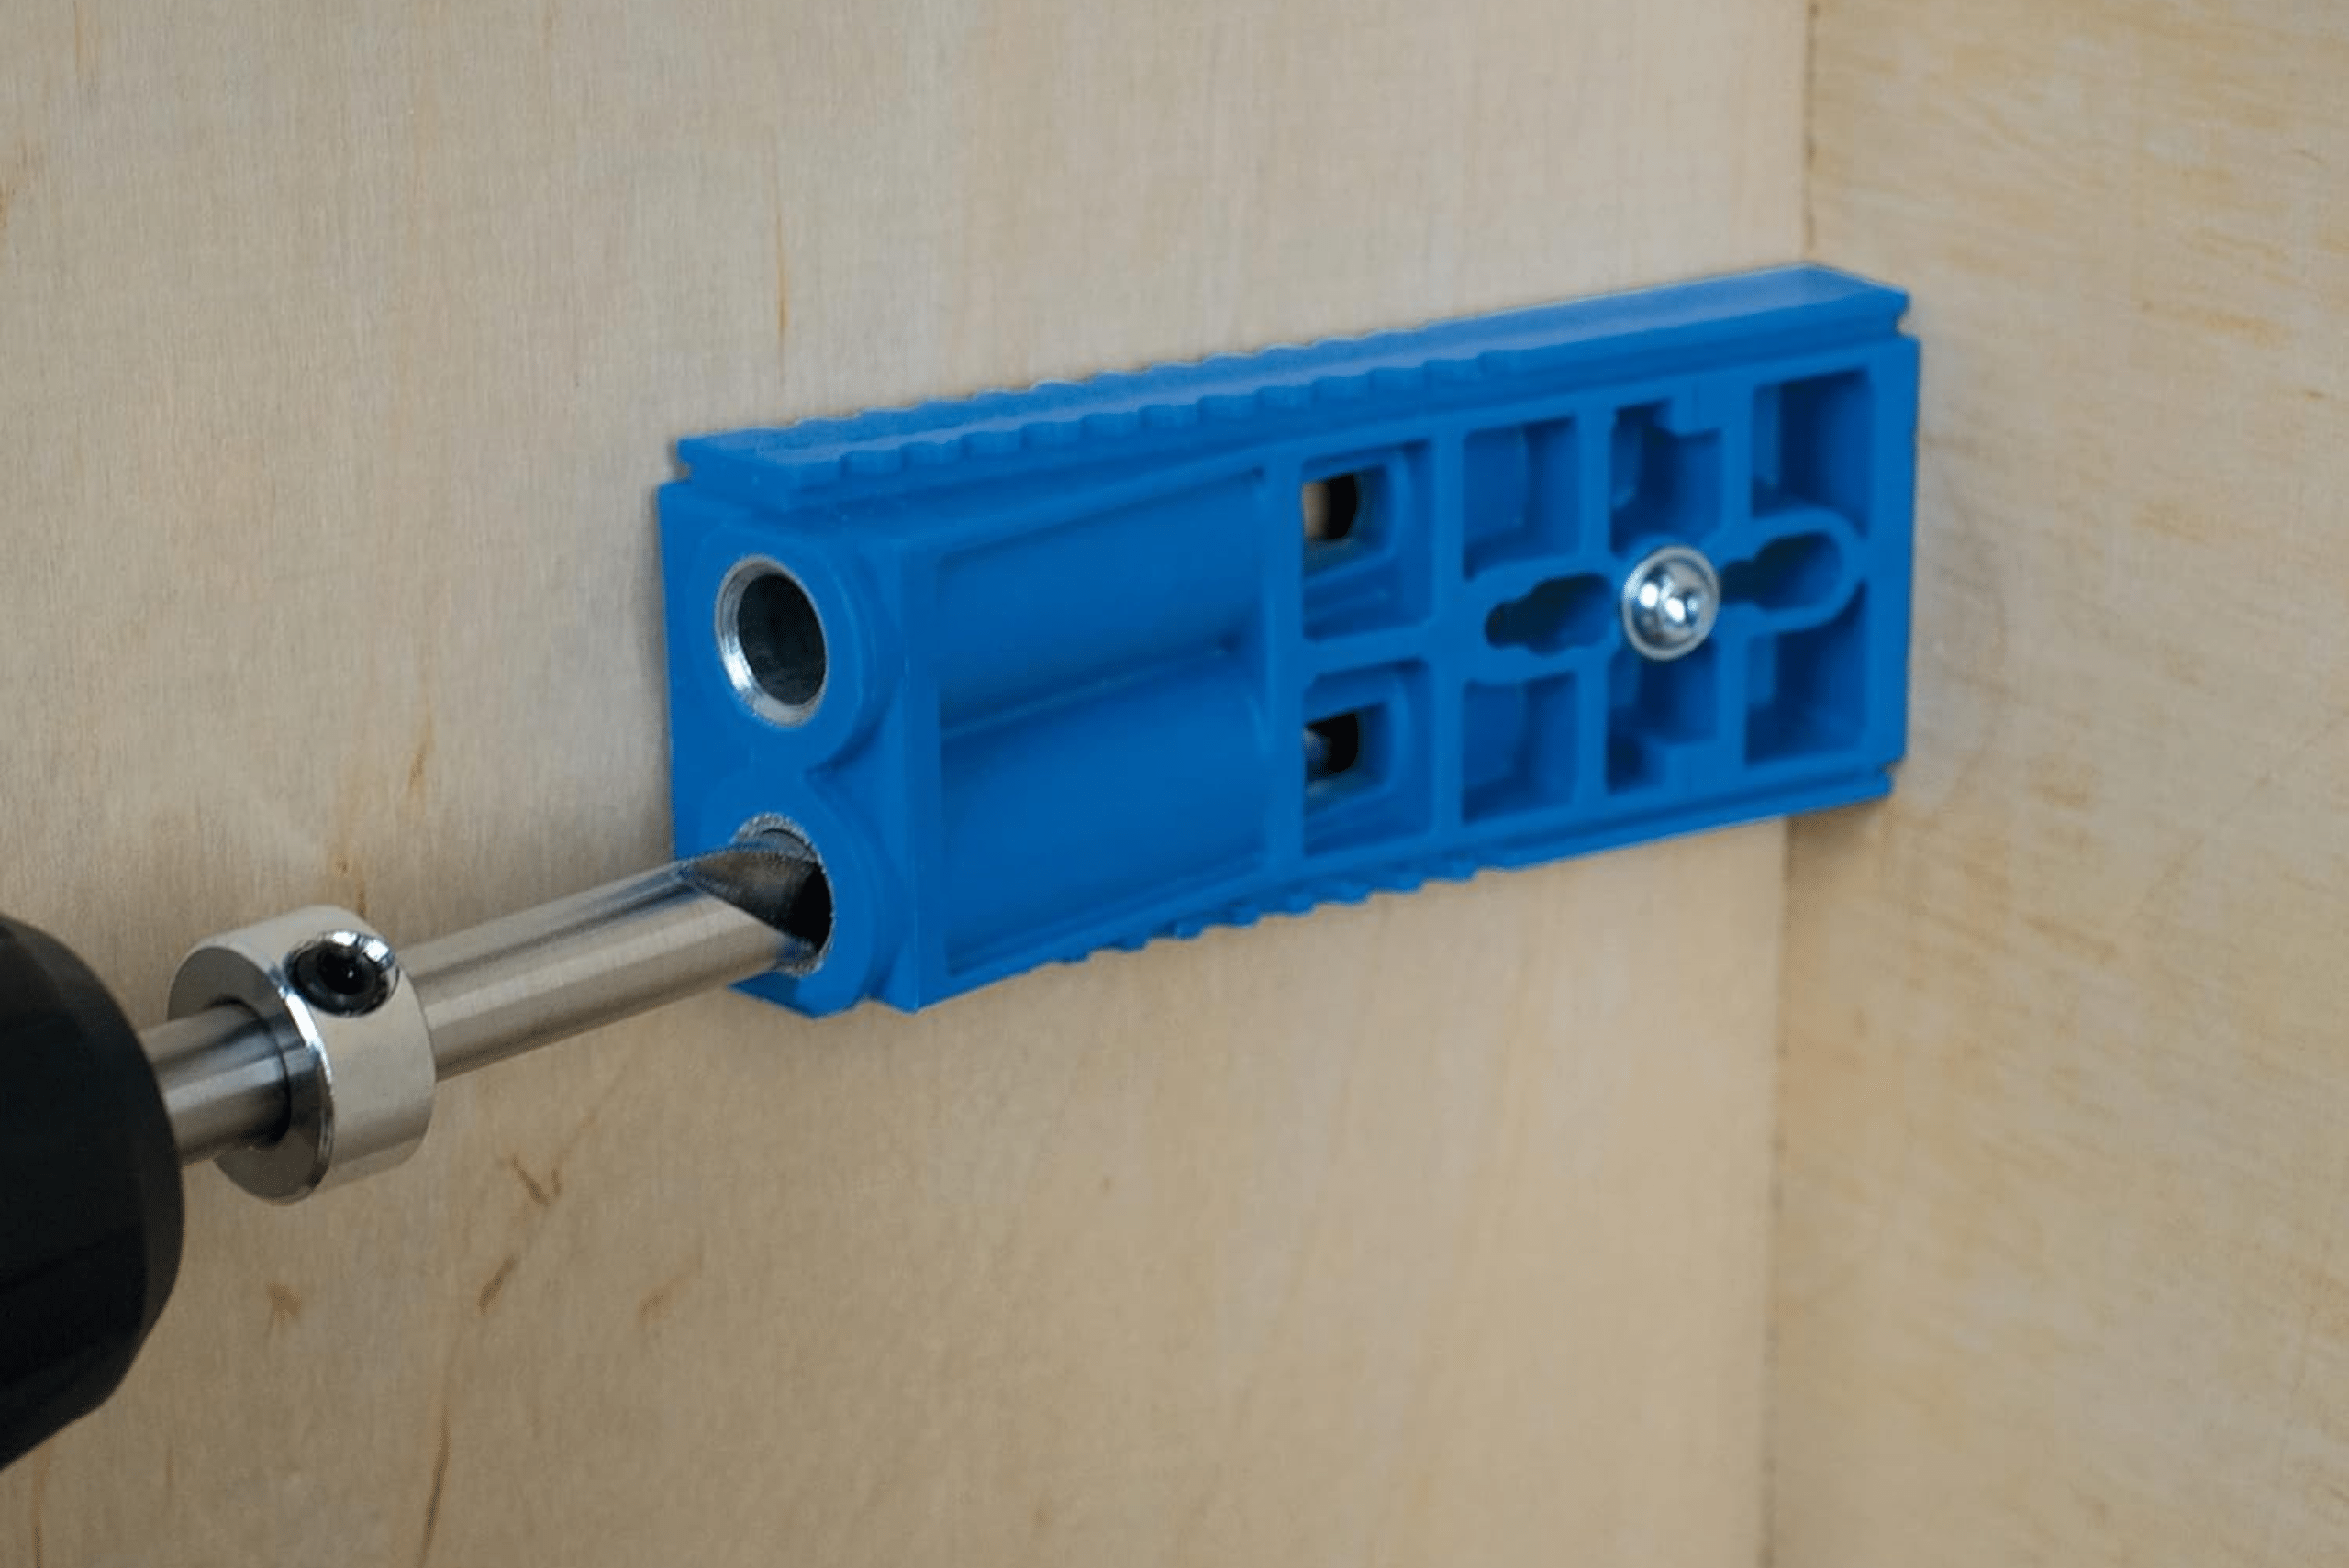
10. Pocket Hole Jig
A pocket hole jig simplifies the process of drilling angled holes for strong, hidden joints in cabinetry and furniture.

How to Use One:
- Set the jig to match the thickness of the workpiece.
- Clamp the jig in place.
- Drill the pocket holes using the provided bit.
Tools & Materials:
Related Articles
- How to Use a Router For Woodworking Projects
- The Purpose and Proper Use of Winding Sticks in Woodworking
- 6 Clever Small Woodworking Projects That You Should Try
Incorporating these jigs into your woodworking toolkit can drastically improve your precision and efficiency. Whether you choose to build these jigs yourself or purchase them, the right jig for the job can make all the difference in the quality of your projects. Happy woodworking!
Ready to start your next project? Join our DIY community to receive tool tips, how-to guides, and exclusive creative insights. Subscribe to the ManMadeDIY newsletter now! Click here to unlock a world of hands-on inspiration.


