DIY Car Maintenance: How to Change Your Engine Oil
Whether you have a new or old car, you will need to perform an oil change to keep its engine running smoothly and efficiently. However, you don’t have to deal with the hassles of scheduling an appointment or waiting at a shop if you decide to tackle this relatively easy DIY yourself. Even if you are familiar with how to perform an oil change, read on to discover additional advice and tips that might help you with your next oil change!
Benefits of Doing Your Own Oil Changes
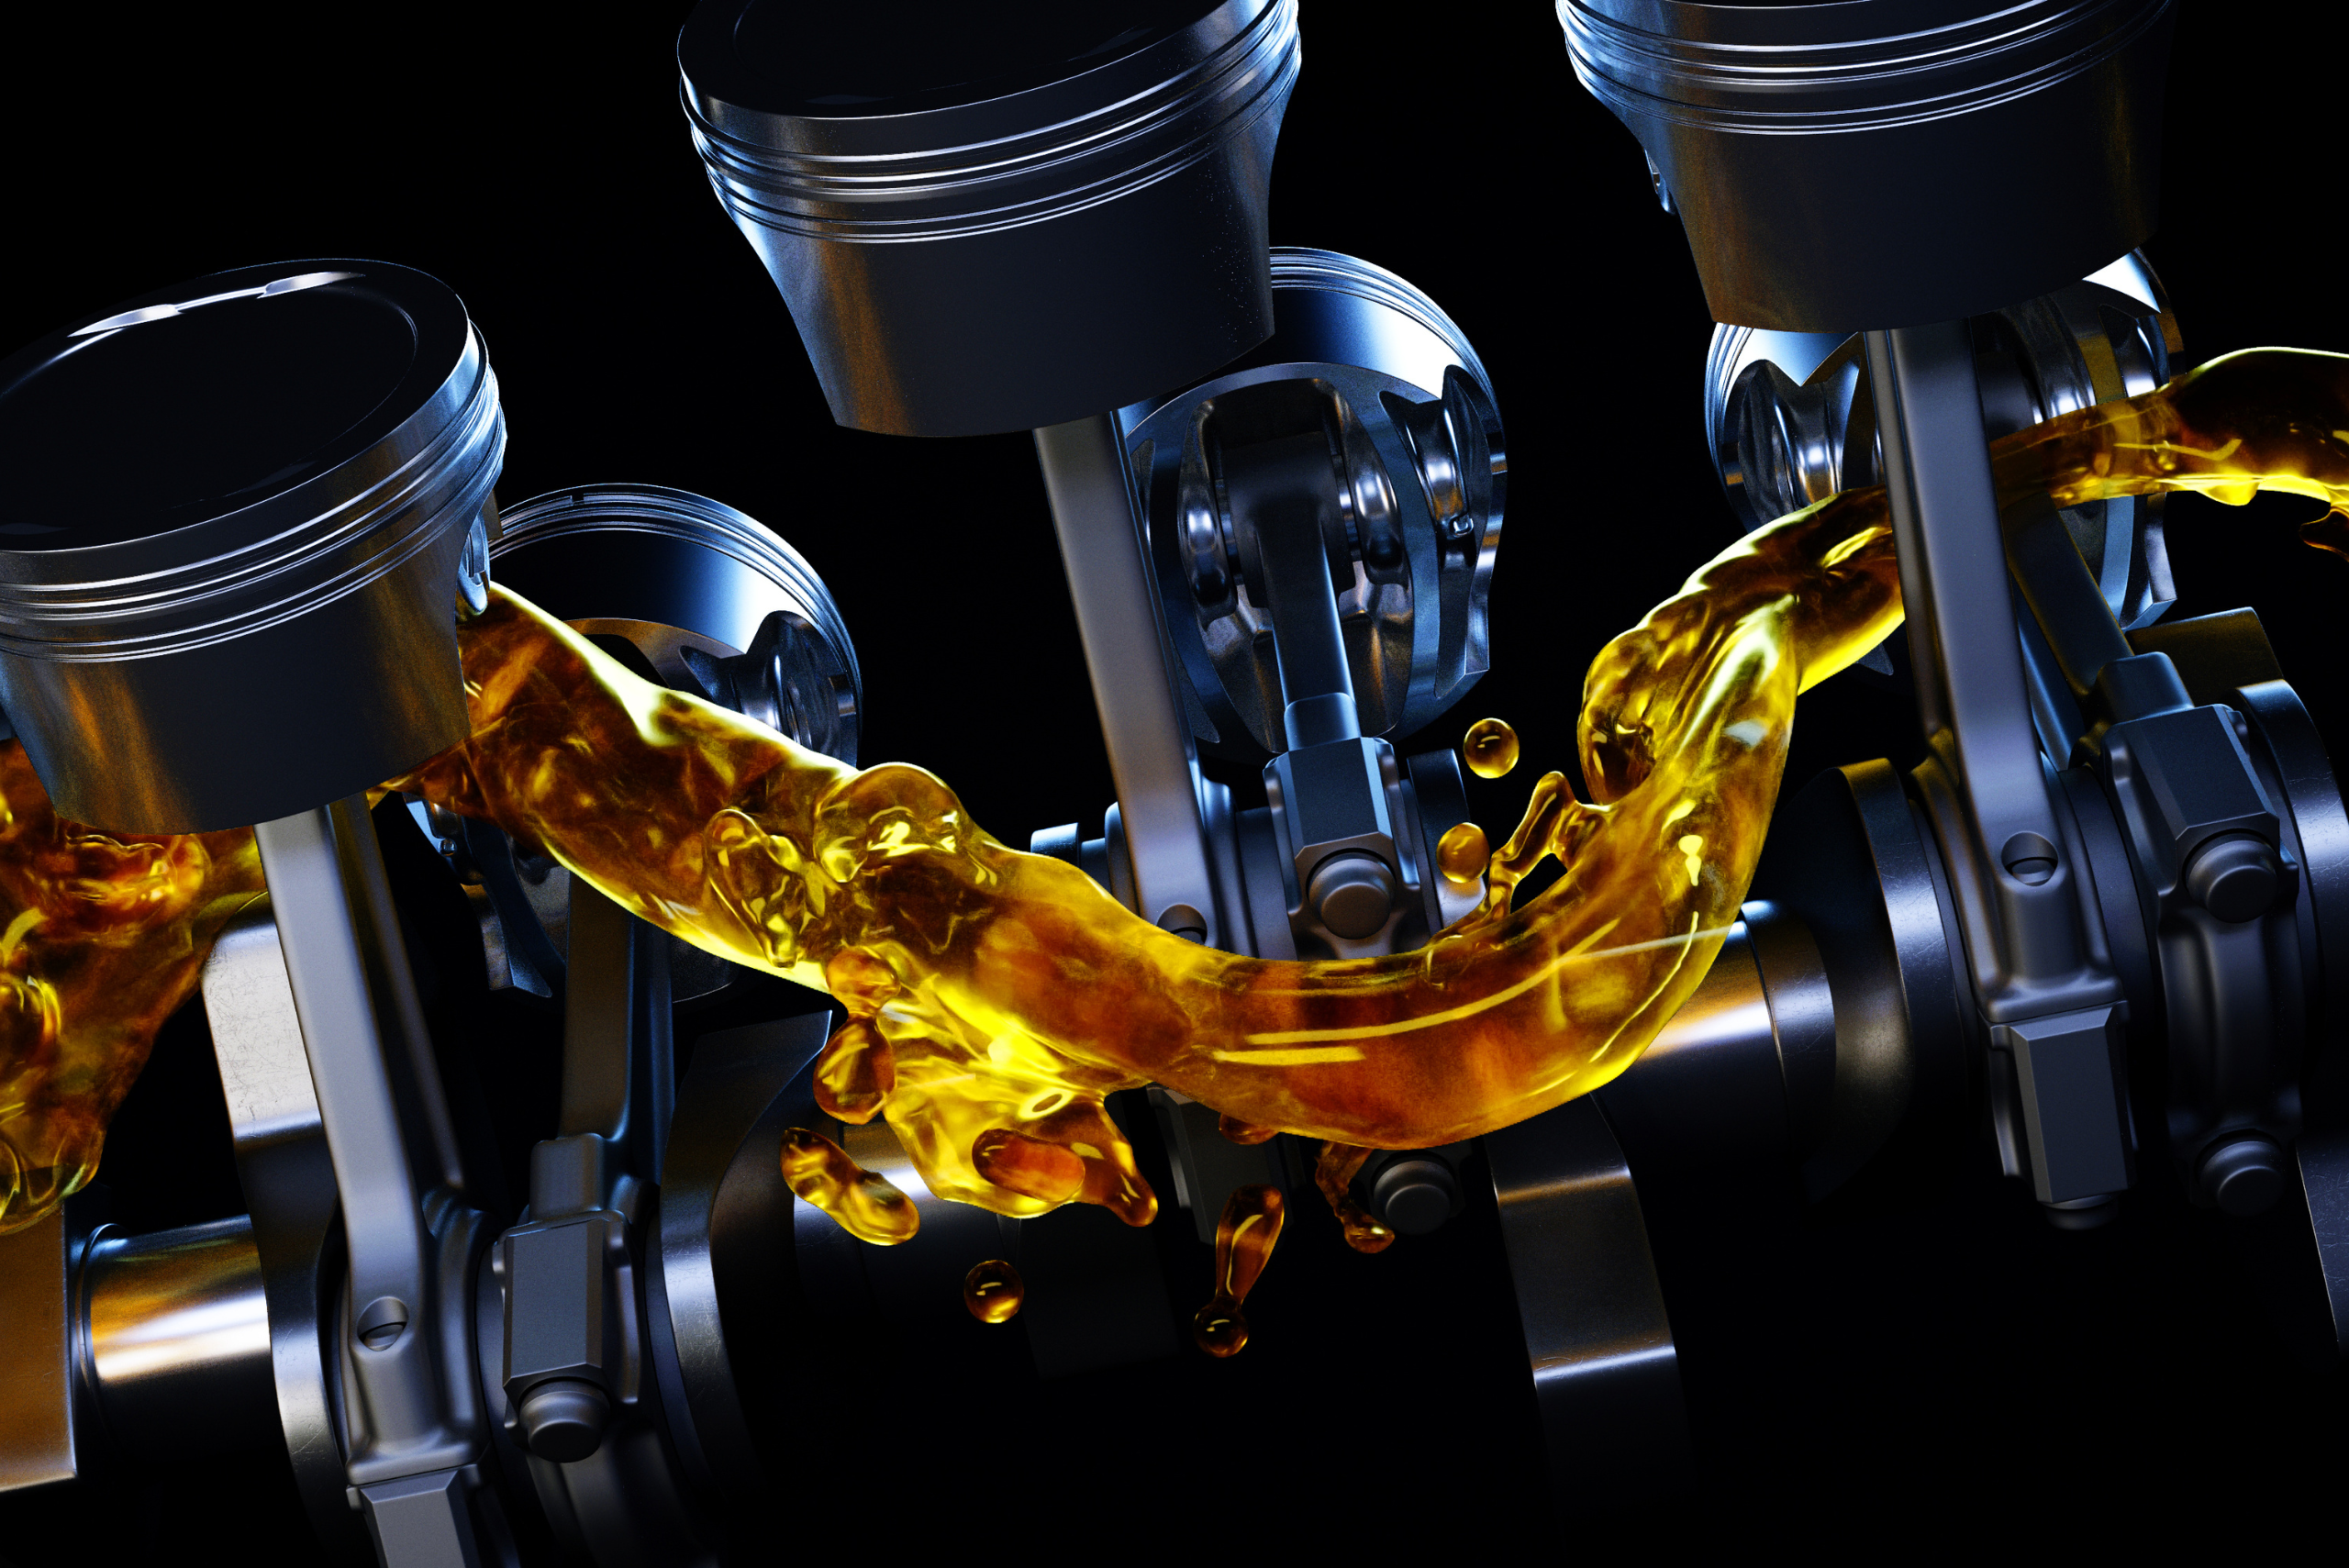
When it comes to maintaining your vehicle’s engine, you will need to keep up with regular oil changes. Although it’s known that vehicles require maintenance, most don’t know that neglecting such services can result in expensive repair bills in the future. As oil degrades and breaks down with time and frequent driving, your engine will suffer excessive internal wear, reduced fuel economy, and can produce more exhaust pollution to the air.
There are also other considerations that might help convince you to tackle your next oil change yourself. For starters, you will get the chance to inspect the vehicle’s underside and detect other possible issues that might require attention that are often missed by quick lube shops. You can also expect to save tons of money and time in the long run after your initial investment of picking up a few tools, which most have in their garages already.
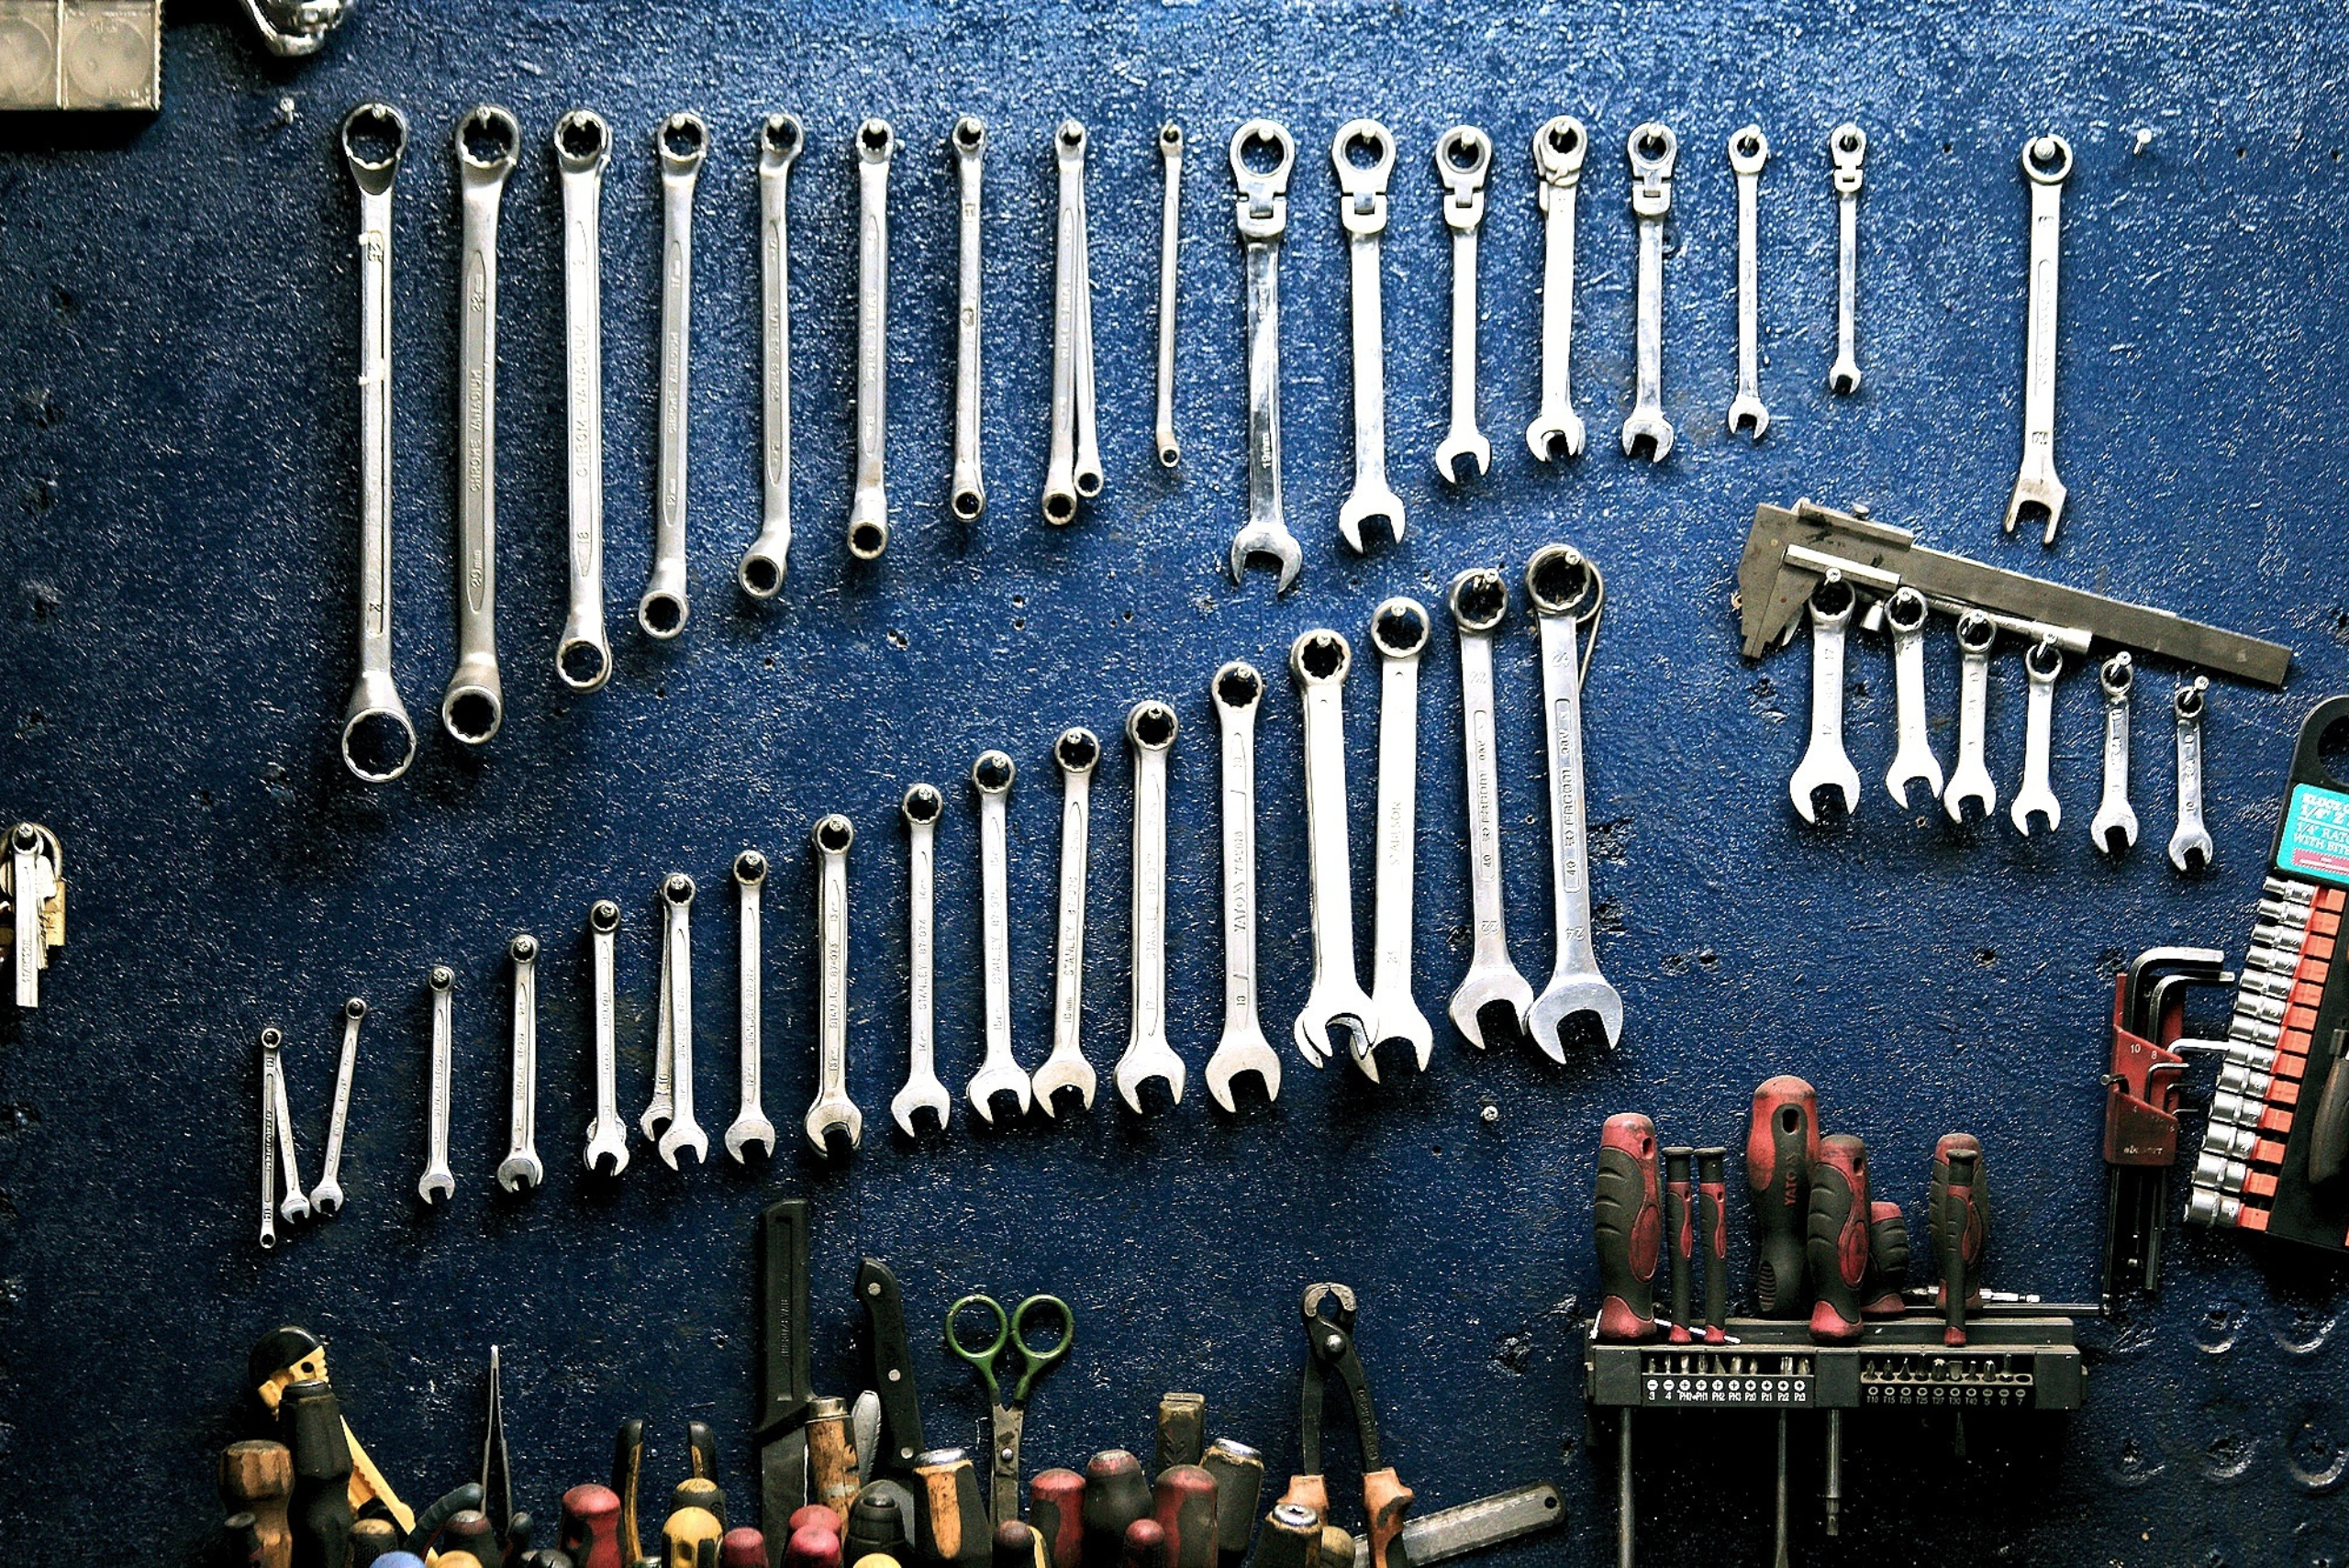
Tools and Items to Gather Before Starting
Tools
- 3/8 Ratchet
- 3/8 Extension (optional, but might be helpful on some models)
- Sockets (Make sure to get one that fits your oil drain plug)
- Oil filter wrench (sometimes it might be a cartridge style, requiring a special tool)
- Funnel
- Oil pan
- Flat head screwdriver
- Jack stands (Check the weight limits)
- Jack (You can use the one that comes with your car)
Items
- Oil (make sure to get enough check the owner’s manual)
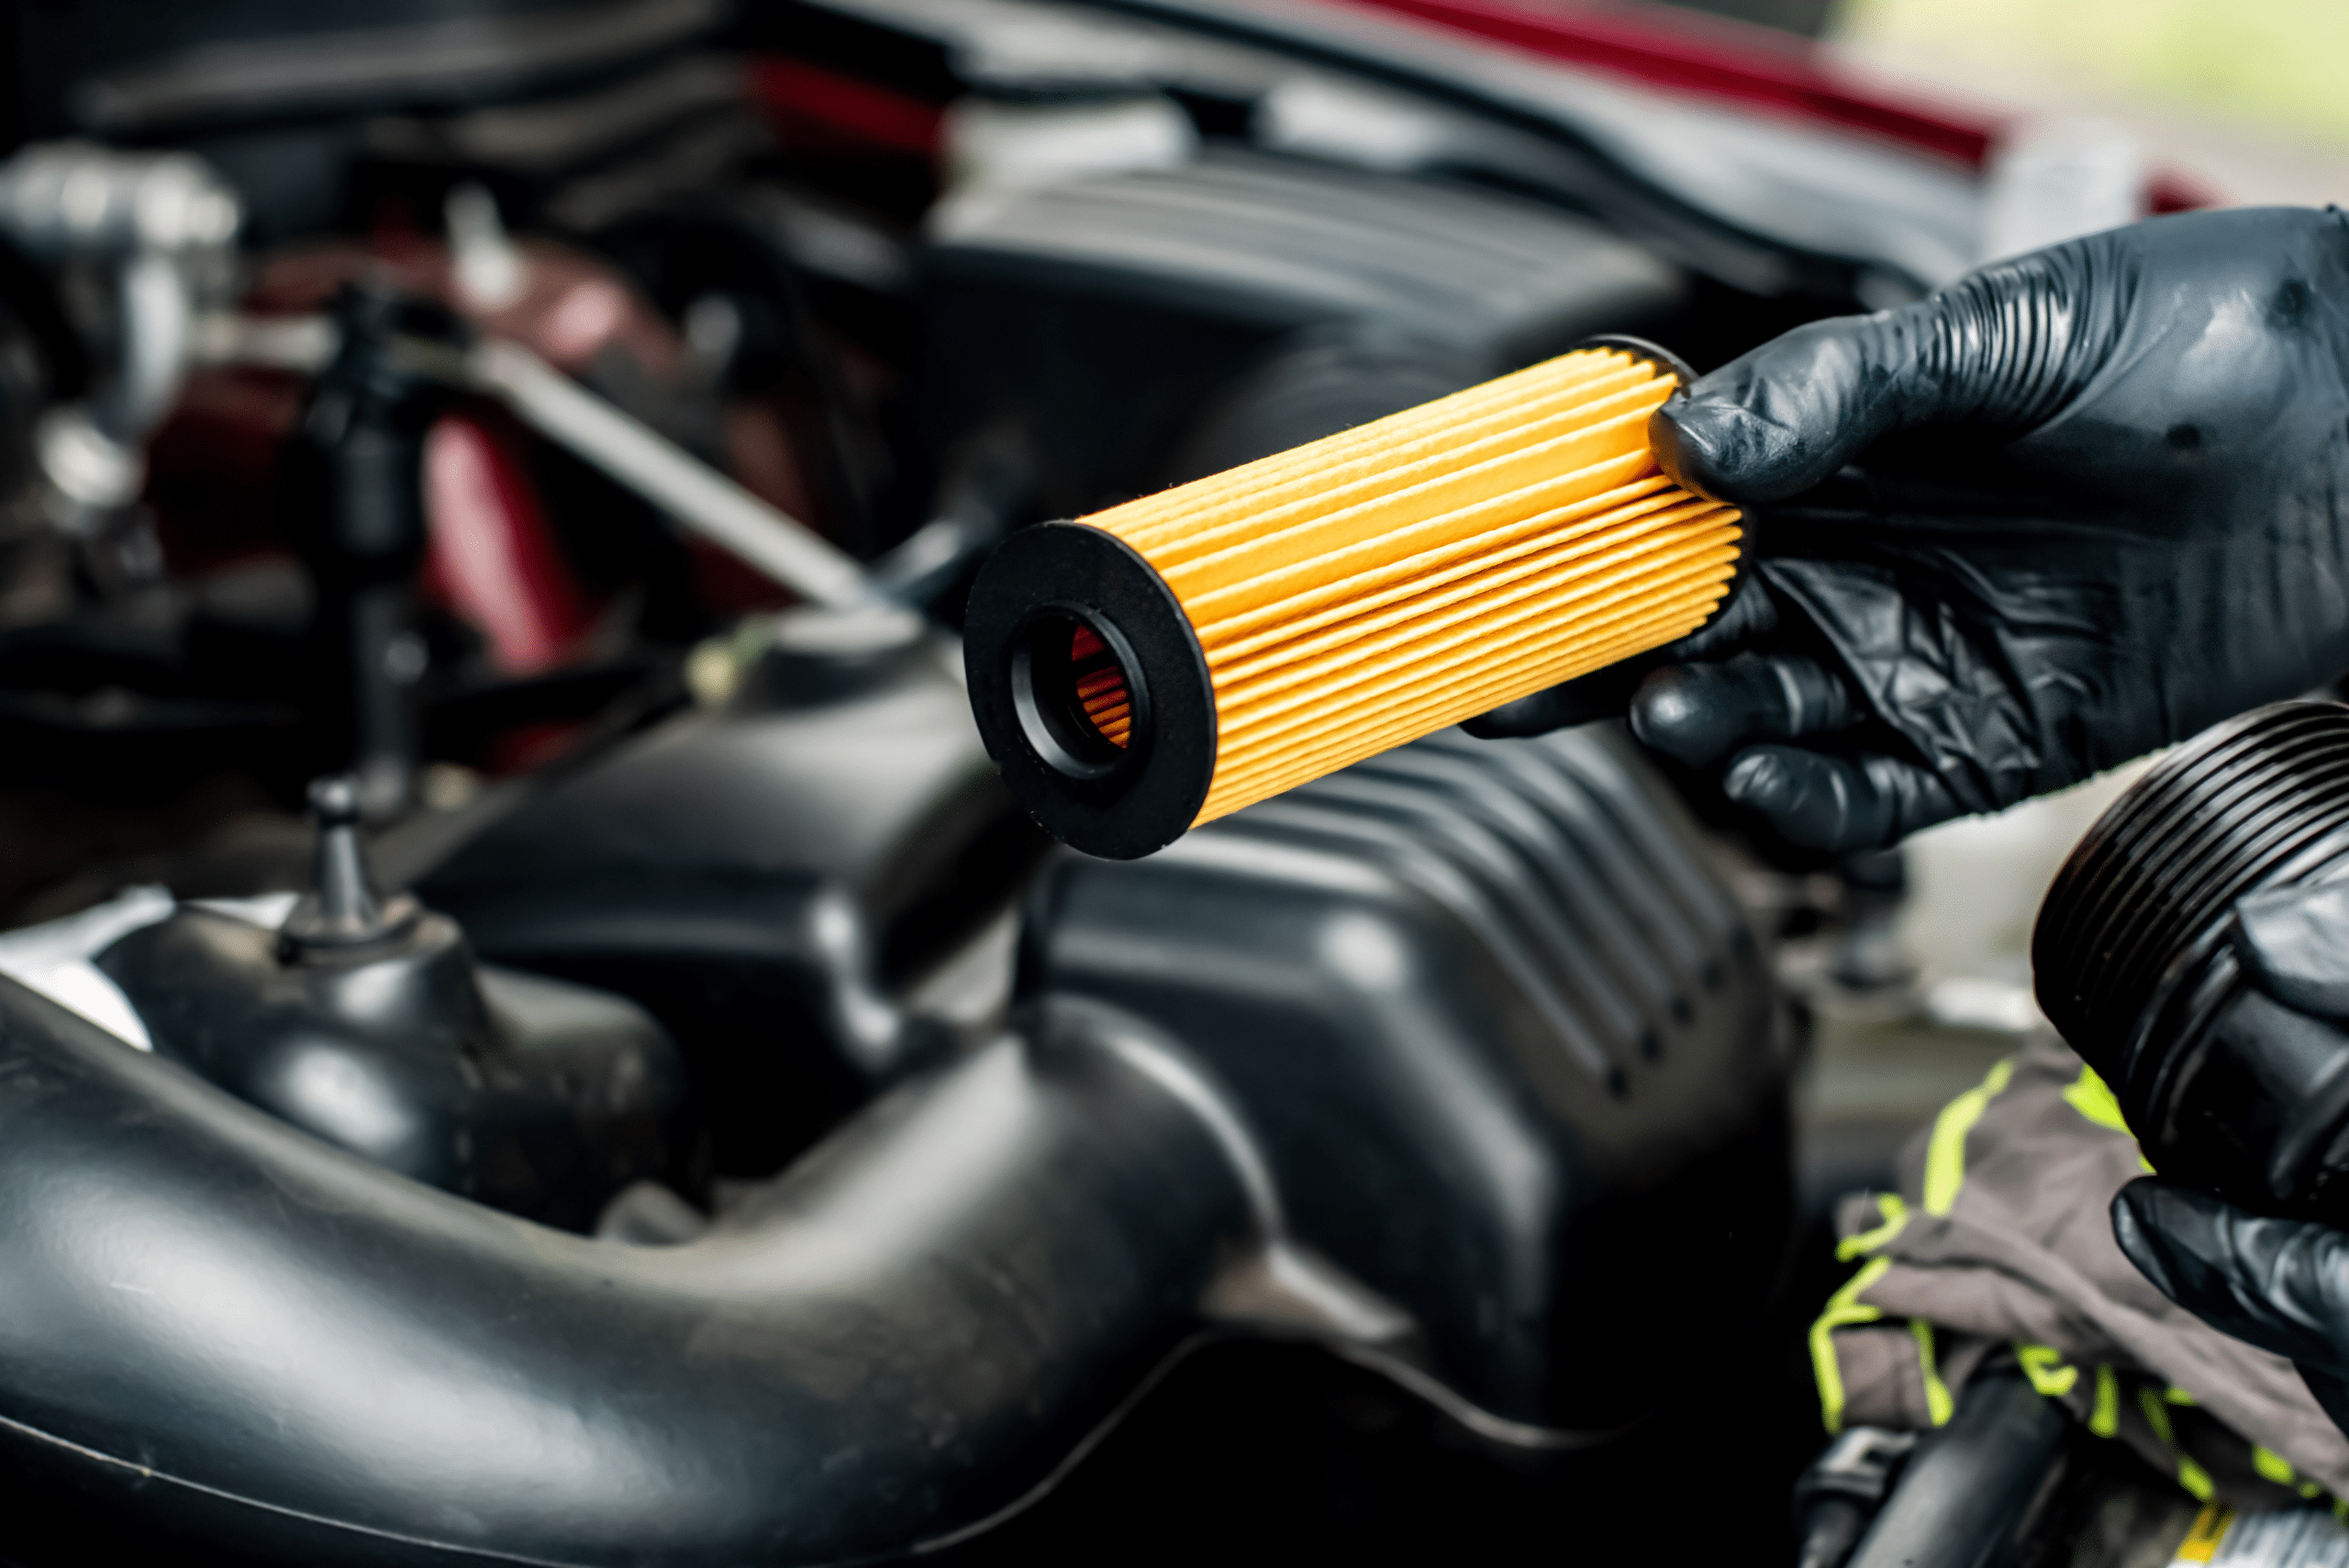
- Oil filter (Get the specific one for your vehicle)
- Oil filter gasket/o-ring (only required for cartridge style filters)
- New crush washer for drain plug
- Microfiber cloths
- Oil absorption pads
- Brake cleaner (Helpful for cleaning oil off parts)
- Empty jug for used oil
DIY-Friendly Oil Change Guide
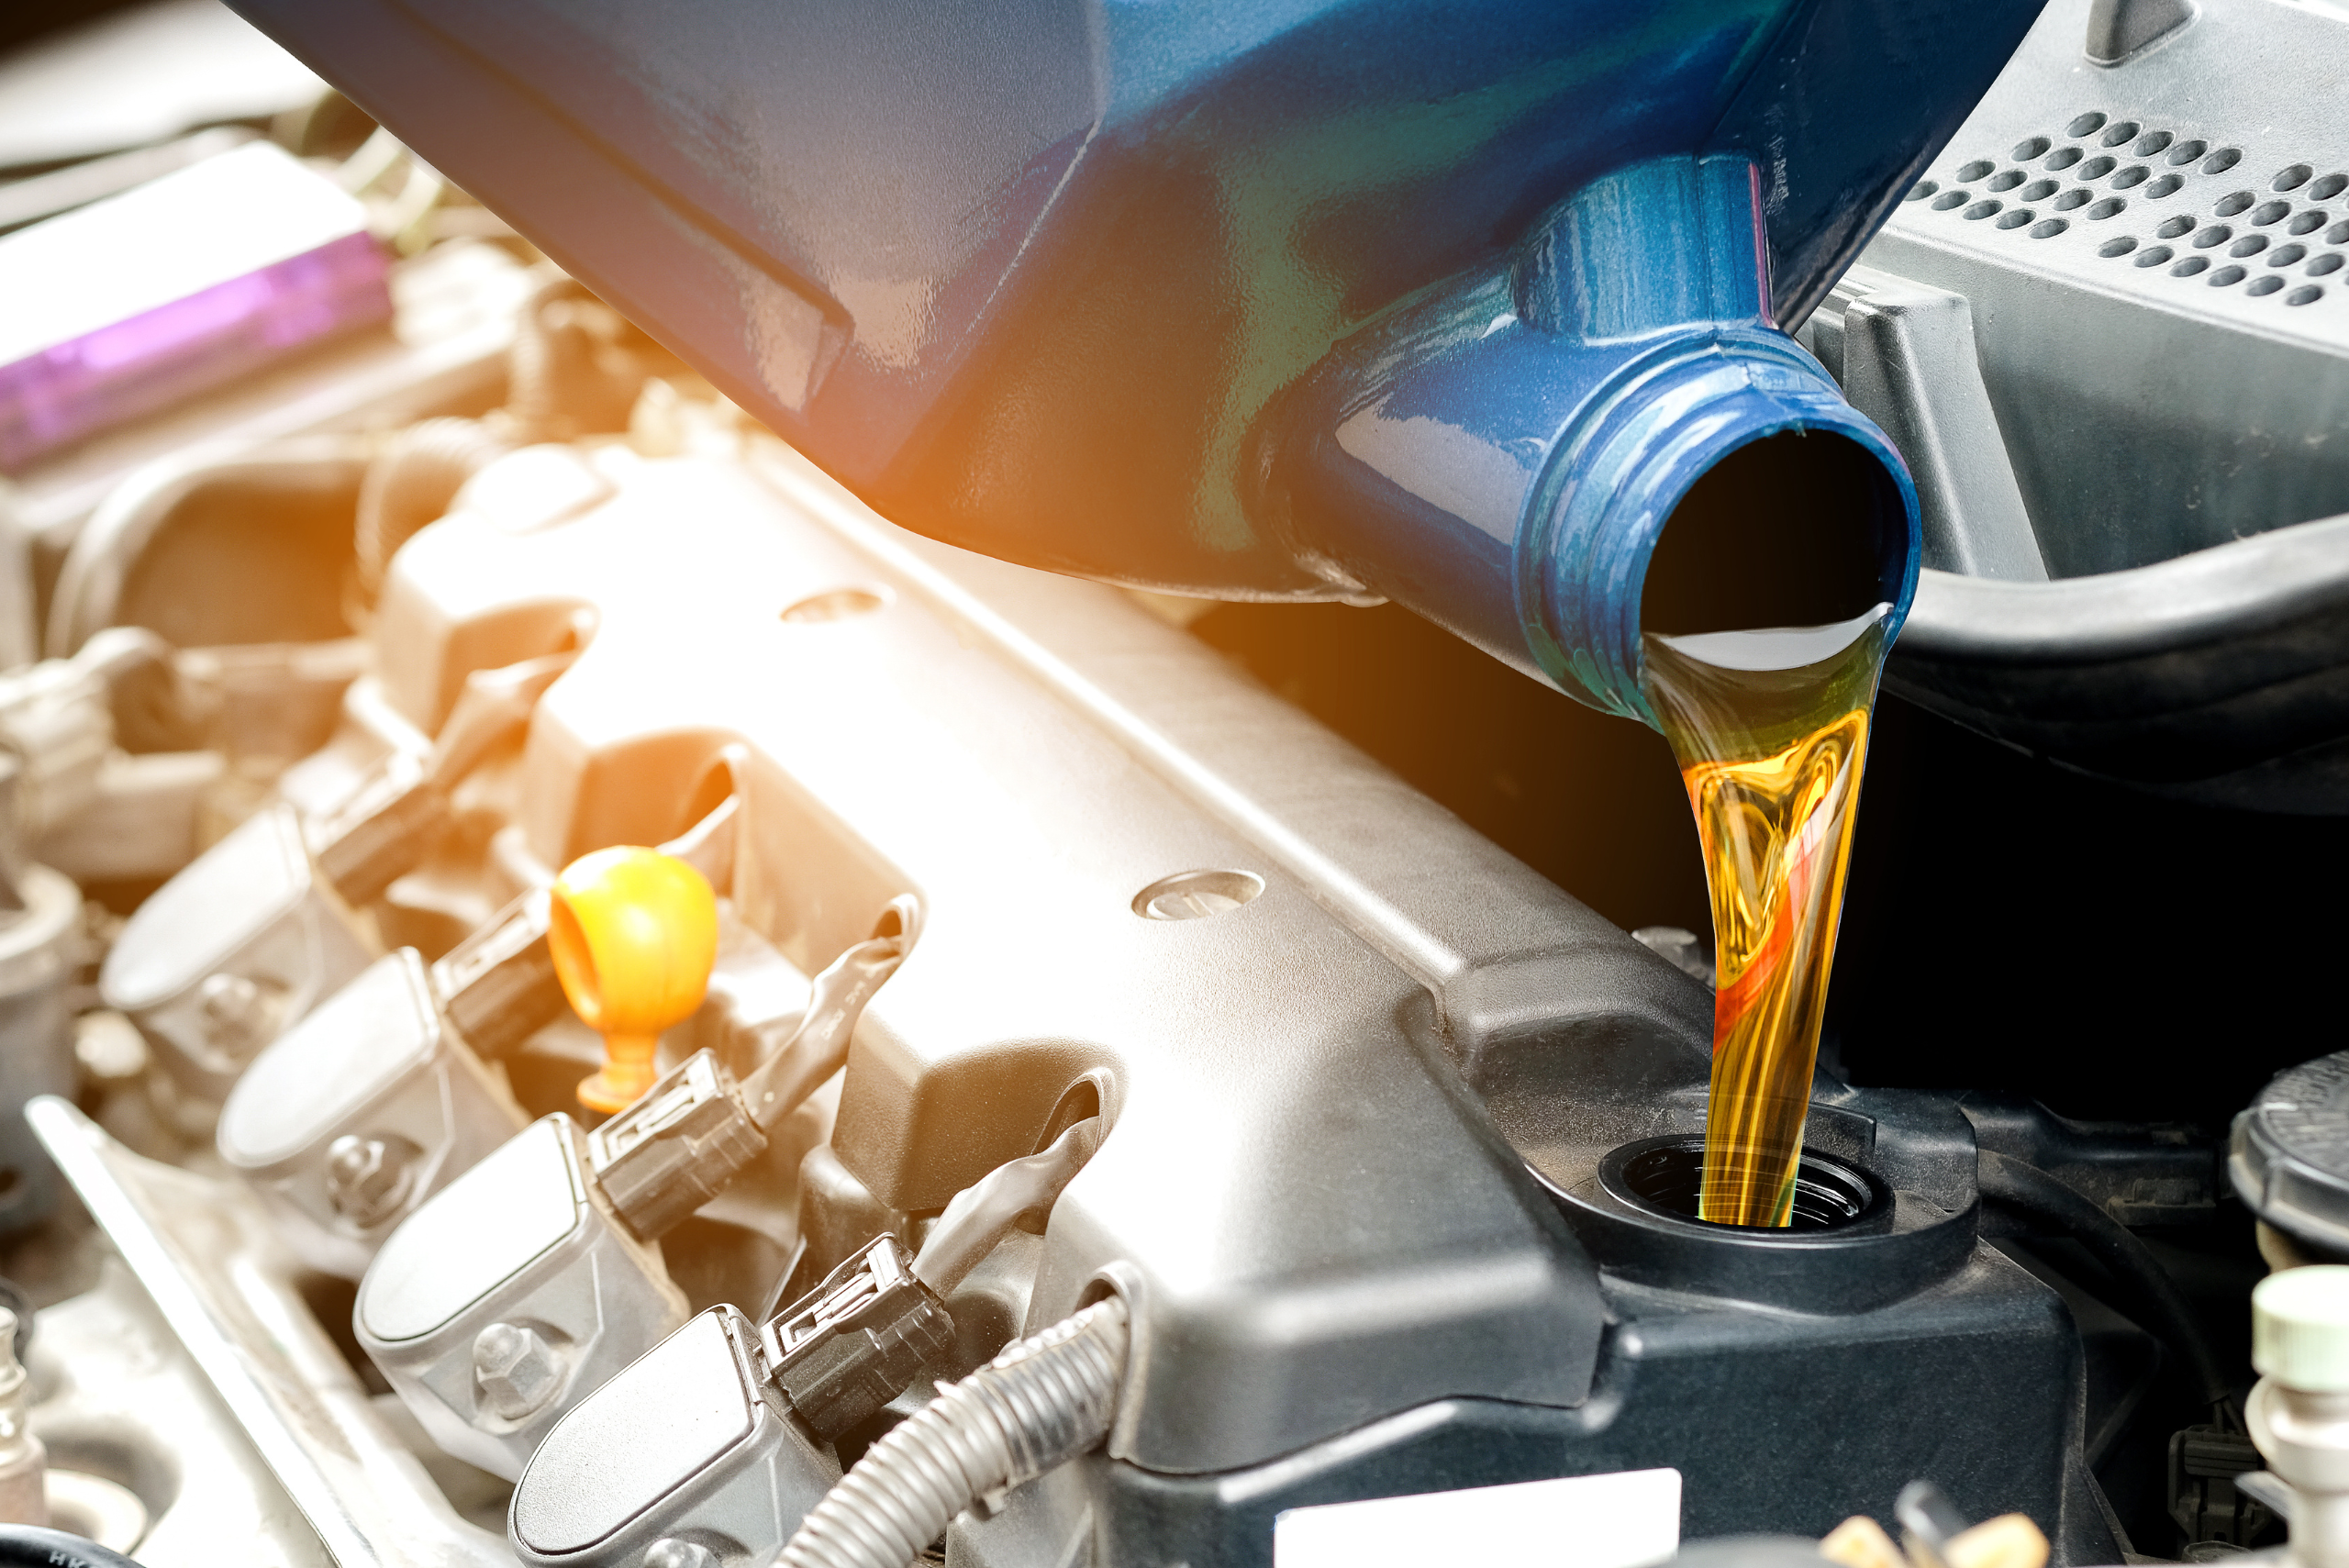
We have you covered when it comes to DIY car maintenance, giving you a step-by-step guide on how to perform a flawless oil change. Not only will you know the ins and outs of changing your engine oil, but we will give you tips to do it as cleanly as possible.
So roll up your sleeves, check your vehicle’s engine oil, and if it’s dark or you don’t remember the last time you changed it, it’s time to head to the store! You will need to check your vehicle’s owner’s manual for the type of oil you need (ex. 5W30), the oil capacity of your engine, and the type of engine oil filter that you will need. It’s also a good idea to figure out how to reset your vehicle’s oil light reminder after completing the oil change.
Step 1: Familiarize yourself with your vehicle and open the hood.
Step 2: Check the oil level and remove any beauty covers.
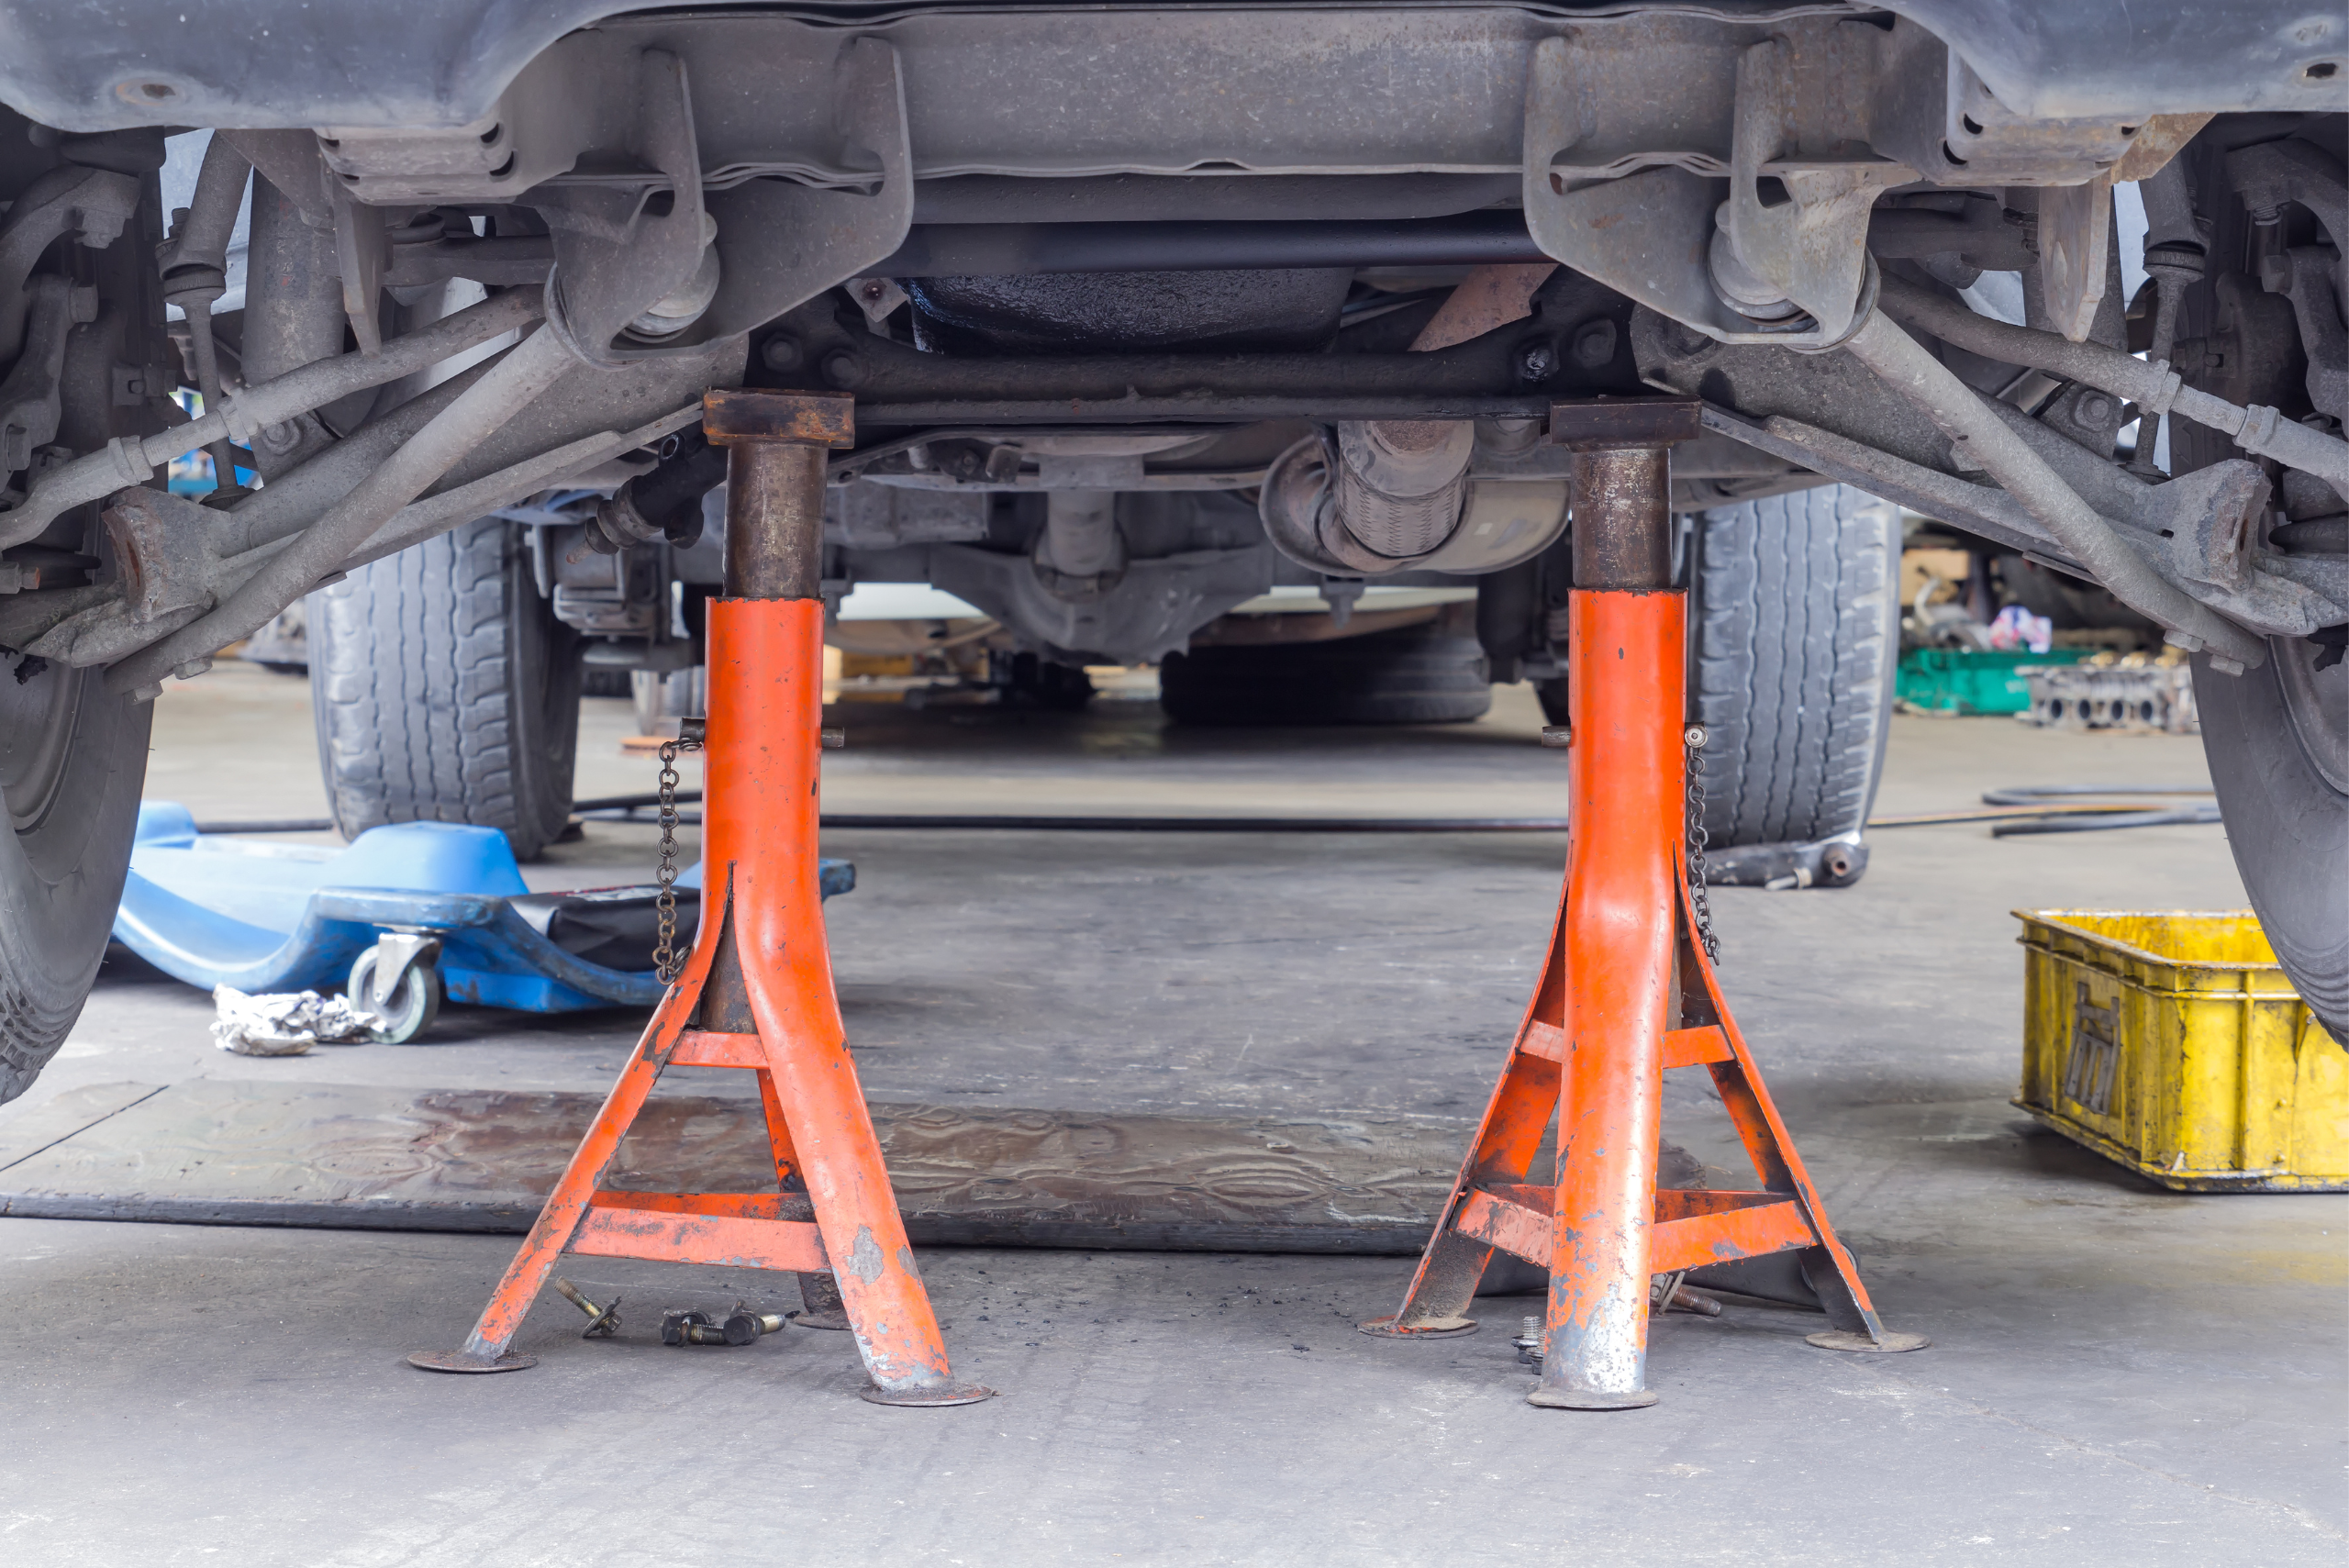
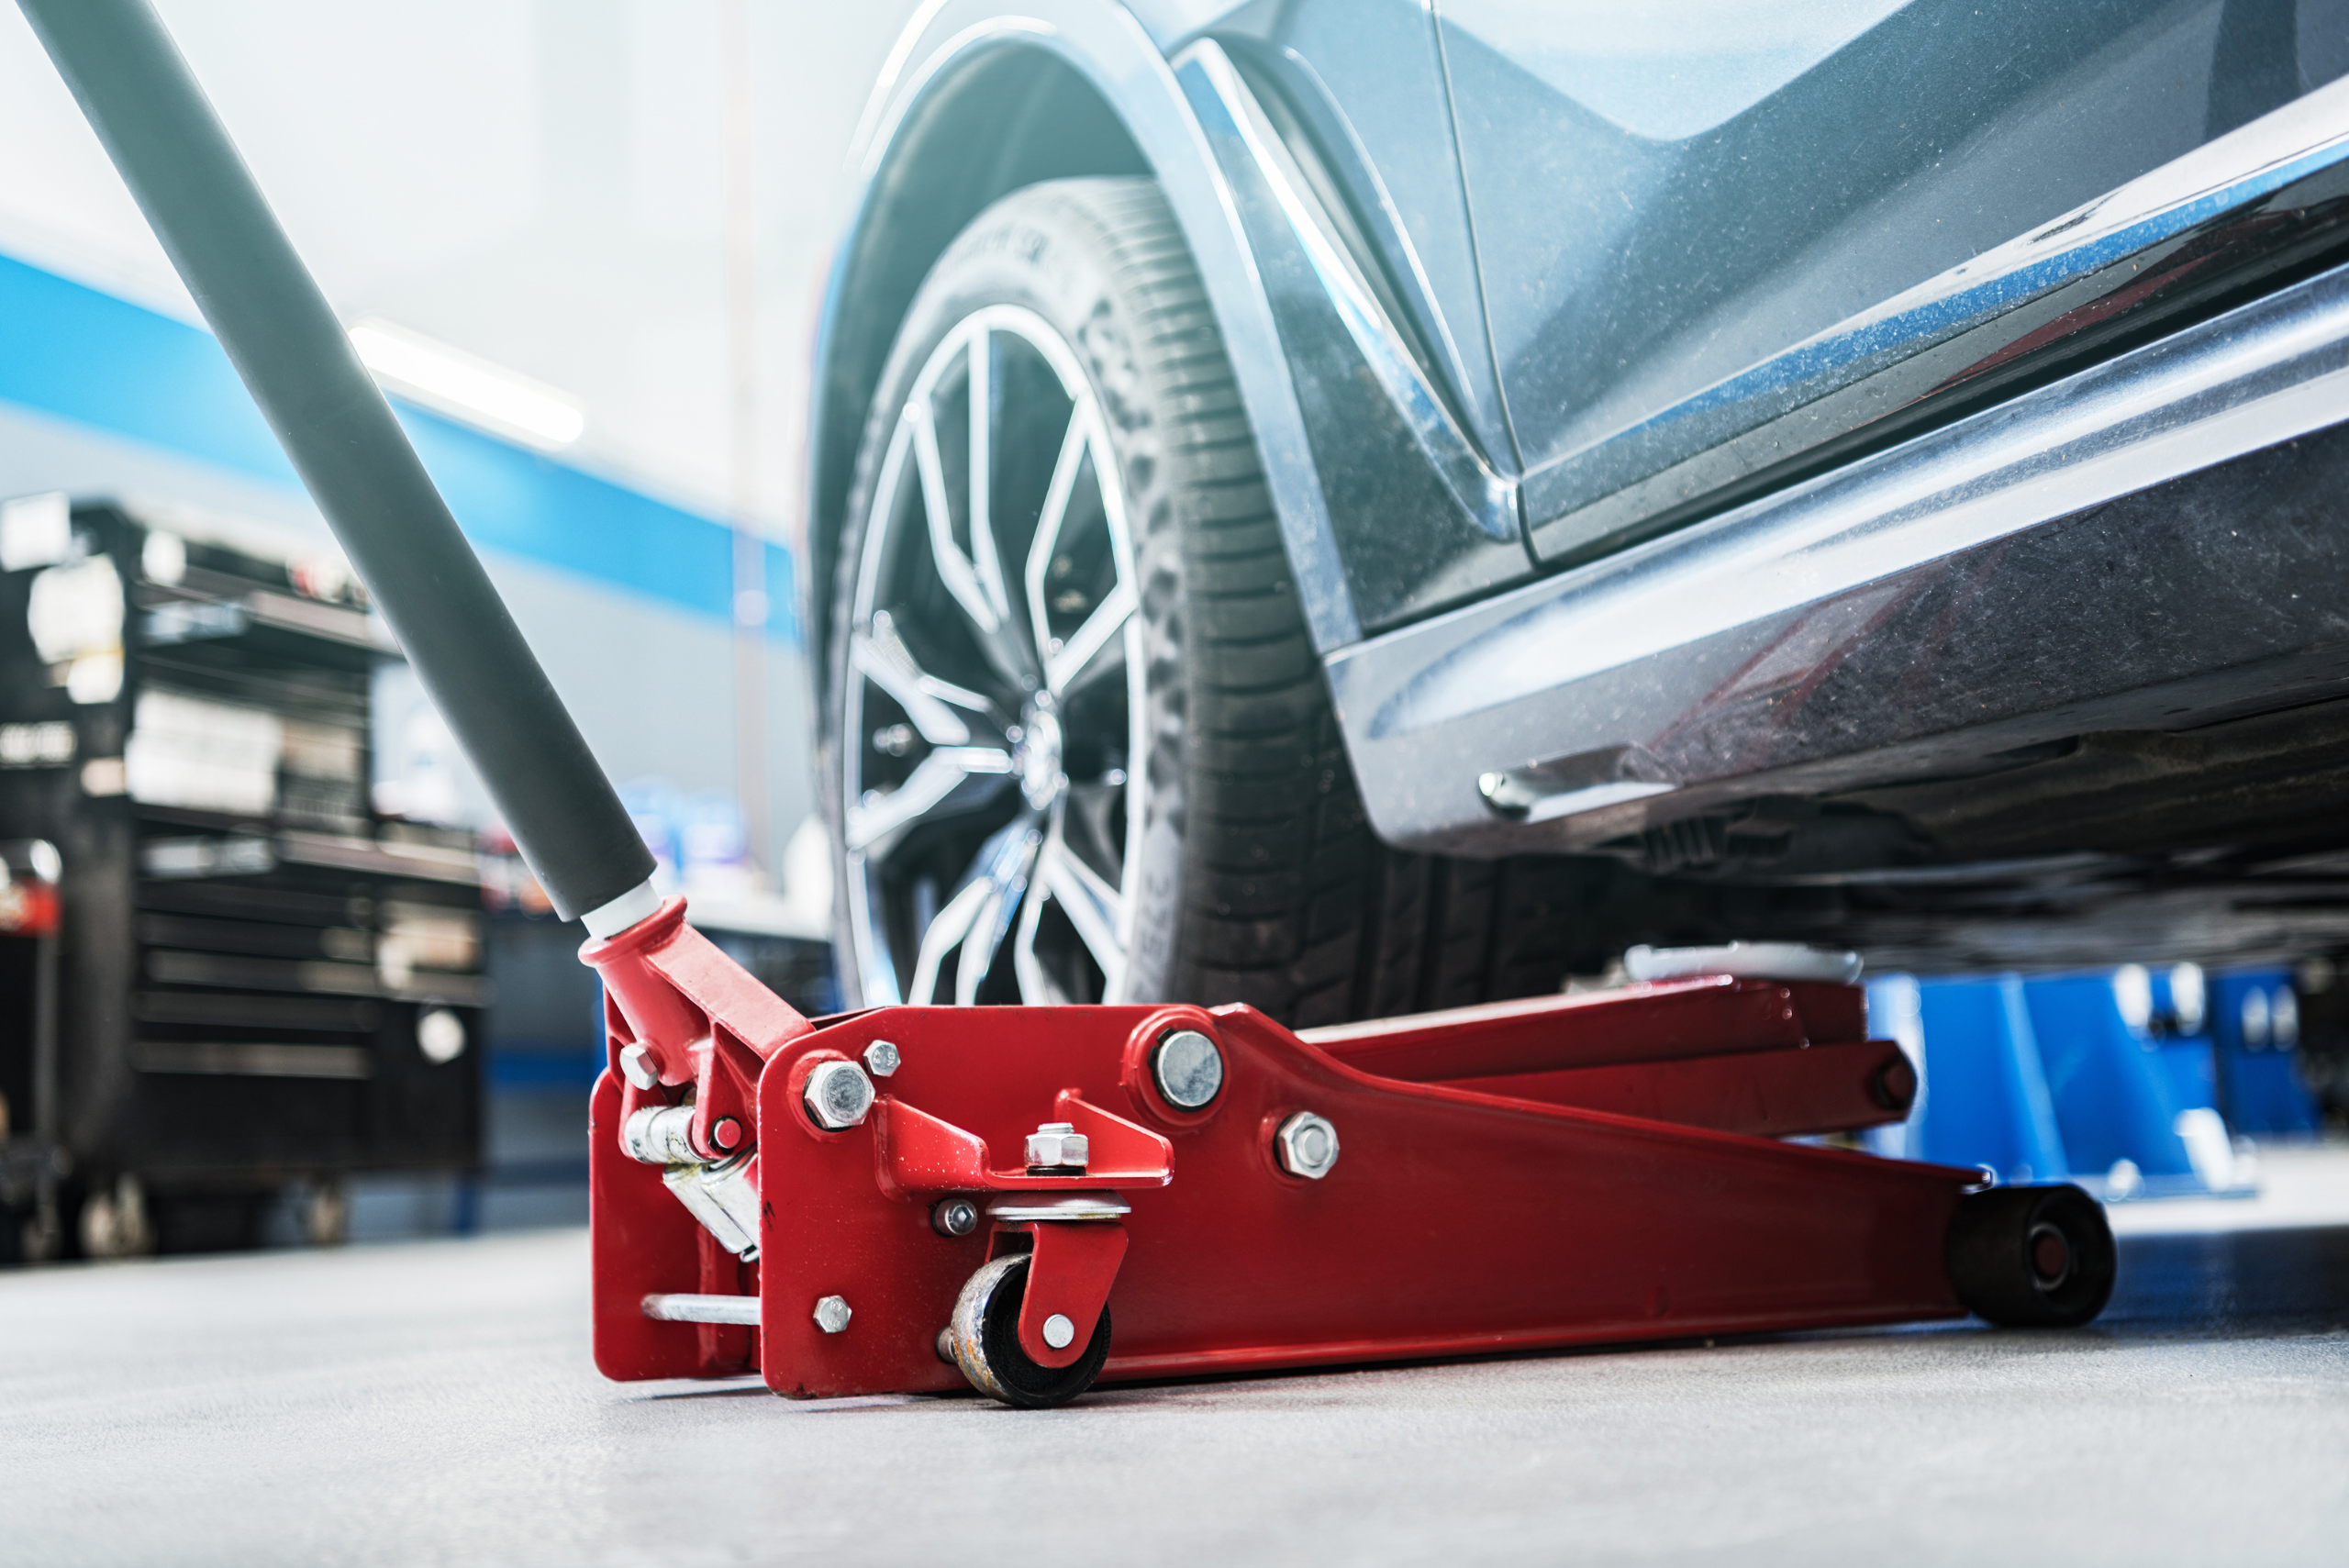
Step 3: Engage the parking brake and securely jack up your vehicle using the recommended spots mentioned in the owner’s manual.
Step 4: Secure the vehicle on jack stands on both sides, ensuring that the car is even.
Step 5: Locate the oil drain plug and place the oil catch pan right behind it. (Have a microfiber handy for this step)
Step 6: Place an oil absorbent pad under the pan, then remove the oil drain plug using the 3/8 ratchet and correct-sized socket, but make sure to adjust the oil pan to catch the oil.
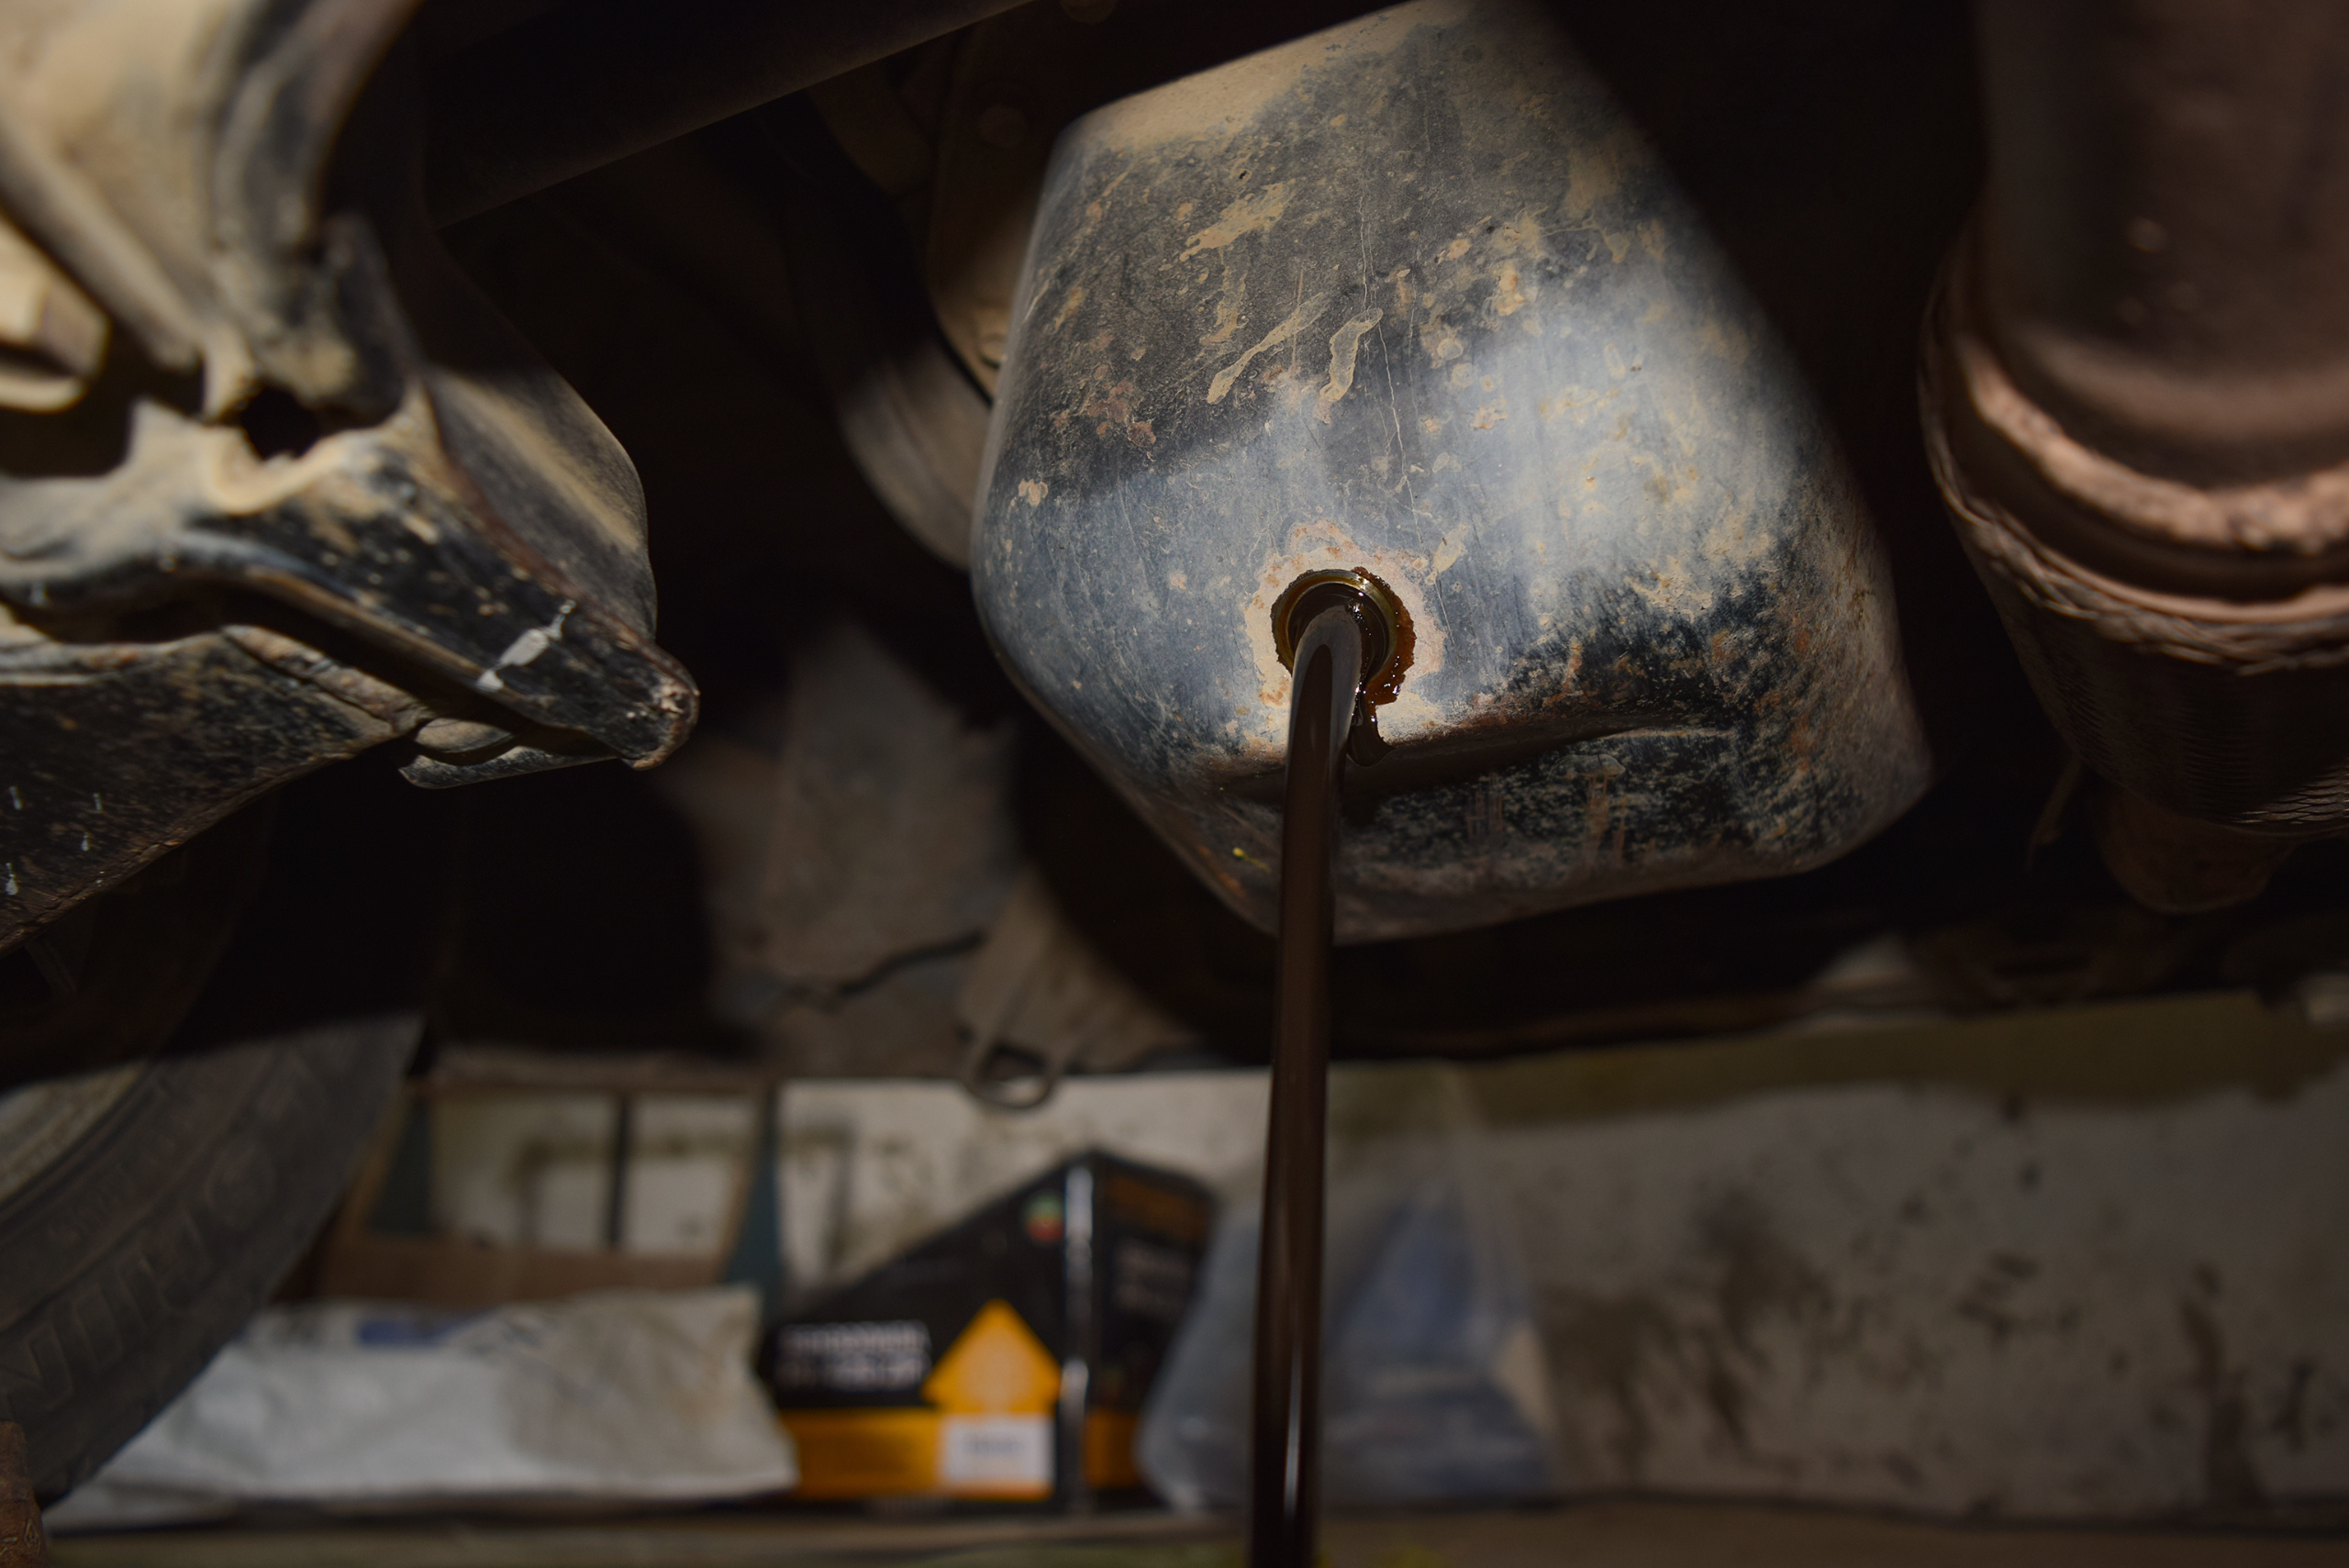
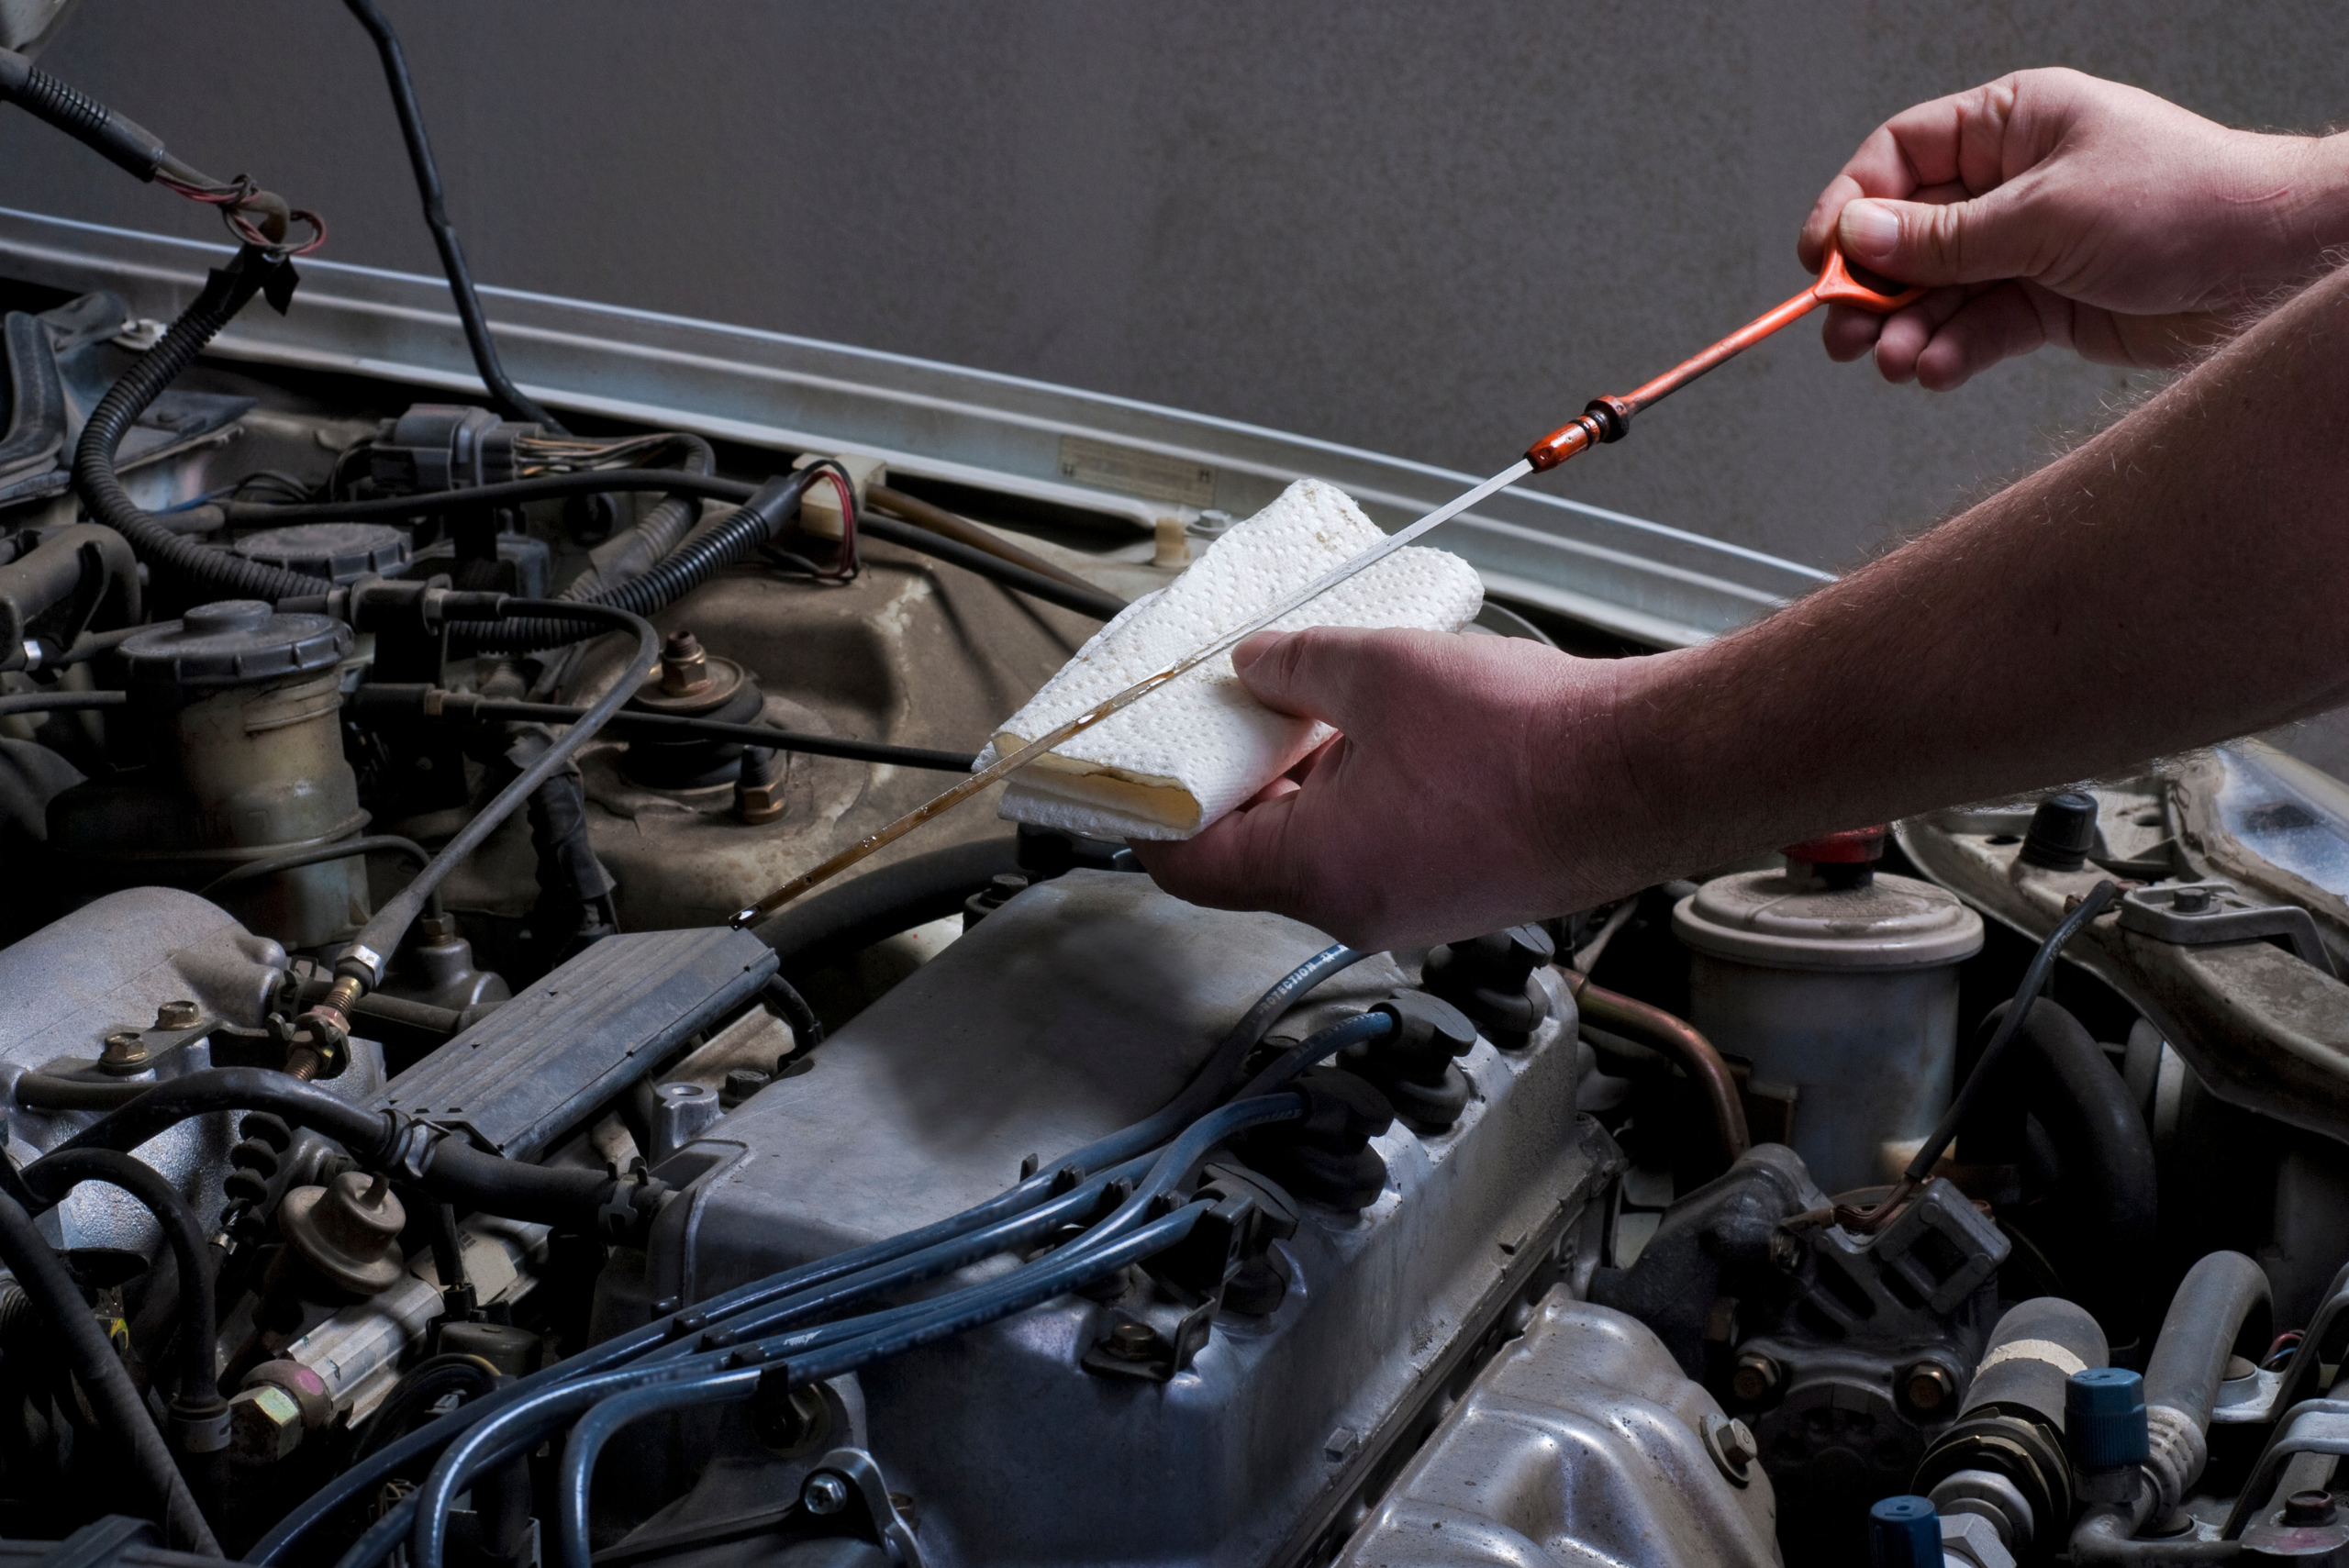
Step 7: Loosen the engine oil cap from the top and pull out the oil dipstick slightly, assisting in quicker oil draining.
Step 8: Check oil pan placement again and continue to monitor it to avoid spills.
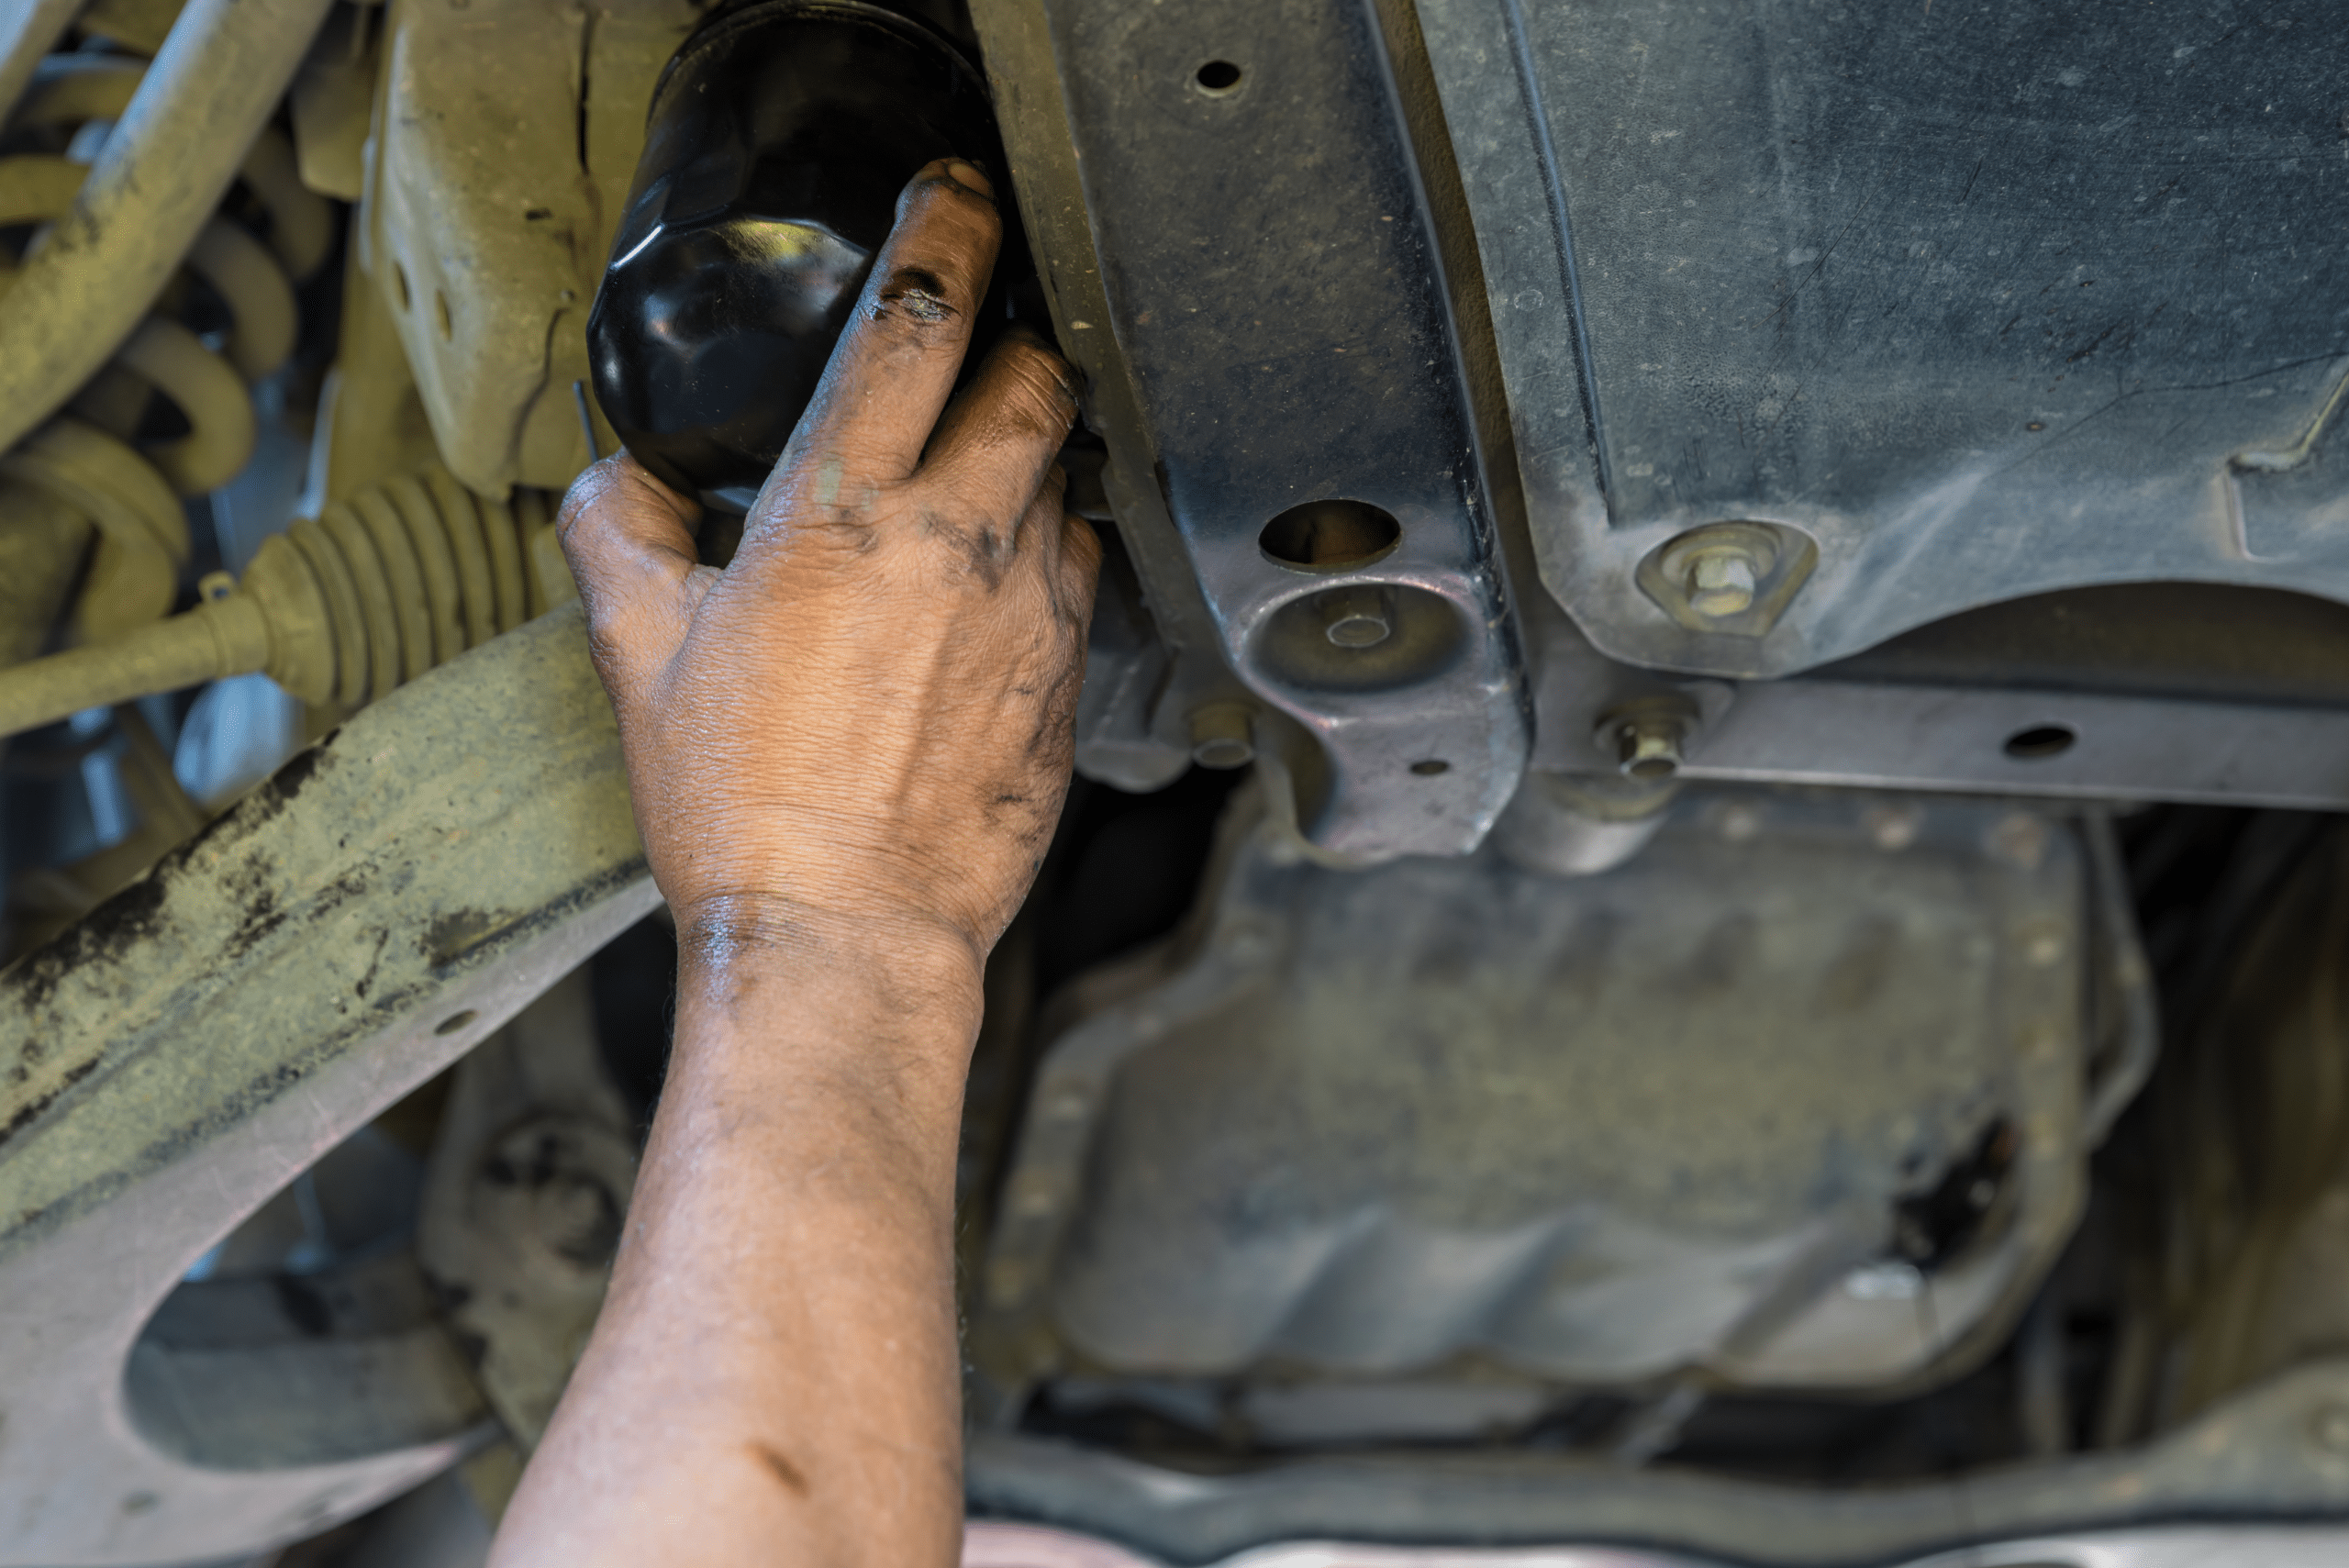
Step 9: While the oil is draining, you will need to find the oil filter to remove it using the tool or your hand. (Attention: Your oil filter could be accessible from under the car or through the hood)
Step 10: Check the oil filter elements, if possible, for metal flakes and double check that the seal was also removed. (Doubling up on seals will cause a leak; use a screwdriver to remove the old one)
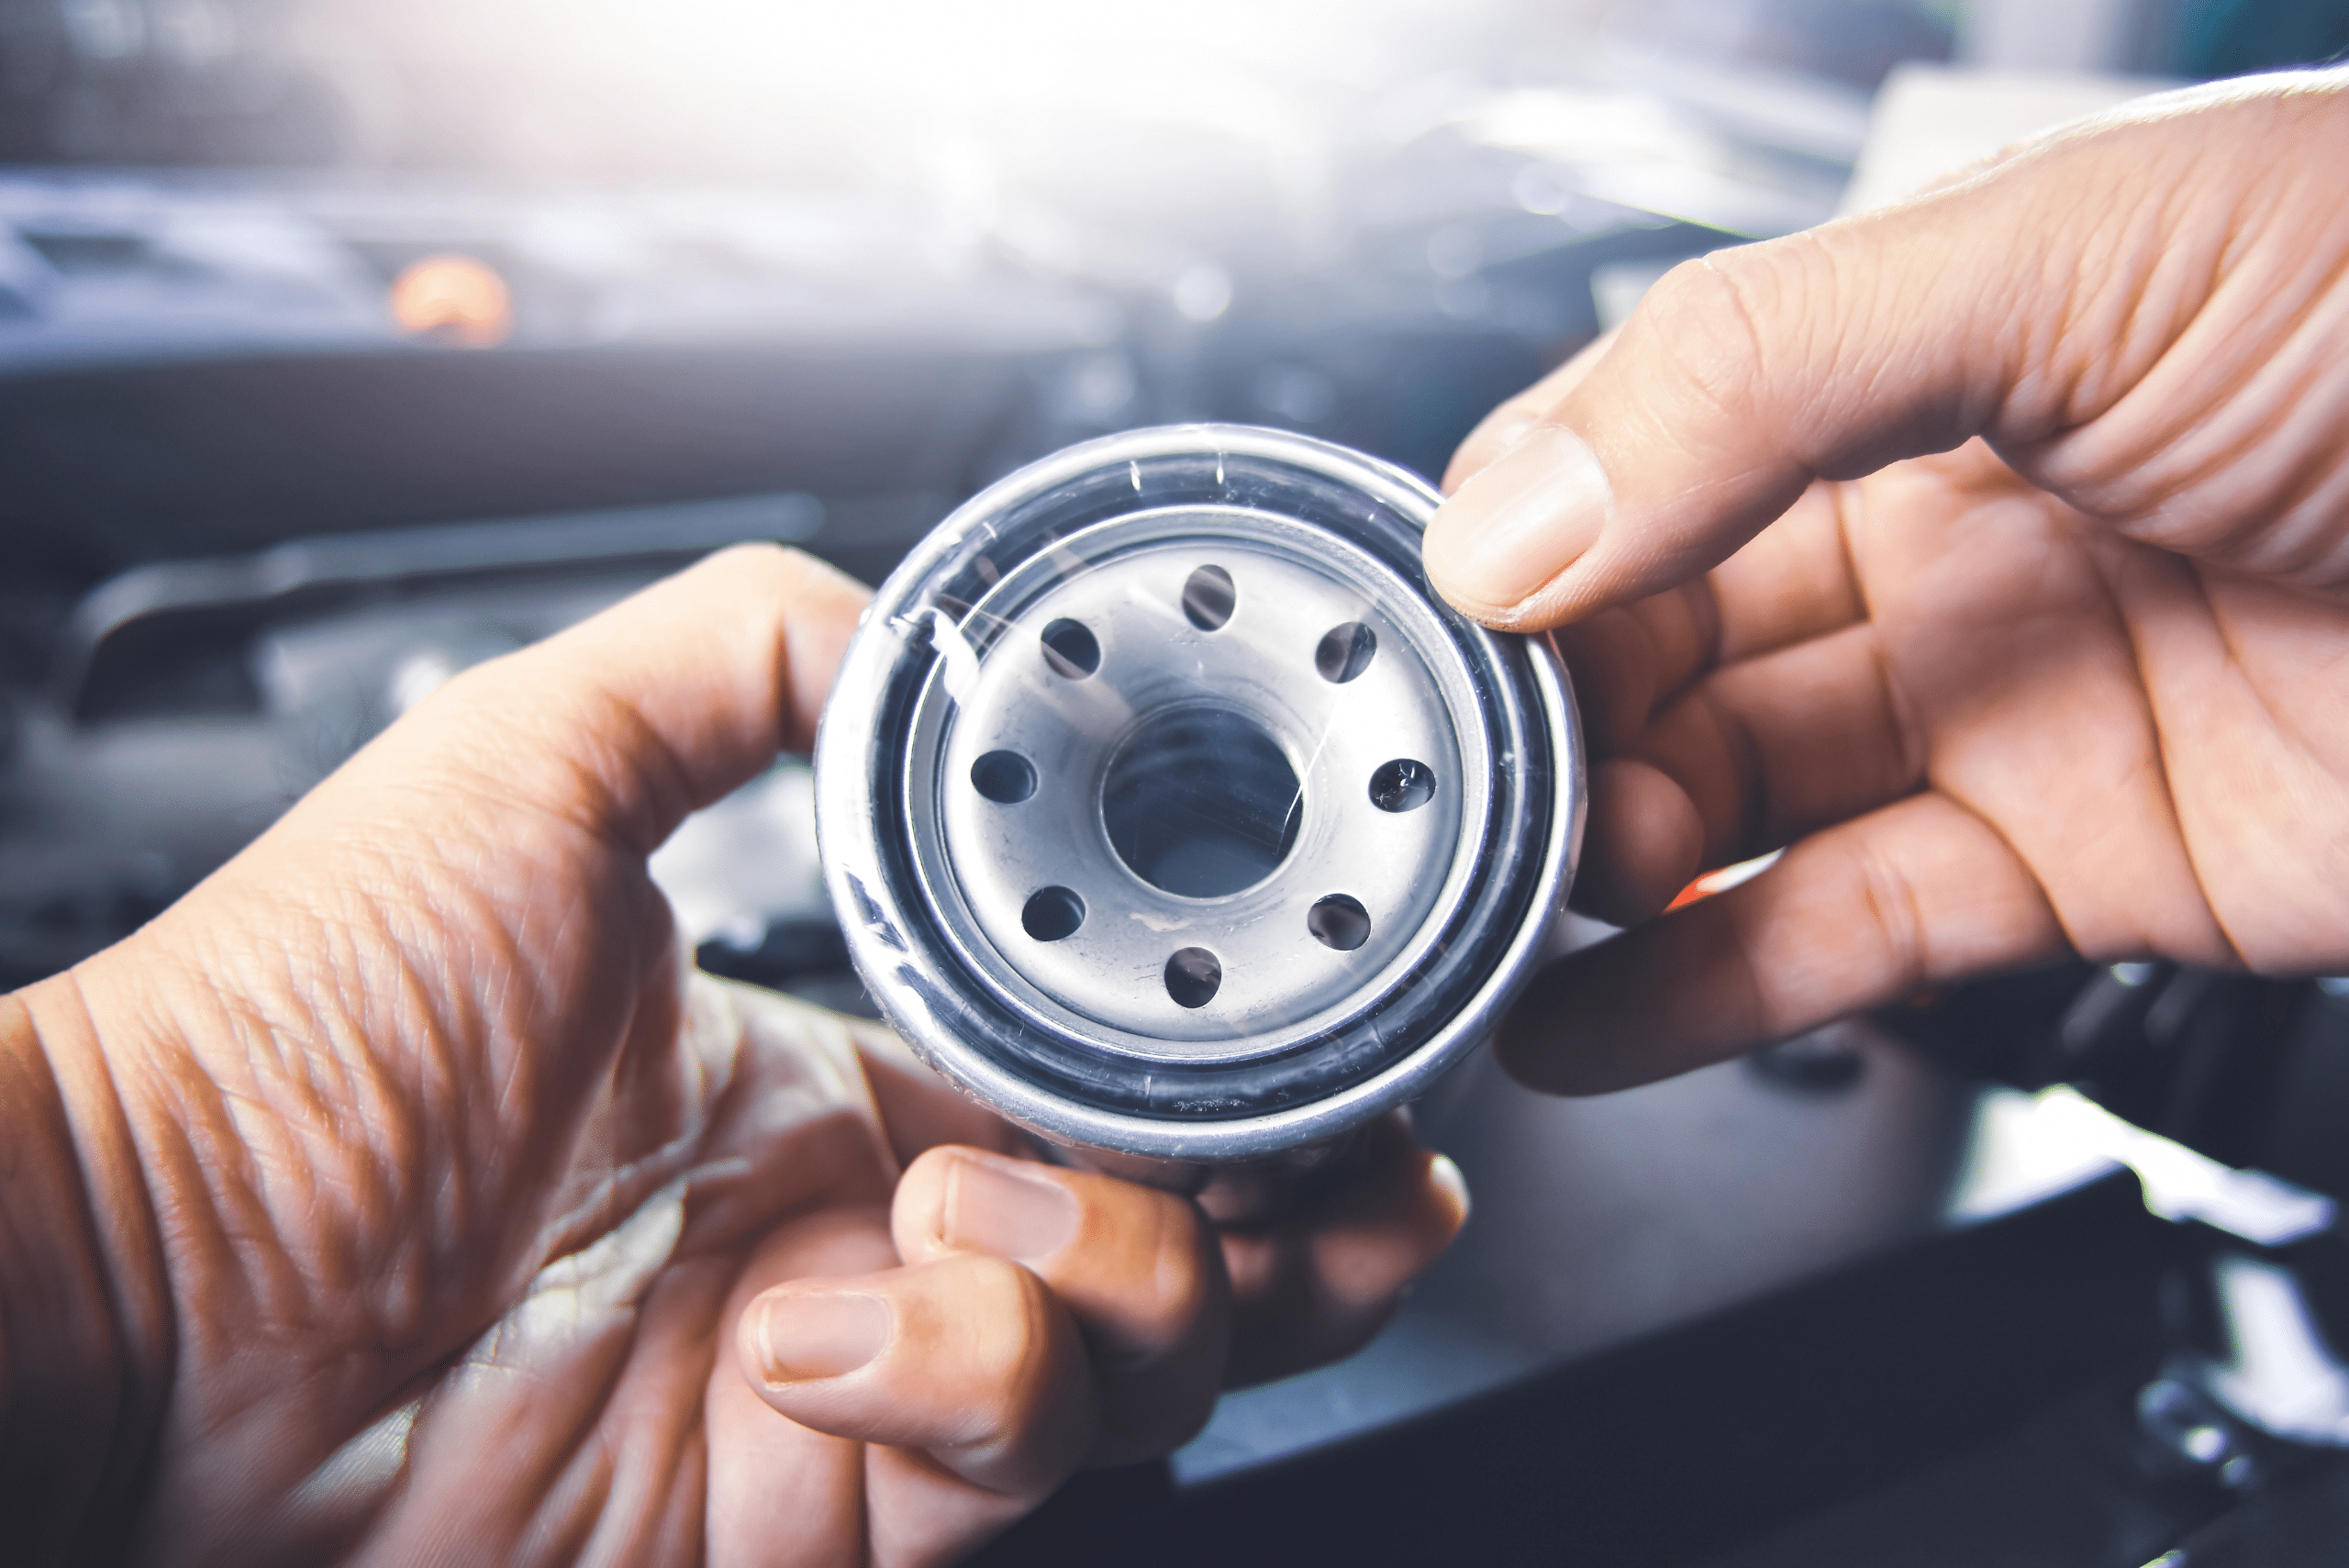
Step 11: Install a new oil filter, but make sure to remove the plastic. (Optional: You can fill the filter with oil, but it might not be possible for some models)
Step 12: Clean the drain plug and replace the crush washer.
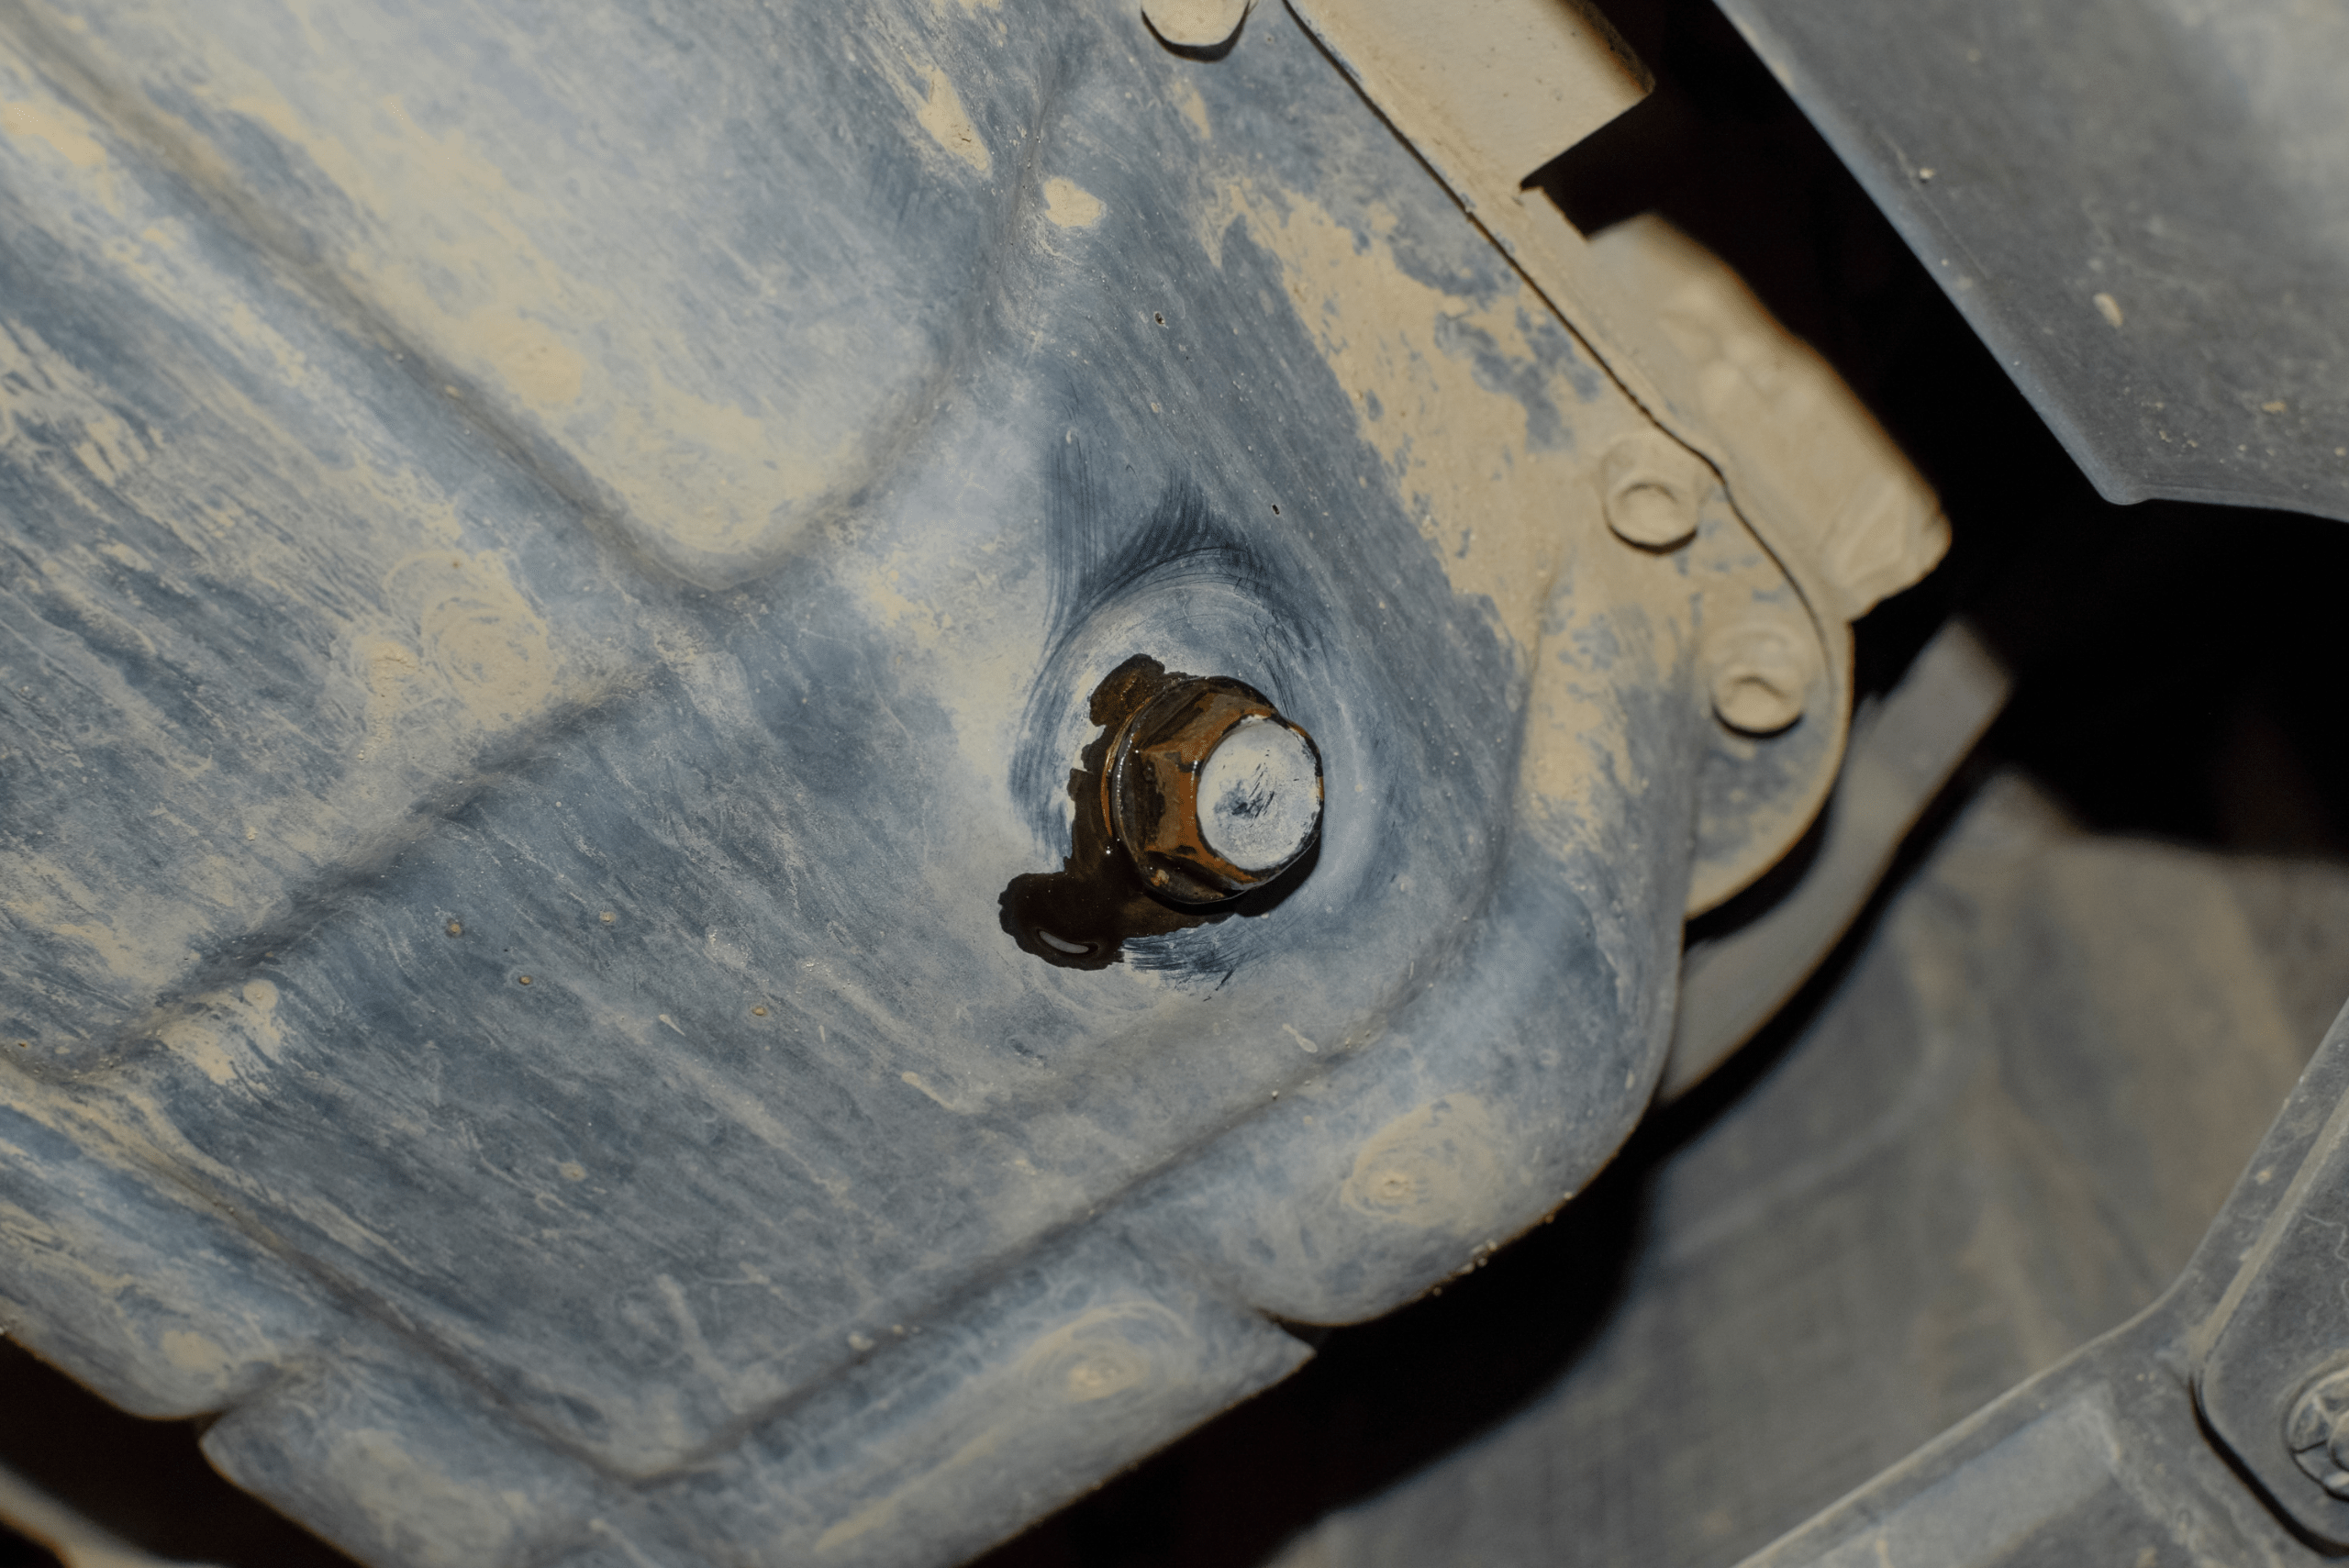
Step 13: Once the oil stops draining, you can install the drain plug. (Hand tighten it, then give it a 1/4 turn; don’t overtighten; if not sure, use a torque wrench)
Step 14: Slide out the oil pan carefully, avoiding any bumps that might cause a spill.
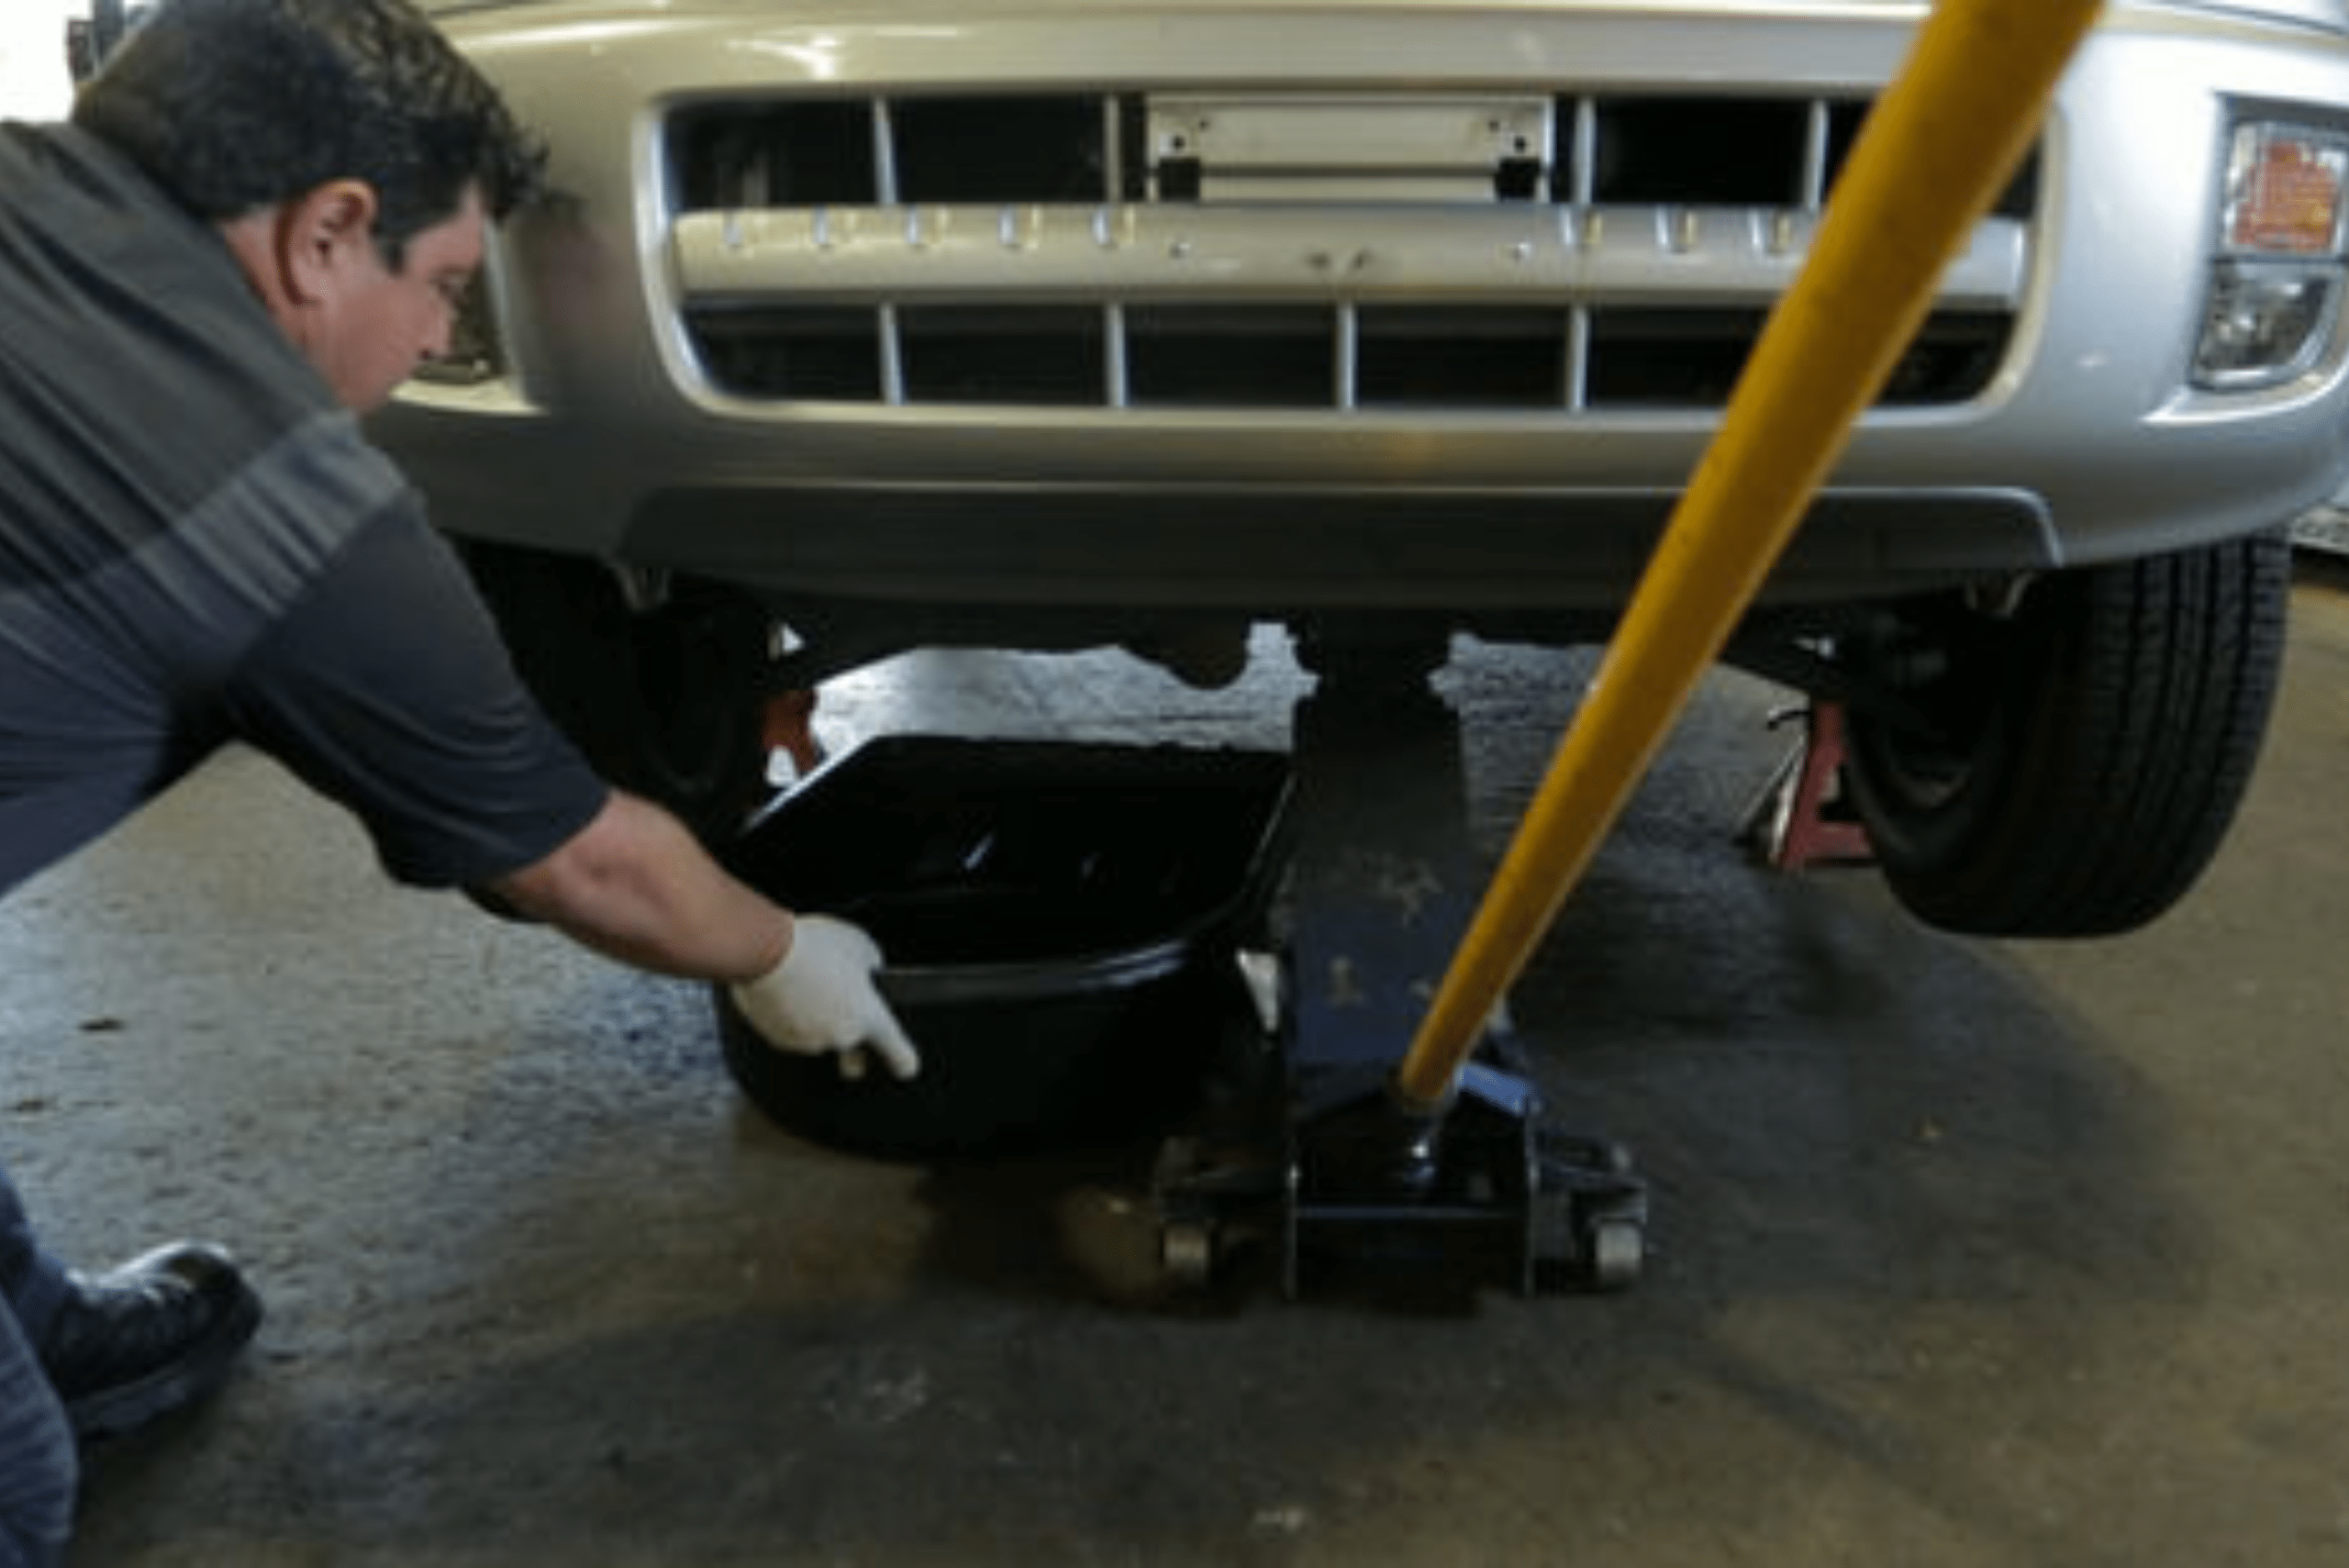
Step 15: Use the brake cleaner and microfiber towels to clean the oil pan/plug.
Step 16: Lower the vehicle, but don’t forget the jack stands.
Step 17: Remove the dipstick to clean it and fill most of the oil capacity of the engine, but you might want to use a funnel. (It’s best to check the oil level with the dipstick rather than just adding the amount specified in the manual)
Step 18: If you don’t have a funnel, you can hold the oil jug sideways or place the dipstick end in the oil fill to guide the oil into the engine. (Always check the oil level on level ground for the most accurate readings)
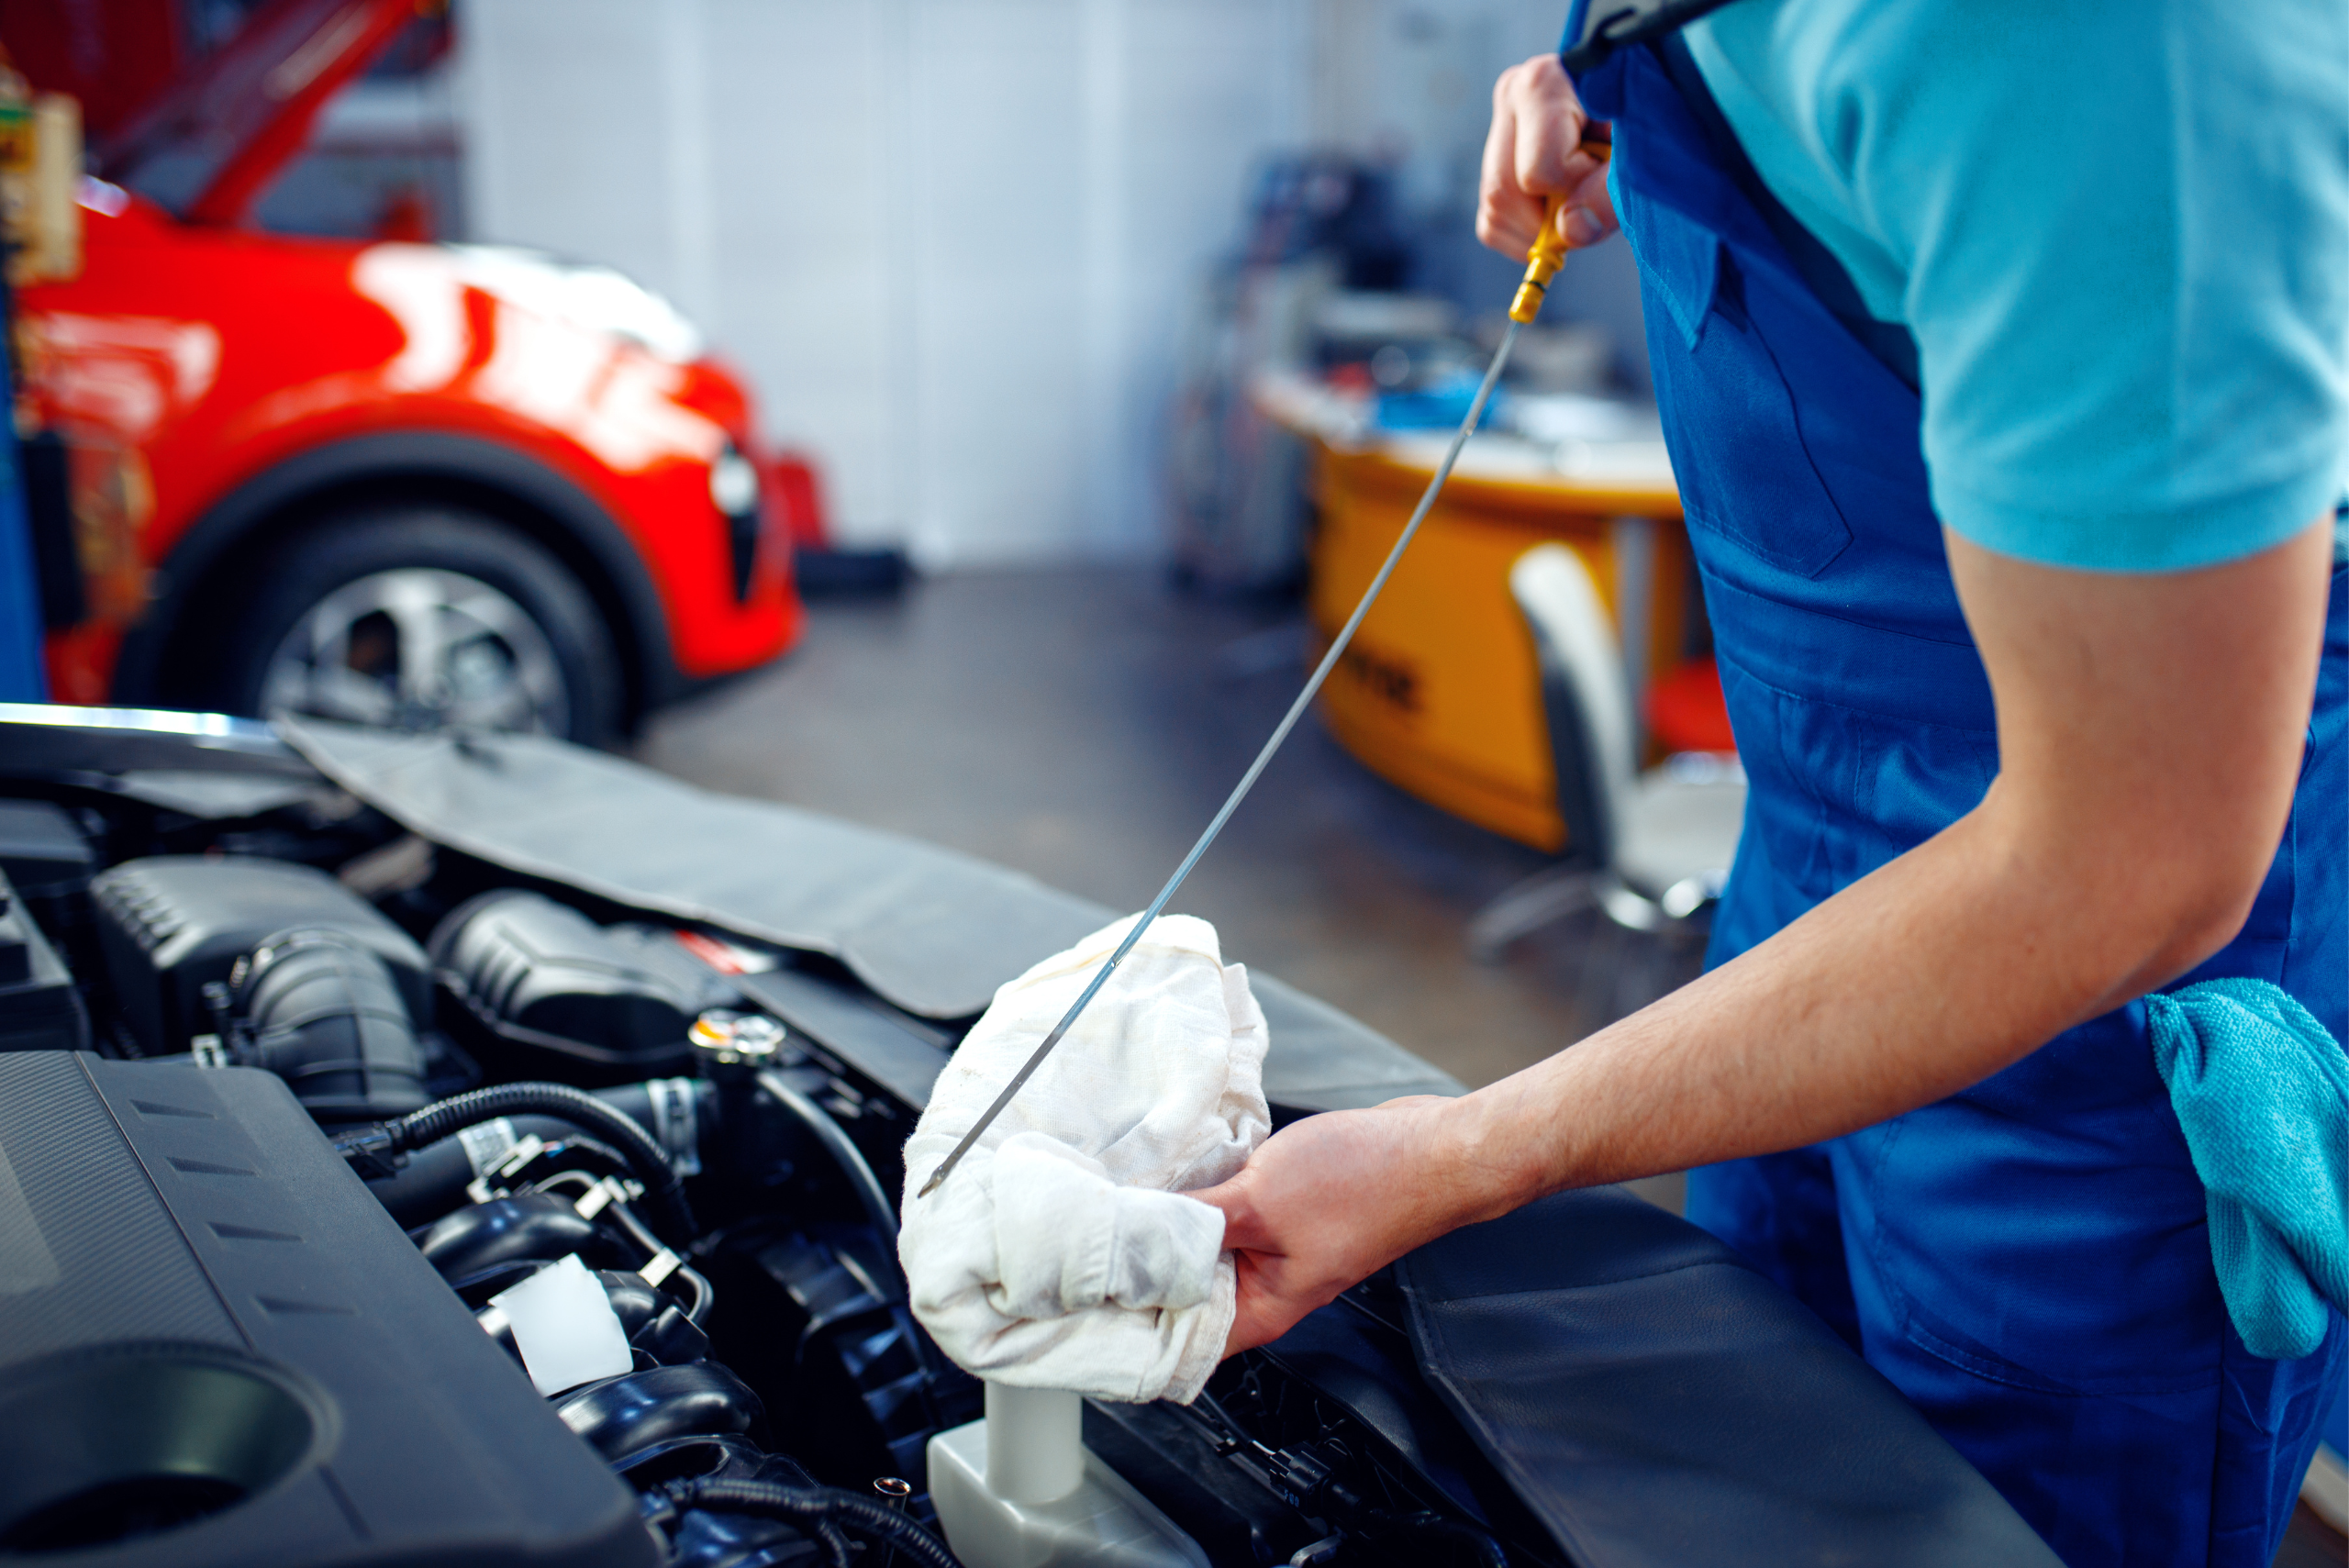
Step 19: Once you see that the oil level reaches the middle level of the dipstick, you can put everything back together and start the engine.
Step 20: Let the engine warm up for a few minutes, which is the perfect time to pour the used oil into a container for disposal. (Check your local regulations for instructions on how to dispose of oil)
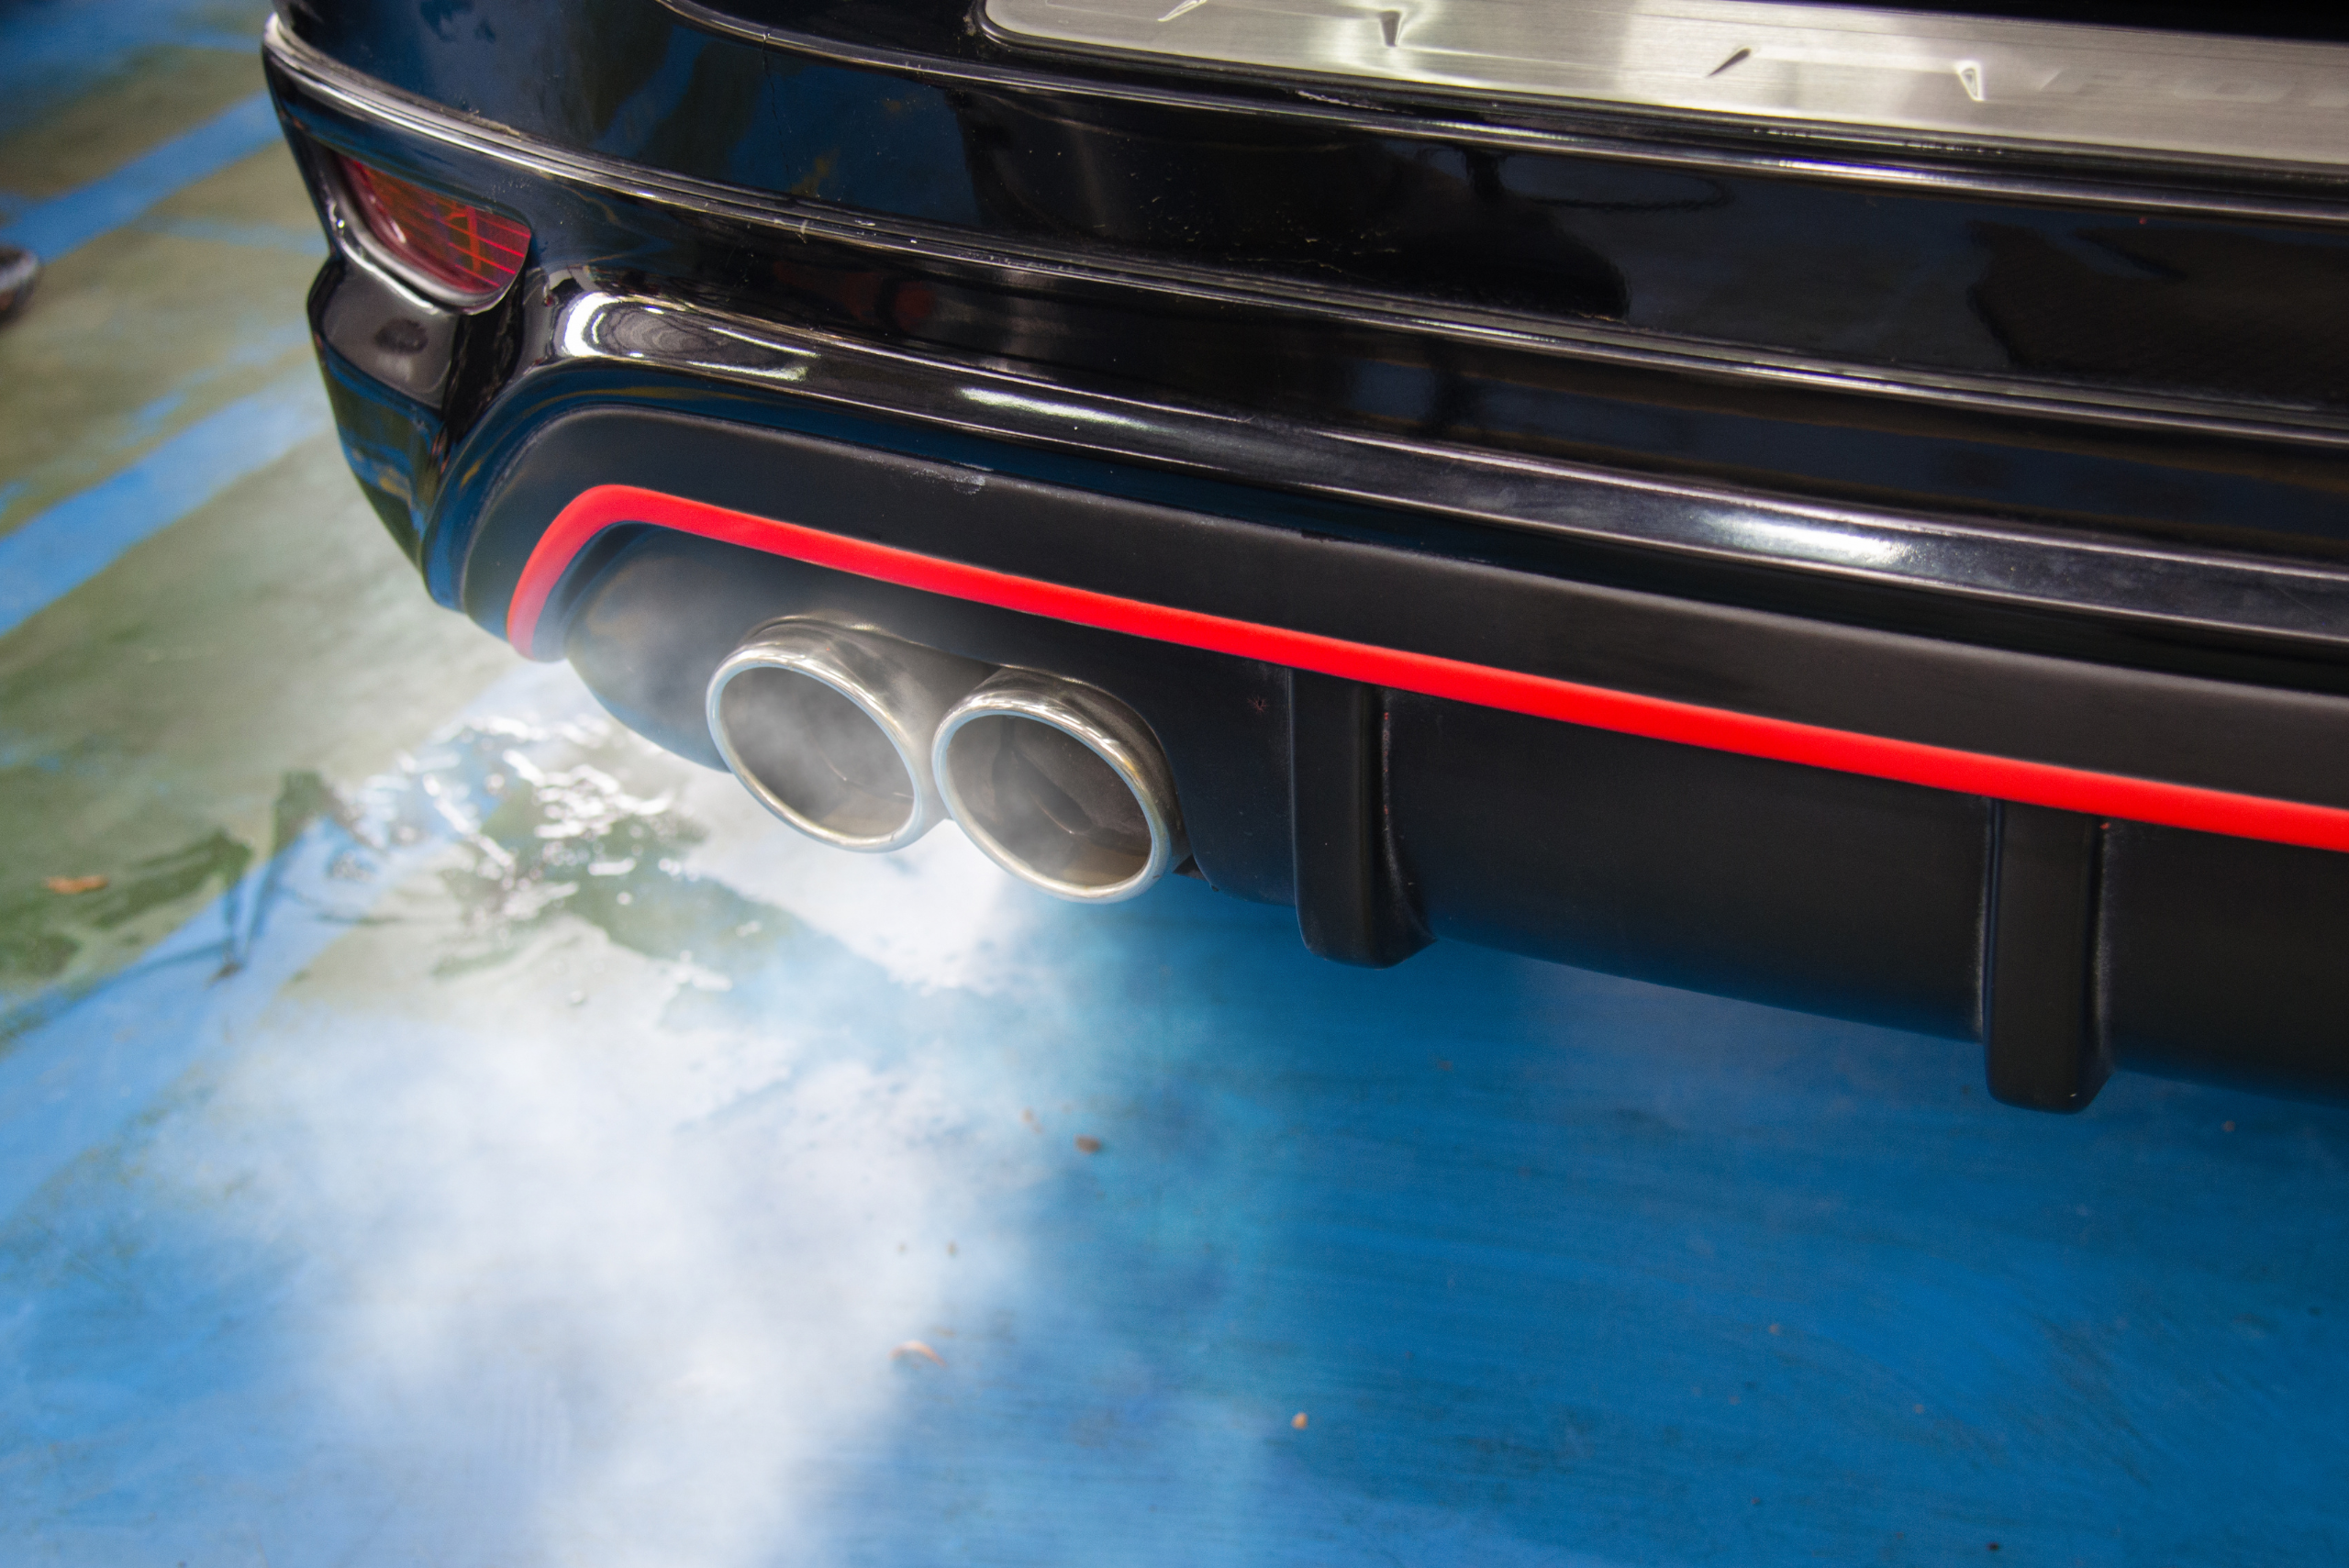
Step 21: Double-check the oil level after running the engine and confirm that it’s still at the middle mark of the dipstick; might need a slight top-off.
Step 22: Check around the engine oil filter and underneath the car to make sure there are no leaks before heading out on a drive.
When working on your vehicle, always exercise caution and common sense, use latex gloves to keep your hands clean, and always attend to any spills right away. If you are not sure about tackling this DIY, even with all this information, I would recommend watching YouTube videos of your specific model, possibly giving you the confidence to tackle this job yourself.
Other articles that you might enjoy:
- Repacking Trailer Bearings: Step-by-Step Guide
- Step-by-Step Guide for Cleaning Cloth Car Seats
- How to Properly Clean Leather Car Seats
However, there’s nothing wrong with accepting defeat if you run into difficulties, and you can always take your vehicle to the shop. Happy wrenching, and hopefully, you will get to enjoy the satisfaction of getting your engine ready for your upcoming road trips.

