Best Way to Patch Up and Paint Over Wall Holes for a Seamless Look
Accidents happen, and walls often bear the brunt of daily life. Whether it’s an errant doorknob, an overzealous picture hanger, or a more significant mishap, holes in drywall are an inevitable part of homeownership. But fear not! With the right techniques and a little patience, you can restore your walls to their former glory. This comprehensive guide will walk you through the process of patching holes in drywall, from tiny dents to larger openings, ensuring your walls look as good as new.
Determining Your Repair Approach
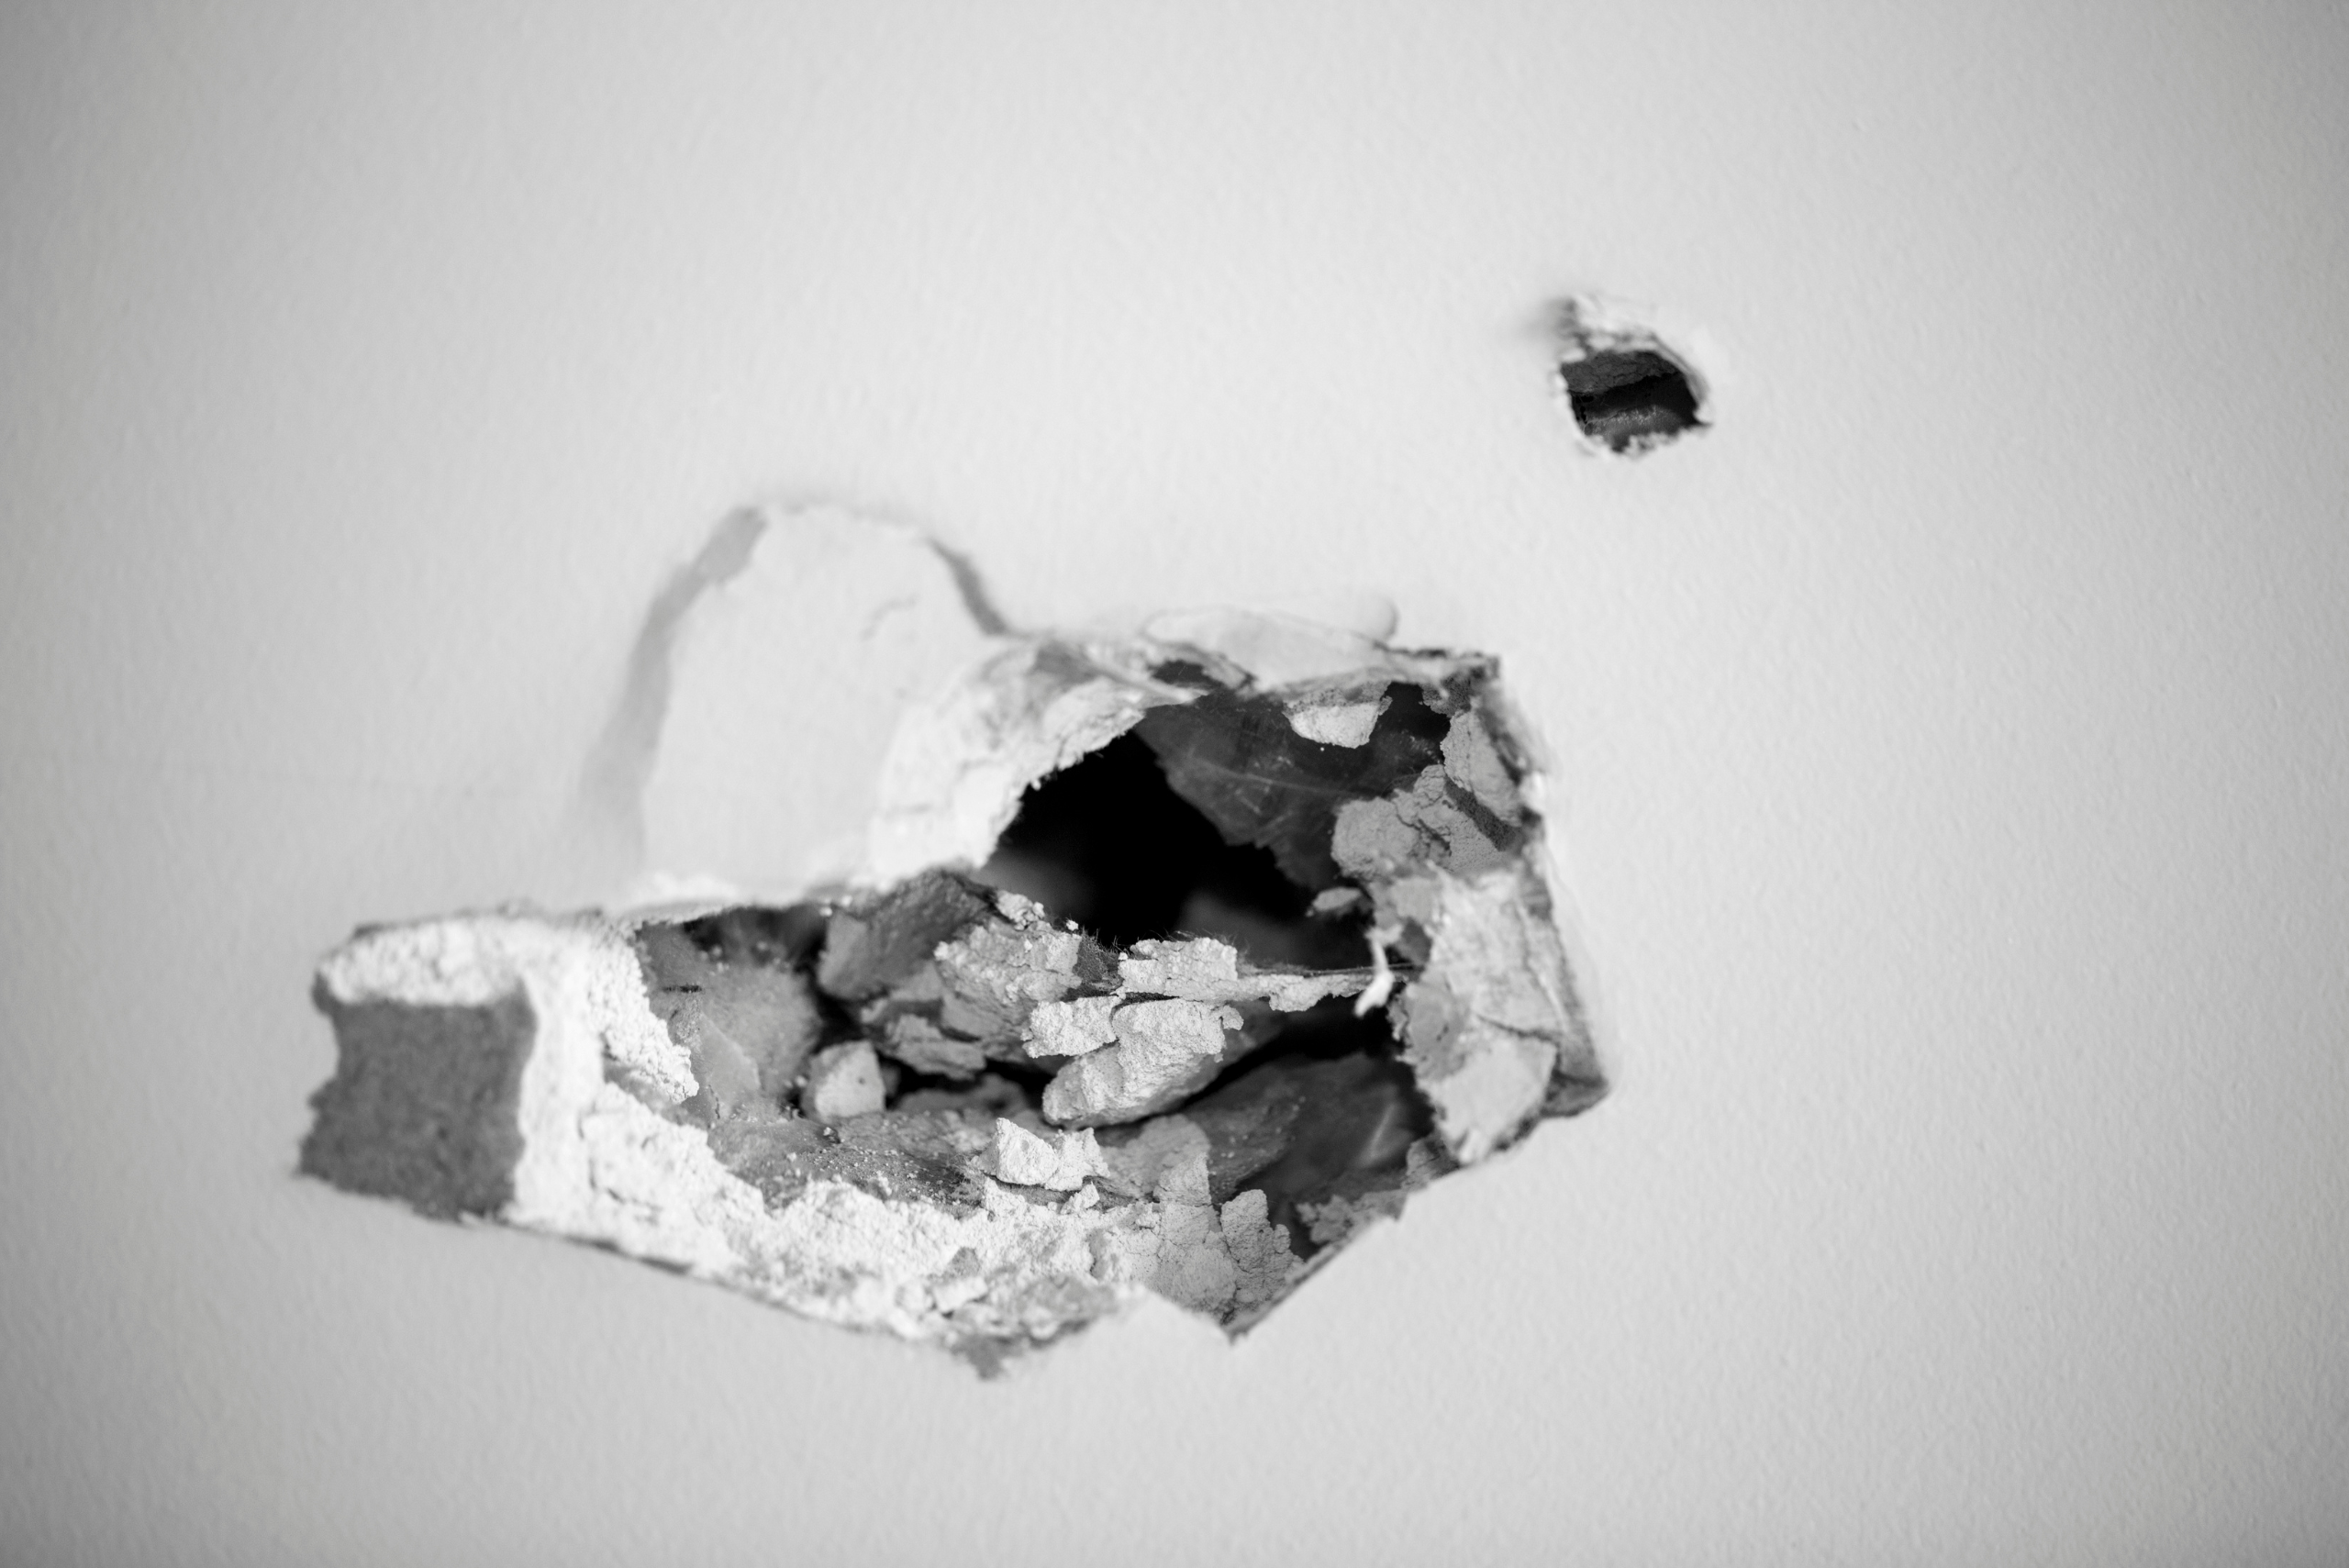
Before diving into your drywall repair project, it’s crucial to assess the extent of the damage. The size and type of hole will dictate your repair method and the materials you’ll need. Small dents, nail holes, and minor dings can typically be addressed with a simple spackle application. Holes ranging from the size of a coin to about 6 inches in diameter usually require a patch kit. For larger holes, you’ll need to cut and install a new piece of drywall.
Take a close look at the damaged area and measure the hole’s dimensions. This will help you choose the appropriate repair technique and gather the necessary supplies. Remember, proper assessment is key to achieving a seamless repair that blends perfectly with the surrounding wall.
Gathering Your Tools and Materials
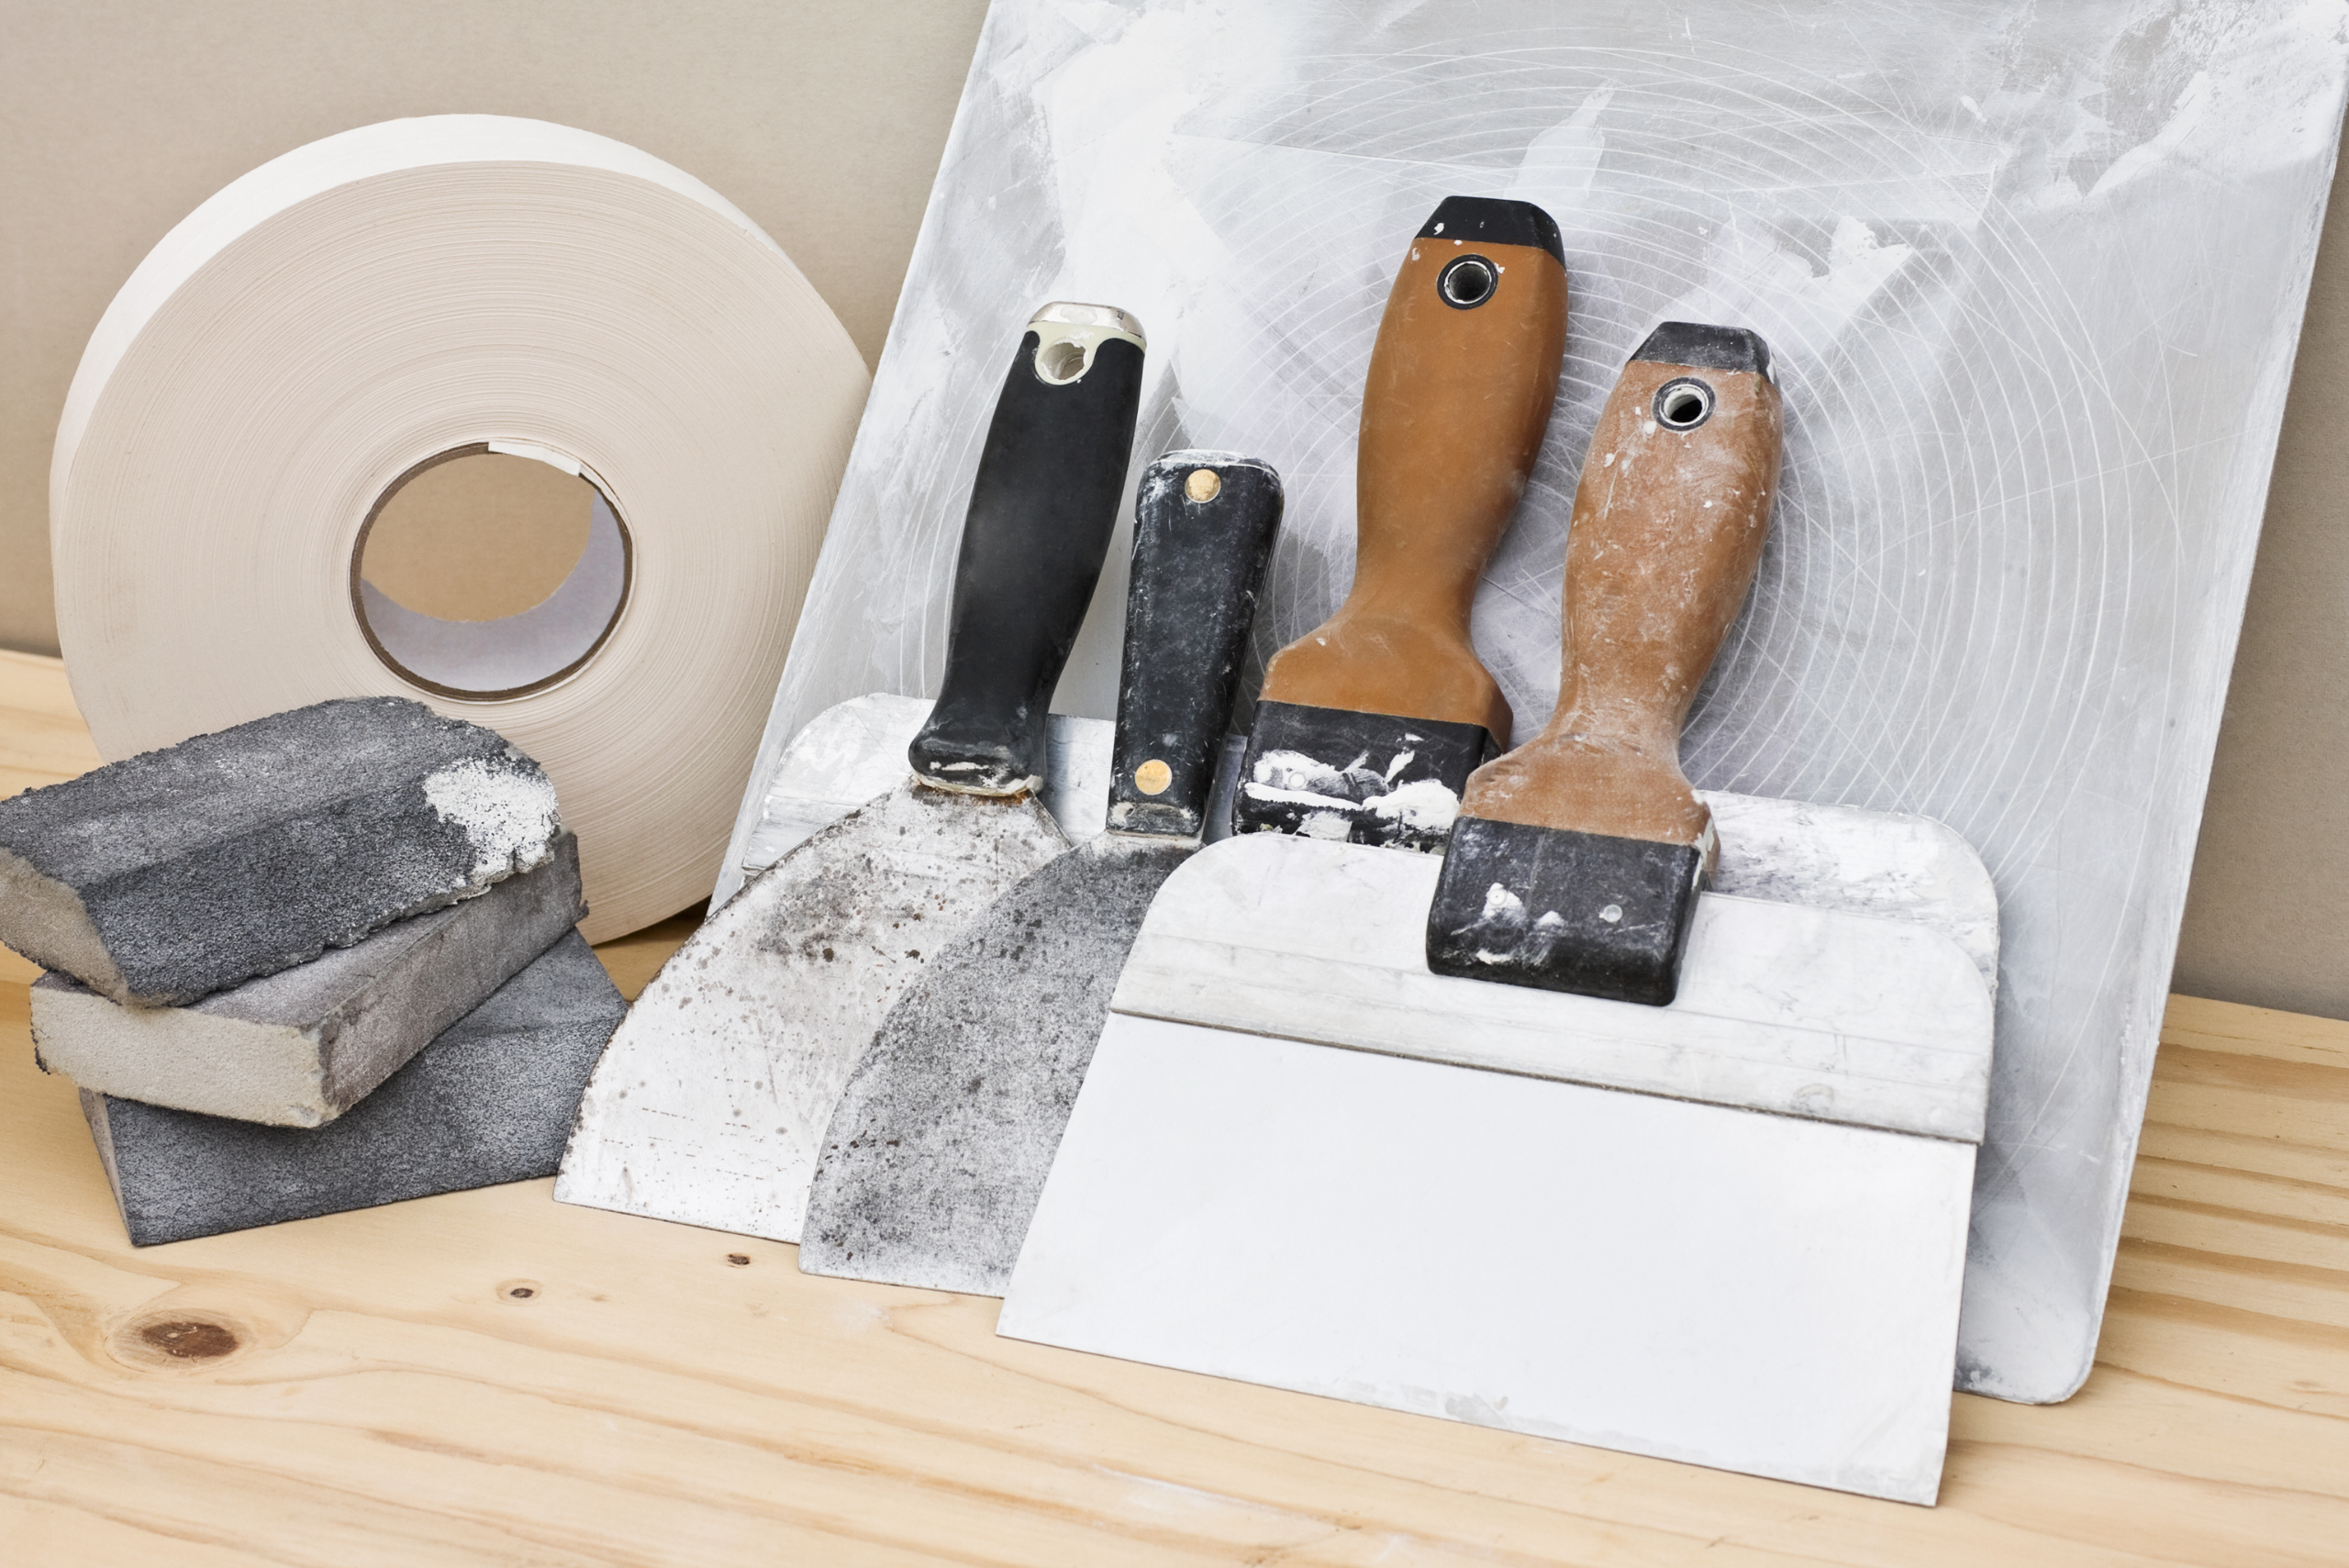
Once you’ve determined the size of your repair job, it’s time to gather your supplies. For small holes, you’ll need spackle, a putty knife, sandpaper, and paint. Medium-sized holes require a patch kit, joint compound, a putty knife, sandpaper, and paint. Larger holes call for a piece of drywall, furring strips, drywall tape, joint compound, a utility knife, a drywall saw, screws, a drill, sandpaper, and paint.
Ensure you have all the necessary tools and materials before starting your repair. This will help the process go smoothly and prevent interruptions. Don’t forget to protect your work area with drop cloths and wear safety glasses and a dust mask when sanding.
Start your next woodworking adventure with TedsWoodworking! Dive into 16,000+ projects and bring your ideas to life. Build unique furniture and master new skills with Ted’s detailed, step-by-step plans guiding you every step of the way.
Repairing Small Holes and Dents
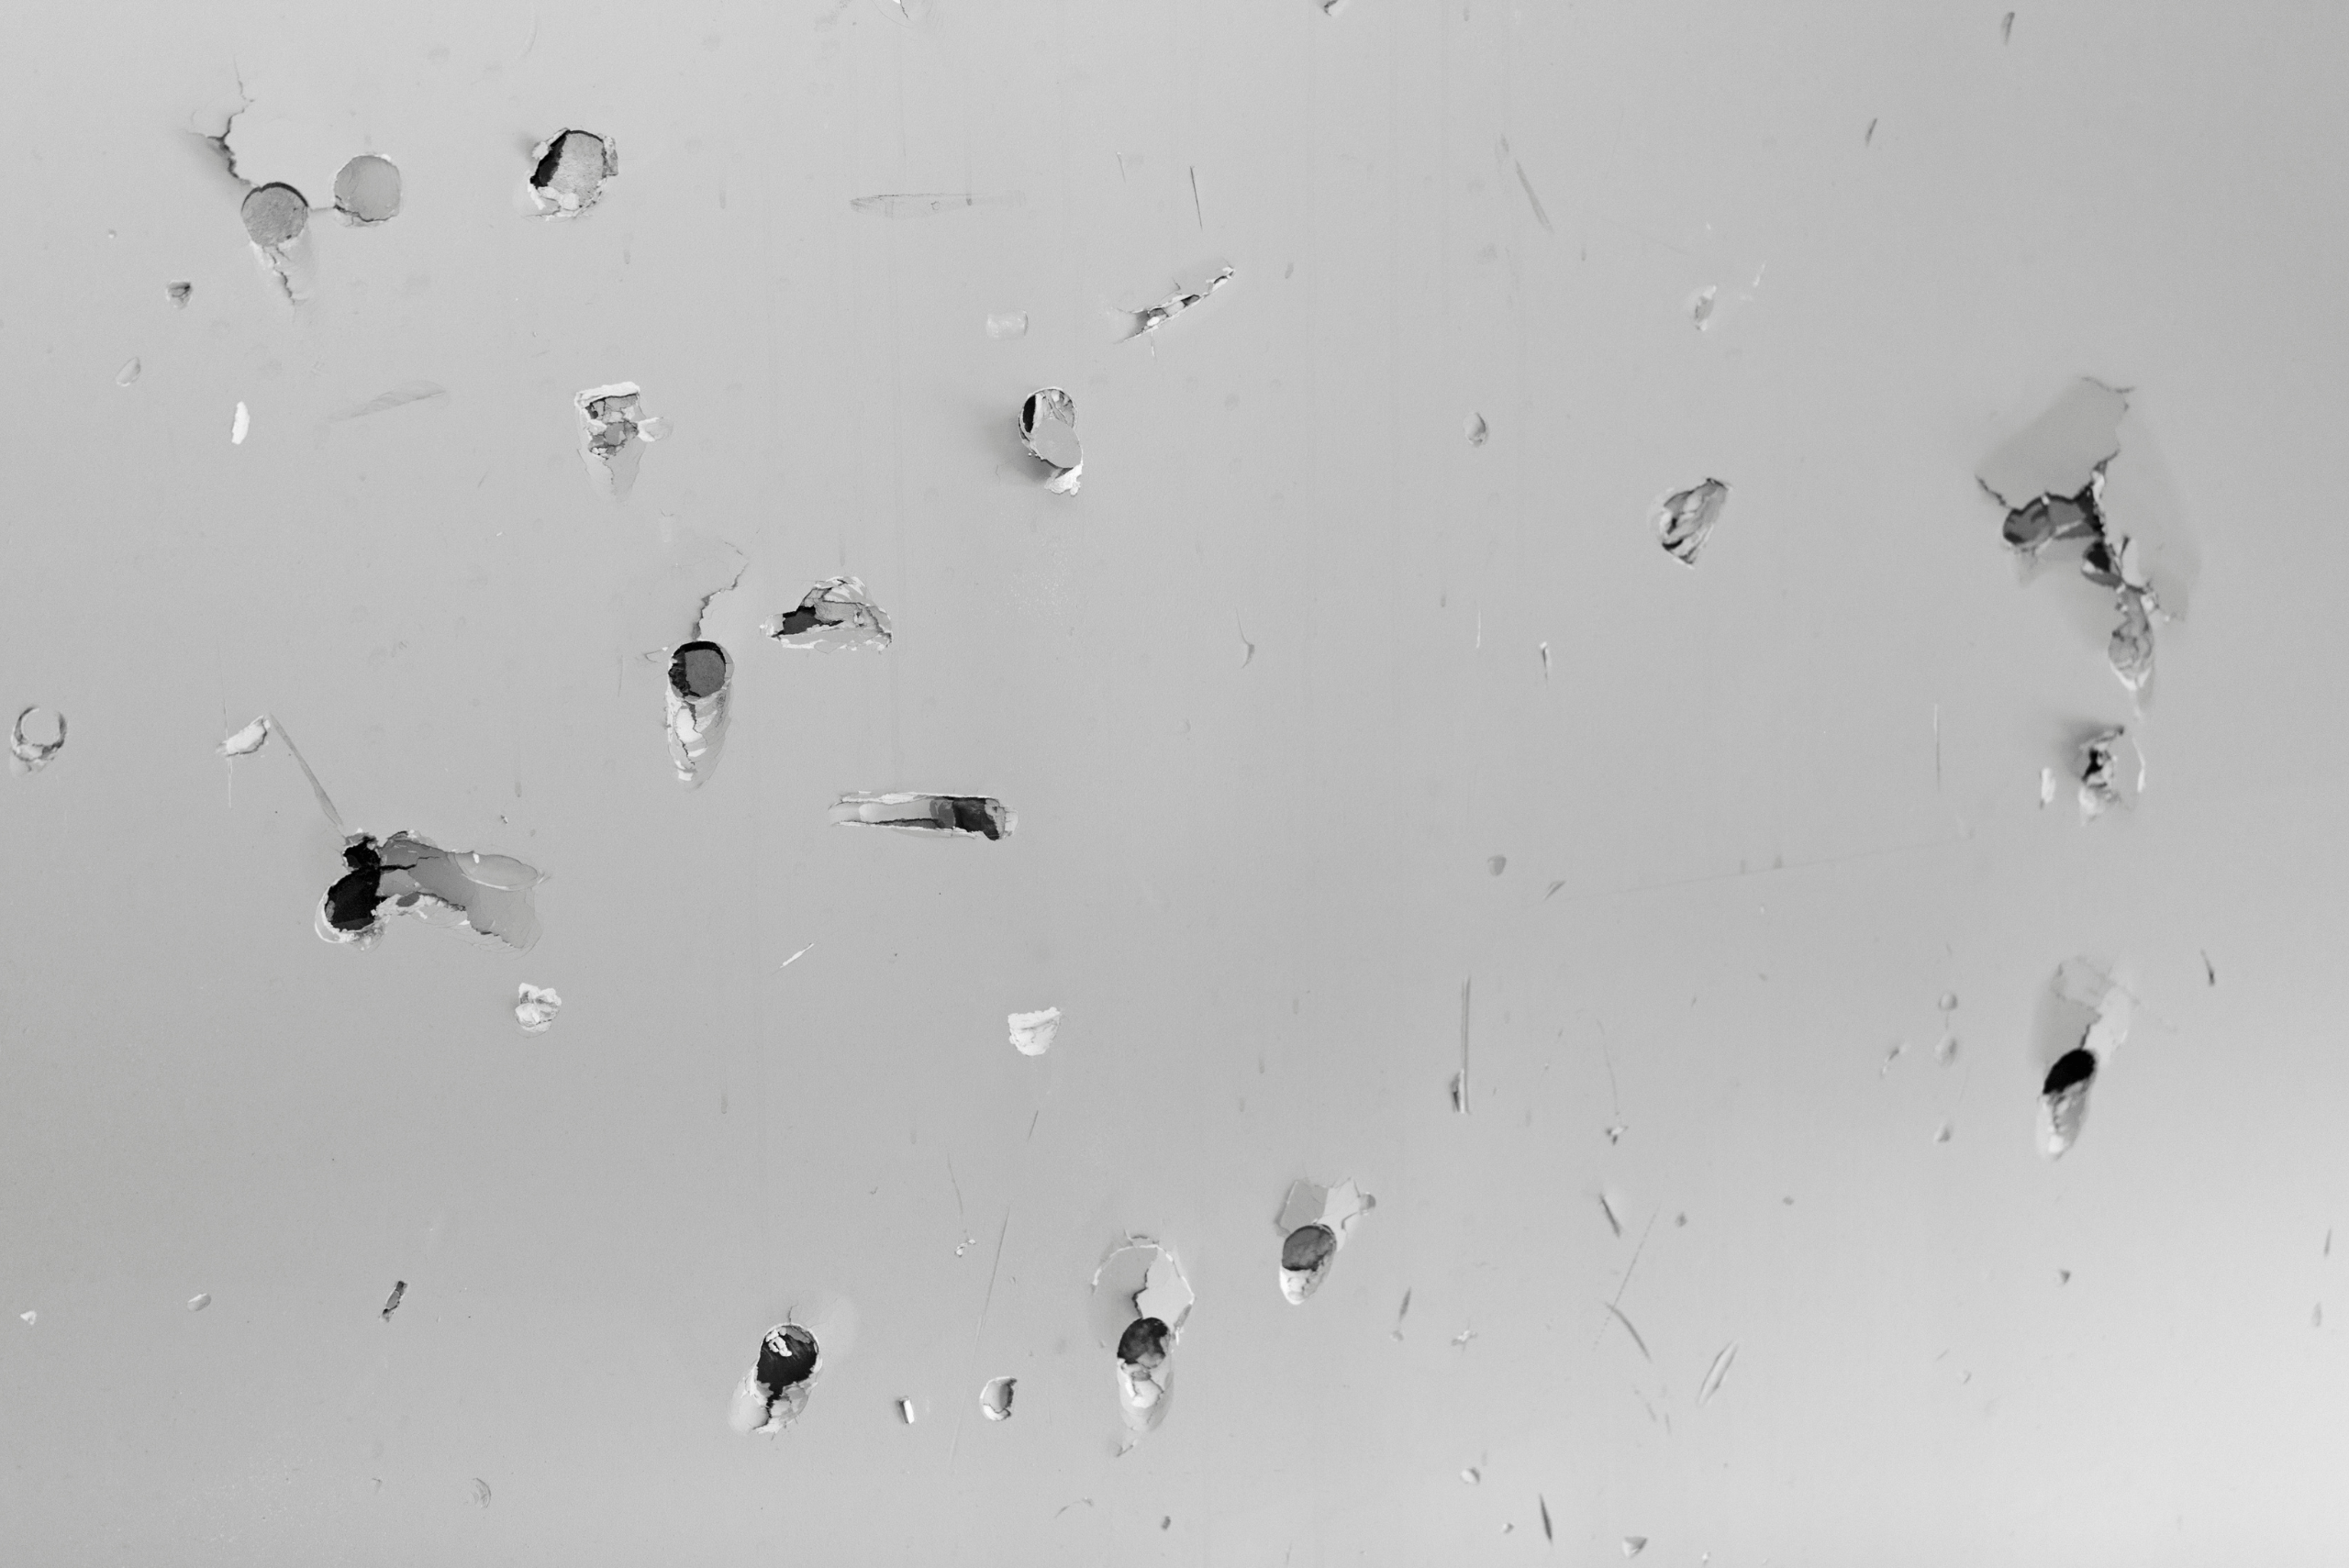
The repair process for tiny holes and dents is relatively straightforward. Begin by cleaning the area around the damage to ensure good adhesion. Apply a small amount of spackle to the hole using a putty knife, slightly overfilling it. Smooth the spackle, feathering the edges to blend with the surrounding wall. Allow it to dry completely, then sand the area until it’s flush with the wall. Wipe away any dust and touch up the spot with matching paint.
This method works well for nail holes, small dings, and minor imperfections. The key is to apply thin layers of spackle and sand carefully to achieve a smooth finish that seamlessly blends with the existing wall texture.
Tackling Medium-Sized Holes
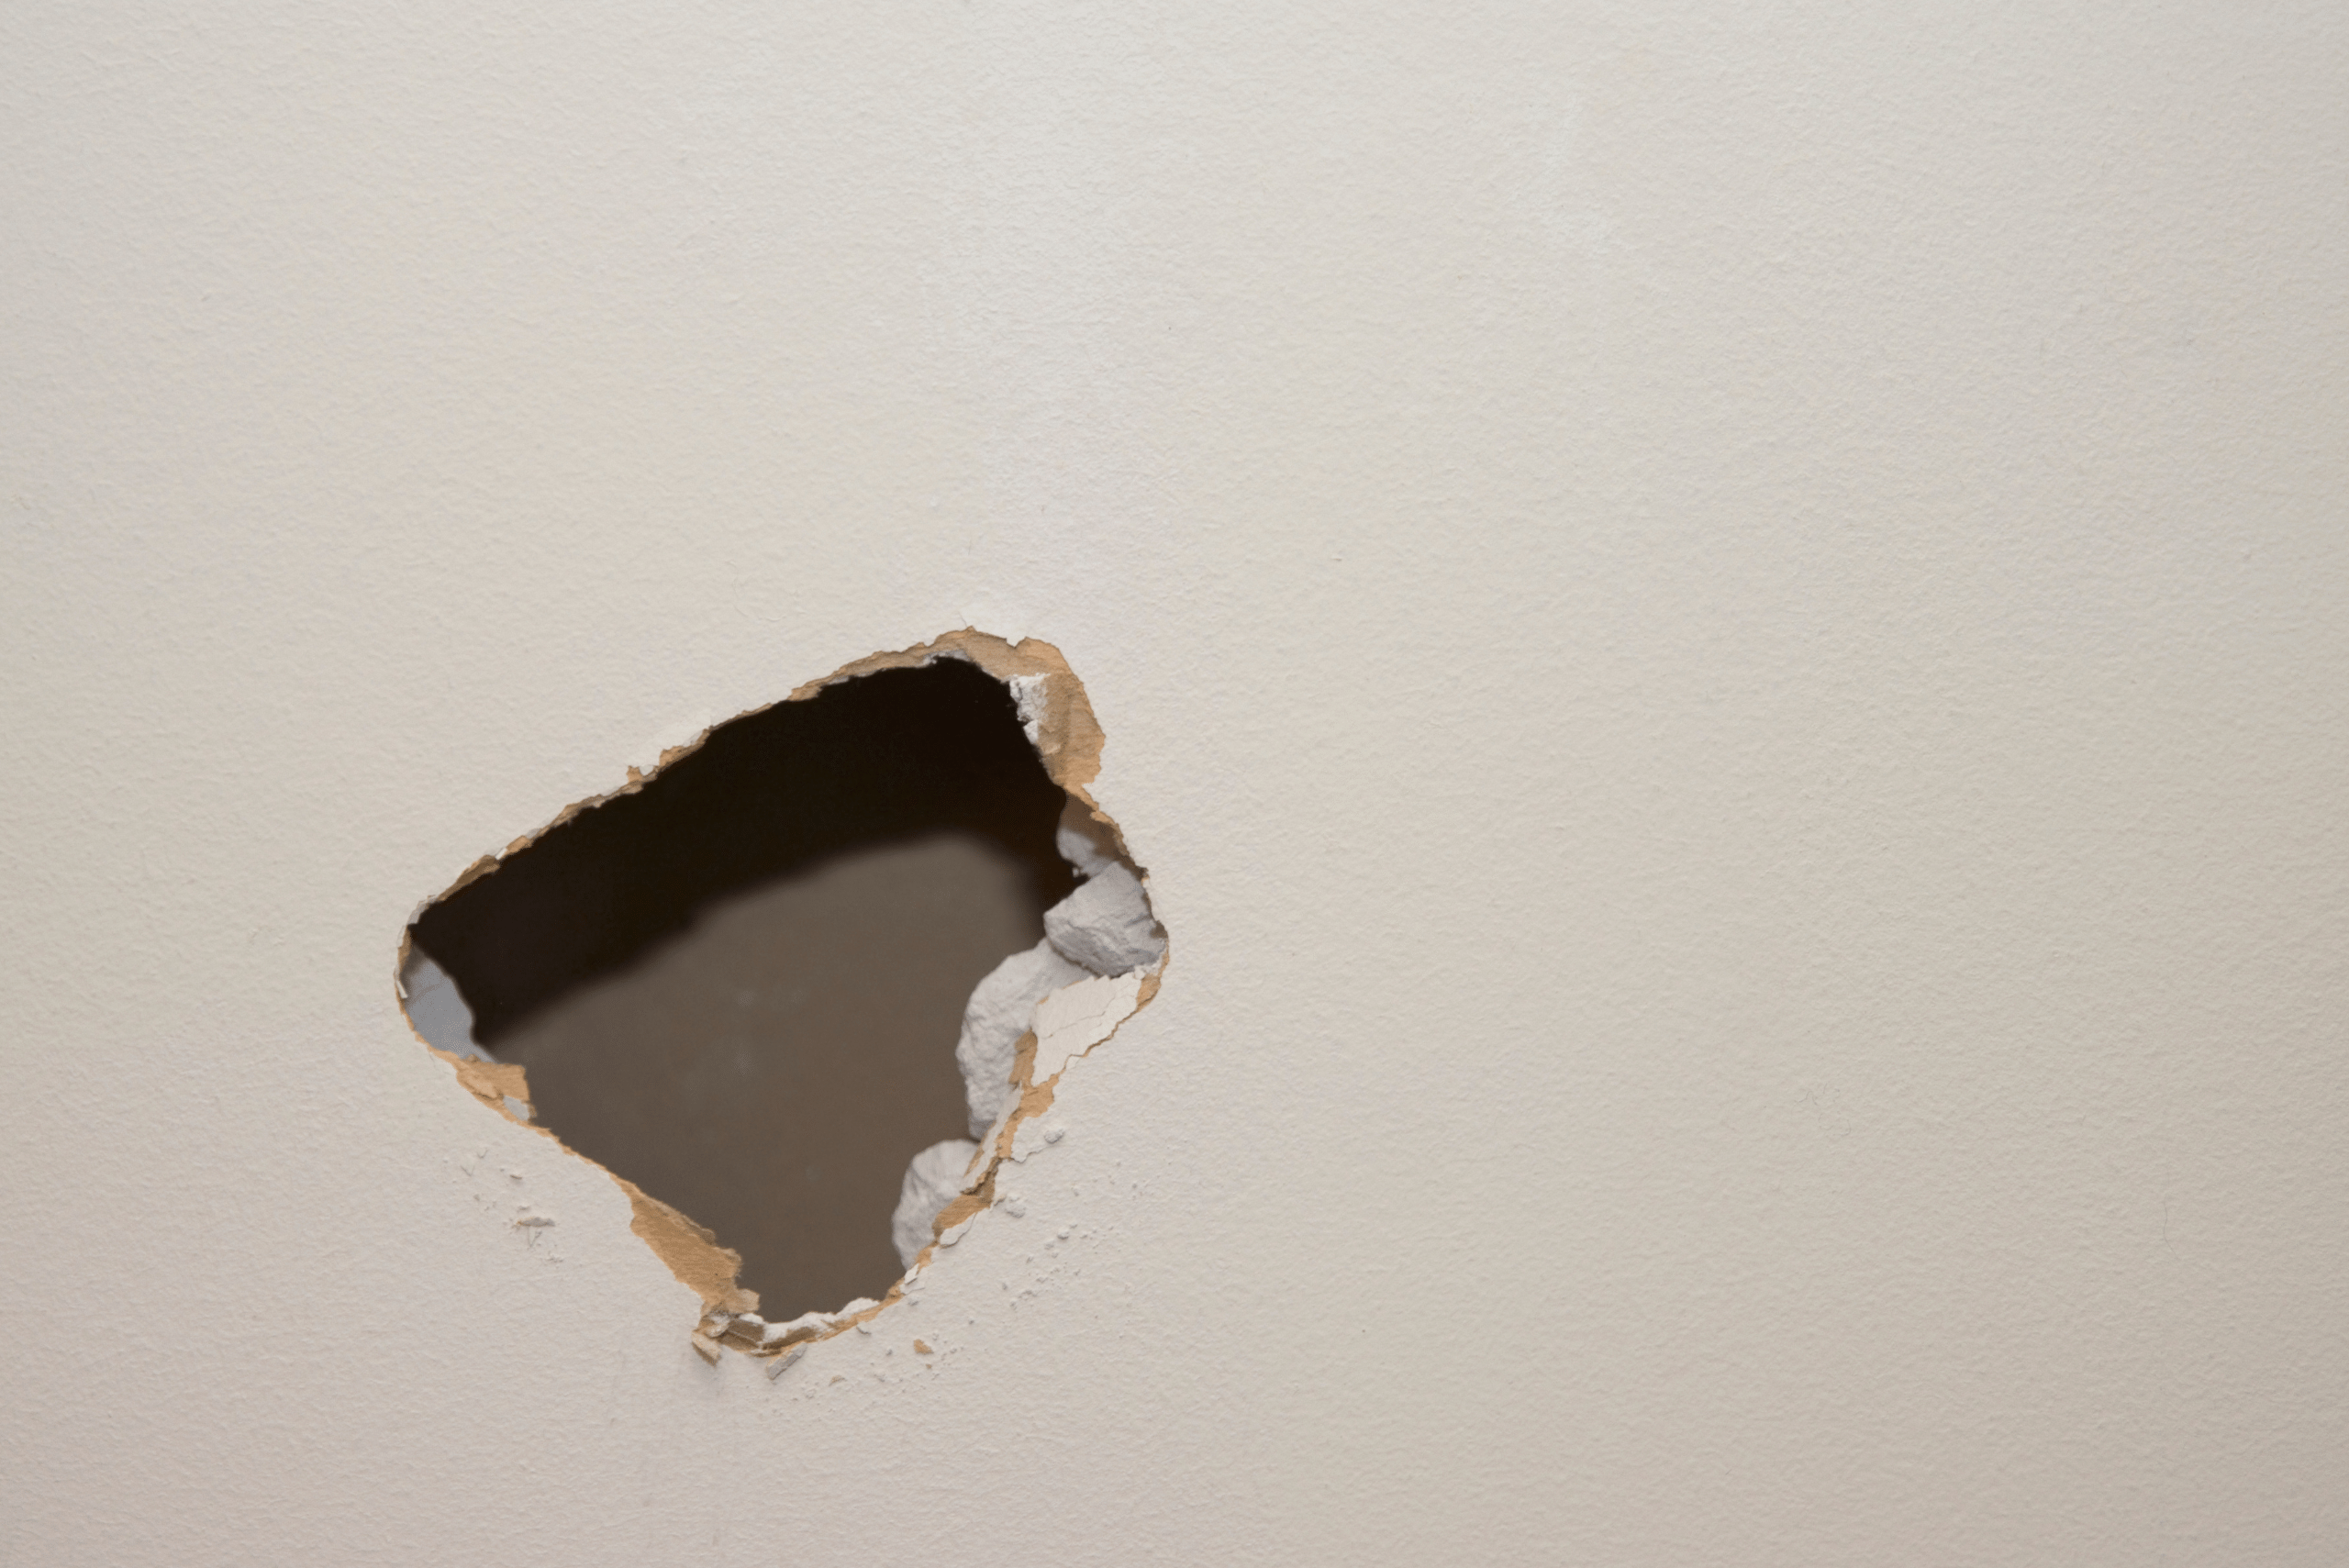
For holes between 1/2 inch and 6 inches in diameter, a patch kit is your best bet. These kits typically include a self-adhesive mesh patch and spackling compound. Start by sanding the edges of the hole to ensure a smooth surface for the patch to adhere to. Cut the mesh patch slightly larger than the hole and press it firmly over the damaged area.
Apply a thin layer of joint compound over the patch, extending it about 2 inches beyond the patch’s edges. Use your putty knife to smooth the compound, feathering the edges. Allow it to dry completely, then sand the area until it’s smooth. Apply a second coat of compound if necessary, repeating the process until the patch is indistinguishable from the surrounding wall.
Repairing Large Holes in Drywall
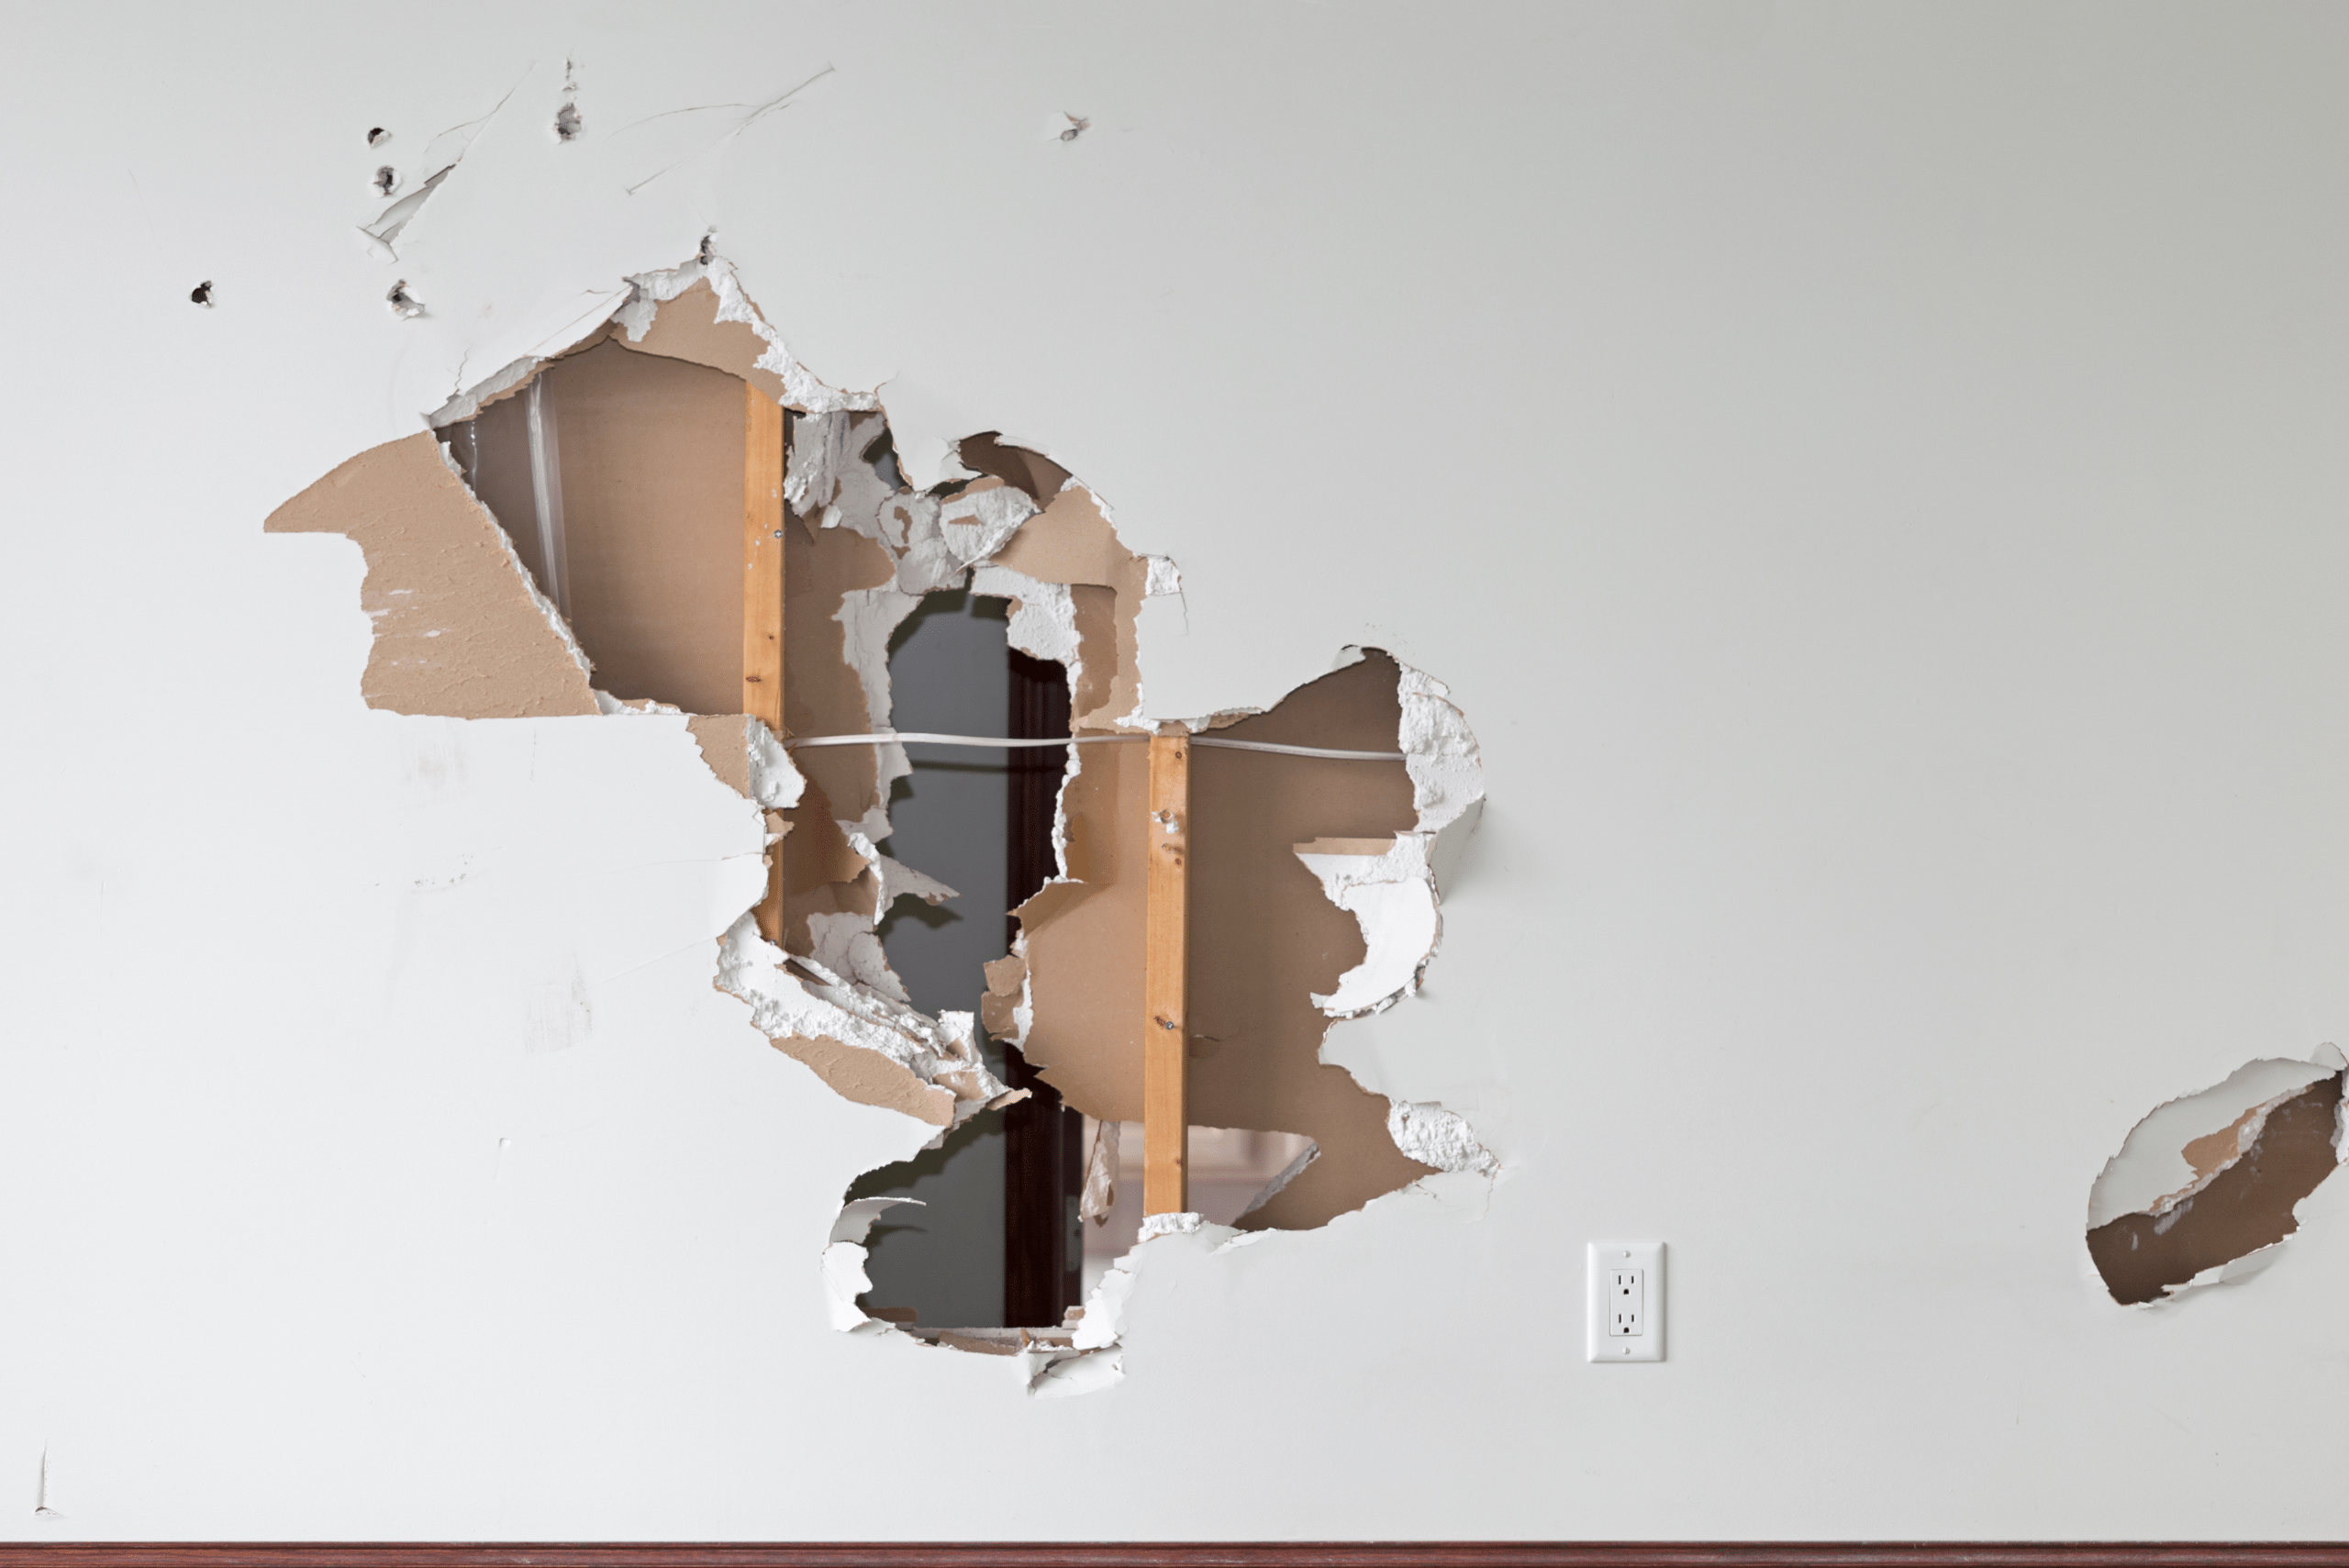
For holes larger than 6 inches, you’ll need to cut out the damaged section and install a new piece of drywall. Begin by cutting the hole into a square or rectangular shape using a drywall saw. Cut two pieces of the furring strip slightly longer than the hole’s height and insert them into the opening, securing them to the existing drywall with screws.
Cut a piece of drywall to fit the opening and attach it to the furring strips with drywall screws. Apply mesh tape over the seams, then cover the entire patch with joint compound, feathering the edges. Allow it to dry, sand smooth, and apply additional coats as needed until the repair is seamless.
Sanding and Painting
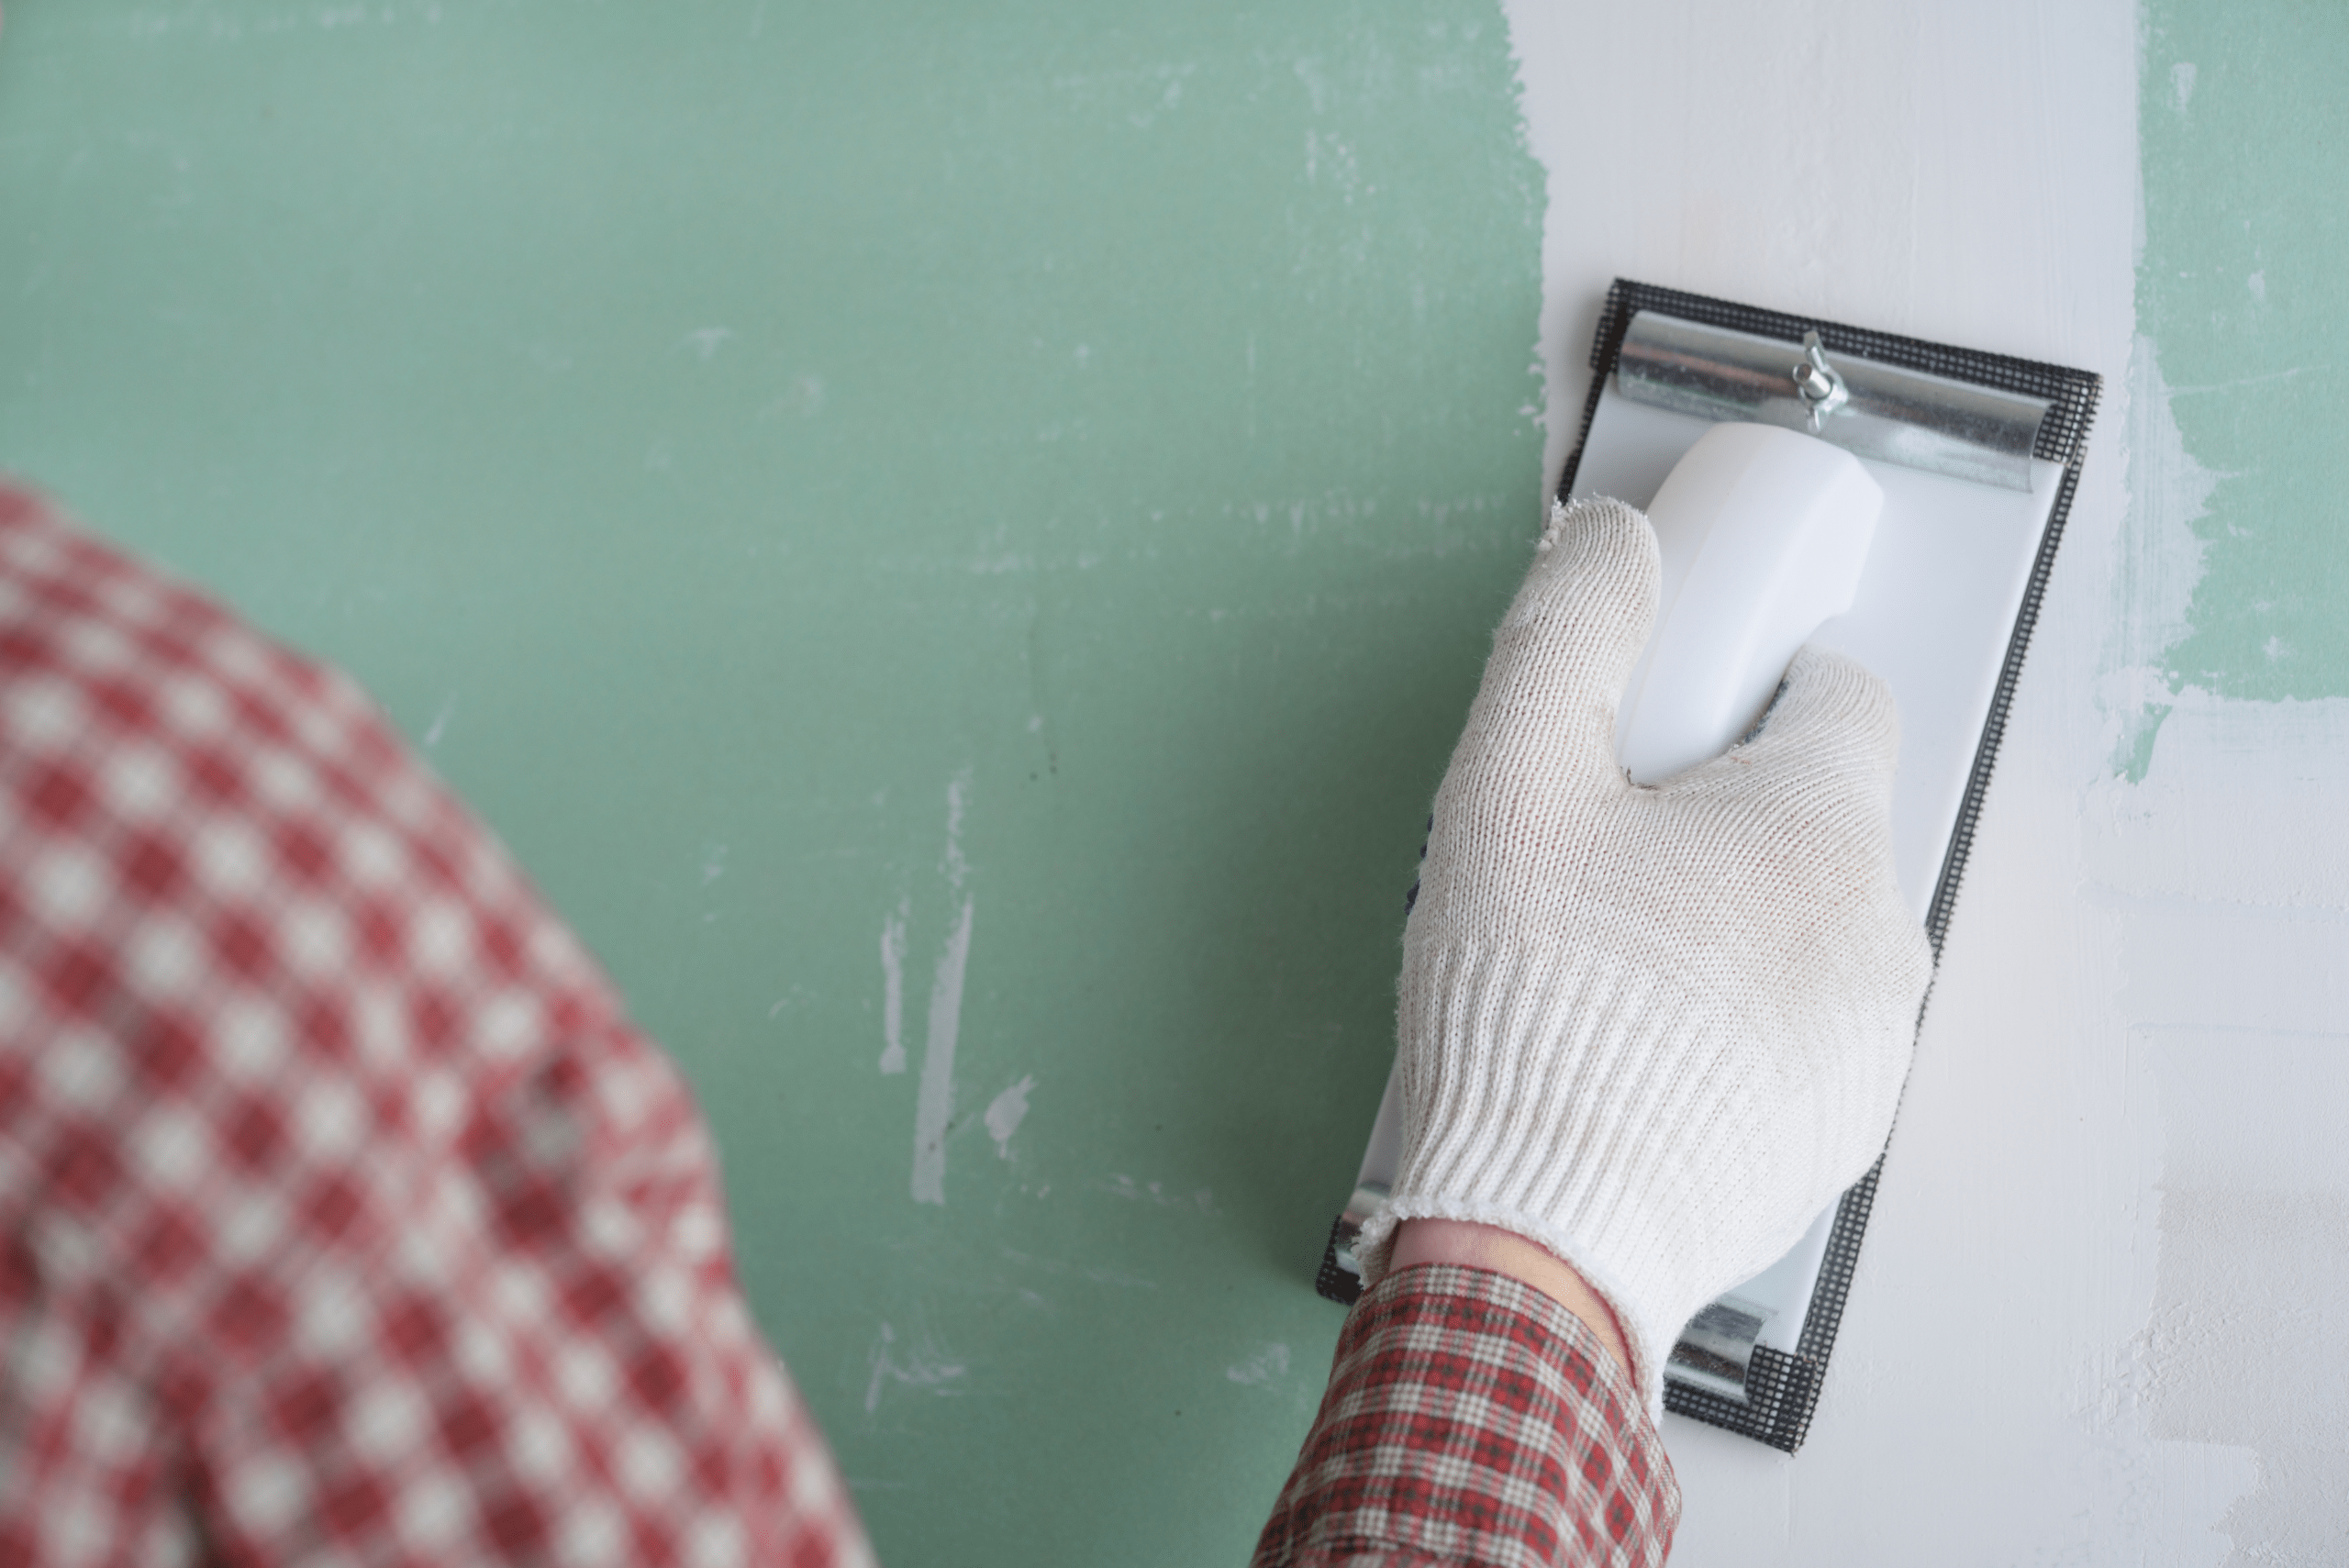
Regardless of the size of your repair, proper sanding and painting are crucial for a professional-looking finish. Once your final coat of compound is completely dry, sand the area to a smooth finish using fine-grit sandpaper. Wipe away all dust with a damp cloth and allow the area to dry.
Prime the repaired area to ensure even paint absorption, then apply paint to match the surrounding wall. For the best results, use a small foam roller to apply the paint, feathering the edges to blend with the existing wall color. If necessary, paint the entire wall to ensure a uniform appearance.
Related Articles
- Achieve Smooth Drywall with These Expert Sanding Tips
- How to Fix Paint Drips Like A Pro
- Tips and Tricks for How to Spackle Drywall Seamlessly
With patience and the right techniques, you can successfully repair holes in your drywall and restore your walls to their former glory. Remember to assess the damage carefully, choose the appropriate repair method, and take your time with each step of the process. Whether you’re dealing with tiny nail holes or larger accidents, these DIY repair techniques will help you achieve professional-looking results. So roll up your sleeves, grab your tools, and get ready to transform your damaged walls into smooth, flawless surfaces that look as good as new.
Ready to start your next project? Join our DIY community to receive tool tips, how-to guides, and exclusive creative insights. Subscribe to the ManMadeDIY newsletter now! Click here to unlock a world of hands-on inspiration.


