How to Ignite a Pilot Light for Water Heater
In the heart of every home, a reliable water heater ensures a steady supply of warm water for bathing, cleaning, and countless daily tasks. Yet, understanding the intricate process of lighting the pilot light can be a daunting task for many homeowners. Fear not, as our comprehensive guide is here to demystify this essential aspect of home maintenance.
Whether you’re a new homeowner or simply need a refresher, our step-by-step instructions will empower you to confidently light the pilot on your water heater. With clear explanations and safety precautions, we’ll guide you through the process, ensuring your home remains comfortably warm and functional all year round.
Types of Water Heaters Available
We take hot water for granted until one morning when the shower is cold, and no matter how long you run the water, it never heats up.
Hot water heaters are a mainstay of modern civilization. They can be electric, on-demand, or, more likely, natural gas or propane-fueled.
We’re looking at just the propane and natural gas heaters in this article.
How a Water Heater Functions
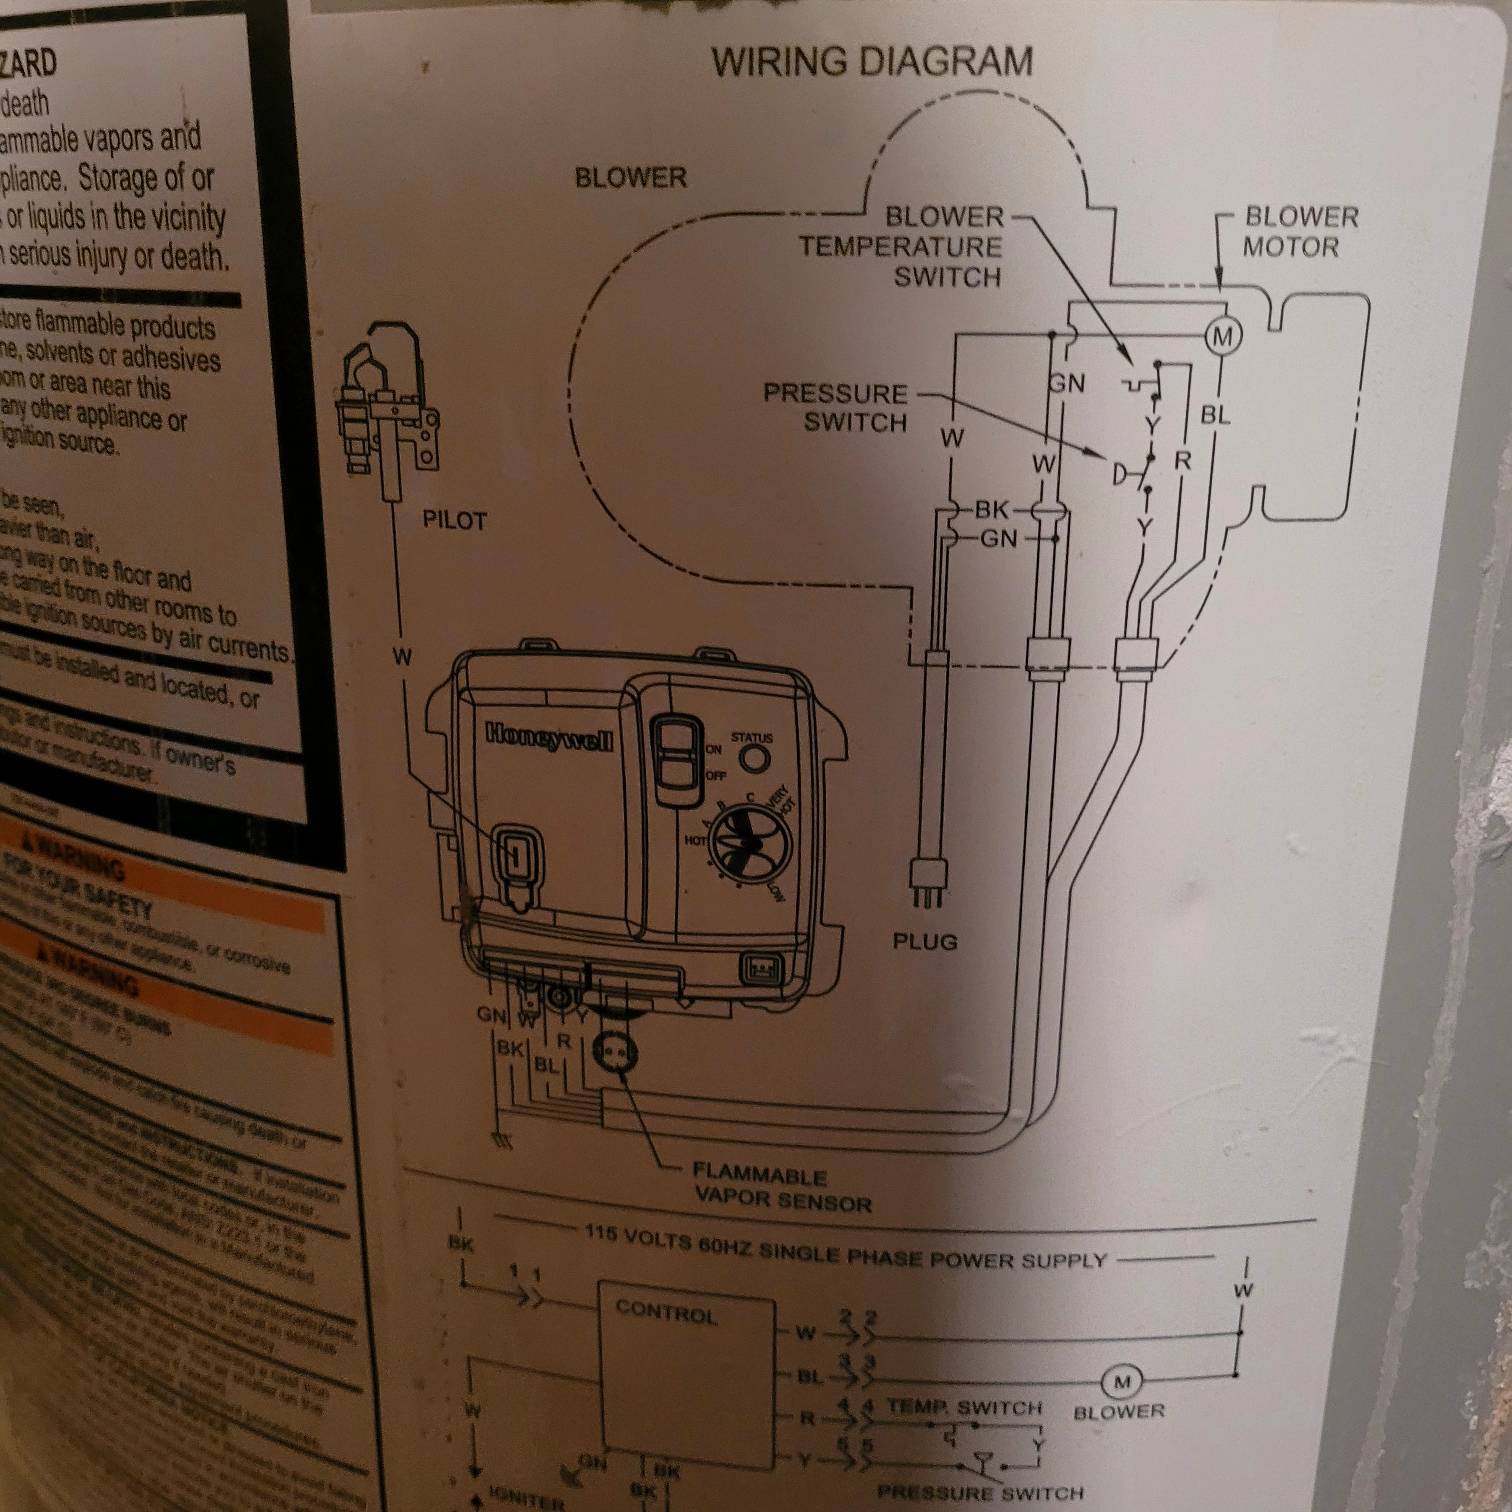
To function correctly, you only need three things to heat water: the first is a fuel supply, either natural gas or propane. The second is water, either municipal or perhaps from a well, and the third is a water heater.
The first two are obvious. Pay your utility bills, and you have both gas and water, but the third, the heater, can fail for a variety of reasons.
The most common reason for water heater failure is a pilot light failure. The pilot light runs on a very small amount of gas, keeping a small flame lit in anticipation of the heater calling for more gas when the thermocouple reaches the lower limit.
The gas fires the boiler, the water heats, and when it hits the upper limit, the thermocouple turns off the flow. It’s a simple, closed-loop system until it’s not.
Water heaters all operate in a similar fashion, but they don’t always relight a pilot light the same way, and the controls adjusting temperature can be very different.
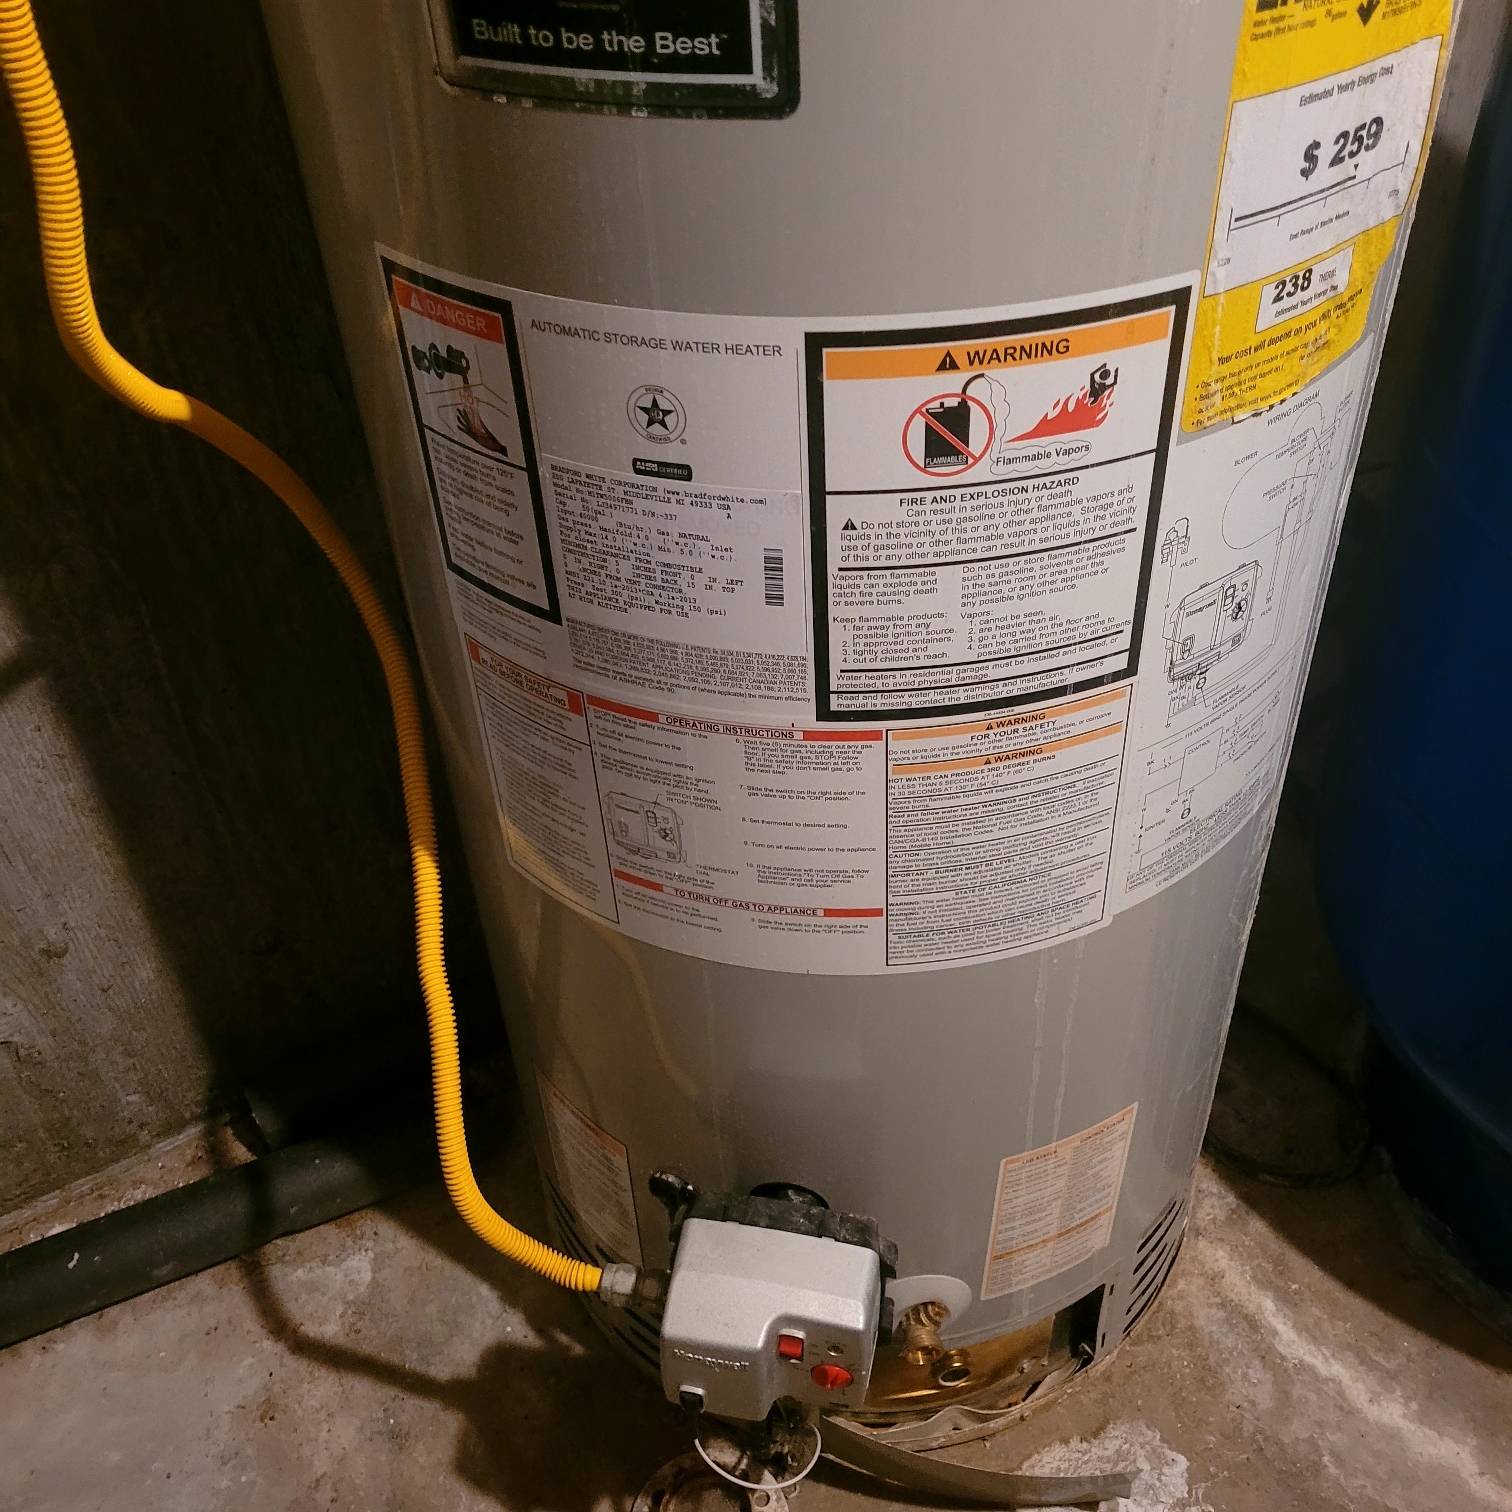
The instructions for operating your heater are on the side of it in a clearly delineated decal.
Instructions For Relighting a Pilot Light
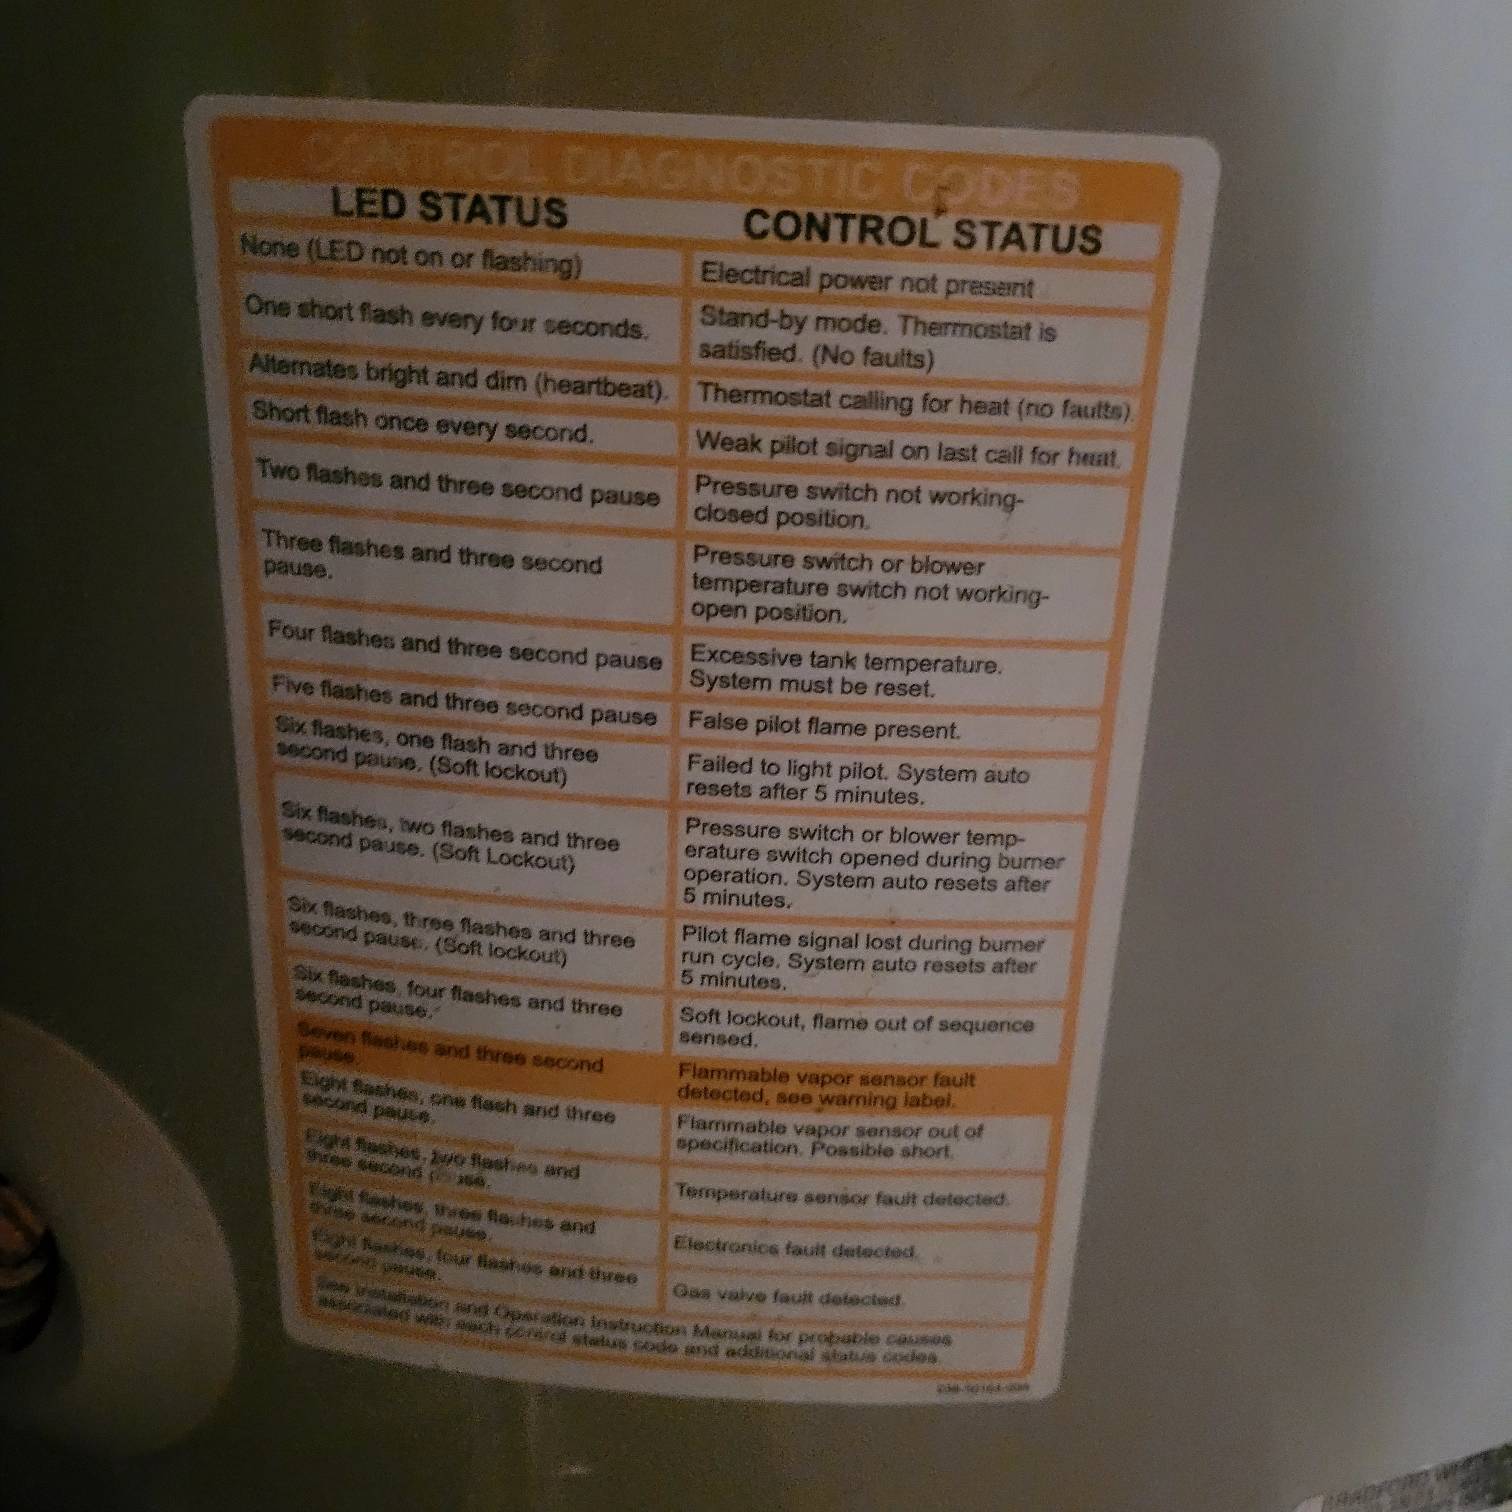
Another set of instructions for the initial lighting of the heater or for relighting it if the gas is interrupted is also found on the side of the tank, usually near the control mechanism on the bottom.
In between the gas line fueling the heater and the thermocouple calling for more or less gas is the control box.
Diagnosing a Pilot Light That Won’t Stay On
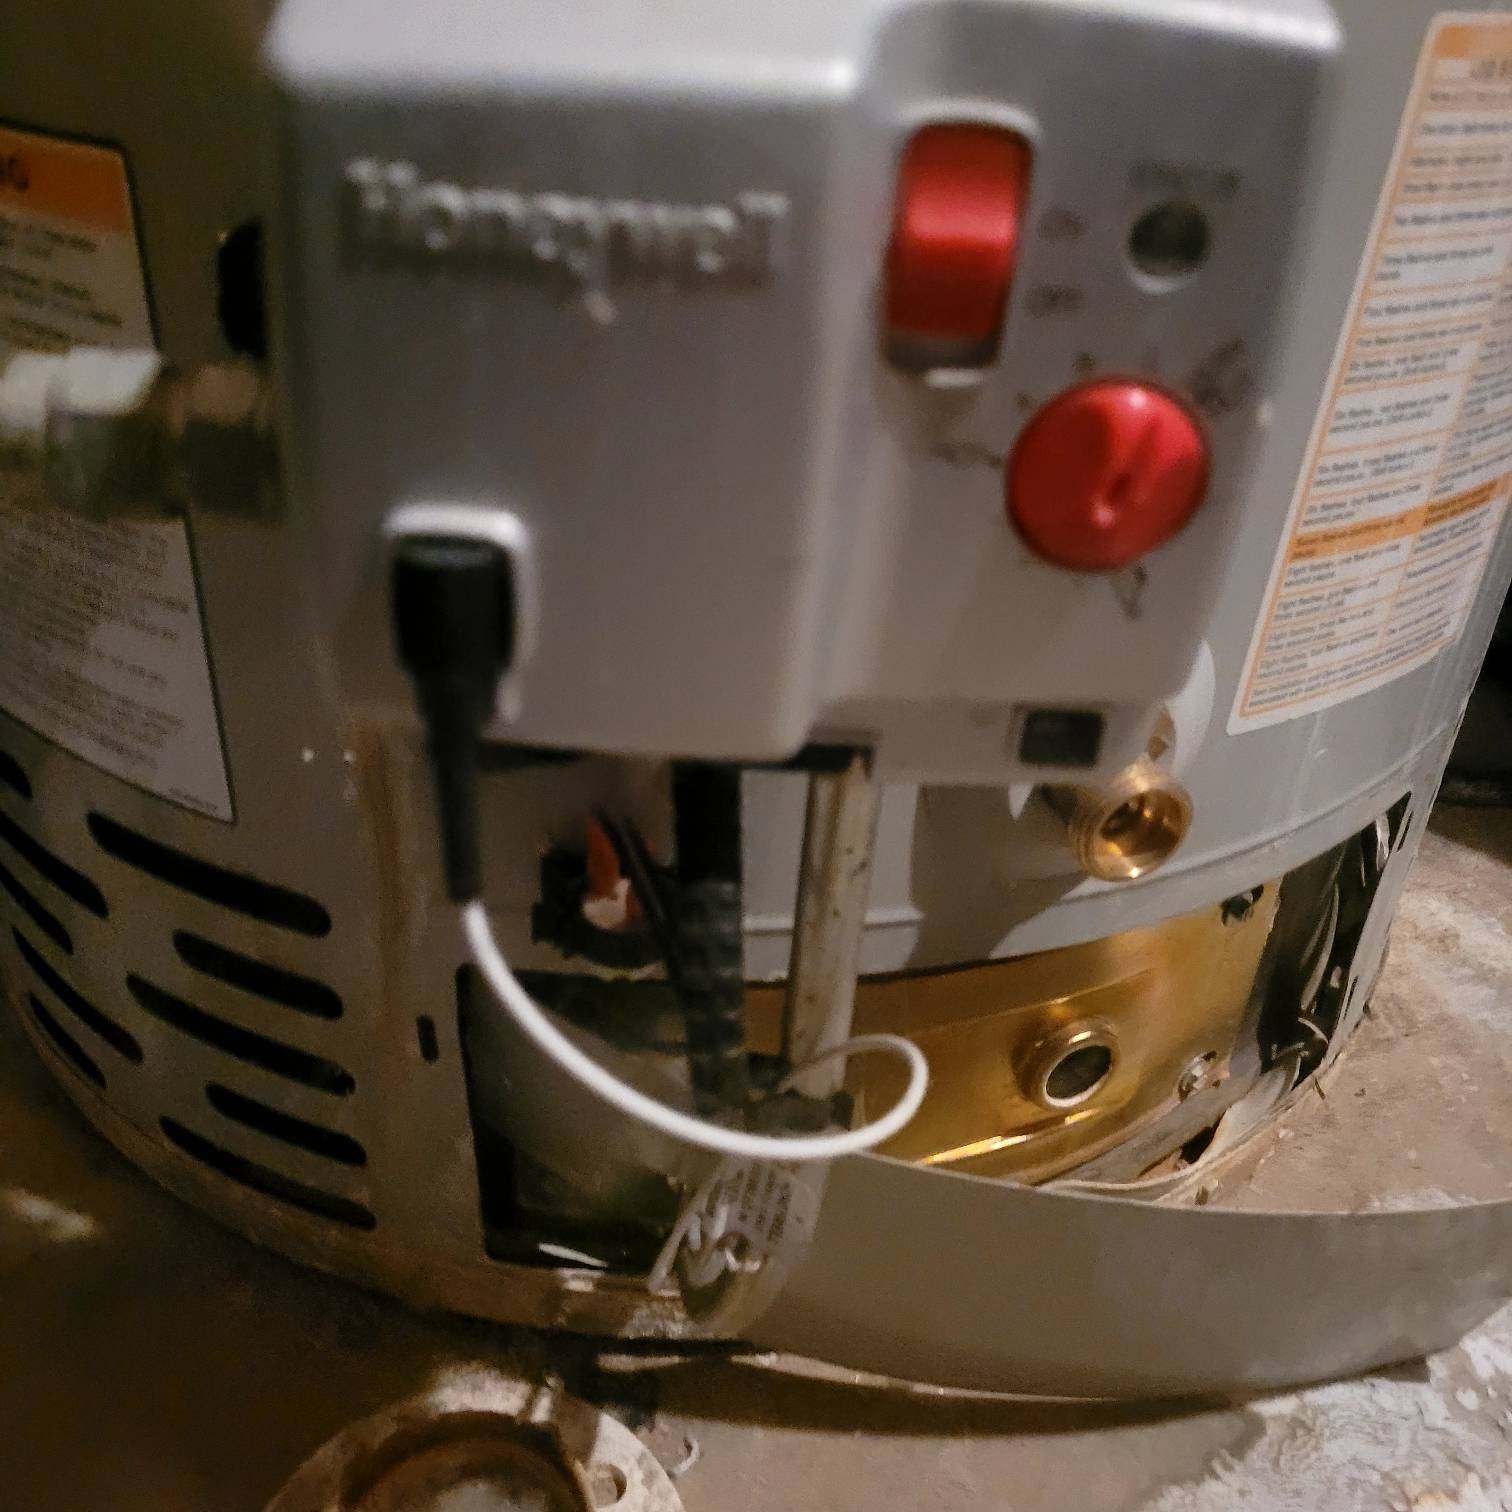
If you have a pilot light that will not stay on, no matter how long you push the plunger or how carefully you follow the directions, the odds are you have a defective thermocouple.
The good news is that these are very easy to replace.
You’ll find the thermocouple connecting the control box with the interior of the tank. To access it, you may have to remove an outer panel.
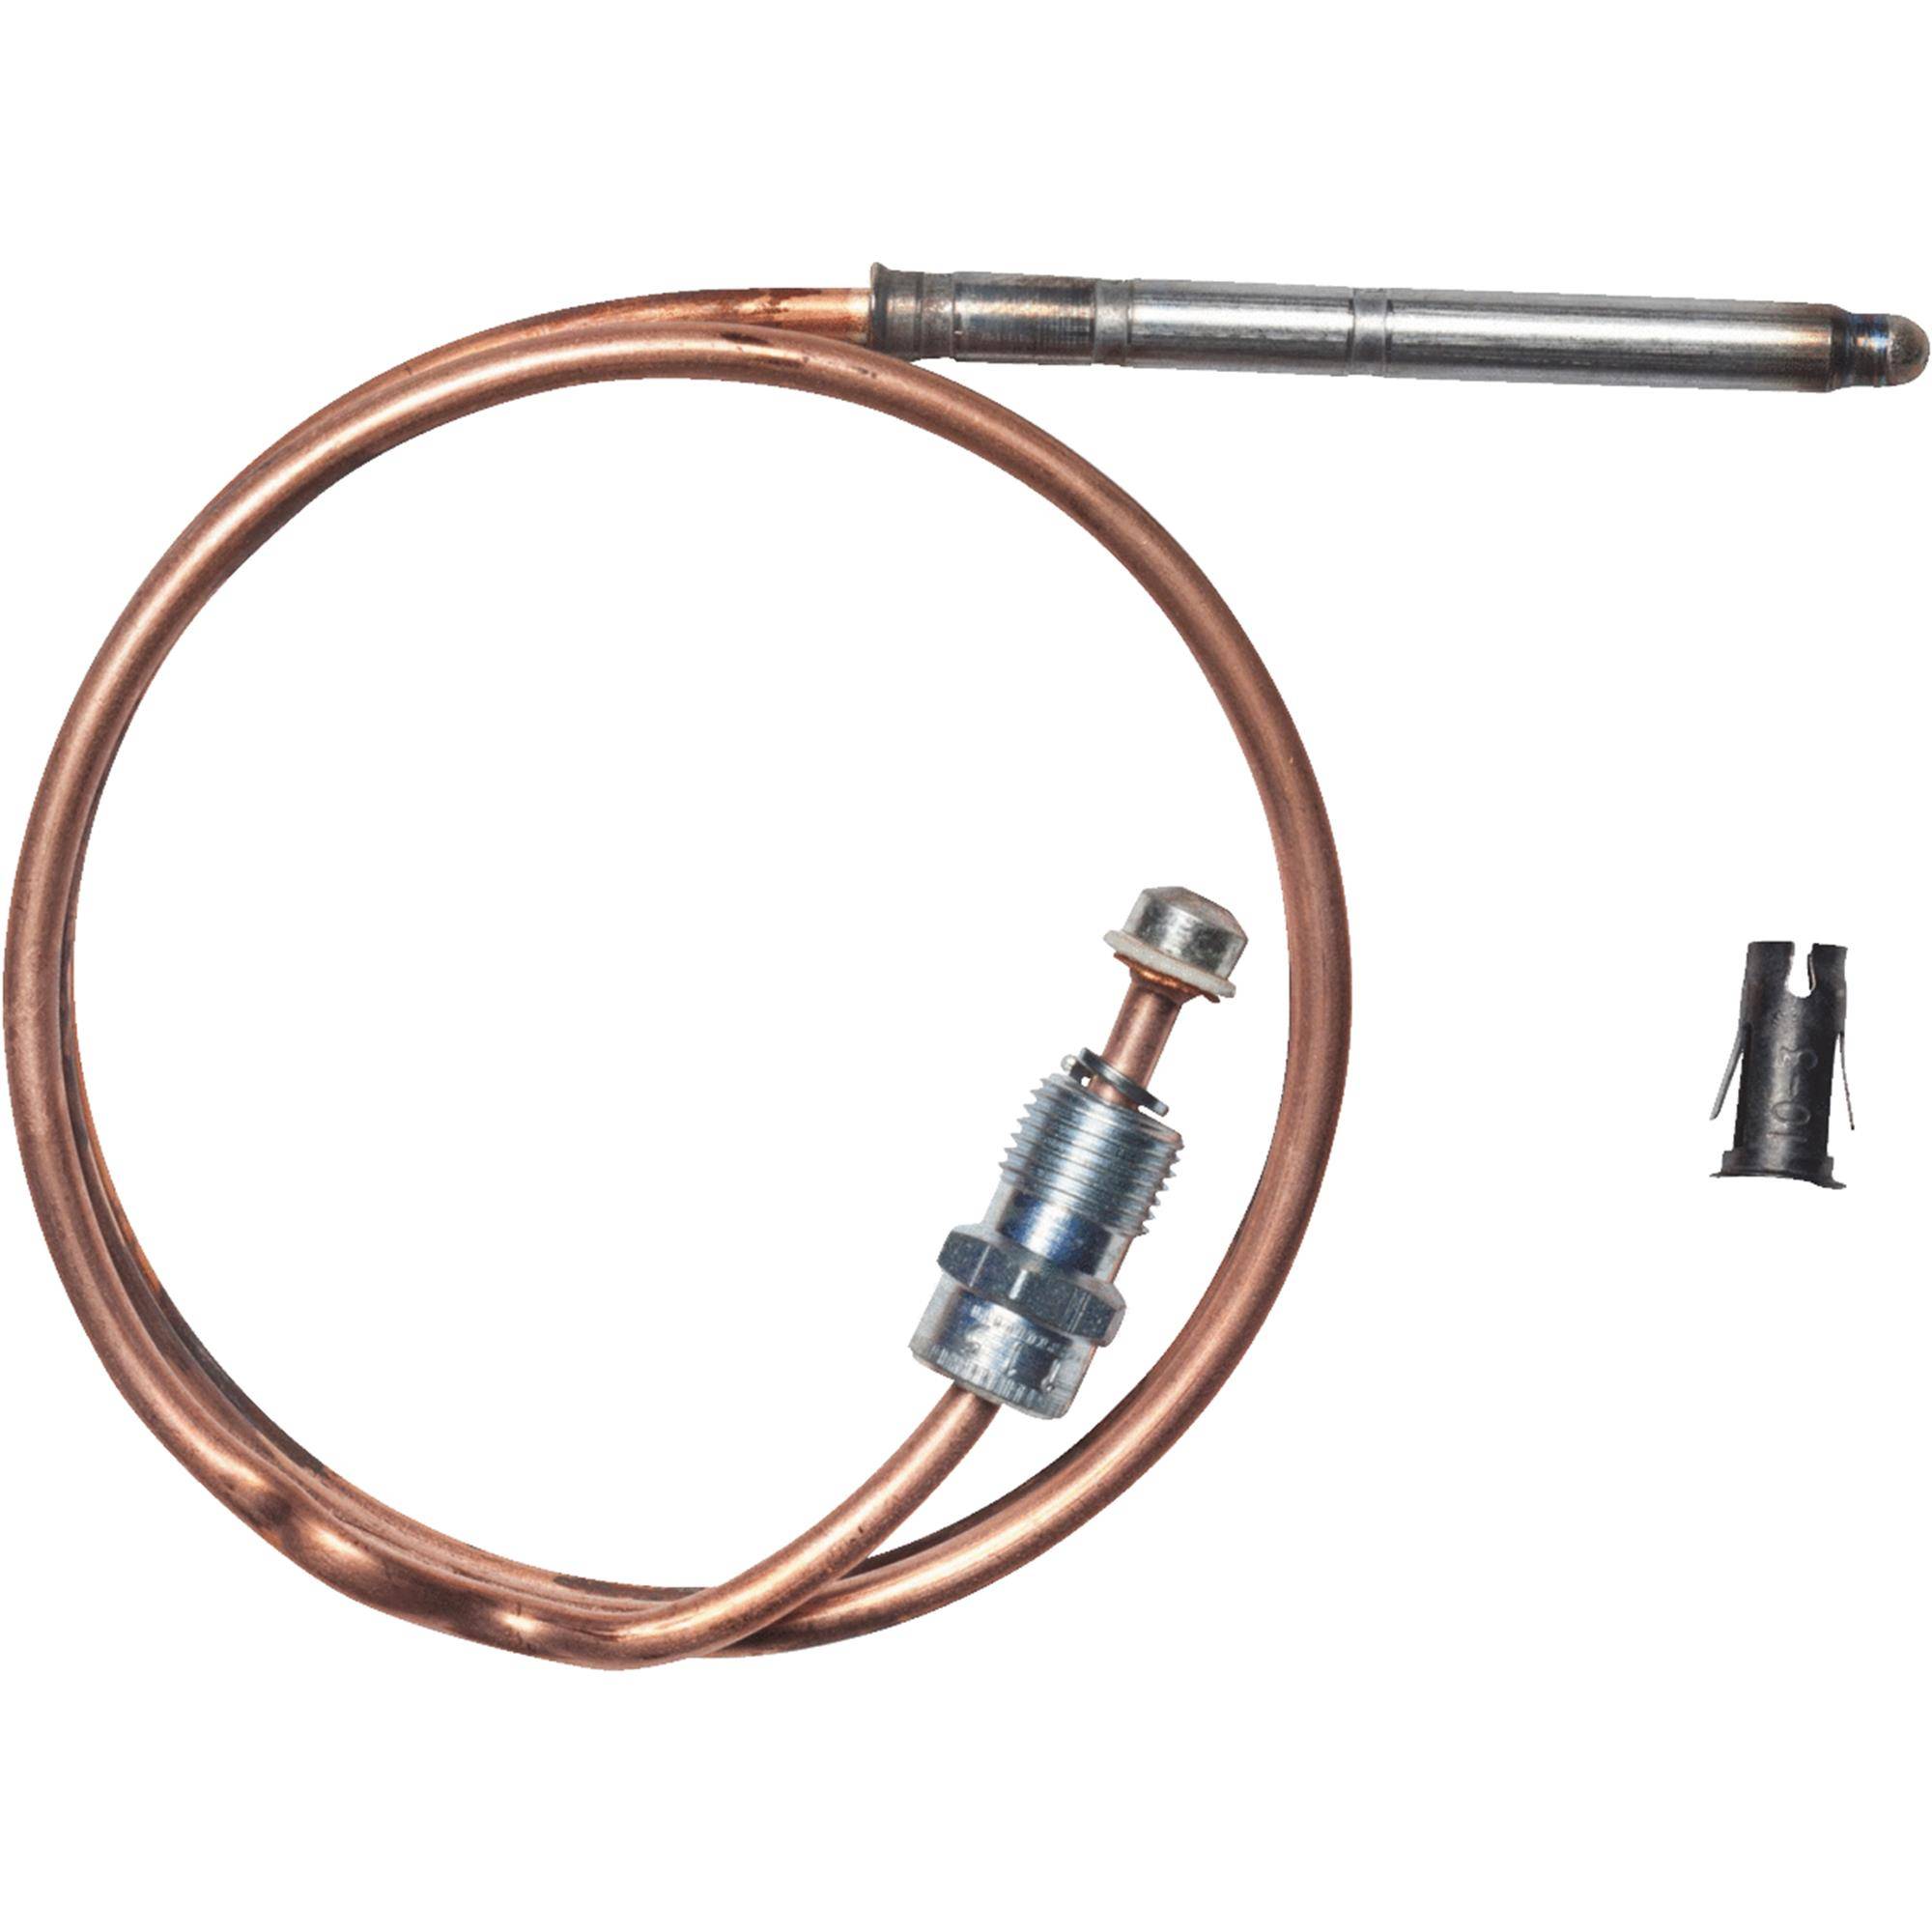
The thermocouple is a copper wire, with a wider compression fitting on the control box end and a smaller fitting near the burner inside the tank. You can determine which thermocouple you need by writing down the model and serial number of your water heater and taking it to a plumbing supply shop or a big box “do-it-yourself” store, they’ll all most likely have one compatible with your system in stock.
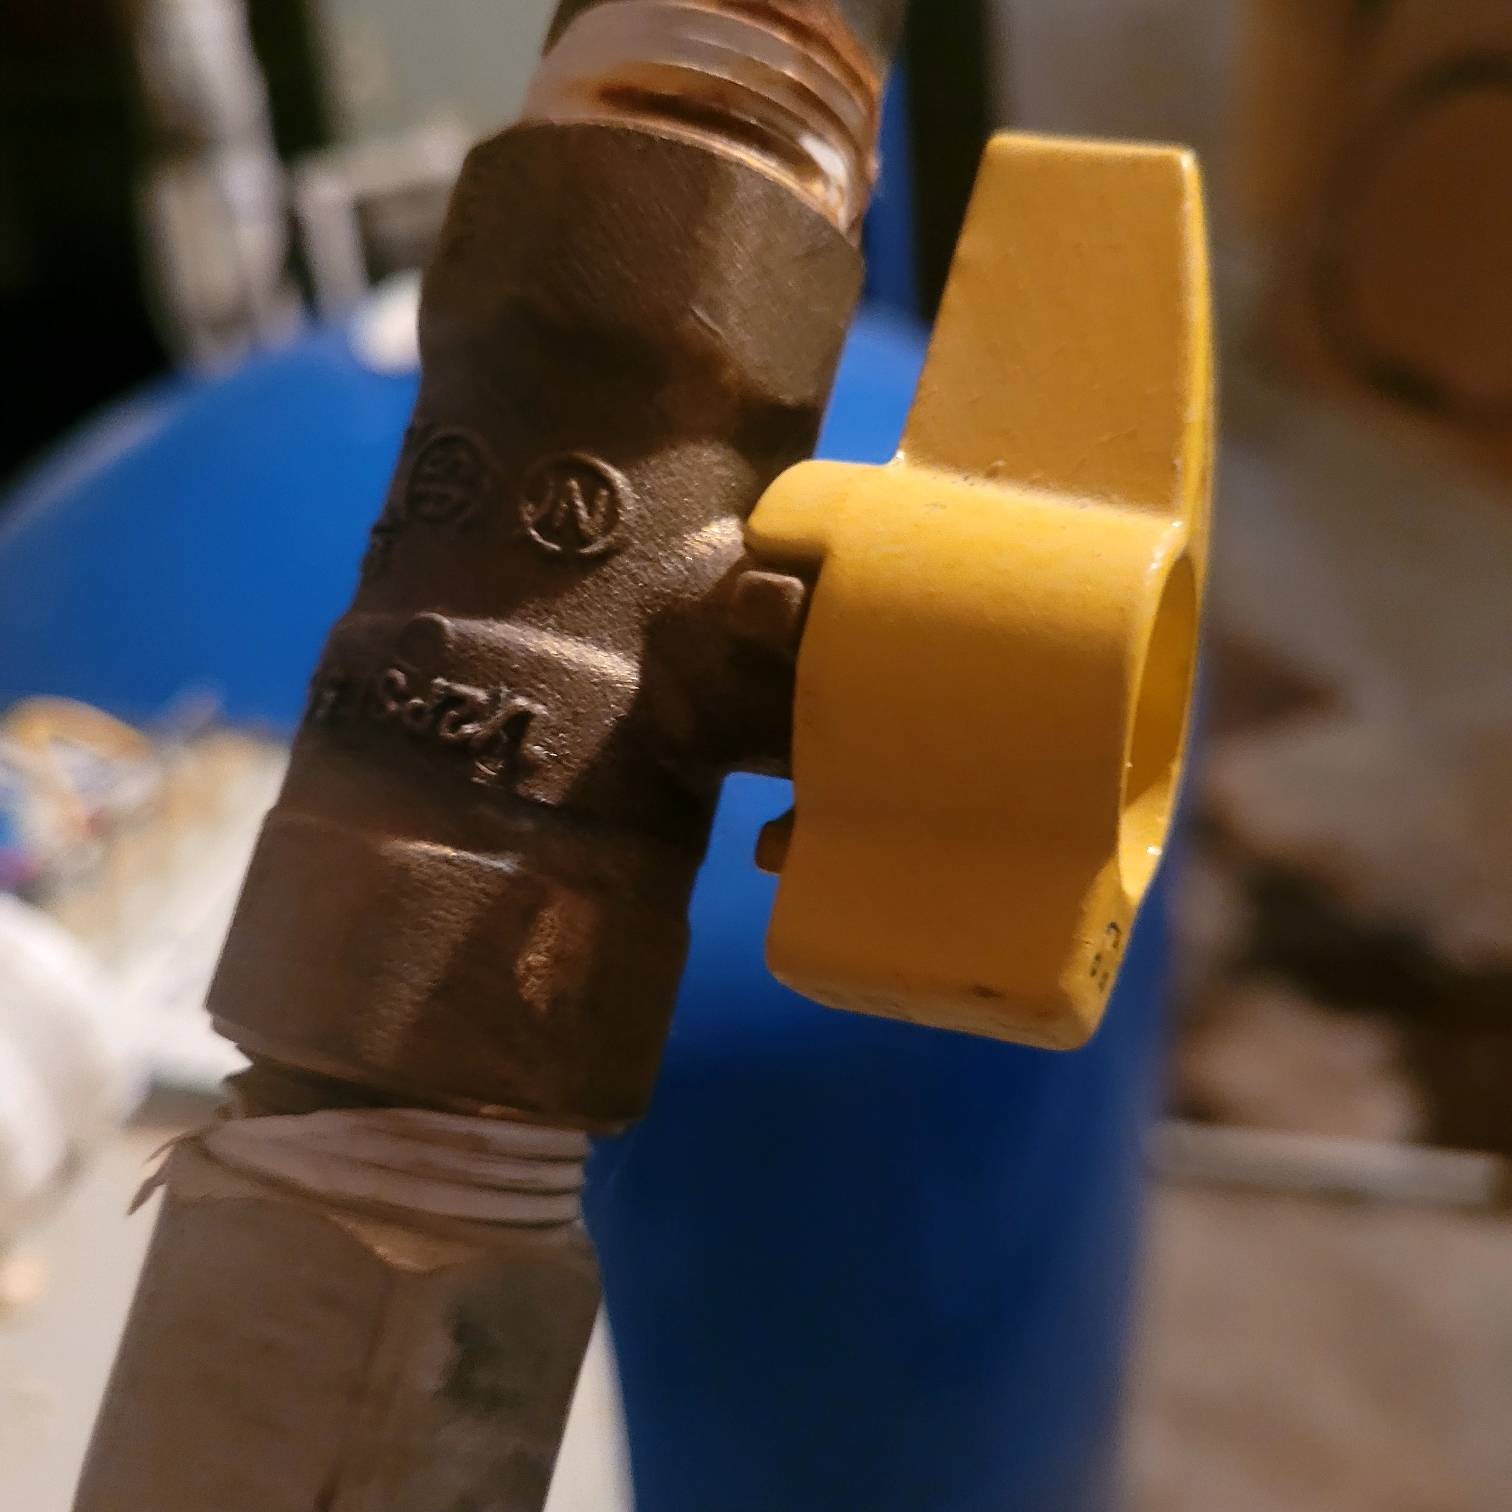
Before you get started, turn off the gas supply. There is a control knob on the gas line near where it connects to the heater, which you need to flip to the off position, then proceed.
Replacing a Failed Thermocouple
Ideally, you should use a wrench the same dimension as the two connecting compression nuts, but if you only have a combination wrench, that will work as well. Do not use channel-lock or traditional pliers since they are likely to damage threads.
Remove the old thermocouple and replace it immediately with the new one. Tighten the fittings. Turn the gas supply back on and then follow the directions for relighting your water heater on the side of the tank.
Give It a Moment, Then Relight Again
Be patient, it may take up to a minute for the gas to recharge in the system. If you have a push-button, plunger-style ignitor, wait 15 seconds after the gas is on and try it. Repeat until the pilot light is lit. You may have to hold down the pilot light button on the control box for a few minutes until the thermocouple is heated, which would be indicated in the instructions with your heater.
Wait a few minutes, then run the hot water and enjoy. However, if it takes more than 5 minutes to ignite, you might have different issues, such as water leaks or gas leaks.

