How To: Make Your Own Reclaimed Wood Wall
Reclaimed wood is making a big come back! What’s not to love about reclaimed wood? Especially with the increasing price tags on lumber, pallets and old fence boards have been my go-to wood source for my recent DIYs.
Reclaimed lumber is precisely what it sounds like—old wood boards that have been salvaged and upcycled for another use. People have been reclaiming wood for centuries! You often see it used as flooring, siding, cabinetry, furniture, and even as decoration.
In trend right now are reclaimed wood walls. These walls can add a rustic or modern charm, depending on how you use them. Wood feature walls are popping up in just about every space, including bedrooms, basements, living areas, offices, board rooms, hallways, etc. After running into some free fence boards recently, I decided to give this trend a go.
Choosing a Design:
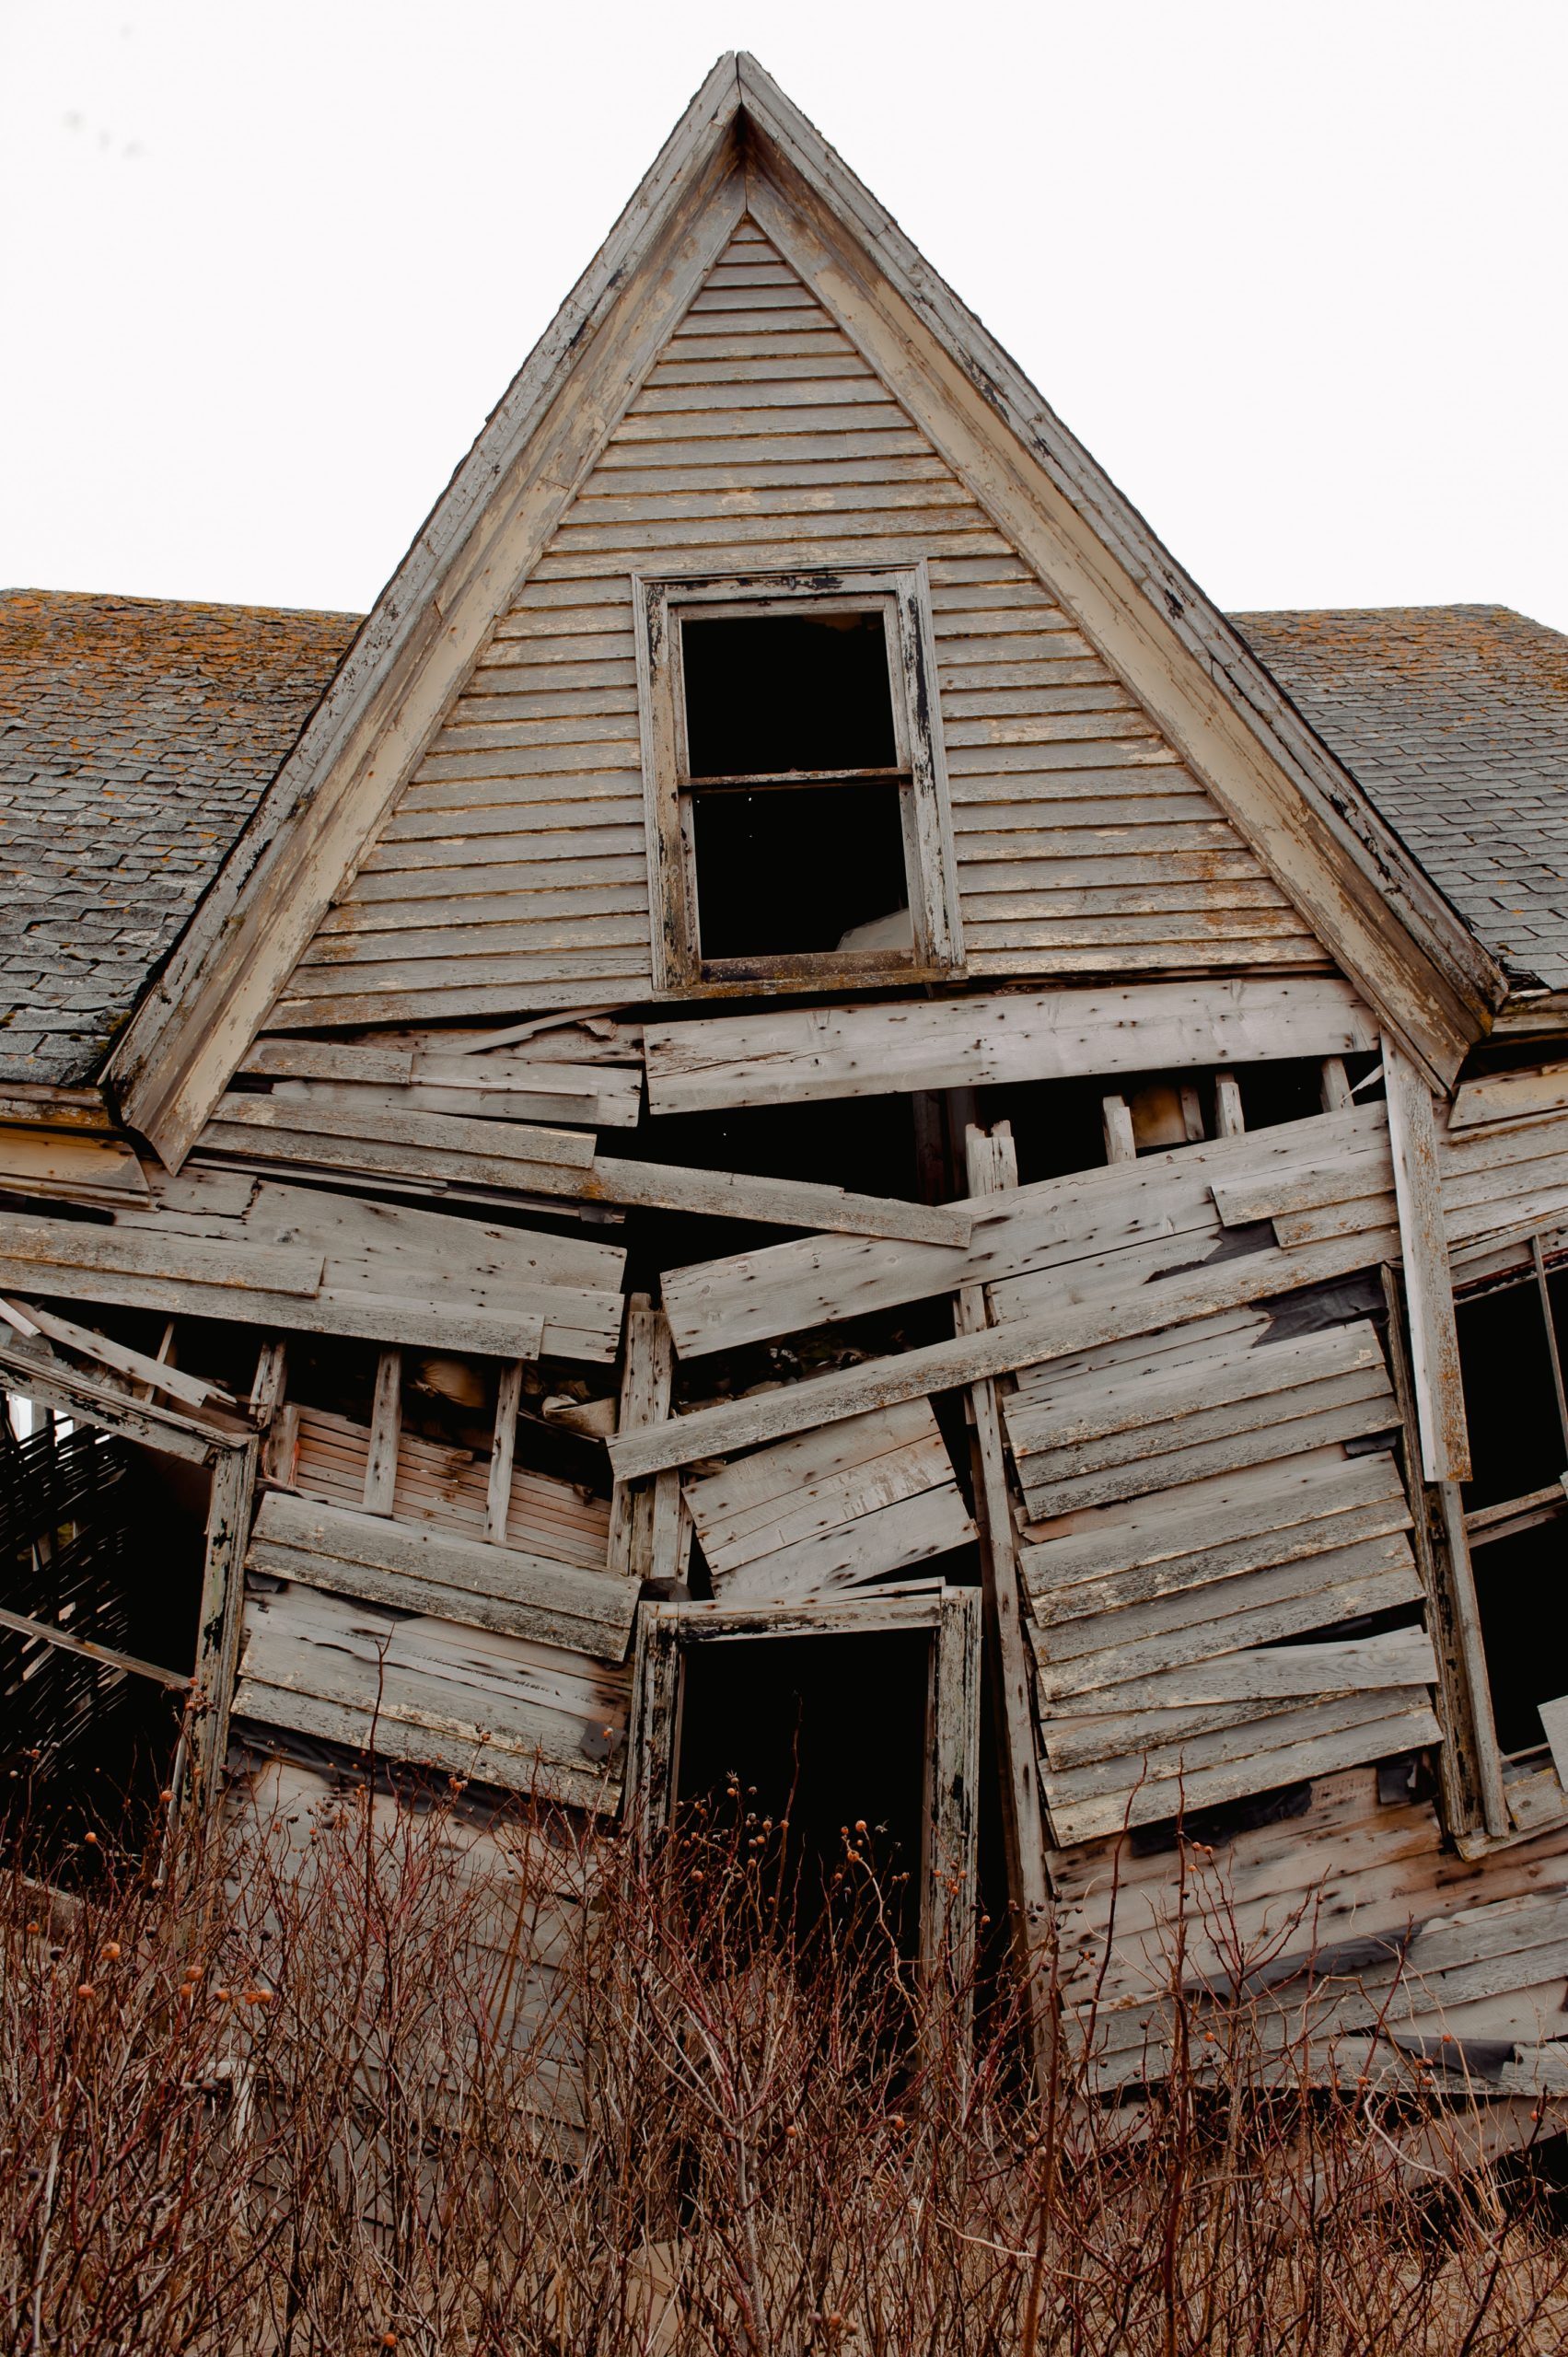
Choosing the right design for your space is your starting point. Narrow down how you want the boards to come together on the wall. Do you want a staggered effect or even planks? Do you like wide barn boards or thin boards? Take a look at some pictures online and narrow down exactly what you want.
Next, think about the colors of the boards. While it may sound wasteful, painting over the wood grain has become a popular option – especially for a shiplap design. It adds texture to the wall but keeps a clean finish for modern spaces.

Most times, the wood is left open-grained, and a staining color is selected. Even more common are the multi-colored reclaimed walls. I had a ton of scrap wood in different colors on hand, so I opted for the multicolor.
Locating Your Wood
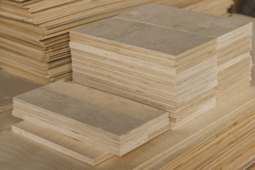
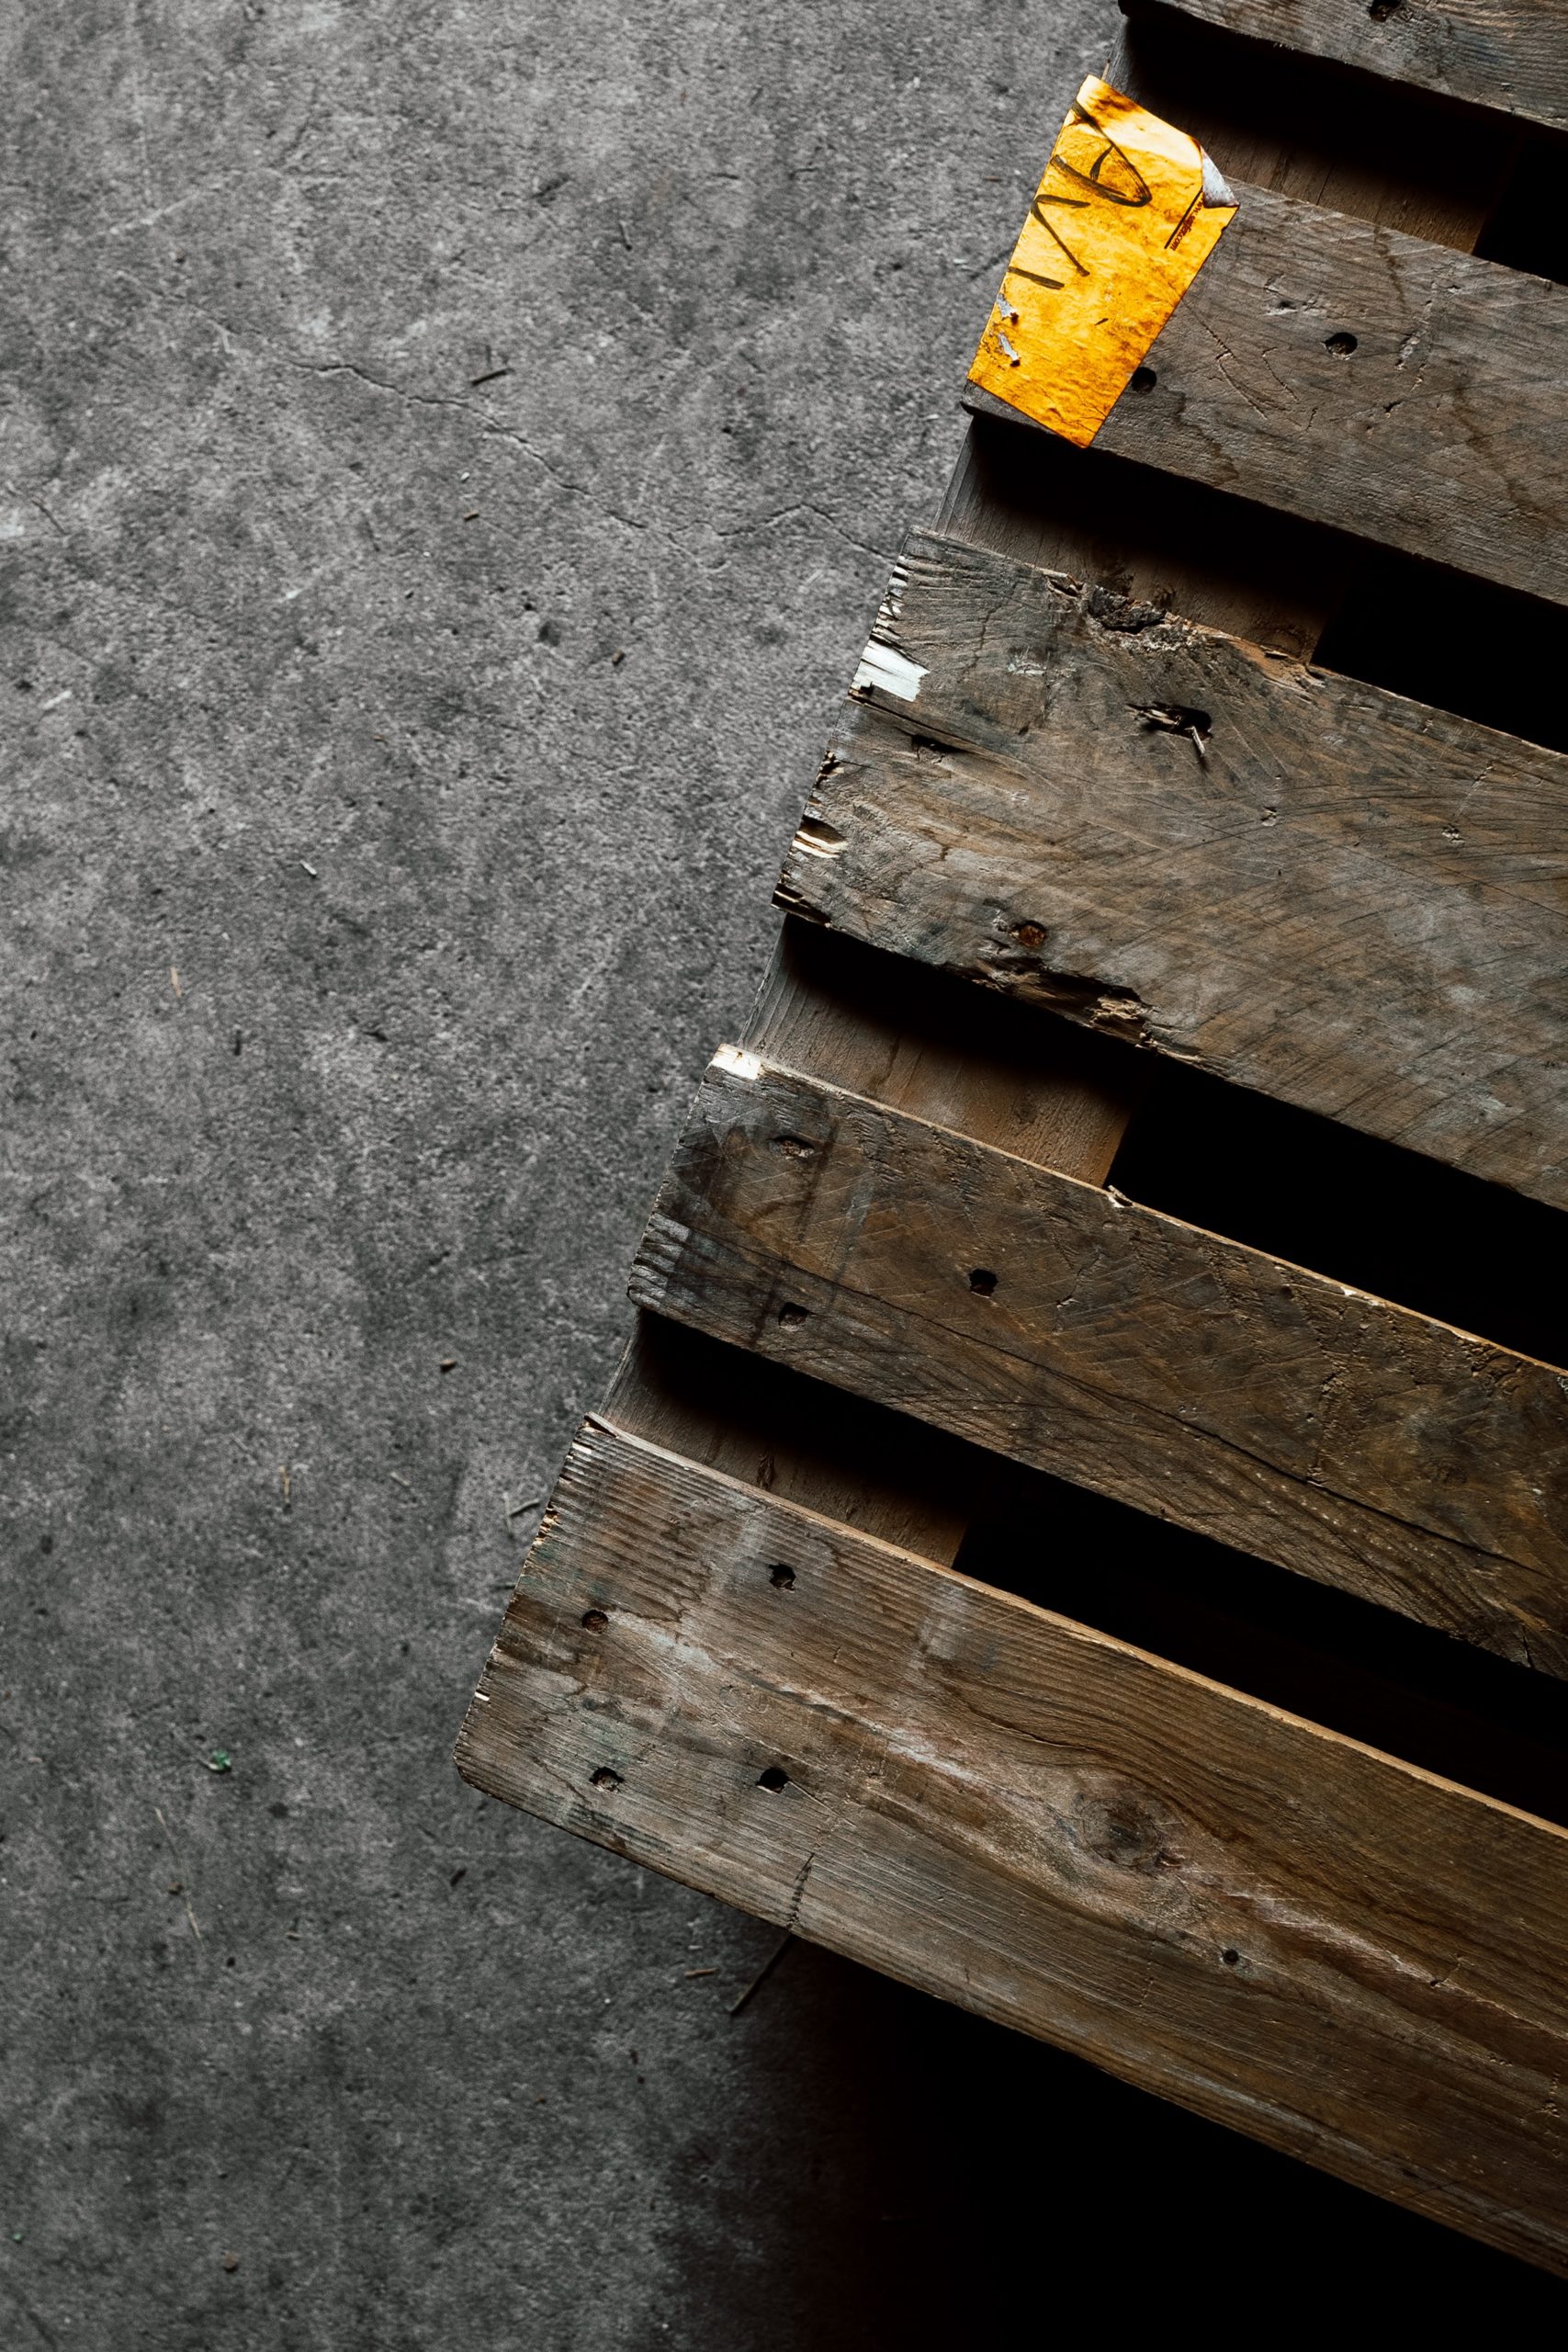
While you can purchase reclaimed woods at your local hardware store, I don’t recommend using store-bought wood. Those boards are not only expensive, but any DIYer can easily prepare them. Salvage your wood from old barns, factory pallets, or old blown down fences. It requires some extra effort on your part but will save your wallet a tremendous amount in the long run. Just make sure that all the wood you collect, is the same width.
The Supplies
For this project, you are going to need:
- Wood boards/planks – enough to cover your surface (and some extras on hand)
- Table Saw
- Measuring Tape
- Pencil & Paper
- Tape (masking or painters)
- Brad Nailer & Brad Nails
- Silicone Caulking (optional)
Prepping the Wall
Prep your wall by clearing out space and washing down the walls. It may seem silly washing walls that will be covered up, but if your wall is going to be permanent, a clean wall is essential to properly and permanently adhere the boards to the wall.
Measure the Wall
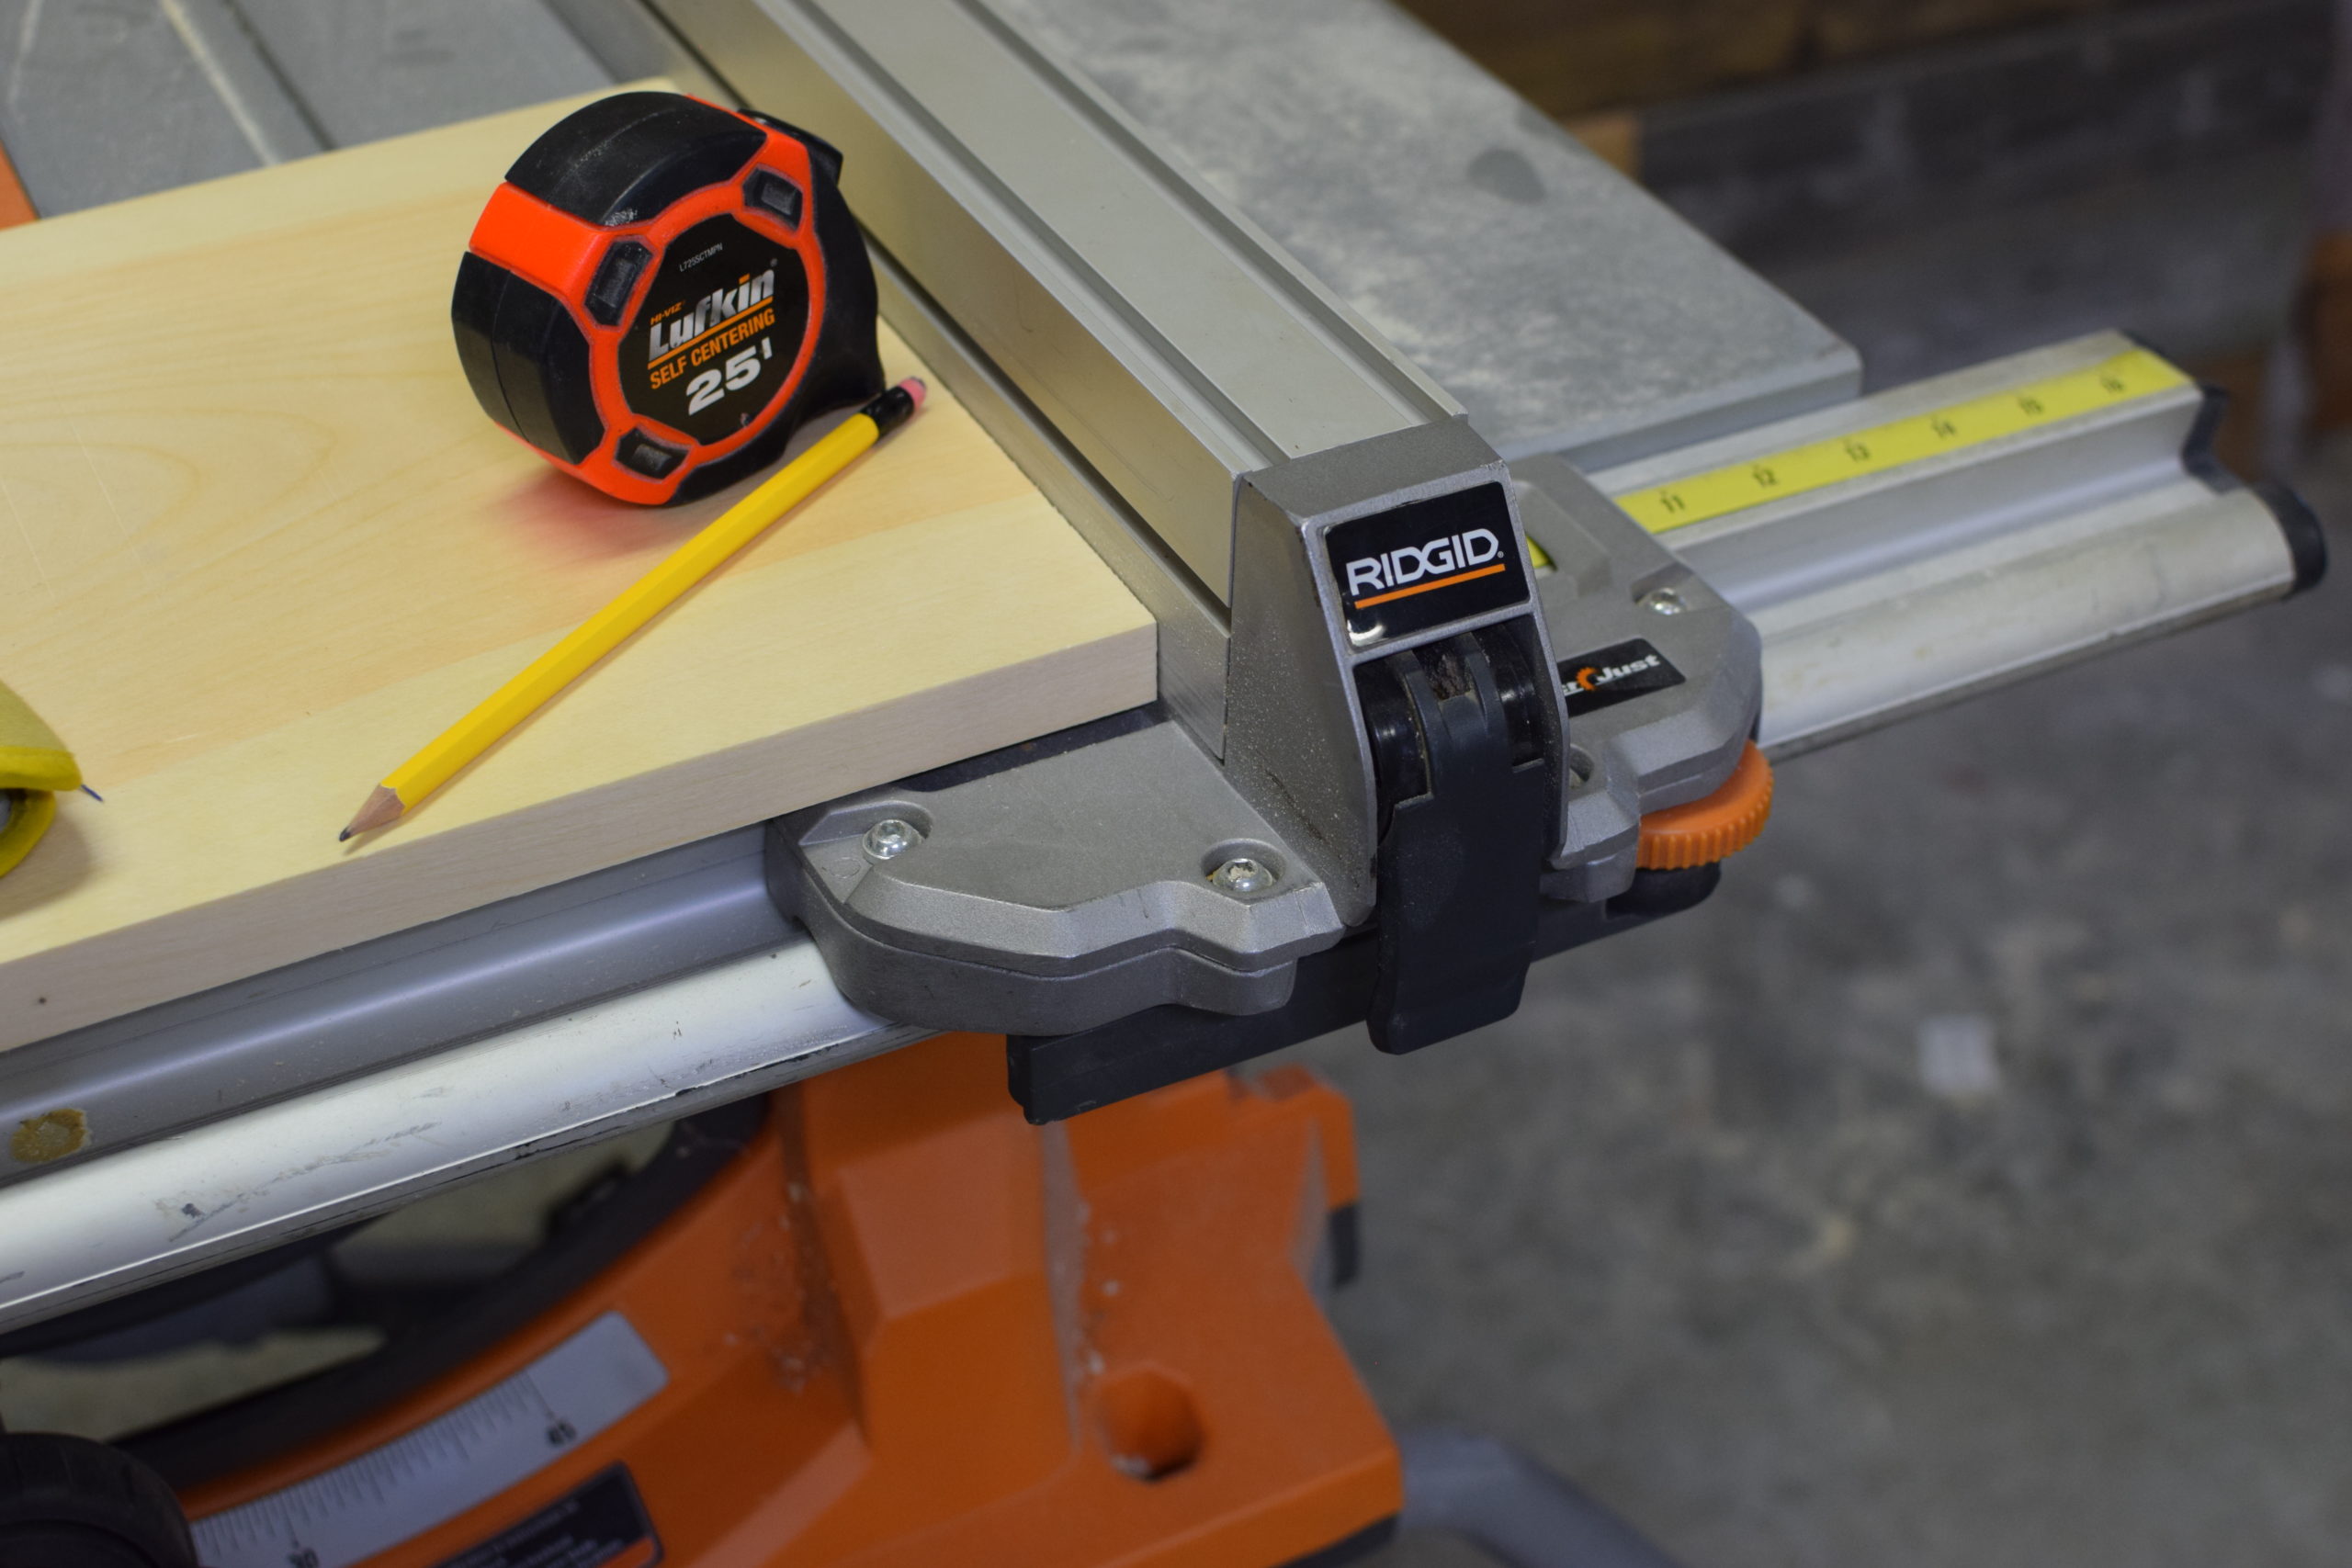
Grab your tape measure, pencil, and paper and jot down your wall measurements from length to width. Multiply those numbers together, and you have the square footage of your wall.
Example: 11’ x 9’= 1023 sq ft.
Now, measure your wood plank’s width. Mine are 6″ wide. Convert the height of your wall into inches and then divide that number by the board’s width. This will tell you the number of panels that will be needed from floor to ceiling.
Example: Wall height 9’ (108”) / wood width 6” = 18 boards
Finally, measure and record the height of your planks. Mine were 7′ tall. Using the same technique, divide the width of the wall by the length of the board.
Example: 11’ (132”) / 7’ (84”) = 1.57 boards
Now I know that I need 1.57 boards to cover the width, and I need 18 boards to cover the height. Multiply those together, and now you know exactly how many boards you need.
Example: 1.57 x 18 = 28.26 boards.
Always round up to the next board and add an extra board for backup. Therefore the total number of boards I collected for my project was 30 ( 6″ x 7′ ) boards.
Prep Work
Using a stud finder, locate the studs on your wall. Use a piece of painter’s tape to mark the stud from floor to ceiling. Marking these out is going to make the installation process much easier.
Finally, it’s time to cut the boards down to size. Using my table saw, I cut down my planks into sections that would fit across my 11′ wall. Then, I laid them out on the floor in front of the wall and pieced them together in the order I liked best.
Install The Wall
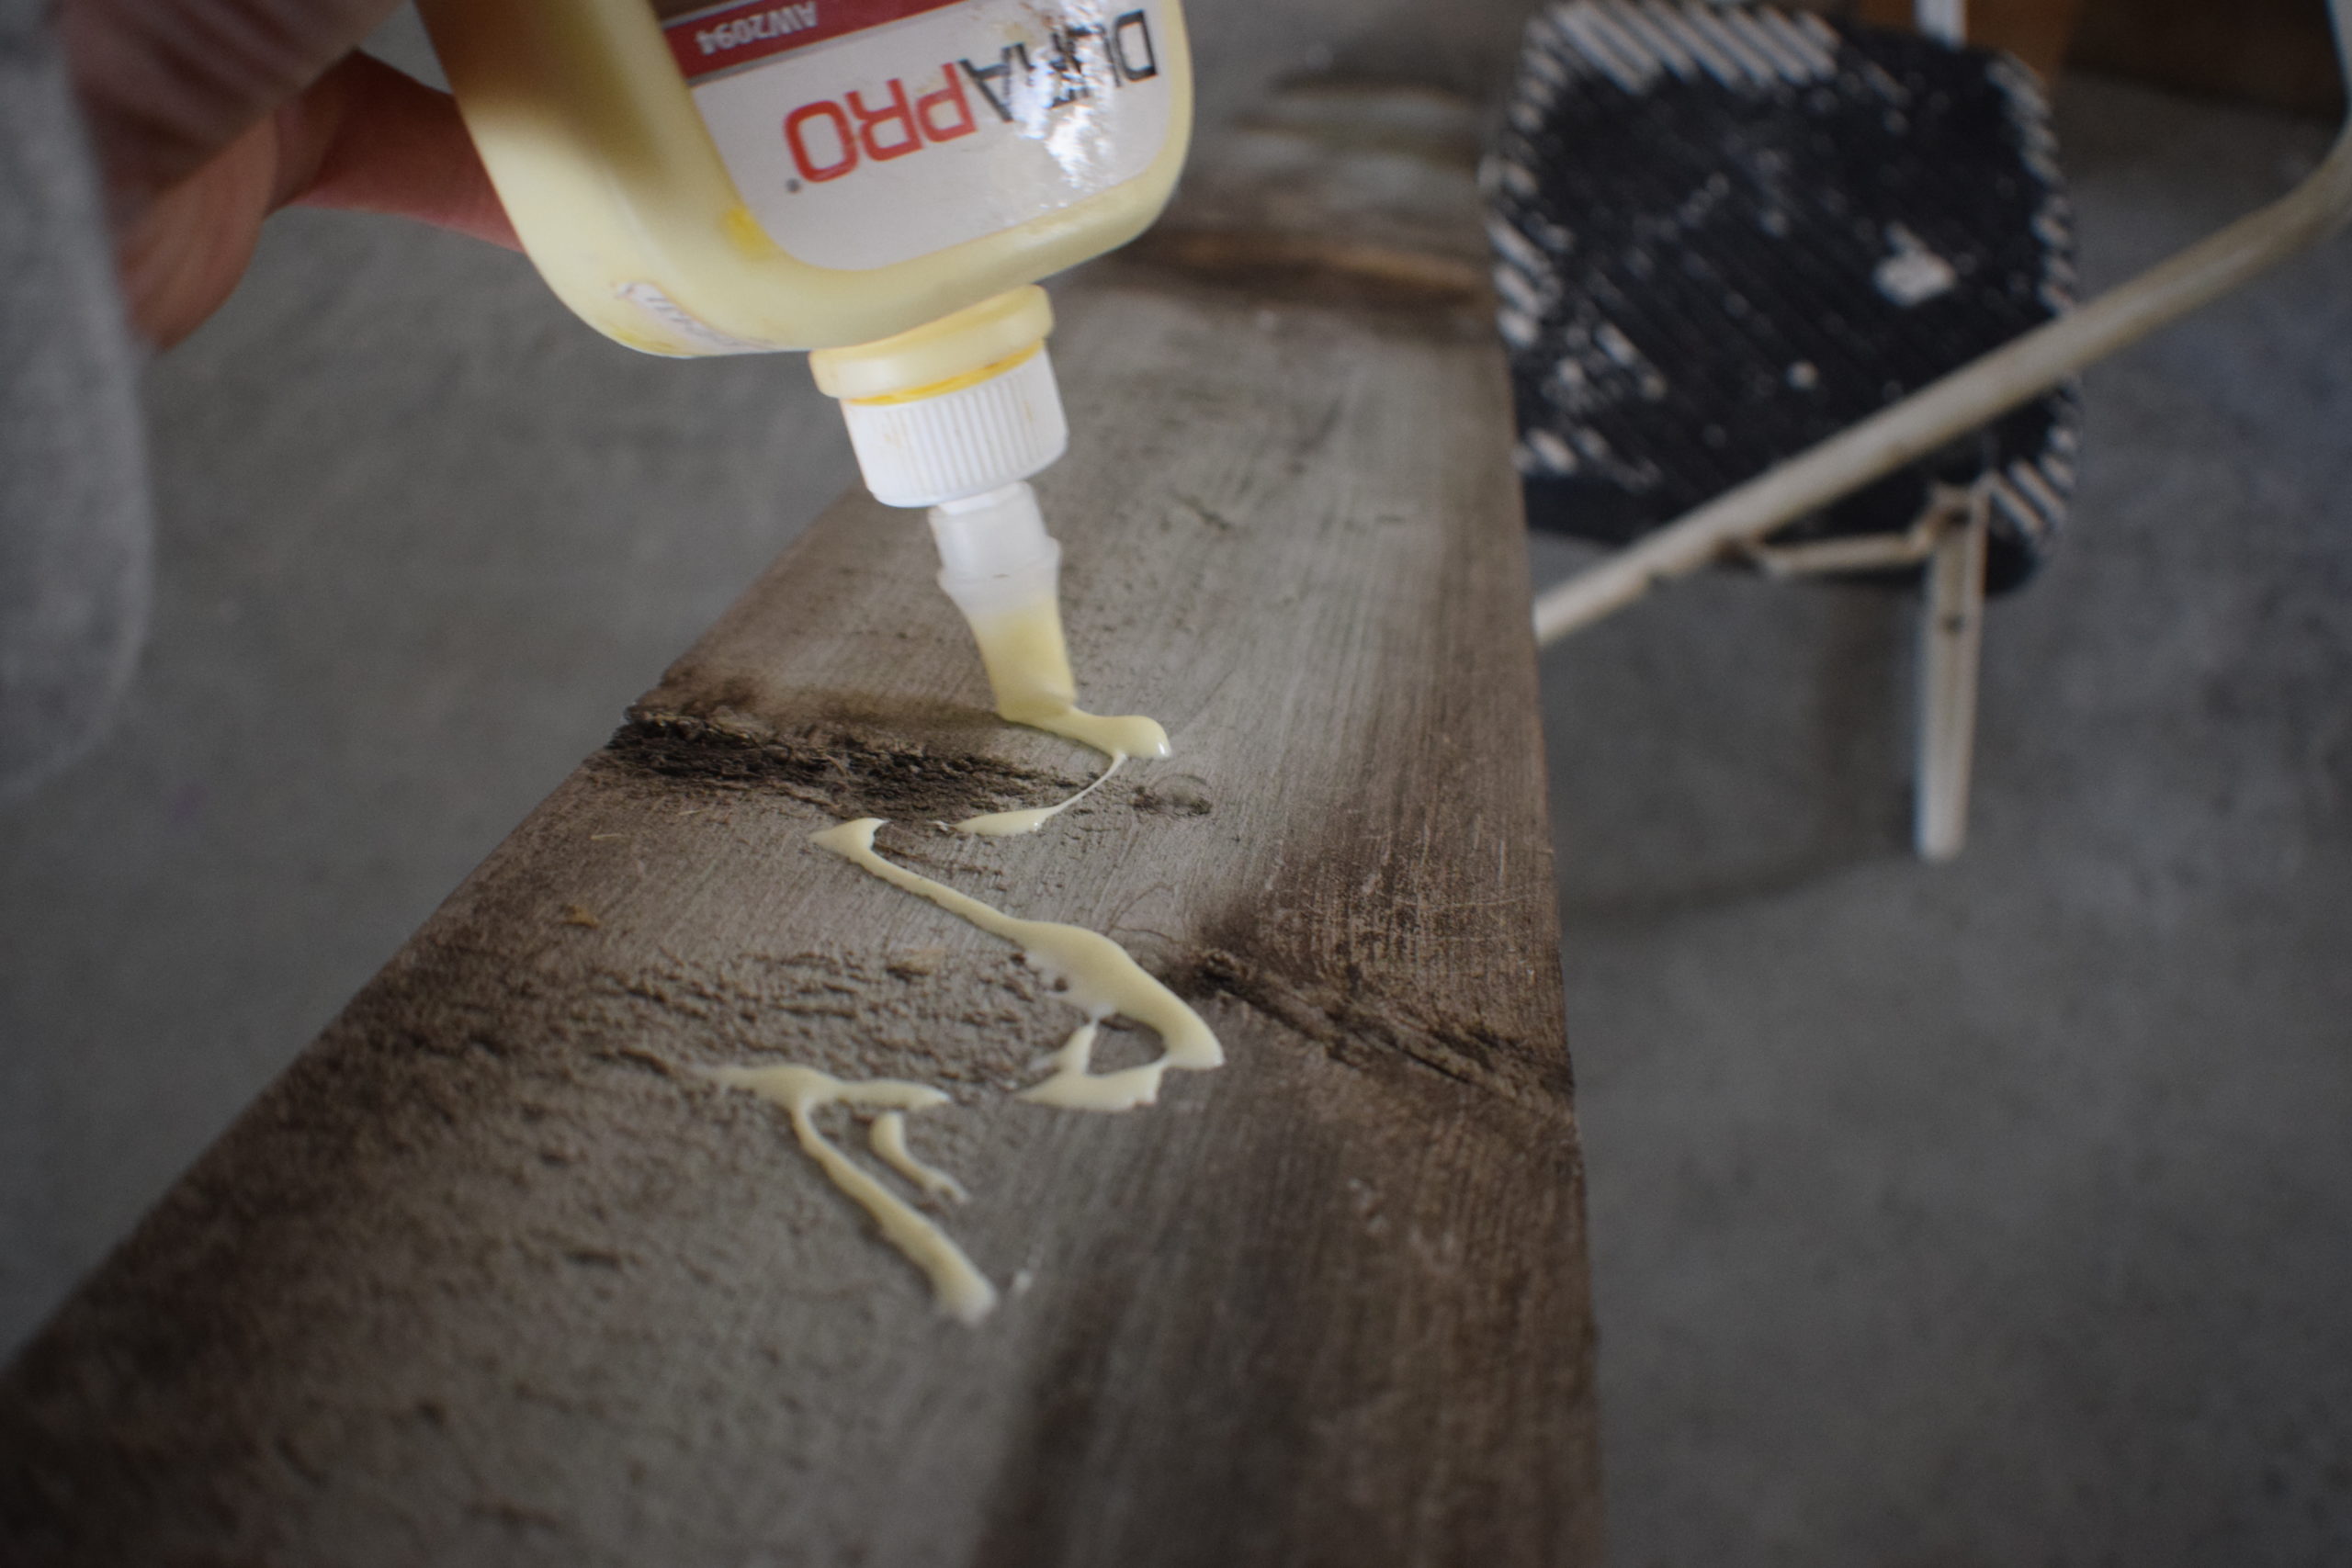
If your wall is going to be permanent, you will want to use some adhesion on the back of the board. Silicone caulking or wood glue works great. Just add a zig-zag line on the back of the board and then hold the board into place on the wall. Use your brad nailer and place a nail in each stud. If you have wider planks, you should use at least two brad nails per stud. If your wall is not permanent, just skip the first step.
Start installing the boards from the top of the wall and work your way down. Doing so will reduce any variances that may occur if the wall or boards are not perfectly square. It helps to use your square and check that a row is even after installing it. You can add a baseboard at the bottom and cover up any leftover space that these issues may have caused.
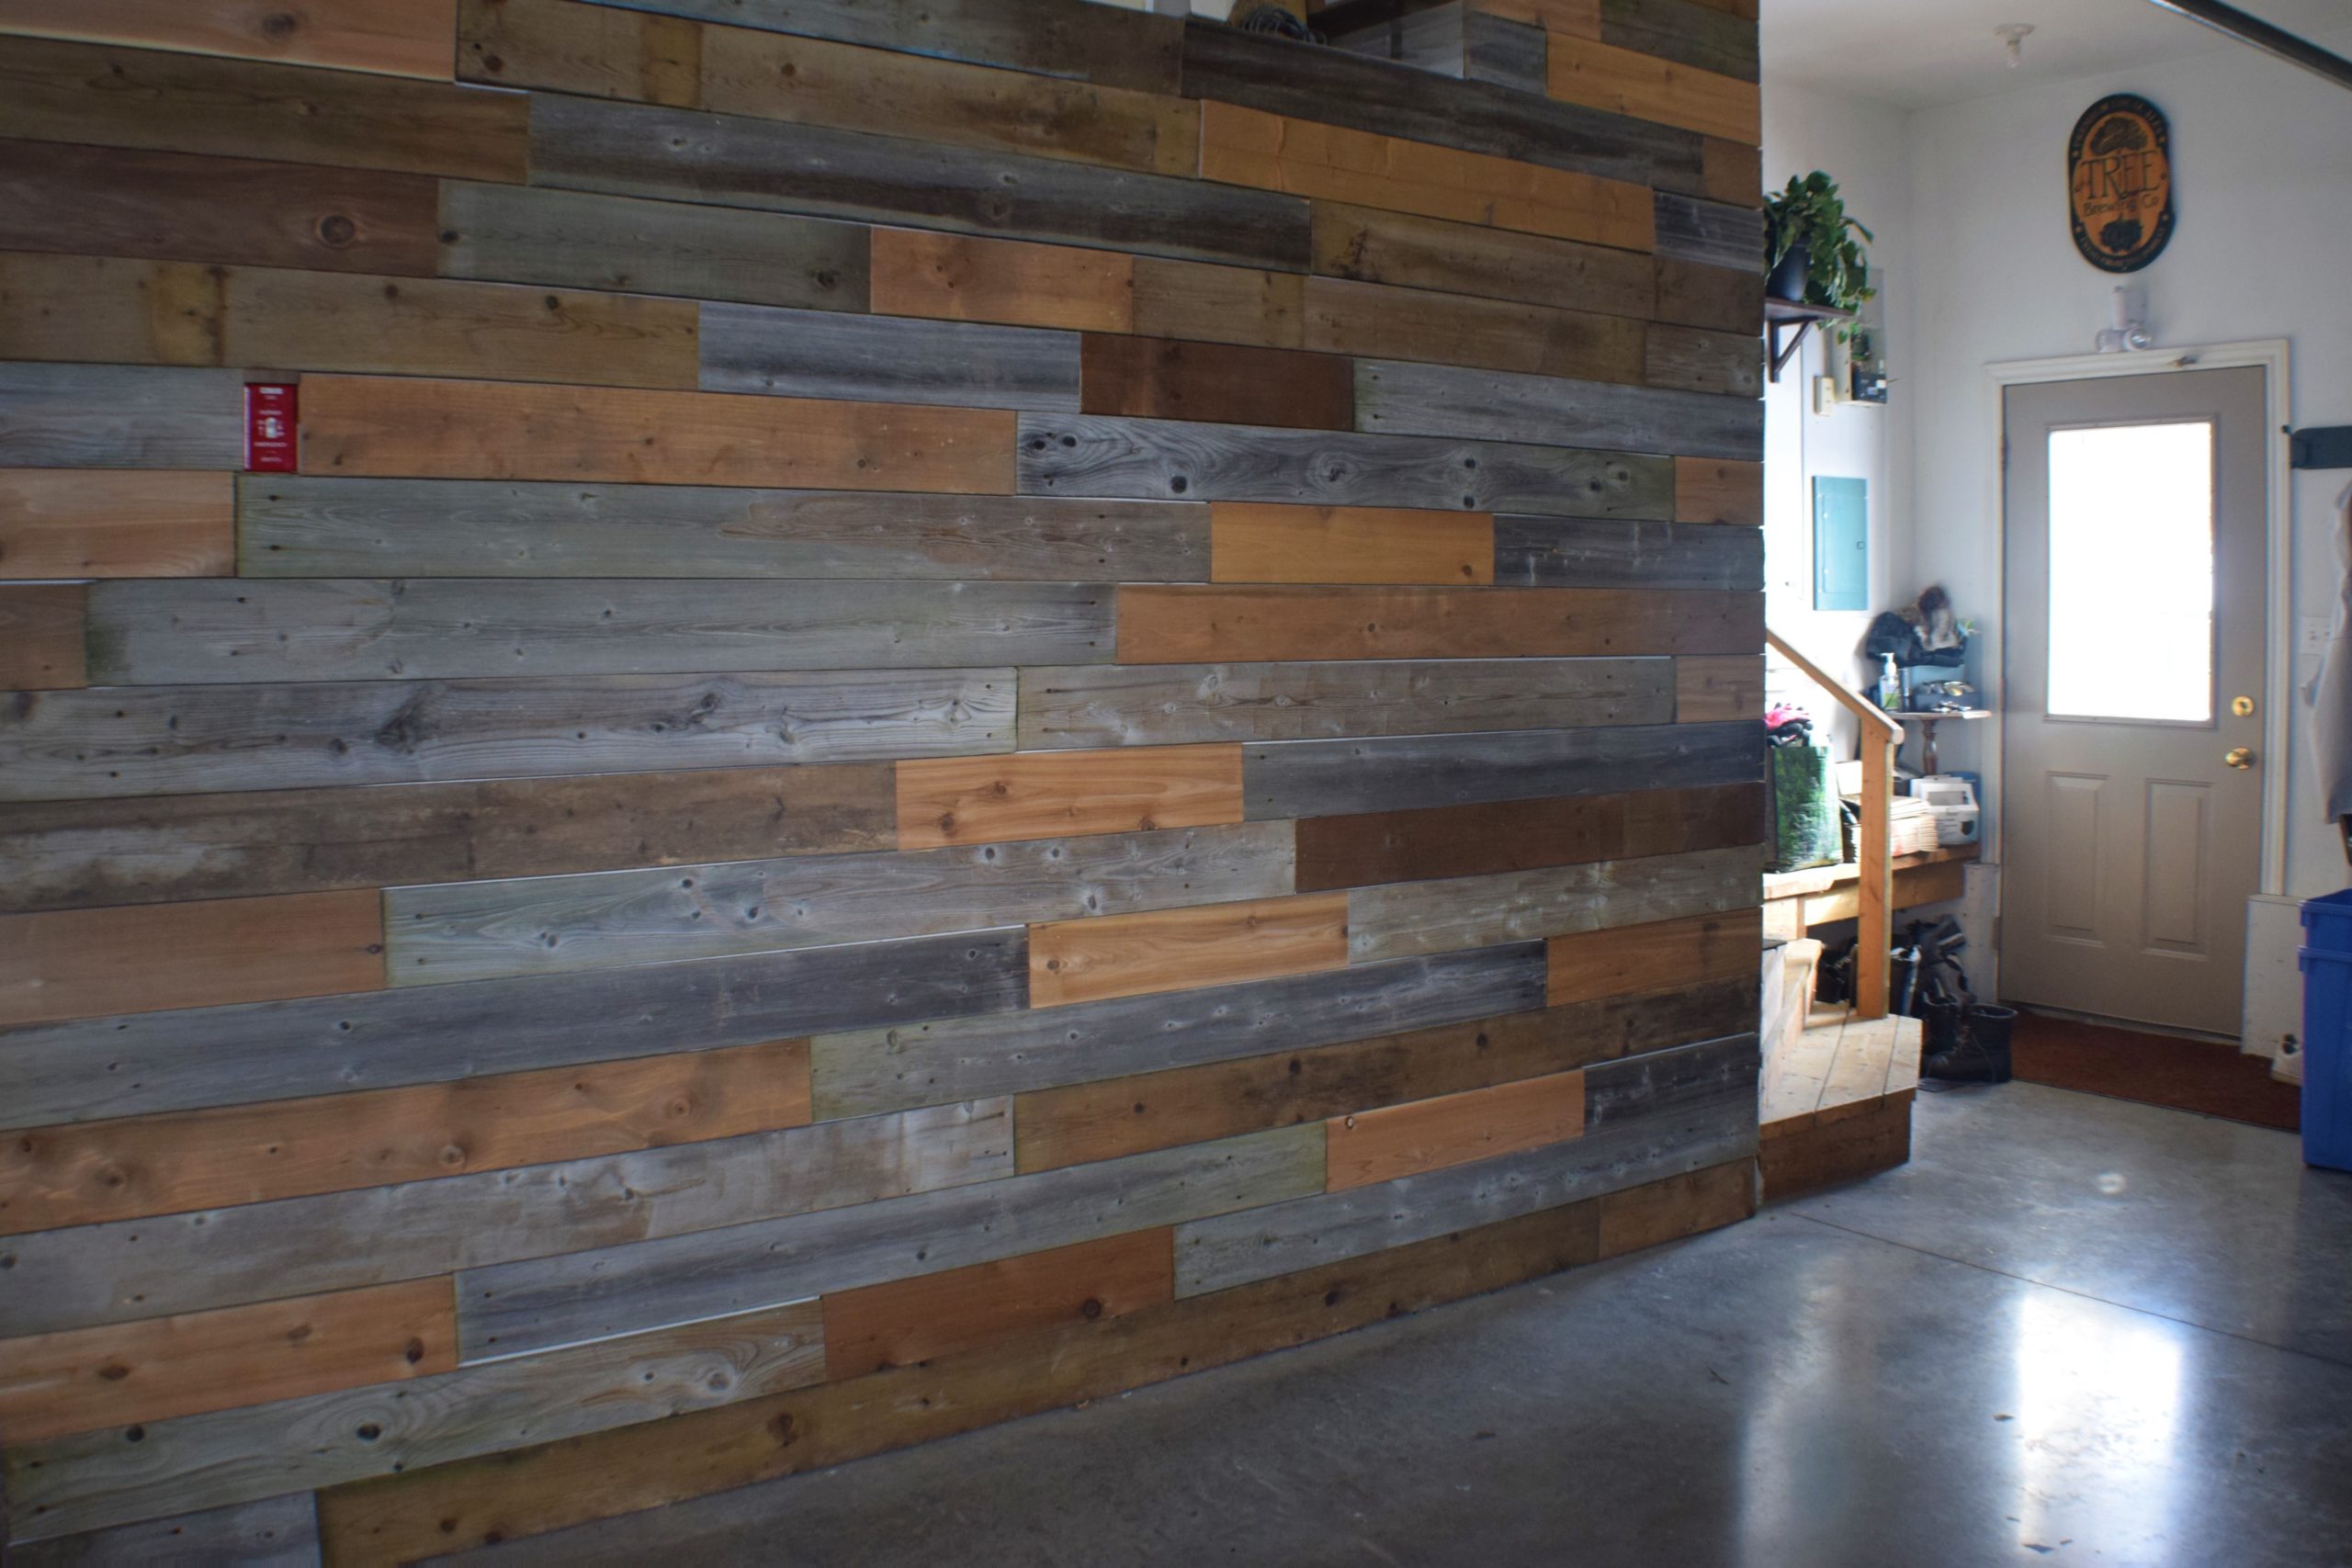
Once you have covered the entire wall, stand back, and you will be in awe of your masterpiece.

