How to Remove Drywall Anchors Without Destroying Your Walls
Drywall anchors are essential for securing heavy items to walls, but when it’s time to remove them, the process can seem daunting. Removing them improperly can damage your walls, leaving unsightly holes or cracks. This guide provides step-by-step instructions to remove drywall anchors cleanly and efficiently, ensuring your walls remain in good condition.
Understanding Drywall Anchors
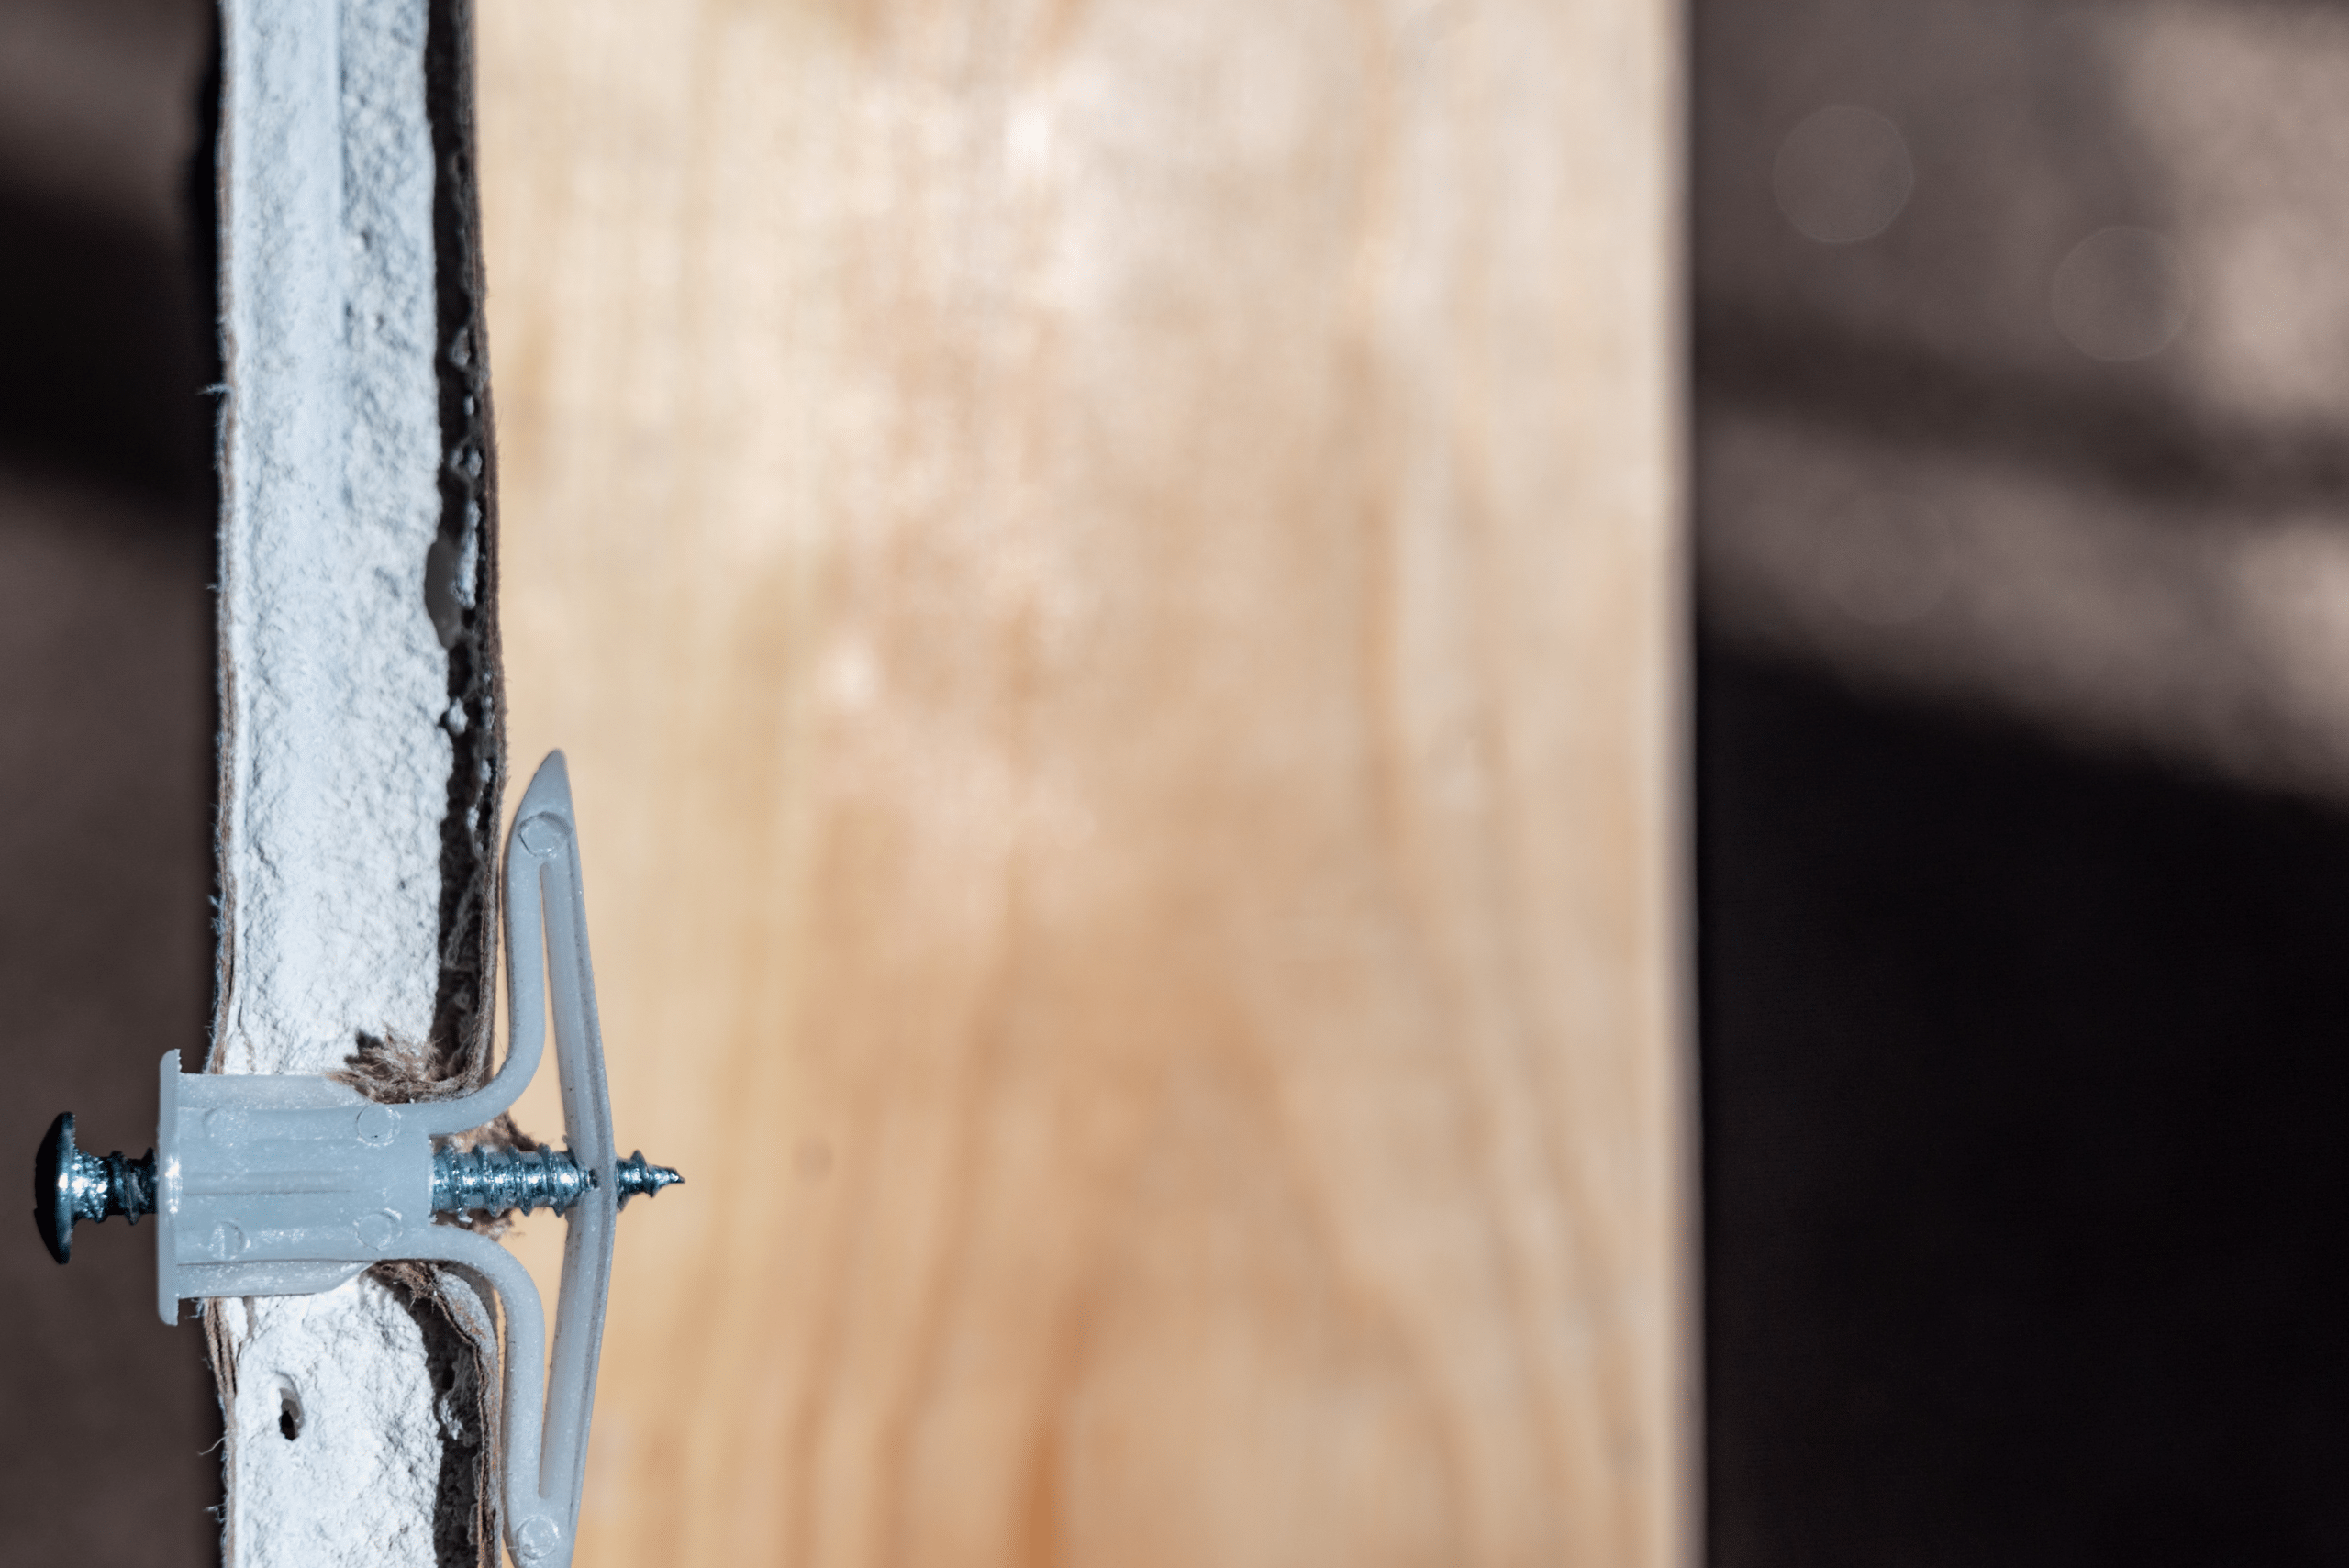
Drywall anchors come in various types, such as plastic expansion anchors, threaded anchors, and toggle bolts. Each type has its unique design and removal process. Knowing the type of anchor you’re dealing with is the first step toward a successful removal.
The purpose of drywall anchors is to provide extra support for screws, allowing them to hold more weight than they would in drywall alone. Removing them carefully ensures minimal damage and makes the wall ready for repair or reuse.
Tools You’ll Need
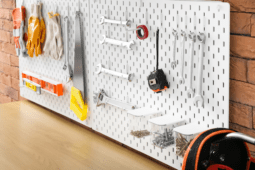
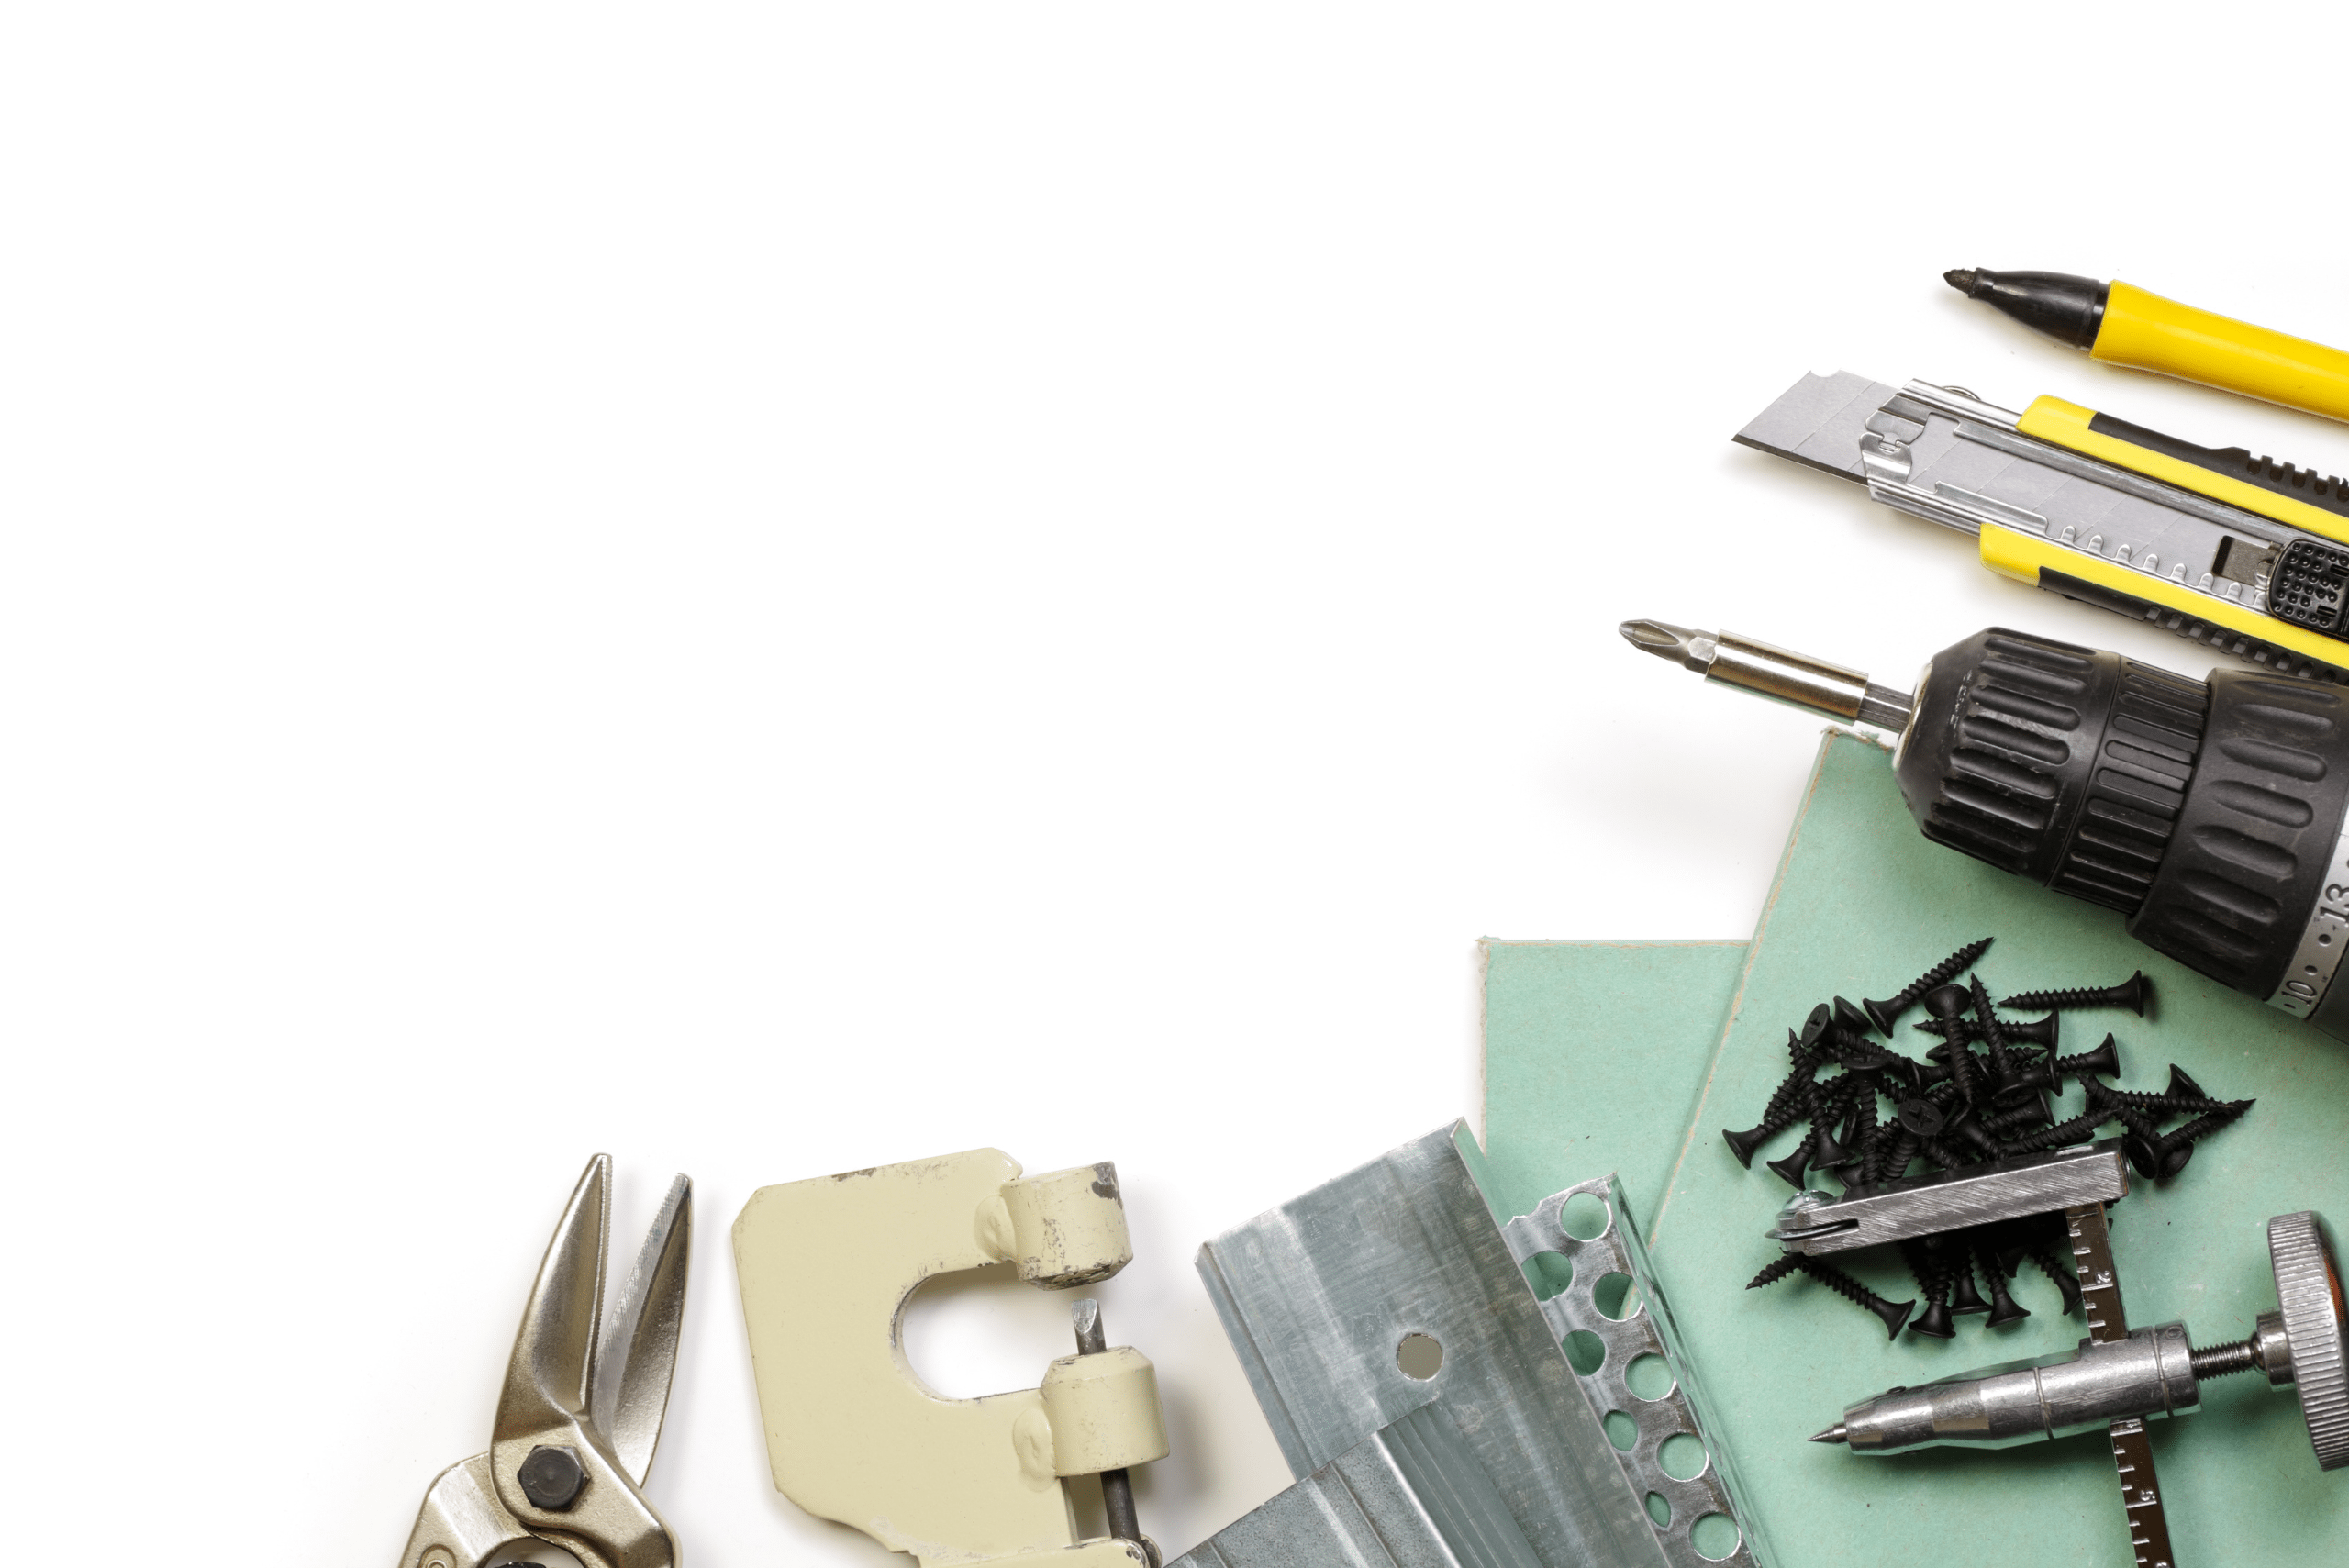
To remove drywall anchors, gather the following tools:
- A screwdriver or drill
- Needle-nose pliers
- A utility knife
- Spackling paste or joint compound
- Sandpaper
- A putty knife
- Paint (optional, for wall finishing)
Having the right tools on hand makes the process smoother and prevents unnecessary damage to your walls.
Step-by-Step Guide to Removing Drywall Anchors
1. Removing Plastic Expansion Anchors
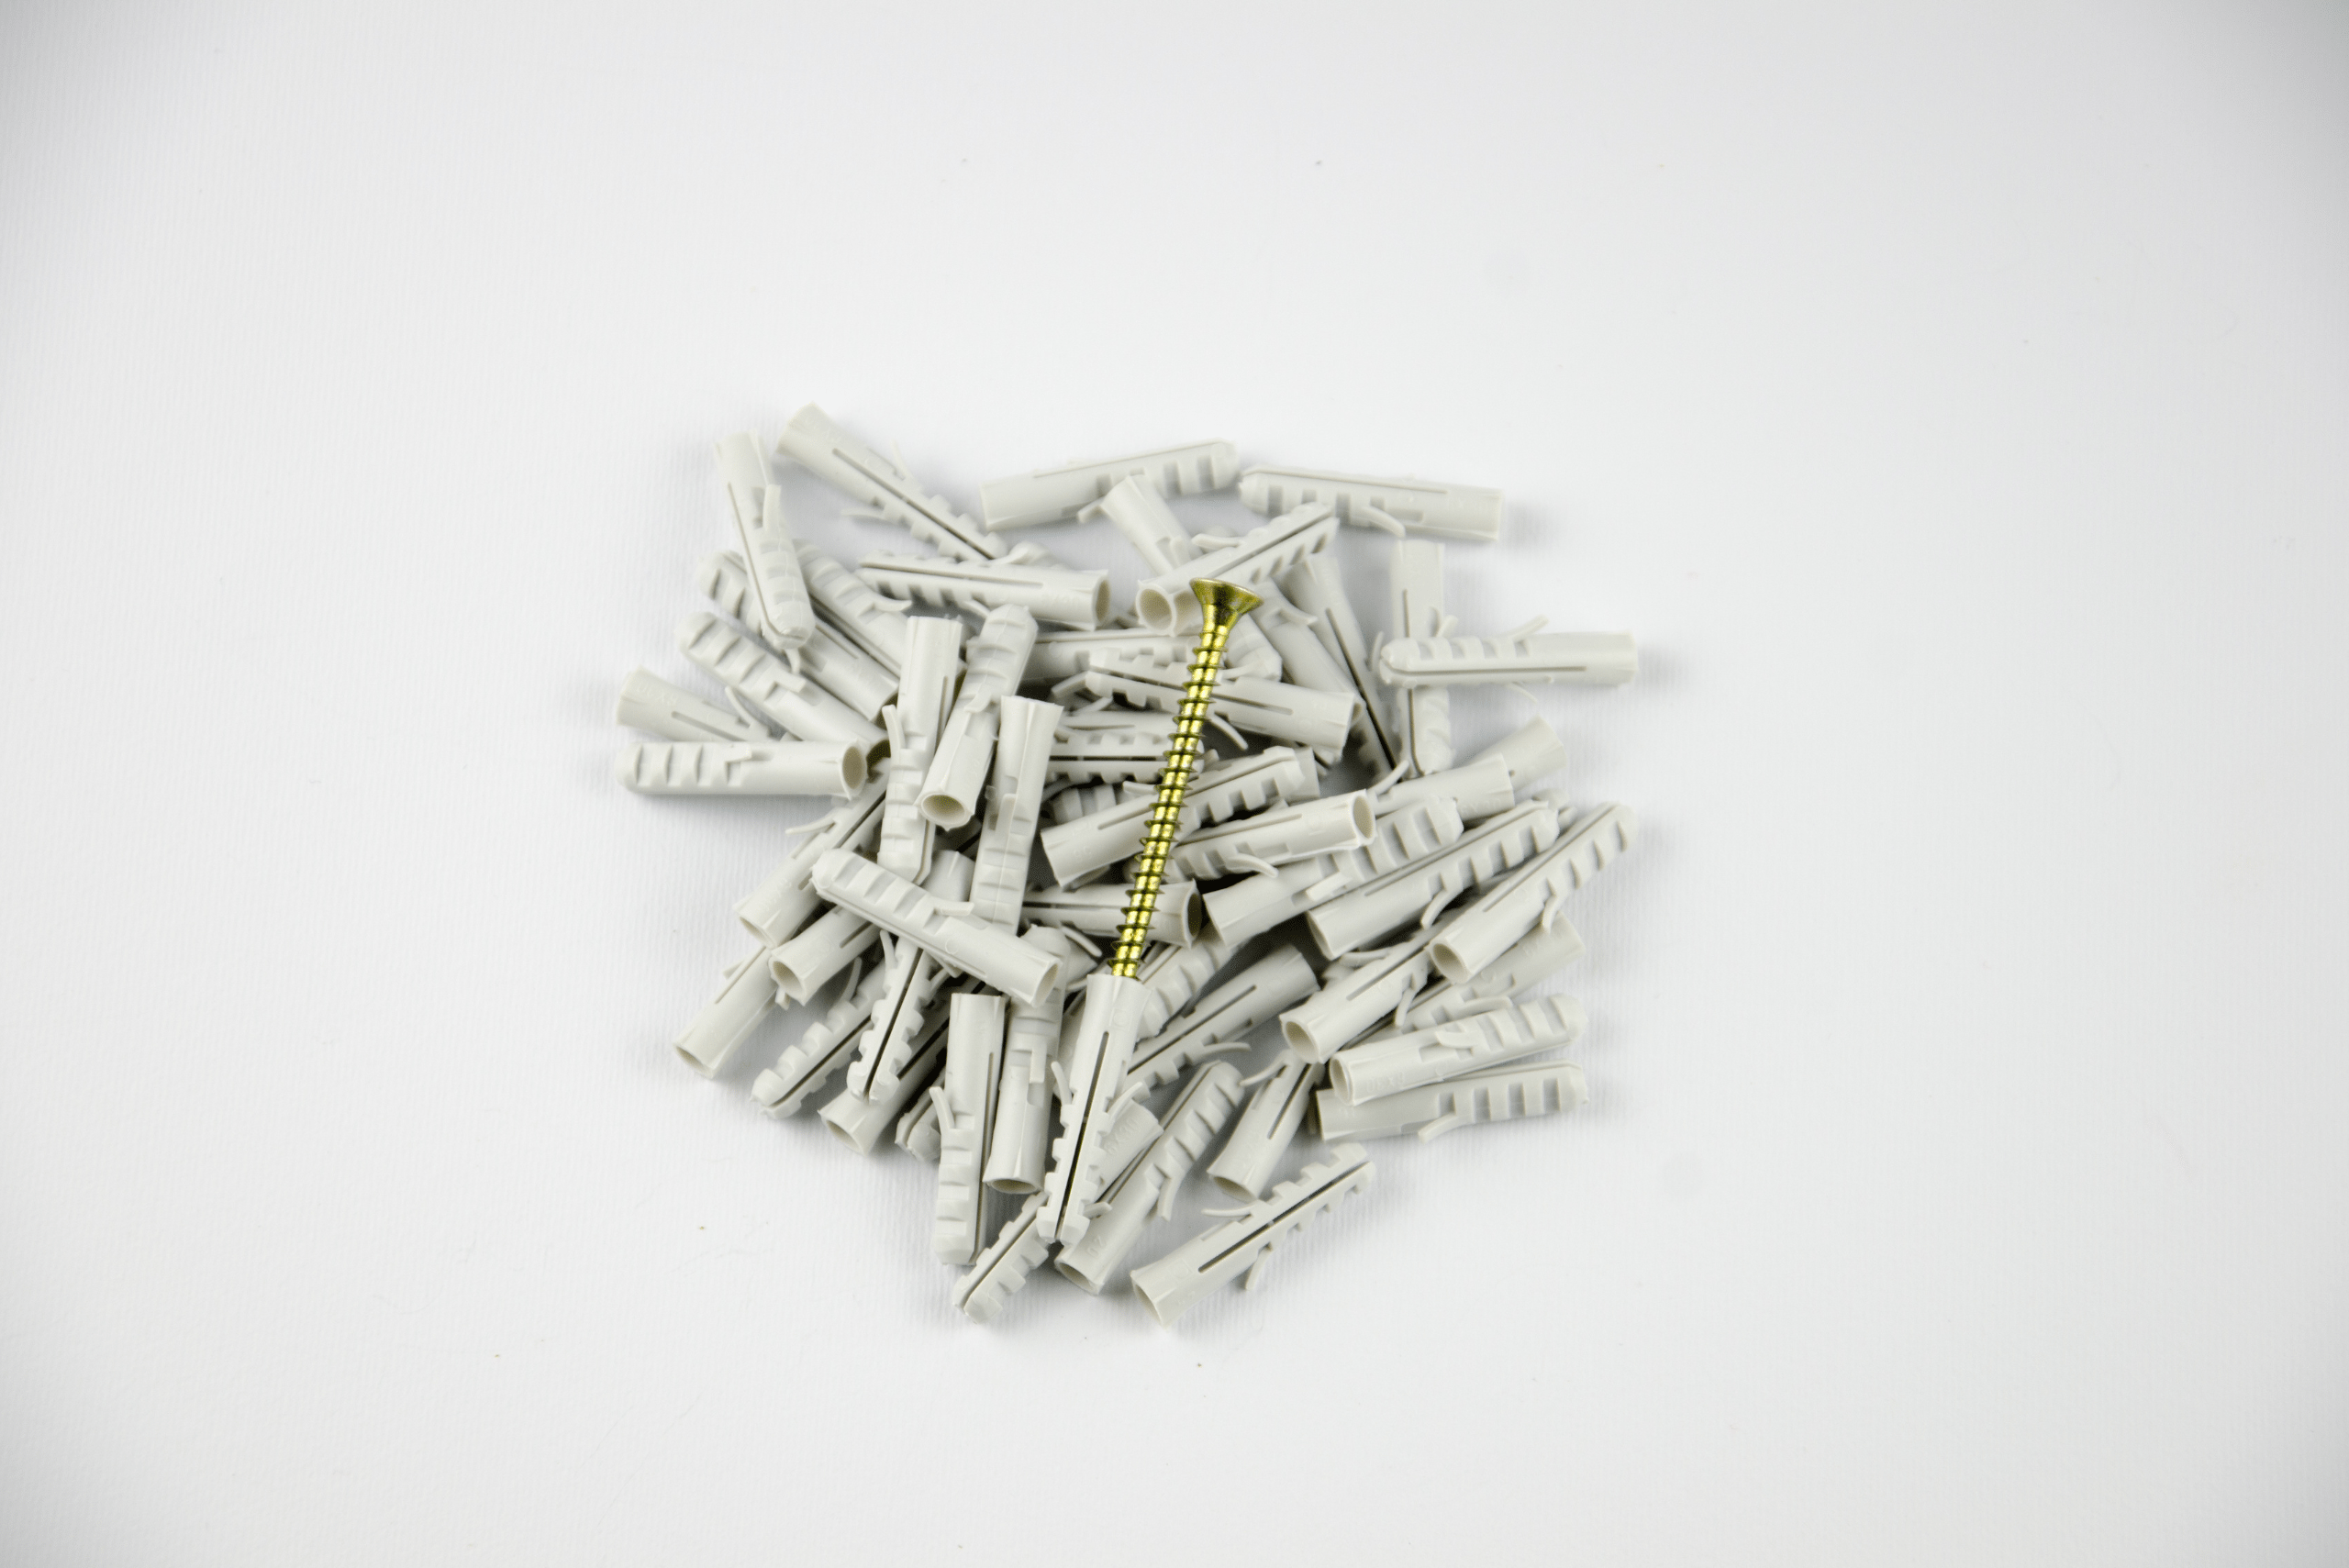
Plastic expansion anchors are among the most common types. To remove them:
- Step 1: Use a screwdriver to unscrew and remove the screw from the anchor.
- Step 2: Insert the tip of the screwdriver into the anchor and gently push it through the wall until it falls out the back.
- Step 3: If the anchor doesn’t push through, use needle-nose pliers to grip the edges and carefully pull it out.
2. Removing Threaded Anchors
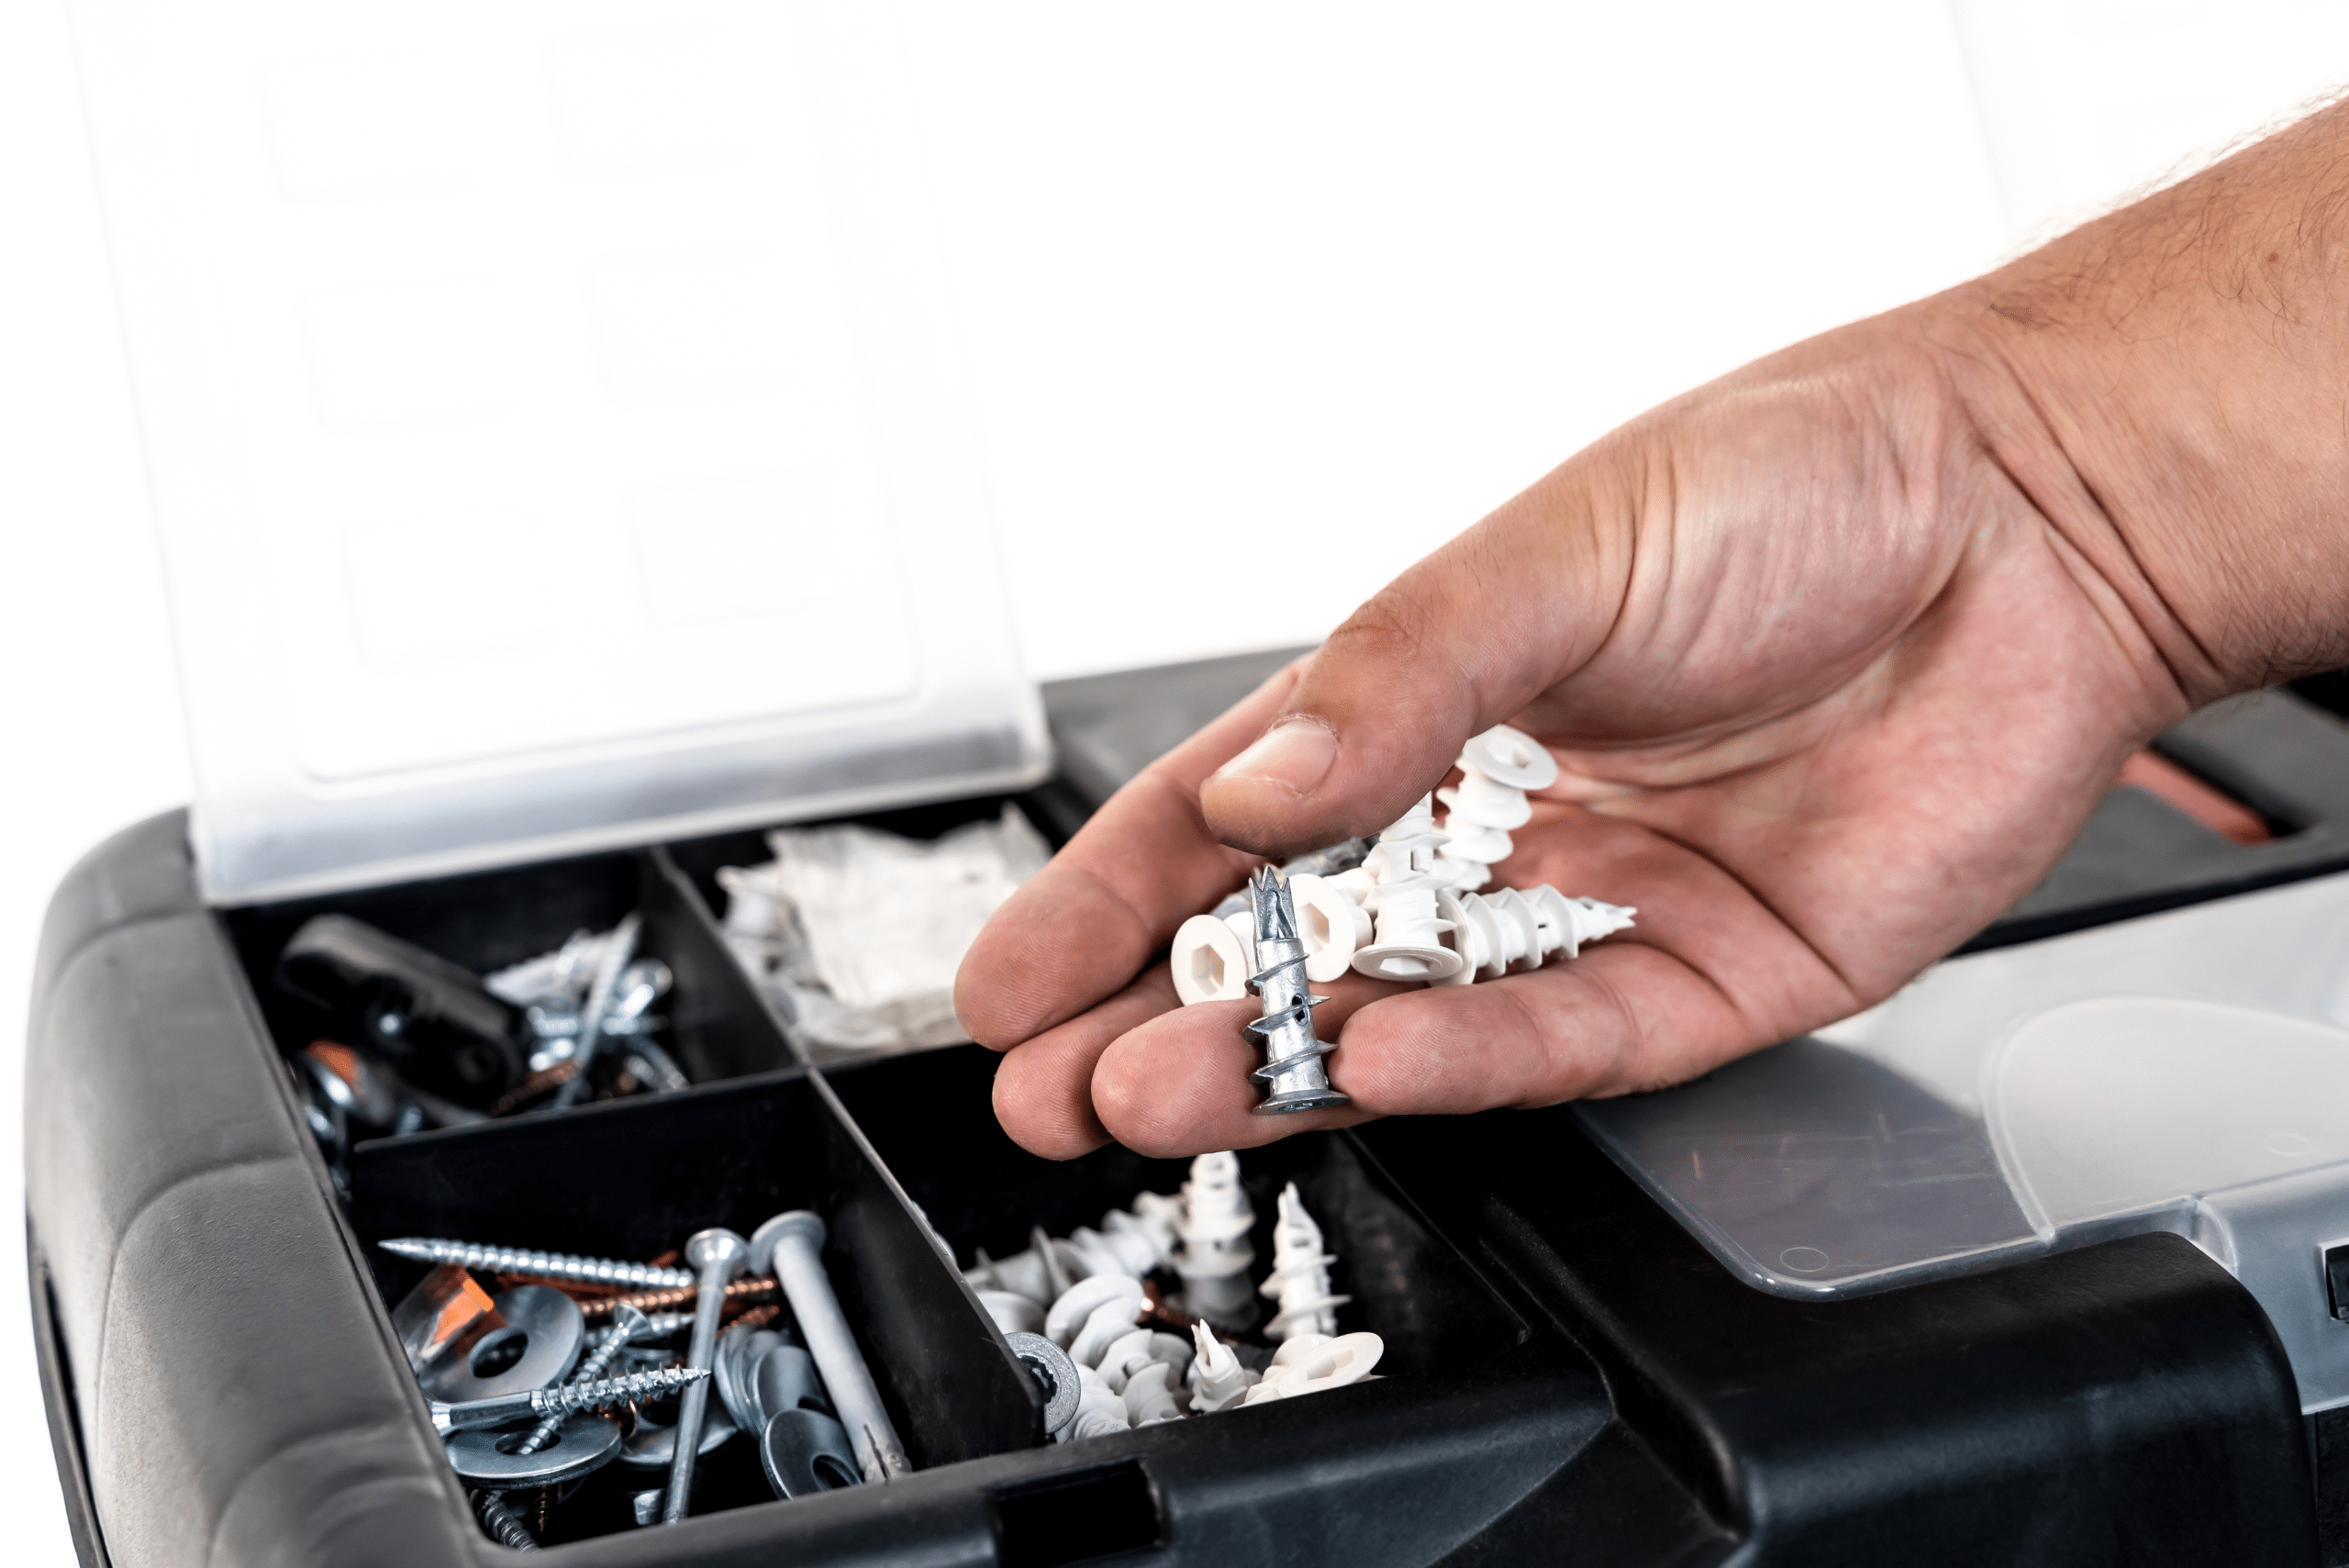
Threaded anchors, also known as self-drilling anchors, have a spiral design. Here’s how to remove them:
- Step 1: Use a screwdriver or drill to turn the anchor counterclockwise until it comes out of the wall.
- Step 2: If the anchor doesn’t budge, use needle-nose pliers to grip and twist it out.
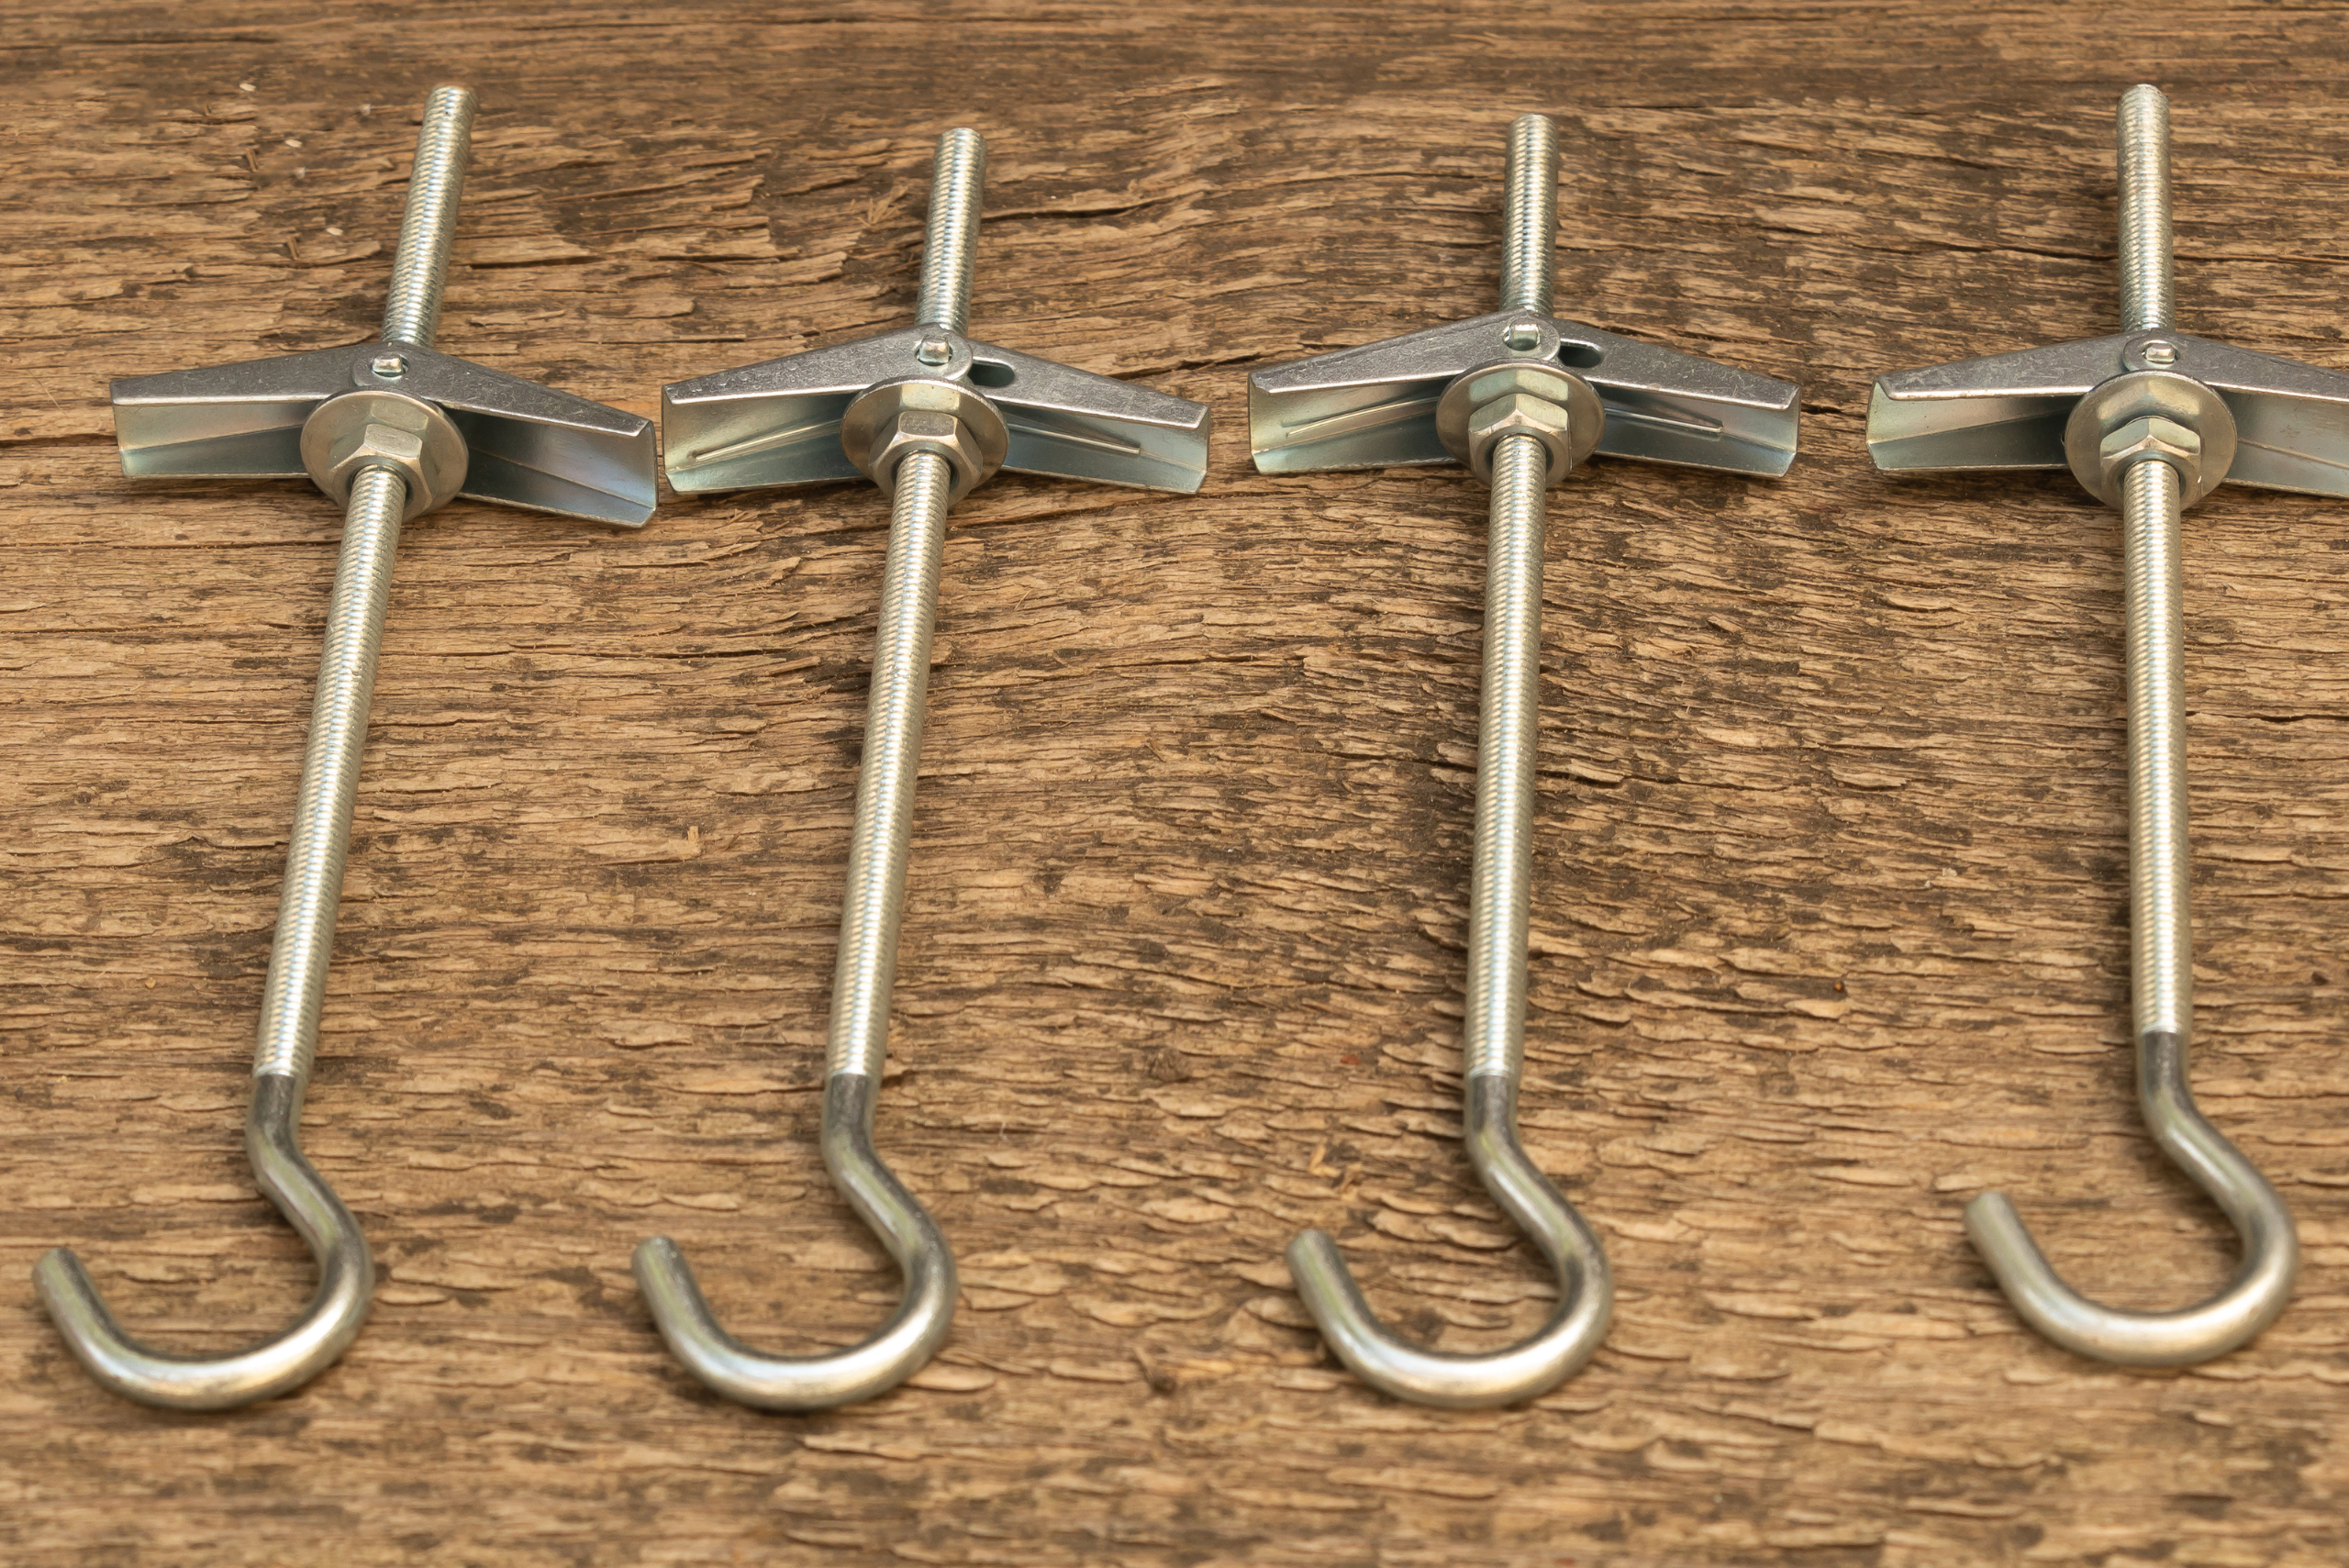
3. Removing Toggle Bolts
Toggle bolts have metal wings that expand behind the wall, making removal slightly more challenging:
- Step 1: Unscrew and remove the bolt with a screwdriver.
- Step 2: Push the metal wings through the wall, allowing them to drop inside. They will remain within the wall cavity but won’t cause issues.
Repairing the Hole
Once the anchor is removed, you’ll likely be left with a hole in the wall. Follow these steps to repair it:
- Prepare the Hole: Use a utility knife to trim any rough edges around the hole.
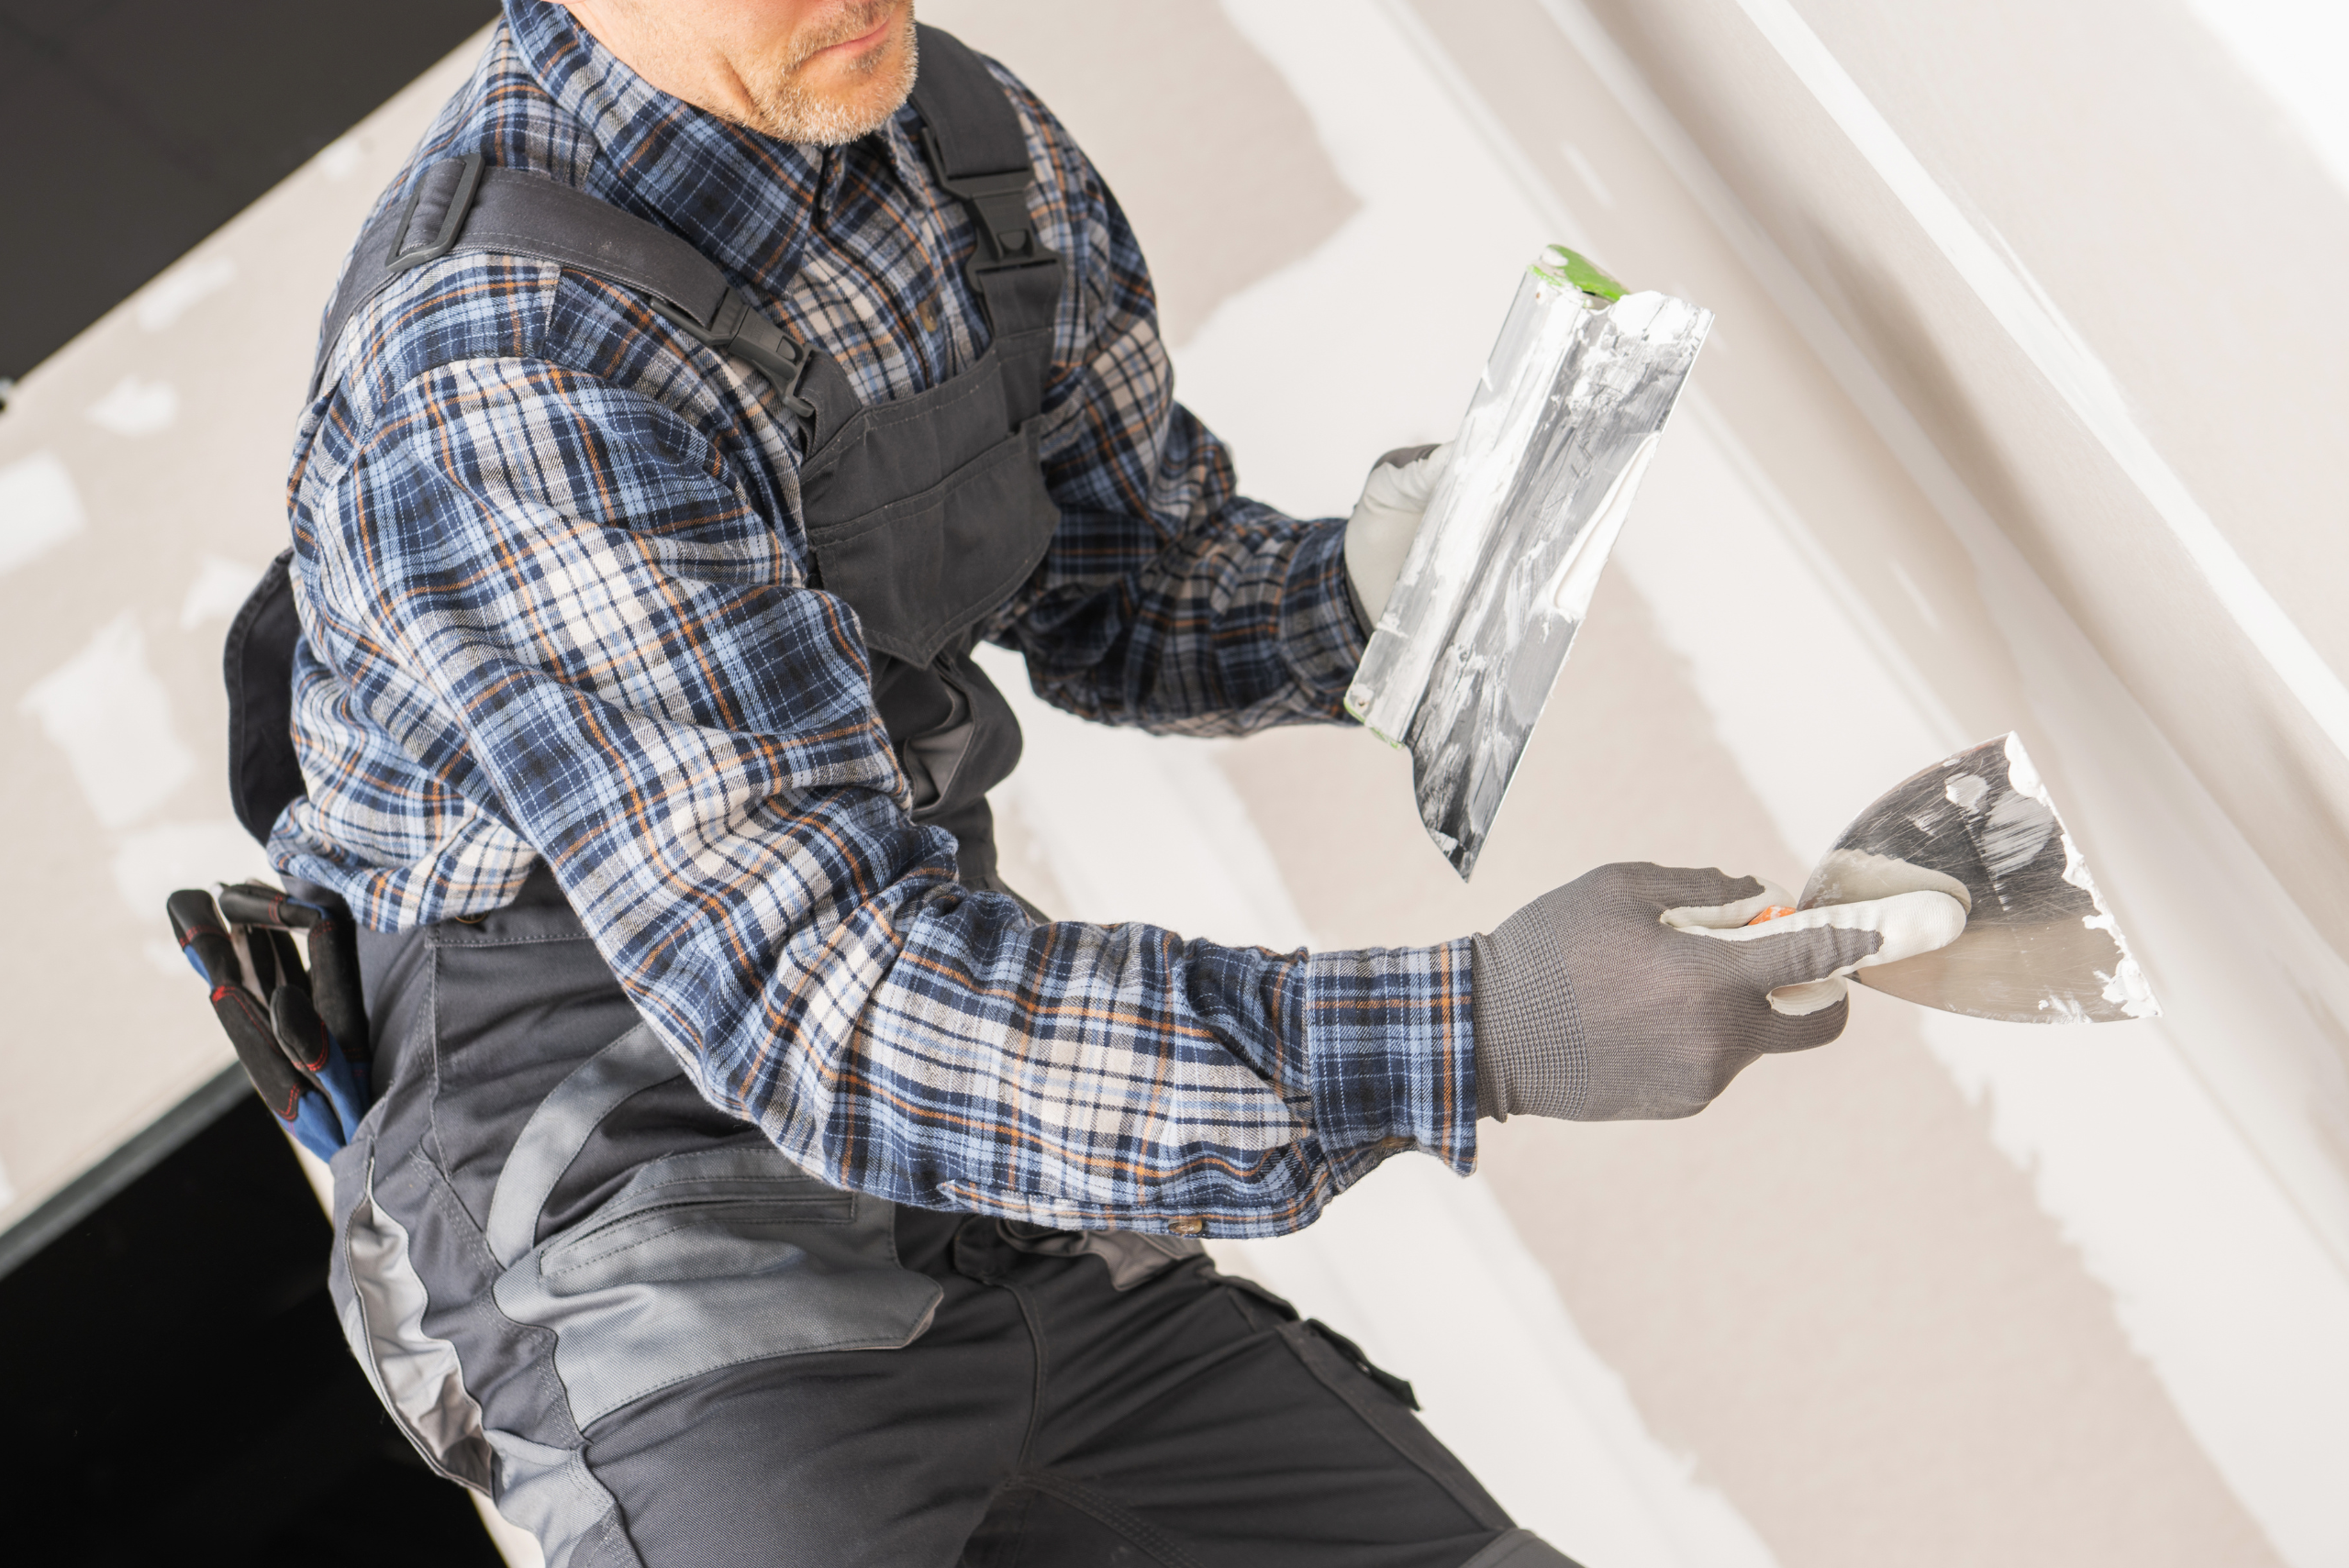
- Apply Spackling Paste: Fill the hole with spackling paste or joint compound using a putty knife. Smooth the surface until it’s level with the wall.
- Sand the Surface: After the paste dries, sand the area with fine-grit sandpaper until it’s smooth.
- Paint: Touch up the repaired area with matching paint to restore the wall’s appearance.
Related Articles
- How to Use a Toggle Bolt for Wall Mounting on Drywall
- Drywall Alternatives: When to Use Plywood, Plaster, or Paneling
- How to Fix Crack in Drywall – A Step-by-Step Guide for Seamless Repairs
Removing drywall anchors doesn’t have to be a stressful task. With the right tools and techniques, you can remove them cleanly and repair the wall with minimal effort. Whether you’re redecorating or relocating, following this guide ensures your walls look as good as new.
Ready to start your next project? Join our DIY community to receive tool tips, how-to guides, and exclusive creative insights. Subscribe to the ManMadeDIY newsletter now! Click here to unlock a world of hands-on inspiration.

