Repacking Trailer Bearings: Step-by-Step Guide
Trailers are one of the handiest innovations in the modern world. Where else can you convert your SUV or short box pickup truck into a much larger vehicle with just a few cranks of a handle dropping a hitch over the ball extending from the back of your vehicle?
While trailer technology has greatly improved over the last two decades, the basic components of a trailer remain relatively the same. The bearings of your trailer should be checked periodically. If you haul a trailer often, repacking the bearings should be a routine you do every few thousand miles.
What’s a Trailer Bearing?
Bearings are the same on a trailer as on your vehicle, they are a set of bearings, races, and tension nuts connecting the wheel hub to the axle.
When they’re properly maintained, the ride is effortless as you pull a trailer. When they’re not in good shape, then it gets interesting. You can hear a whine from the trailer as the bearings heat up, and in extreme situations, you can see the hub turn a dull red as friction builds up, destroying the bearings and damaging the axle and hub. You don’t want that.
The good news is that most modern trailers arrived with a sealed bearing pack. That means you’ll never have to grease them again. But older trailers need to have bearings checked, sometimes replaced, but always repacked with grease when you do your routine maintenance.
Steps for Repacking a Trailer Bearing with Grease
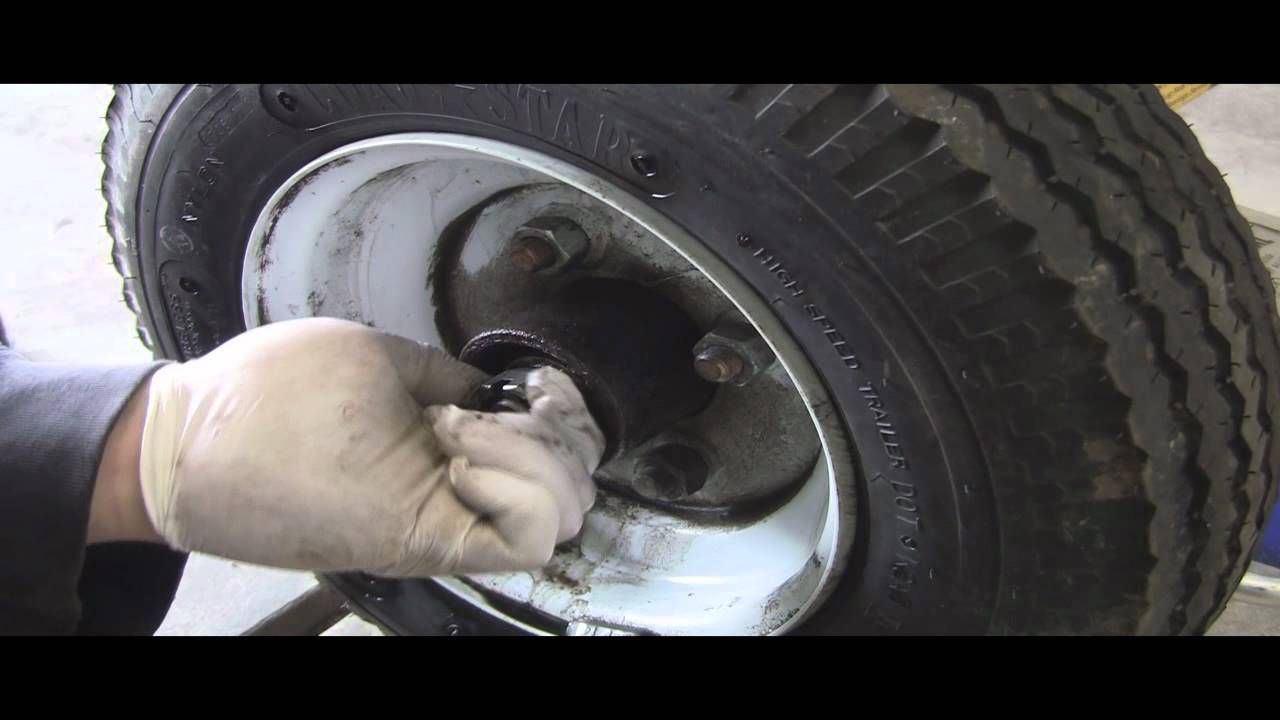
Remove the Trailer Wheel and Crown Nut
Jack up the trailer, pull off the tire and locate the dust cap over the hub. There will be a light compression fitting that can be pried open with a flat-blade screwdriver. Work the sides of the dust cap until it wobbles loose.
Inside, you’ll see a large crown nut held in place by a cotter pin. Straighten and remove the cotter pin. The nut should be loose enough to twist off with just your hand. If it’s a little tight, use a large pair of channel lock pliers, an adjustable wrench, or a large box end wrench to loosen it.
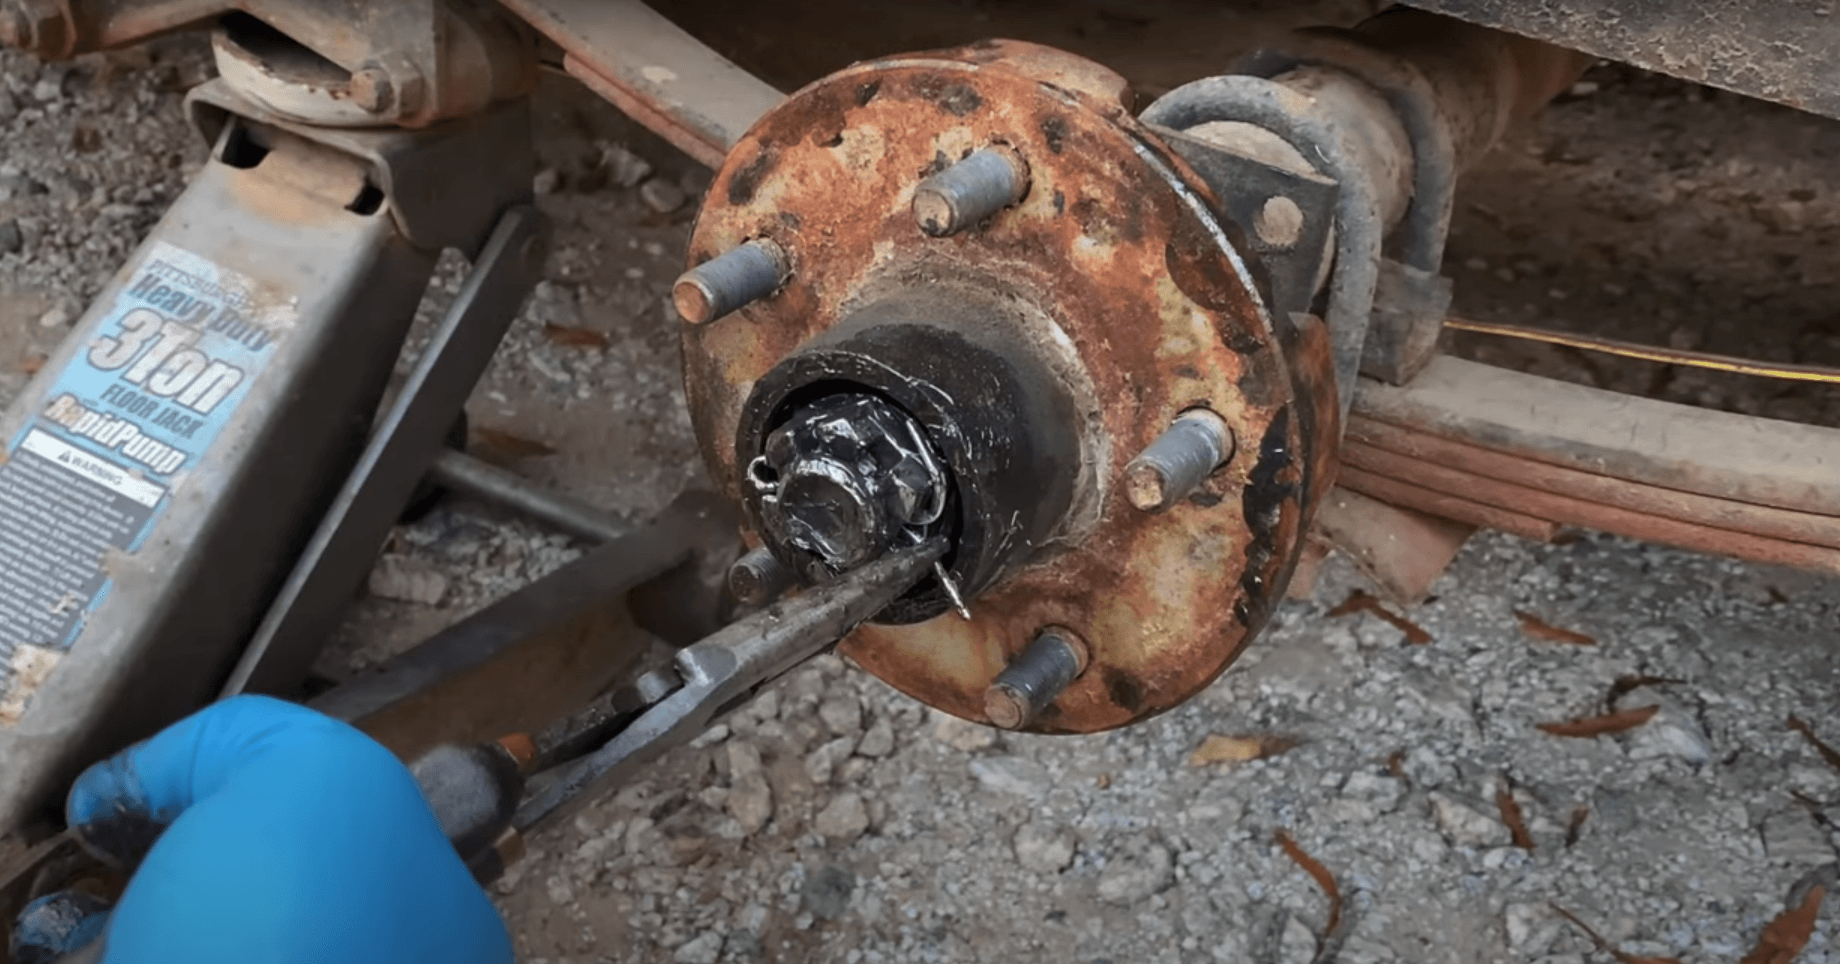
Pull Out Trailer Bearing
Once the crown nut is off, you can pull out the bearings. They rest in a concave fitting, and the entire bearing assembly should come off with just a little prying with a screwdriver.
Don’t hammer the bearings out, or you’ll be buying a new set. A trailer bearing could fall apart when hammered, leaving you stranded searching for a new one.
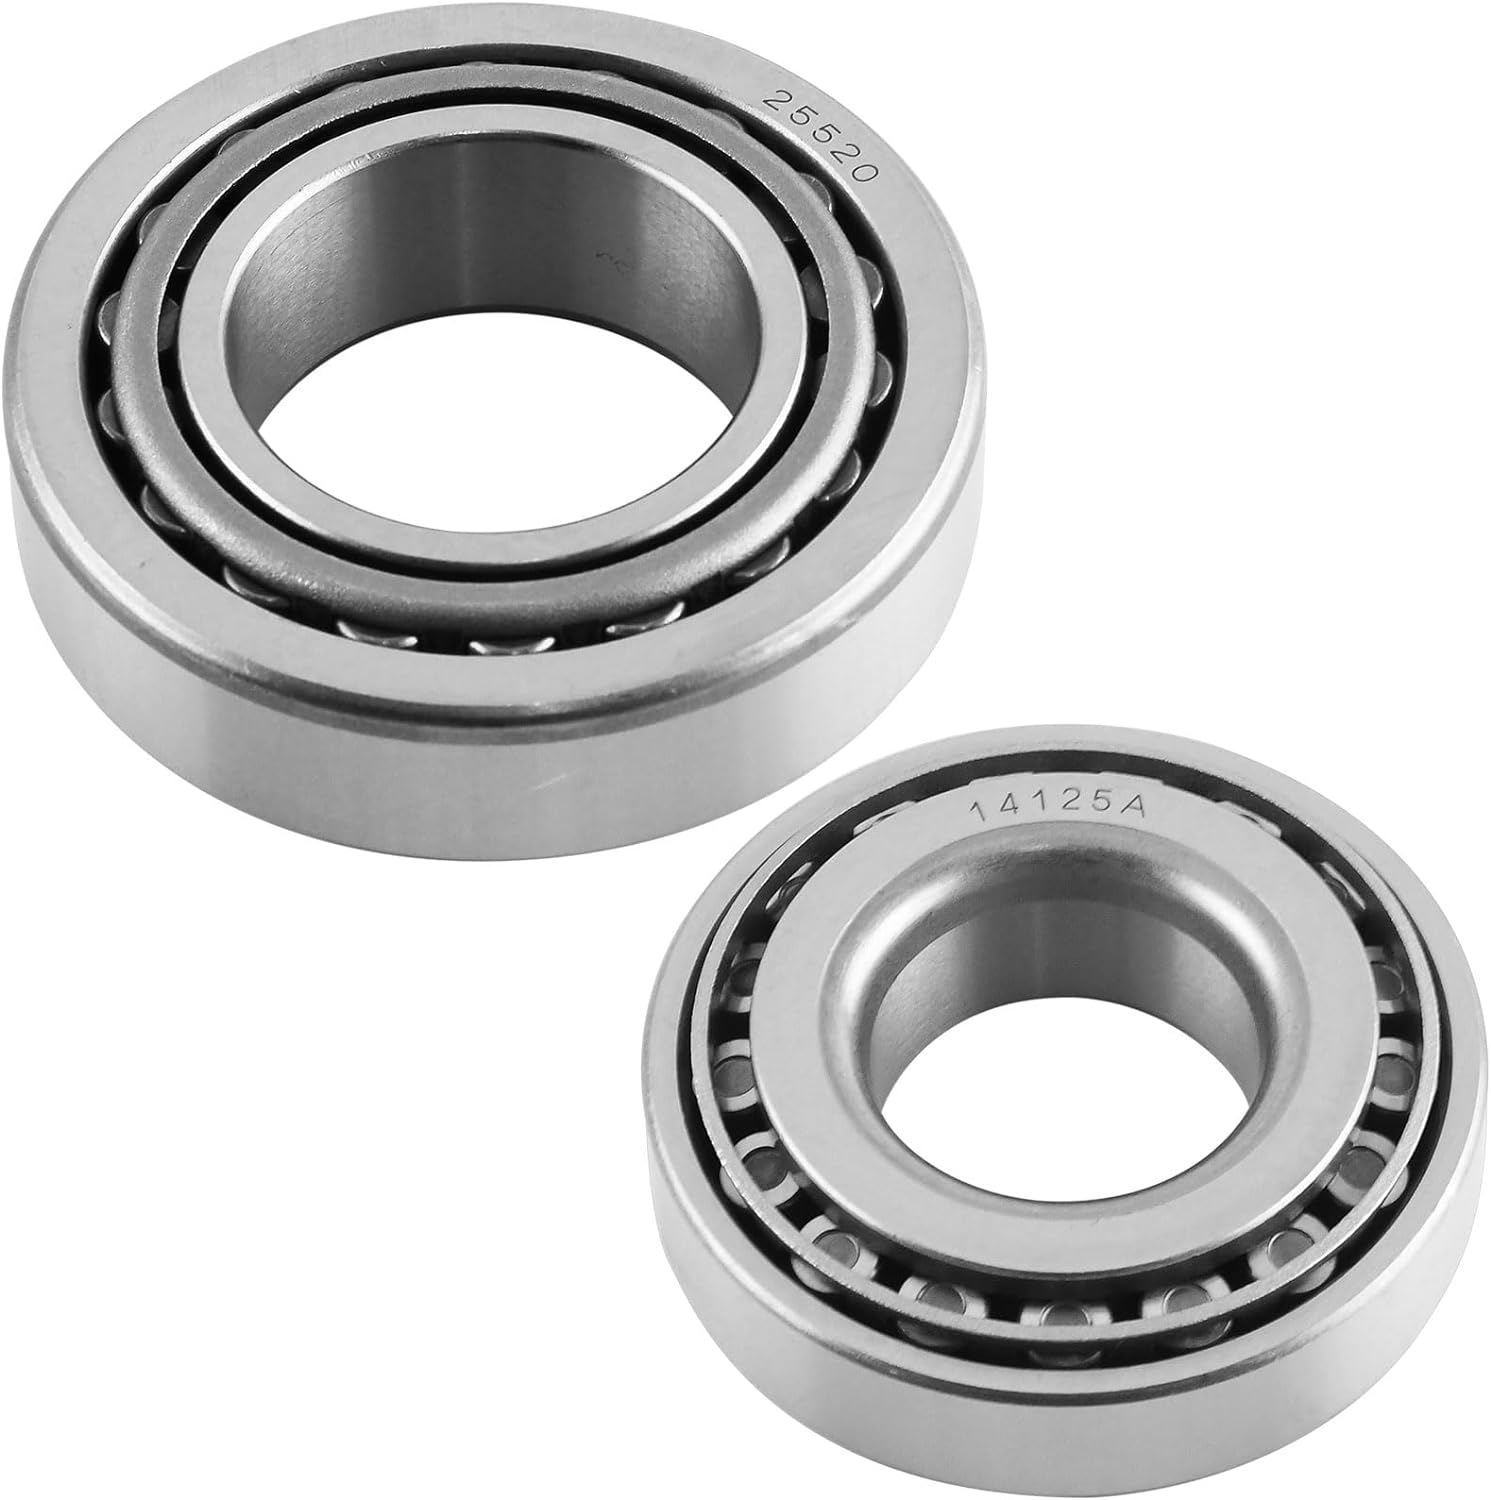
Clean the Bearings Thoroughly
With the bearings removed, clean them up, removing as much old grease as you can. Some people soak them in solvent or spray them with WD-40. This works on very old, crusted bearings, but the chemical needs to be completely removed from the bearing so it doesn’t break down the new grease.
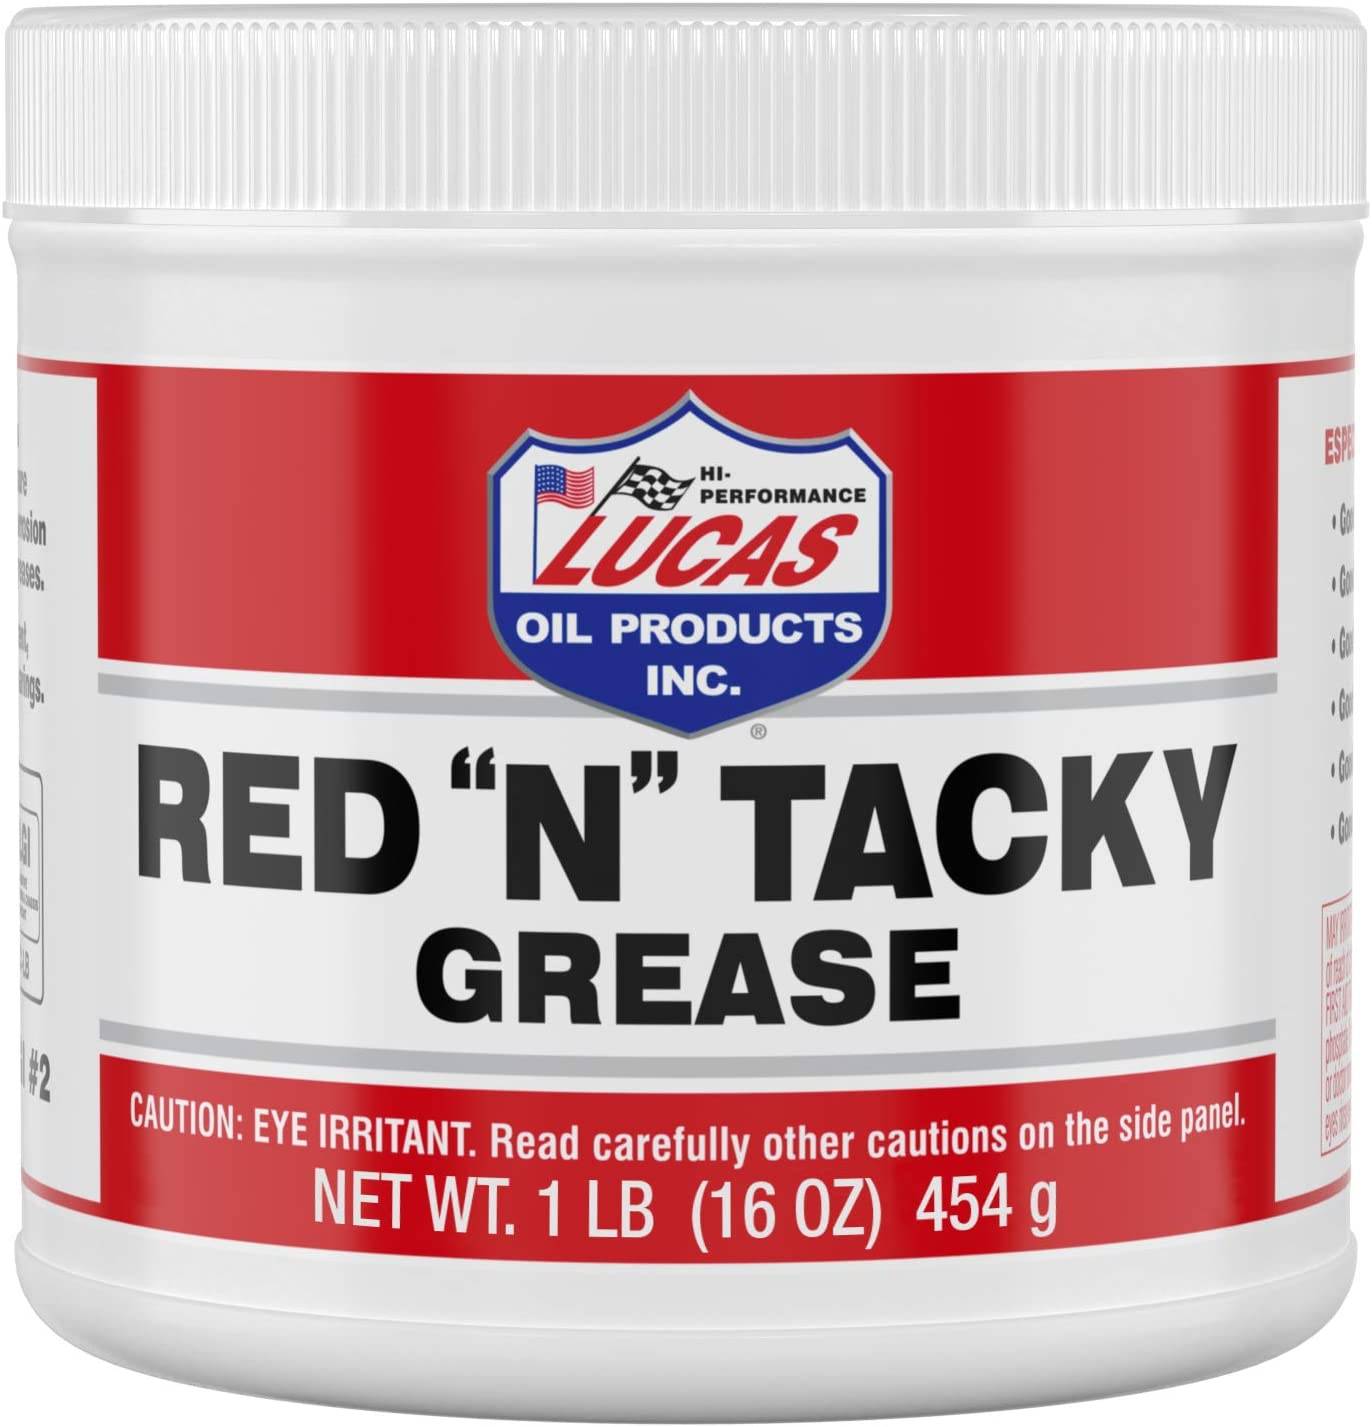
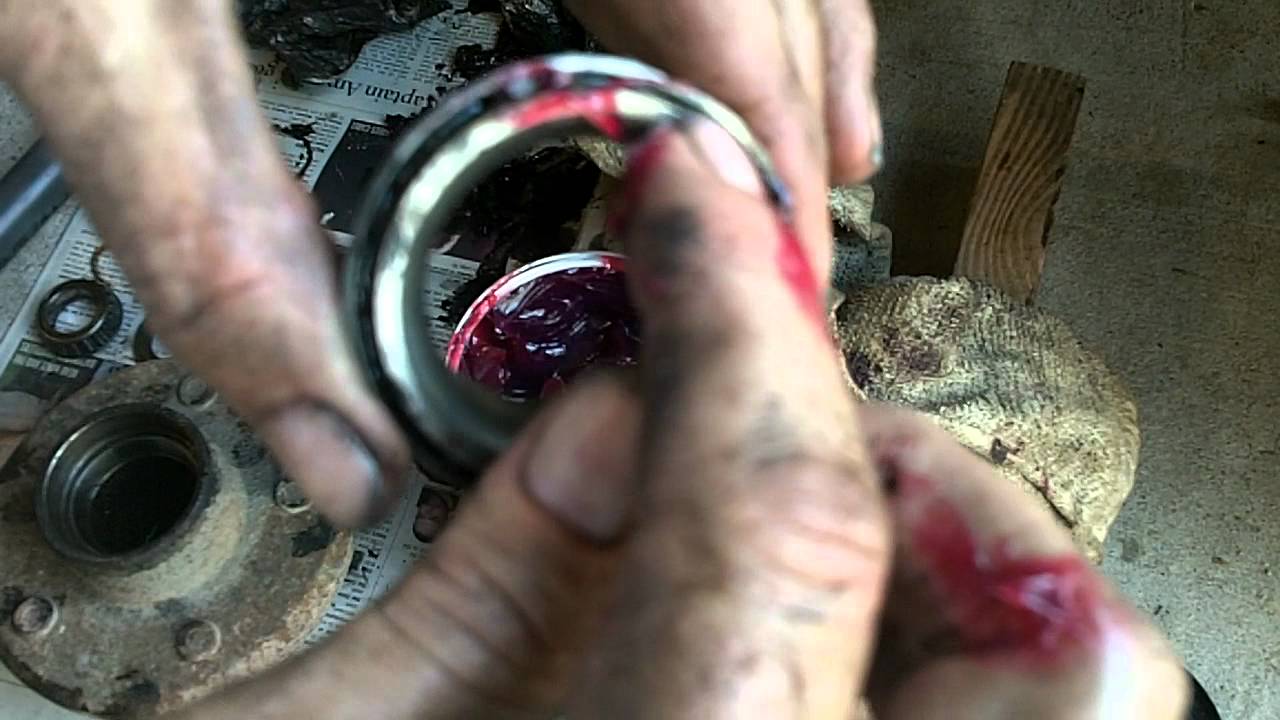
With a clean bearing, place a dab of grease in the palm of your hand and the bearing in your other hand. Work the edges of the bearing into the grease while rotating it around the perimeter of the bearing. You might need a second dab of grease for larger bearings.
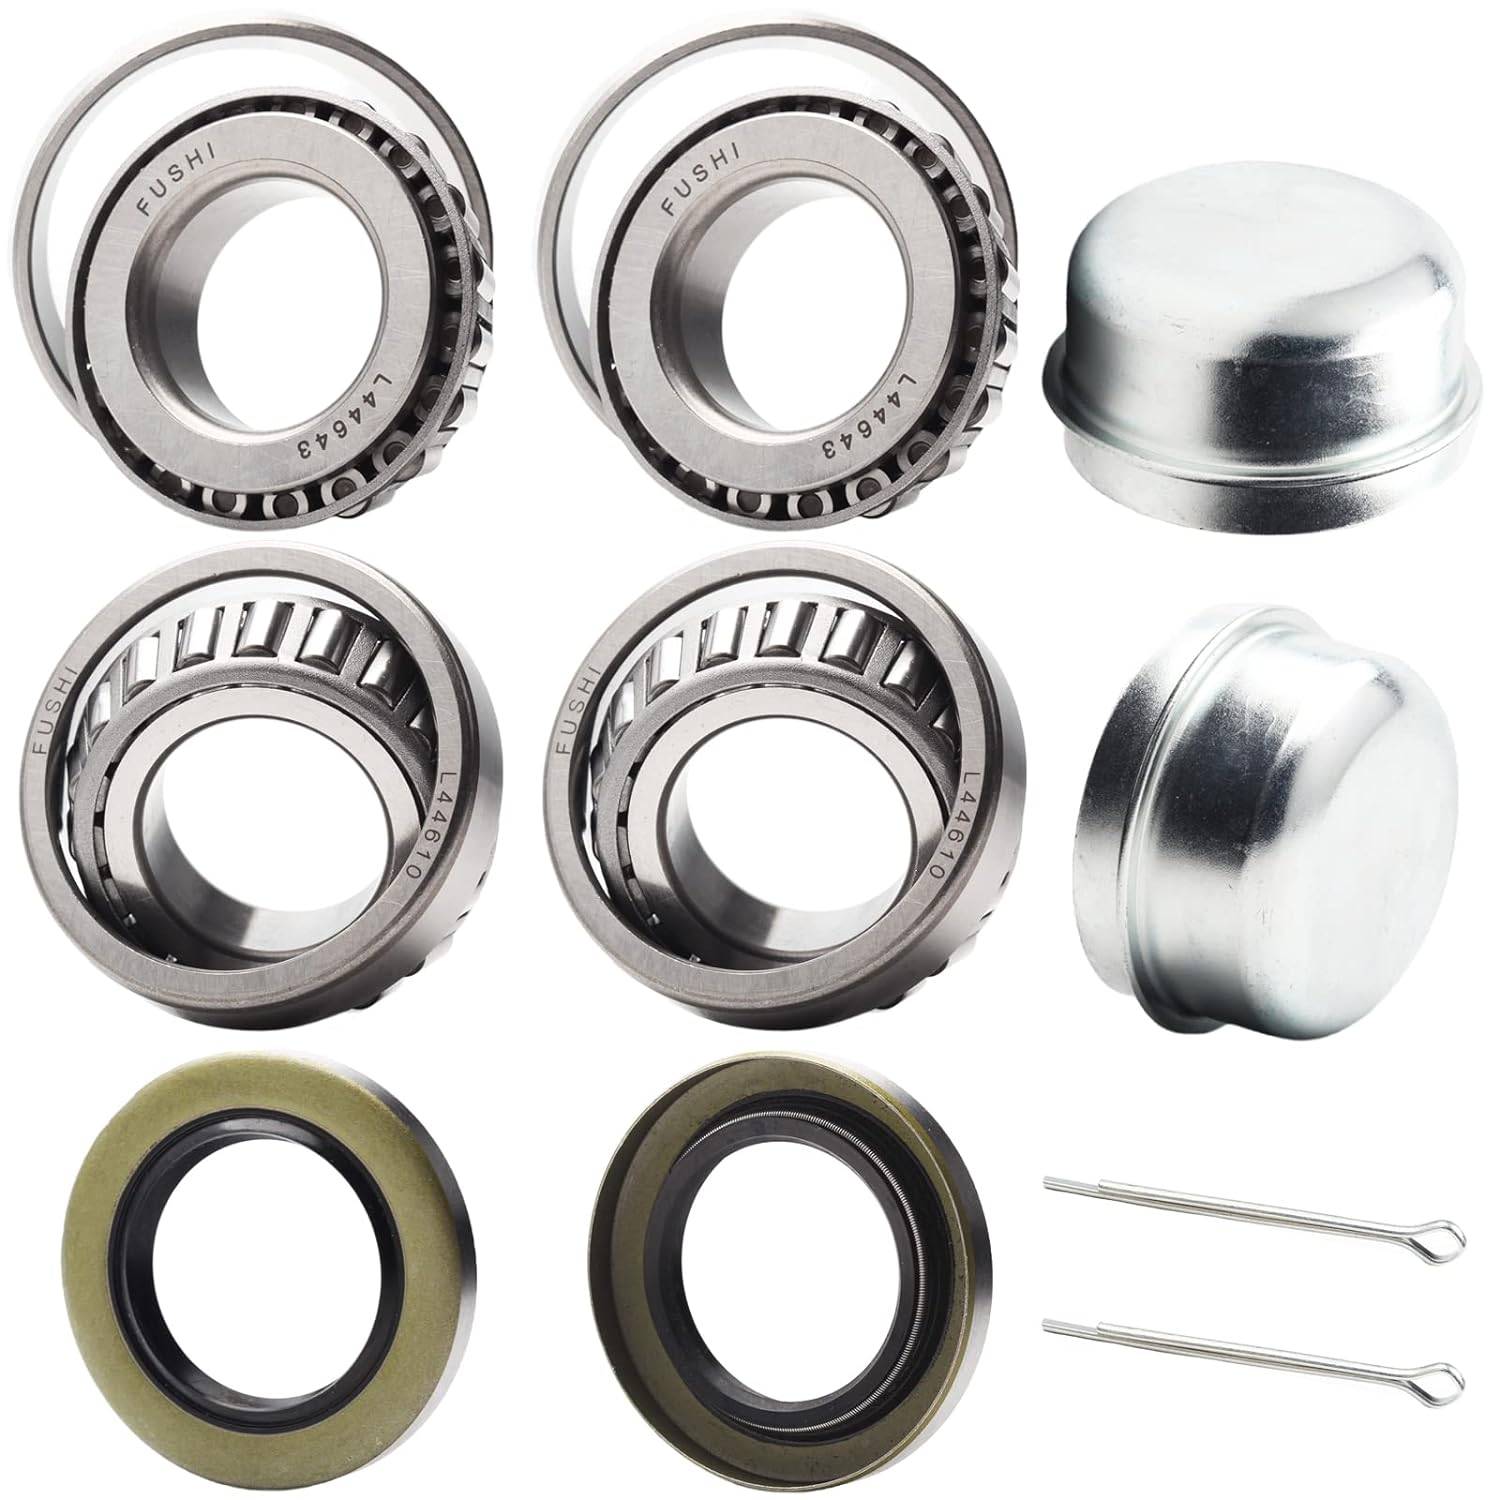
Repack Trailer Bearings with Grease
Work the grease in a motion similar to kneading bread until the grease permeates the entire bearing. You want full coverage, but only within the bearing itself.
If you see grease coming out of the side of the bearing away from your hand, you’ve packed it well enough to lubricate all the roller bearings inside the assembly.
Put Everything Back Together
Retrace your steps in removing the bearing in reverse order, tightening the nut snuggly but not under heavy pressure. Replace the cotter pin and the dust cover and mount the tire.
You’re ready to roll, but be sure to follow the recommended torque specifications and grease type for your trailer bearings to avoid accidental damage or issues.

