Replacing a Damaged Support Post Safely And Efficiently
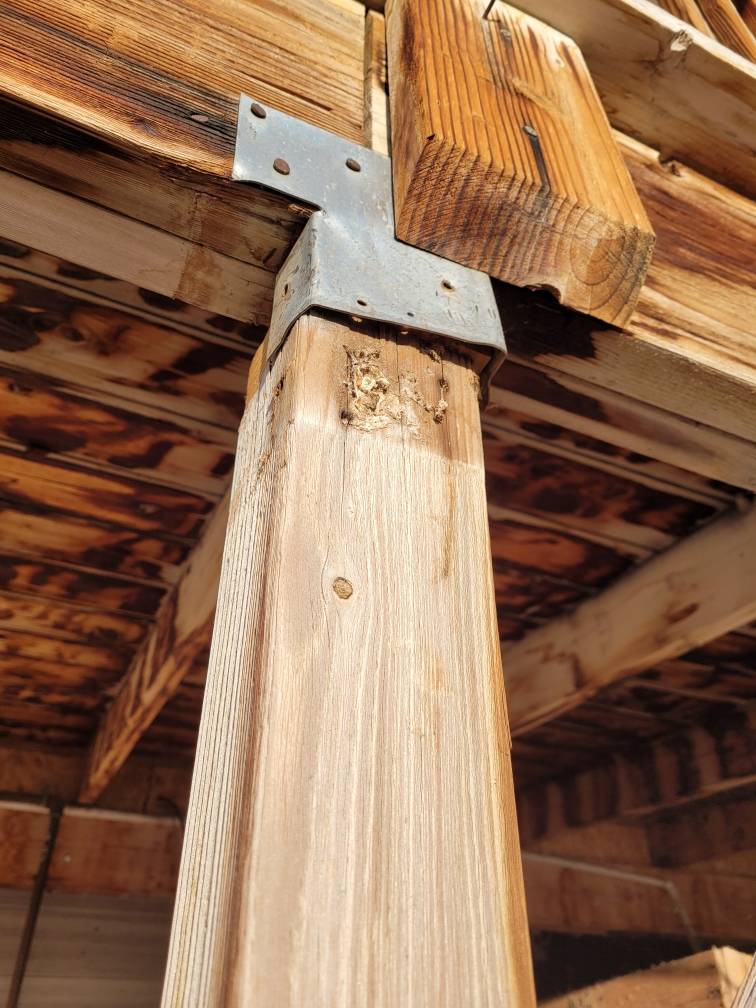
Replacing a support beam with the weight of an entire house resting on it can be a daunting task, but it doesn’t have to be. It starts as an unsightly stain at the base of a support column, but it can end in disaster in the weight-bearing post rots enough to become unstable. Replacing the rotting beam is a necessity in maintaining the integrity of the building above.
Breaking down the process
First, the existing supporting post must be replaced, which means a temporary support structure has to be in place before you can remove the offending post.
Think of a detour around a highway bridge that needs repair. Traffic still flows, it just flows a bit slower while the work is completed to restore the road to its original condition. Lifting a supporting beam a fraction of an inch is all that’s necessary to replace a bad post. That fraction of an inch can be a white-knuckle experience if you don’t prepare correctly.
Find the necessary tools, gather them and have them at the ready before you begin.
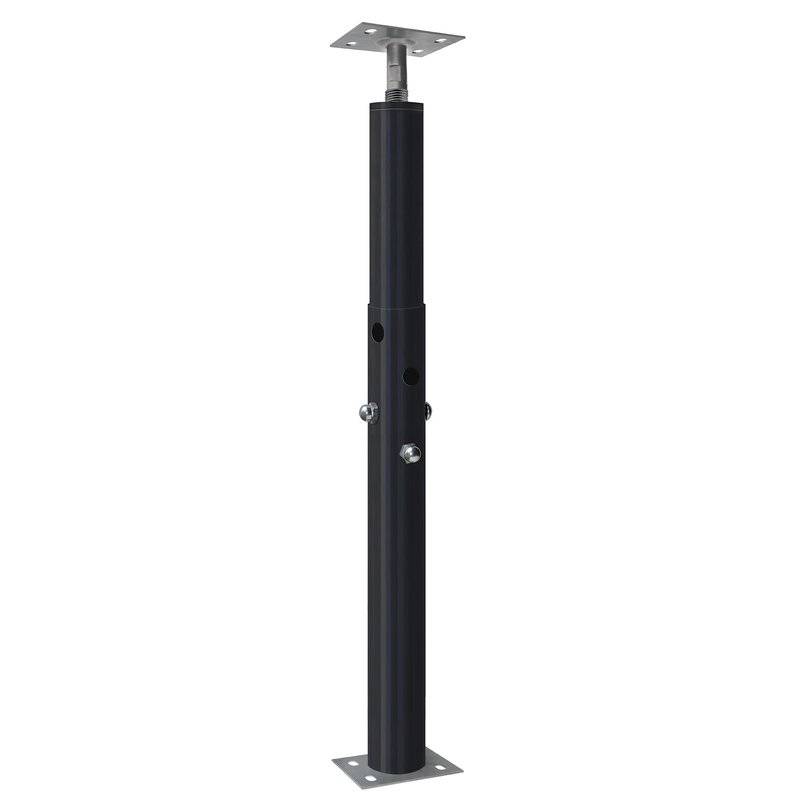
Floor jacks come in a couple of varieties, the older system is the screw jack, a long steel post with a threaded plate at the top that you rotate with a long bar to lift the floor. It’s hard to use but is perhaps the most stable technique.
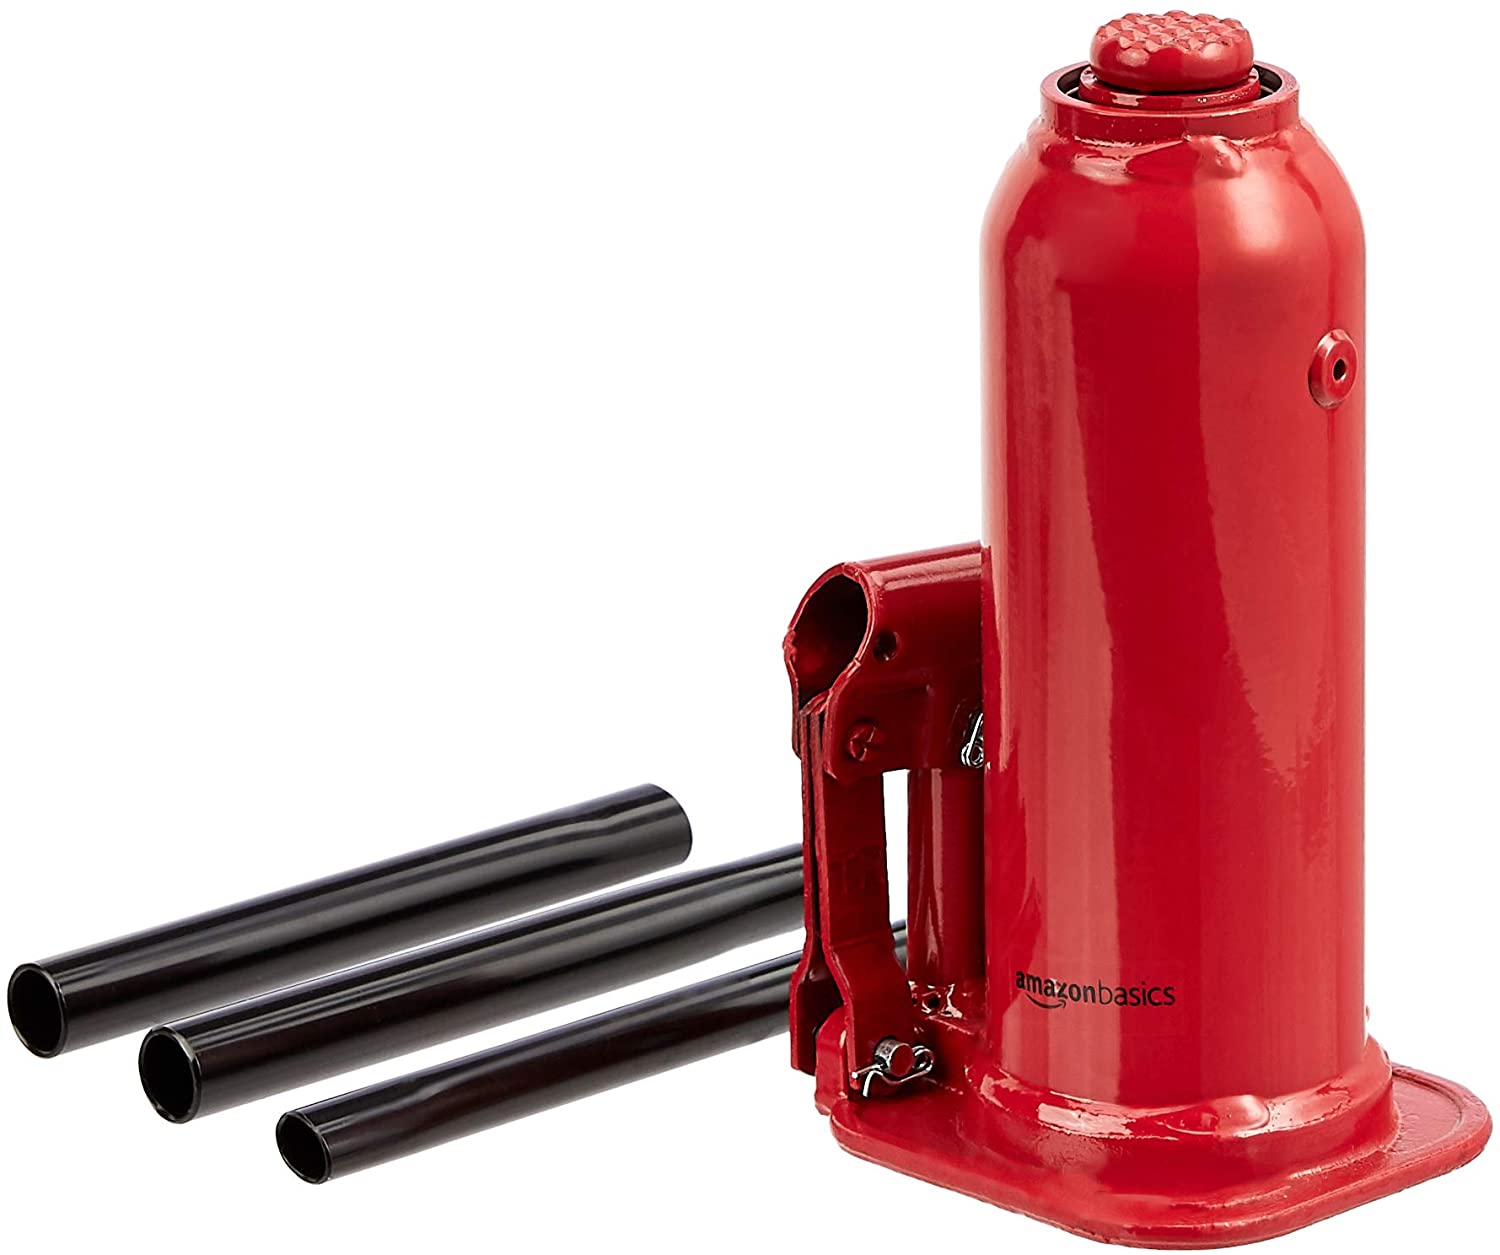
The other method is the hydraulic jack. Hydraulic jacks are measured by their tonnage capacity. Also known as “bottle jacks” these pint-sized powerhouses back a lot of power in a small size. For an average-sized house, a pair of 20-ton jacks should provide all the lifting power you need.
Jack Up The Beam
Place the jacks on a cross-section of 4×4 decking to dissipate the weight on the existing floor. This part of the process is a two-person job. One runs the jack and the other holds the steel or heavy 6×6 timber in place under the horizontal beam to be lifted.
Make contact with the steel or timber post with the floor and the beam, pump the handle until it is tight. Note, a timber beam should have a steel plate on the top and bottom to prevent splitting when full pressure is applied.
With the jacks holding the weight of the beam, you can begin to remove the offending supporting post. To do so, lift the jacks until there is a clear separation between the existing post and the horizontal beam above. Odds are you’ll hear a few groans, and maybe a cracking sound as the floor lifts. This is a normal situation and not a cause for concern.
With at least a ¼ inch clearance you can now remove the existing post. Cutting the post in half with a Sawzall allows you to remove the top section of the post, then loosen the lower half.
Ideally, the post rests on a steel plate and can be simply replaced with a new pressure-treated post. If this isn’t the case and the post is embedded in concrete you’ll have to remove the concrete around the existing post.
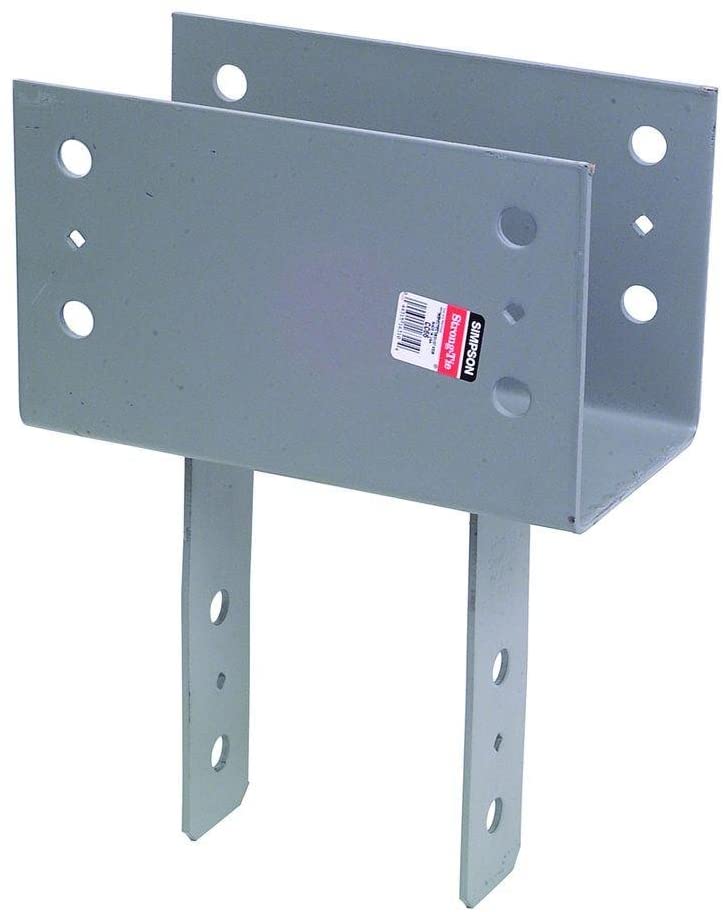
Remove The Post and Replace With a New One
Cut a square pattern in the concrete surrounding the post, jackhammer the concrete, then remove it. Since this is a bearing post, you’ll have to pour new concrete that adheres to local building codes, usually 18” deep.
Remove the post, clean out the concrete, excavate the hole to a depth of 18 inches and compact the soil. Pour in a new aggregate laden concrete mix, and let it set per local ordinance, at least five days in most cases.
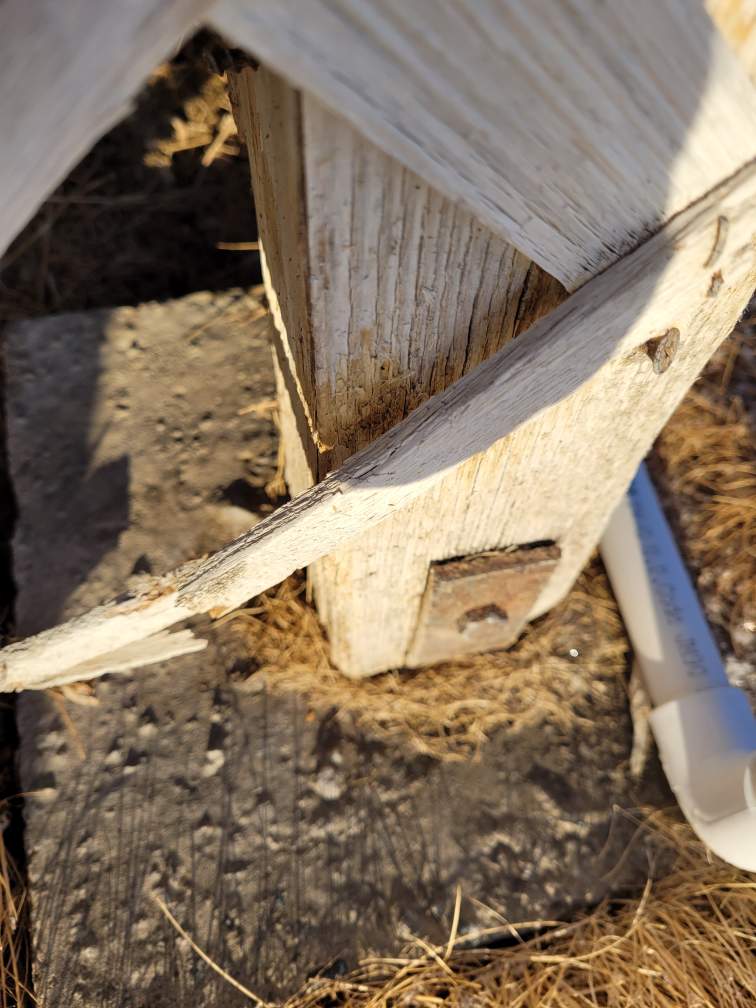
To aid in future replacements, anchor a bolt directly below the location of the new post. After the concrete cures, bolt a steel “U-bolt” style anchor to the bolt.
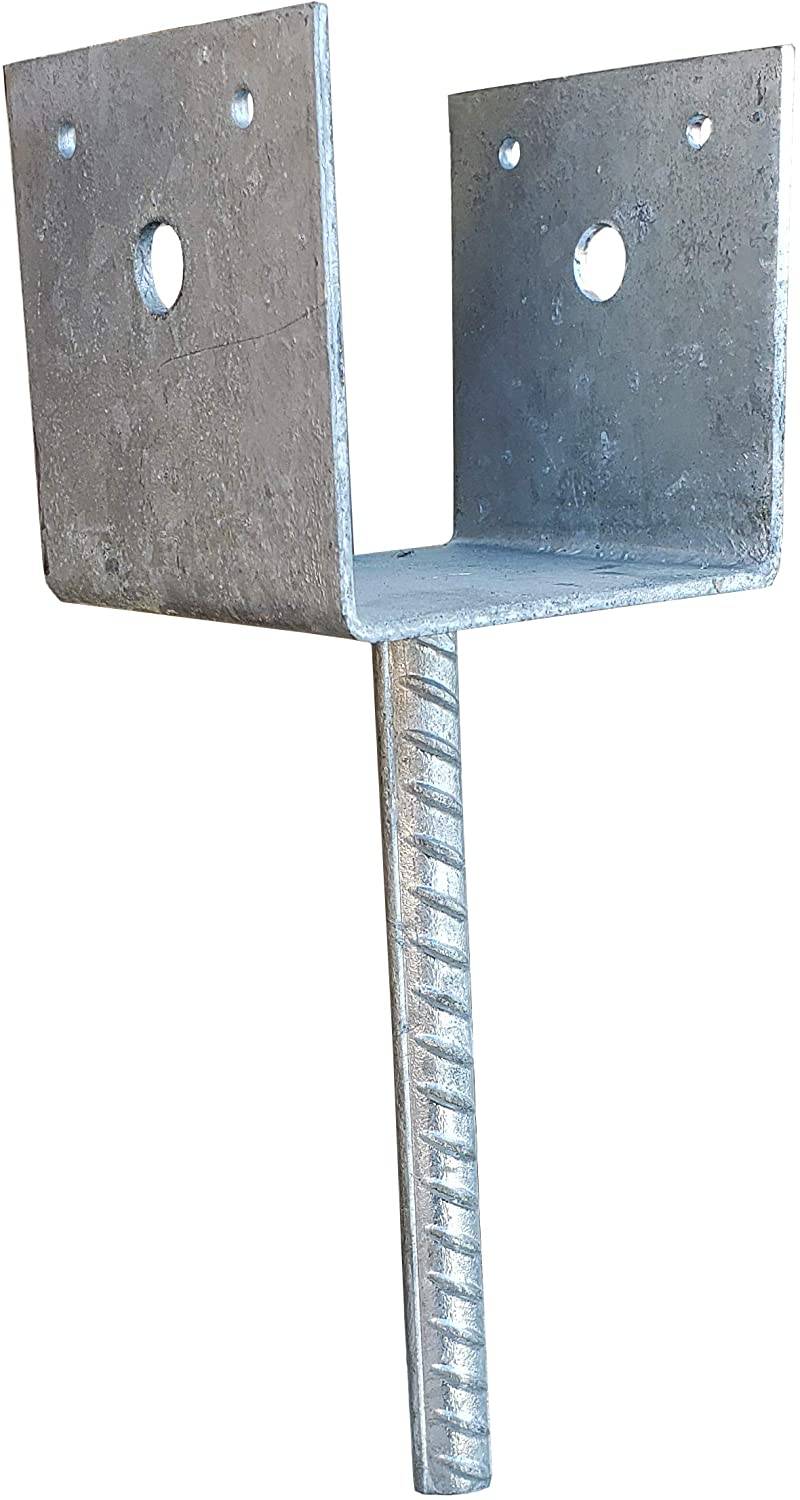
Replace the old post with a new pressure-treated post and lower the floor by gradually releasing the pressure on each jack. There will be a few cracking noises once again, but that’s a normal sound.
With the pressure back on the beam, anchor the post top and bottom with deck screws through the metal hangers on both ends of the post.
Clean the area, remove your tools and congratulate yourself, you’ve preserved your home with just a bit of work.


