How to Restore a Rusty BBQ in Just a Few Easy Steps
Nothing says summer like grilling outdoors, but even the best BBQs can show signs of wear after years of cooking in the elements. If your grill is rusty, grimy, or simply looks worn out, don’t rush to replace it just yet! With a little elbow grease and a few basic tools, you can restore your rusty BBQ back to life and get it ready for many more delicious meals. This guide walks you through each step of reconditioning your BBQ, so it looks and cooks like new in no time.
1. Start with a Deep Clean to Remove Grease and Grime
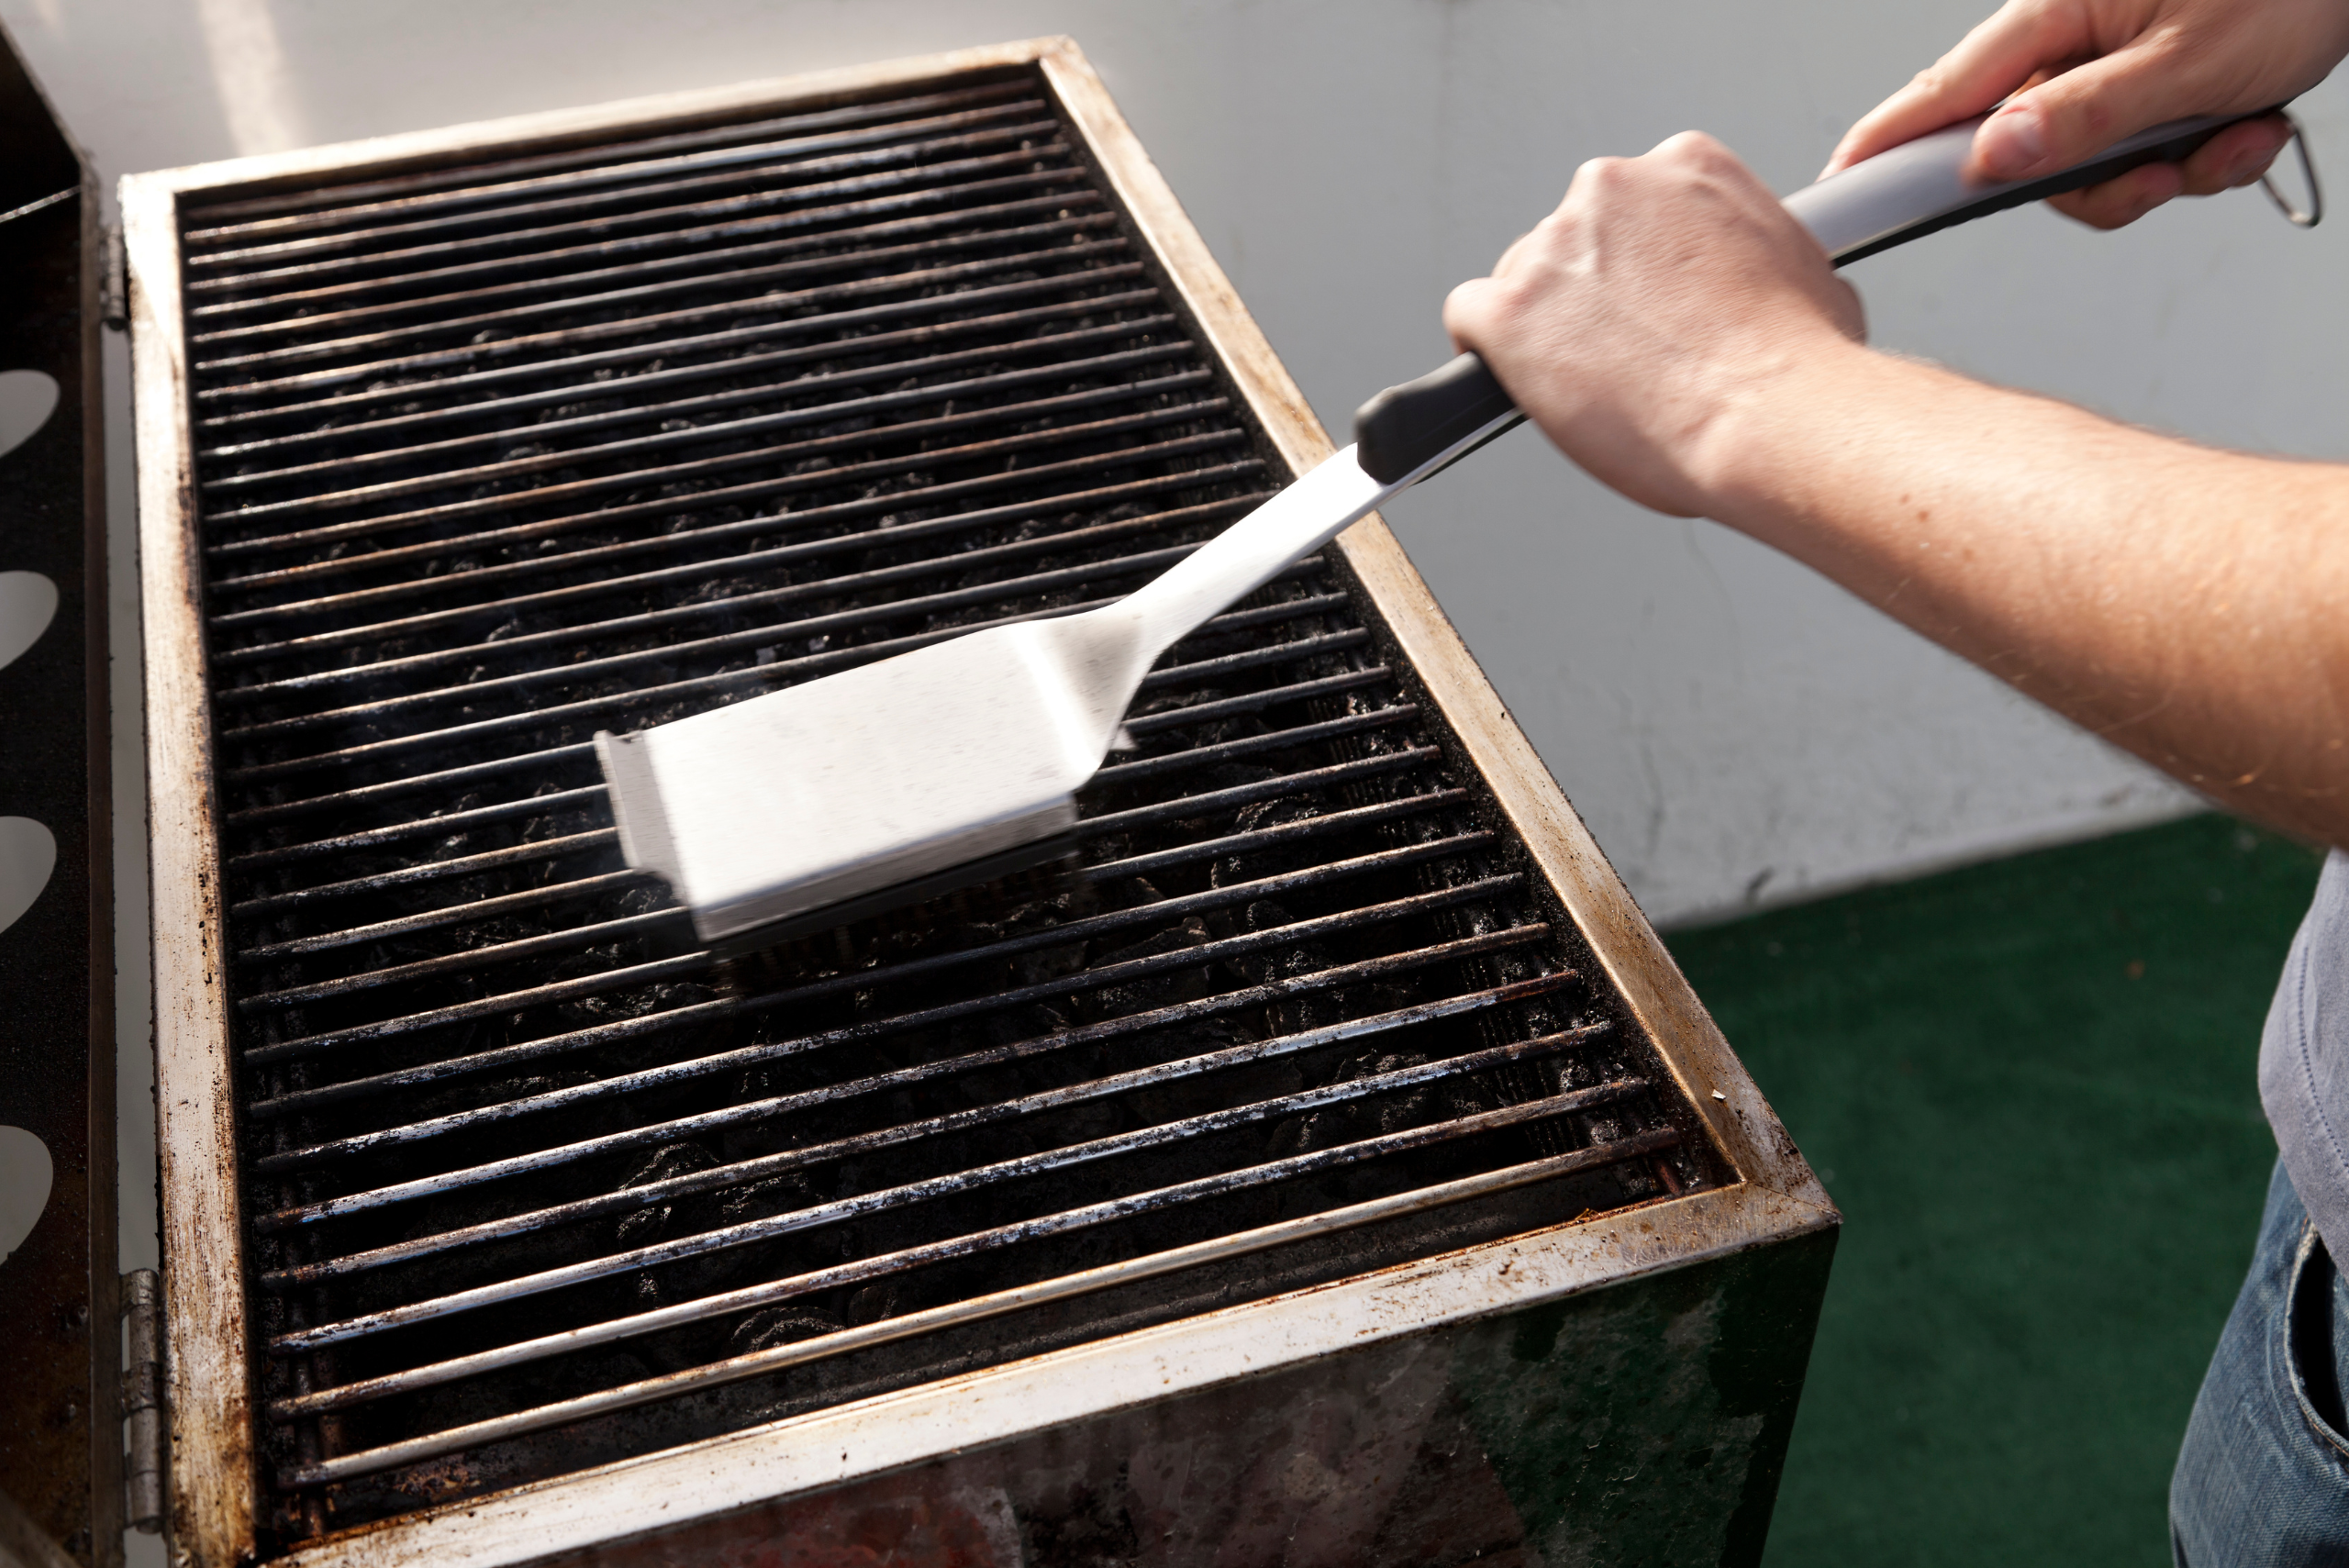
Cleaning off old grease and debris is the essential first step. Begin by disconnecting the propane tank or fuel source, and remove any detachable parts like grates, drip pans, and flavorizer bars. Using a grill brush and warm, soapy water, scrub each part thoroughly to get rid of built-up residue. For particularly stubborn spots, a solution of vinegar and baking soda can help break down grease without harsh chemicals.
Once you’ve scrubbed everything down, rinse each part with clean water and let them air dry. A deep clean will not only help you see any damage clearly but also make your grill safer to use. Dirt and grease buildup can cause uneven cooking, flare-ups, or even fires, so don’t skip this critical step.
Start your next woodworking adventure with TedsWoodworking! Dive into 16,000+ projects and bring your ideas to life. Build unique furniture and master new skills with Ted’s detailed, step-by-step plans guiding you every step of the way.
2. Deal with Rust on the Grill Grates and Interior
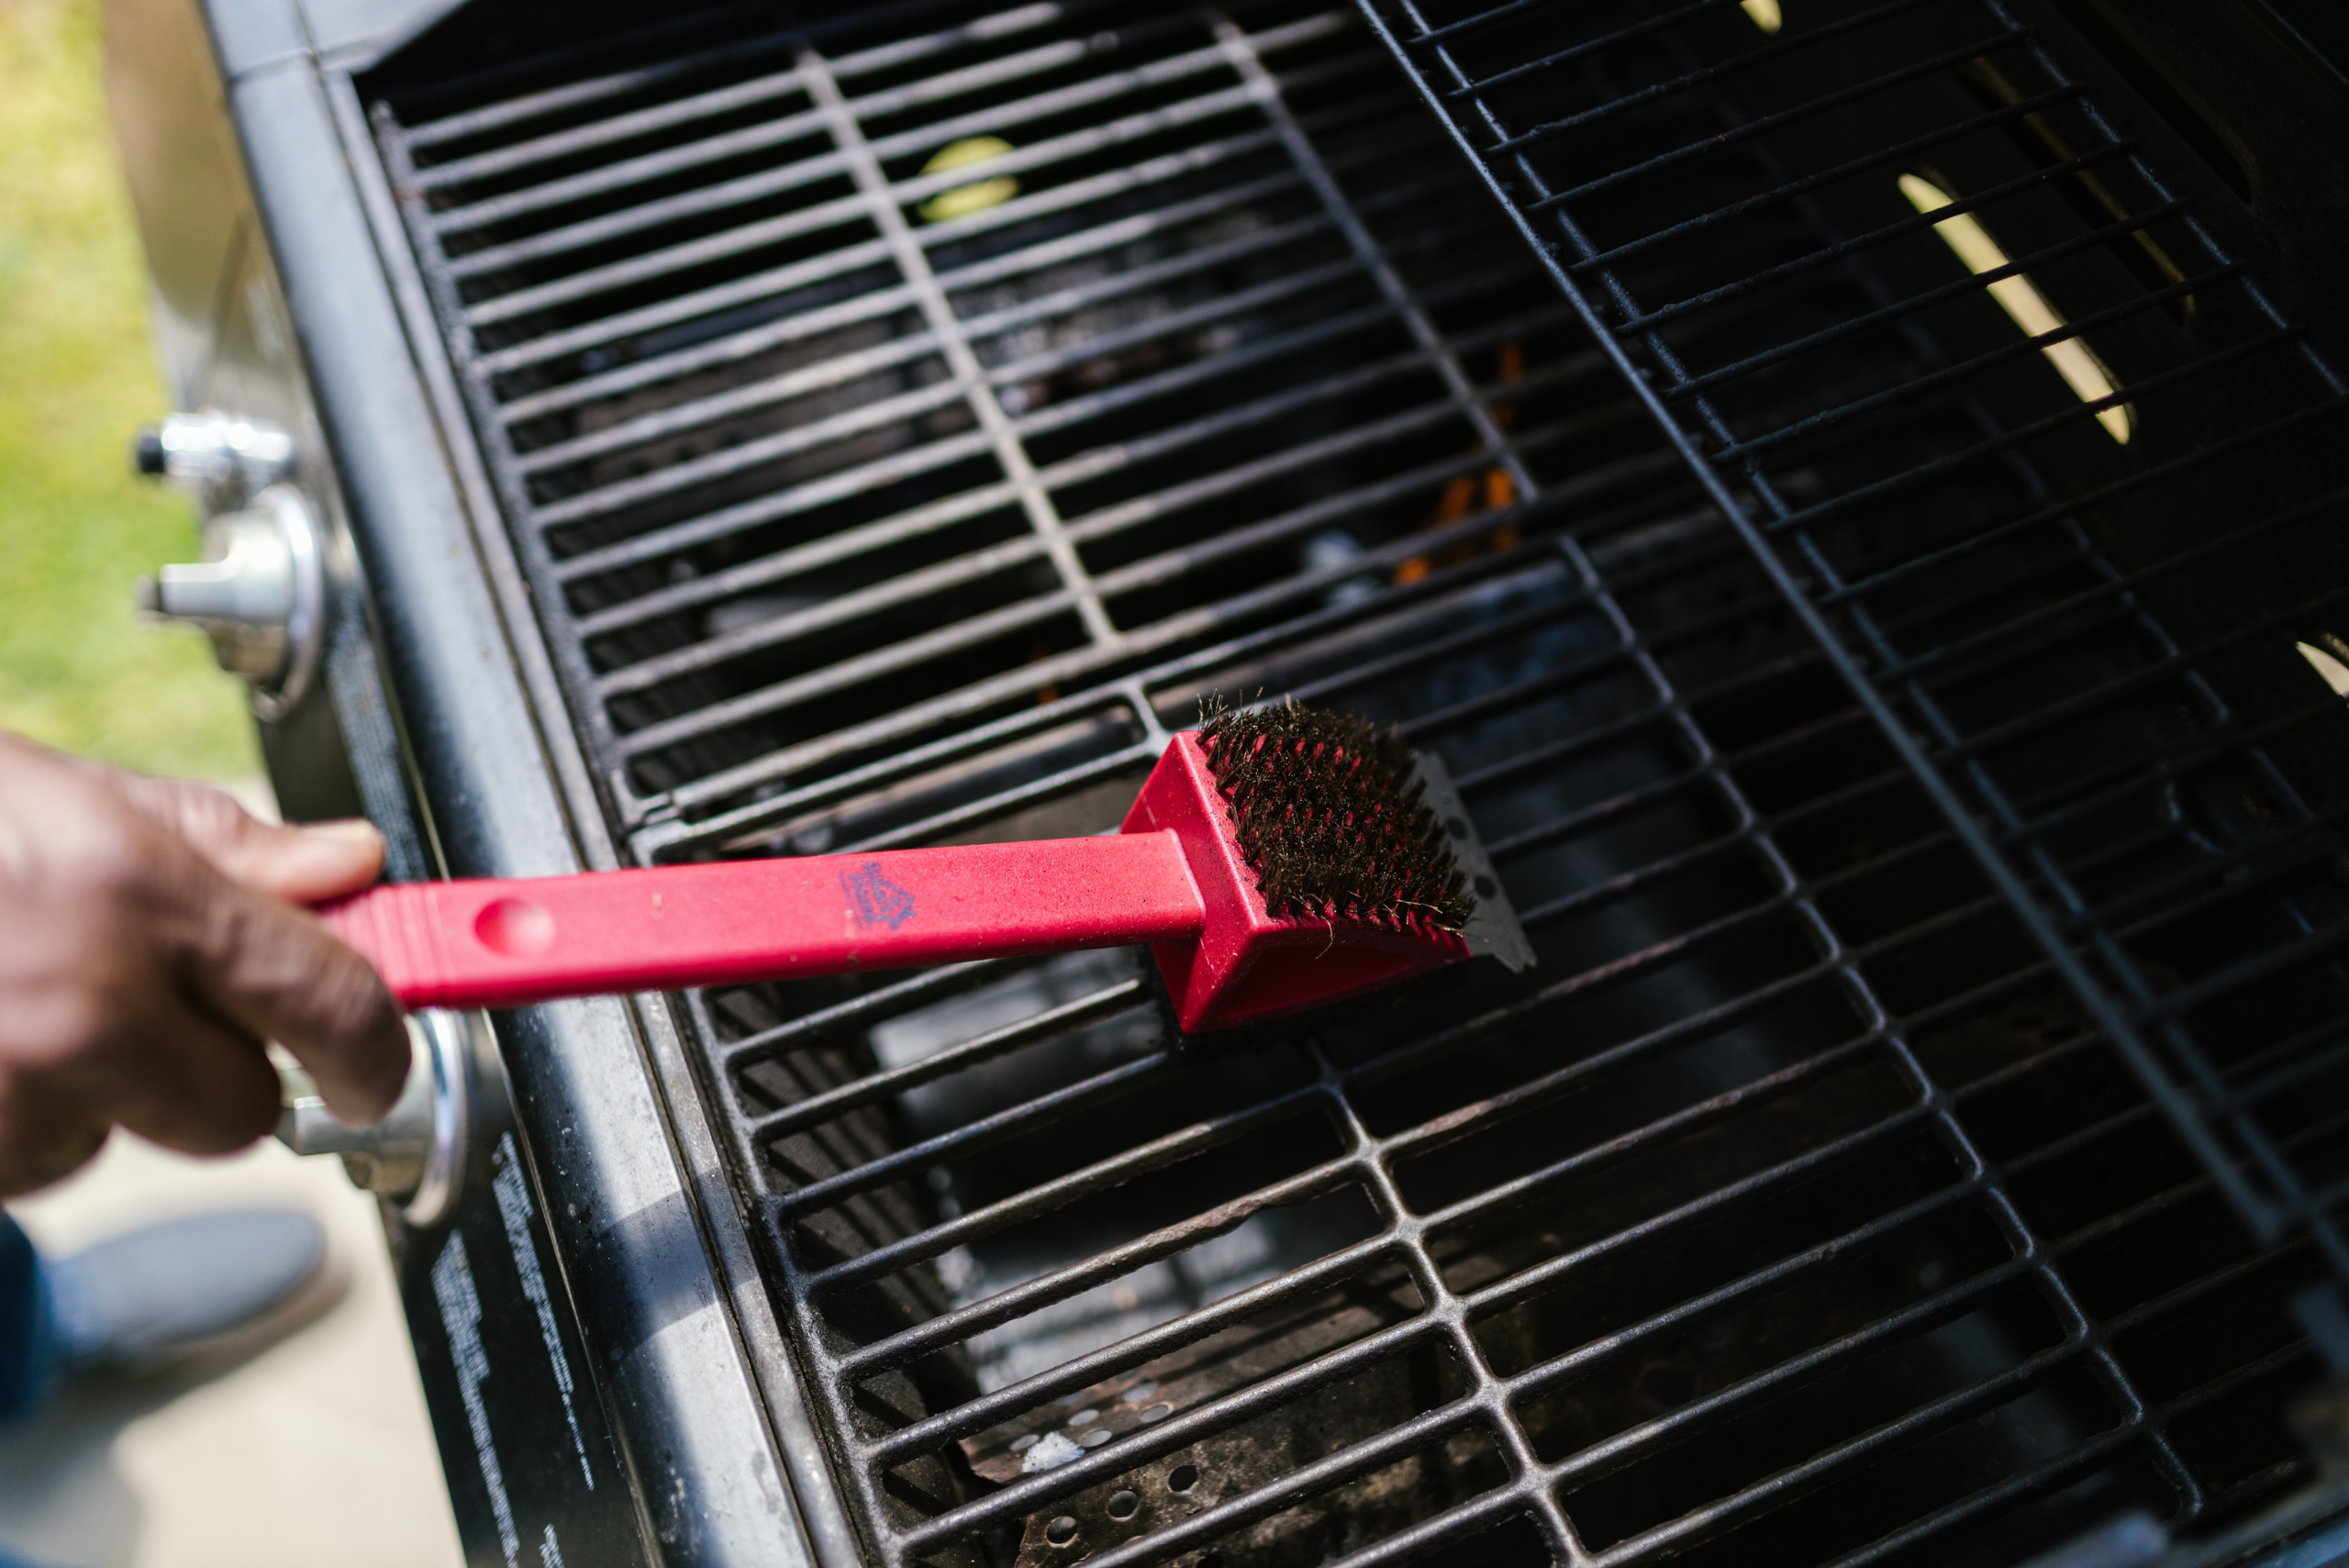
Rusty grates are common, especially if your BBQ has been exposed to moisture or left uncovered. To tackle rust, you can start by scrubbing with a wire brush or a steel wool pad. If the rust is extensive, soak the grates in a mixture of vinegar and salt overnight to loosen the rust before scrubbing again.
For areas inside the grill body that have rusted, a rust remover designed for grills or stainless steel surfaces works well. Be sure to thoroughly rinse any chemicals off the grill, as residues can affect your food’s taste and safety. After you’ve removed as much rust as possible, a light coat of cooking oil can help protect the metal from future corrosion.
3. Repair or Replace Worn-Out Parts
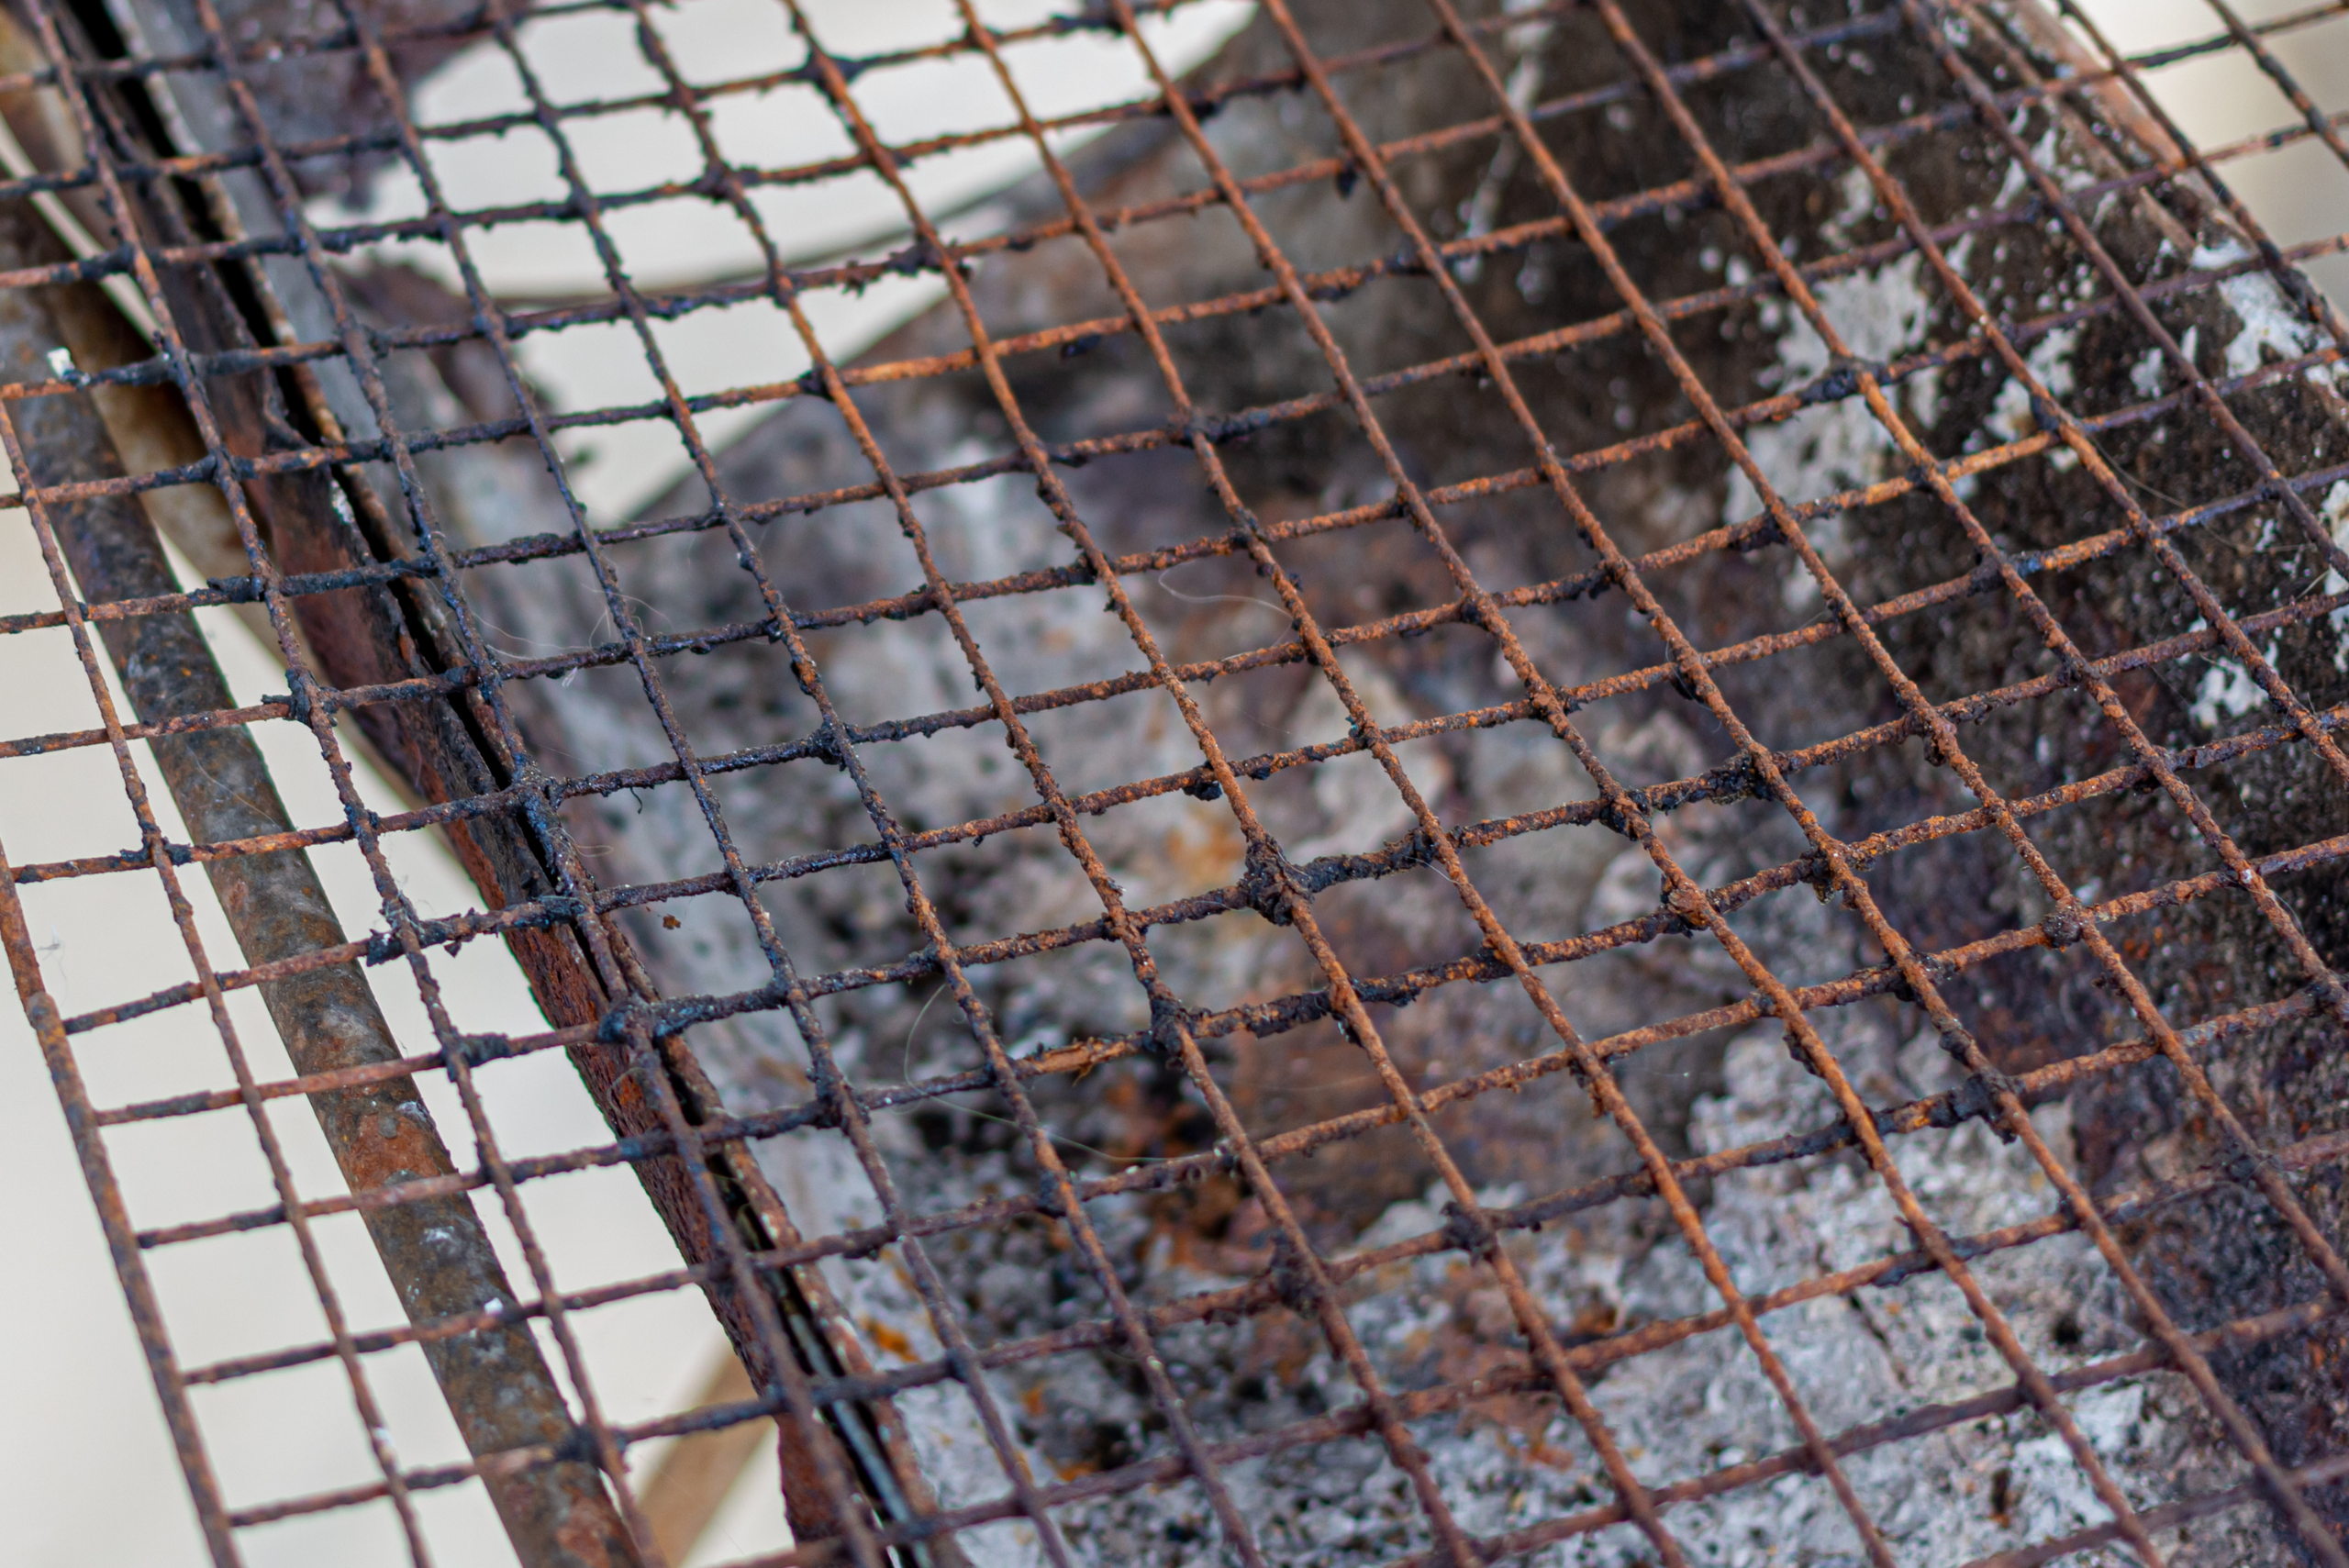
With the BBQ clean and rust-free, check for any damaged parts. Look closely at the burner tubes, igniter, knobs, and other components that may show signs of wear or need replacement. Burner tubes can often be unclogged with a wire brush, but if they’re badly corroded, consider replacing them for consistent heat and safe cooking.
If the igniter isn’t sparking, it might just need a new battery, or you may need to replace the igniter module. Small replacements like these are generally inexpensive and can make a huge difference in the grill’s performance. Taking care of these repairs now will ensure that your BBQ works smoothly once you’re ready to start grilling again.
4. Restore the Exterior for a Fresh Look
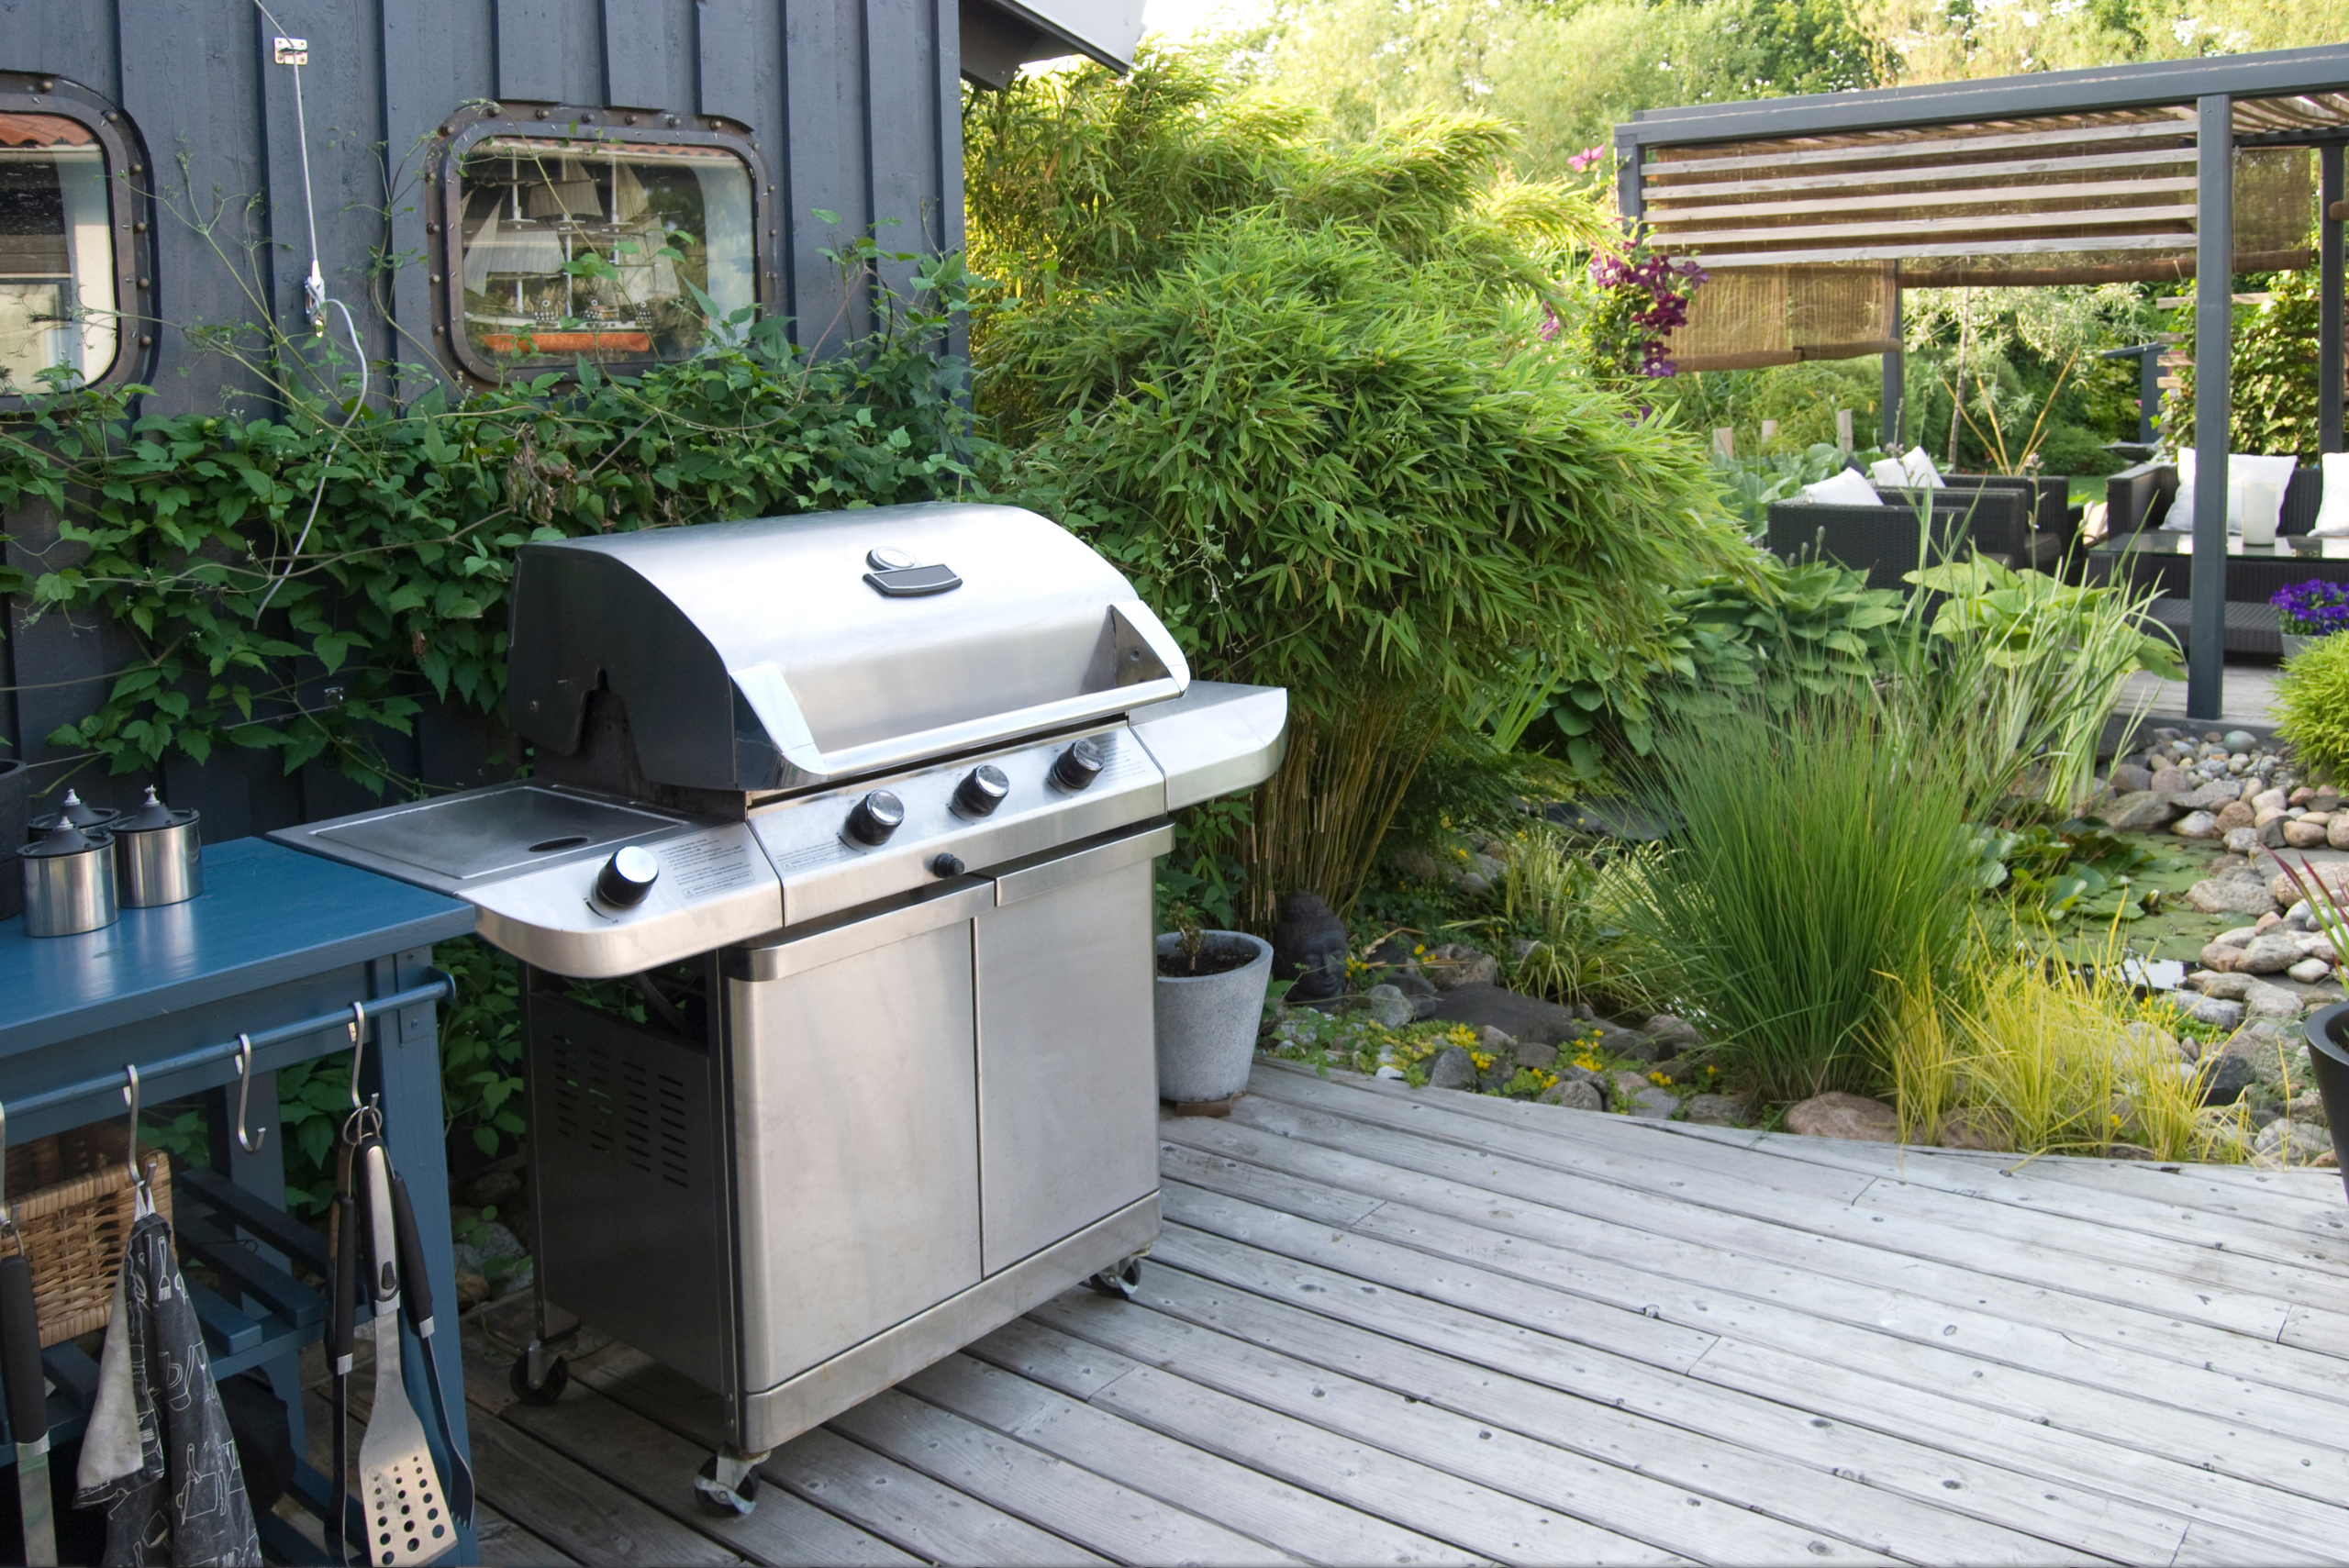
Once the interior is taken care of, focus on the BBQ’s exterior. Use a non-abrasive cleaner or a stainless steel cleaner specifically designed for grills. A bit of elbow grease can remove grime, water stains, and discoloration from the outside surfaces. For stubborn rust spots on the exterior, use a gentle rust remover or a mix of baking soda and vinegar.
Once the surface is clean and dry, applying a stainless-steel polish or high-heat spray paint can give it a brand-new appearance. This improves the BBQ’s look and adds a protective layer against future rust and weather damage.
5. Reassemble and Test Your Restored BBQ
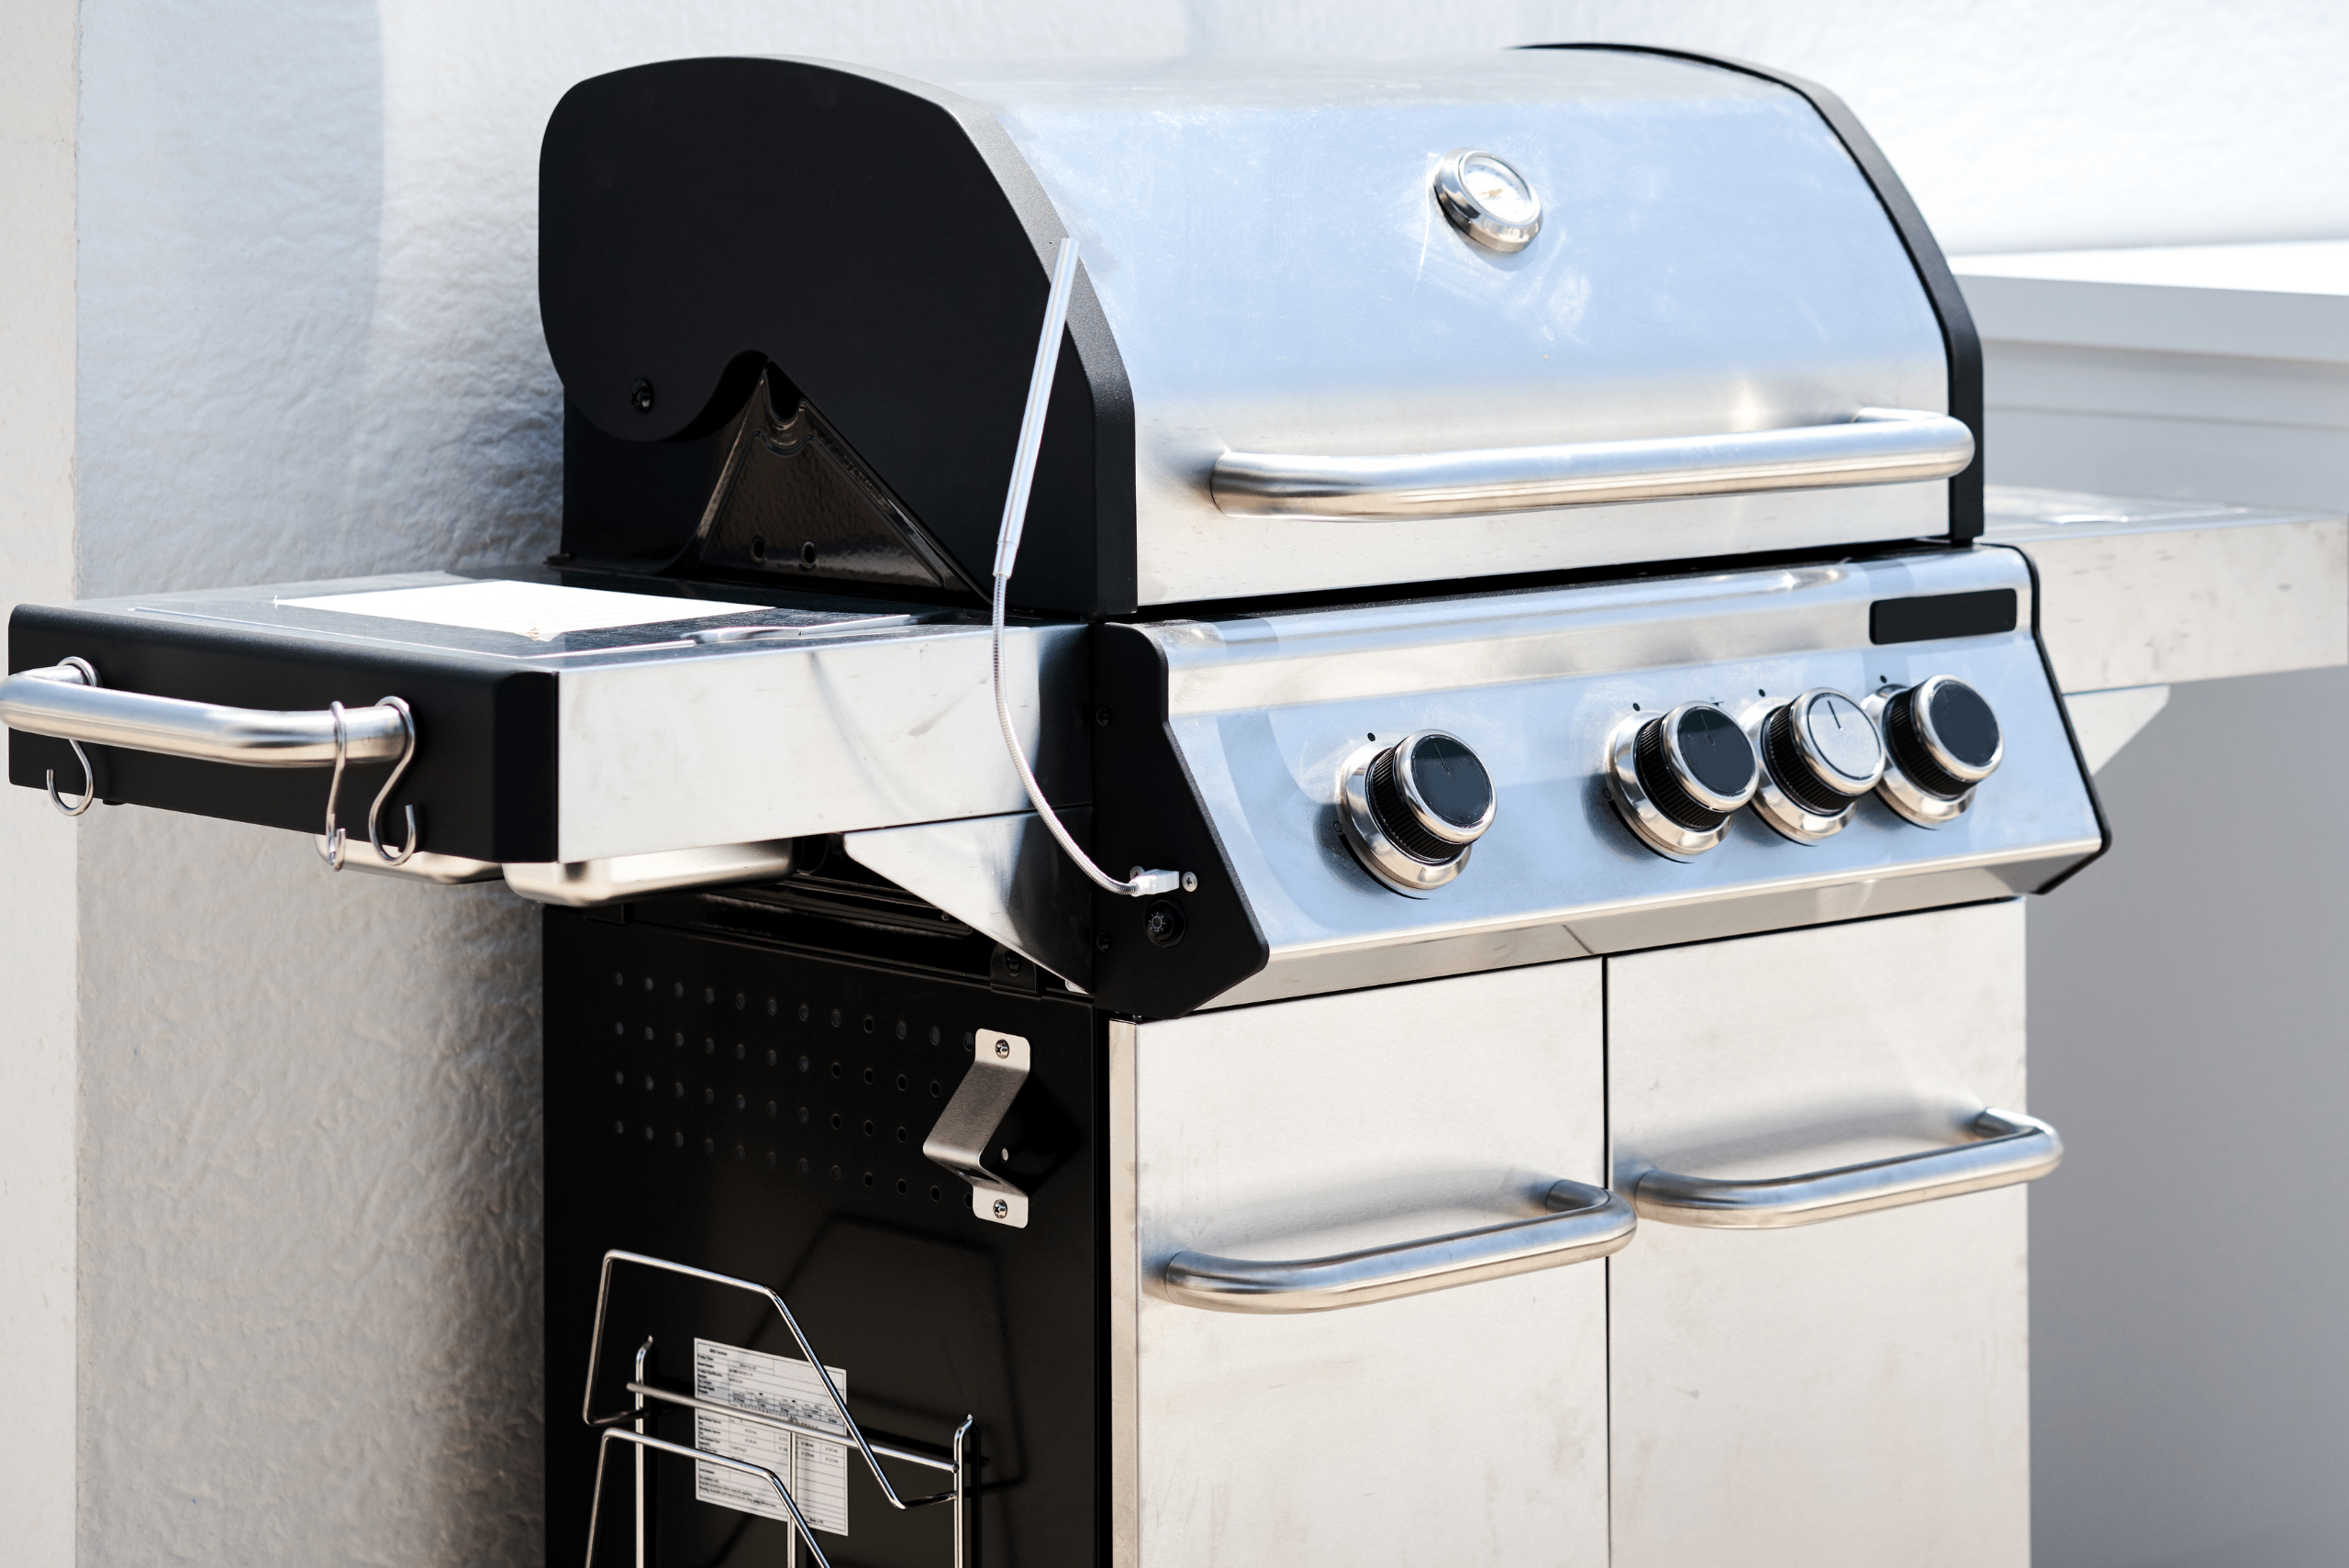
Now that every part is clean, repaired, and rust-free, it’s time to put your BBQ back together. Carefully reassemble all the parts, ensuring everything fits securely and is properly connected. Double-check that the fuel lines or propane connections are tight and free from leaks.
Before you start cooking, fire up the BBQ and let it heat for a few minutes to burn off any residual cleaning products or moisture. This final step also lets you check for any issues with ignition or heating so you can address them before grilling. After a successful test, your BBQ is ready for action – all that’s left is to enjoy the fruits of your labor!
Related Articles
- Grilling Tips to Make You Look Like a True Master Chef
- Tips and Techniques for Mastering DIY Electrolysis Rust Removal
- How to Loosen a Tight Bolt: Using a Torch to Remove Rusted & Stuck Bolts
Restoring a rusty BBQ might take a bit of time, but the results are well worth it. You’ve not only given your grill a fresh lease on life but also saved money while reducing waste. Now, your BBQ is ready to handle anything from quick burgers to slow-smoked ribs with ease. With regular maintenance, it will stay in top shape and serve up delicious meals for years to come. Fire it up, invite friends over, and enjoy your renewed BBQ with confidence!

