Restore Your Car’s Headlights Like A Pro With This Helpful DIY Guide
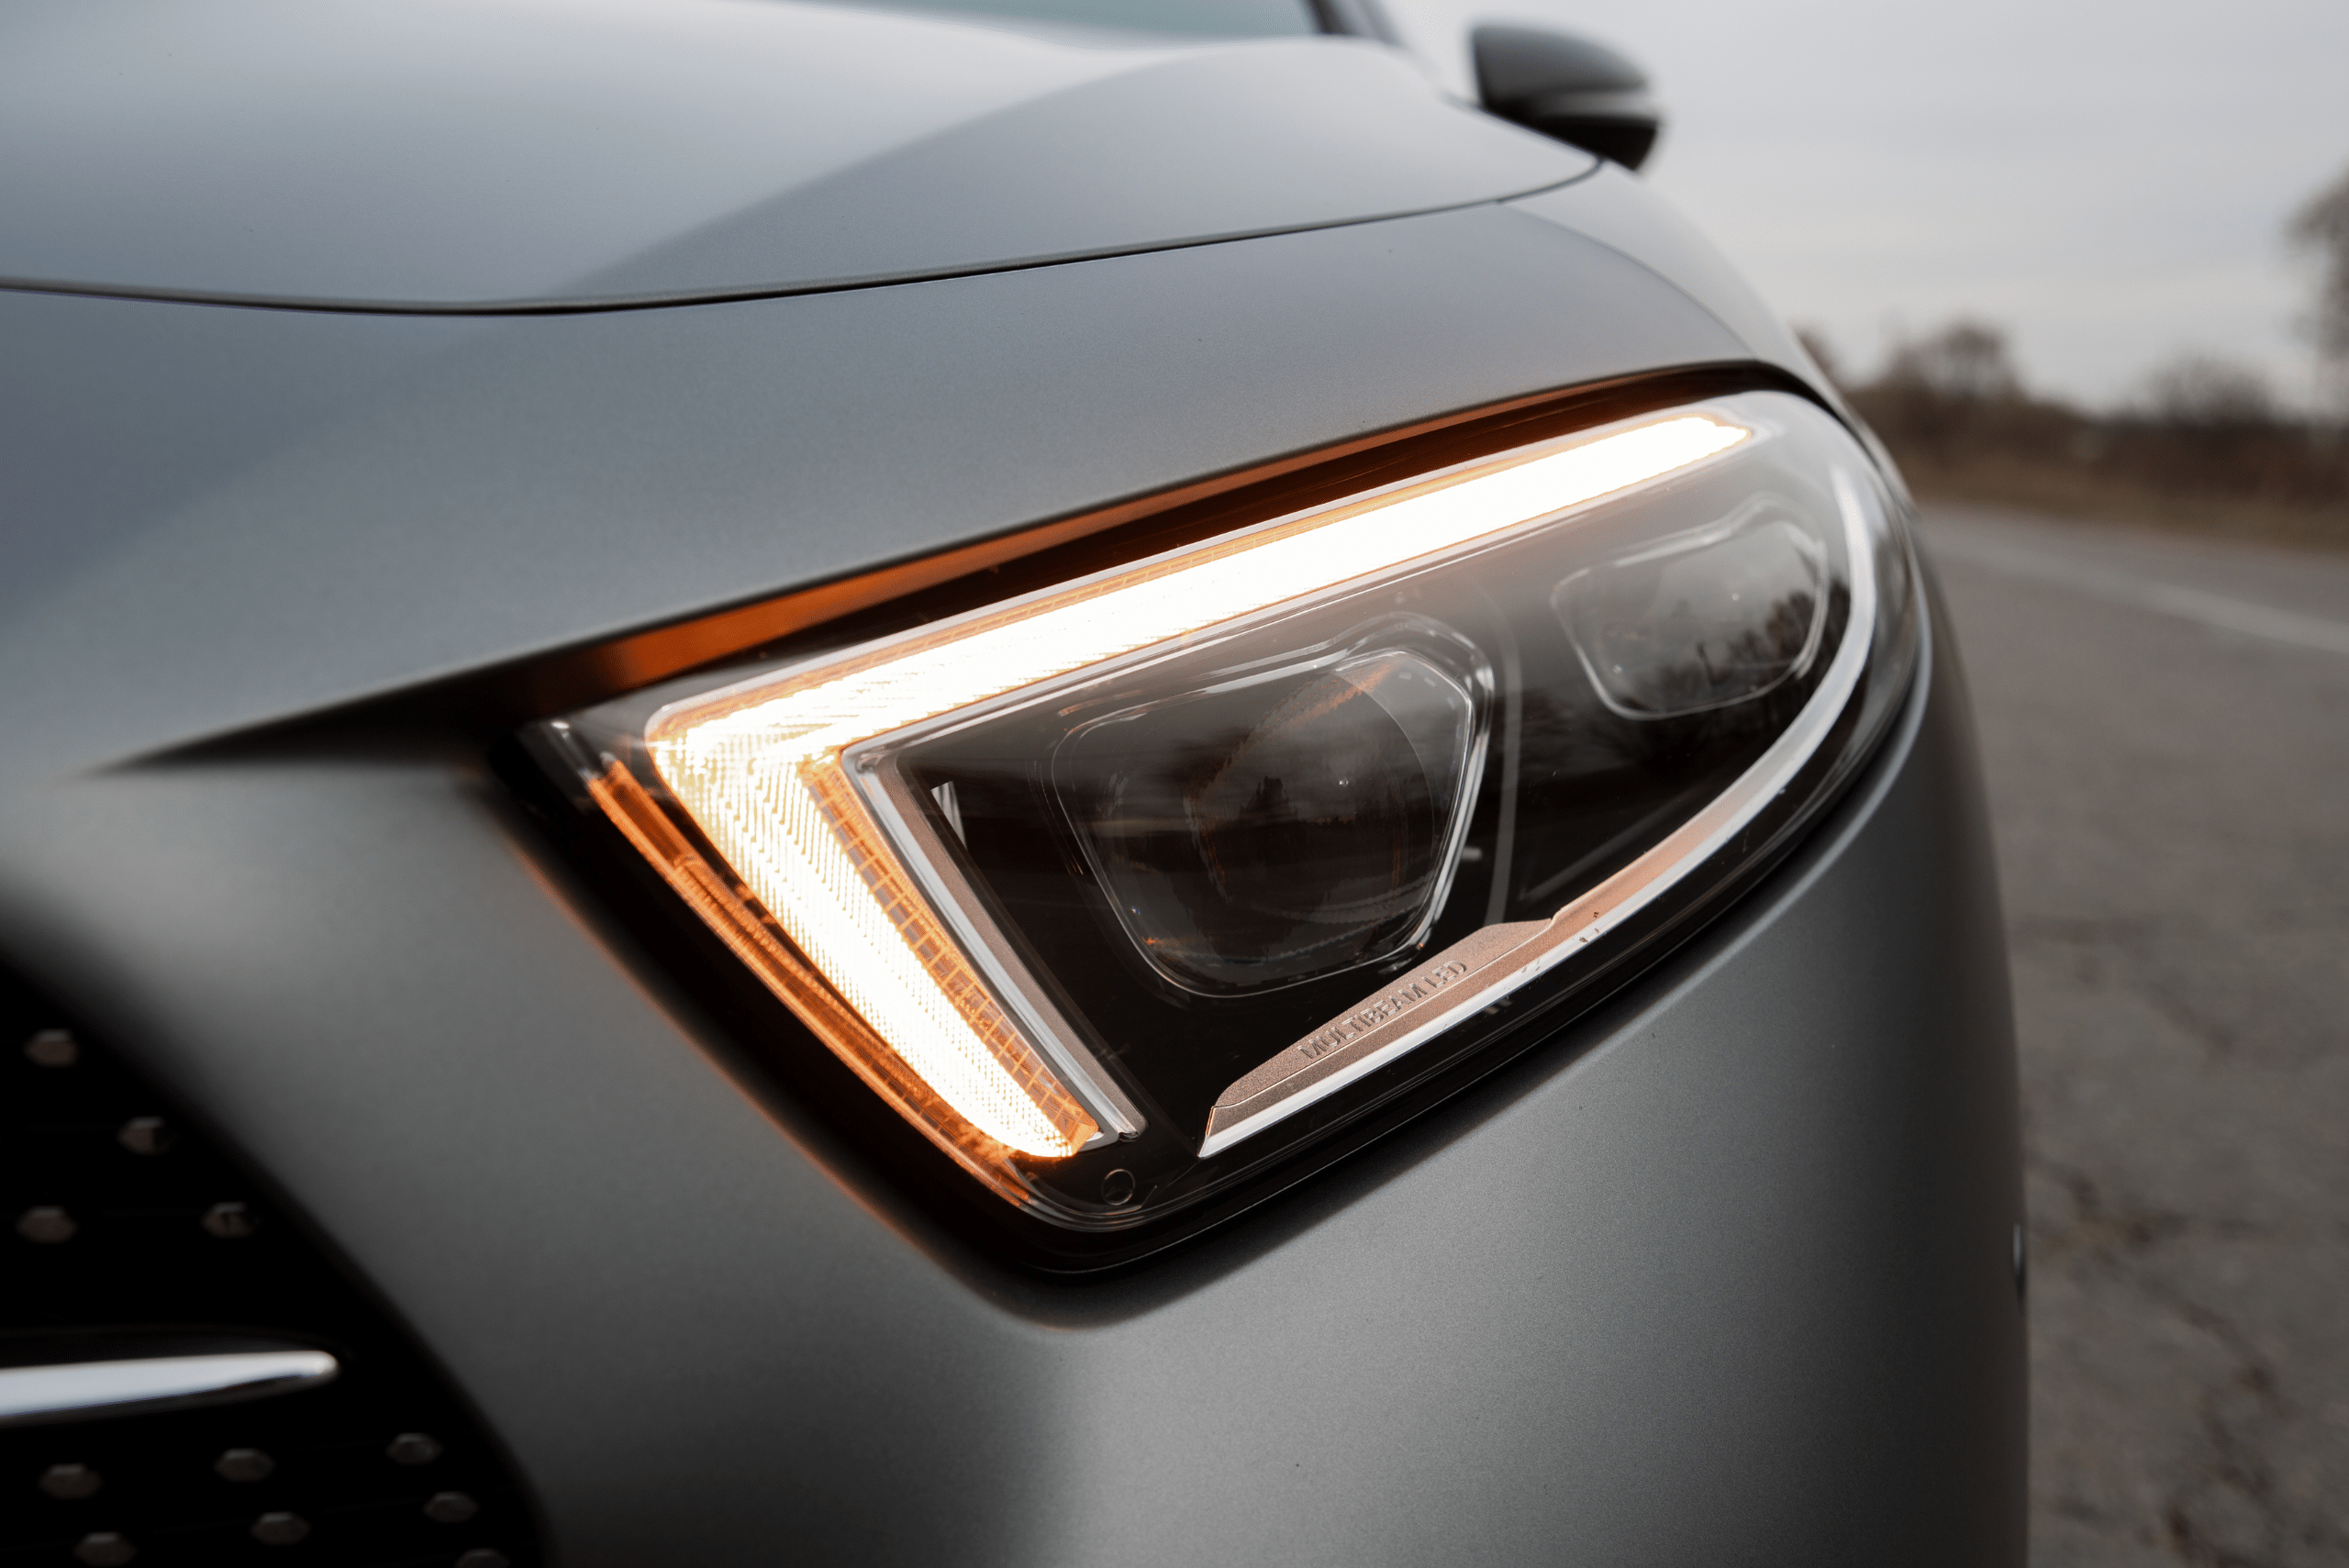
In the world of car maintenance, a detail often overlooked is the restoration of headlights. Not only can it drastically improve the appearance of your vehicle, but it can also enhance your night-time visibility, making driving safer. This DIY headlight restoration guide will walk you through the steps to bring back the shine to your headlights, ensuring your car looks as good as new. Read on on to learn more.
Understanding the Importance of Clear Headlights

Headlights are the eyes of your car, and just like our eyes, clarity is crucial. Over time, exposure to sunlight, pollutants, and road debris can cause the headlight covers to become yellowed and cloudy, especially since most cars today have plastic headlight covers.
This not only detracts from the appearance of your vehicle but also significantly reduces the effectiveness of your headlights. Restoring your headlights is not just a matter of aesthetics; it’s also a critical safety measure. Clear headlights mean better visibility for you and increased visibility of your vehicle to others.
Choosing the Right Materials for DIY Headlight Restoration
Before you dive into the restoration process, it’s essential to gather the right materials. You’ll need a few basic supplies, including sandpaper of varying grits, a spray bottle with water, a clean cloth, and a headlight polishing compound.
For those looking to go the extra mile, a UV-resistant sealant can provide a protective layer to your headlights, prolonging the effects of your hard work. Opting for high-quality materials can make a significant difference in the outcome of your DIY project.
The Step-by-Step Process of Restoring Your Headlights
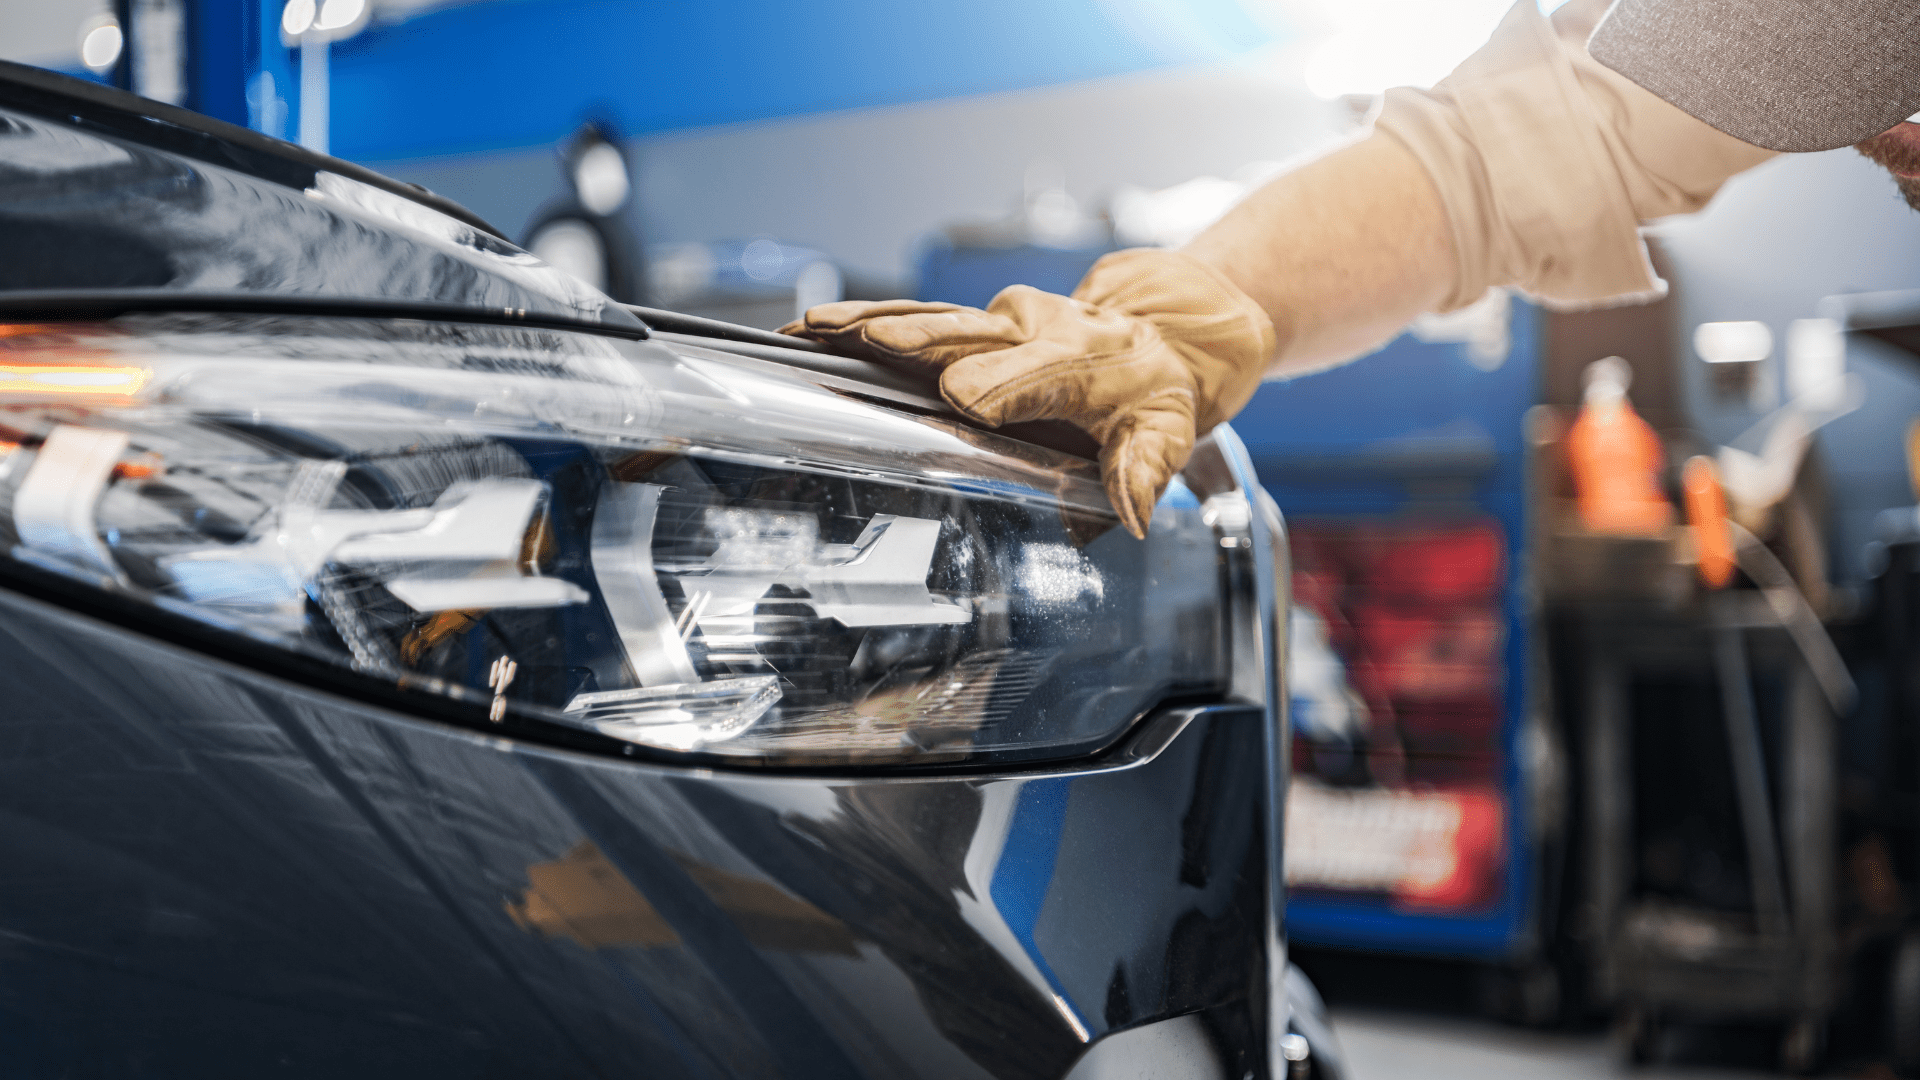
The process of restoring your headlights can be broken down into a few key steps.
First, you’ll need to clean the surface of your headlights thoroughly.
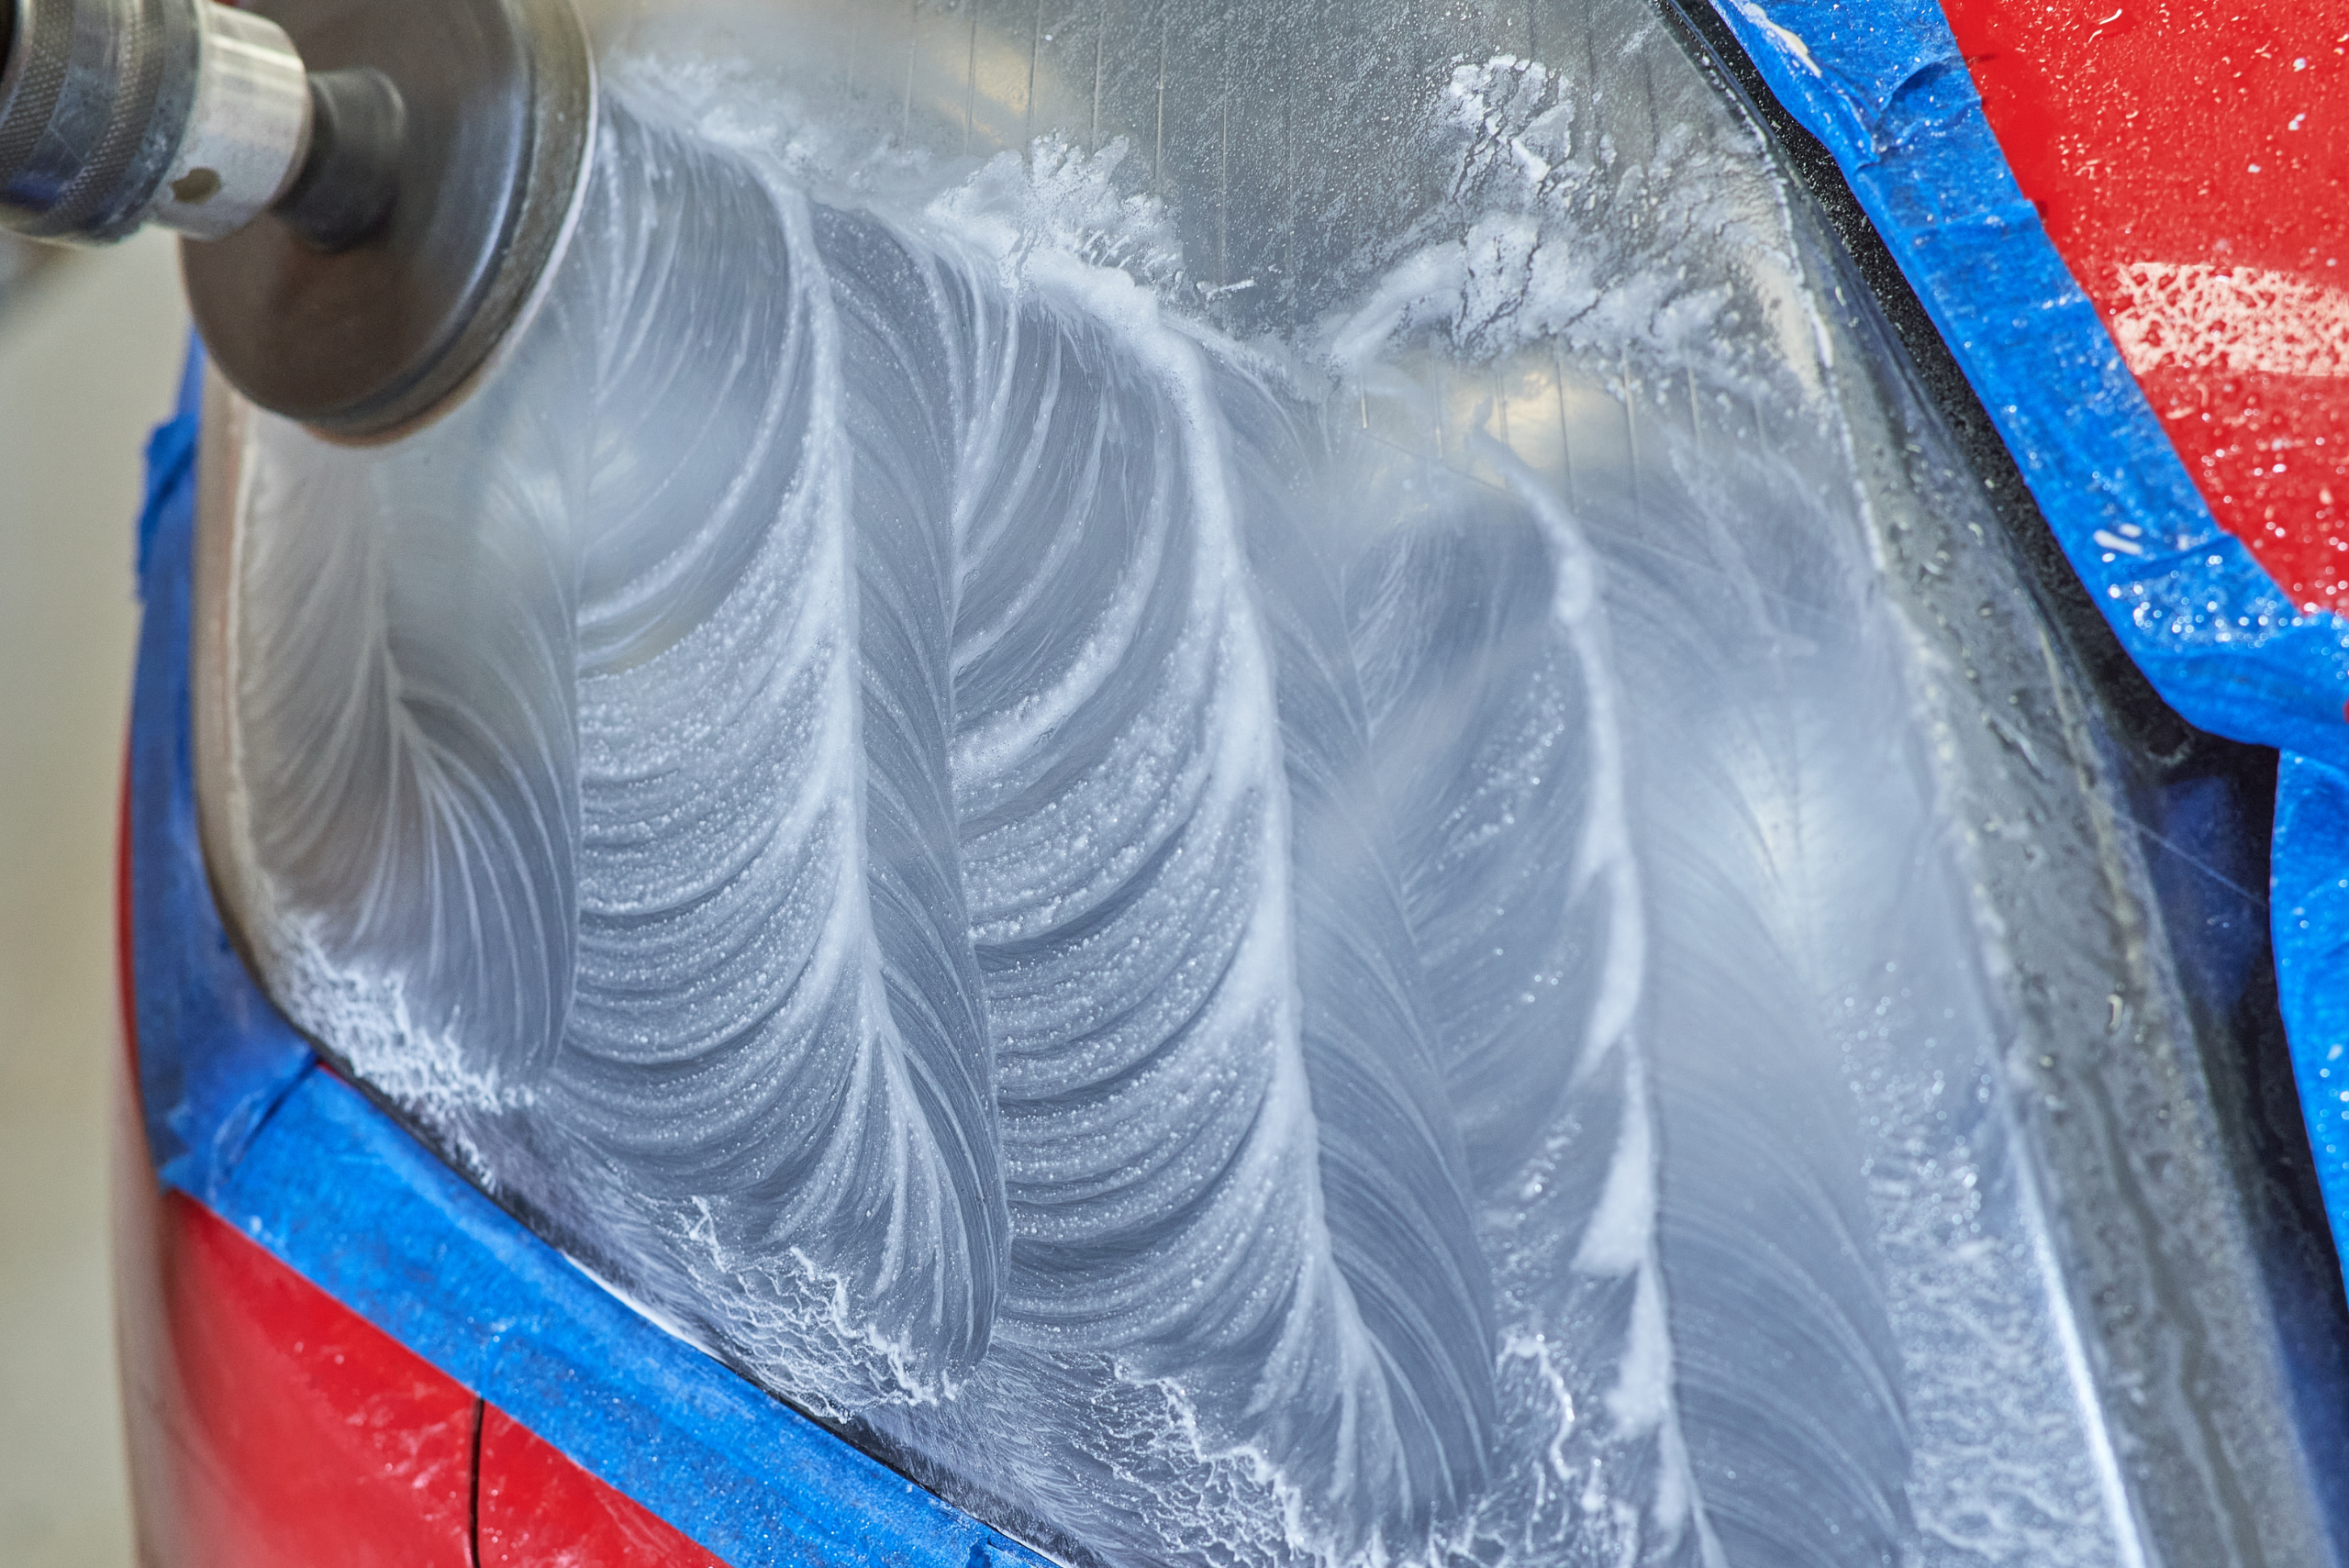
Next, using sandpaper, you’ll start with a coarse grit to remove the outer layer of oxidation and work your way up to a finer grit to smooth out the surface.
After sanding, applying a polishing compound will help to clear up any remaining haziness.
Finally, applying a UV-resistant sealant will protect your headlights from future damage.
(This method requires patience and precision but yields rewarding results.)
Vehicle Headlight Restoration With Homemade Items
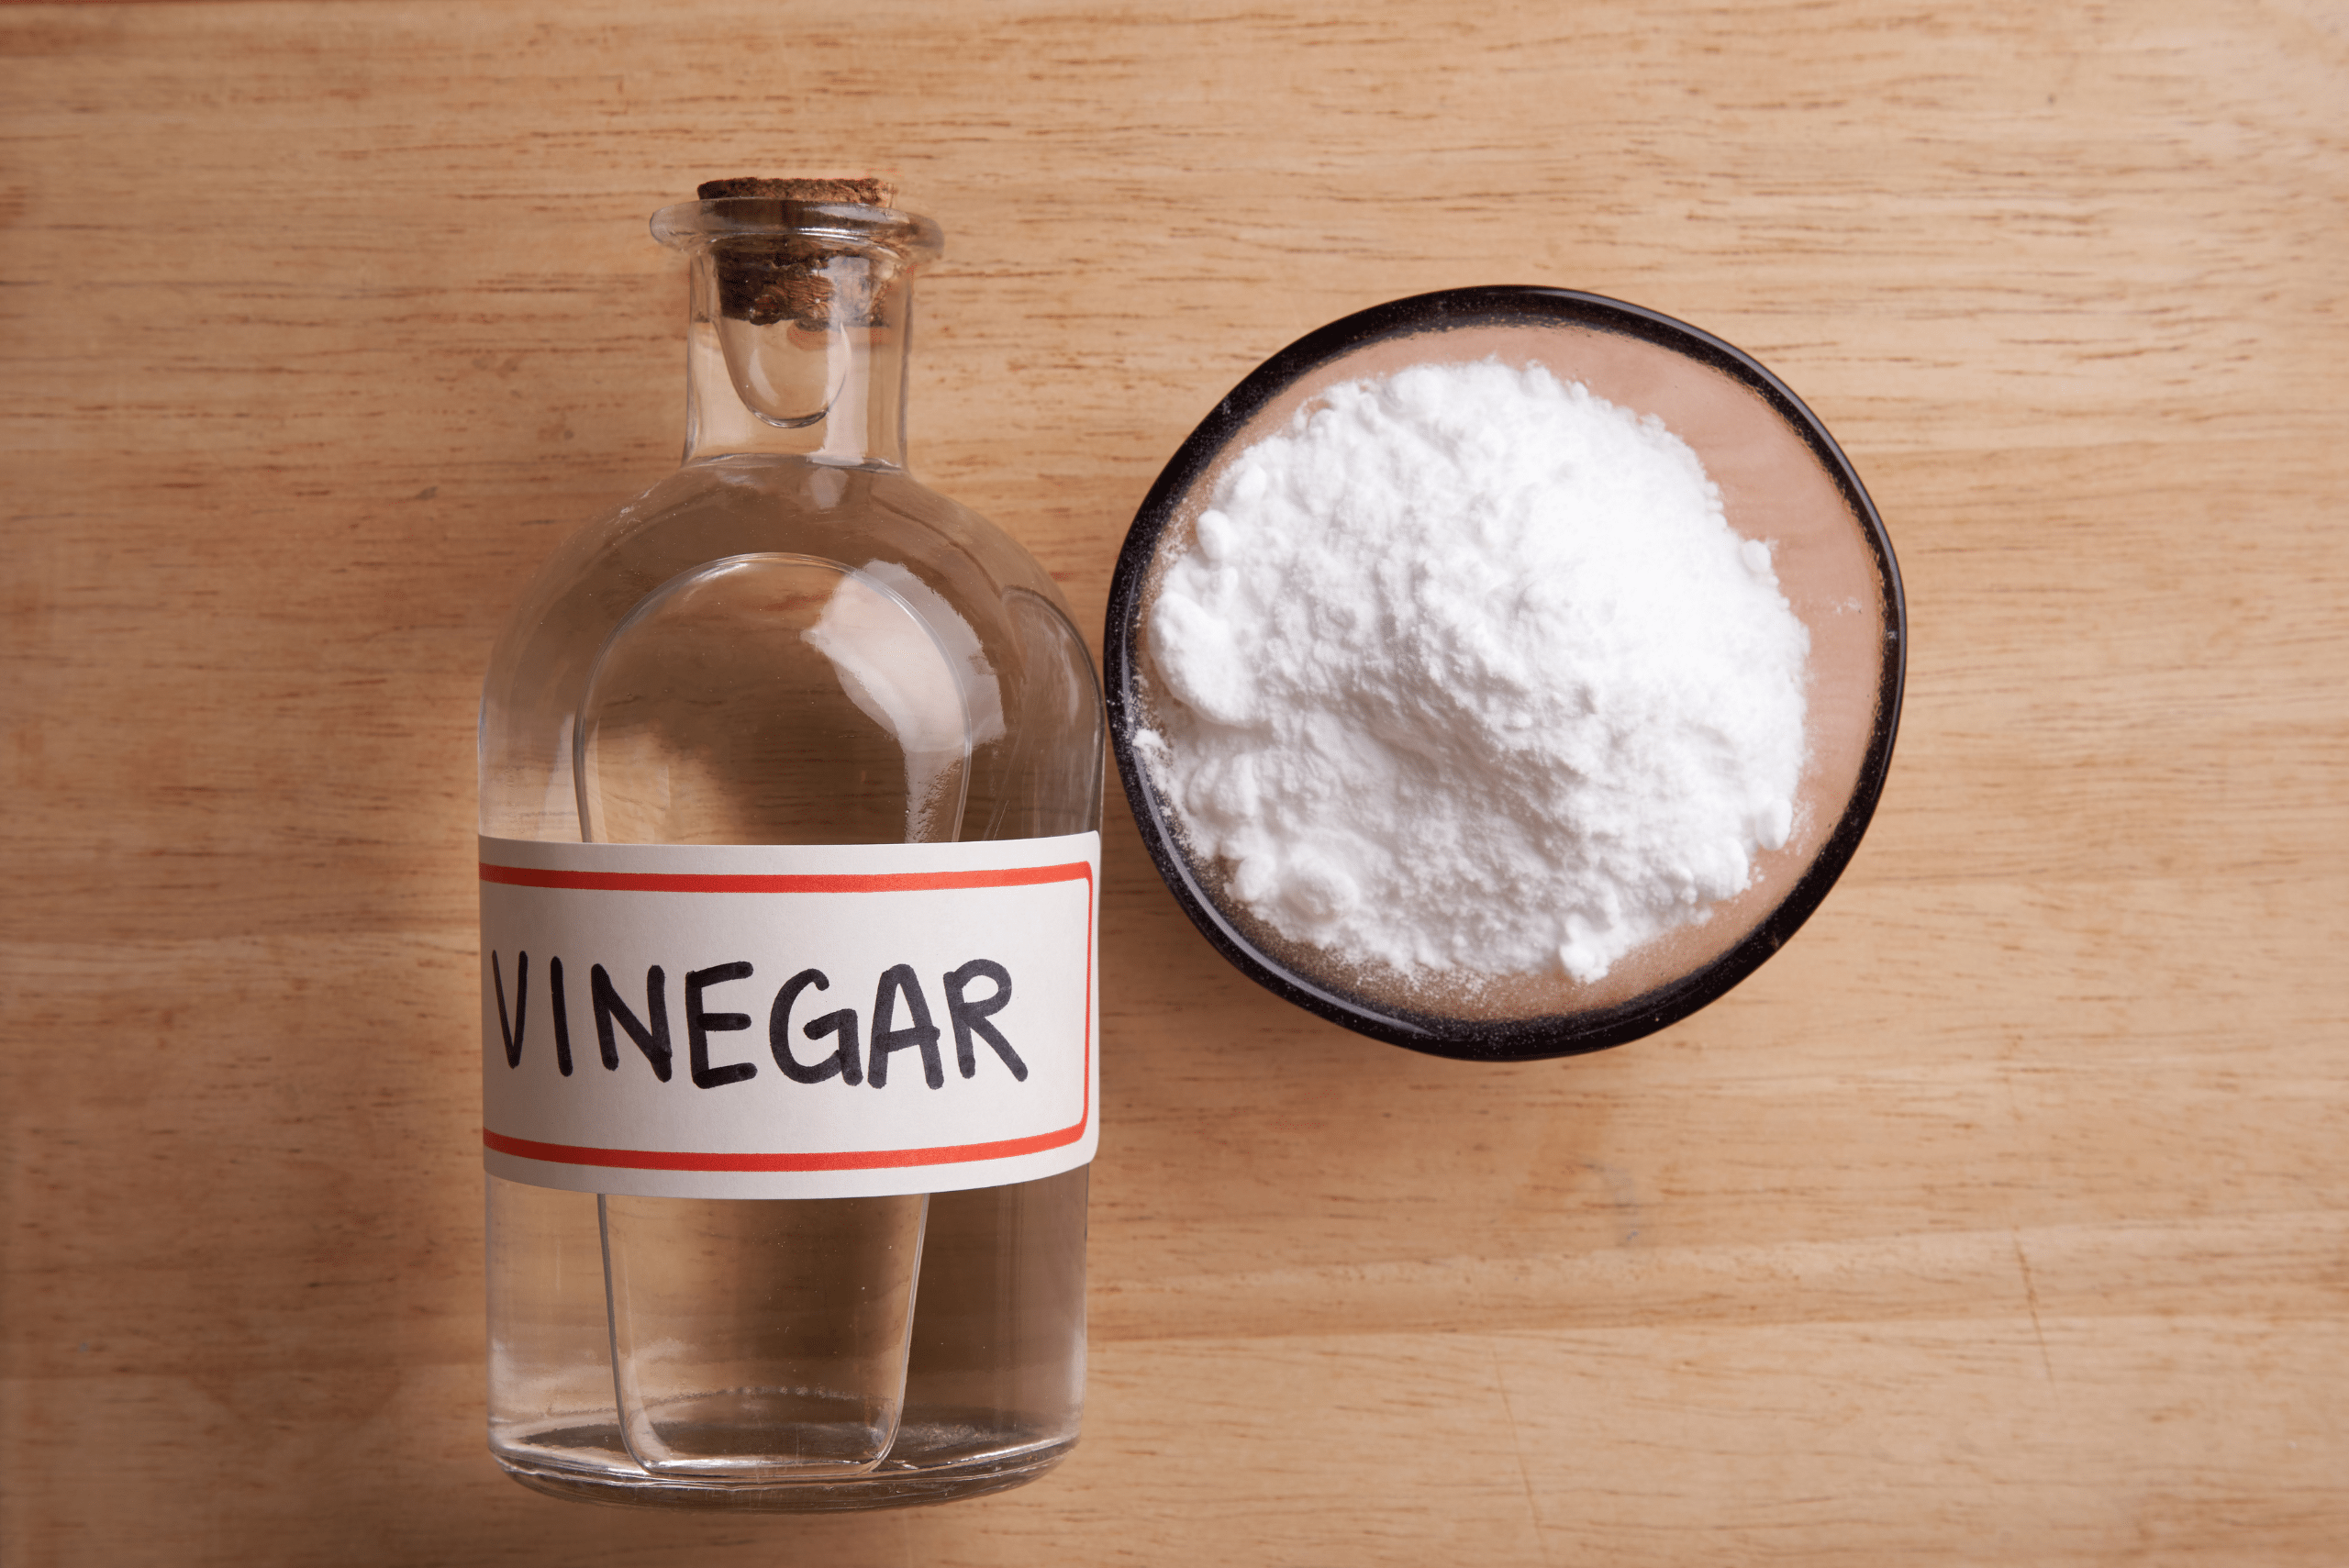
To restore vehicle headlights using natural or at-home items, you can start by mixing baking soda with water to create a paste-like consistency. Apply this paste to the headlights and scrub gently with a microfiber cloth in circular motions. Rinse the headlights thoroughly with water and dry them with a clean cloth.
Alternatively, you can use toothpaste with baking soda in a similar manner. Another method involves using vinegar. Mix equal parts vinegar and water, then apply the solution to the headlights using a cloth. Allow it to sit for a few minutes before wiping it off with a clean cloth. Finally, rinse the headlights with water and dry them.
Tips and Tricks For Avoiding Common Mistakes in Headlight Restoration
One of the most common mistakes in DIY headlight restoration is rushing through the sanding process. It’s crucial to take your time and ensure that all areas of the headlight are evenly sanded.
Another tip is to keep the surface wet during sanding, which helps to prevent scratches. Also, applying the sealant in a well-ventilated area and allowing it ample time to dry can prevent smudging and ensure a long-lasting finish.
How to Maintain Your Newly Restored Headlights – Keeping Them Clear
After investing time and effort into restoring your headlights, maintaining their clarity is key. Regularly washing your car, including the headlights, can prevent the build-up of pollutants and debris that contribute to cloudiness.
Additionally, parking your car in shaded areas can minimize exposure to UV rays, slowing down the oxidation process. Simple maintenance steps can keep your headlights shining bright for longer, especially if you keep salt off the lens.
DIY headlight restoration is a rewarding project that can make a significant difference in the look and safety of your vehicle. By understanding the importance of clear headlights, choosing the right materials, following a step-by-step process, and maintaining your results, you can achieve professional-looking results at home. So, roll up your sleeves and brighten your path with a DIY headlight restoration project.
Ready to start your next project? Join our DIY community to receive tool tips, how-to guides, and exclusive creative insights. Subscribe to the ManMadeDIY newsletter now!
