The Most Effective Way For Restoring Hardwood Floors
Restoring hardwood floors can transform the entire feel of your home, bringing a fresh and vibrant life back to old or worn-out wooden surfaces. If you’re considering taking on this project, understanding the process and best practices will ensure a successful outcome that you can be proud of.
Why Restoring Your Hardwood Floors is a Valuable Endeavor
Reviving your hardwood floors is not just about aesthetics; it also adds significant value to your home. Hardwood floors are a coveted feature in real estate, appealing due to their durability and classic look. By restoring them, you enhance their beauty and functionality, potentially increasing your home’s market value. Moreover, this process removes deep-seated dirt and allergens, making your home healthier and more comfortable.
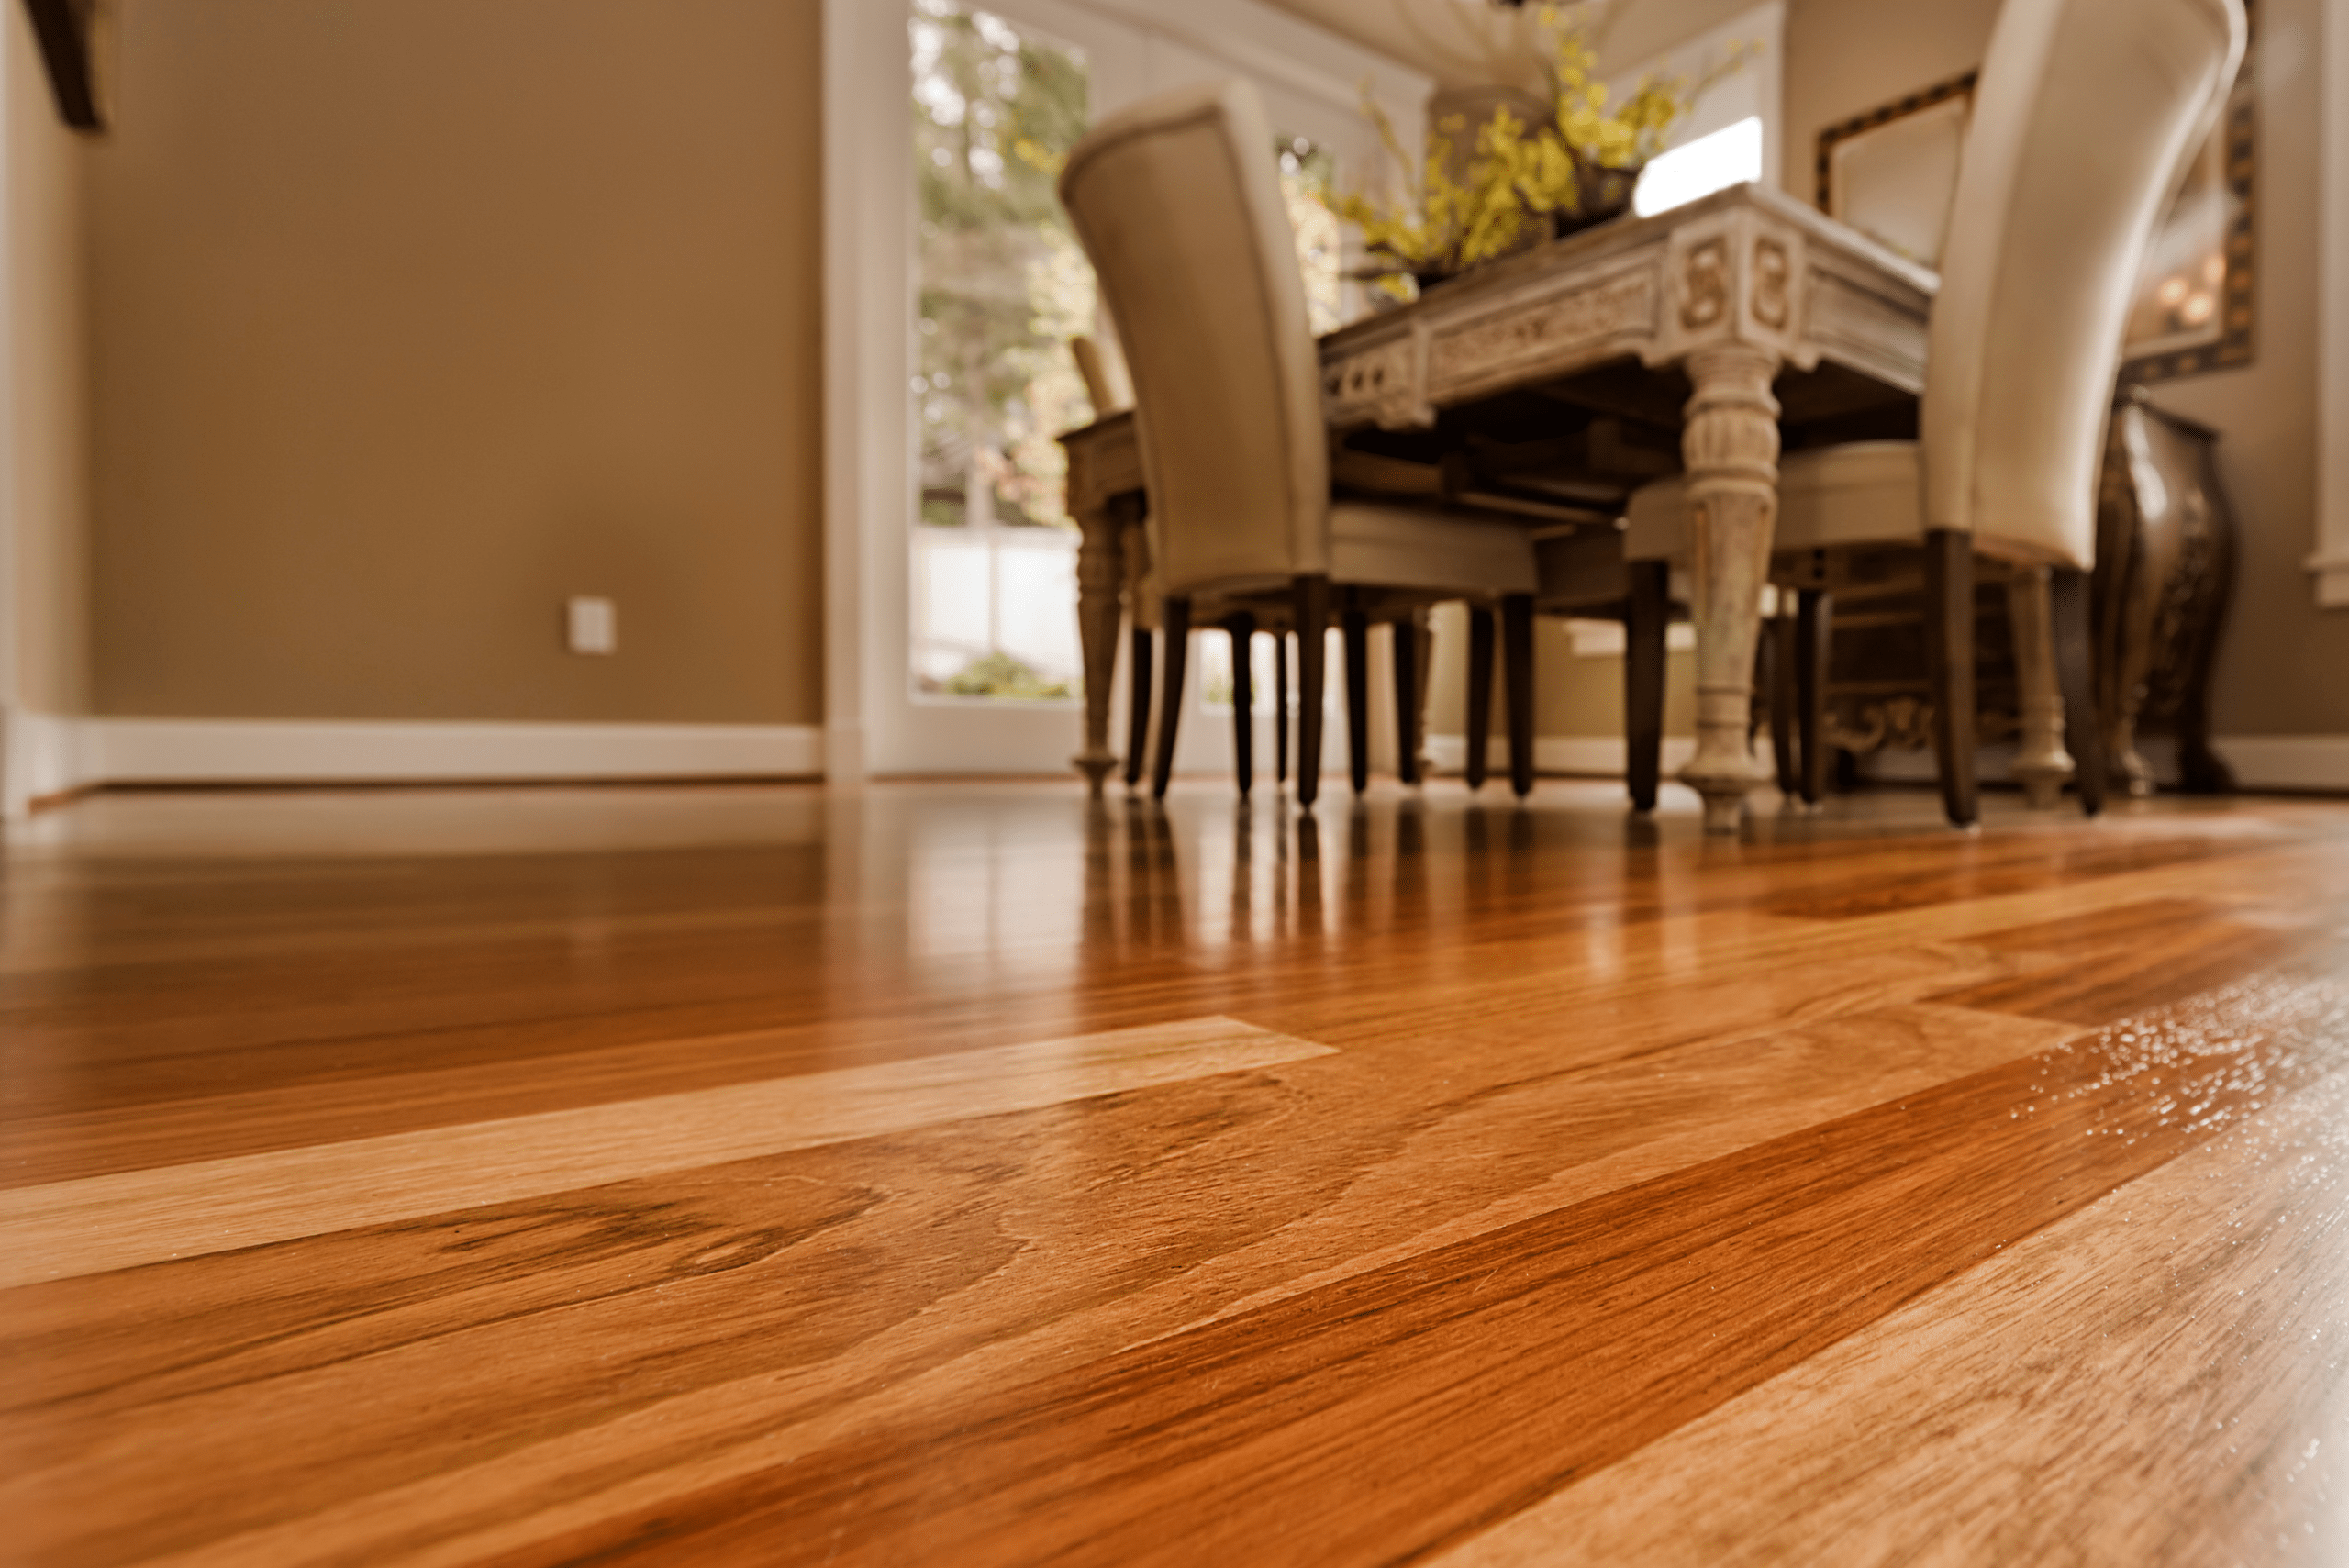
Additionally, choosing to restore rather than replace hardwood floors is an environmentally friendly option. It reduces waste and the demand for new lumber, which is a great way to minimize your ecological footprint. This aspect alone makes the endeavor worthwhile, considering the growing importance of sustainable living.
Understanding the Signs That Your Hardwood Floors Need Attention
Identifying when your hardwood floors require restoration is key to maintaining their condition over time. Common signs include noticeable scratches, discolorations, and dullness that simple cleaning can’t fix. More severe indicators are warping or buckling of the wood, which can occur from moisture issues or temperature fluctuations.
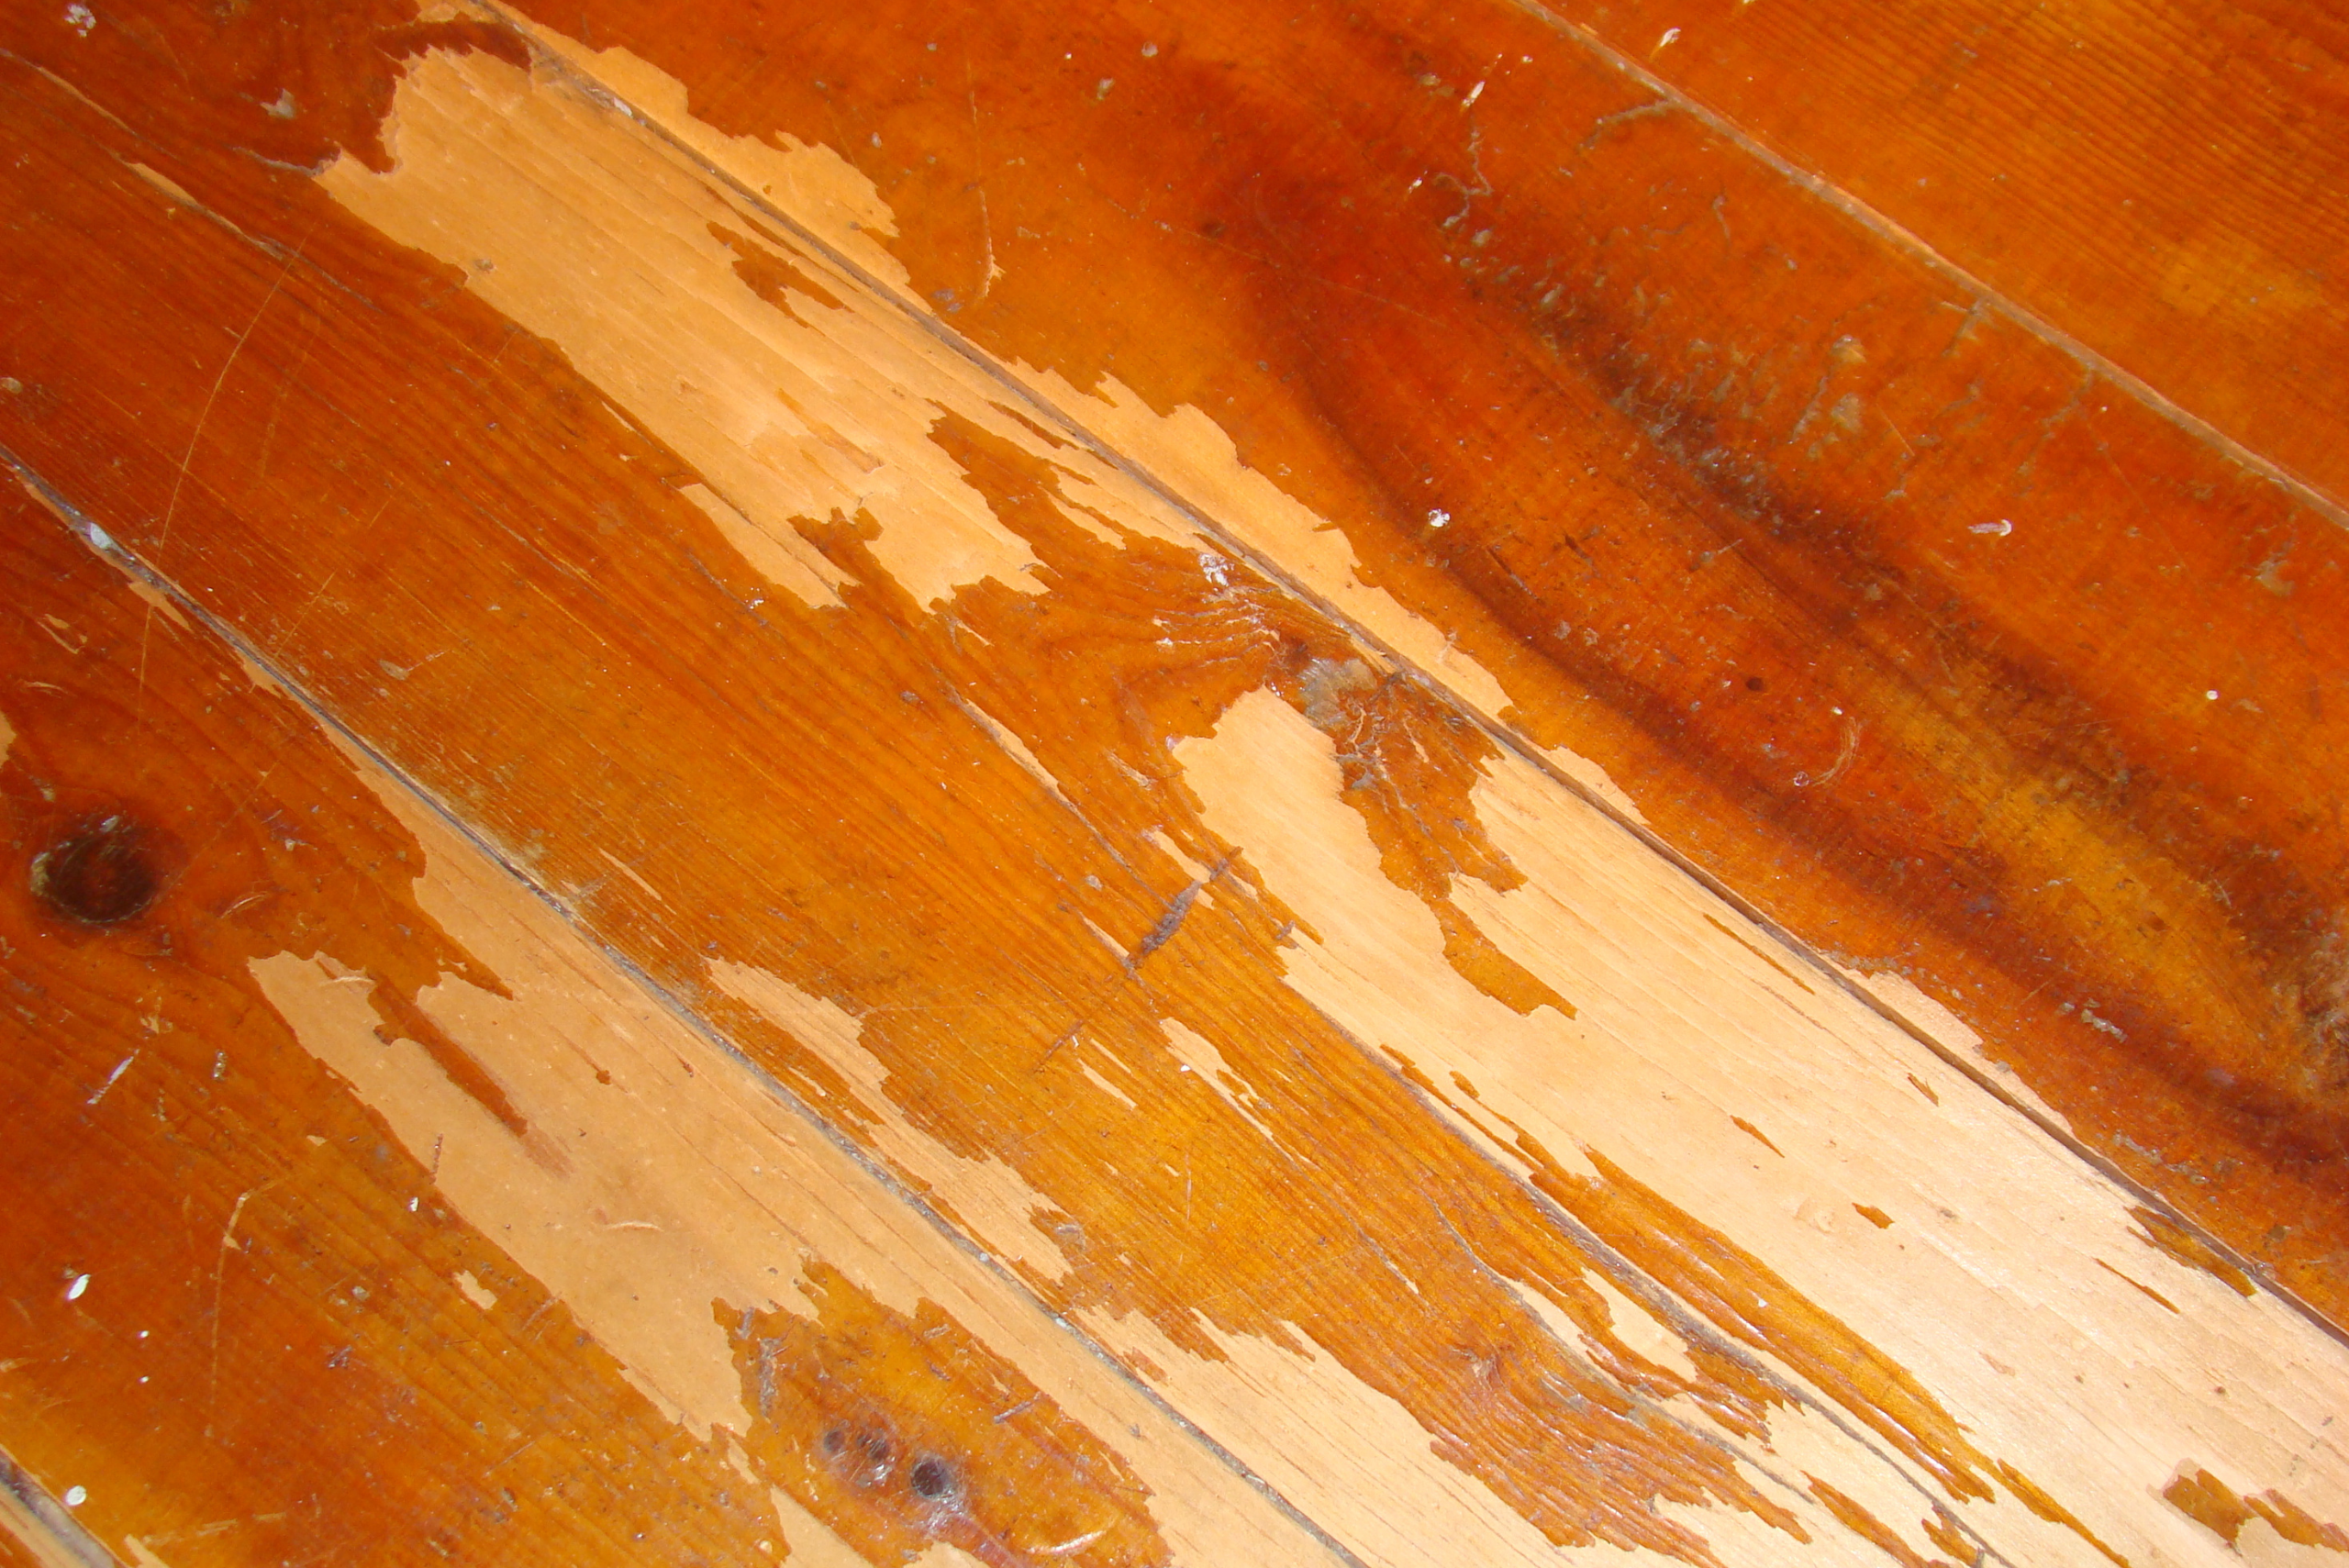
If the finish of the floor has worn off in high-traffic areas or if there are “gray” patches where the wood grain is exposed, it’s time to consider restoration. These symptoms suggest that the protective top layer has been compromised, leaving the wood vulnerable to damage.
Step-by-Step Guide to Restoring Hardwood Floors – From Start to Finish
The process of restoring hardwood floors begins with preparing the area. This involves removing furniture and rugs and then thoroughly cleaning the floor to remove dust and debris. Next, you’ll need to sand down the floors. This can be done using a drum sander for large areas and an edge sander for corners and edges. Sanding removes the old finish and smooths out imperfections, providing a clean slate for the new finish.
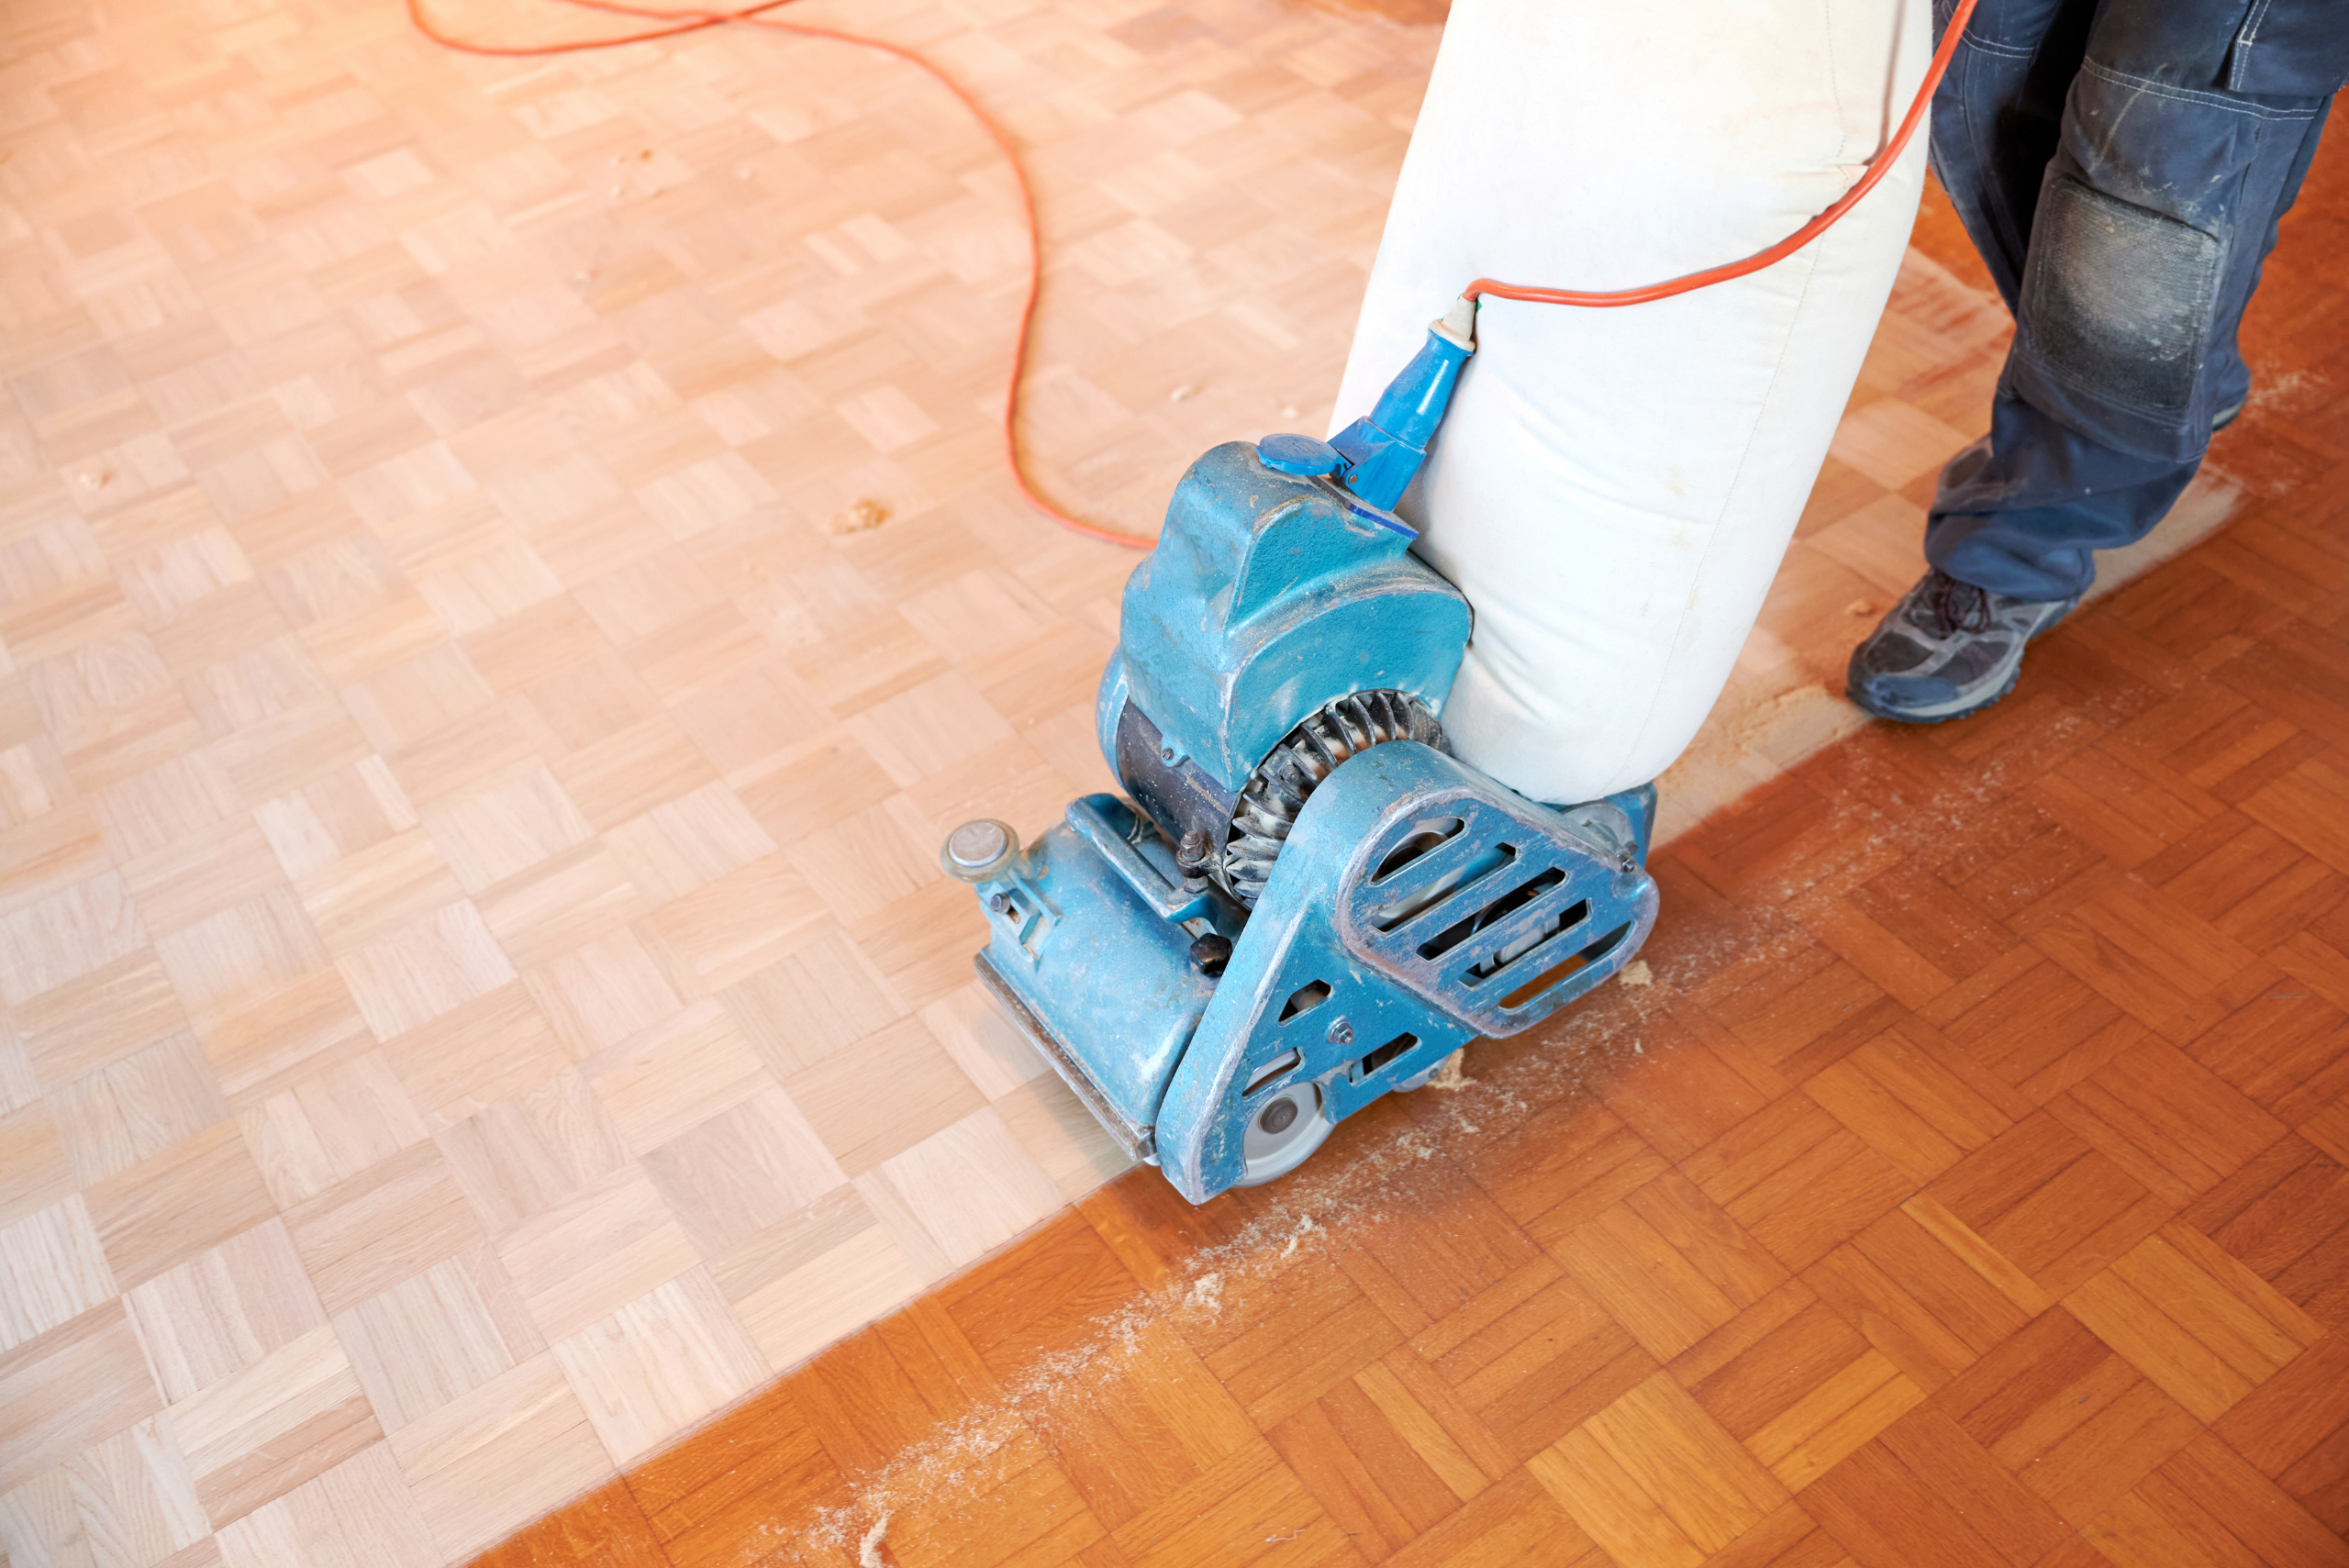
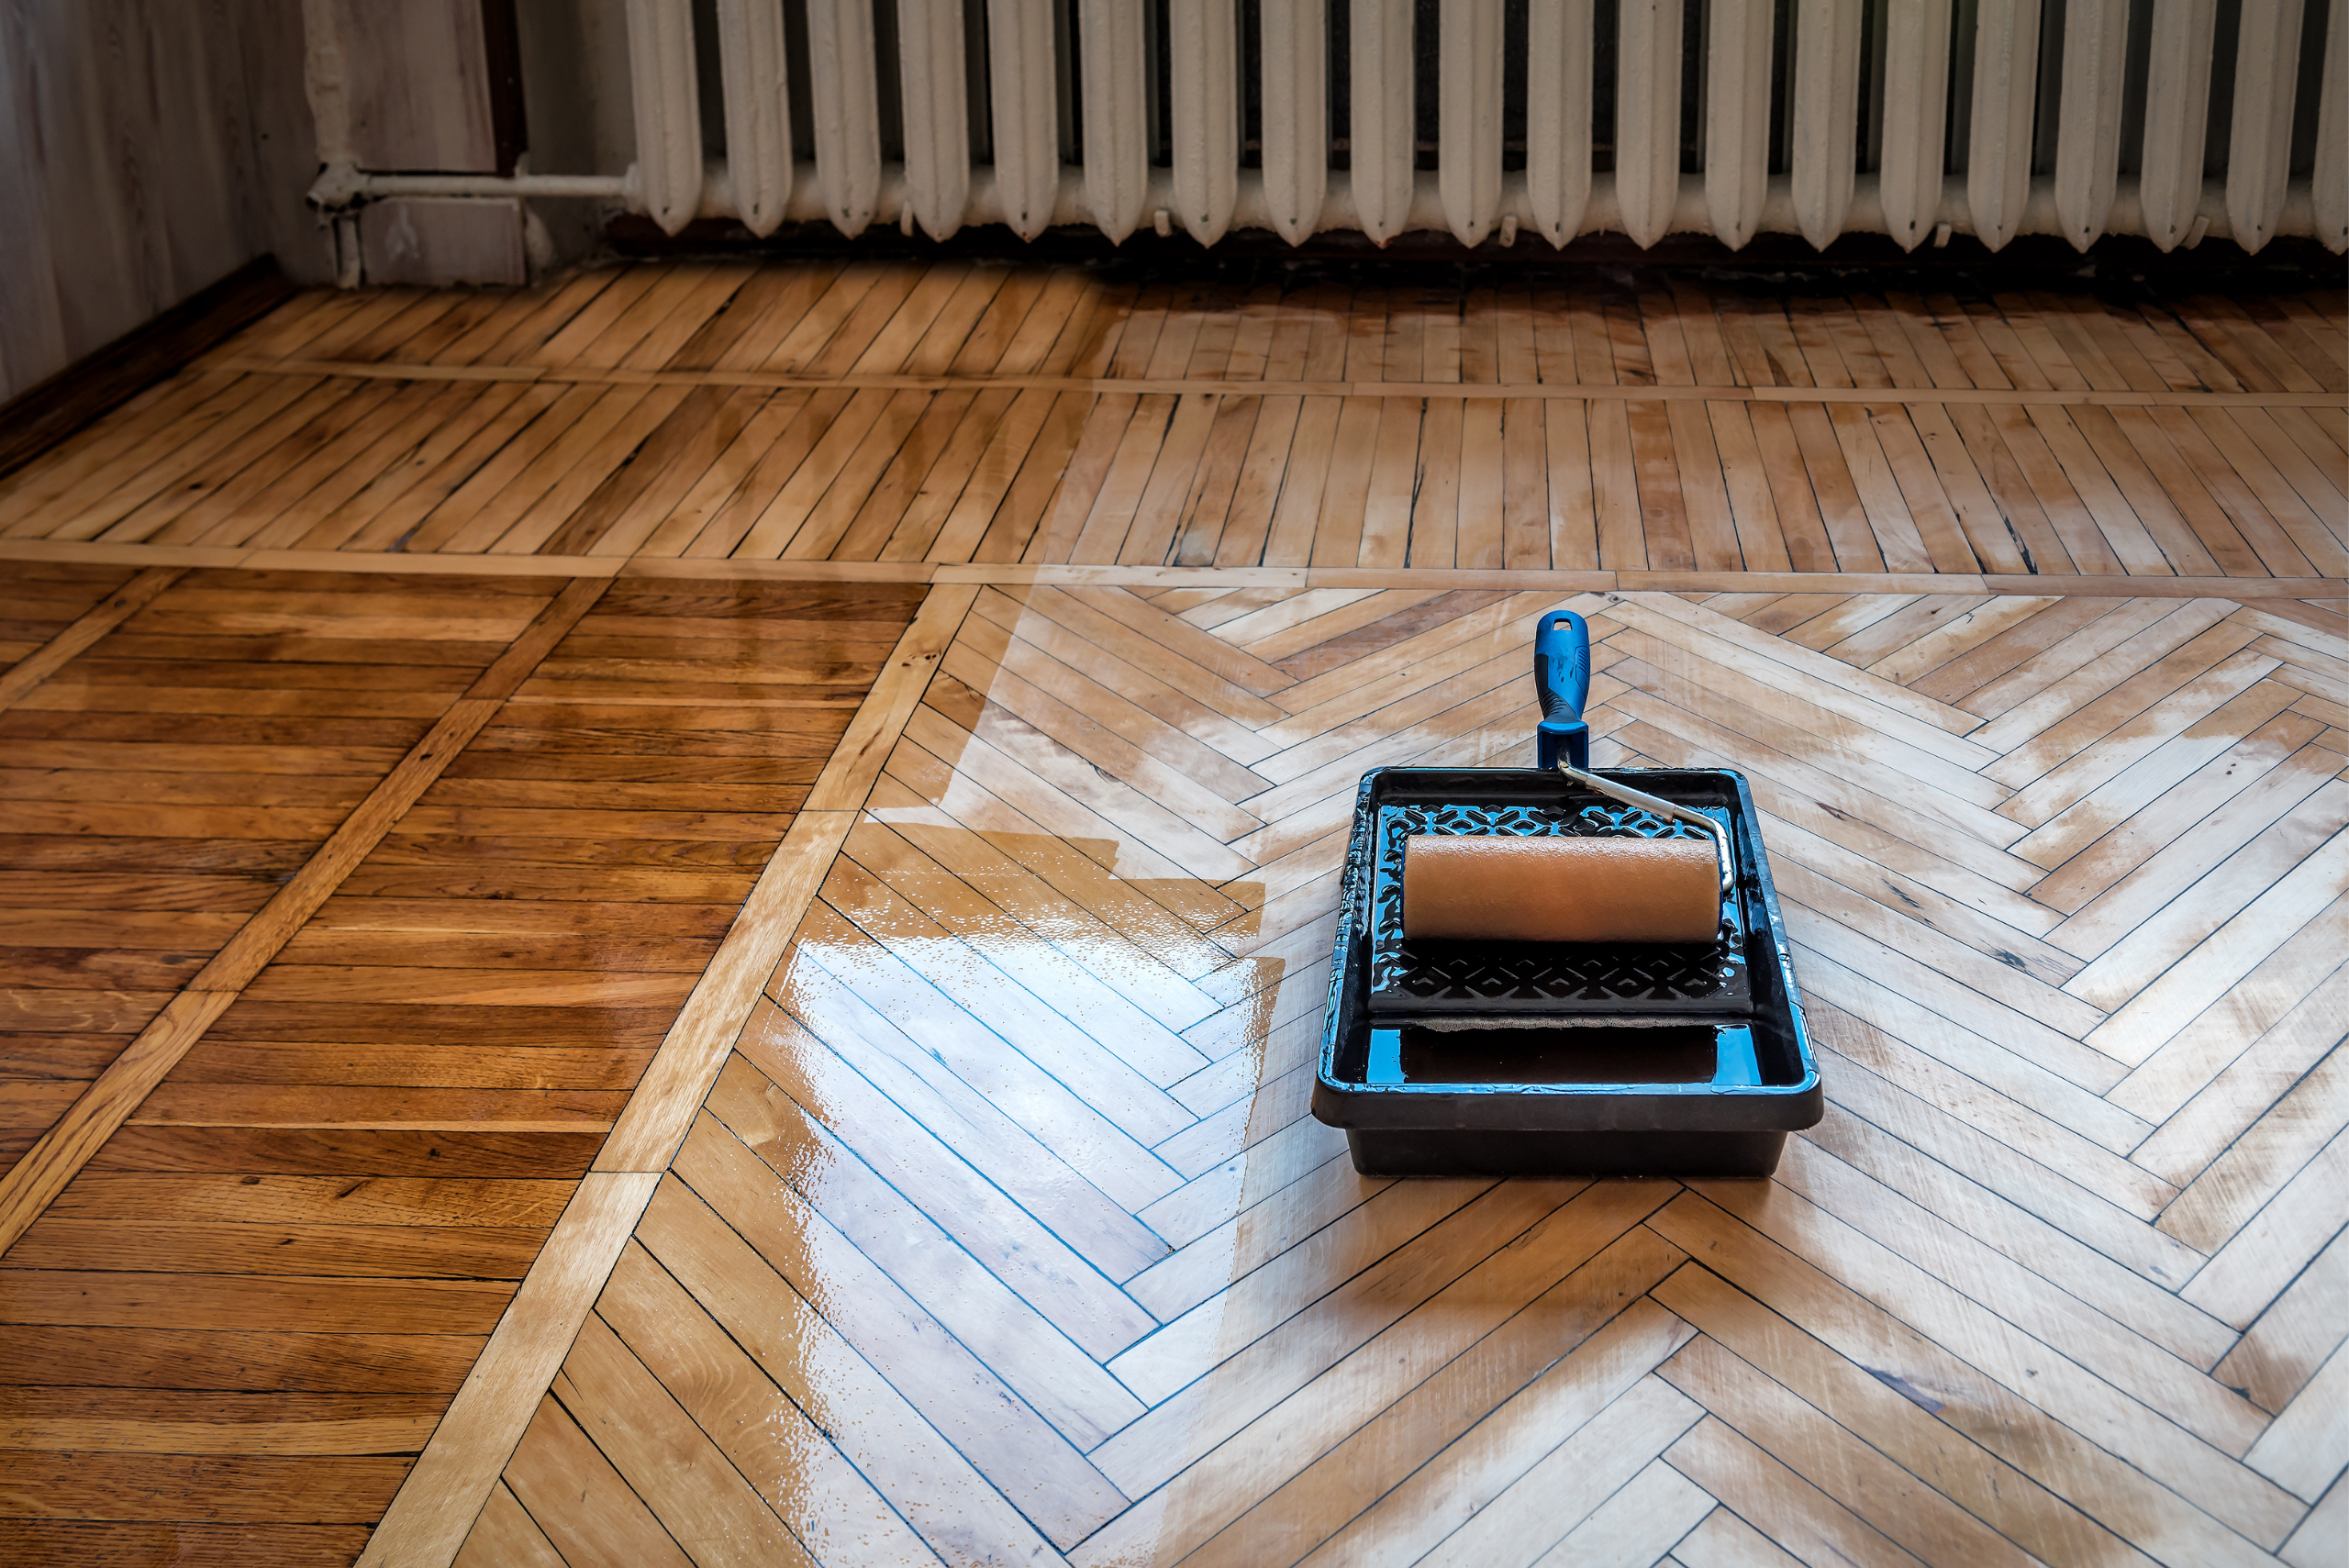
After sanding, it’s crucial to clean up all the dust, as any left behind can mar the finish. Following this, apply a sealer to protect the wood and enhance its natural color. Finally, apply the finish, which can be oil-based or water-based, which will depend on your preference and the type of wood. This step might require multiple coats, with sufficient drying time between each.
Choosing the Right Finish and Maintenance Tips to Keep Floors Looking New
Choosing the right finish for your hardwood floors depends on the level of durability you need and the aesthetic you desire. Polyurethane finishes are popular for their toughness and are available in various sheens, from matte to glossy. If you prefer a more natural look, penetrating oil finishes might be the right choice, though they typically require more maintenance.
To maintain your newly restored floors, regular cleaning with products designed for hardwood is essential. Avoid water and steam mops, as moisture can damage wood over time. Place rugs in high-traffic areas to minimize wear, and use felt pads under furniture legs to prevent scratches.
Related Articles:
- How to Get Paint Off Hardwood Floors
- How to Install Vinyl Plank Flooring
- How to Fix Scratches on Wood Floors Correctly
Restoring hardwood floors is an endeavor that not only improves the appearance of your home but also contributes to its longevity and value. With the right approach, tools, and care, your floors can be a point of pride in your home and a beautiful foundation for your living space.

