Safe And Simple Ways To Remove A Broken Light Bulb
Embarking on the task of extracting a broken light bulb from its socket presents a unique set of challenges. The fragility of the glass and the potential for injury require a careful, methodical approach. It’s a situation many find themselves in, staring at the remnants of a bulb that once illuminated their space, now a source of frustration.
How to remove a broken light bulb becomes not just a question of mechanics but of safety and efficiency. This initial step towards resolution demands a clear understanding of what you’re up against in a delicate operation that involves working with sharp edges and ensuring you don’t cause further damage to the bulb’s housing or, more importantly, yourself.
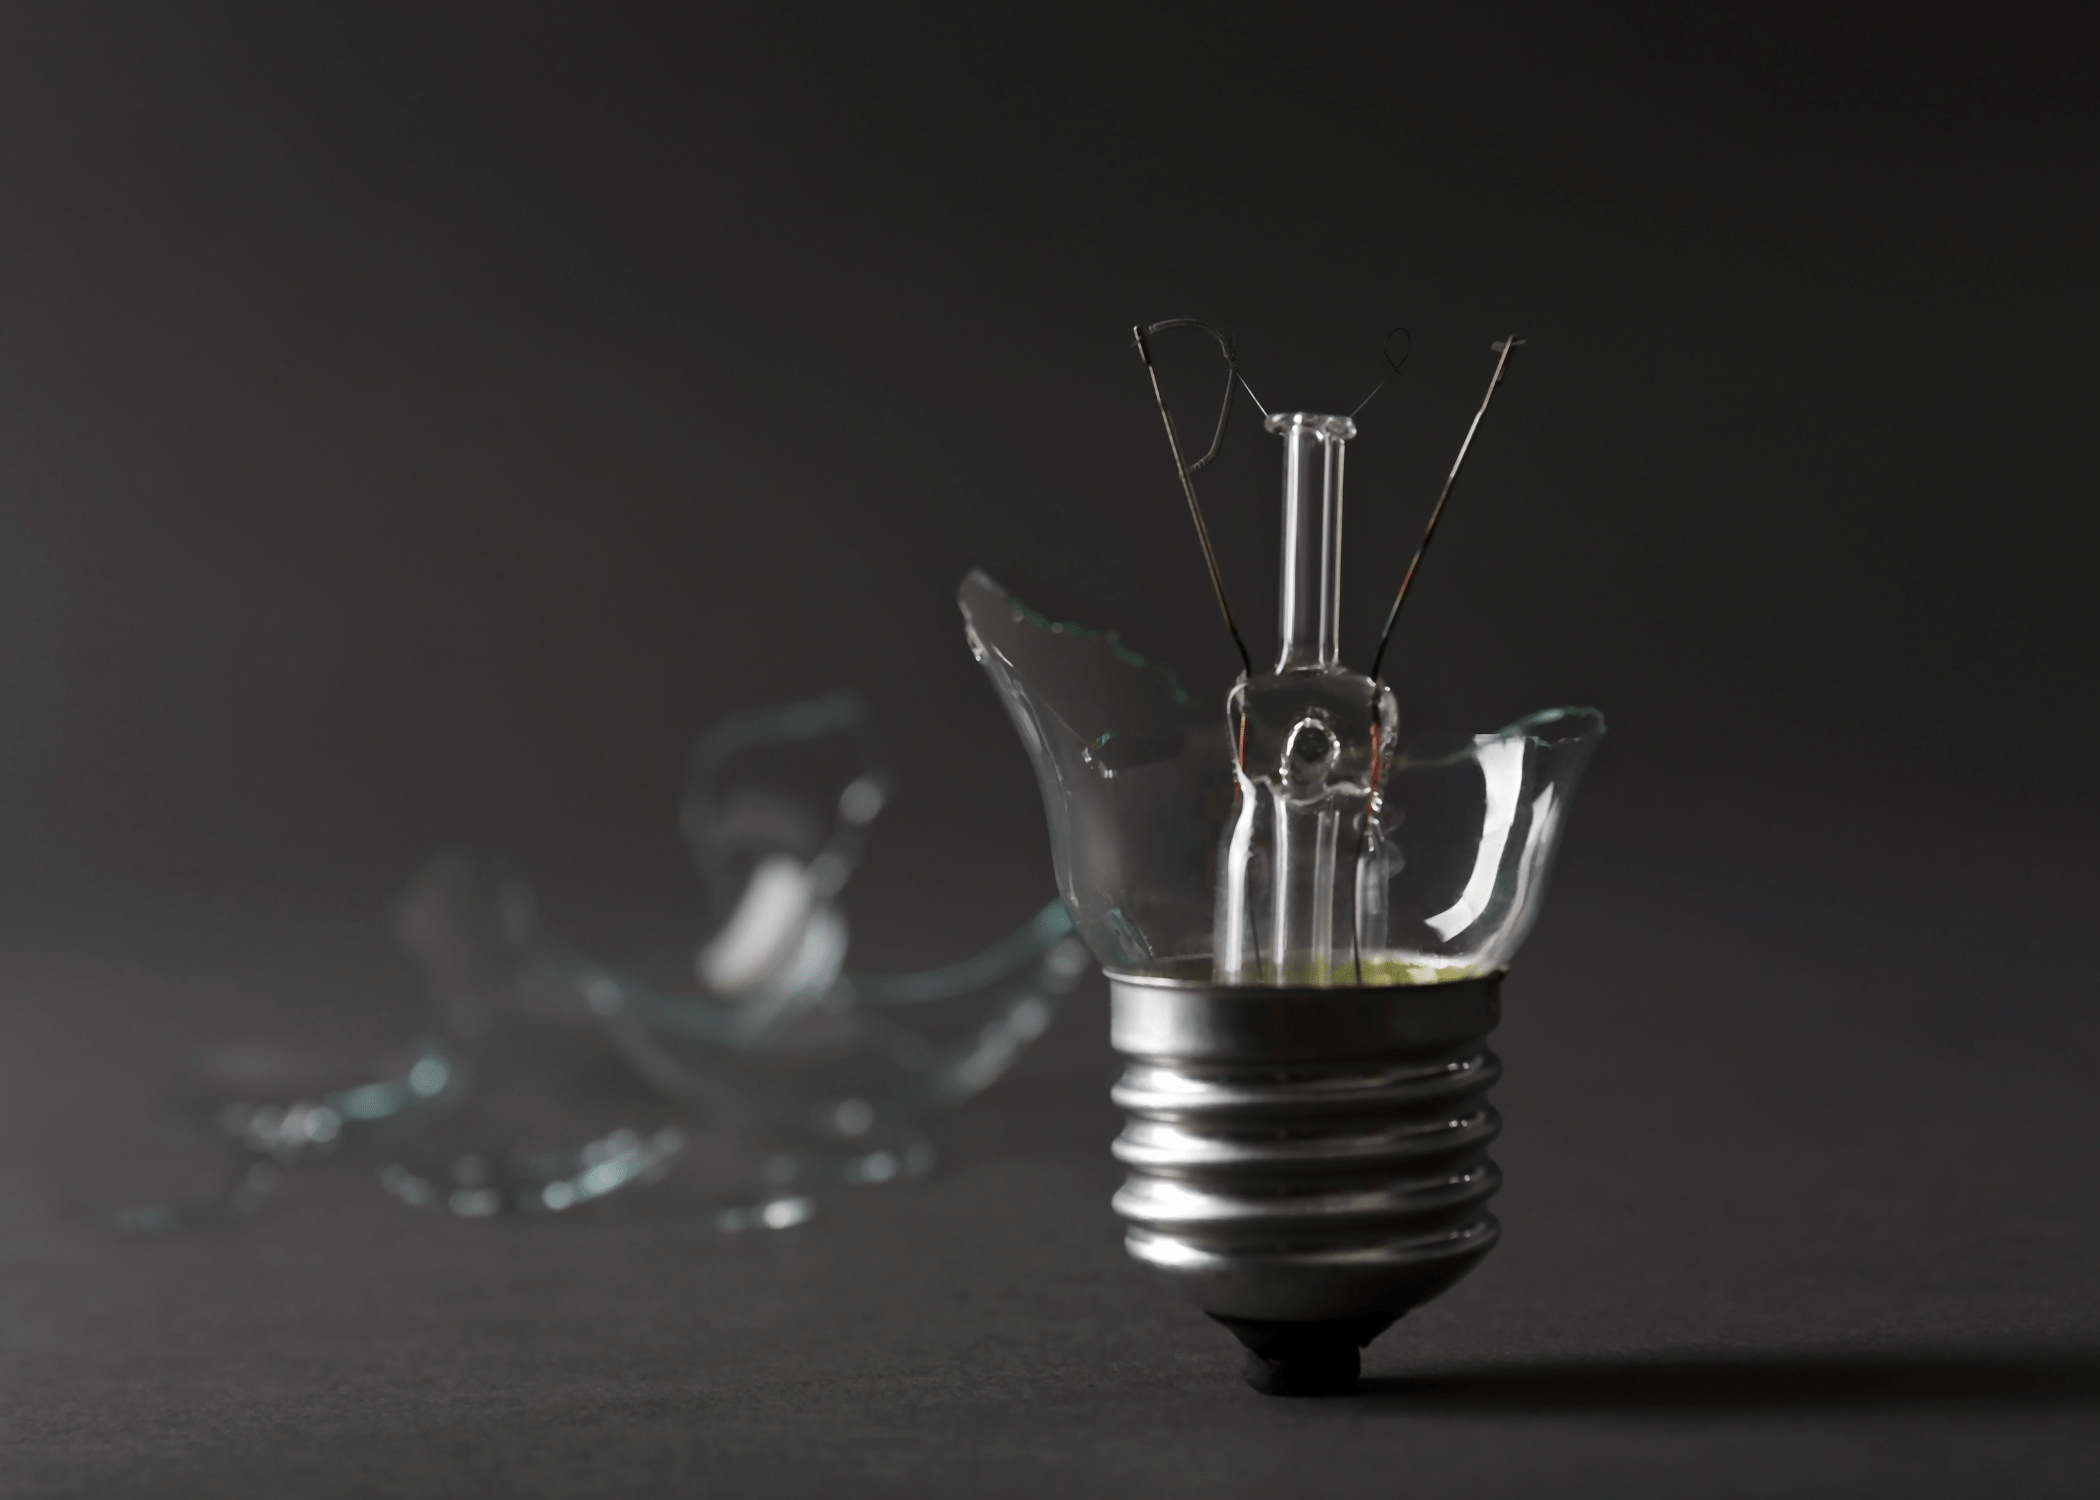
This task, daunting as it may seem, is not insurmountable. With the right tools and techniques, what could be a vexing problem transforms into a manageable fix. The key lies in approaching the task with patience and the correct knowledge. Recognizing the inherent risks and preparing accordingly sets the stage for a successful removal.
It’s about taking that moment before acting to assess the best way forward, ensuring that the process of removing a broken light bulb is executed with care and confidence. This foundational understanding is crucial, serving as the stepping stone to exploring the specific methods and tools that will allow for a safe and effective resolution.
Safety Measures and Necessary Tools
Taking on the task of how to remove a broken light bulb requires a cautious approach, ensuring your safety and the preservation of your light fixture. Firstly, disconnecting the power supply is paramount.
This can be achieved by either turning off the switch that controls the light source or going a step further to shut off the circuit breaker for that area. This precaution prevents the risk of electrical shock, creating a safe environment for you to work in.
Wearing protective gloves is also crucial; thick gloves can protect your hands from the sharp edges of the broken bulb. Additionally, eye protection is advisable to guard against small fragments that might become airborne during removal.
Having the right tools on hand can simplify the removal of a broken light bulb and reduce the risk of further breakage. A pair of needle-nose pliers can be particularly useful; they can grip the bulb’s base securely, allowing you to unscrew it easily.
Another handy tool is a potato; yes, you read that correctly. The soft yet sturdy nature of a potato can be used to grip the broken bulb’s base without causing harm to yourself or further damage to the fixture. However, this method should only be attempted after wearing gloves and ensuring the power is completely off.
Remember, safety is the priority, and with the right precautions and tools, you’ll be able to tackle this task effectively.
The Potato Method
A Traditional Approach to Extract Broken Bulbs
When faced with the dilemma of how to remove a broken light bulb, the potato method surfaces as a traditional yet effective solution. This approach, steeped in practical wisdom, utilizes something as simple as a potato to safely extract the remnants of the bulb from its socket.

The process begins with cutting the potato in half, ensuring one of the cut sides is flat. This flat side is then firmly pressed against the broken bulb, offering a natural grip.
As you carefully turn the potato counterclockwise, the embedded glass shards embed into the starchy flesh of the potato, allowing the base of the bulb to unscrew from the socket with minimal risk of injury.

This method not only showcases a creative use of everyday kitchen staples but also emphasizes safety and resourcefulness. It’s important to ensure the power is turned off from the main switch before attempting this procedure to prevent any electrical hazards.
Wearing gloves can provide an extra layer of protection, safeguarding your hands from potential cuts. The potato method, while seemingly unconventional, is a testament to the ingenious ways people have devised to tackle common household problems. By following these simple steps, you can safely and efficiently deal with the issue of removing a broken light bulb, turning a potentially frustrating situation into a manageable task.
Needle-nose Pliers
A Technique for Stubborn Cases
When faced with the tricky scenario of how to remove a broken light bulb, using needle-nose pliers can often be your best bet, especially when the bulb breaks off at the base, leaving you with little to grasp onto.
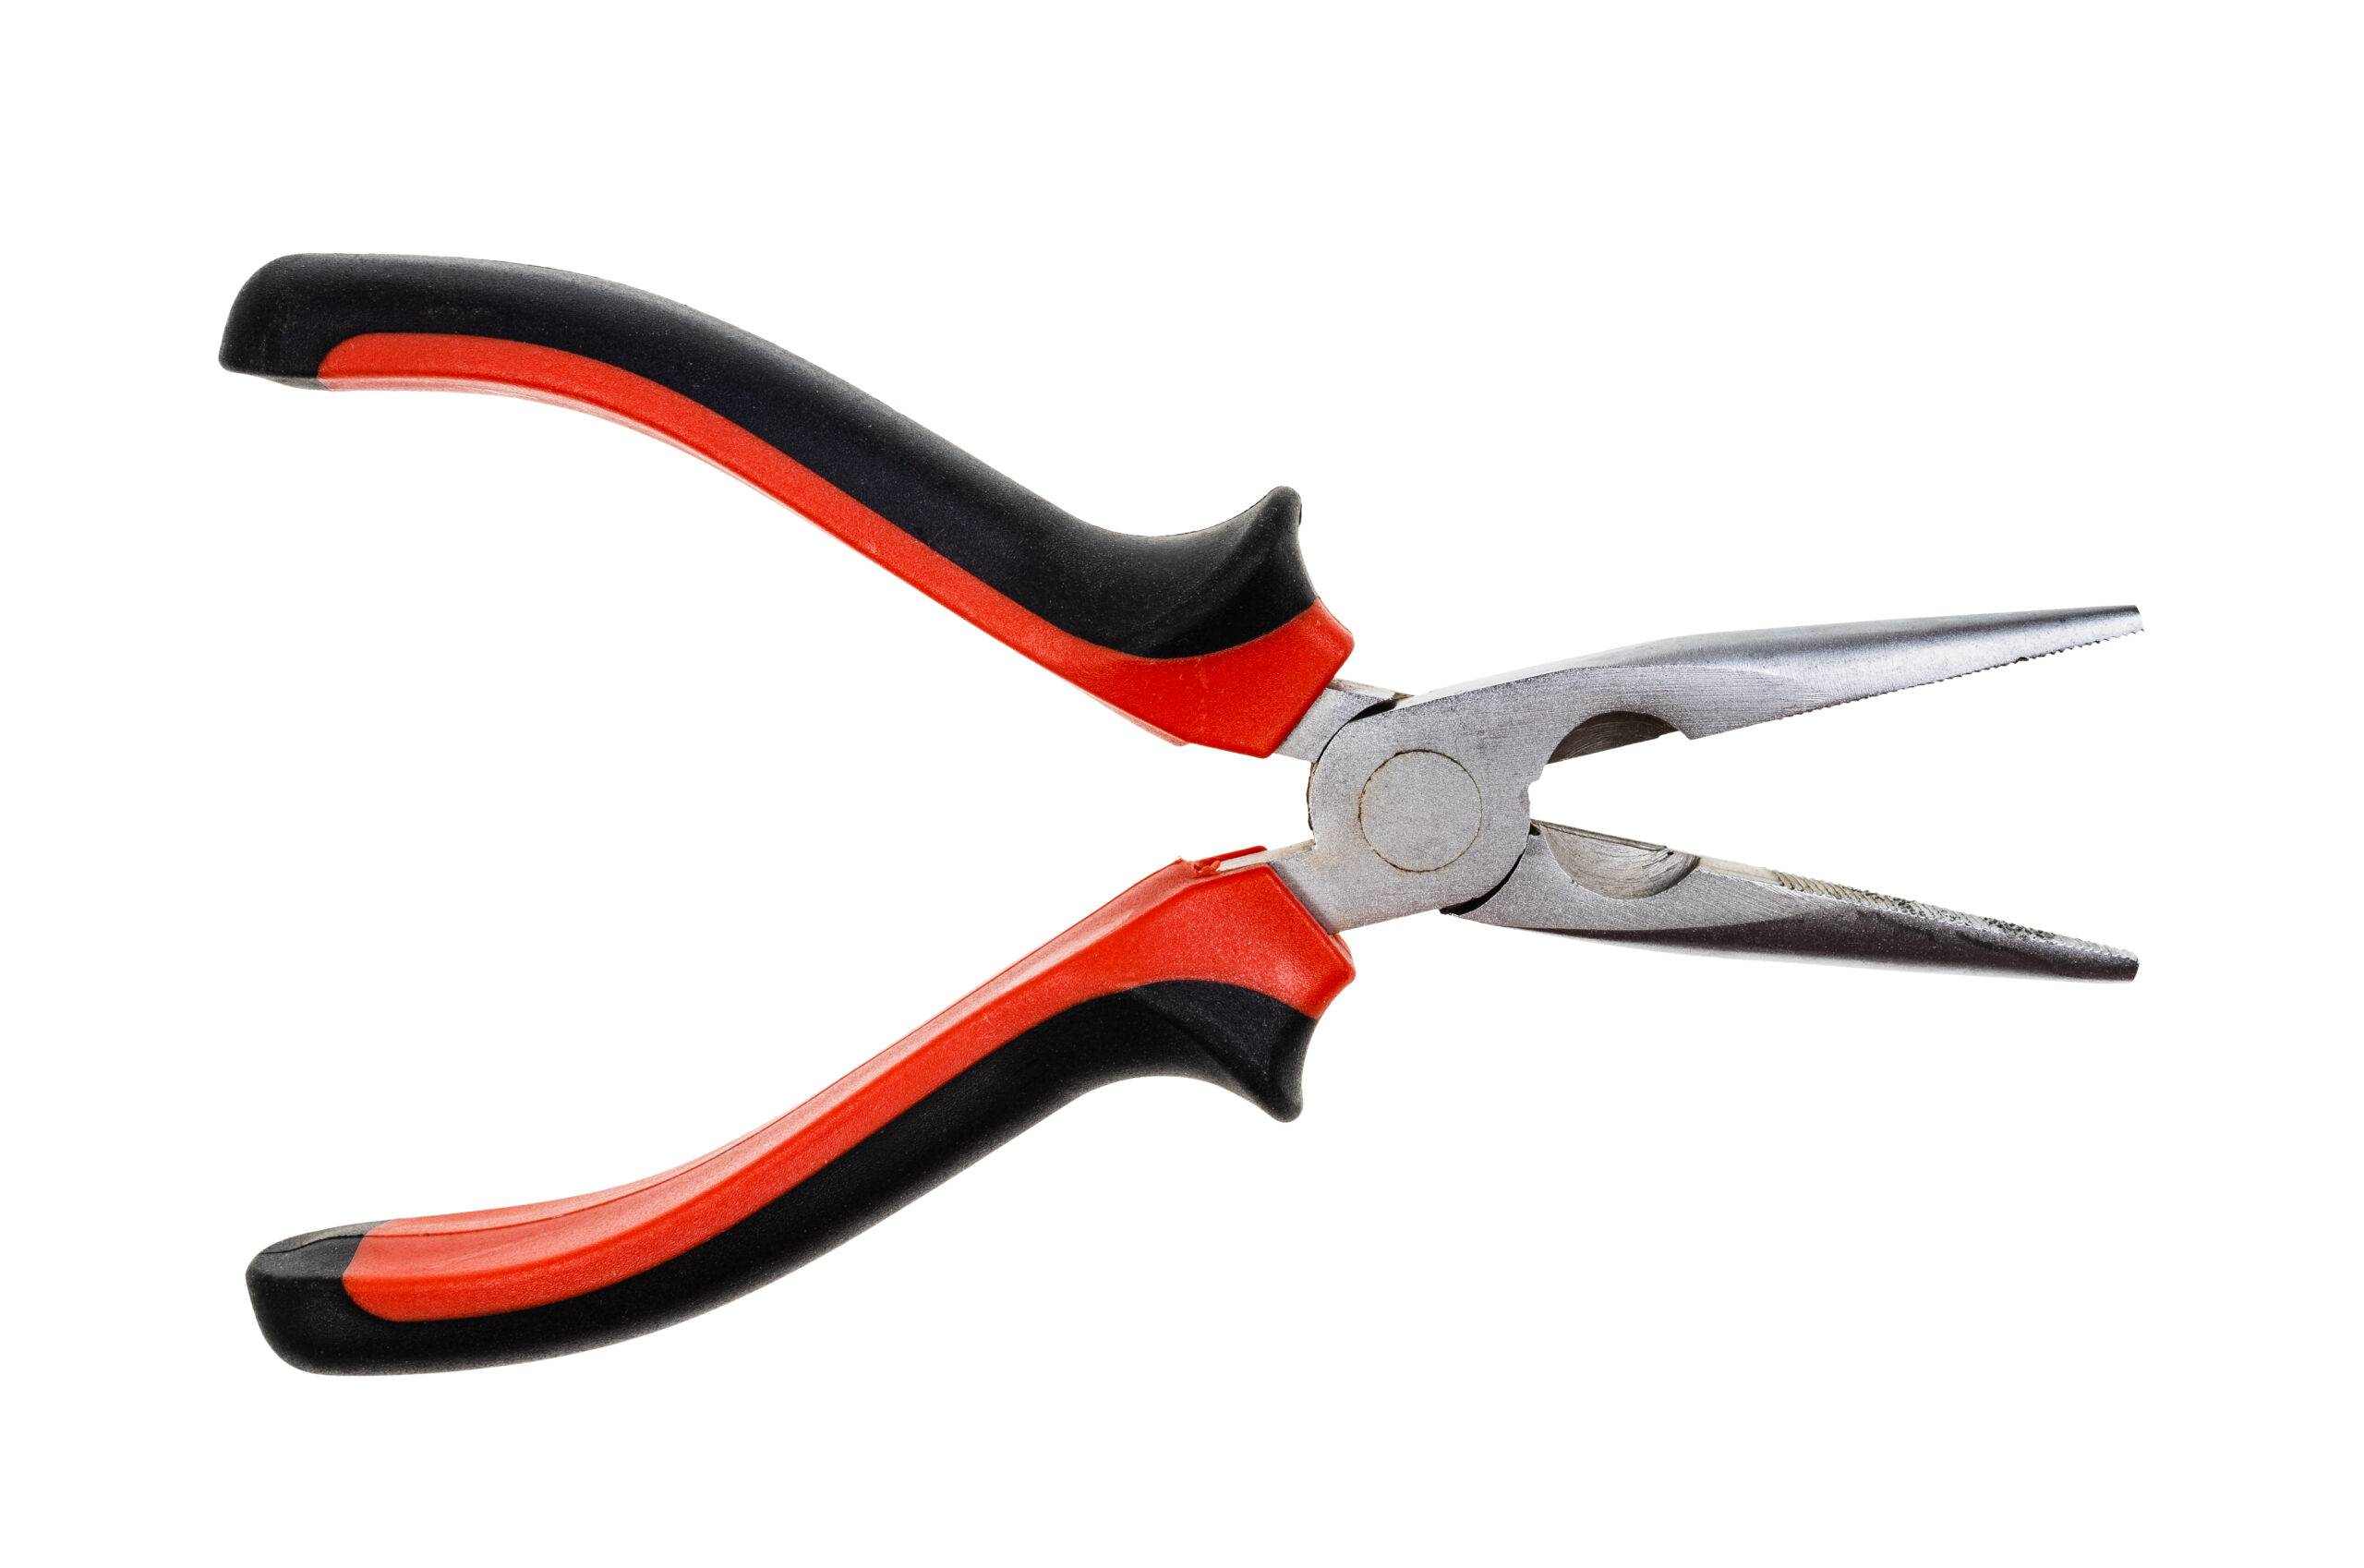
This method is particularly useful for those stubborn cases where other techniques might not do the trick. First, ensure that the power is completely turned off at the circuit breaker to eliminate any risk of electrical shock. Safety should always be your top priority in these situations, so also consider wearing protective gloves and eyewear to guard against shards of glass.
Once you’re sure the area is safe and you’re properly protected, use the needle-nose pliers to carefully grip the metal base of the broken bulb.
You’ll want to apply gentle pressure, turning the base counter-clockwise as if you were unscrewing a fully intact bulb. Patience is key here; applying too much force too quickly can cause the metal to bend or break, making the task more difficult.
This technique, when done correctly, allows you to remove the remaining piece of the bulb with minimal fuss. After the base is out, properly dispose of any glass fragments to prevent injury, and you’re ready to replace the bulb with a new one, restoring light to your space.
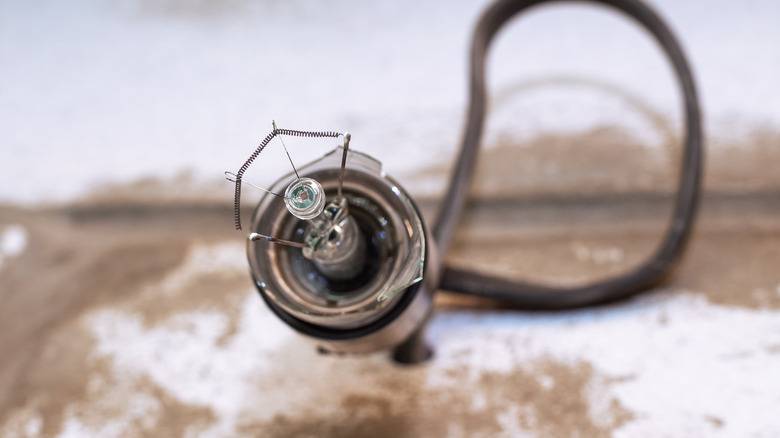
In wrapping up our guide on how to remove a broken light bulb, it’s crucial to emphasize safety and the measures one can take to prevent such incidents from reoccurring. Dealing with broken glass requires a careful approach to avoid injuries.
Always ensure the power is turned off before attempting any removal. Utilize protective gloves and eyewear to shield yourself from potential hazards. Once the broken bulb is safely removed, examining the socket is beneficial. If the breakage was due to a malfunction in the fixture itself, consider consulting a professional electrician to address any underlying issues.
This proactive step can significantly reduce the risk of future breakages and maintain a safe environment.
Looking ahead, preventing the breakage of light bulbs begins with their handling and installation. Opting for high-quality bulbs and ensuring they are screwed in securely but not overly tight can make a difference.
Educate everyone in the household about the proper way to change a light bulb, emphasizing the importance of not applying too much force. Regular checks on fixtures to ensure they are in good working order also contribute to preventing untimely bulb failures. By adopting these practices, the hassle and danger associated with broken light bulbs can be minimized, keeping your home safe and well-lit.
Frequently Asked Questions (FAQs)
How do I safely remove a broken light bulb from a socket?
To remove a broken light bulb from a socket, start by turning off the power to the light fixture. Use insulated gloves or a cloth to protect your hands from any glass shards. Next, carefully remove any remaining glass by using needle-nose pliers or a potato to grip the base of the bulb and twist it counterclockwise to loosen it from the socket. Dispose of the broken bulb properly and replace it with a new one.
What should I do if the broken light bulb is stuck in the socket?
If the broken light bulb is stuck in the socket, try using a pair of needle-nose pliers to gently twist and loosen it. If that doesn’t work, you can also try using a potato. Cut a raw potato in half and press its flat side onto the broken bulb base, then twist the potato to grip the base and unscrew it from the socket. Remember to always wear protective gloves and eye gear when handling broken glass.
Can I use a light bulb extractor tool to remove a broken bulb?
Yes, a light bulb extractor tool can be a helpful solution for removing a broken light bulb from a socket. These tools are designed to grip the base of the broken bulb securely, making it easier to twist and remove it from the socket. Make sure to follow the manufacturer’s instructions when using the extractor tool to avoid any damage to the socket or injury.
What should I do if the socket is damaged while removing a broken light bulb?
If the socket is damaged while removing a broken light bulb, it is important to immediately turn off the power to the fixture to prevent any electrical hazards. You may need to replace the socket entirely if it is too damaged to safely hold a new light bulb. Consult a professional electrician if you are unsure how to proceed or if you suspect any electrical issues.
Can I use water to clean up the broken glass from a light bulb?
It is not recommended to use water to clean up broken glass from a light bulb. Water can create a slippery surface and make it harder to pick up all the glass fragments. Instead, use a damp paper towel or sticky tape to carefully pick up any remaining glass pieces. Dispose of the glass properly in a sealed container to prevent injury.
How do I dispose of a broken light bulb safely?
To dispose of a broken light bulb safely, wrap the glass remnants in a paper towel or place them in a sealable plastic bag to prevent cuts. Check with your local waste management facility for proper disposal instructions, as some areas may require you to take broken bulbs to a designated recycling center. Avoid throwing broken light bulbs in the regular trash to prevent injuries to sanitation workers and to ensure proper recycling of the materials.
Ready to start your next project? Join our DIY community to receive tool tips, how-to guides, and exclusive creative insights. Subscribe to the ManMadeDIY newsletter now!

