How to Secure and Straighten a Wobbly Mailbox
A leaning mailbox can be more than just an eyesore—it might also be a sign of a loose foundation or structural wear. Left unchecked, the lean could worsen, potentially requiring a complete replacement. Fortunately, straightening a leaning mailbox is a manageable task for most homeowners. With the right tools and a bit of time, you can restore your mailbox to its proper position and ensure it remains sturdy for years to come.
Identifying the Cause of the Lean
Before you can fix a leaning mailbox, it’s important to determine the cause. The lean might result from loose soil, an unstable base, or damage to the post itself. If the ground around the mailbox has eroded or become waterlogged, the post may have shifted due to a lack of support. Alternatively, the post might have rotted, weakened, or been damaged by impact, such as from a vehicle or heavy snow.
Inspecting the post and its surroundings will help you understand the underlying issue. Check for signs of rot, cracks, or soil erosion. If the post is damaged, it may need to be replaced. If the ground is unstable, additional reinforcement may be necessary to keep the mailbox secure.

Removing the Mailbox Post
If the post is severely leaning or damaged, you’ll need to remove it before making repairs. Carefully dig around the base of the post to expose it. If the post is set in concrete, you may need to loosen the concrete with a crowbar or sledgehammer to free it. For posts without concrete, rocking the post back and forth can help loosen it from the ground.
Once removed, examine the post for damage. If it’s still in good condition, it can be reused. However, if it’s rotted, cracked, or unstable, replacing it with a new post is the best option. This will provide a more secure and long-lasting solution.

Preparing the Ground
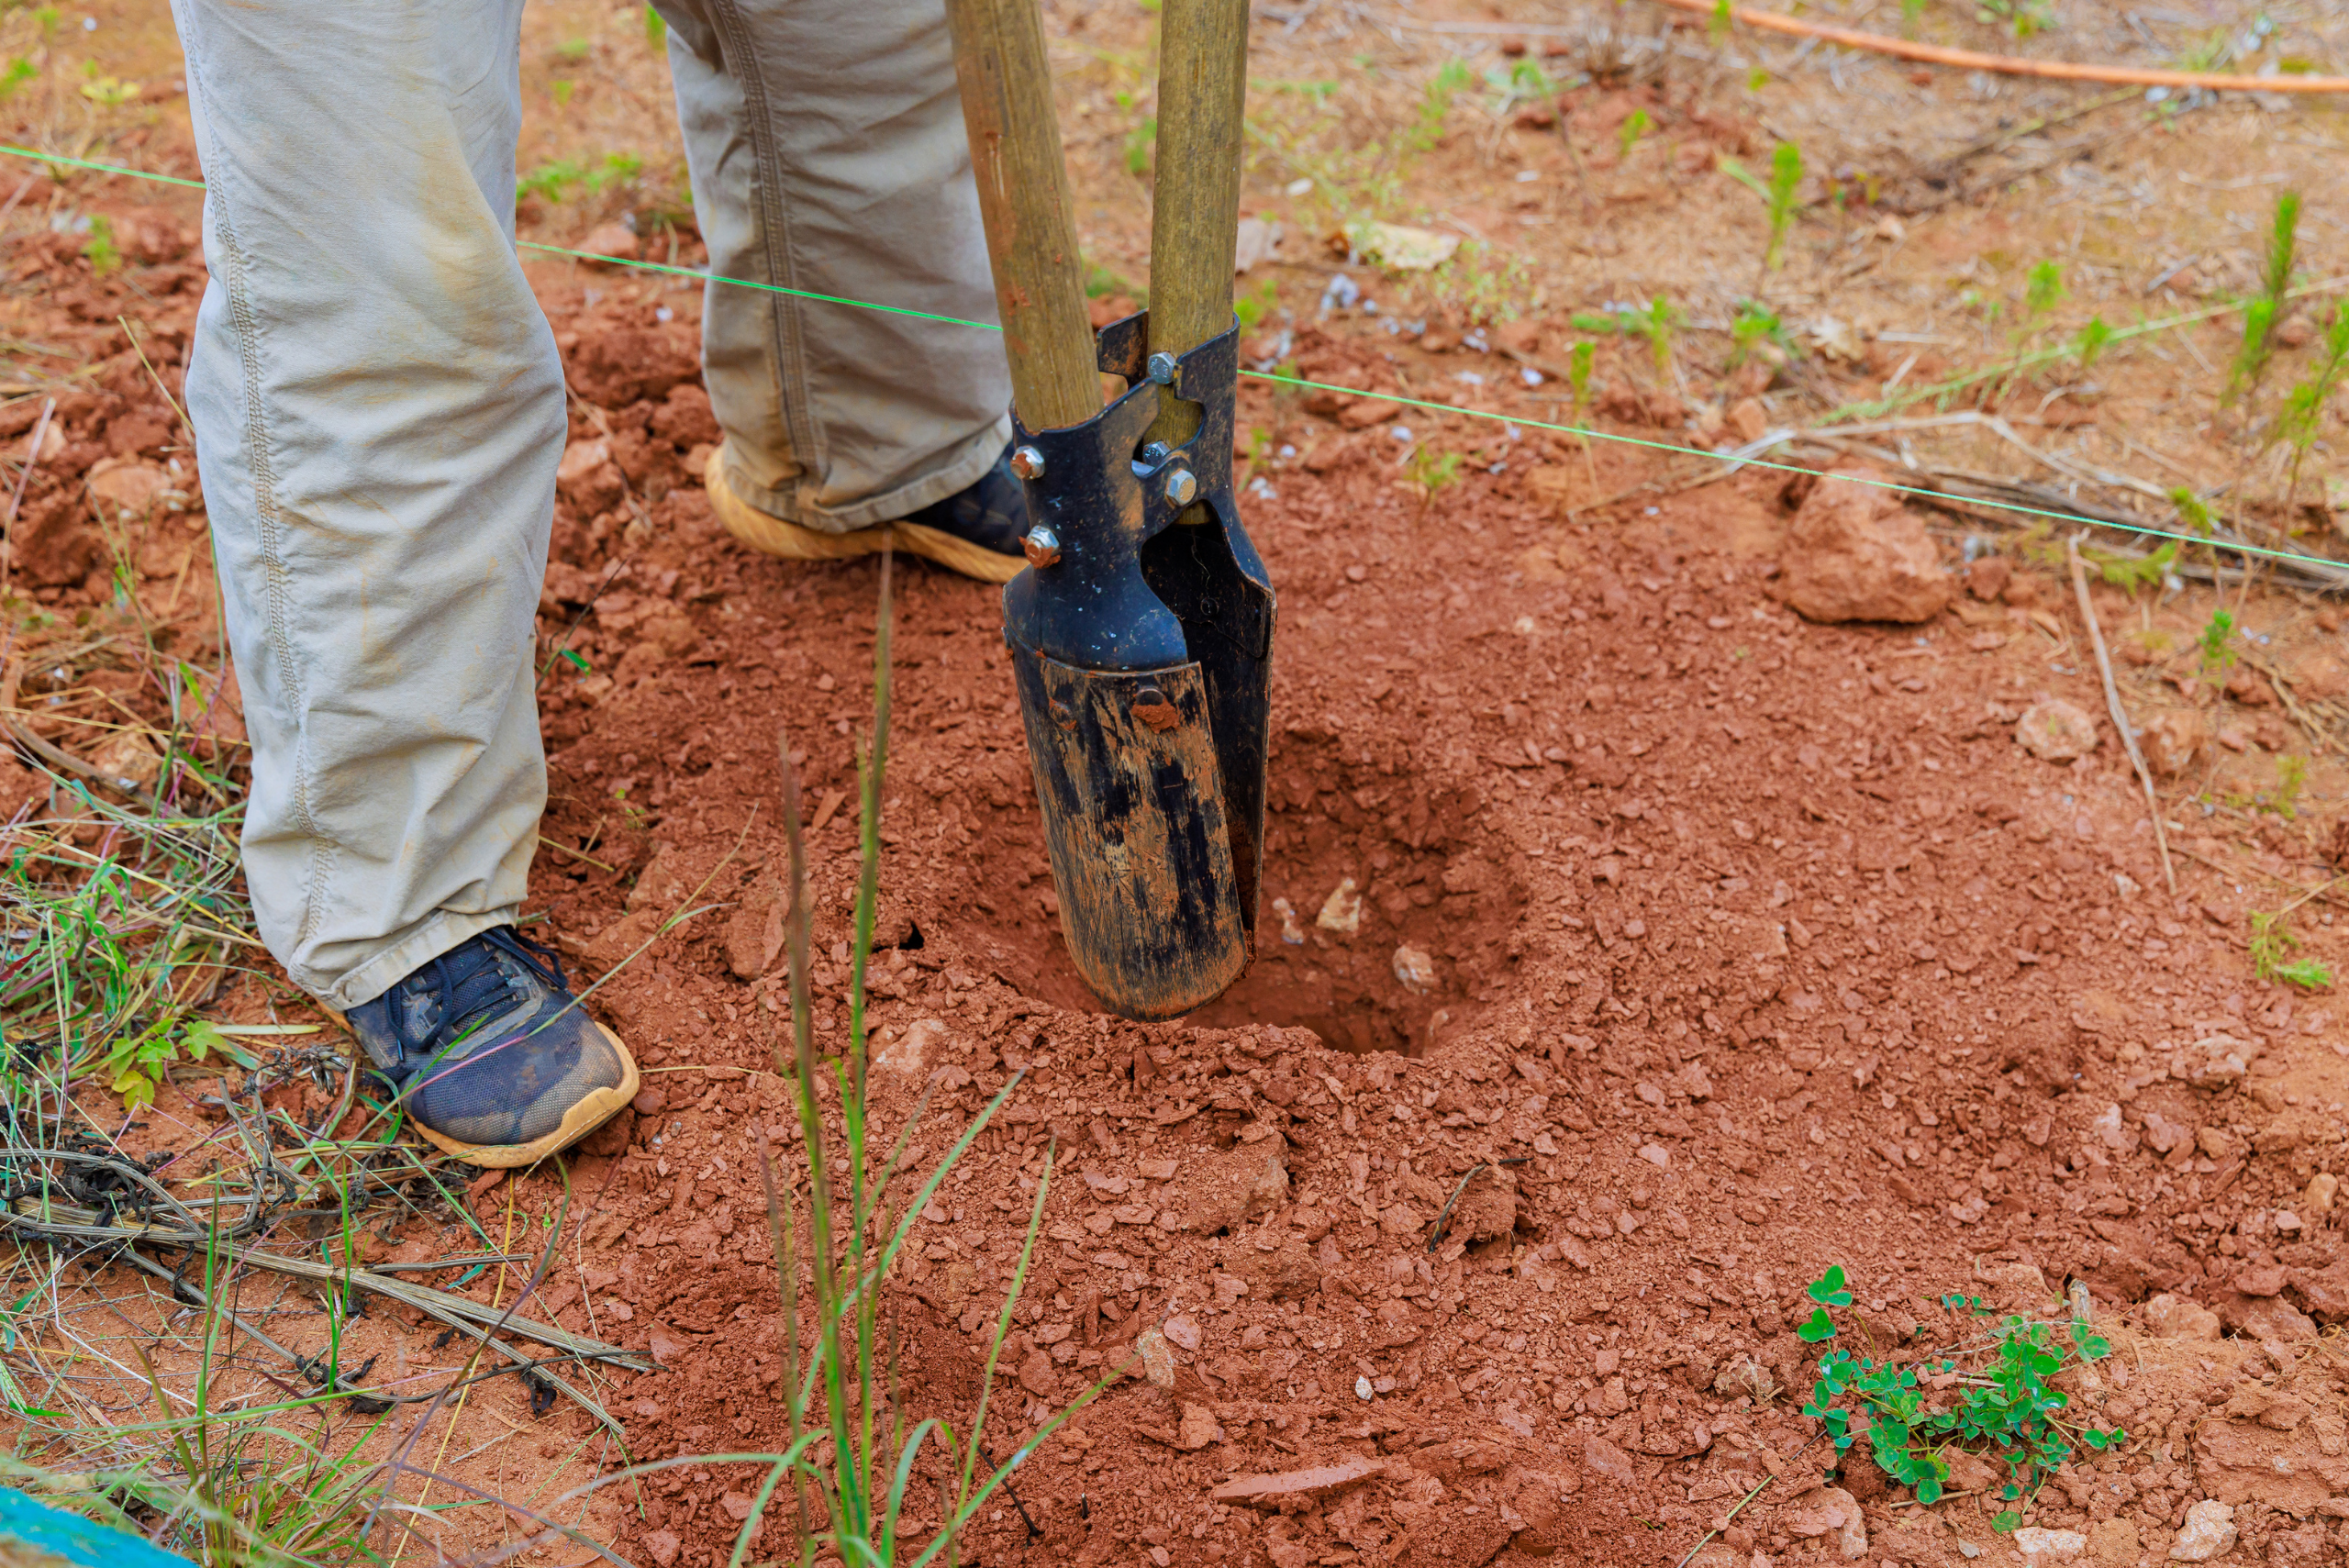
To prevent future leaning, it’s crucial to prepare the ground properly before reinstalling the mailbox post. Start by filling the hole with a layer of gravel, which will provide a stable base and improve drainage. If the soil in the area is loose or sandy, you may need to dig a deeper hole and add additional support.
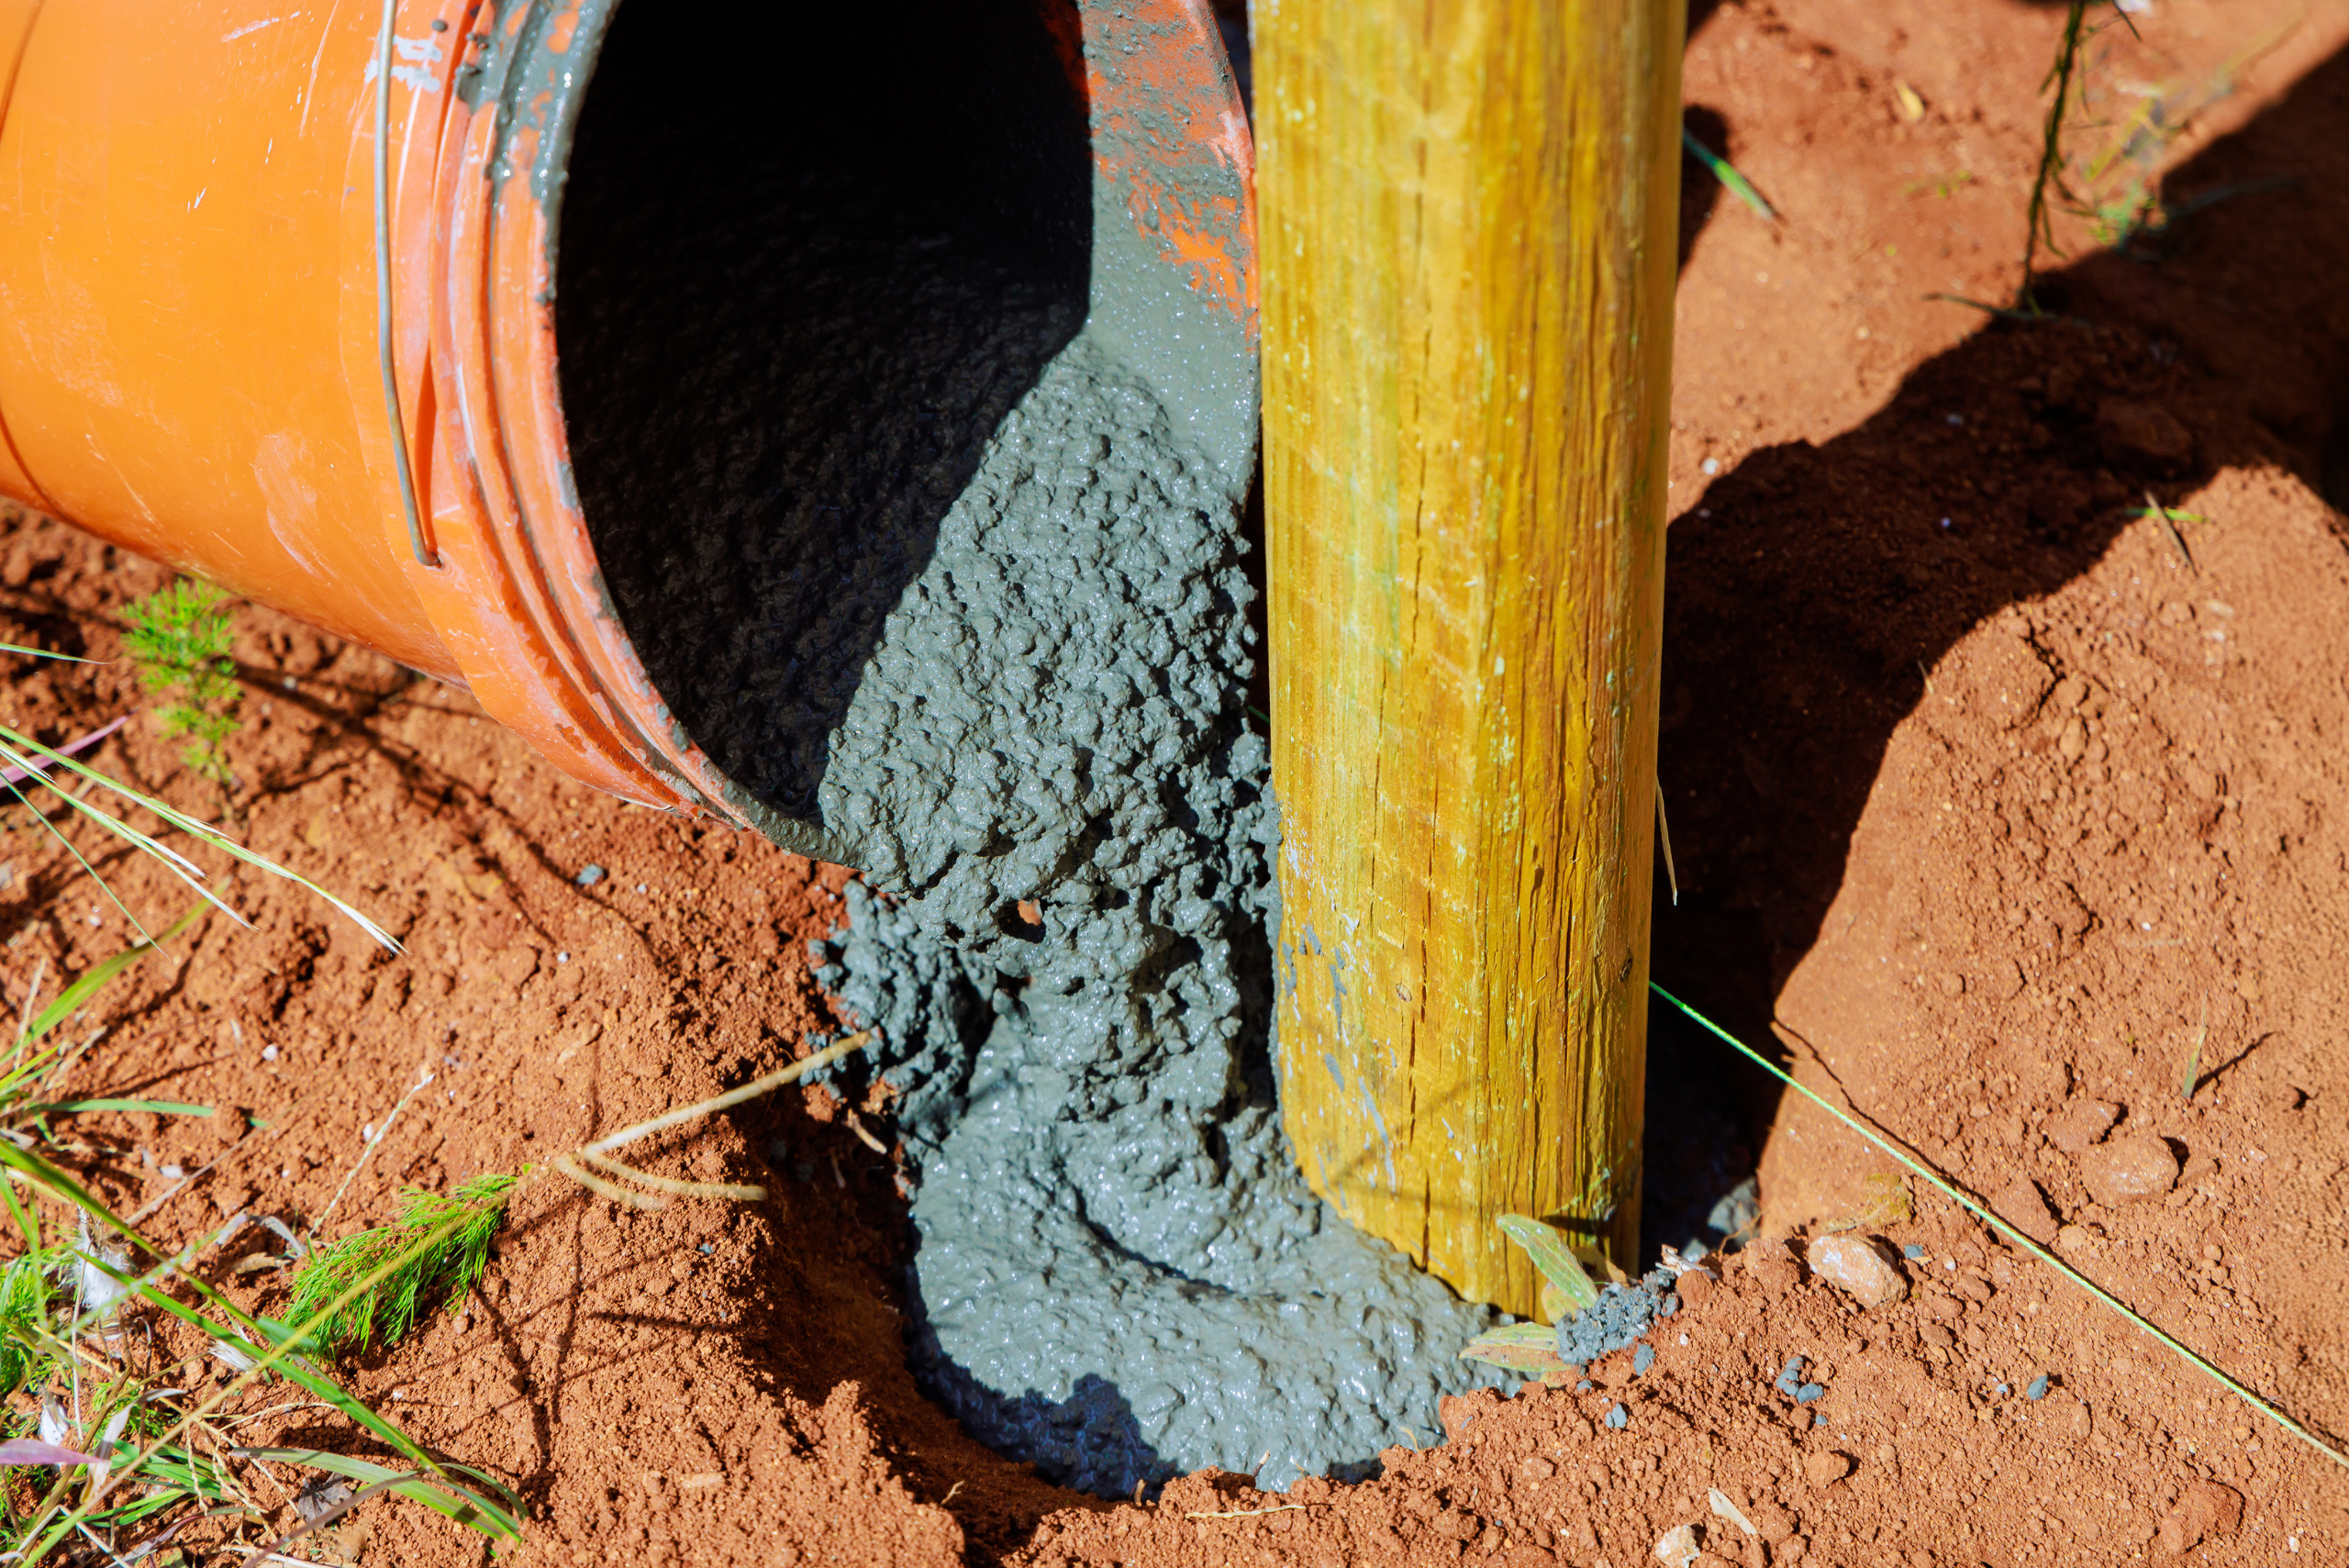
For added stability, consider setting the post in concrete. Mix a batch of quick-setting concrete and pour it around the base of the post, ensuring it is level. Allow the concrete to cure fully before proceeding. This step is especially important in areas with frequent rain or heavy winds, where extra reinforcement can prevent future issues.
Reinstalling the Mailbox Post
With the ground prepared, it’s time to reinstall the mailbox post. Place the post in the hole and use a level to ensure it is perfectly straight. If you’re setting the post in concrete, hold it in place until the concrete begins to set. For posts without concrete, pack the soil tightly around the base to secure it. Use a tamper or the back of a shovel to compress the soil as much as possible.
Once the post is secure and straight, attach the mailbox to the top. Check that the mailbox is level and properly aligned. Tighten any screws or bolts to ensure everything is firmly in place.
Preventing Future Leaning
After fixing your leaning mailbox, take steps to prevent it from shifting again. Regularly inspect the area around the post for signs of erosion or soil movement. If you notice water pooling near the base, improve drainage in the area by redirecting runoff or adding more gravel.
Additionally, consider sealing the bottom of the post with waterproofing paint or a protective sleeve to prevent rot. Routine maintenance, such as tightening screws and checking for damage, will help keep your mailbox in excellent condition for years to come.
Related Articles
- DIY Mailbox Christmas Tree That’s Unmatched
- A Helpful Guide for How to Use a Post Hole Digger
- Boost Your Home’s Value With These 8 Upgrades That Deliver Big Returns
Fixing a leaning mailbox is a straightforward process that can save you time and money in the long run. By identifying the cause, preparing the ground, and securing the post properly, you can restore your mailbox to its original upright position and ensure its stability. With a little effort and the right techniques, your mailbox will be ready to stand tall against the elements once more.
Ready to start your next project? Join our DIY community to receive tool tips, how-to guides, and exclusive creative insights. Subscribe to the ManMadeDIY newsletter now! Click here to unlock a world of hands-on inspiration.

