ManMade’s Submit A Project Series: Staining A Picnic Table
This post is part of our Submit a Project Series, where our MMDIYers and renovation experts (or amateurs) get the recognition they deserve. Have a project you’re particularly proud of? We at ManMadeDIY want to see it! Click HERE or use the ‘Submit Your Project’ button on our home page to share your latest creations or renovations with us.
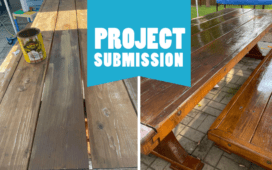
For today we have a submission from James K, who showed off their refurbishing skills with this picnic table refresh.
Several years ago my brother-in-law tried his hand at woodworking. He built this custom picnic table from scratch. The table was built to last, employing proper woodworking methods to avoid warping caused by the ever-changing weather in Illinois.
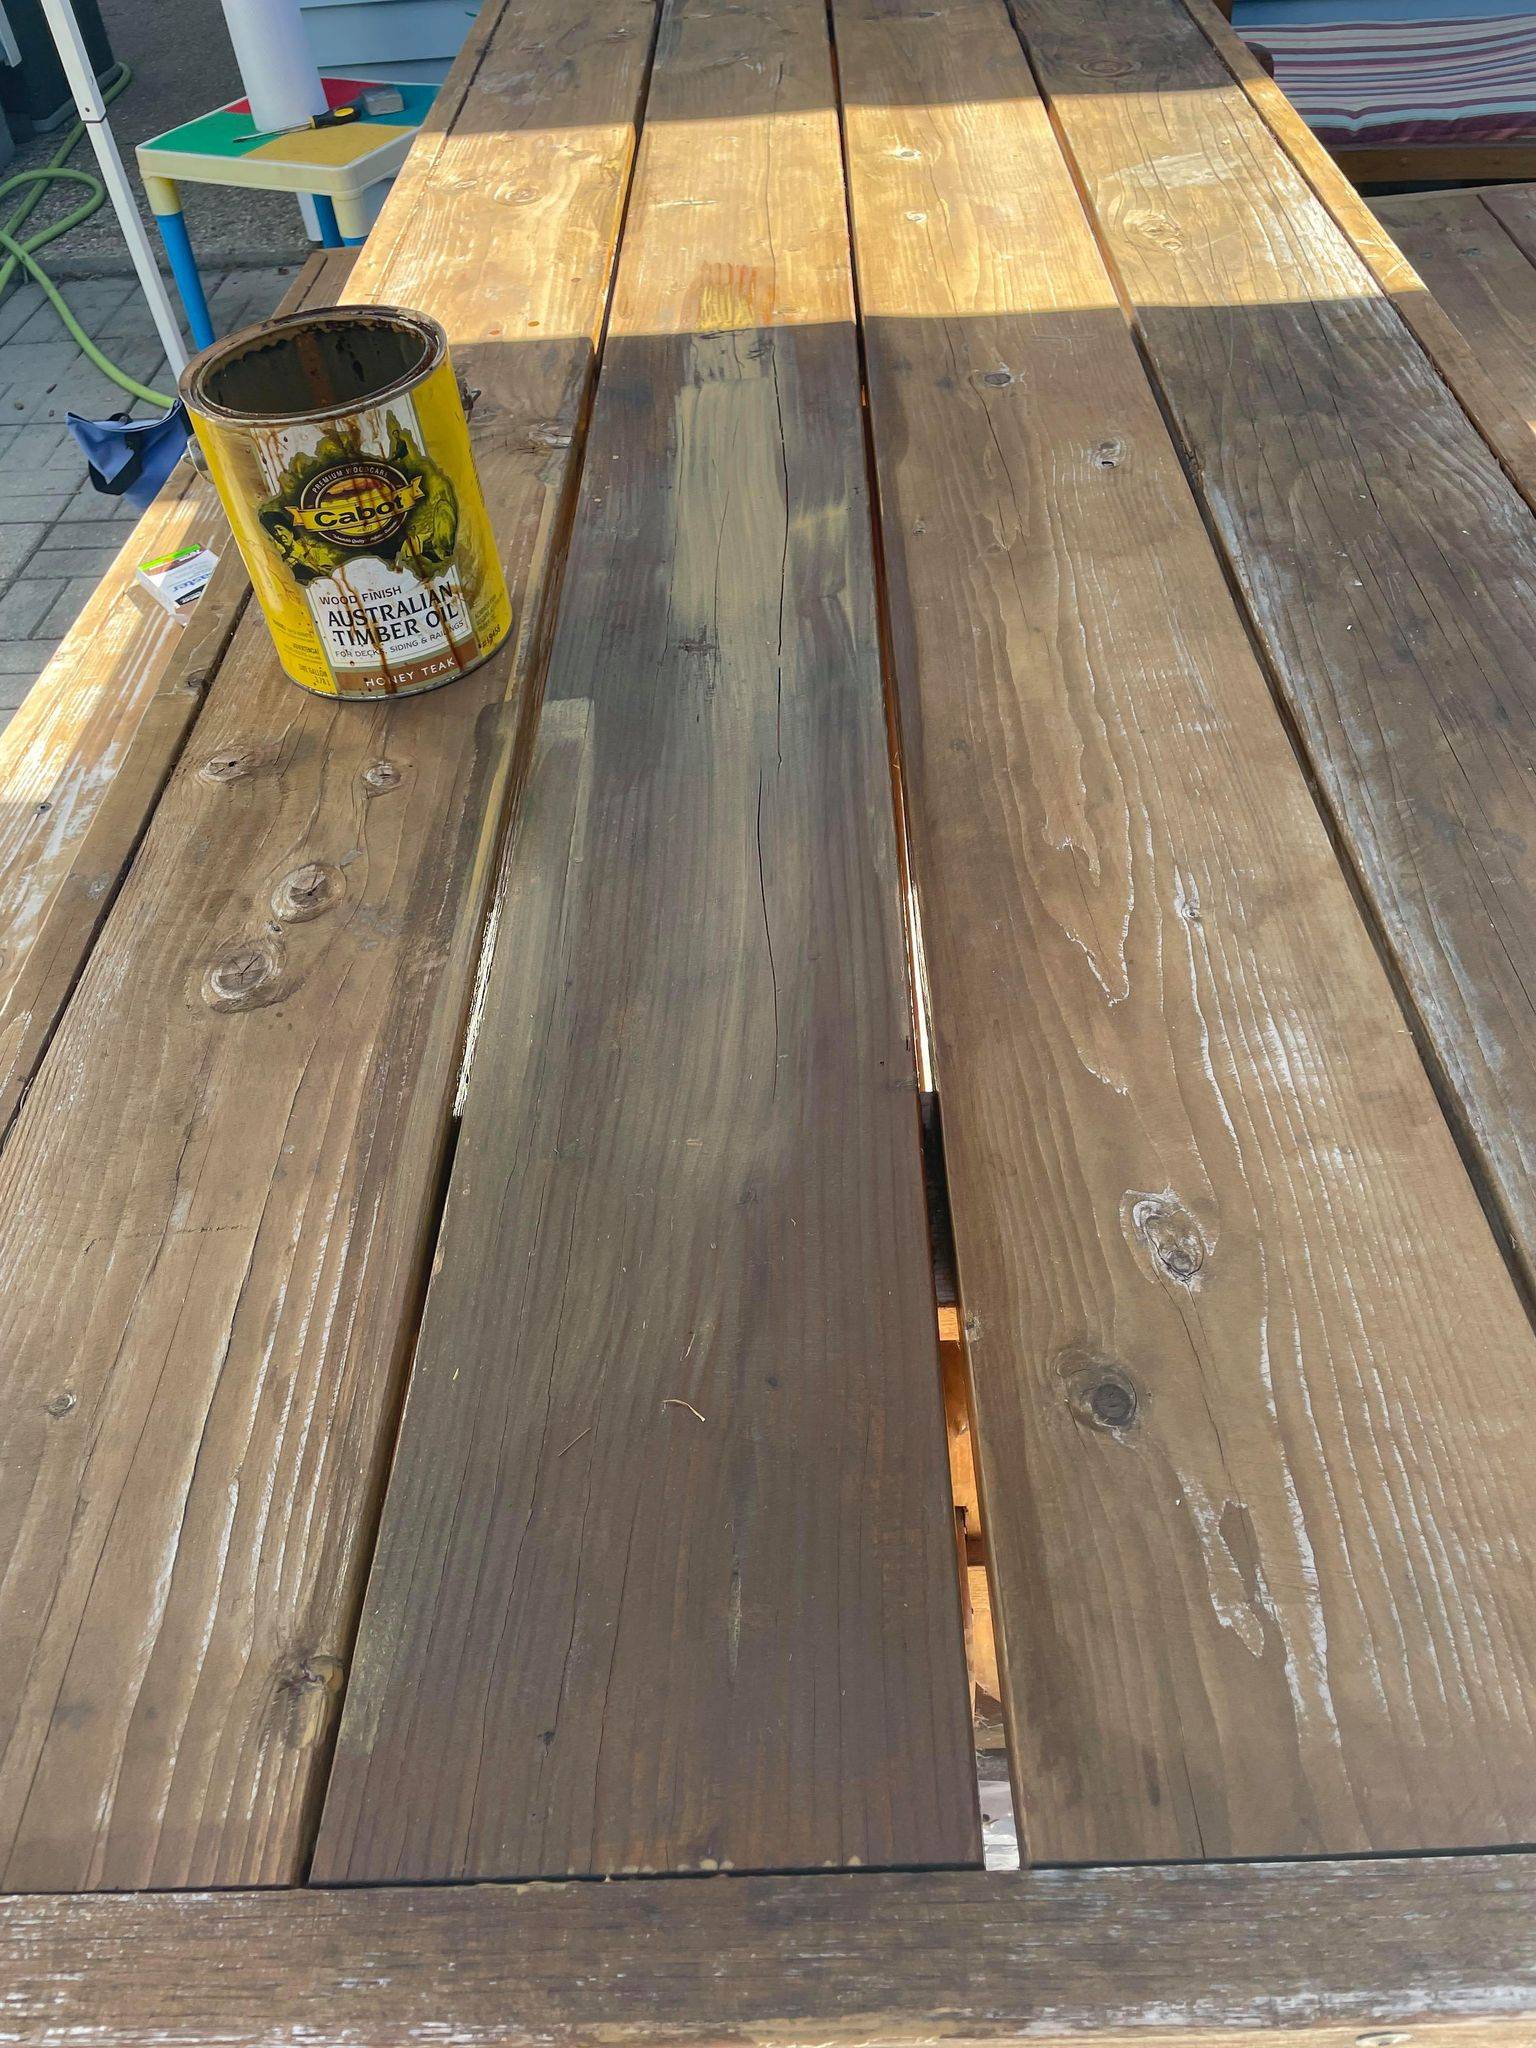
“I started with the stain, rubbing it into place using soft clothes. I then allowed the stain to dry for several days.
I used the Helmsman Spar Urethane product for the actual protective coating. I chose the clear semi-gloss product to provide a nice level of sheen.
Spare Urethane is thick so I used Mineral Spirits to thin the first coat, allowing for better penetration into the aged wood. I applied a thin coat, waited 24 hours, and then lightly sanded it with a 220 grit sanding block. I then cleaned up the wood with a tack cloth.
I applied a slightly thicker second coat, waited 24 hours, and then applied another round of 220 grit sanding to form a slightly rough layer for the final coat to cling to.”
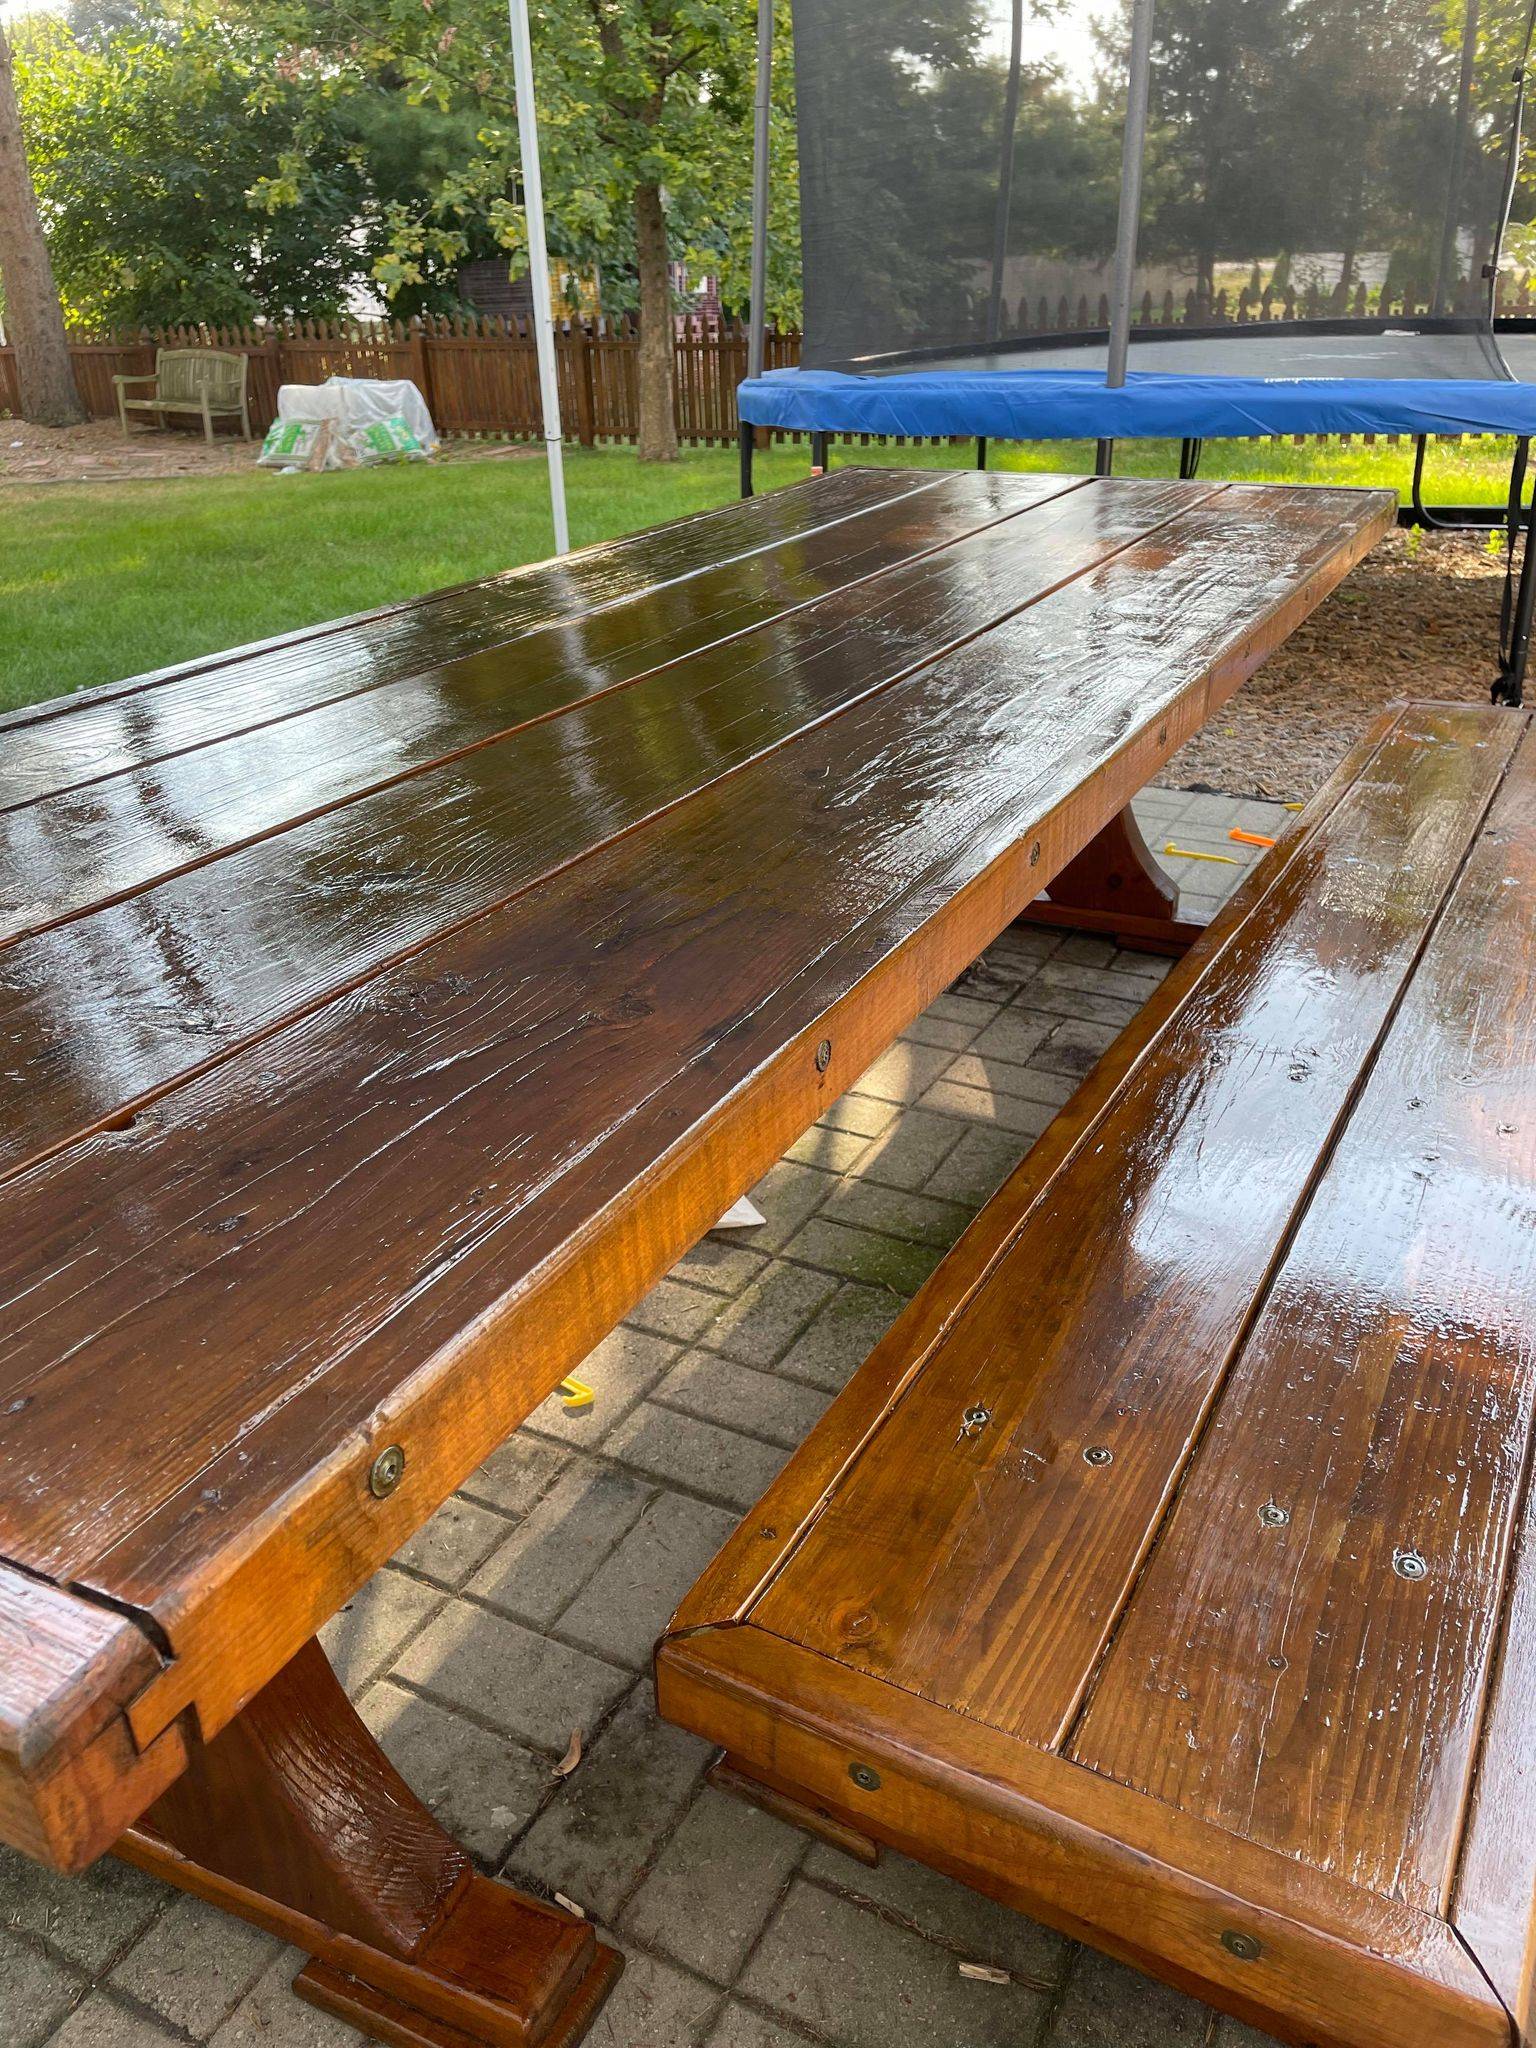
“After applying the final coat I will wait one week for the final coat to properly cure, I will then very lightly wet-sand the surface with 800 grit sandpaper.
My plan is to lightly sand the table every fall moving forward while applying one additional layer of Spar Urethane to maintain the look and feel of the picnic table.”
What do you think? James K. certainly went above and beyond with this simple but rewarding ManMadeDIY. If you have something worth showing off, click HERE or use the ‘Submit Your Project’ button on our home page!


