Step-by-Step Guide On How To Install Carpet In Your Home
Installing carpet can be a transformative project for any home, adding comfort, warmth, and aesthetic appeal to your living space. While the process might seem daunting at first glance, with the right tools, preparation, and a step-by-step approach, even beginners can achieve professional-looking results. This guide aims to demystify the carpet installation process by breaking it down into manageable steps, from selecting the right type of carpet and preparing your room to the actual installation and finishing touches.
Whether you’re a DIY enthusiast looking to tackle a new project or a homeowner seeking to save on professional installation costs, this article will provide you with the essential knowledge and confidence to install your own carpet successfully.
Choosing the Right Carpet
Understand Your Needs
Before you head to the store, understand the specific needs of your space. Consider factors such as foot traffic, the presence of pets or children, and your budget. High-traffic areas may require more durable carpets, while bedrooms can benefit from softer, plush options.
Types of Carpet
There are various types of carpets available, each with its own benefits:
- Nylon: Durable and resistant to wear.
- Polyester: Known for its luxurious feel and vibrant colors.
- Wool: Natural and eco-friendly, though typically more expensive.
- Olefin: Moisture-resistant, making it ideal for basements and outdoor areas.
Carpet Styles
Carpet styles include cut pile, loop pile, and cut-loop pile. Cut pile carpets are soft and ideal for living rooms and bedrooms, while loop pile carpets are durable and better suited for high-traffic areas. Cut-loop pile combines both, offering a unique texture.
Carpet Padding

Padding is crucial for the longevity and comfort of your carpet. Options include foam, rubber, and fiber padding. Thicker padding offers more comfort, while thinner padding is often used in high-traffic areas.
Measuring Your Space
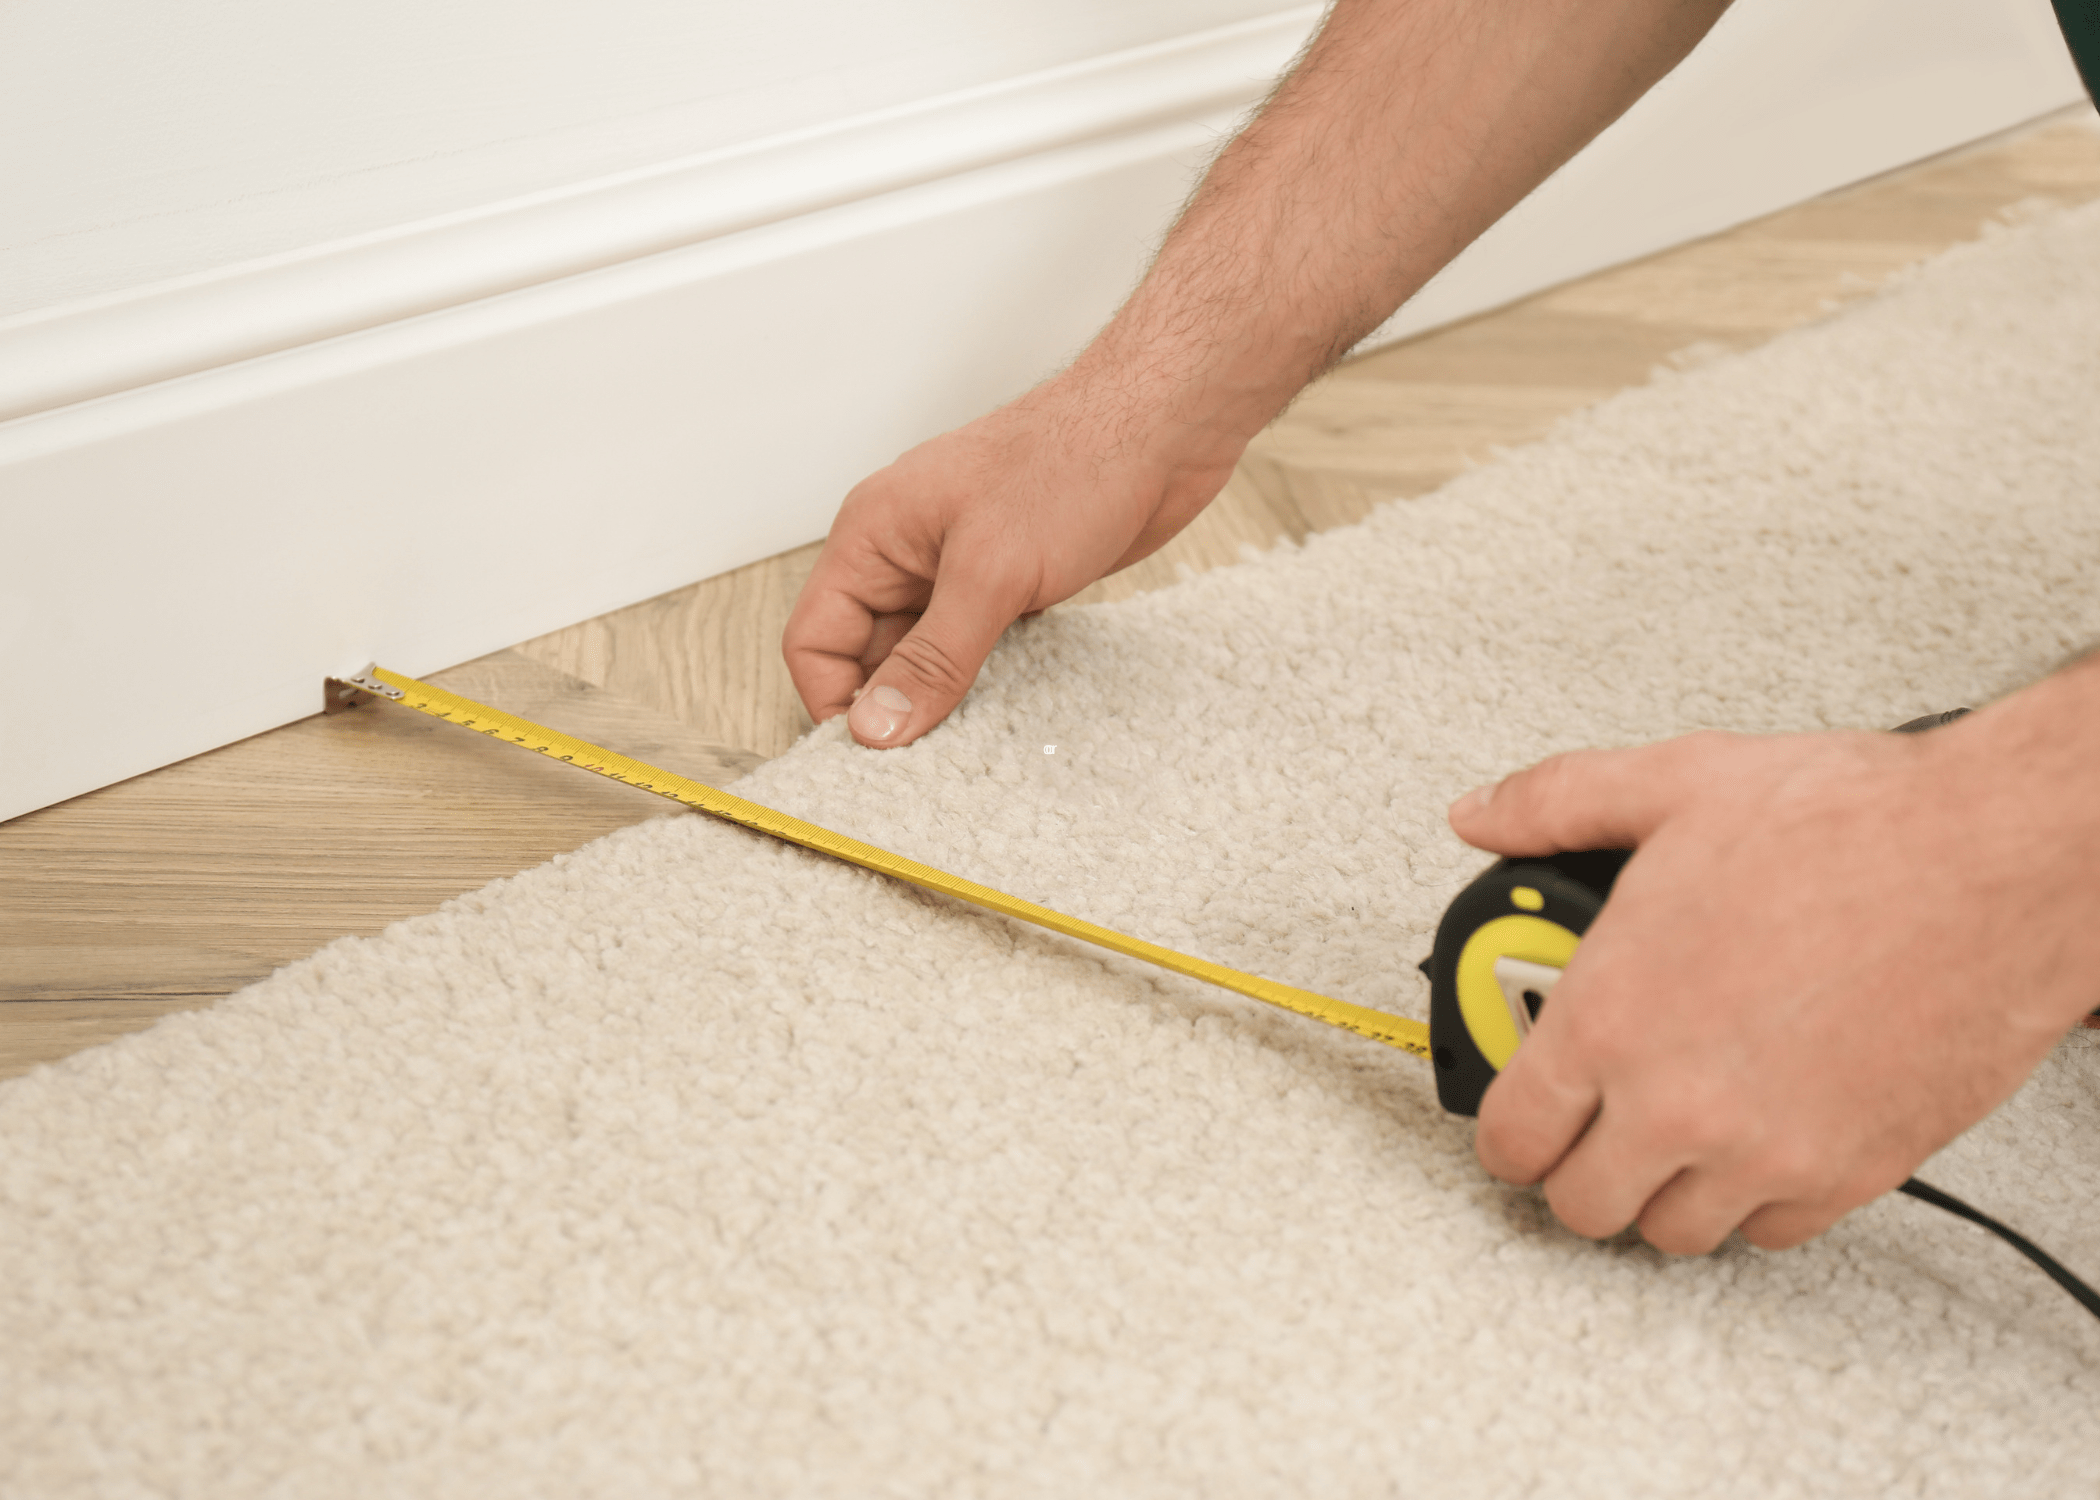
Accurate measurements ensure you buy the right amount of carpet. Measure the length and width of each room and add extra for any recesses or doorways. It’s advisable to purchase 10% more than your measurements to account for errors and waste.
Preparing for Installation
Gather Tools and Materials
You will need the following tools:
- Utility knife
- Carpet tape
- Seam roller
- Staple gun
- Knee kicker
- Power stretcher
Remove Old Flooring
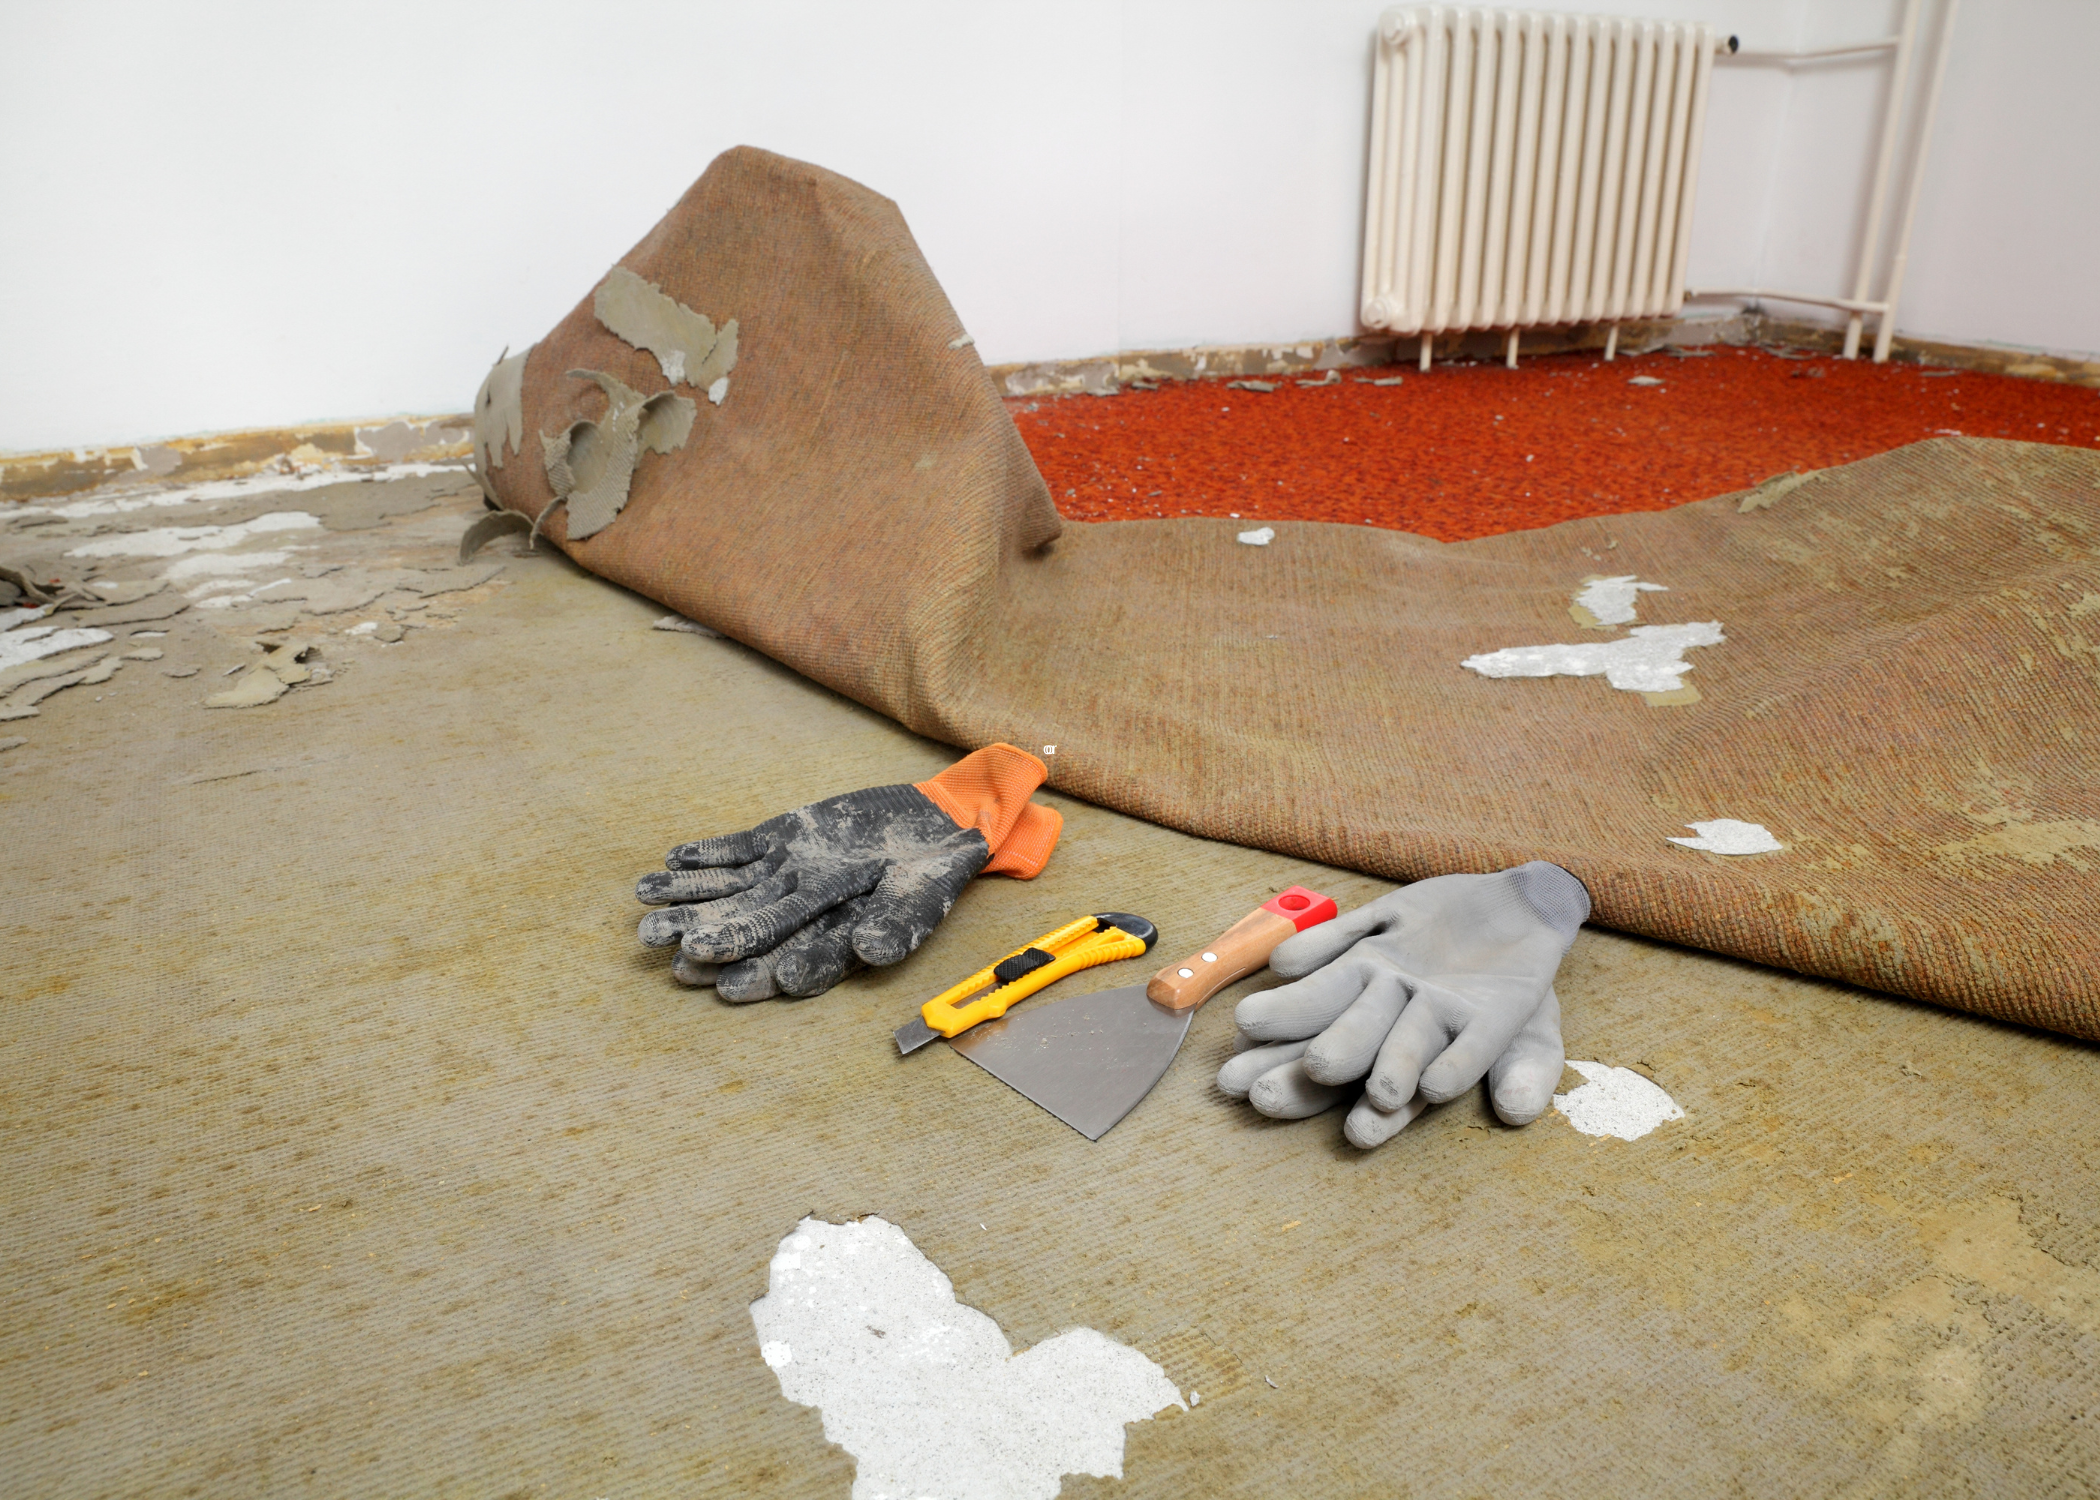
Clear the room of all furniture and remove the old carpet or flooring. Ensure the subfloor is clean, dry, and free of debris. Check for any damage that needs repair before laying the new carpet.
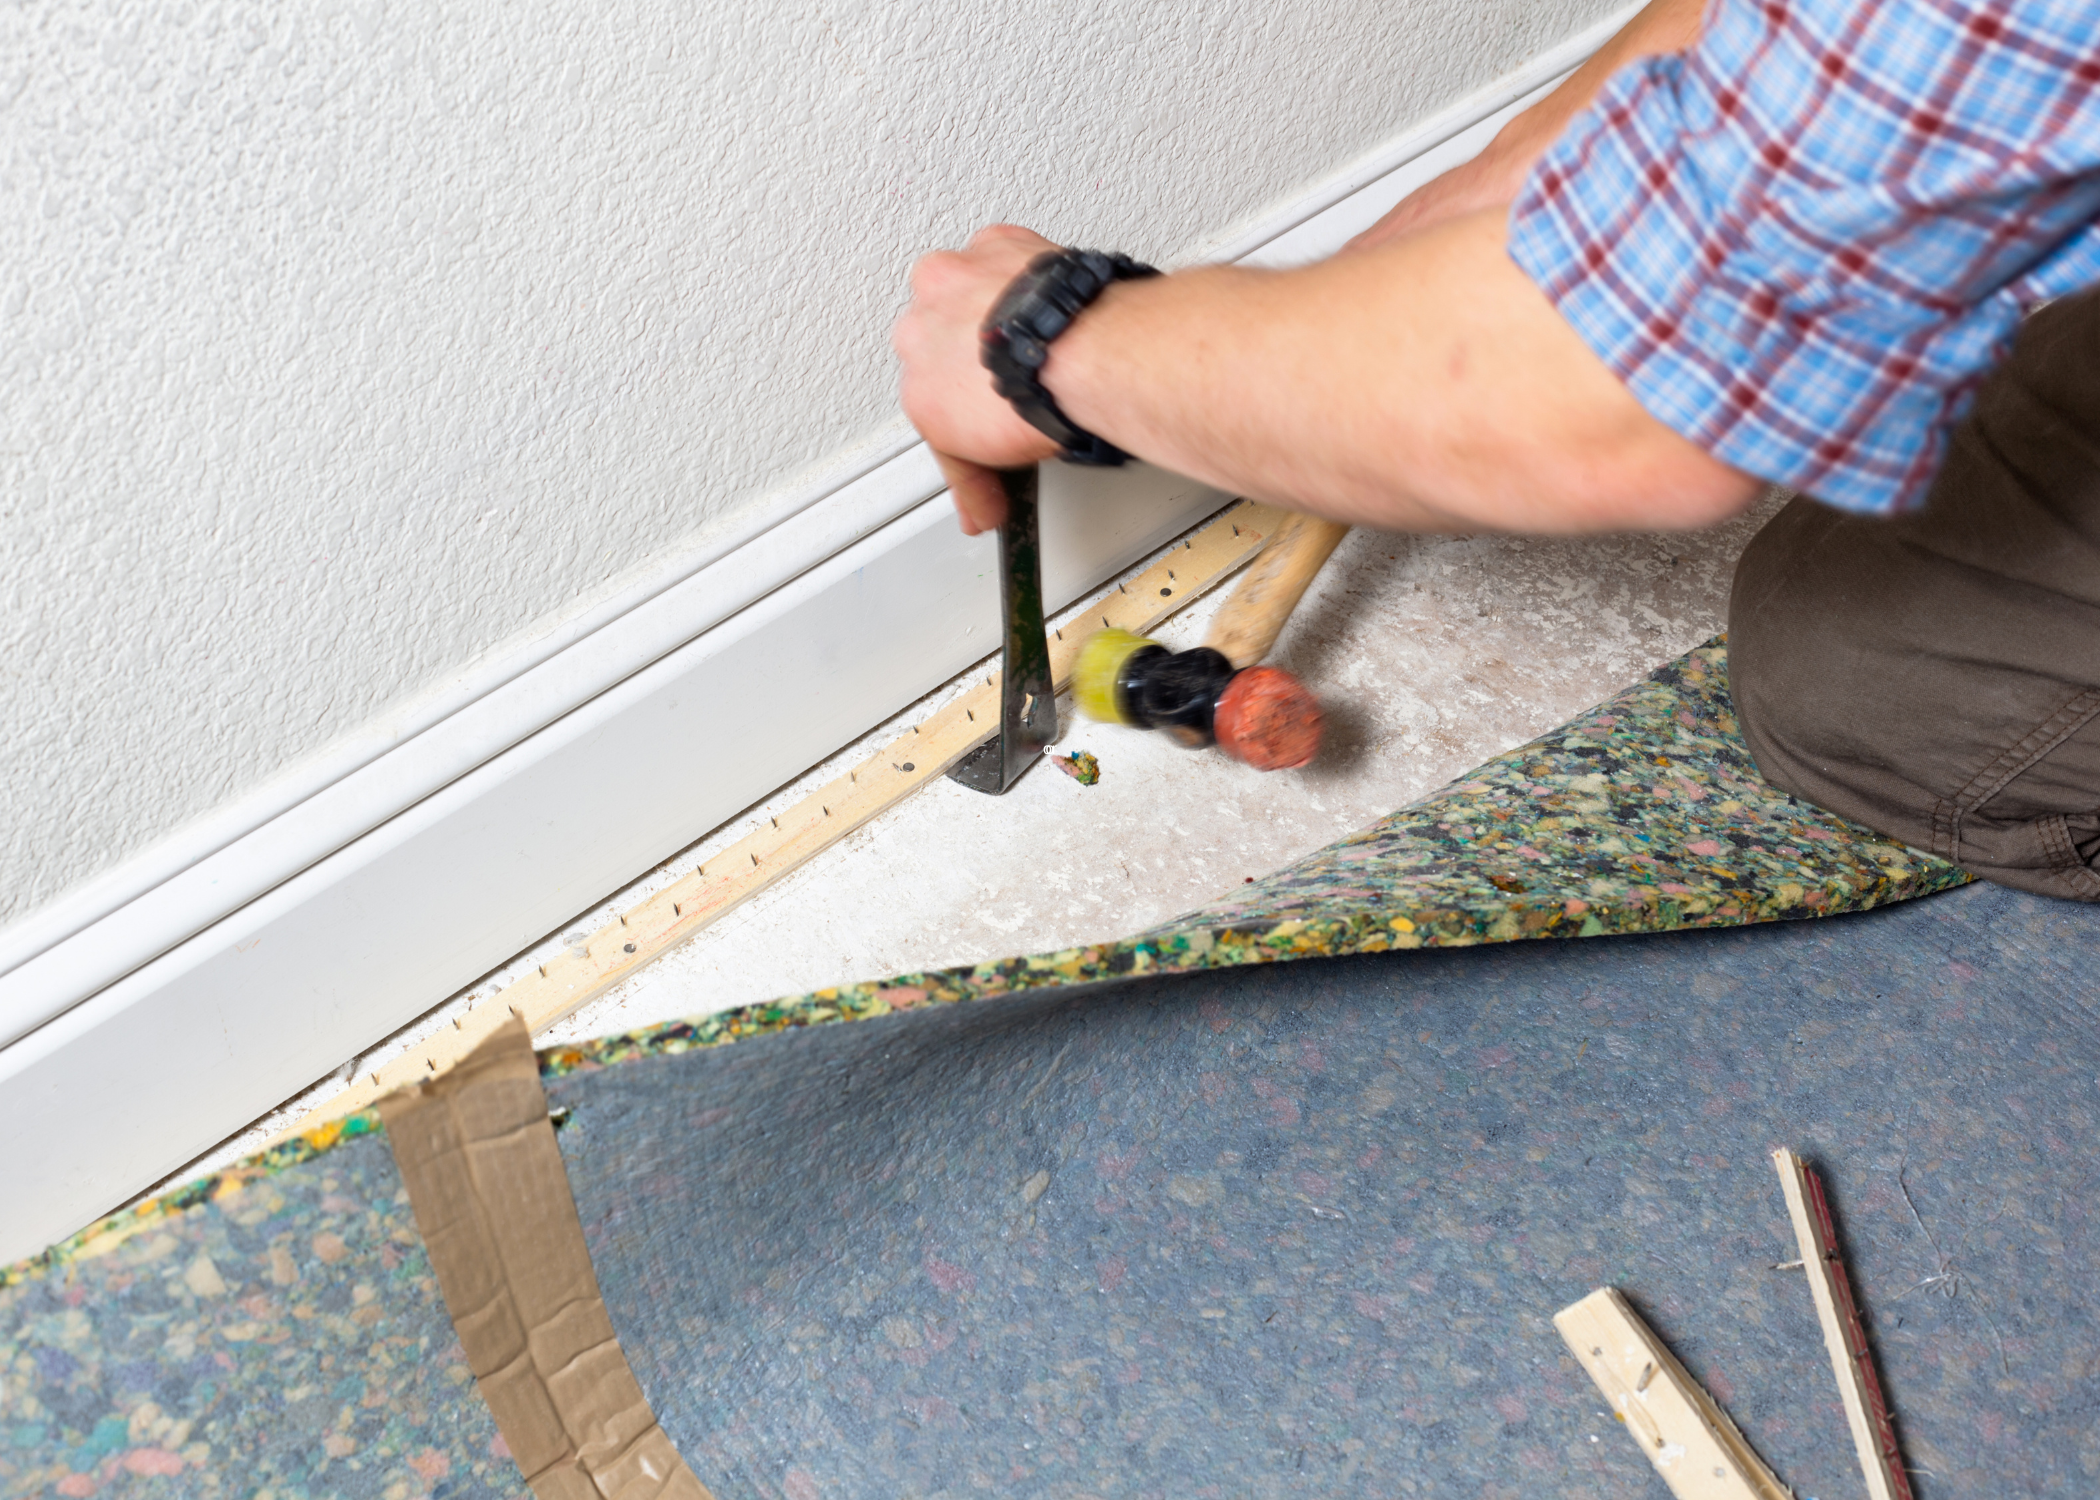
Install Tackless Strips
Tackless strips hold the carpet in place. Install these around the perimeter of the room, leaving a gap the width of the carpet pile from the wall. Secure them with nails or adhesive.
Installing the Carpet
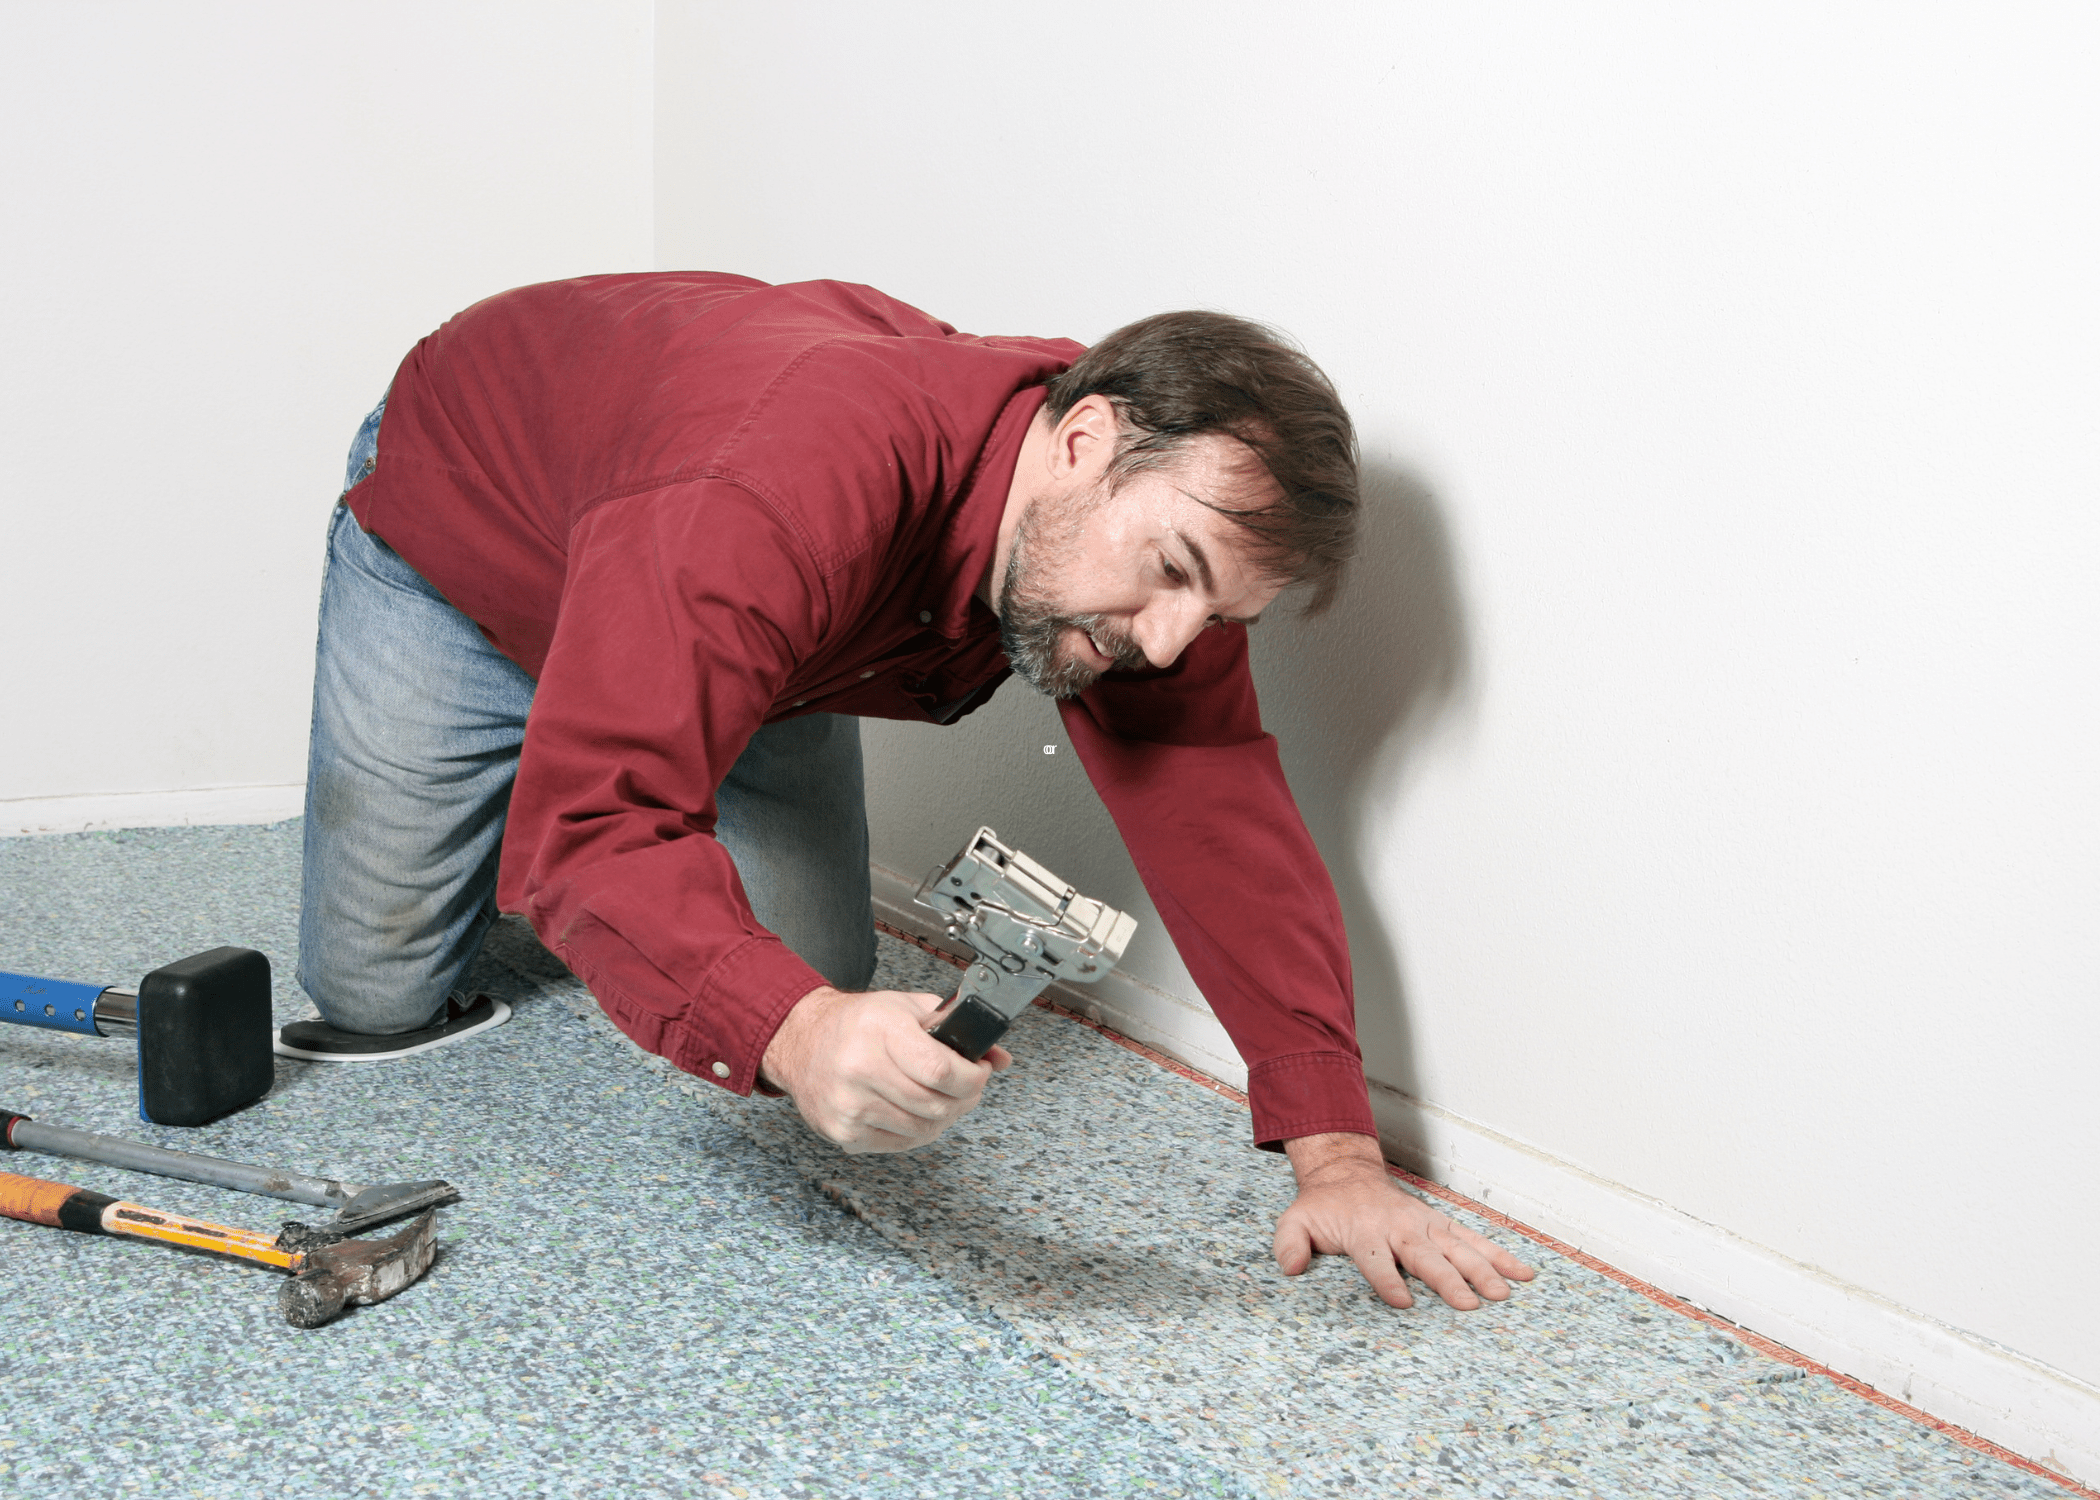
Lay Carpet Padding
Lay the padding perpendicular to the direction you plan to lay the carpet. Staple the padding to the subfloor, ensuring it is smooth and free of wrinkles. Trim any excess padding at the edges.
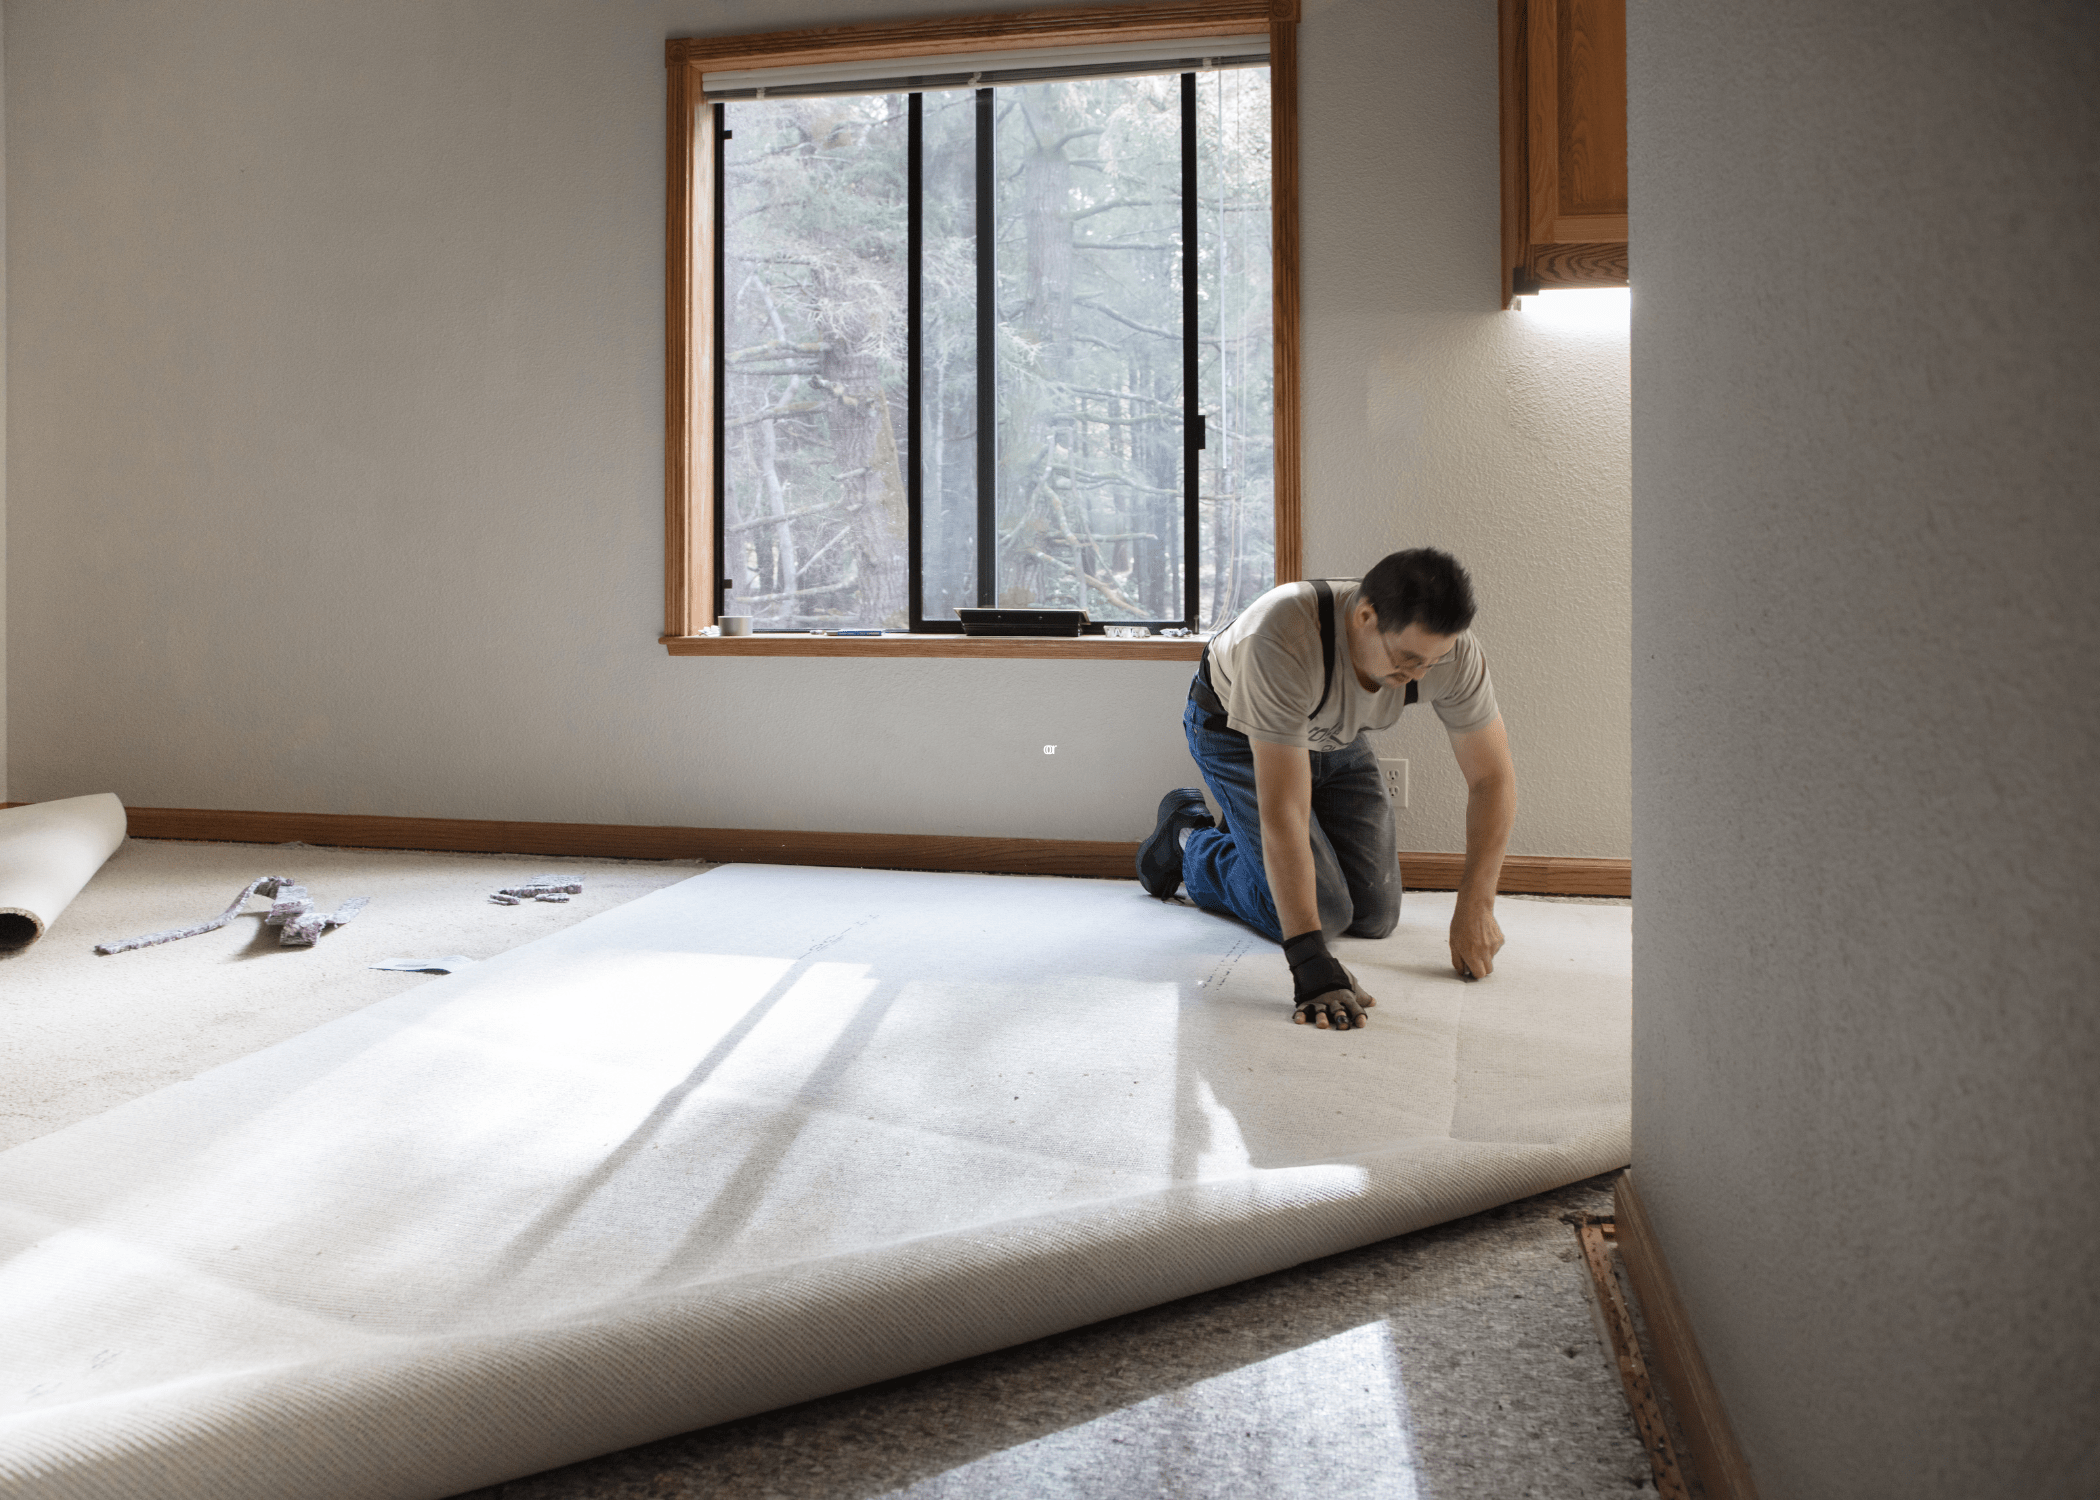
Cut and Lay the Carpet
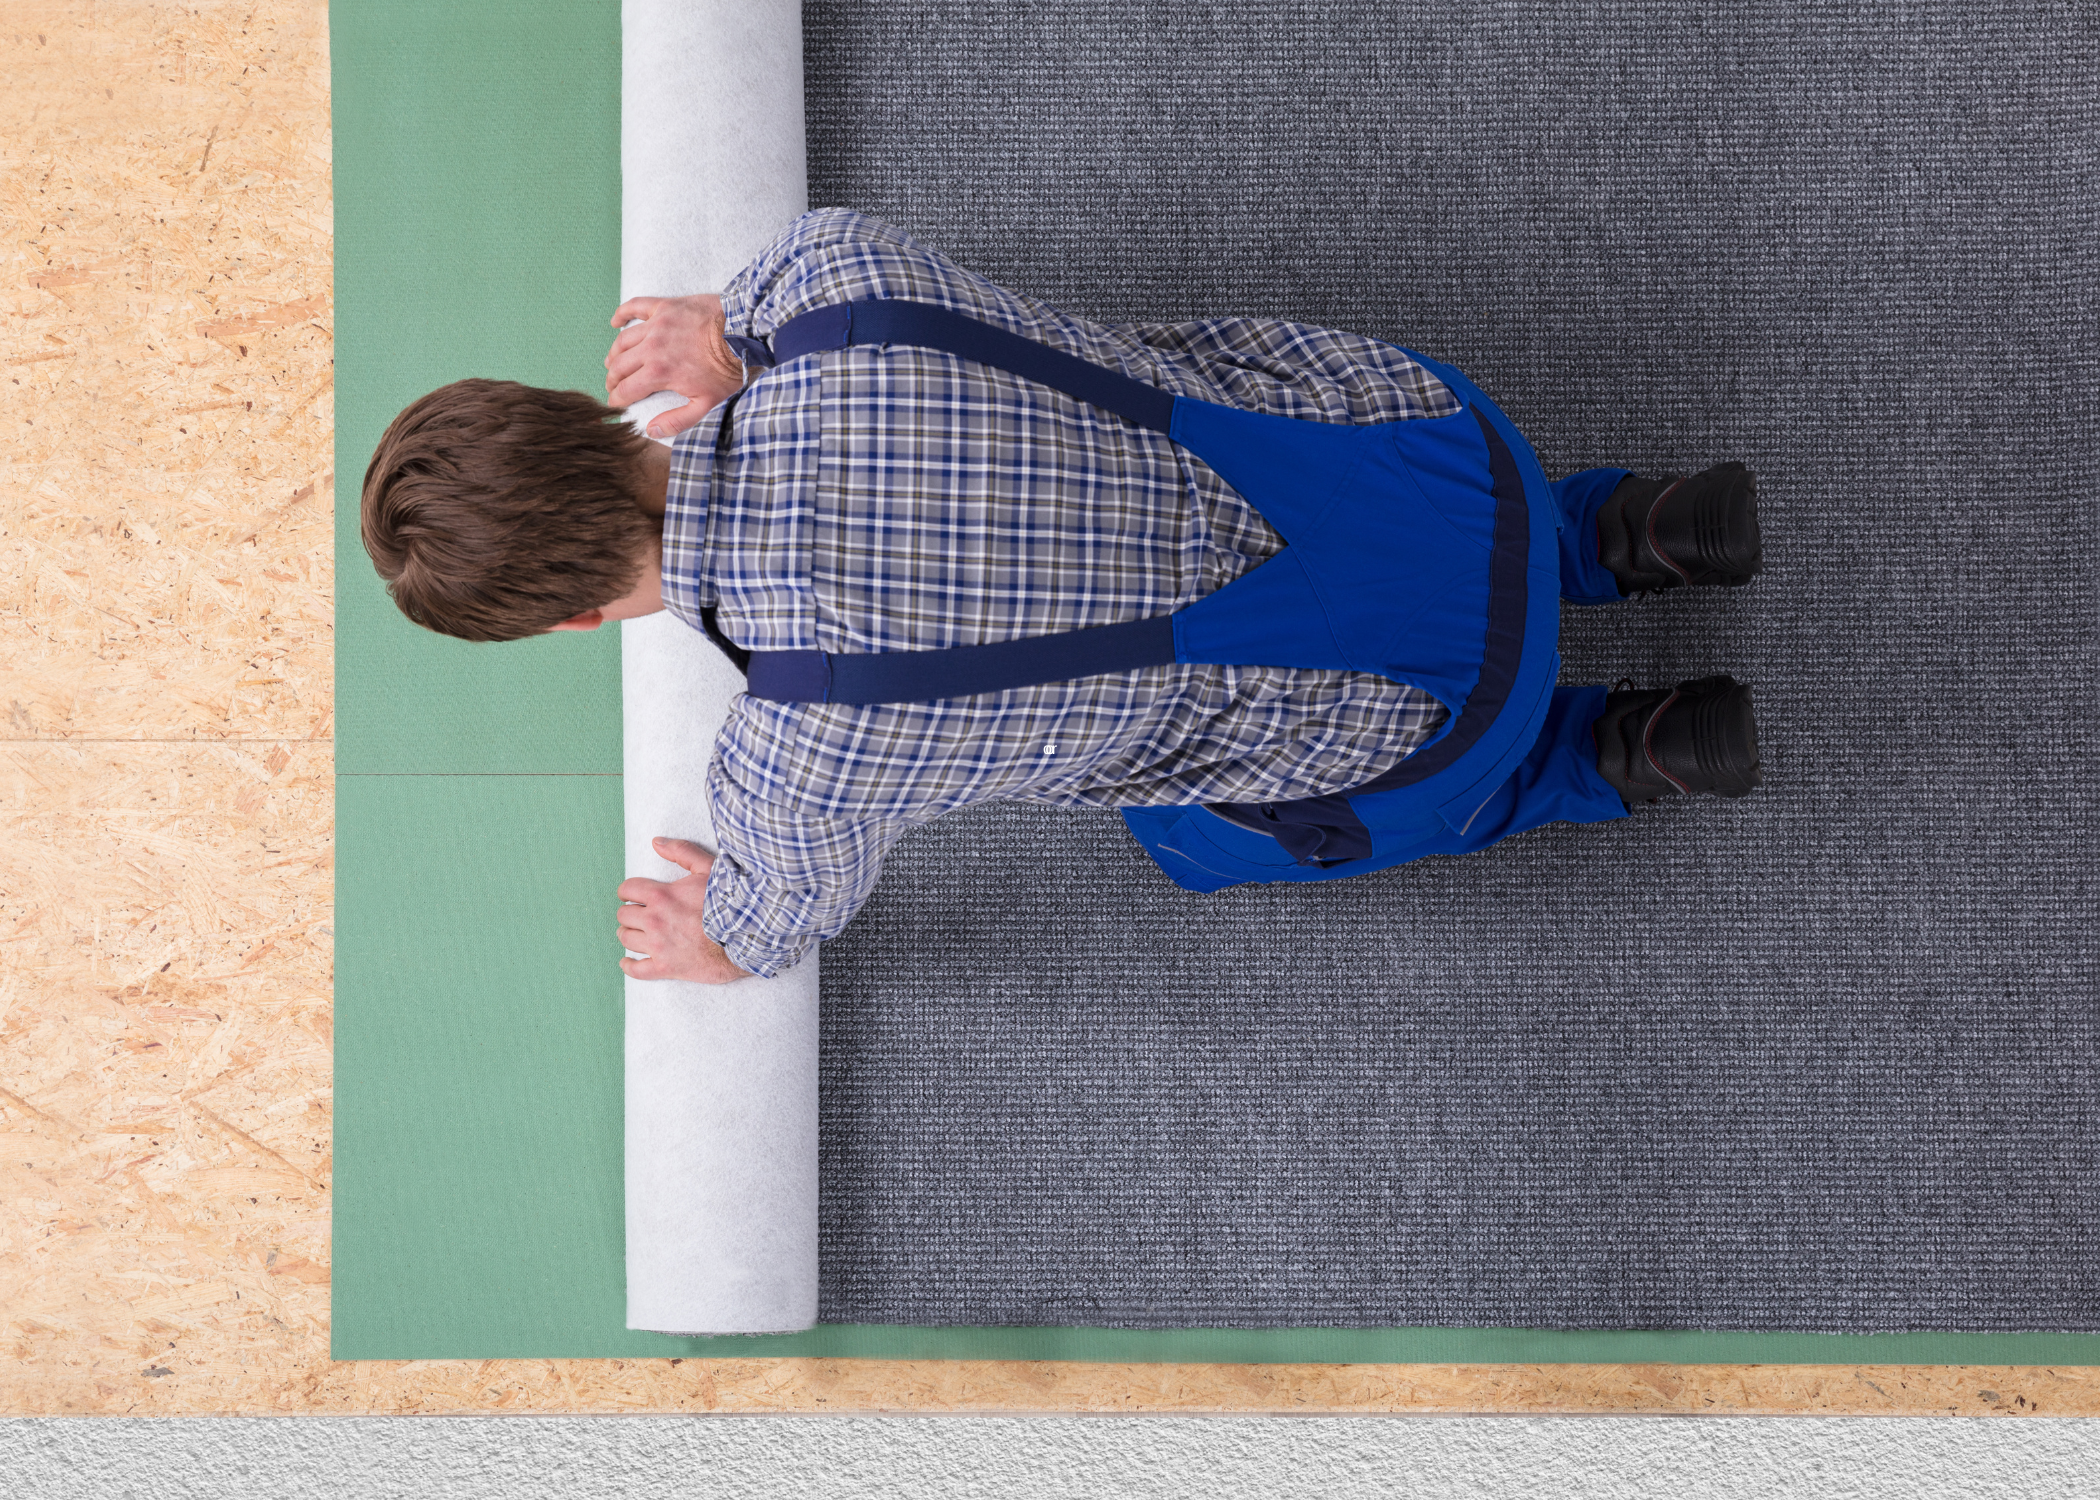
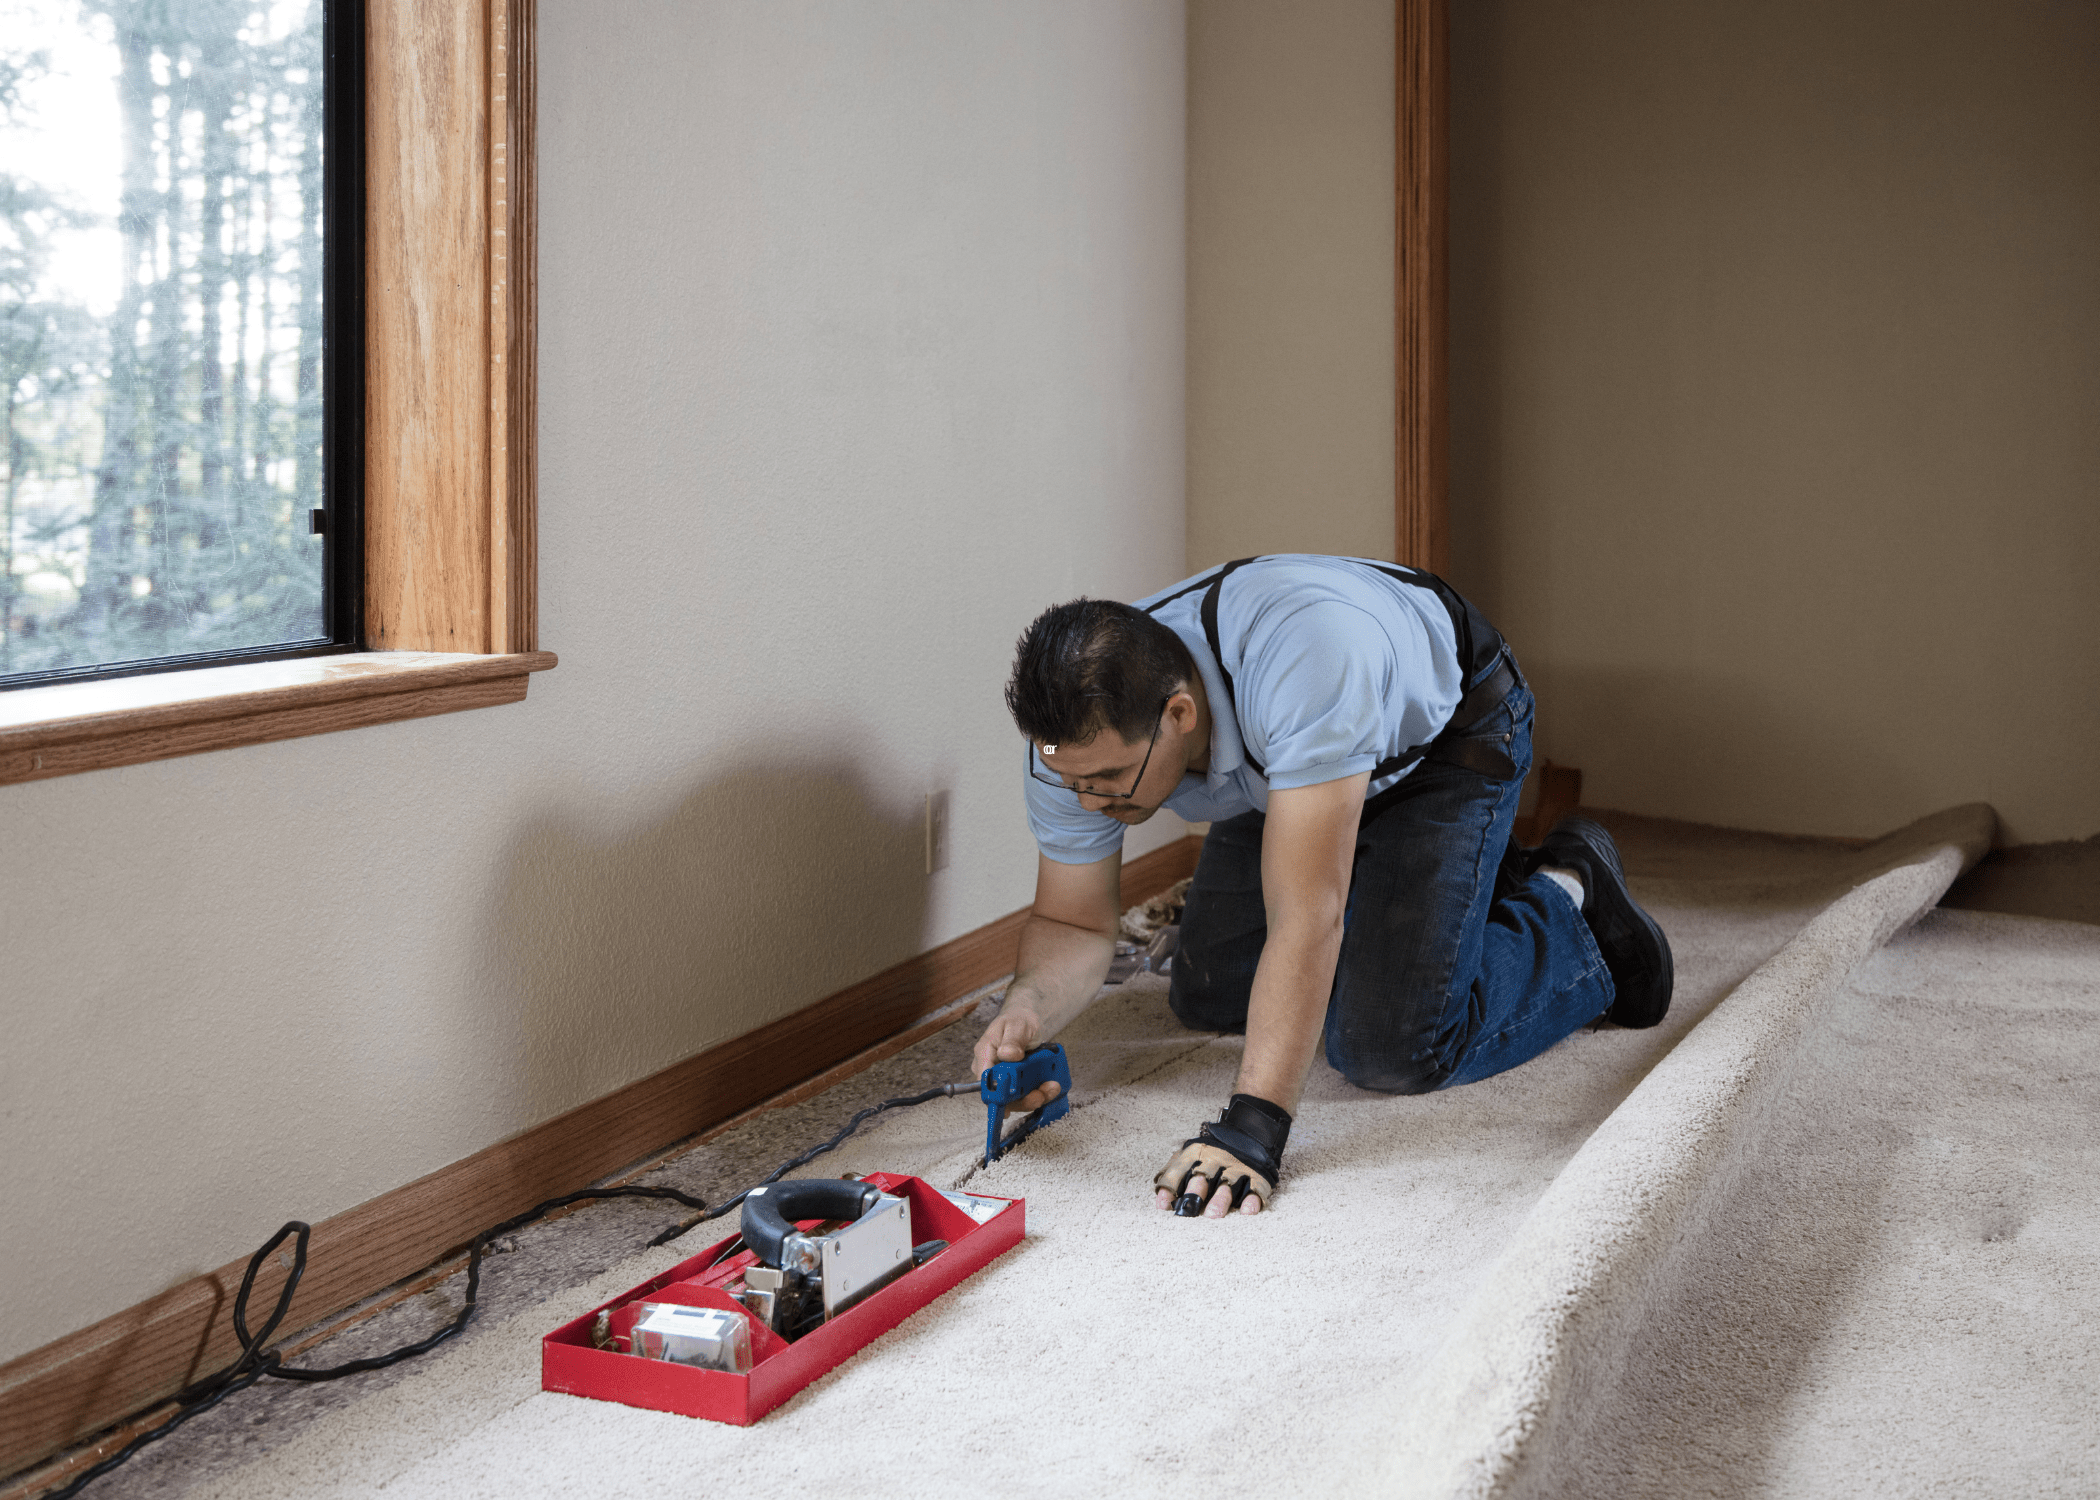
Unroll the carpet and cut it to the room’s dimensions, leaving a few inches extra on all sides. Lay the carpet over the padding and align it with the edges of the room.
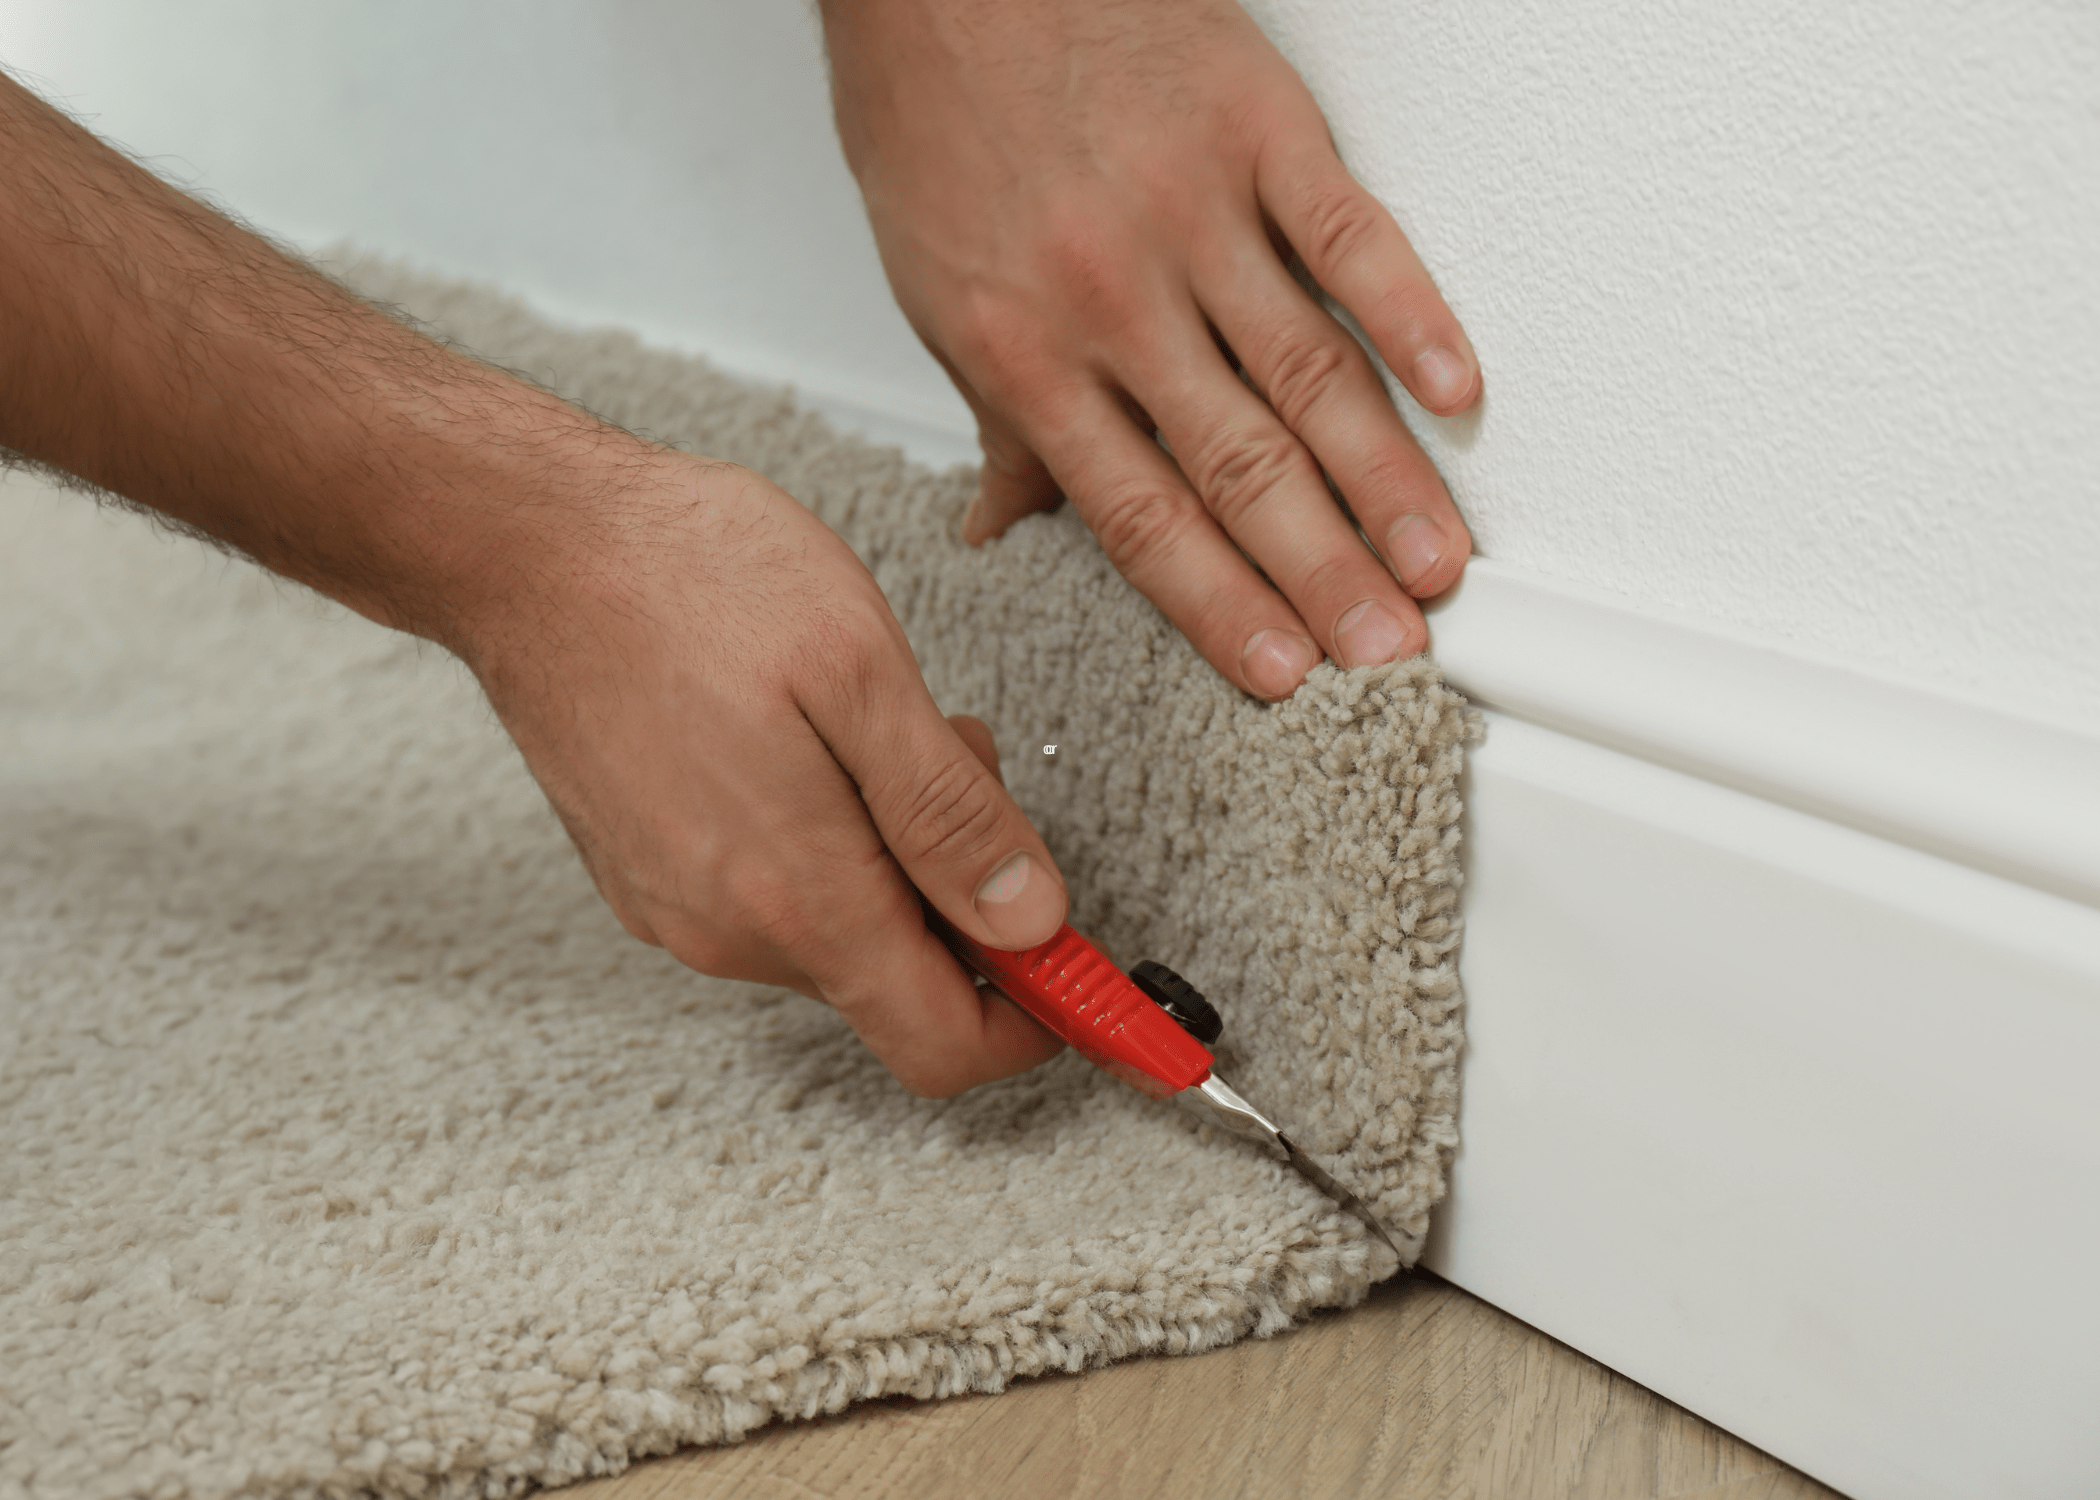
Secure the Carpet
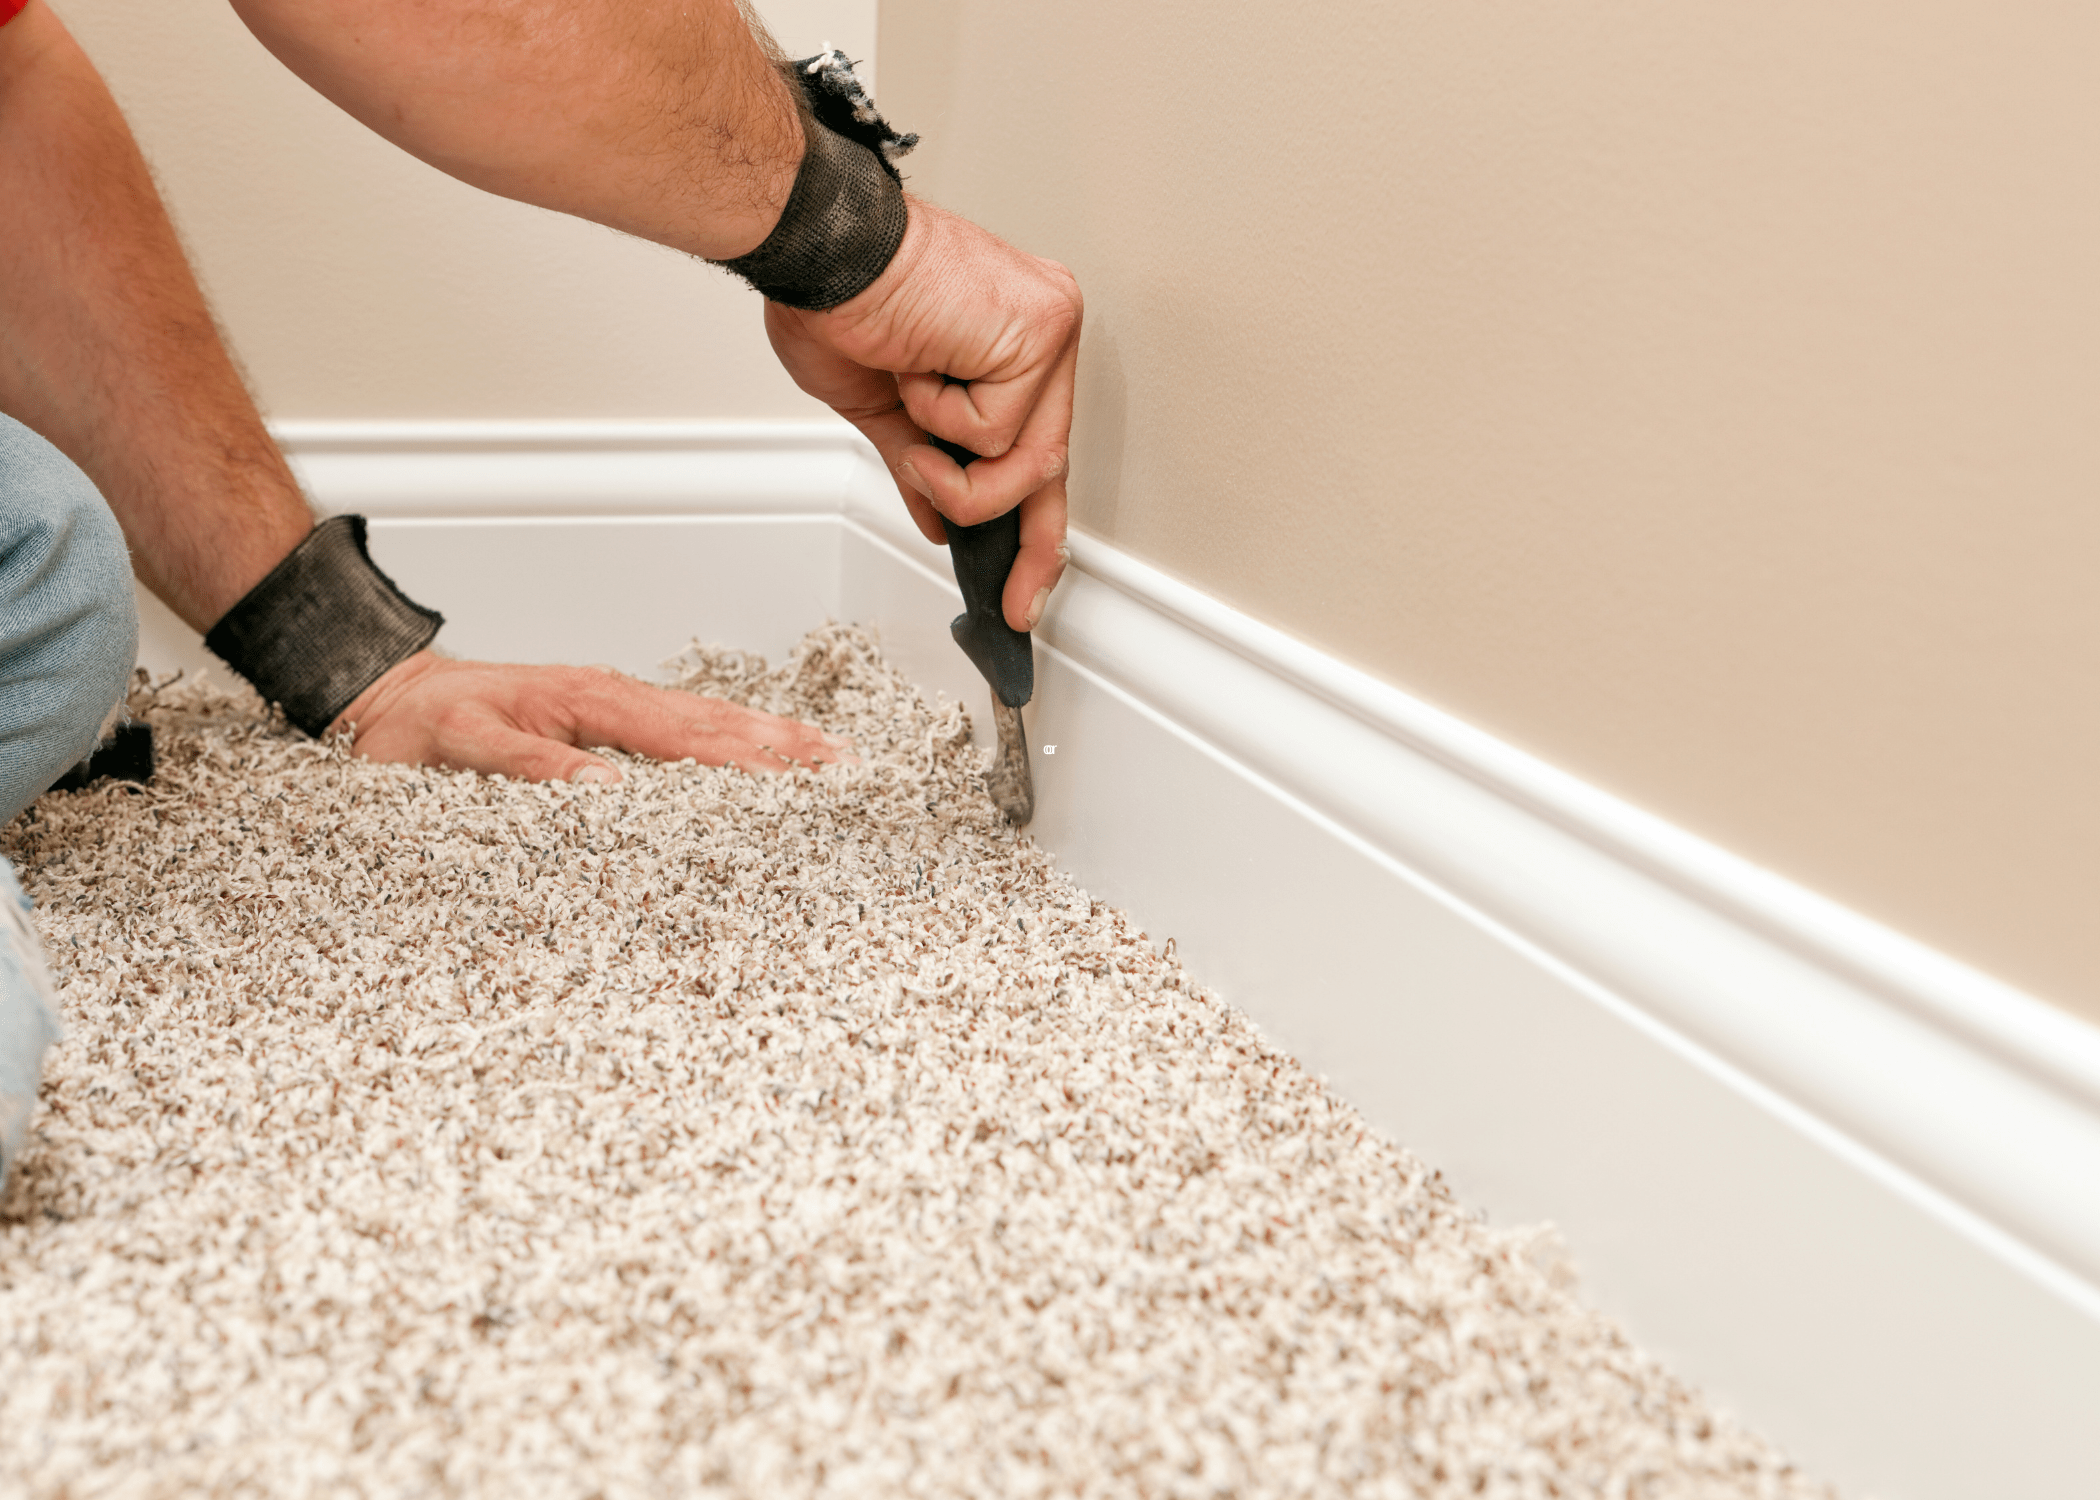
Using a knee kicker, stretch the carpet towards the walls and hook it onto the tackless strips. Trim the excess carpet along the edges using a utility knife.
Create Carpet Seams
If your room requires more than one piece of carpet, you will need to create seams. Use carpet tape to join pieces together and a seam roller to press the seam flat and smooth.
Final Trim and Tuck
Trim the excess carpet around the edges and tuck it neatly between the tackless strip and the wall using a stair tool or putty knife.
Buying Guide for Carpet Selection
Selecting the right carpet involves considering durability, style, and maintenance needs. For high-traffic areas, choose durable materials like nylon or olefin.
For a luxurious feel, opt for polyester or wool. Consider the ease of cleaning, especially if you have pets or children. The right padding enhances comfort and extends the carpet’s life, so don’t skimp on quality.
Related Articles
- How to Dry Your Wet Carpet
- Ultimate Guide: How to Fix Carpet Wrinkles Like a Pro
- How to Get Paint Out of Carpet
By following these detailed steps and tips, you can successfully install your new carpet and enjoy a refreshed and comfortable living space.
Ready to start your next project? Join our DIY community to receive tool tips, how-to guides, and exclusive creative insights. Subscribe to the ManMadeDIY newsletter now!
Frequently Asked Questions (FAQs)
How much extra carpet should I buy?
It’s recommended to purchase 10% more than your room measurements to account for errors, waste, and any future repairs.
What is the best carpet for high-traffic areas?
Nylon is the most durable and stain-resistant, making it ideal for high-traffic areas like hallways and living rooms.
How often should carpet padding be replaced?
Carpet padding should be replaced every 5-10 years, or when you replace your carpet, to maintain comfort and support.
Can I install carpet over existing flooring?
It’s best to remove old flooring to ensure a smooth surface for the new carpet. Installing over existing flooring can lead to unevenness and affect the carpet’s lifespan.
How do I maintain my carpet?
Regular vacuuming, immediate stain removal, and professional cleaning every 12-18 months will keep your carpet looking new and extend its life.
Is it necessary to hire a professional for carpet installation?
While DIY installation is possible with the right tools and patience, hiring a professional ensures a perfect fit and can save time and effort, especially for larger or more complex spaces.


