DIY Guide for Swapping from Winter to Summer Tires
Swapping out tires should never be something to be afraid of, especially since there are endless resources available to help walk you through anything that you might encounter. Preparation is key to avoiding mistakes, but you shouldn’t view any setbacks as an excuse to quit! Rather, view them as an opportunity to learn and overcome the challenges that typically come with any type of DIY task.
Having someone to help during this task may prove beneficial, but it’s not essential. As you can see, I was working in an apartment parking lot with limited space and was still able to complete this DIY job in under an hour. You can expect to spend around the same amount of time or maybe a bit more if it’s your first time turning a wrench.
How to Prepare to Change Out Your Winter Tires
The preparation stage of this task is fairly simply: ensure that you’ve got your summer tires out of storage, and have your tools readily available. If you store your tires in your garage, then this is going to be a quick and easy job that will surely leave you feeling accomplished as you enjoy a cold drink afterward.
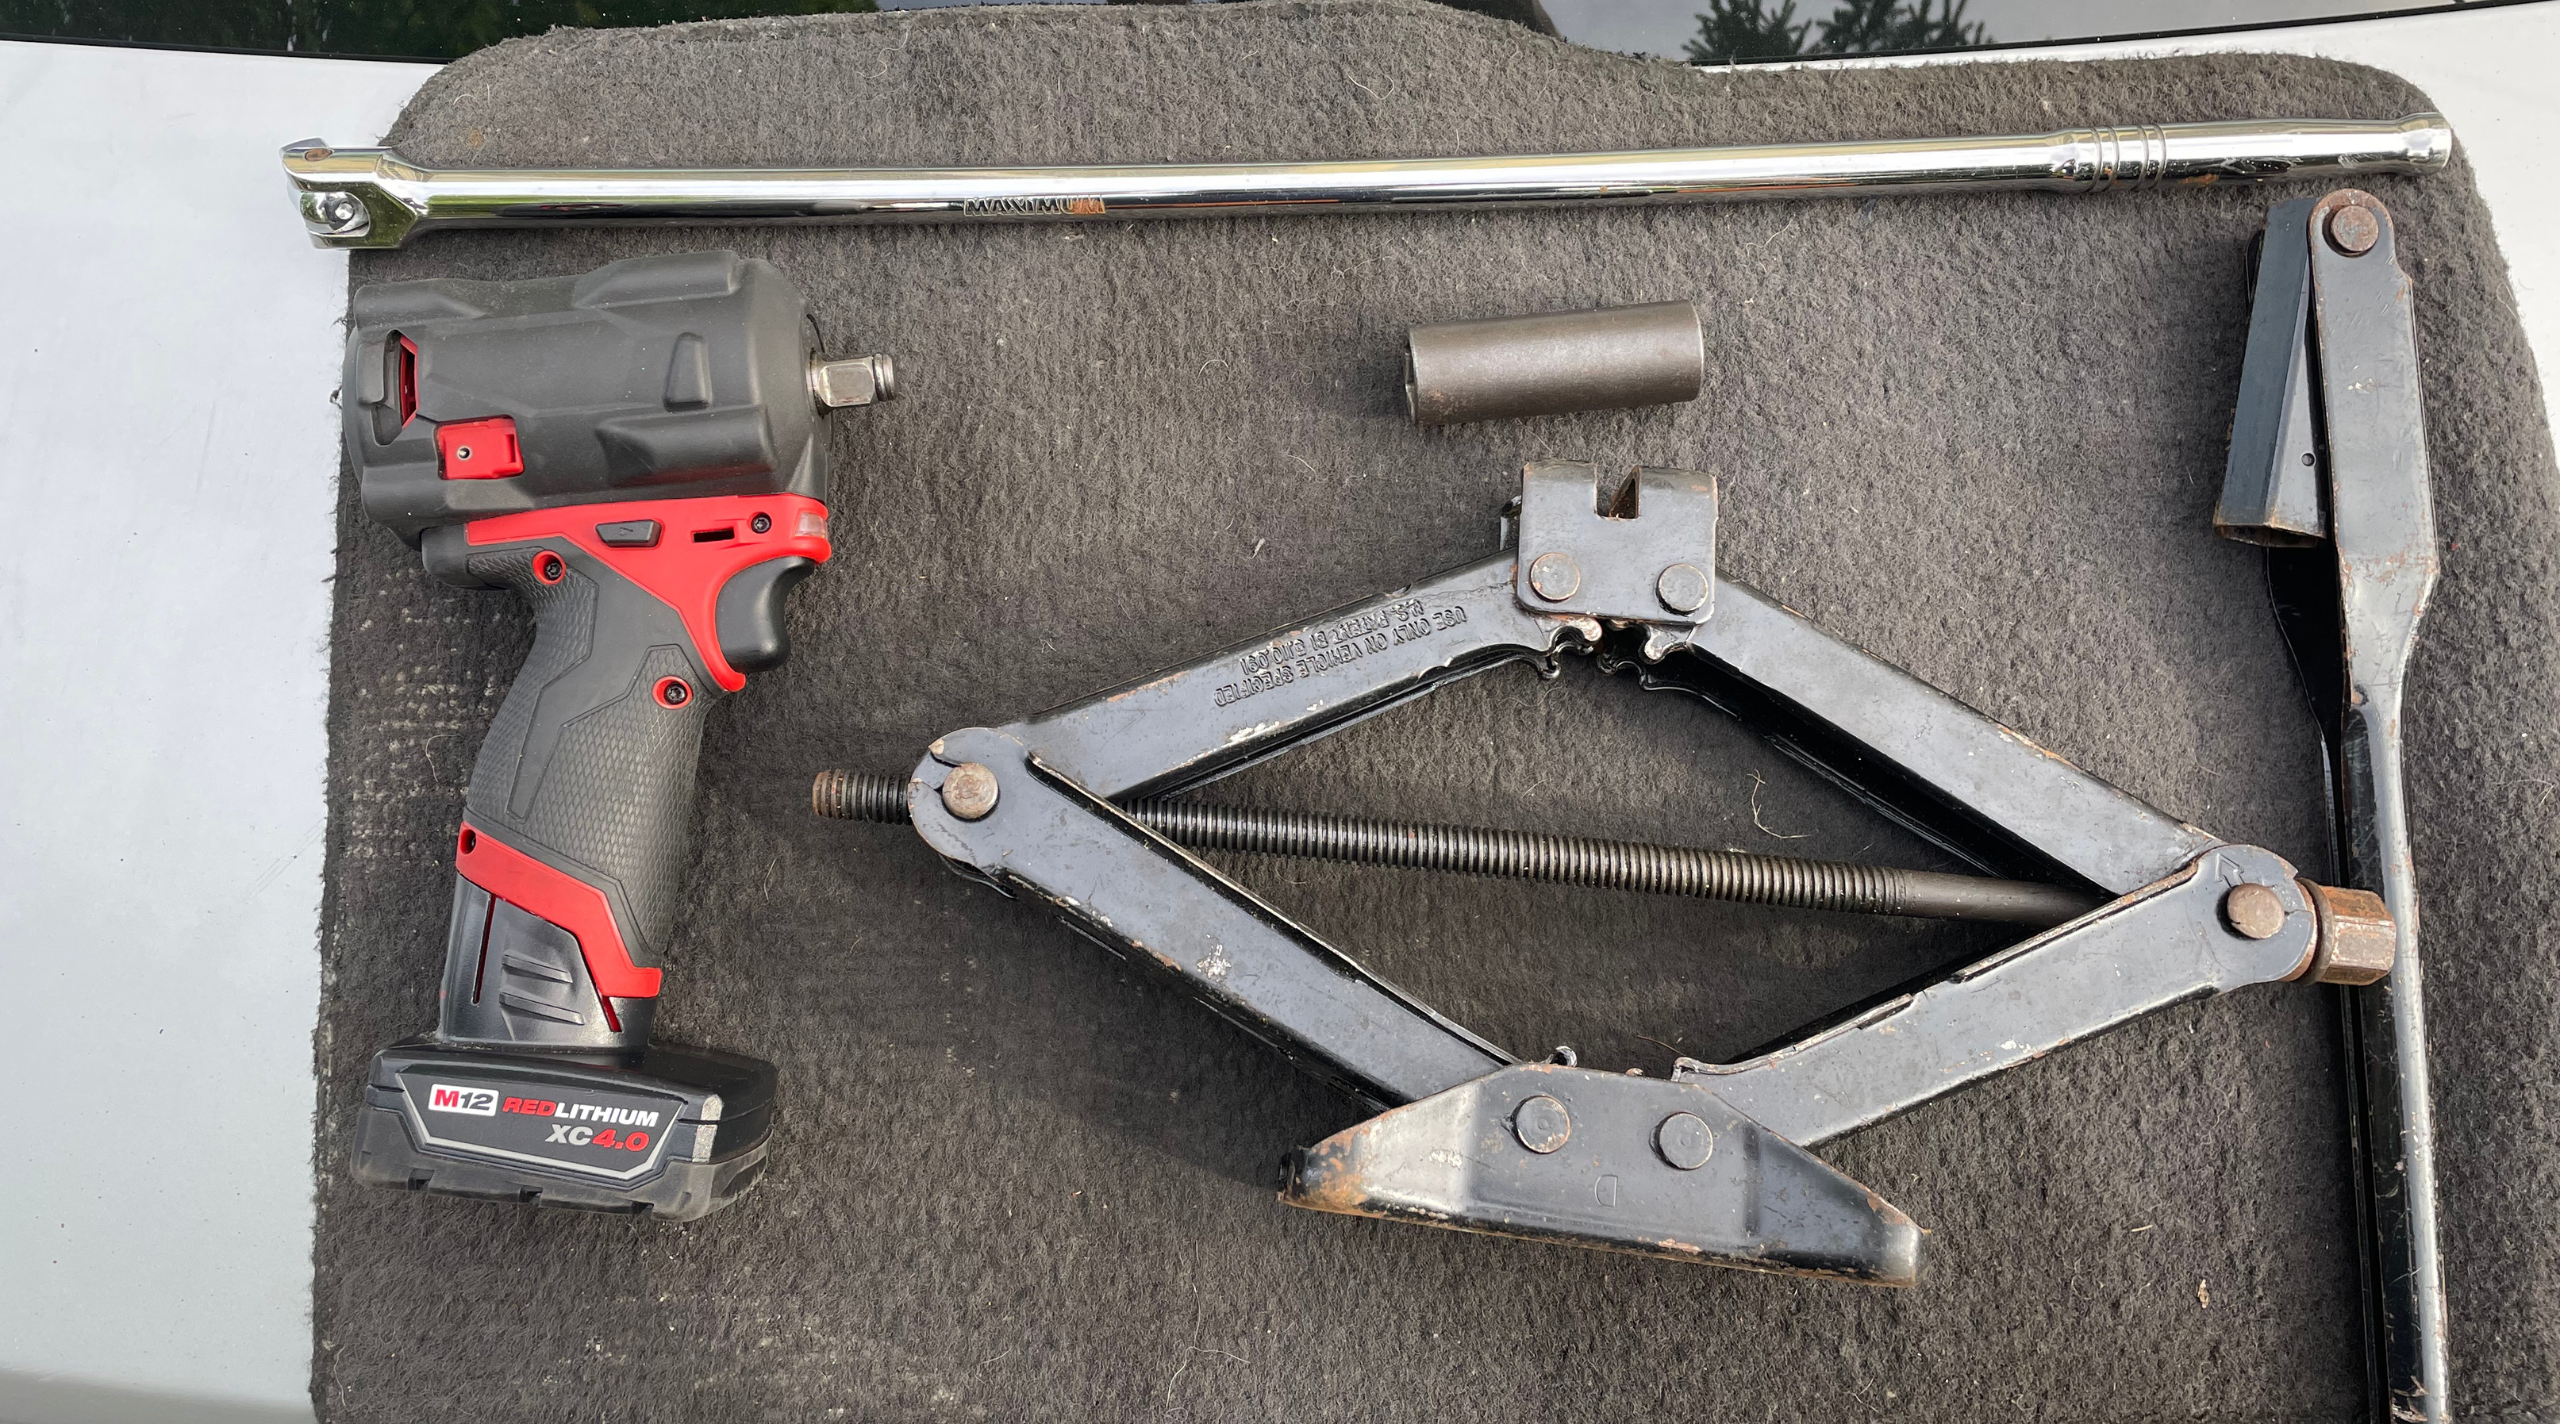
Here’s a list of tools that you will want to have, but most are optional:
- Jack and Tire Iron (I usually use a floor jack, which is optional but it speeds up the process)
- Impact Wrench (Optional, use a 1/2 with at least 150 lb-ft of torque)
- Breaker Bar and Socket (Optional, for my Chevrolet Cobalt, it’s a 19mm socket, other sizes could be 17 or 21mm)
- Old Floor Mat (Optional, but a must in my books; it saves your knees and keeps you clean)
- Torque Wrench (I Forgot to include it in the picture, optional for the pros, but highly recommended for first-timers)
Disclaimer: Using power tools and a floor jack increases the risk of mistakes if you are unfamiliar with how these tools function.
Step-by-Step Guide for Changing Out Your Winter Tires
With all the tools you need on hand, you are ready to follow these simple steps for swapping out your winter tires.
Step 1: Carefully take out the summer tires from their tire bags. If you’re performing this task outdoors, you may want to store the bags in the cabin of your car so they don’t fly away.

Step 2: Pick tire placement. There are a lot of opinions on this, but the two most common are the best 2 tires at the back to avoid oversteer, while others prefer the best tires upfront for maximum grip during acceleration and braking. (Do your research, and use a coin or tire gauge to determine which tires have more tread)
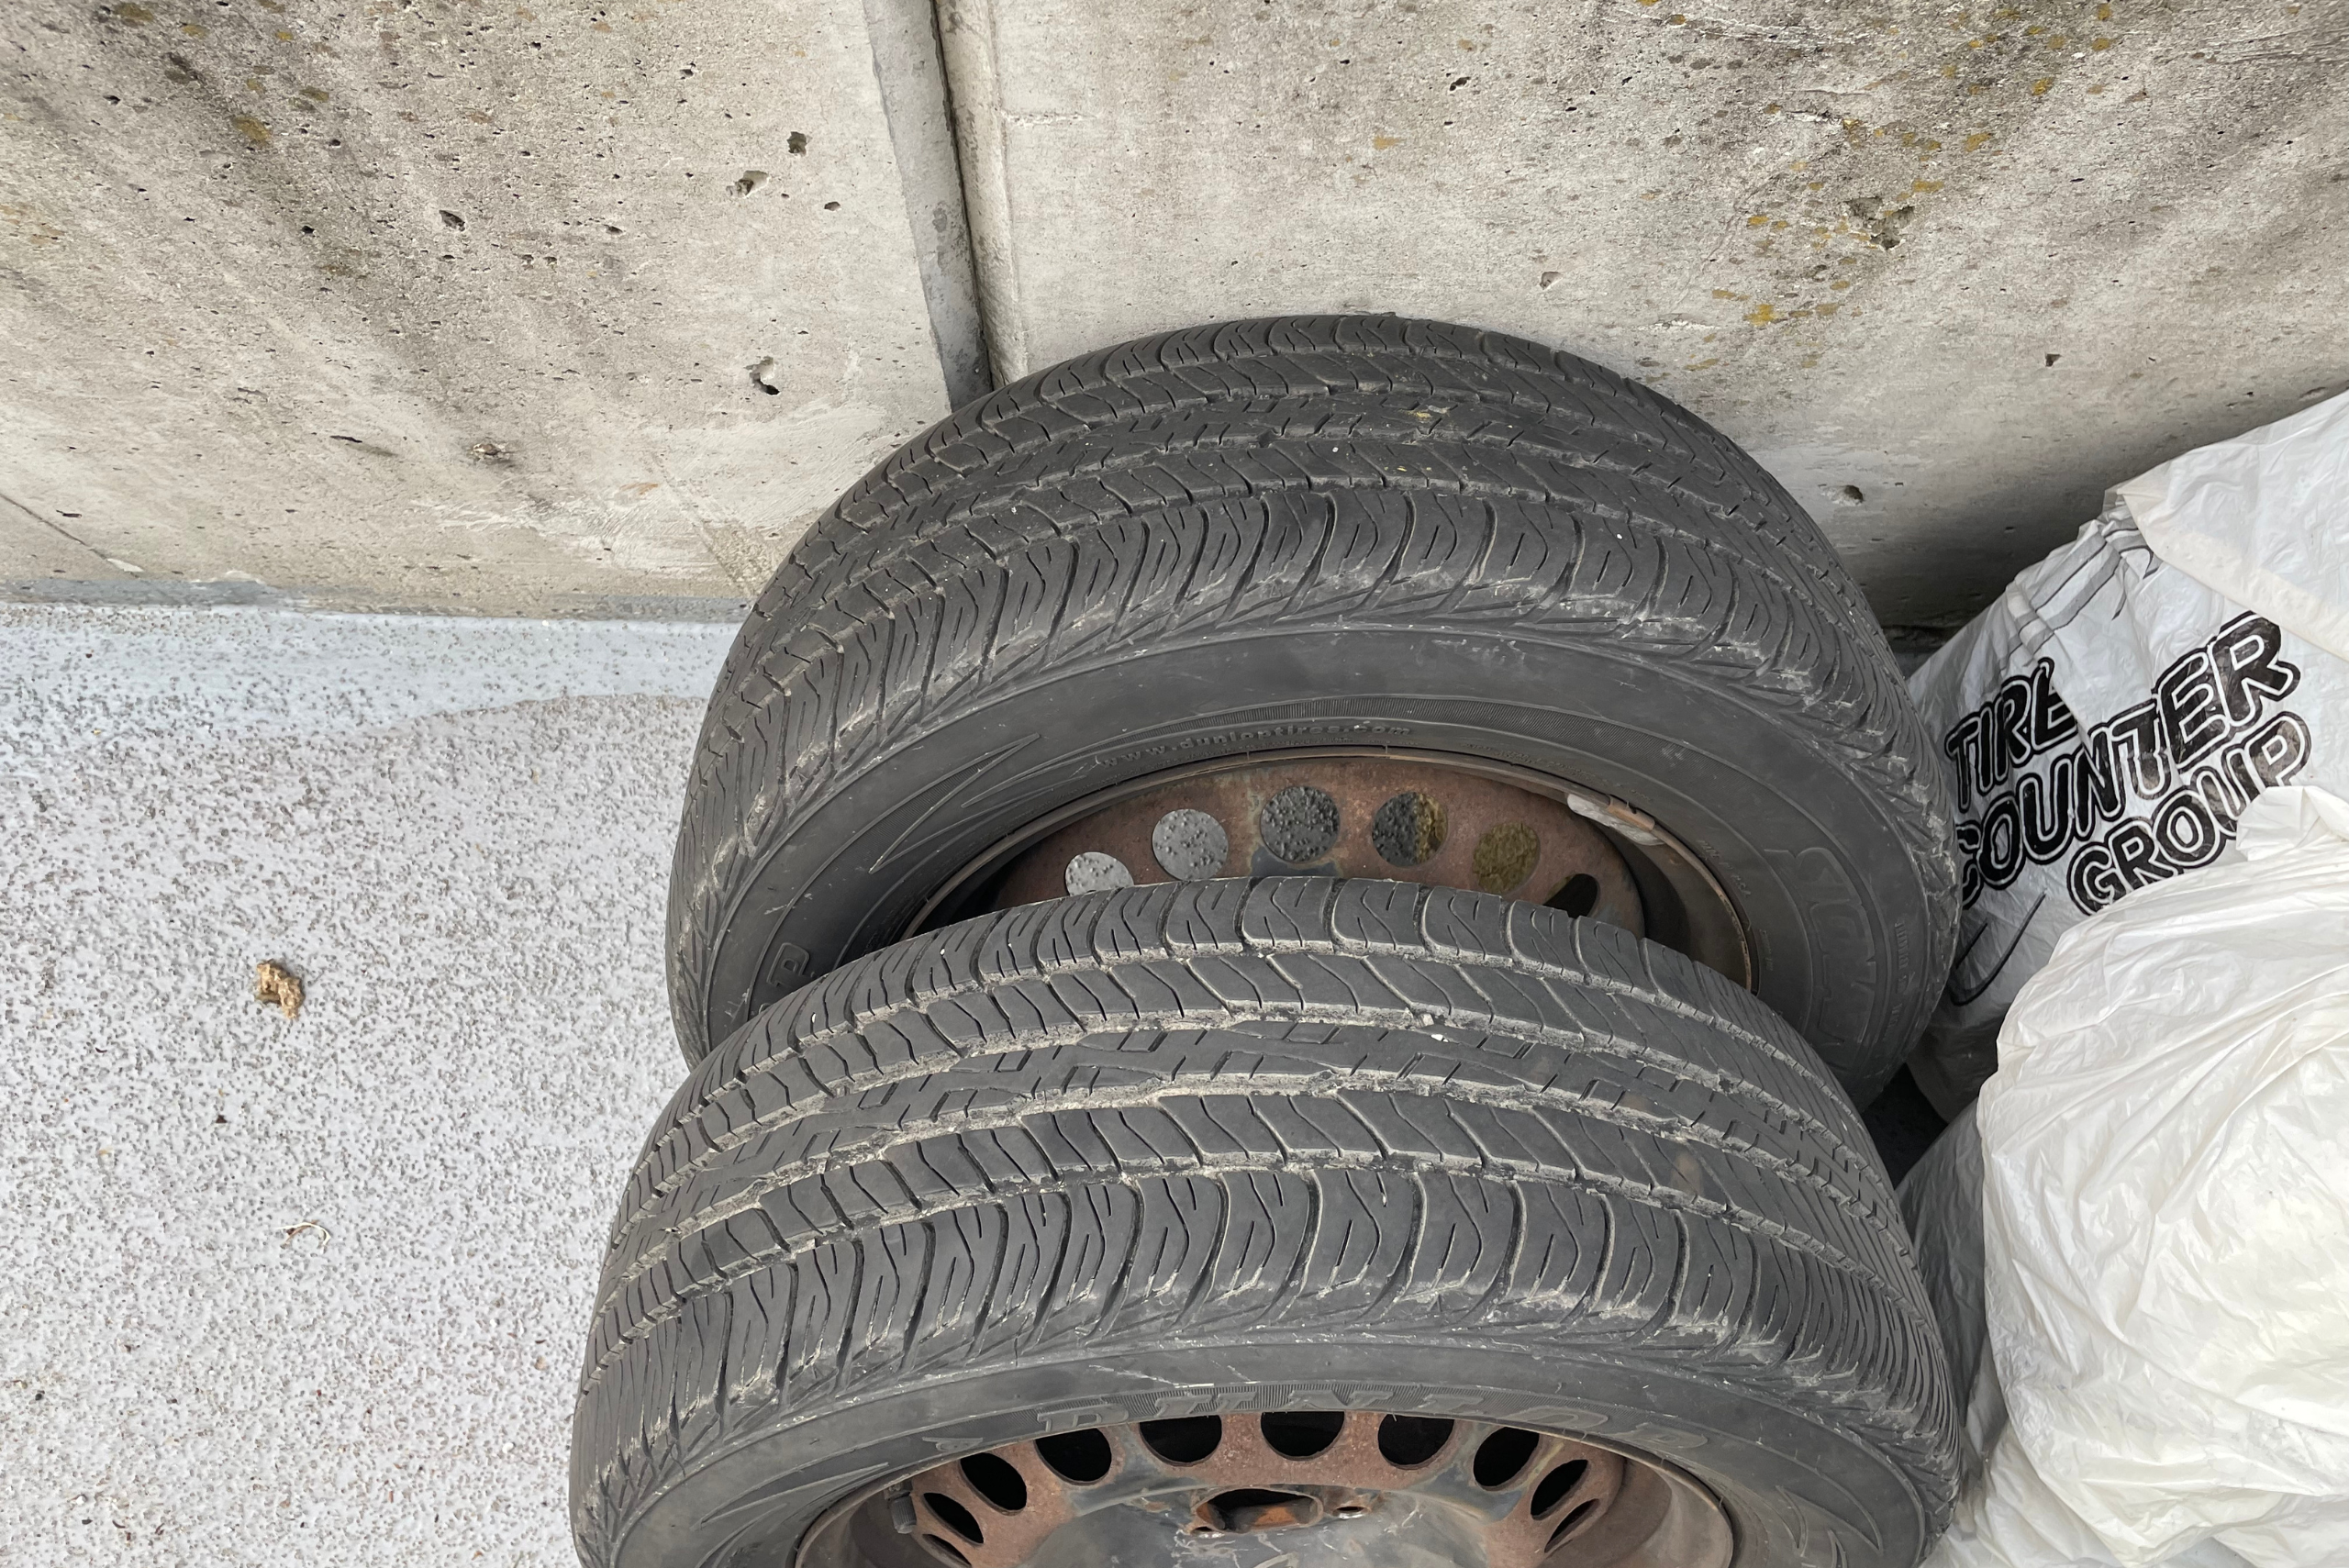
Step 3: Check tire age and condition. This is a step that you would typically complete before you embark on this process, but if you haven’t already, now’s your time!
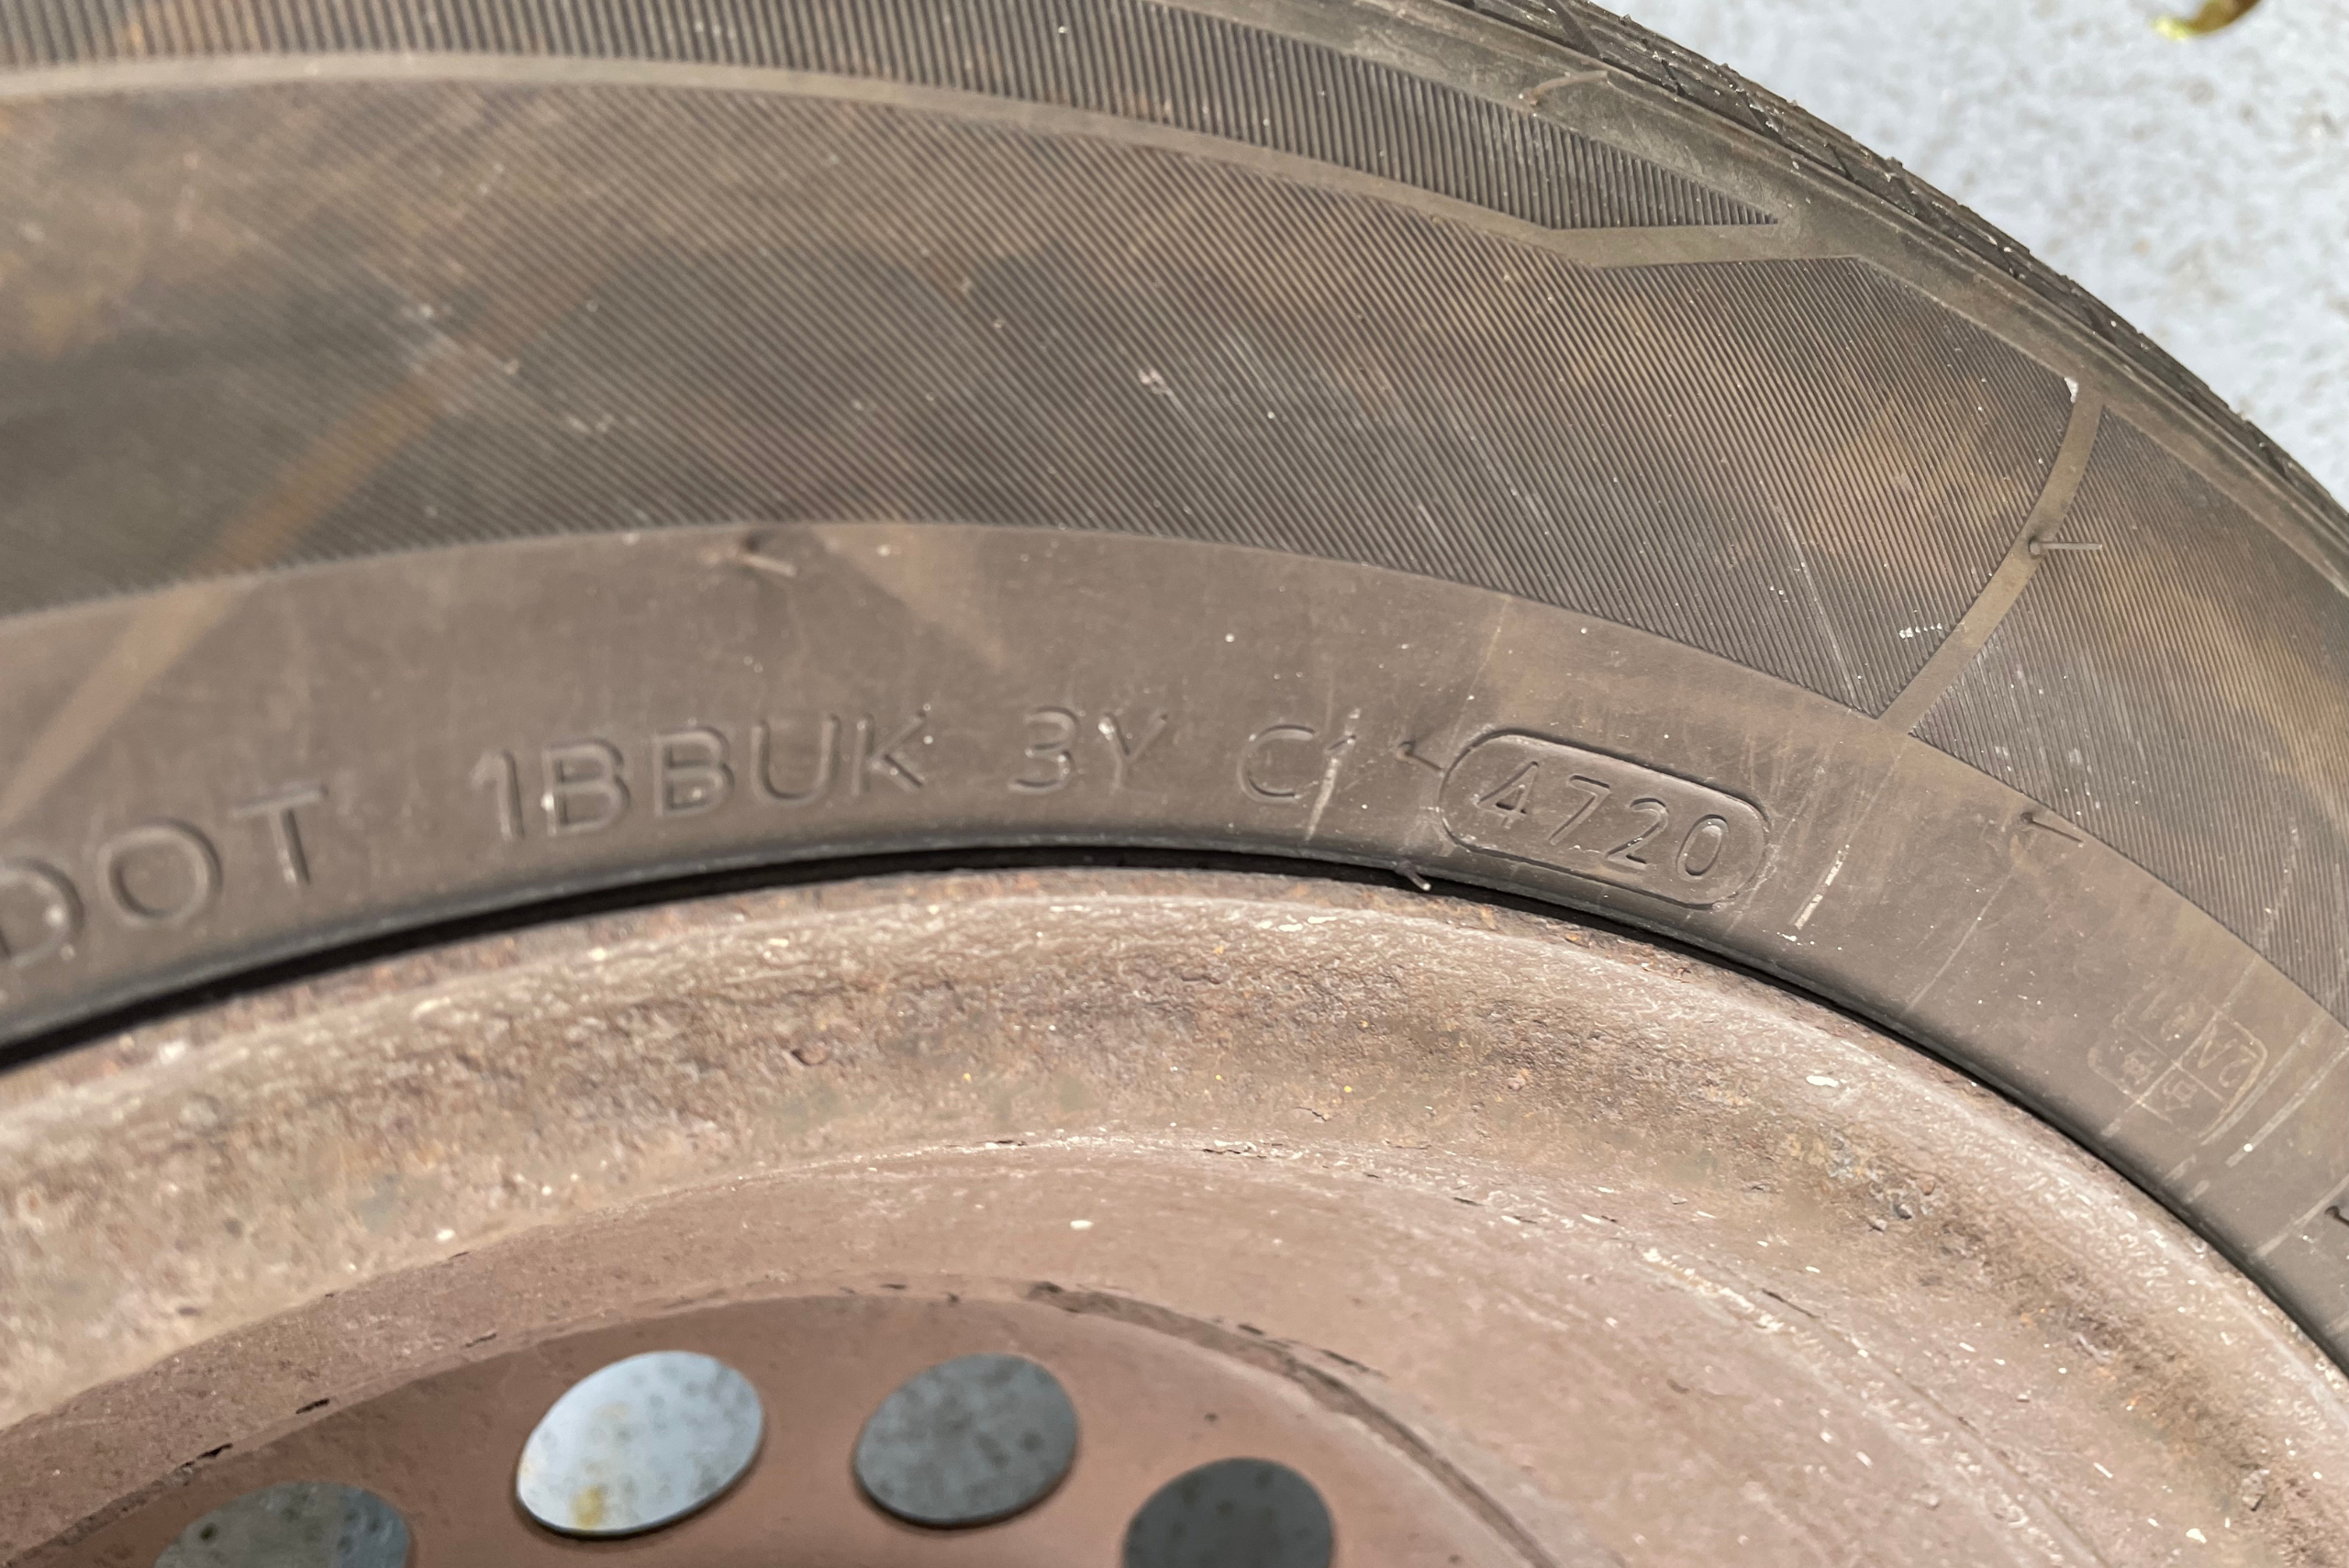
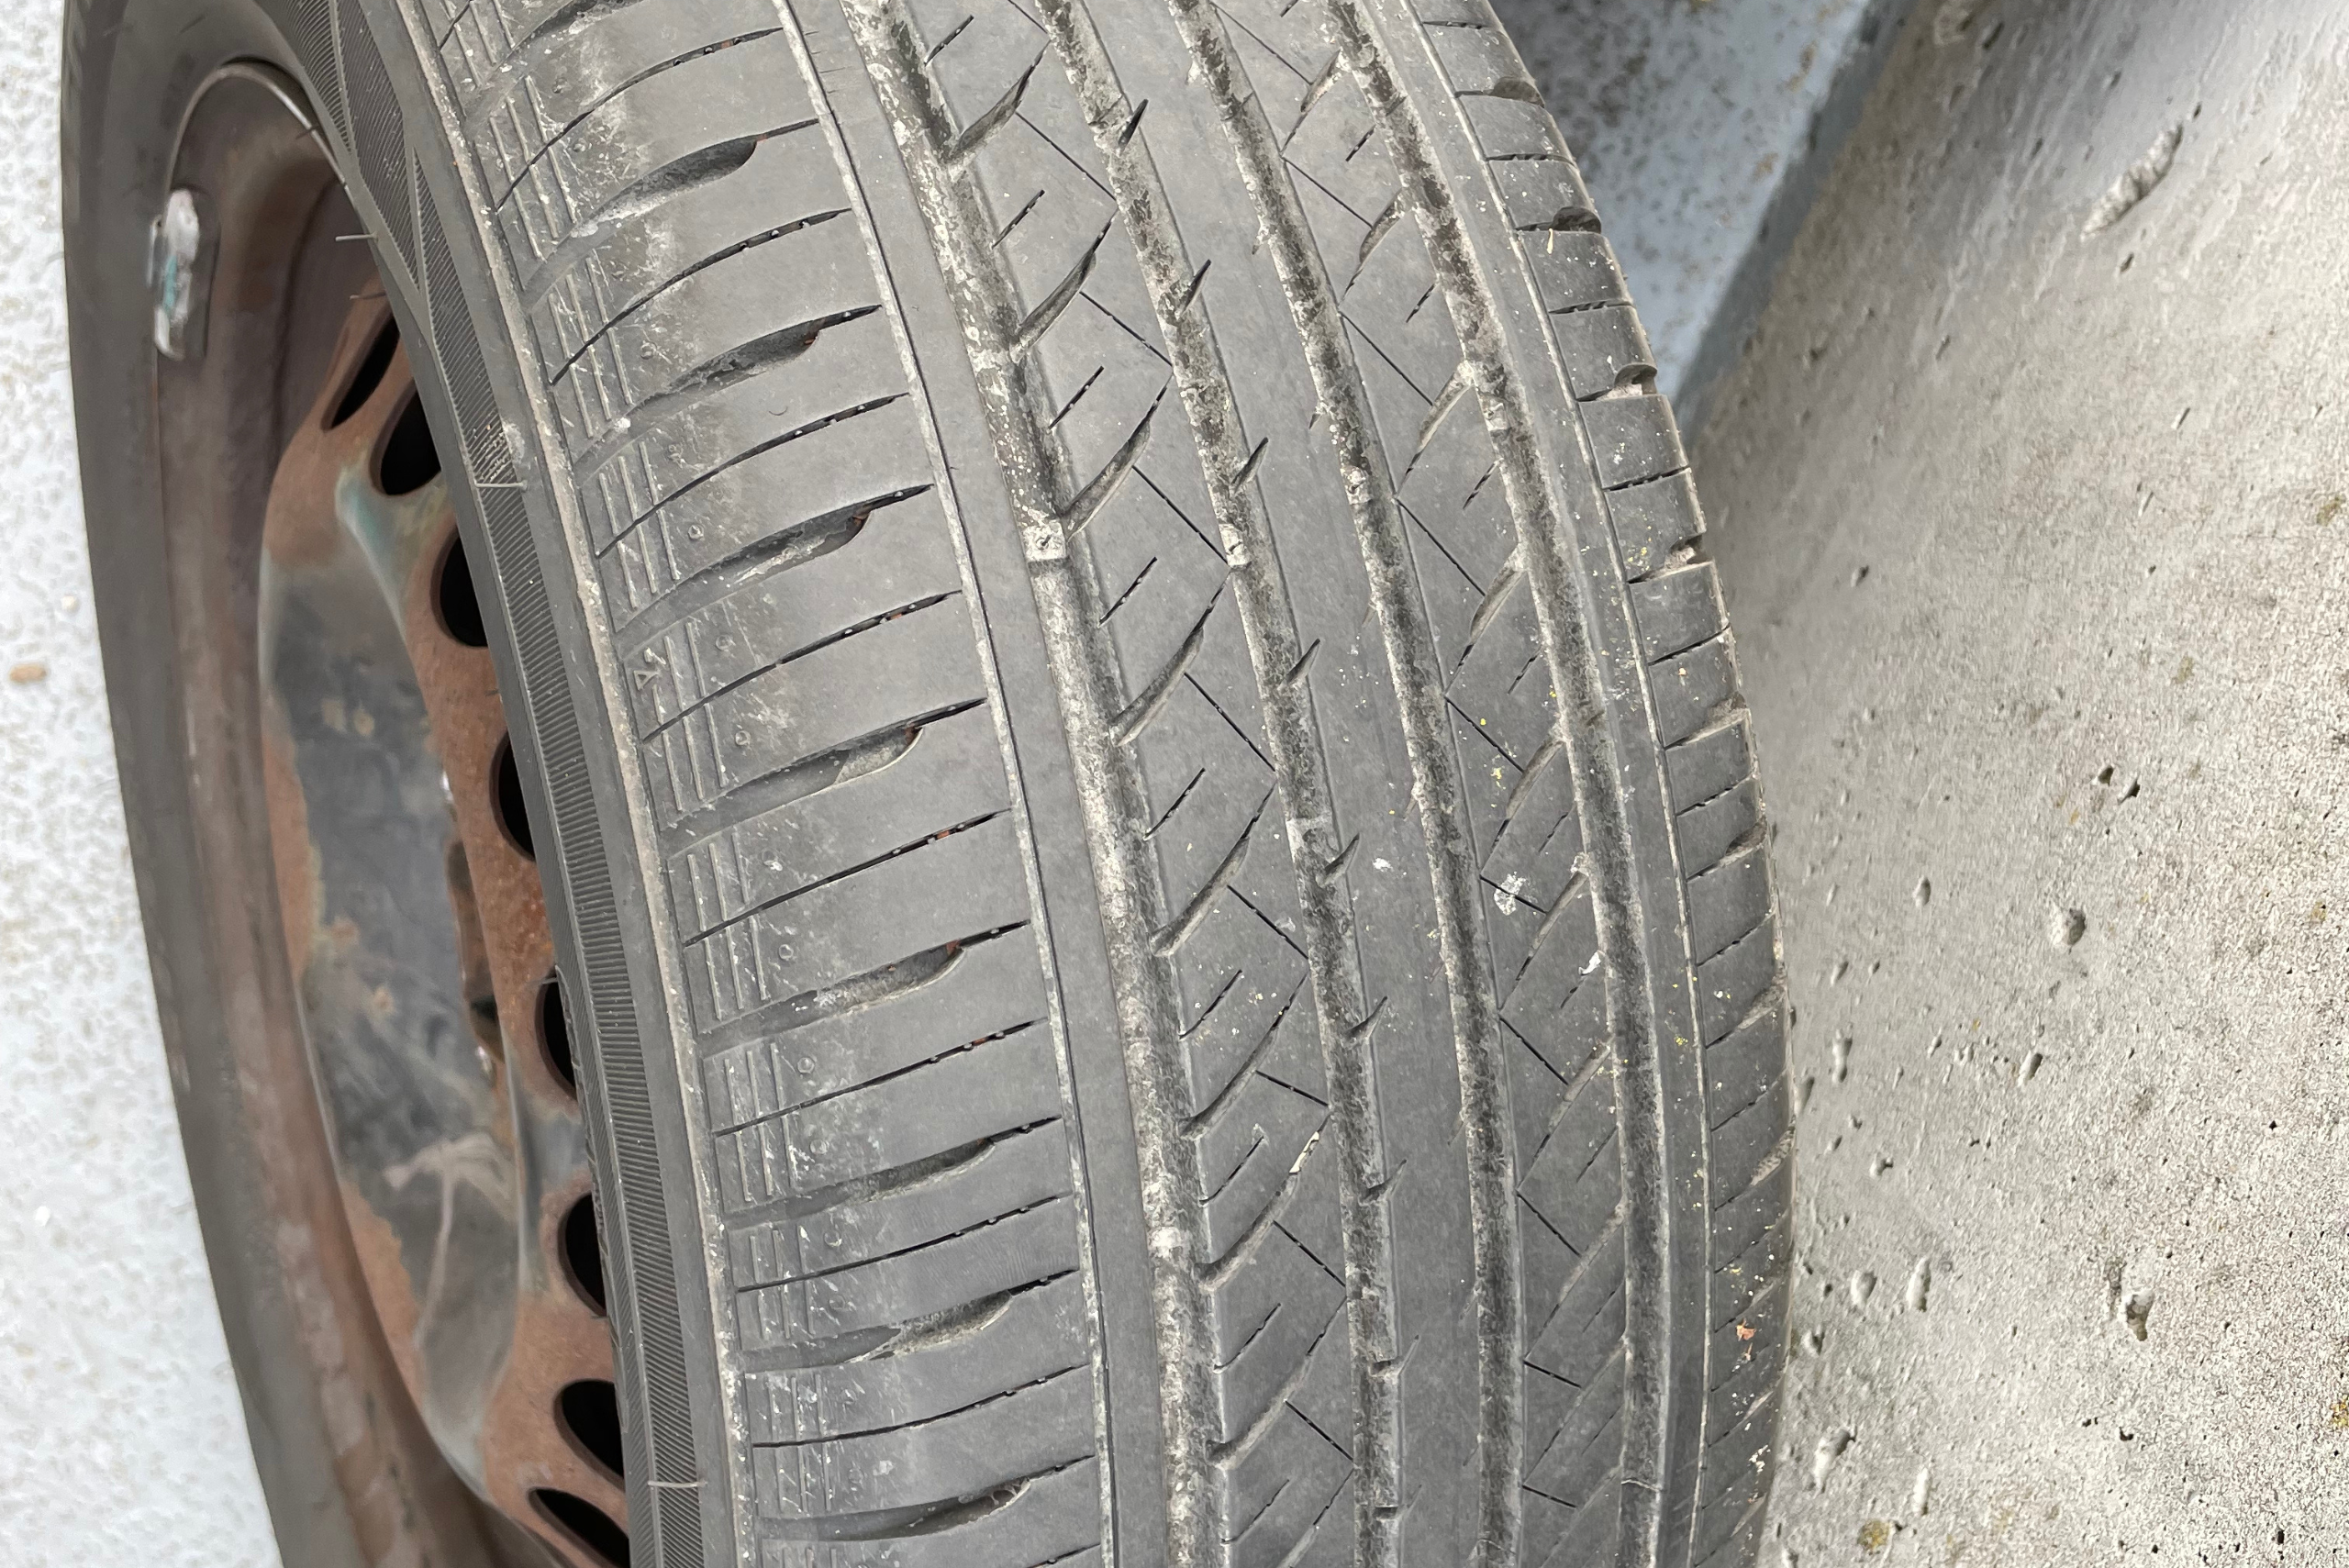
Note: Some tires are directional, which is very important; mine are not, though, so I can place them as I see fit based solely on tread depth. (Directional tires will have arrows on the sidewall, and the tread will point in the same direction, whereas you can see in the next picture that mine has arrows going both ways)
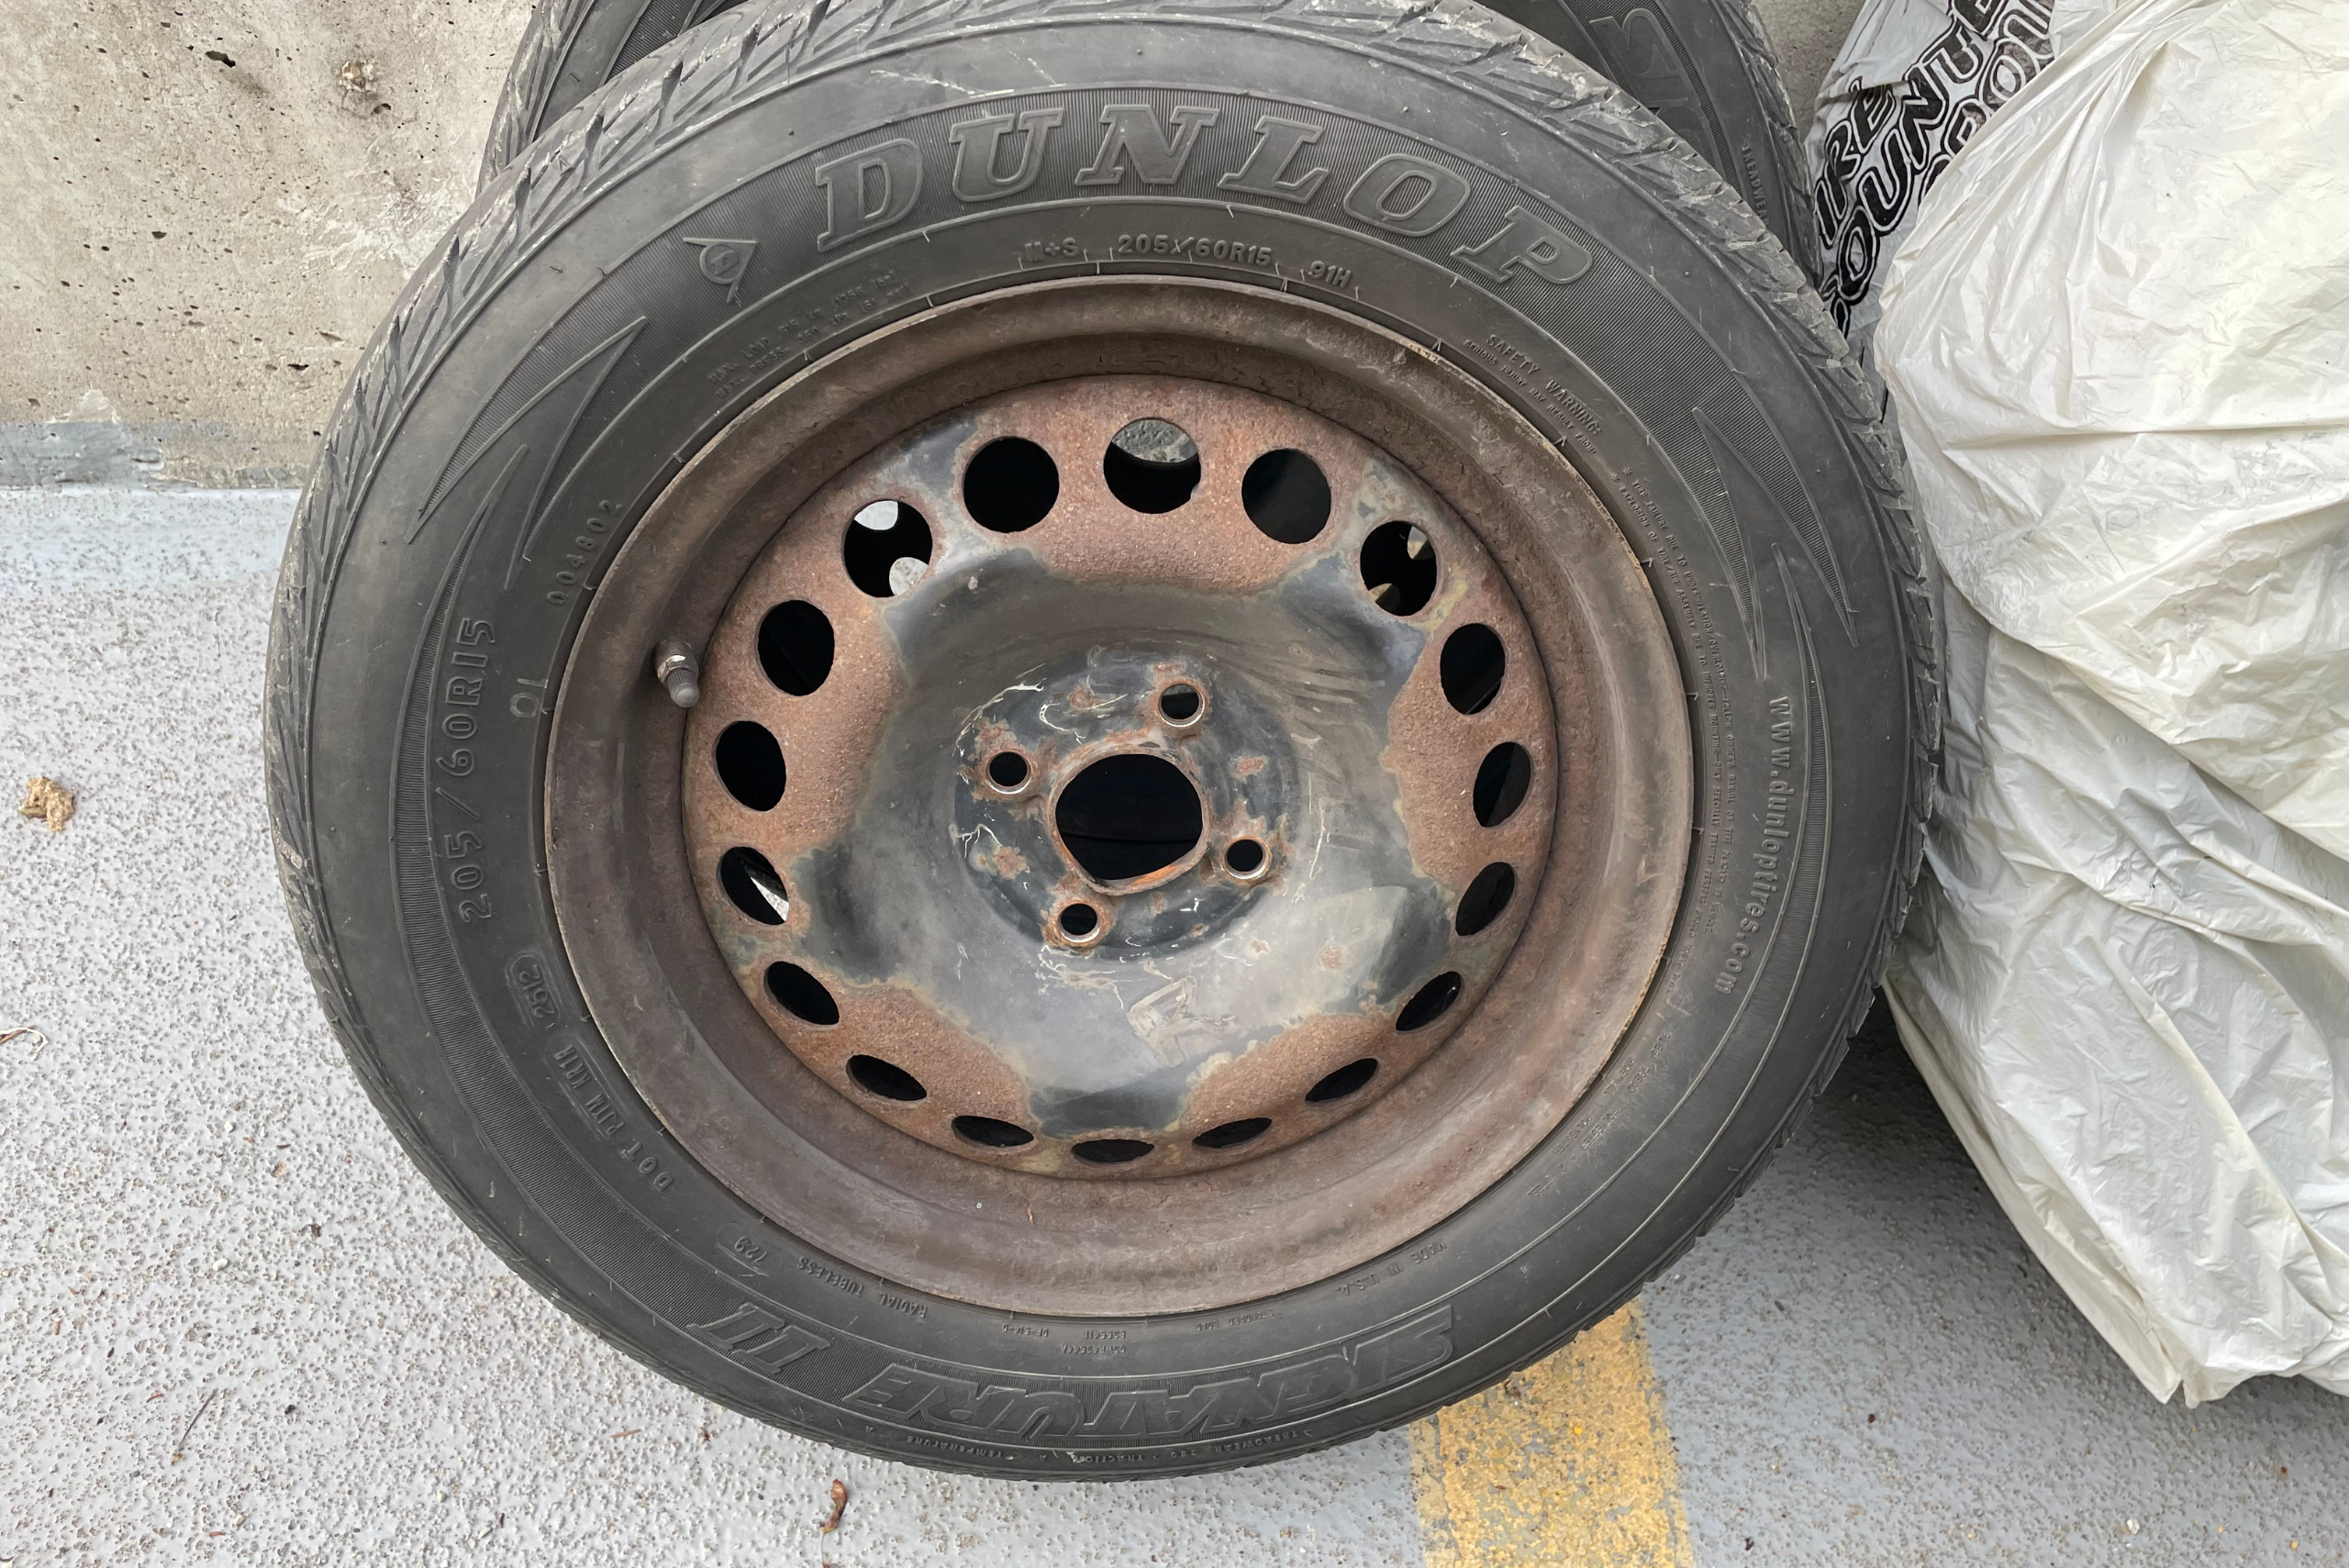
Step 4: Remove hub caps (wheel covers) if your vehicle has them.
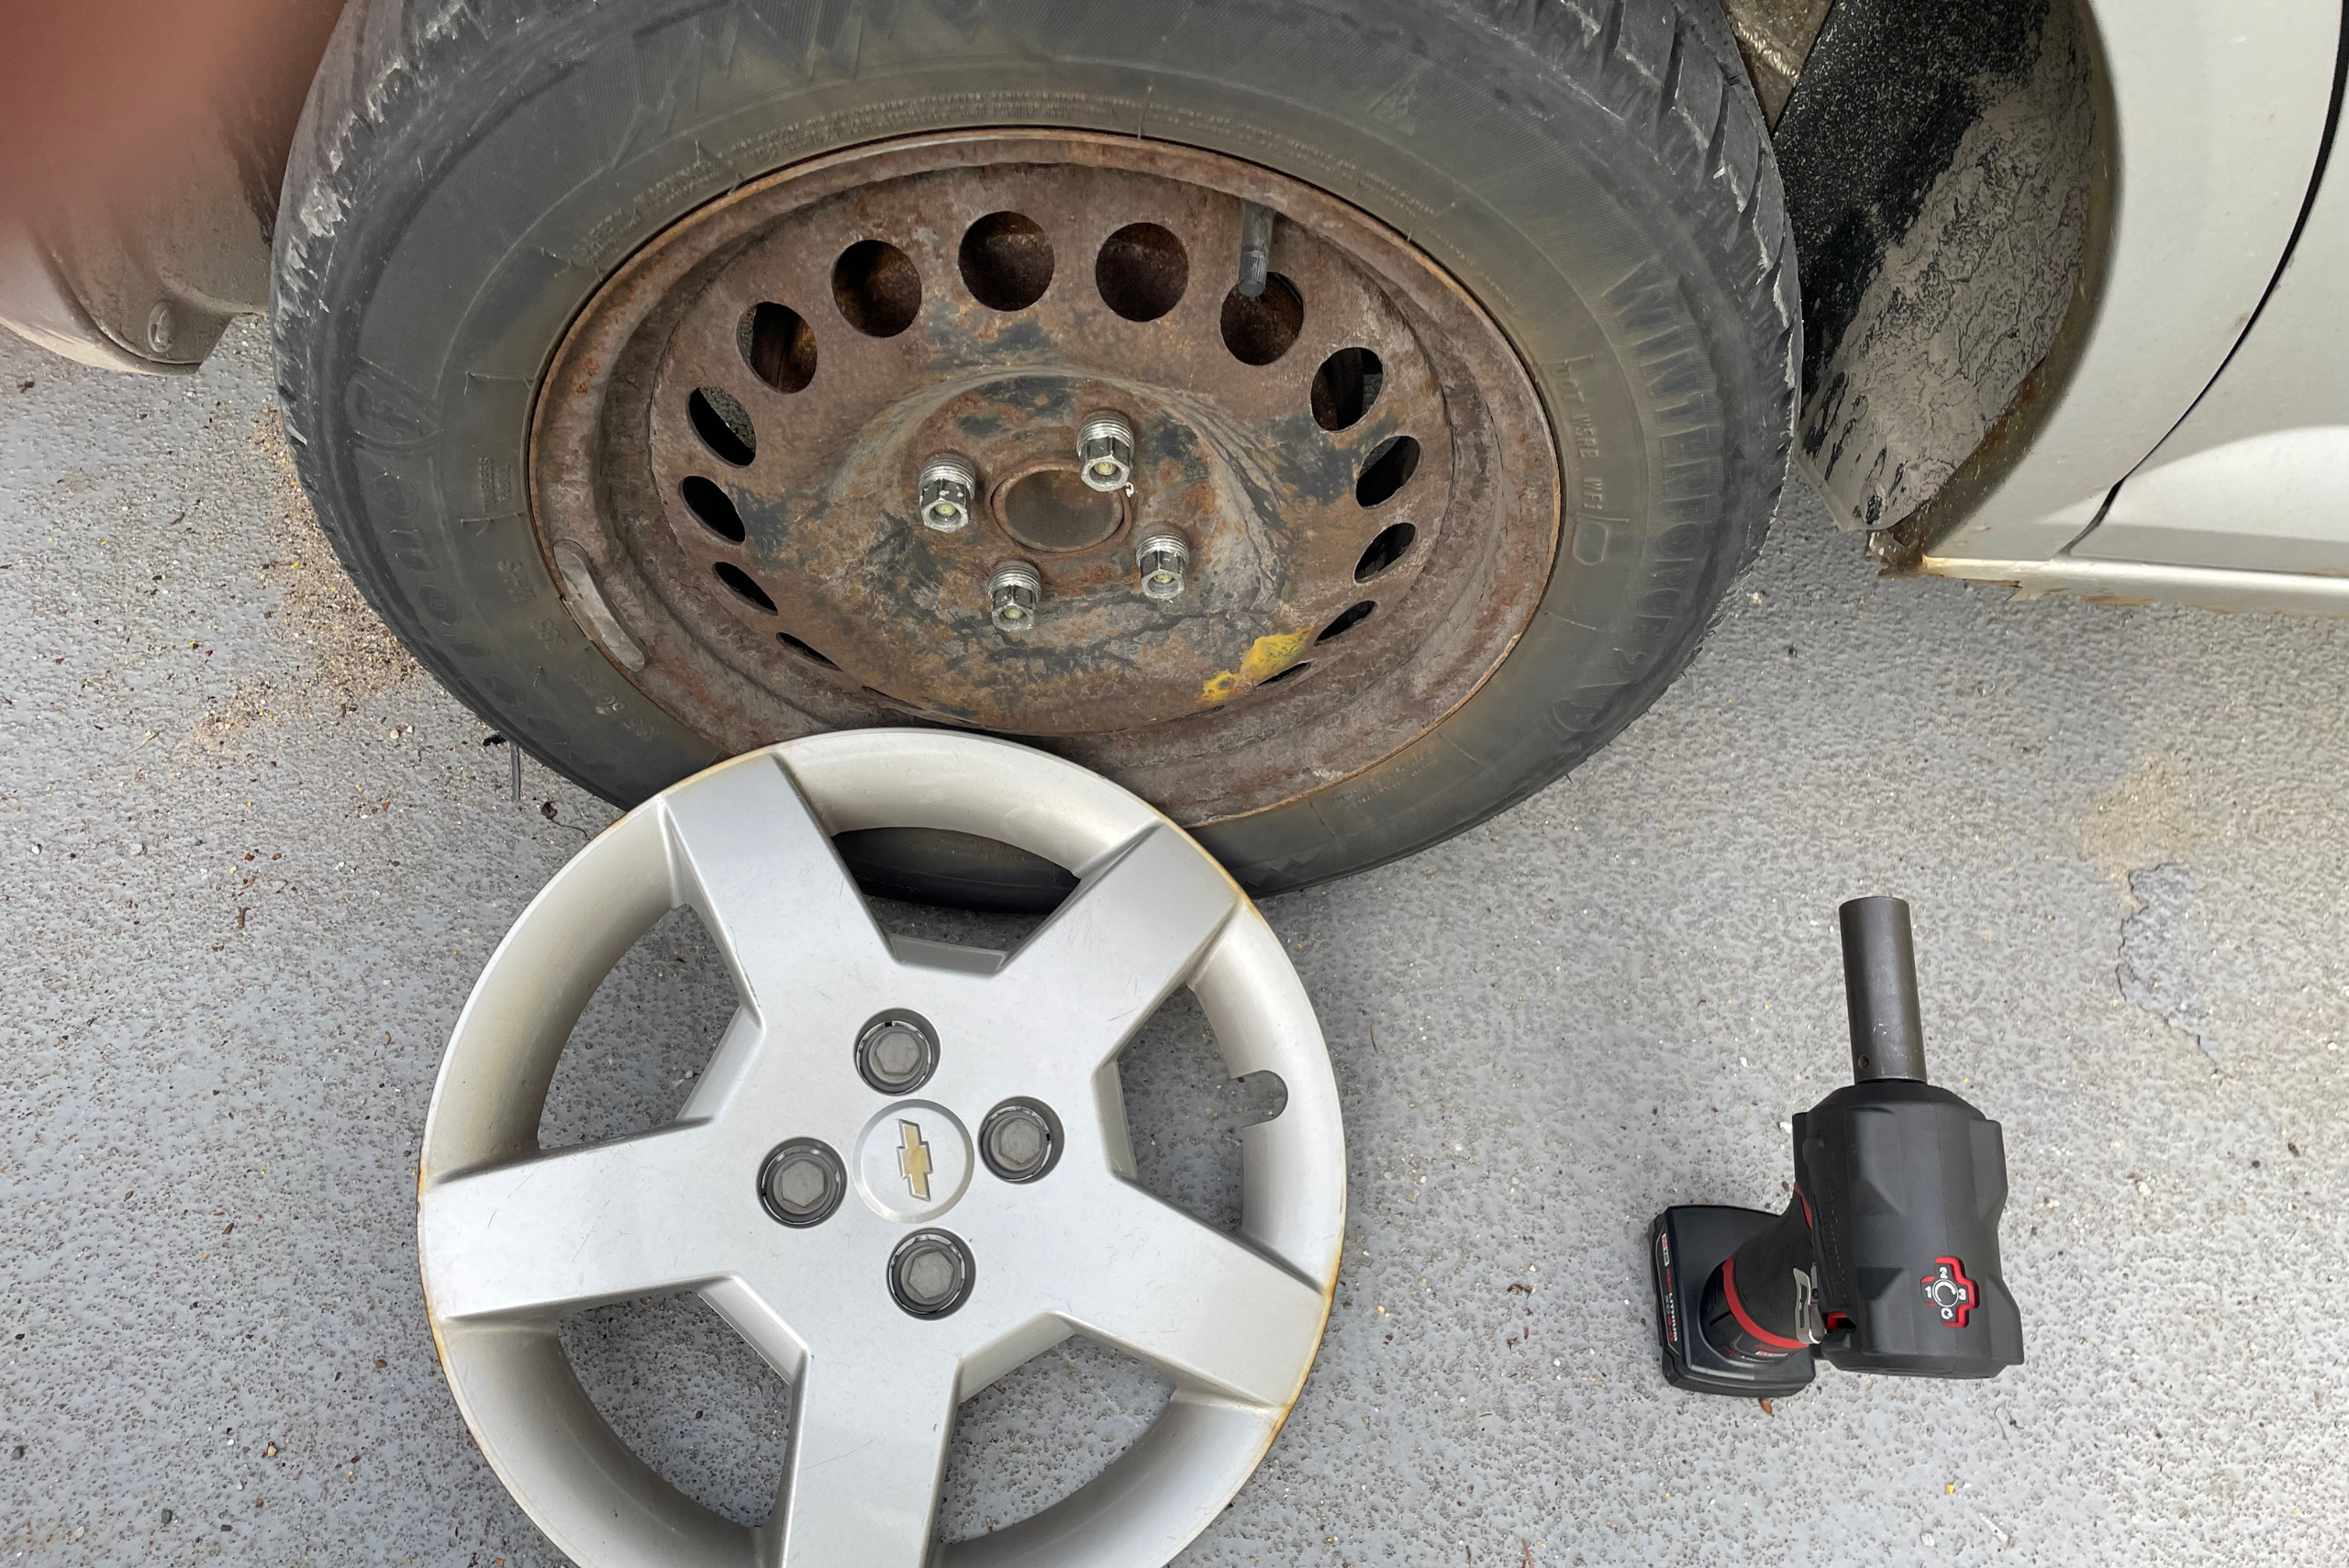
Step 5: Use your tire iron (or breaker bar) to loosen the lug nuts before lifting the vehicle up. (Now is a good time to apply the parking brake/emergency brake if you haven’t already done so.)
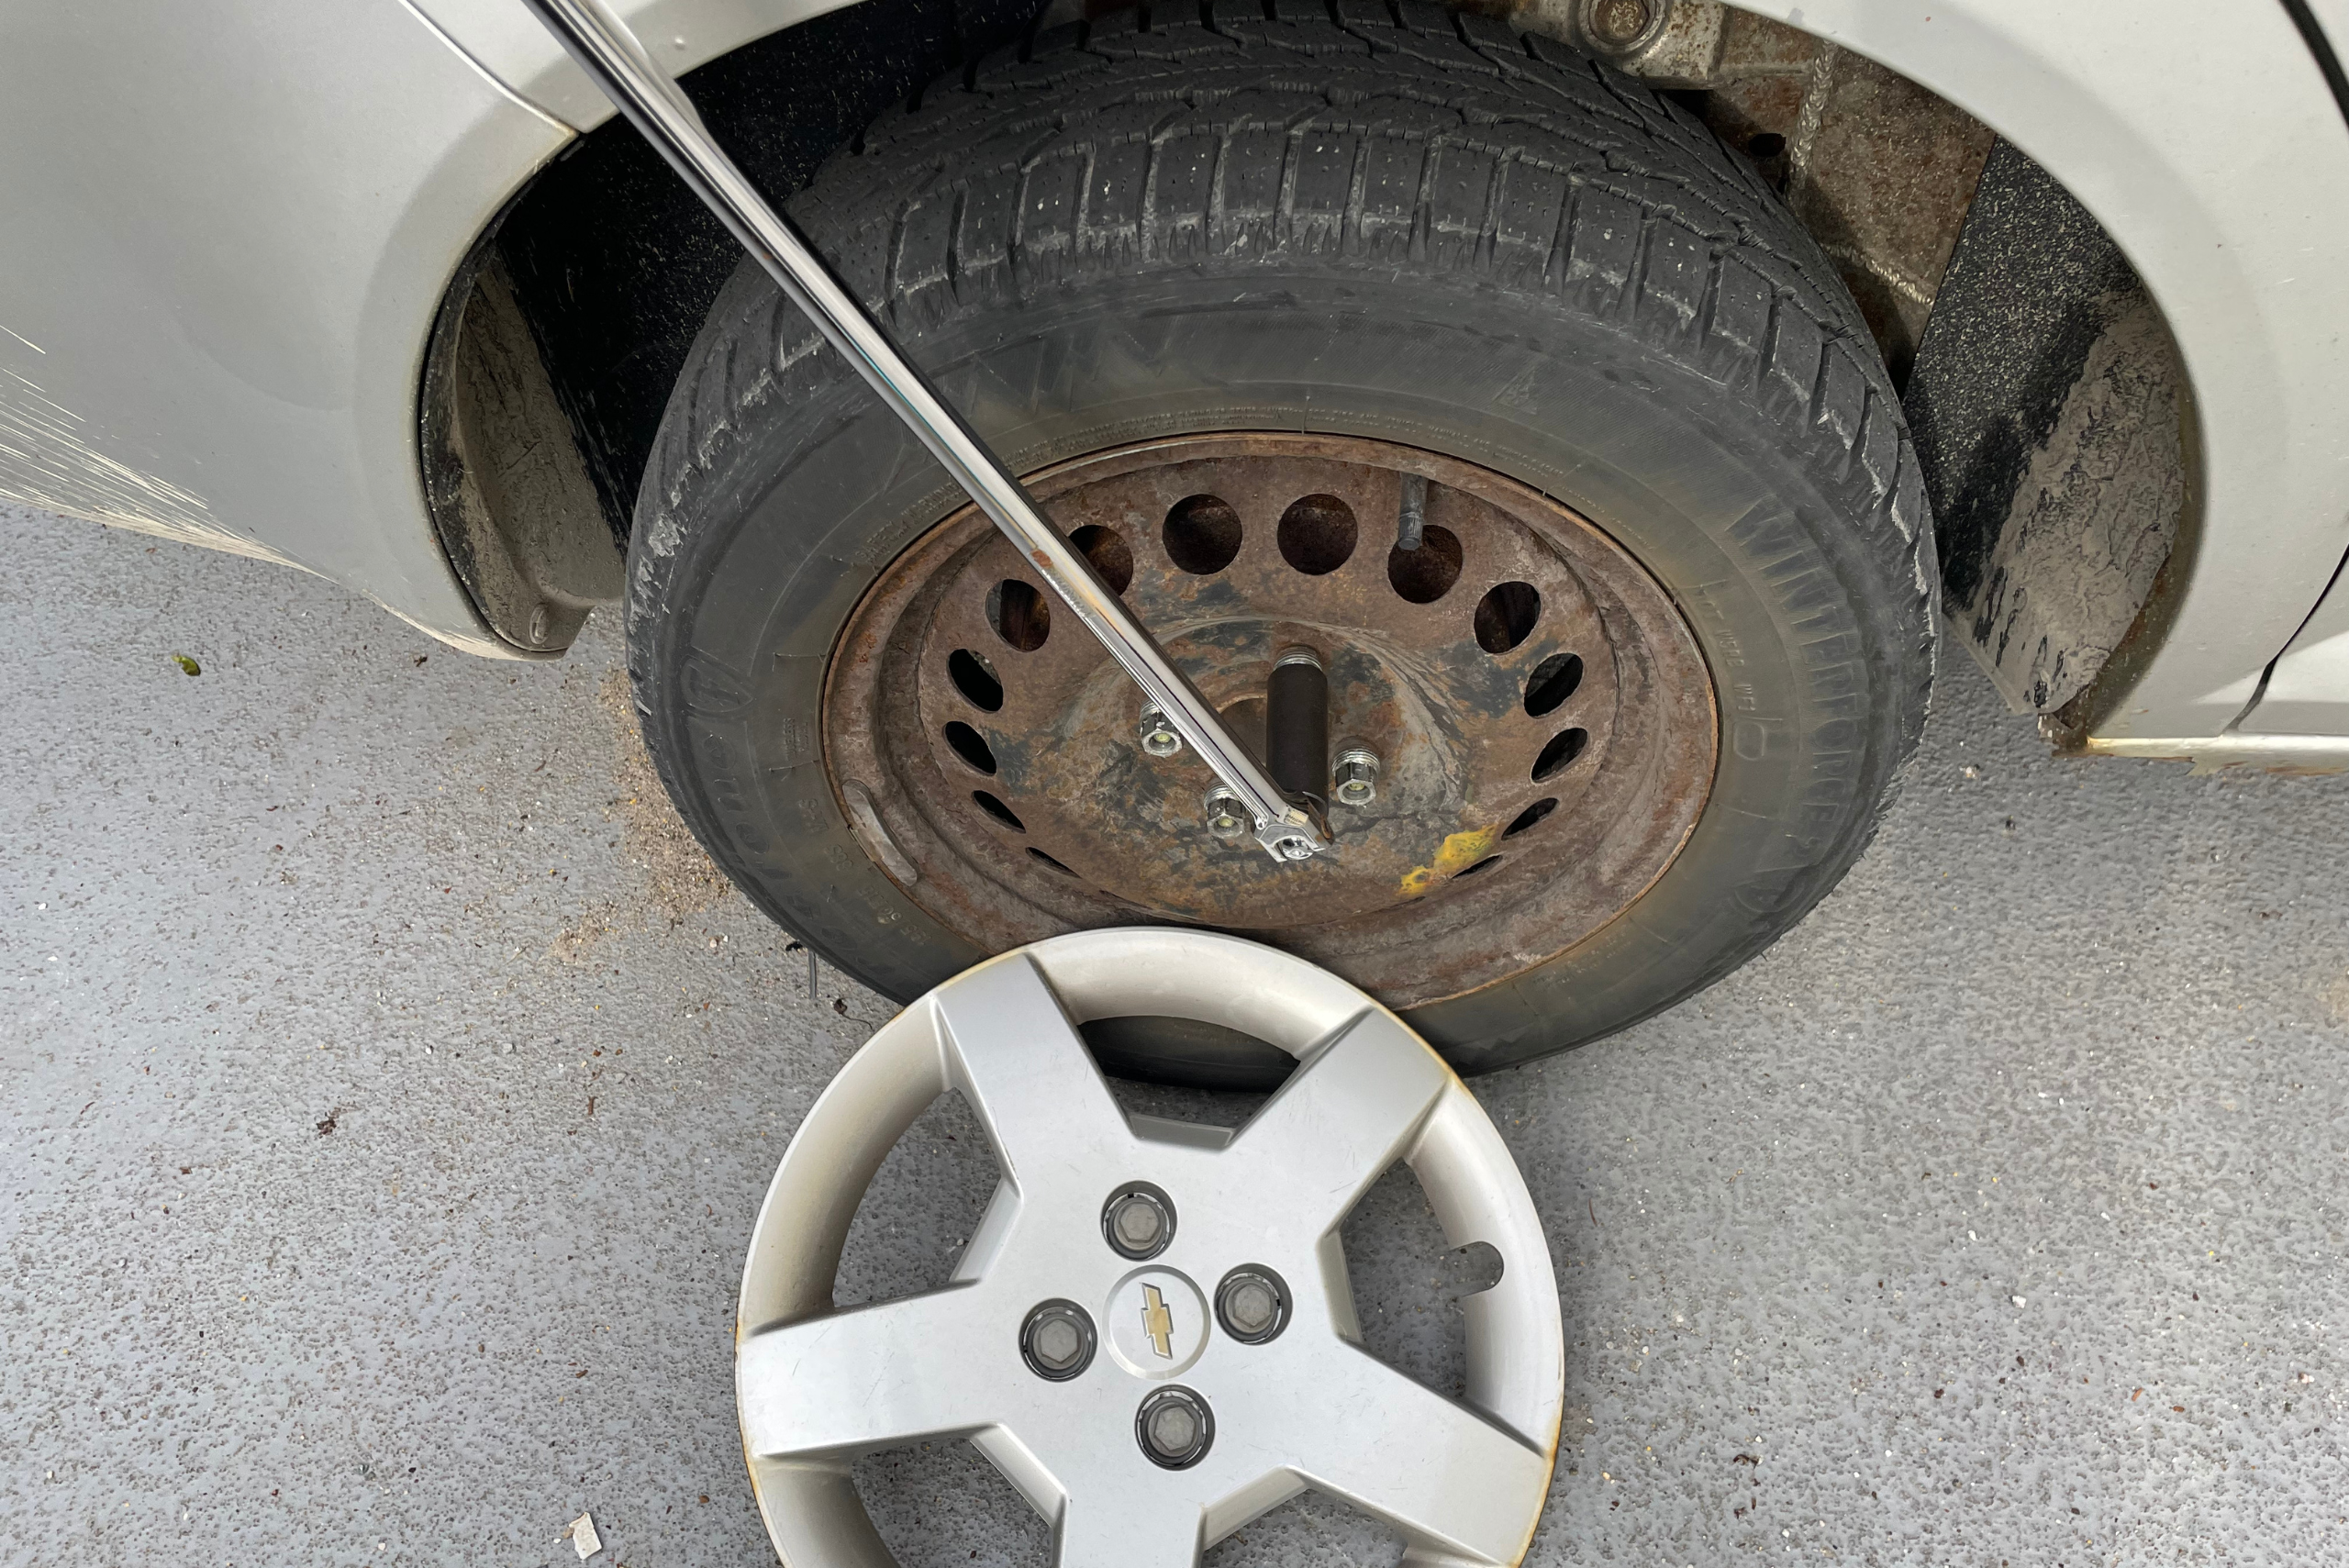
Step 6: Get your scissor jack, which usually comes with the vehicle (or floor jack), and raise it to a height slightly lower than the frame.
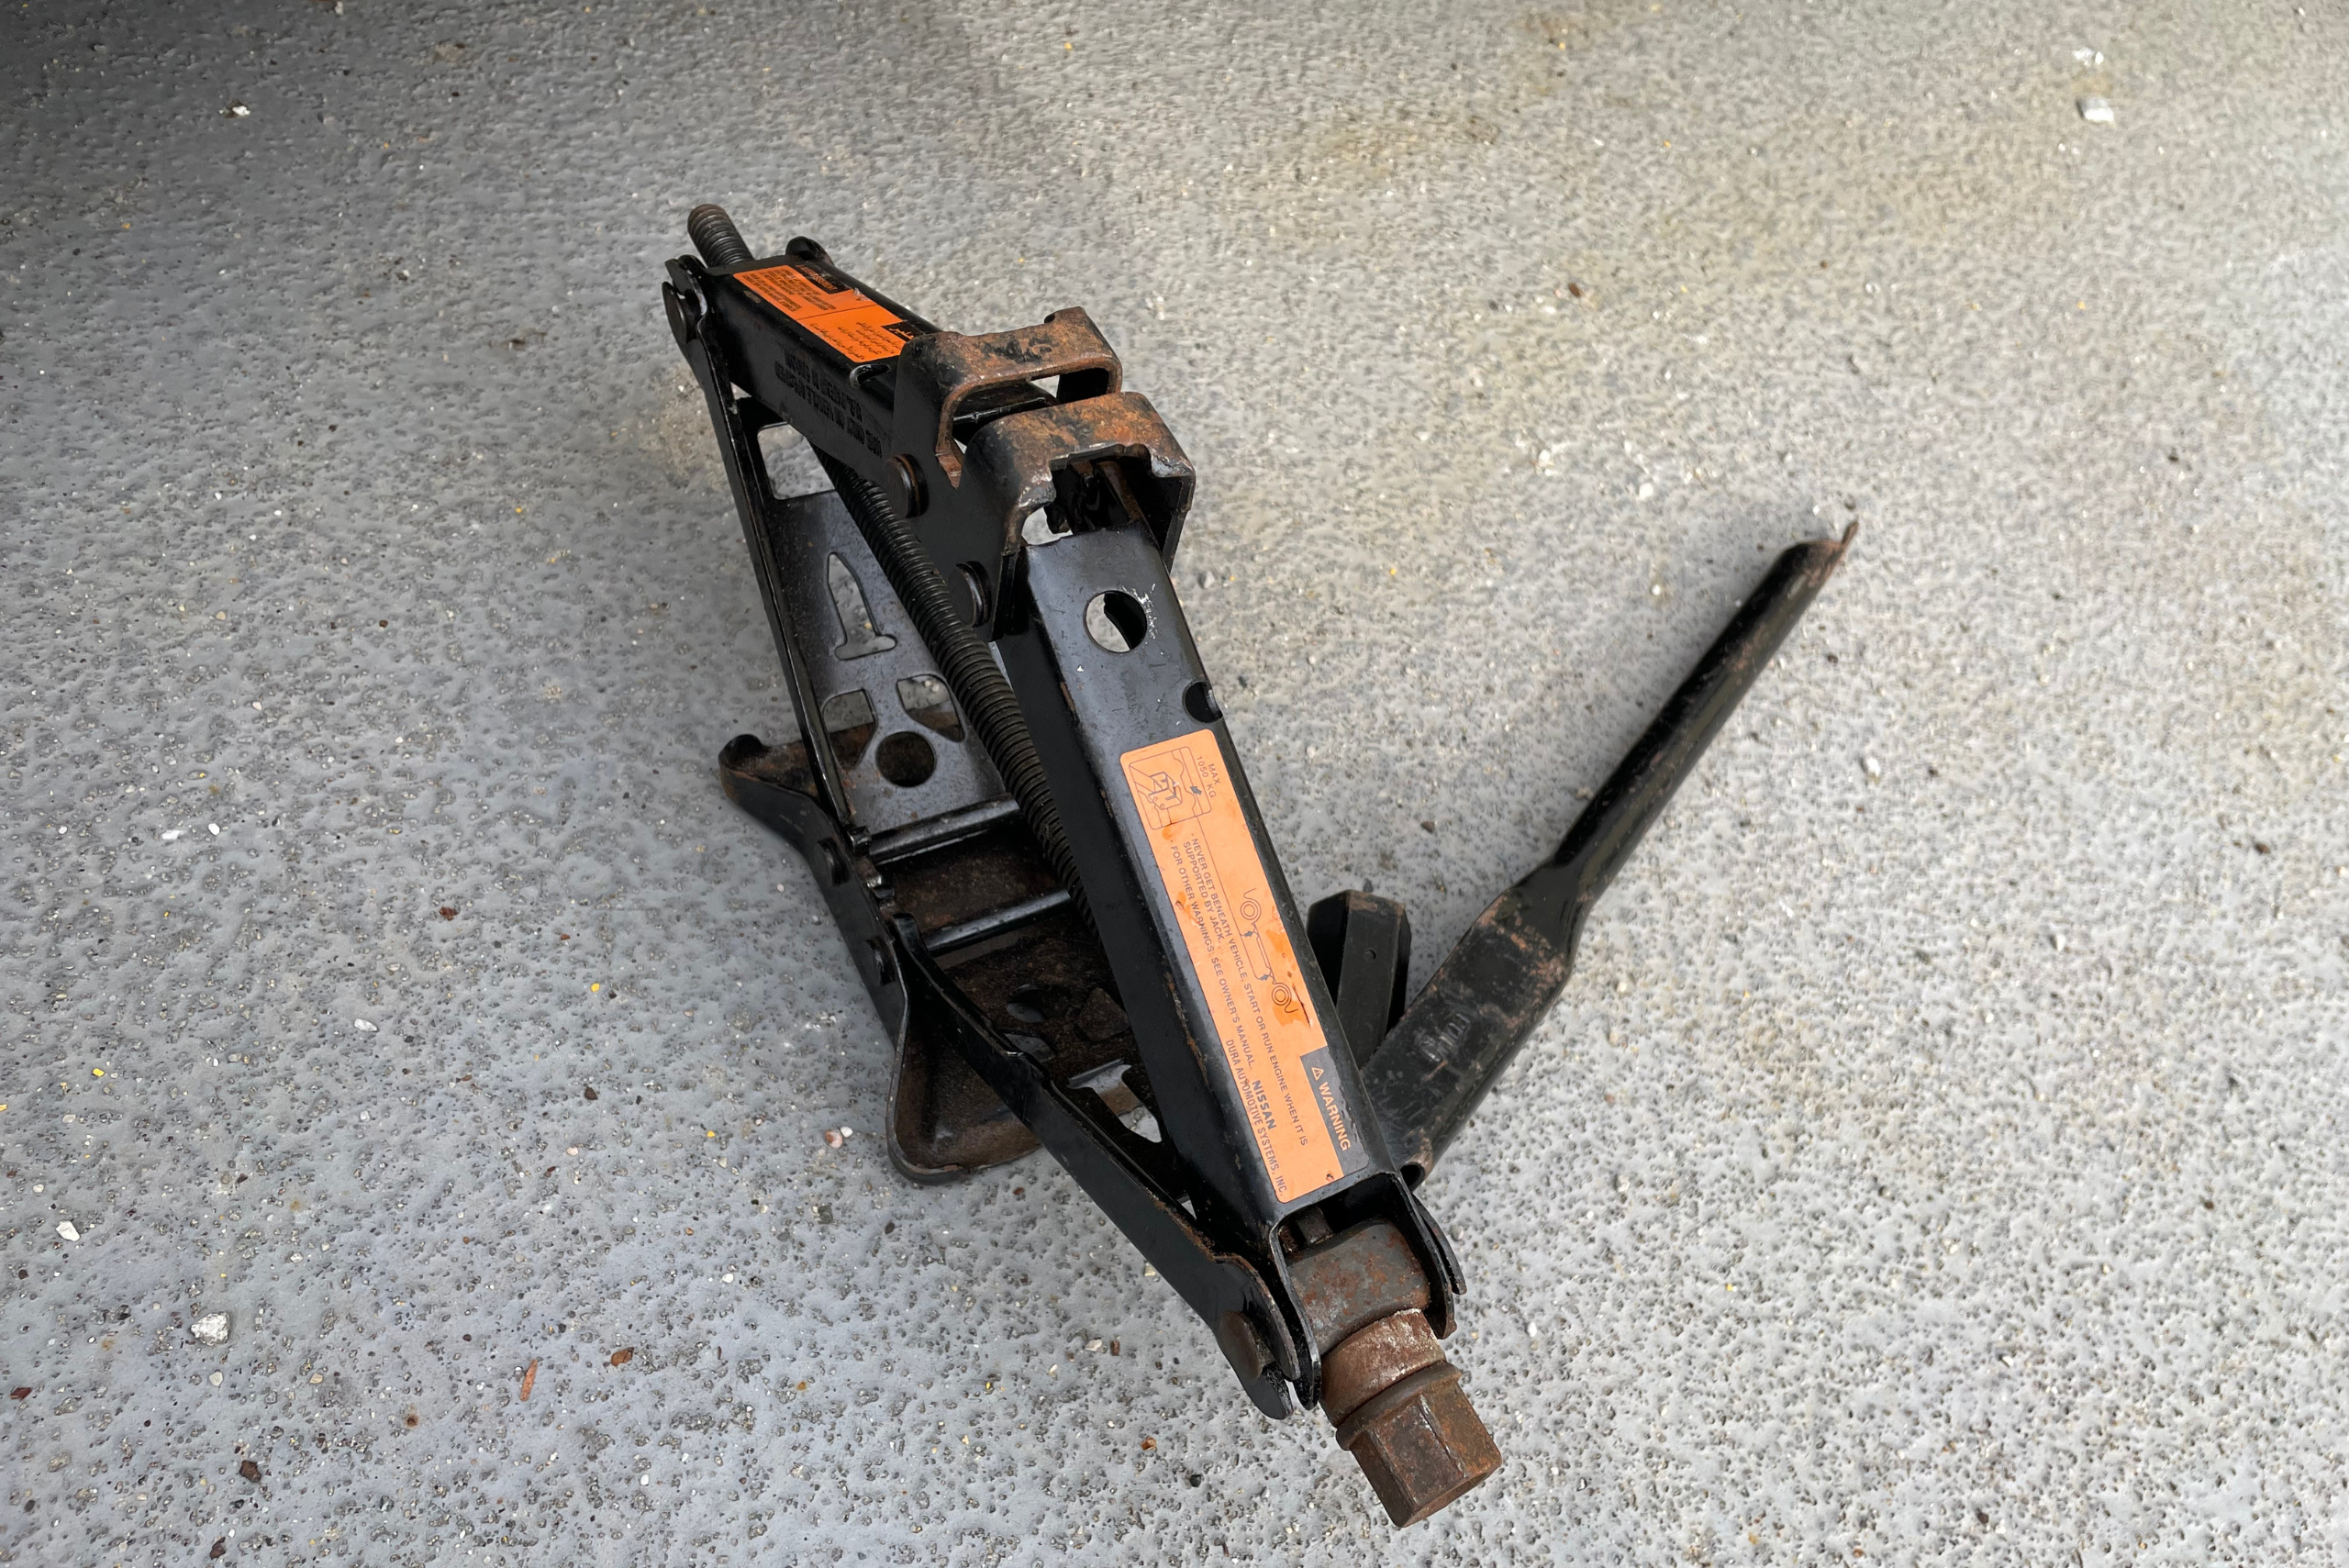
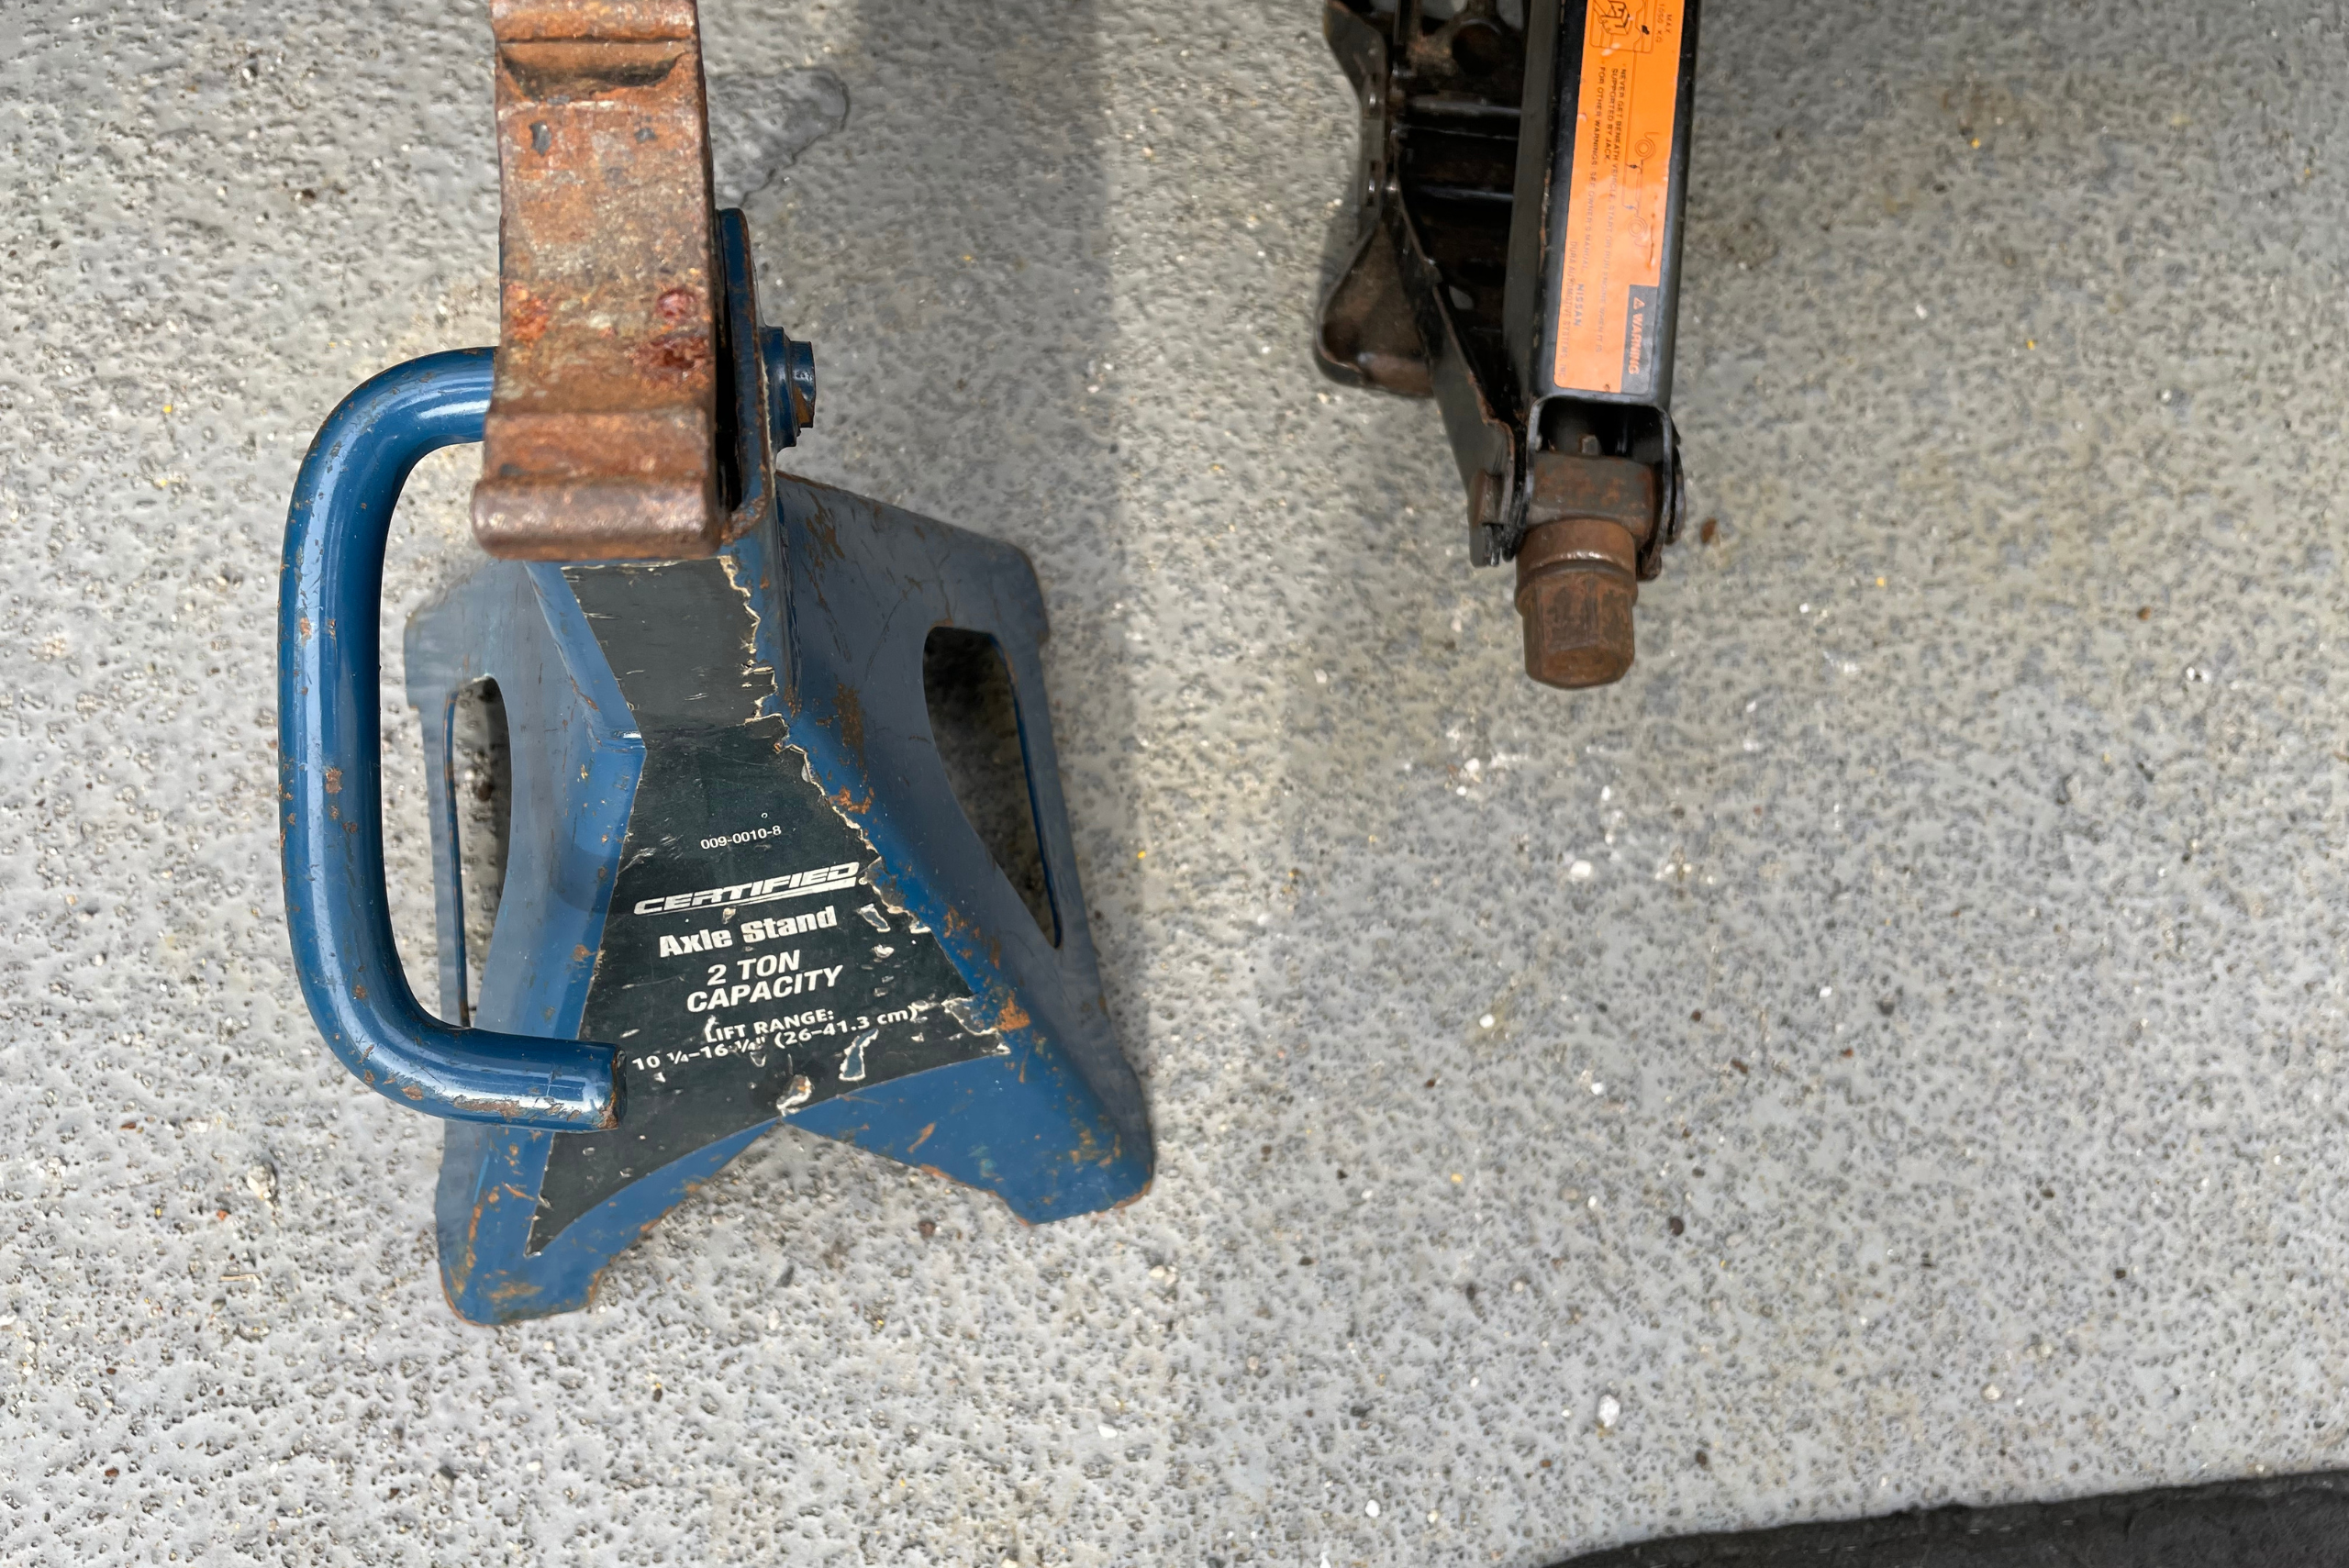
Step 7: Place it on a secure part of your vehicle’s frame slowly lift the vehicle up until the wheel is suspended in the air, and grab a jack stand to place the vehicle onto once high enough up.
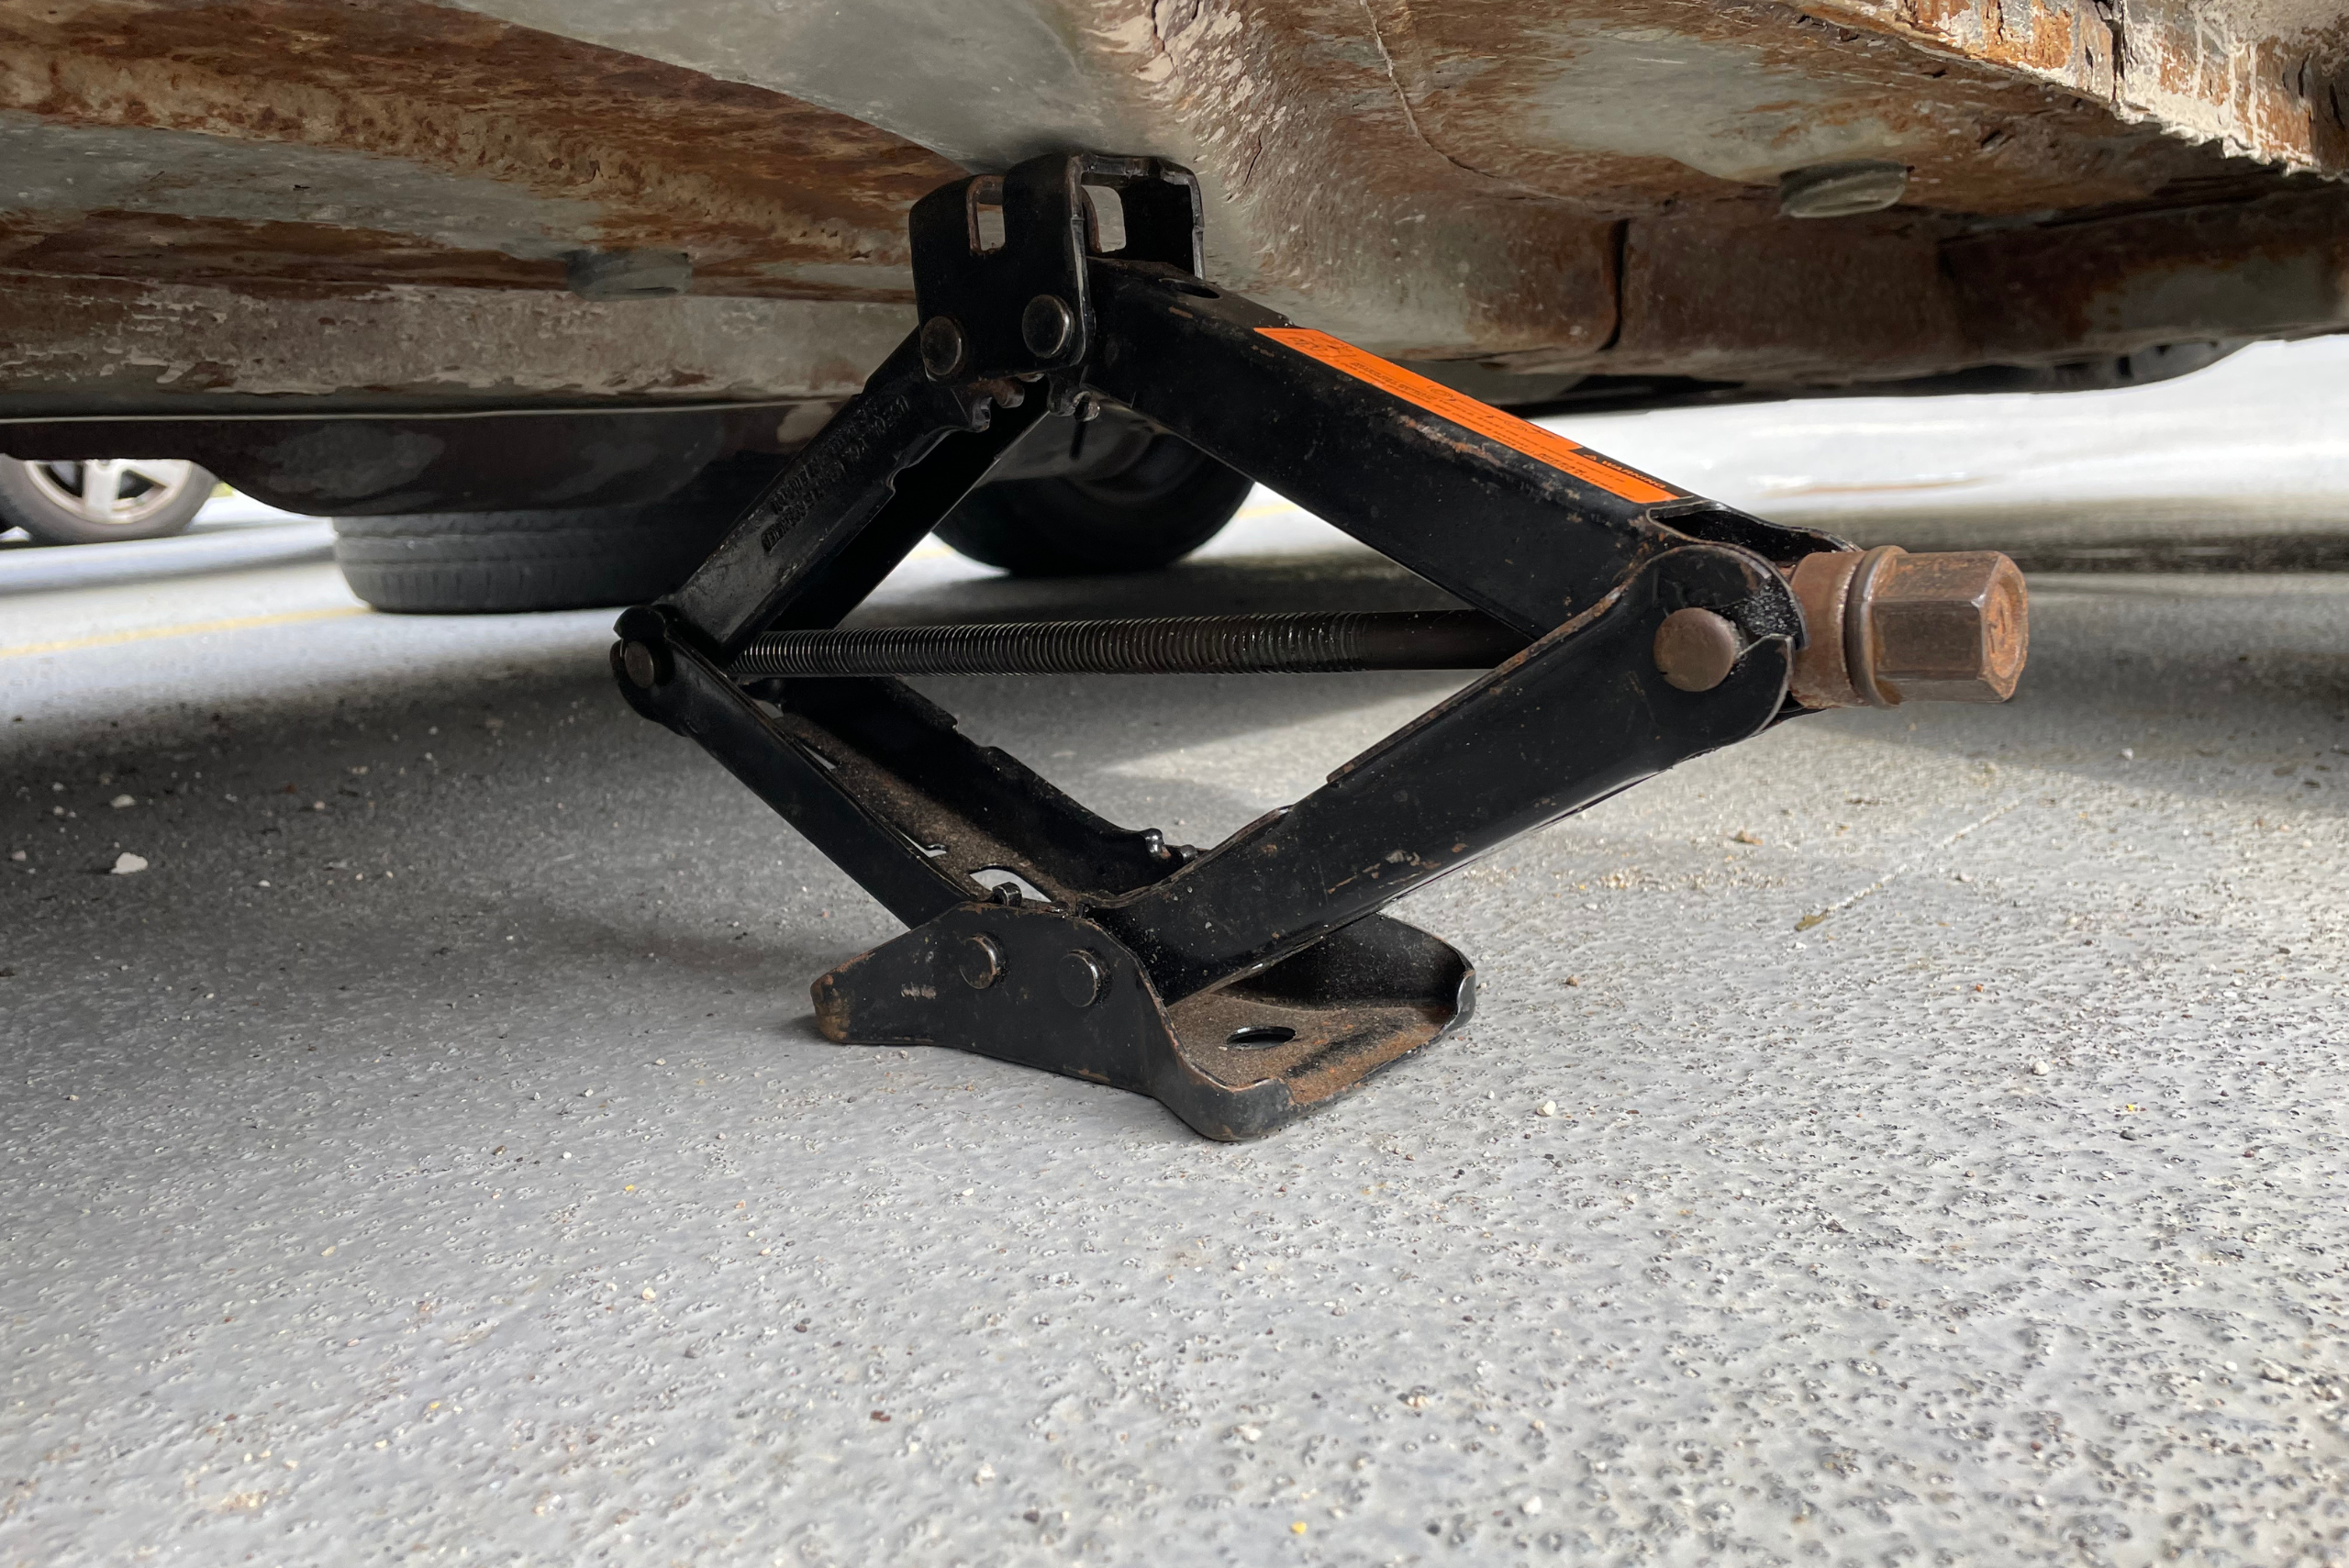
Step 8: Slide the jack stand onto the frame and lower the vehicle onto it to secure the vehicle; maybe also give the car a slight nudge to make sure it doesn’t move at all.
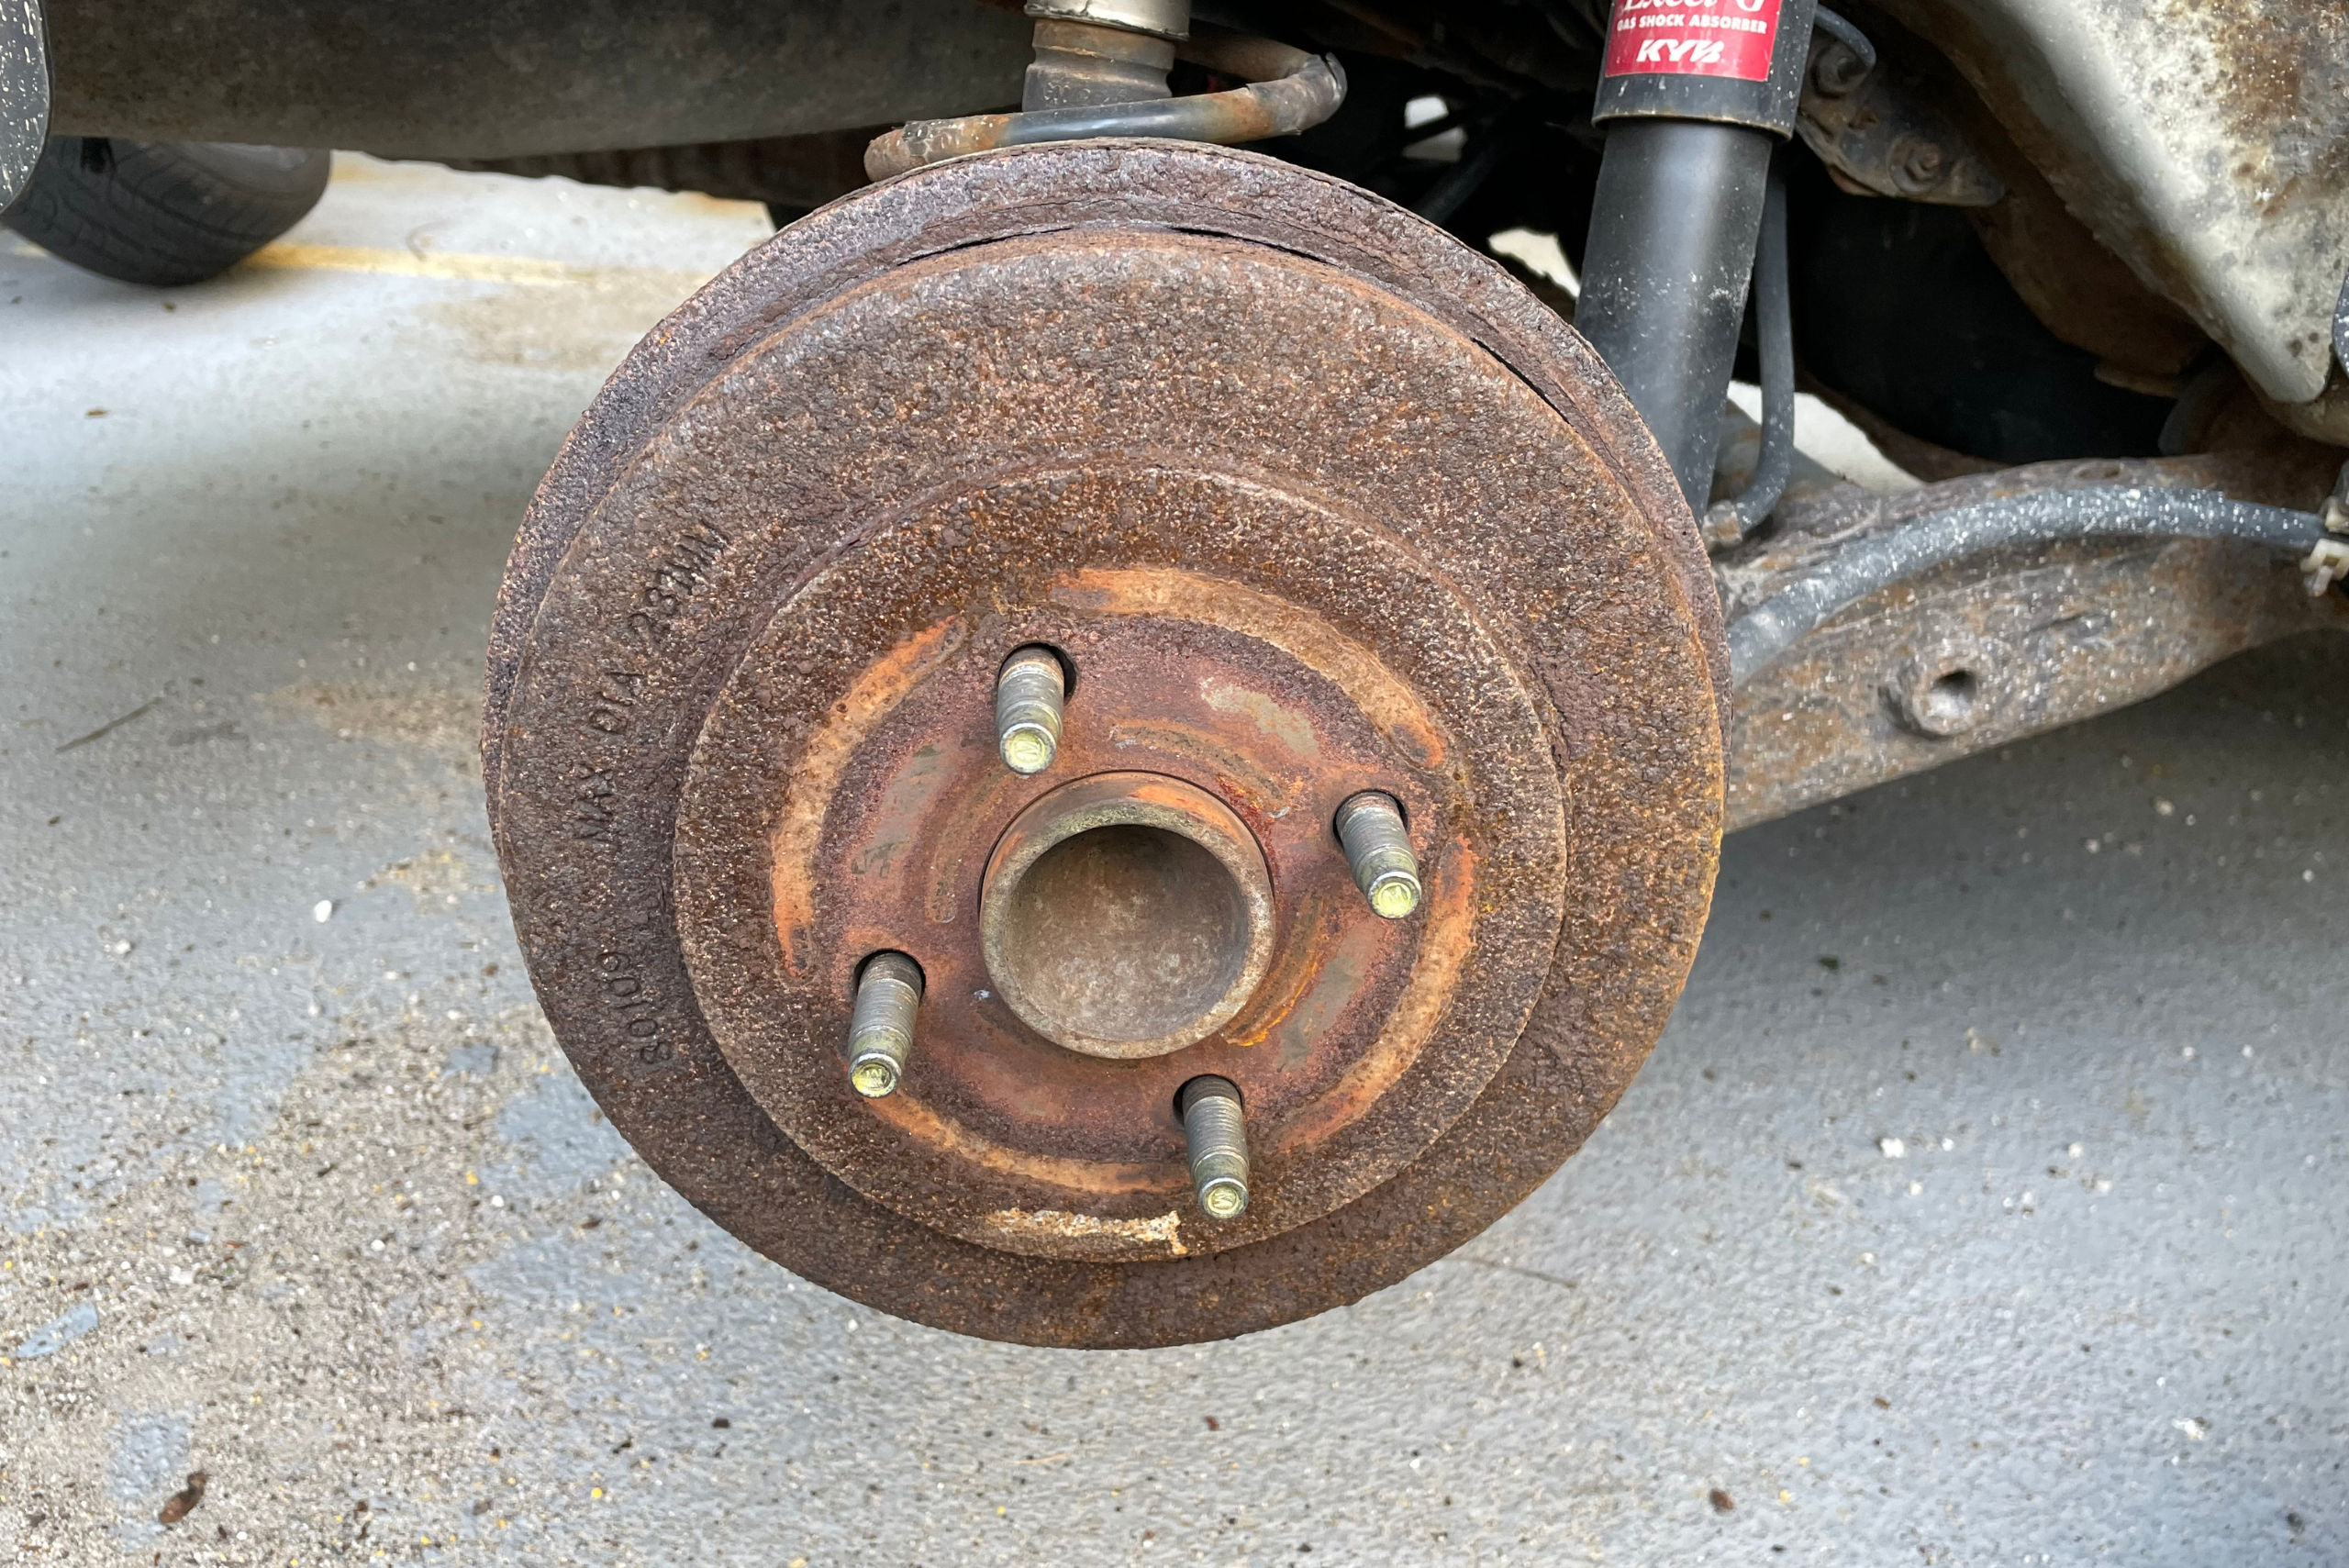
Step 9: Remove the lug nuts and, using both hands, pull off the wheel.
Step 10: Now, all you need to do is the reverse, then do the other 3 corners, and you are off to the races!
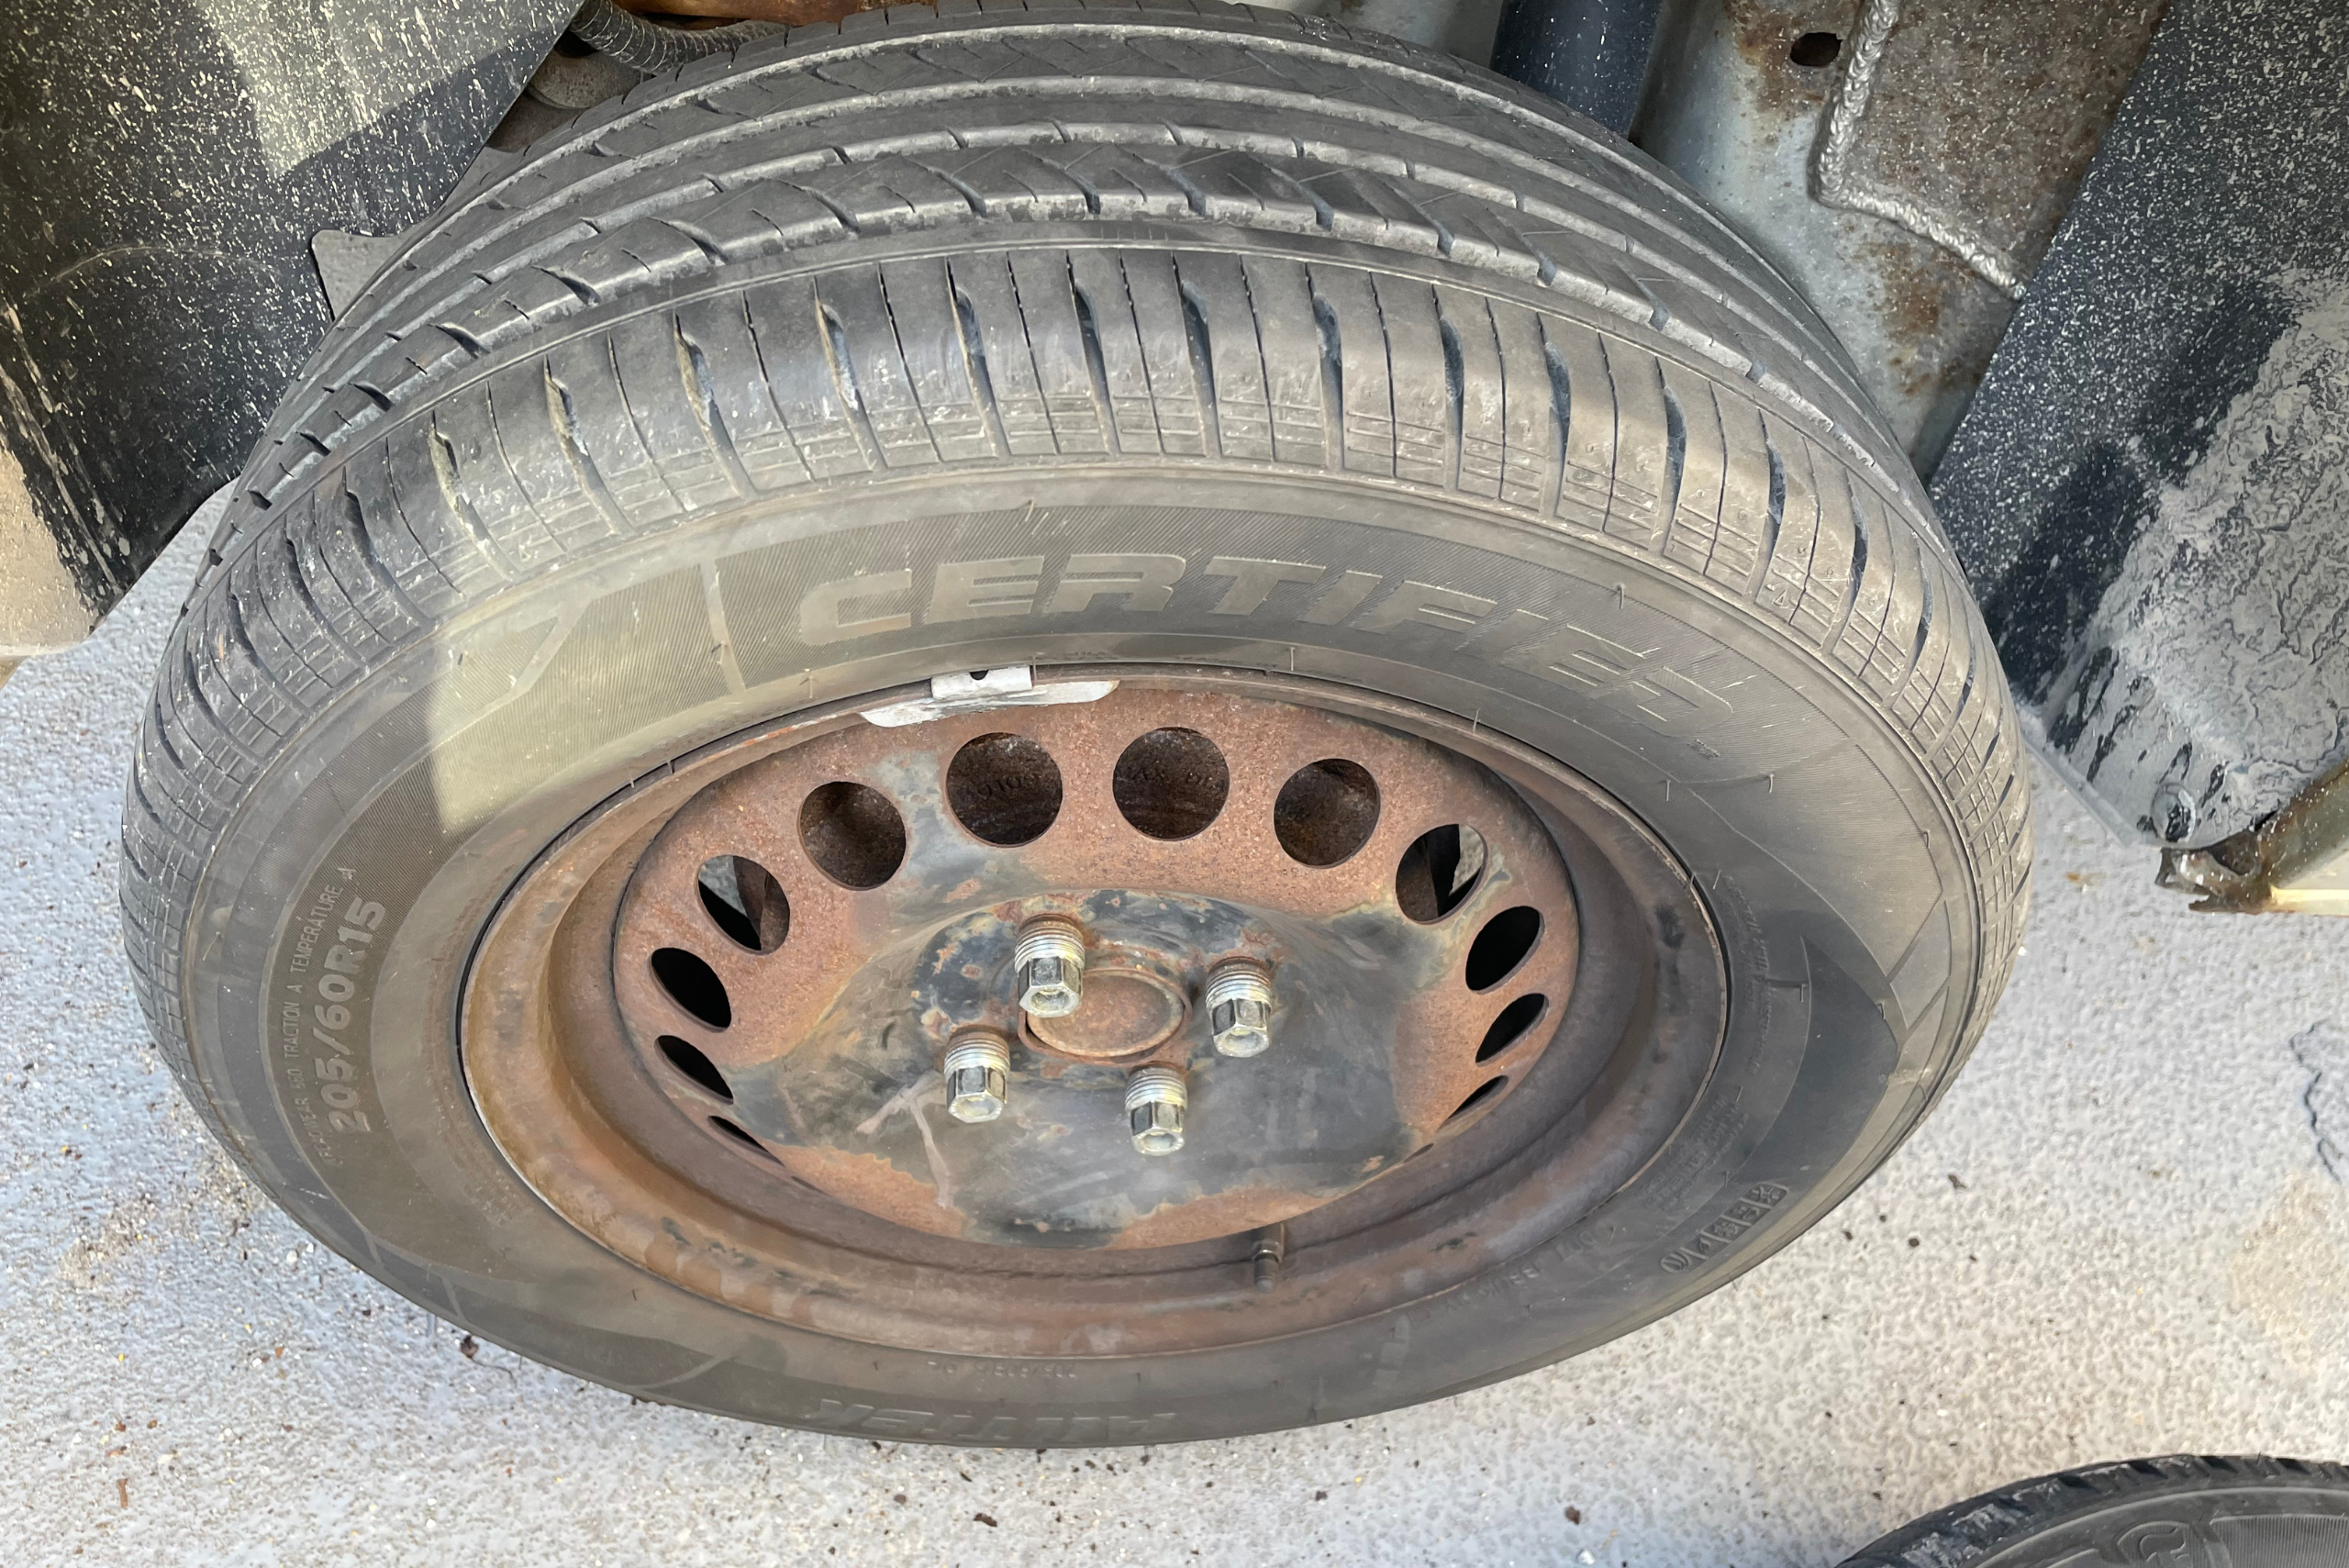
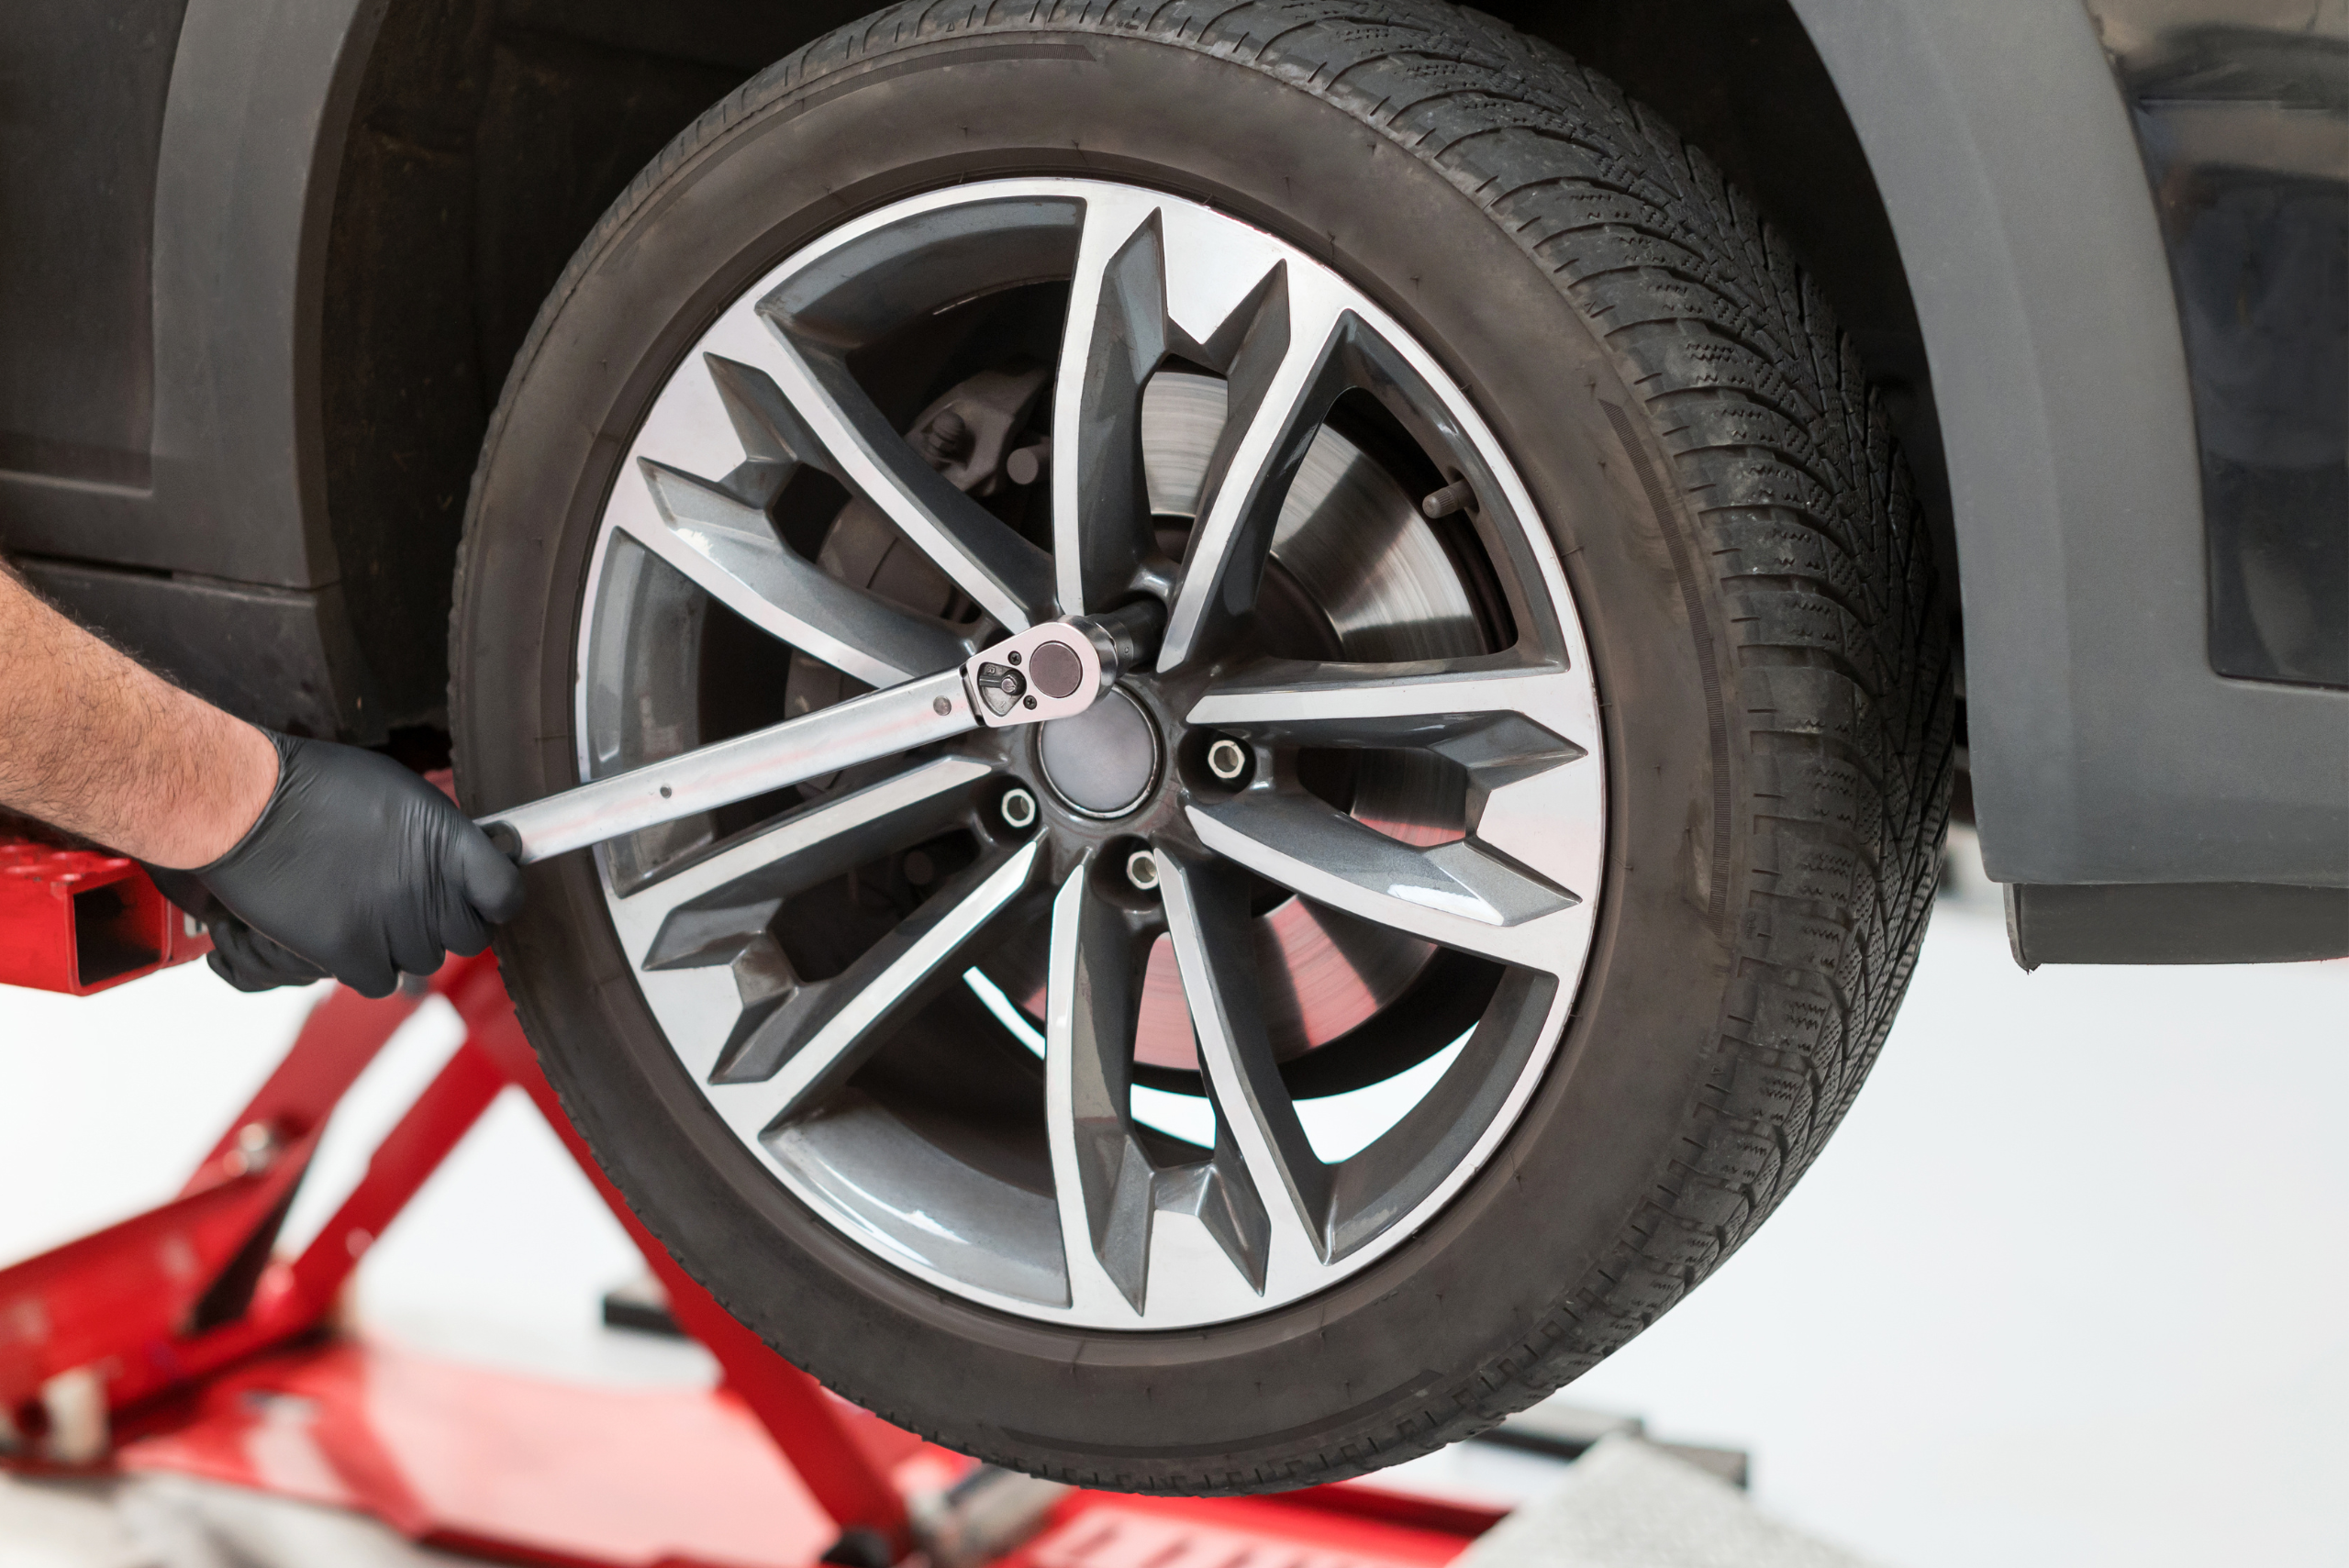
Pro Tip: Don’t forget to torque your wheels to the specifications listed by the manufacturer of your vehicle; every car model is different.
Common Mistakes and What to Look Out For During Tire Changes
Using your tools the right way will limit issues when changing tires, so if you are going to use a breaker bar and a socket, be careful to avoid hurting yourself. You should always use your knees, never your back, when lifting or tightening your wheels.
Another thing to avoid is placing directional tires backward, which will affect traction and handling. You can view the tread of the tire and it’s even printed on the side of the direction of rotation, but sometimes your tires can be multi-directional.
Additionally, you shouldn’t try to lift your vehicle improperly and pay close attention to the condition of your lifting spot. Rusty vehicles tend to have compromised pinch welds, making it safest to lift the vehicle from the structural frame.
Also, you will want to lift one wheel at a time and place your jackstands before working on the vehicle. Lastly, you will want to use the right socket for your vehicle’s lug nuts to avoid rounding fasteners and don’t tighten the lug nuts beyond their specified torque rating.
Inspect Your Brakes When Swapping Tires
When swapping your tires around, you should give your vehicle’s suspension, brakes, and other components a quick inspection. You will likely find that your vehicle’s brake pads might be low, or you might even catch an active oil leak that you never knew existed.
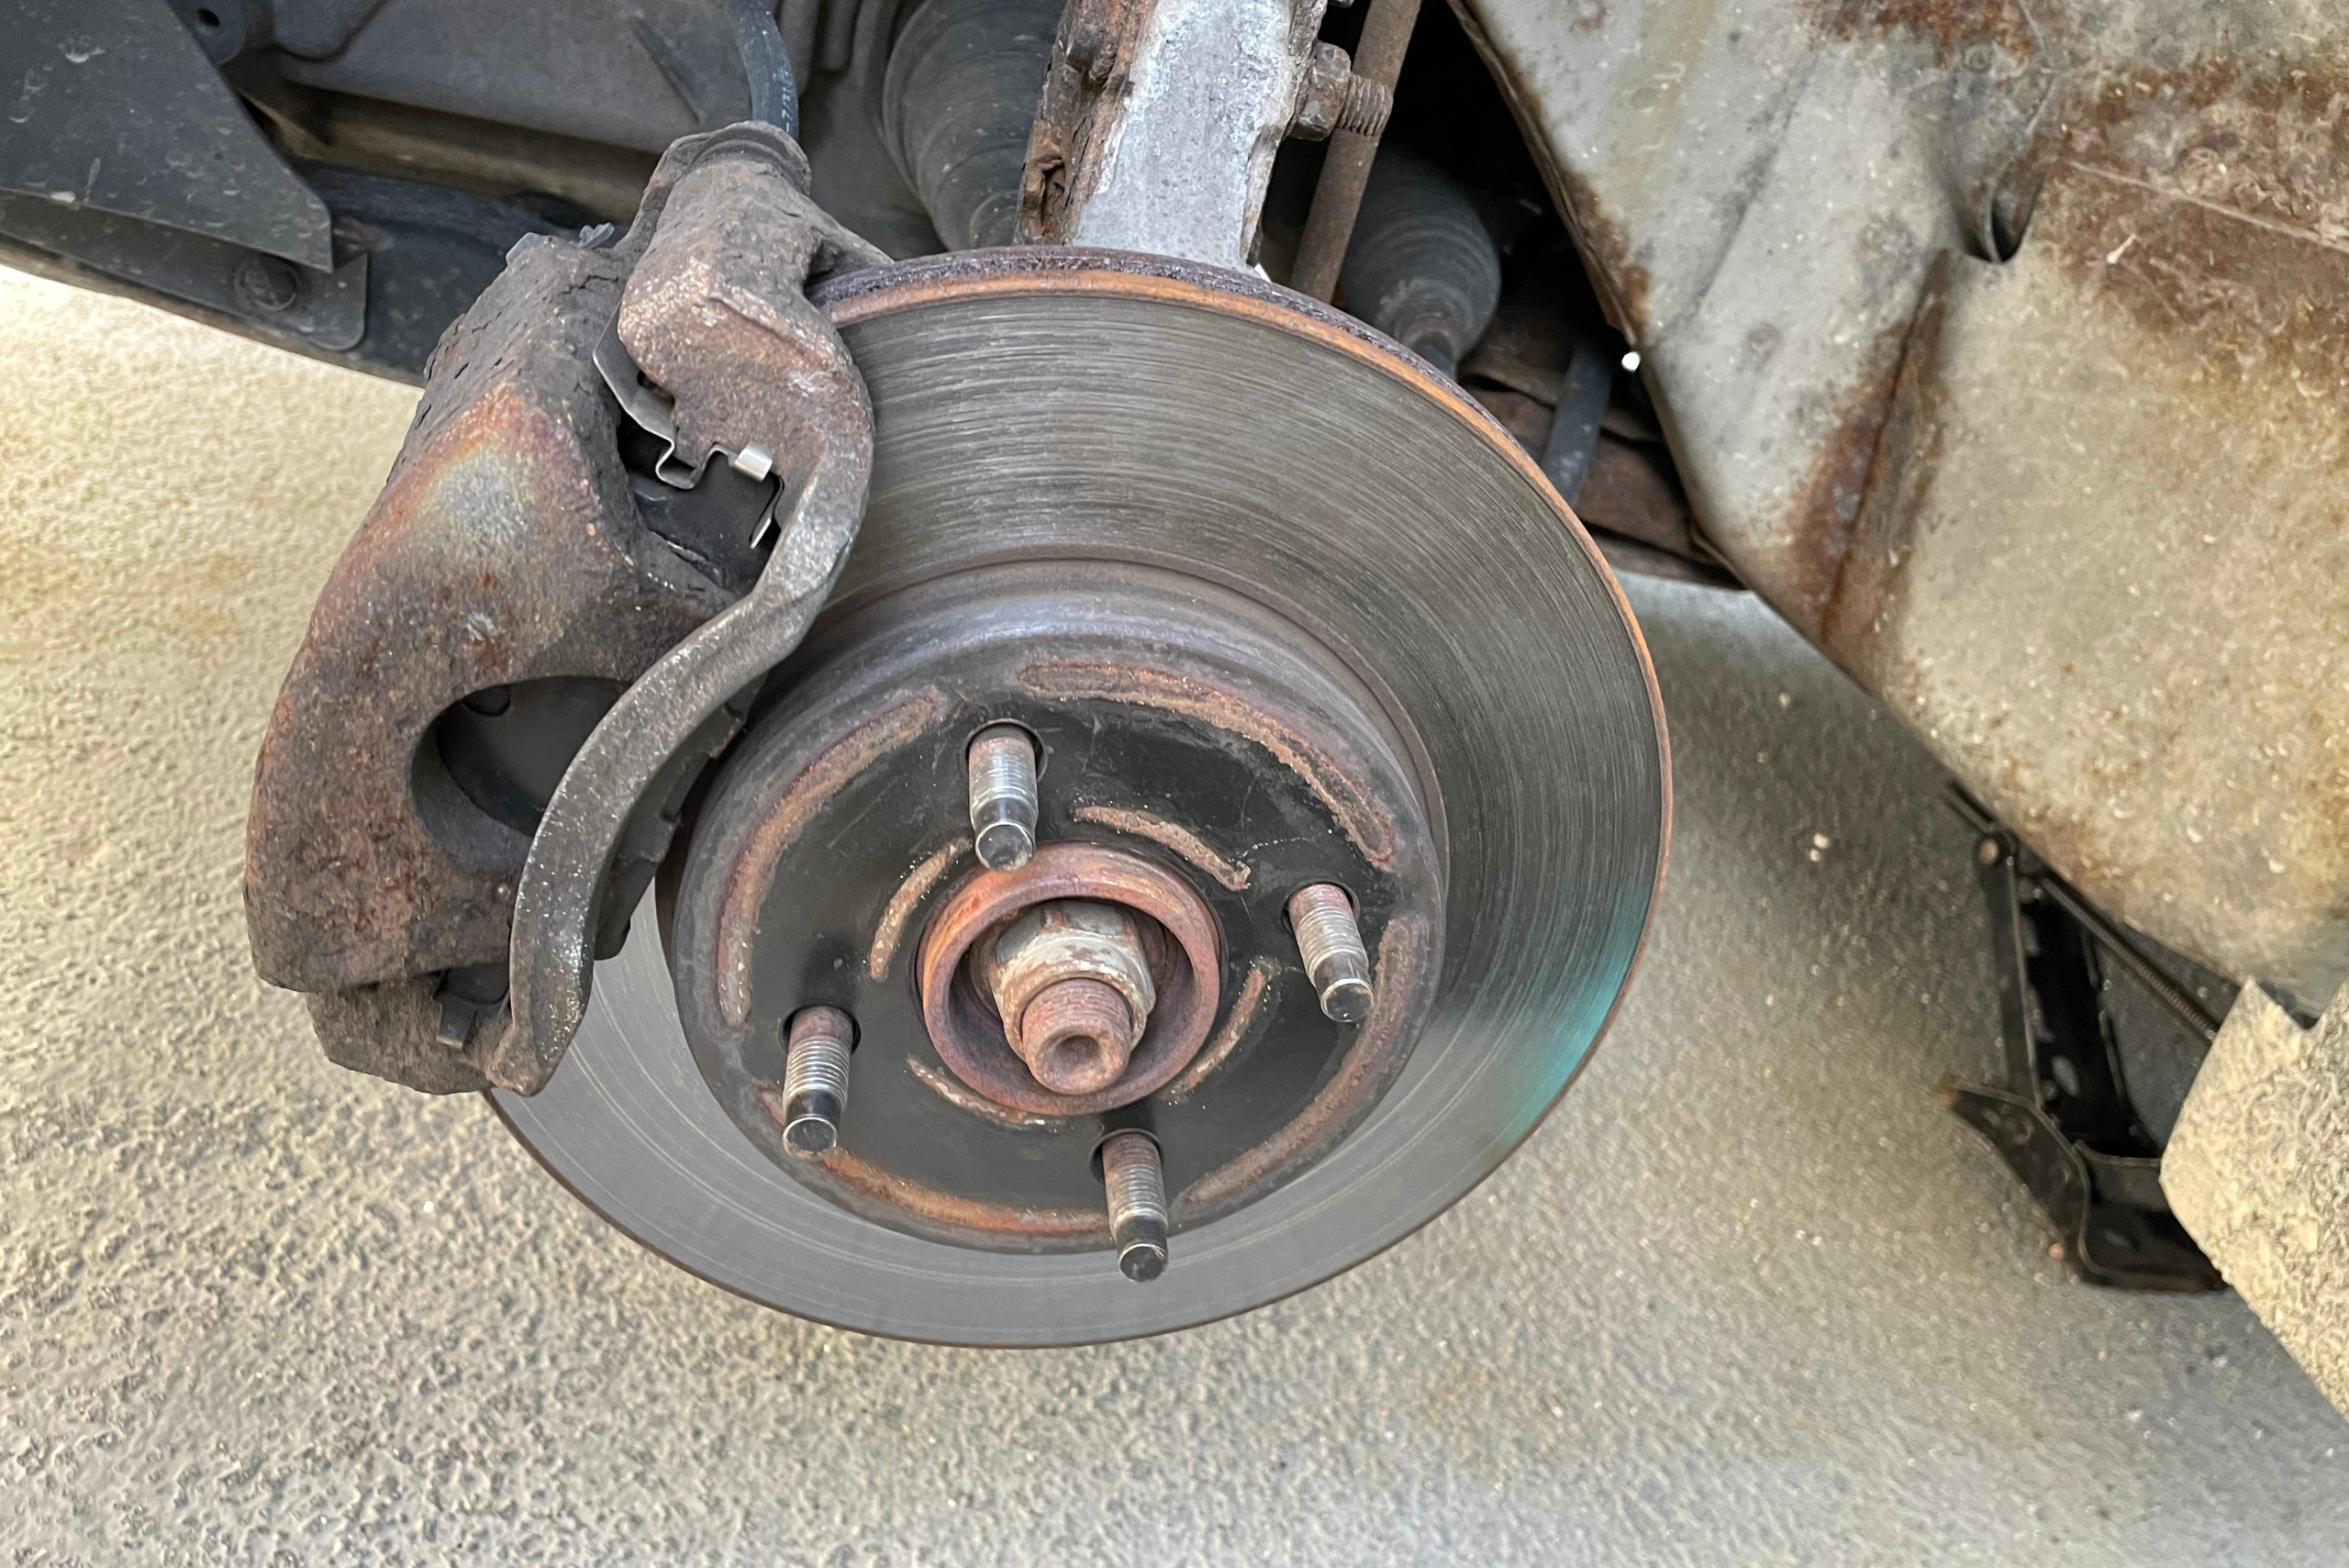
Being familiar with your vehicle will make it easier for you to maintain it properly, especially since your car could have two types of brakes—rotors up front and drum brakes in the rear—which require different maintenance practices. In this case, I have drum brakes in the rear, which I adjusted to keep them engaged properly during drives.
TIP: You can clean up the mating surface where your wheels attach to the hub and the threads of the wheel studs to make it easier to torque the lug nuts back on.
Related Articles
- DIY Car Maintenance: How to Change Your Engine Oil
- Car Battery Replacement – Step-by-Step Guide for DIY Enthusiasts
- How to Recharge Car AC to Enjoy Comfortable Drives on Hot Days
Now that you have all the information you need, it’s time to go to wherever you store your tires, unbag them, and get them installed onto your vehicle to enjoy the best summer adventures.
Ready to start your next project? Join our DIY community to receive tool tips, how-to guides, and exclusive creative insights. Subscribe to the ManMadeDIY newsletter now! Click here to unlock a world of hands-on inspiration.
ManMadeDIY Staff Vehicles
Take a quick peek at our vehicles and send us a message about which is your favorite or a picture of yours!


