Step-by-Step Guide For Vinyl Siding Repair
Vinyl siding has become a popular choice for homeowners looking for a durable, low-maintenance option for their home’s exterior. However, like any part of a home, it’s not immune to damage. Whether it’s from harsh weather conditions, accidental impacts, or wear and tear over time, knowing how to repair vinyl siding can save you from larger headaches down the road. This guide will walk you through the essentials of vinyl siding repair, ensuring your home continues to look its best.
The First Step in Effective Vinyl Siding Repair
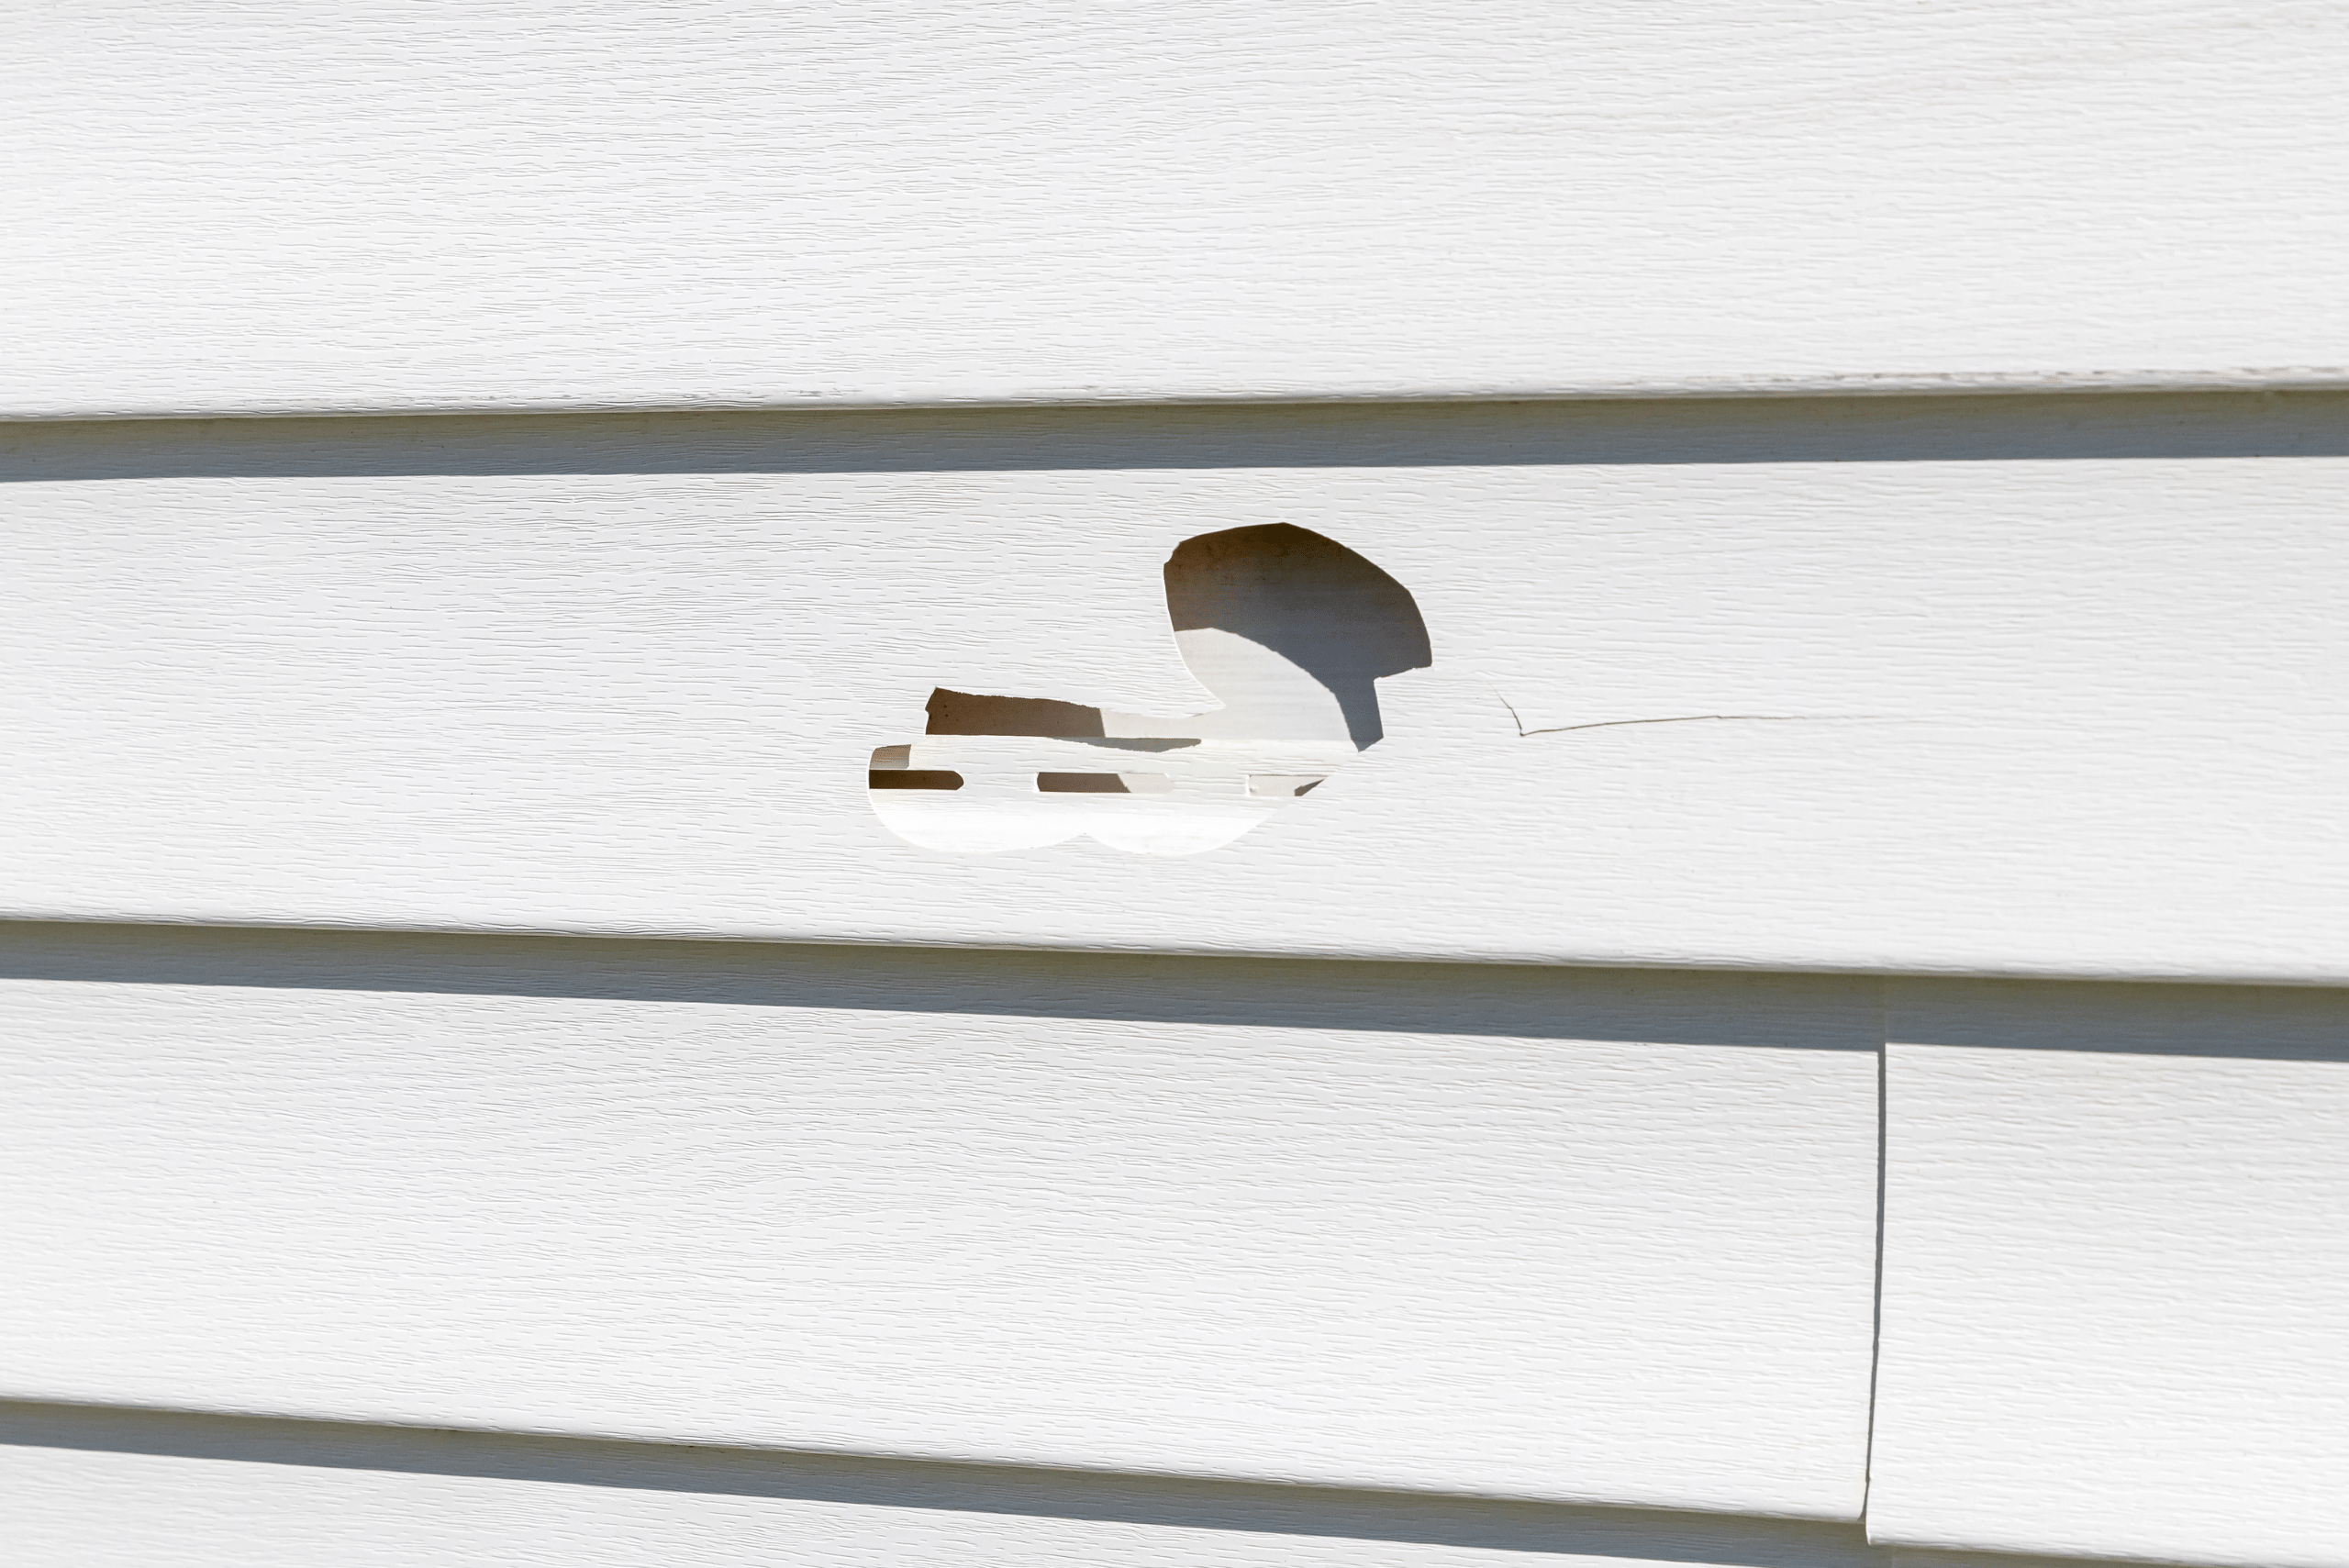
Before diving into repairs, it’s crucial to assess the extent of the damage accurately. Vinyl siding can suffer from a range of issues, from cracks and holes to warping and fading. Sometimes, the damage might be superficial and easy to fix, while other times, it could indicate deeper structural problems. Learning how to identify different types of damage is the first step in effective vinyl siding repair. This knowledge will help you decide whether a DIY fix is feasible or if it’s time to call in the professionals.
Preparing for Your Vinyl Siding Repair Project
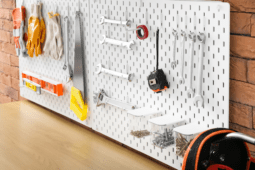
Once you’ve assessed the damage, gathering the right tools and materials is your next move. For most vinyl siding repairs, you’ll need a few basic tools, such as a utility knife, vinyl siding zip tool, caulk, and possibly replacement panels matching your home’s exterior. It’s also a good idea to wear gloves and safety glasses to protect yourself during the repair process. Having everything you need on hand before you start will make the repair process smoother and quicker.

Step-by-Step Guide to Repairing Cracks and Holes in Vinyl Siding
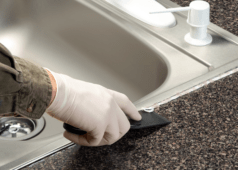
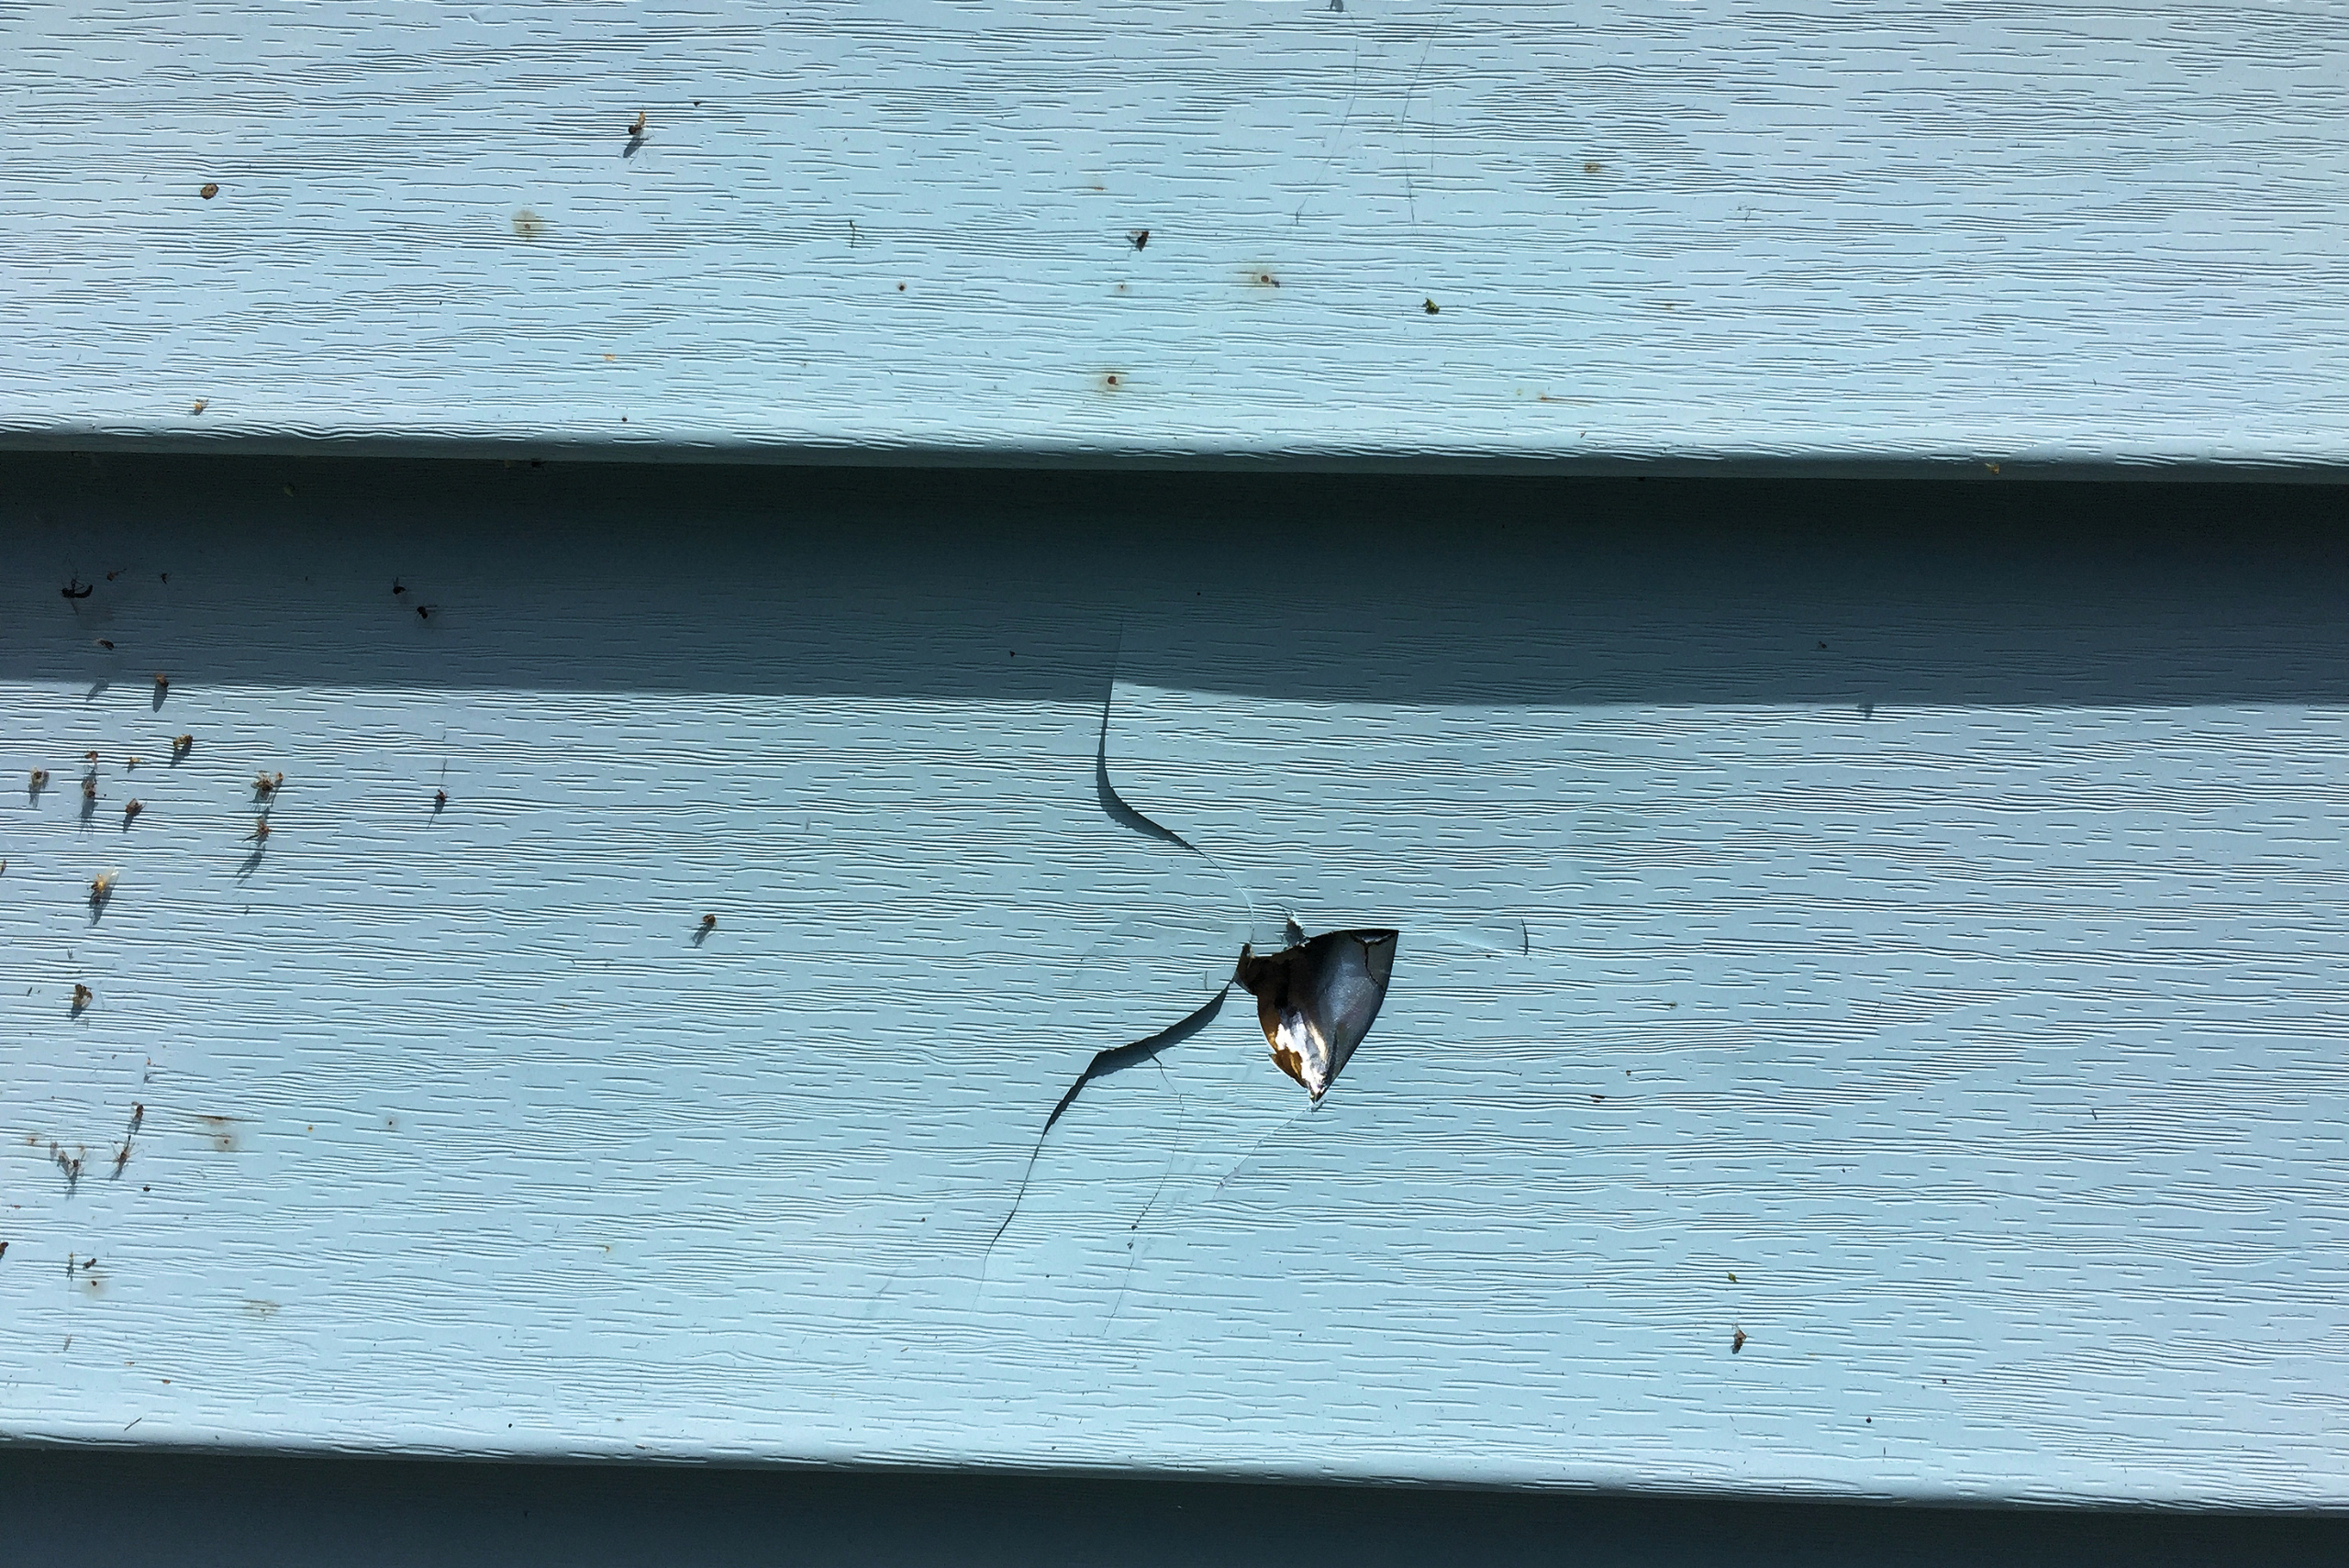
Repairing cracks and holes in your vinyl siding is a straightforward process once you know the steps. For small cracks, applying a high-quality caulk designed for exterior use can often do the trick. Ensure the area is clean and dry before applying the caulk for the best results. For larger holes, you might need to use a vinyl siding patch or replace the damaged section entirely. This process involves carefully removing the damaged panel and snapping a new one into place, ensuring it matches the rest of your siding.
Preventive Measures to Avoid Future Damage to Your Vinyl Siding
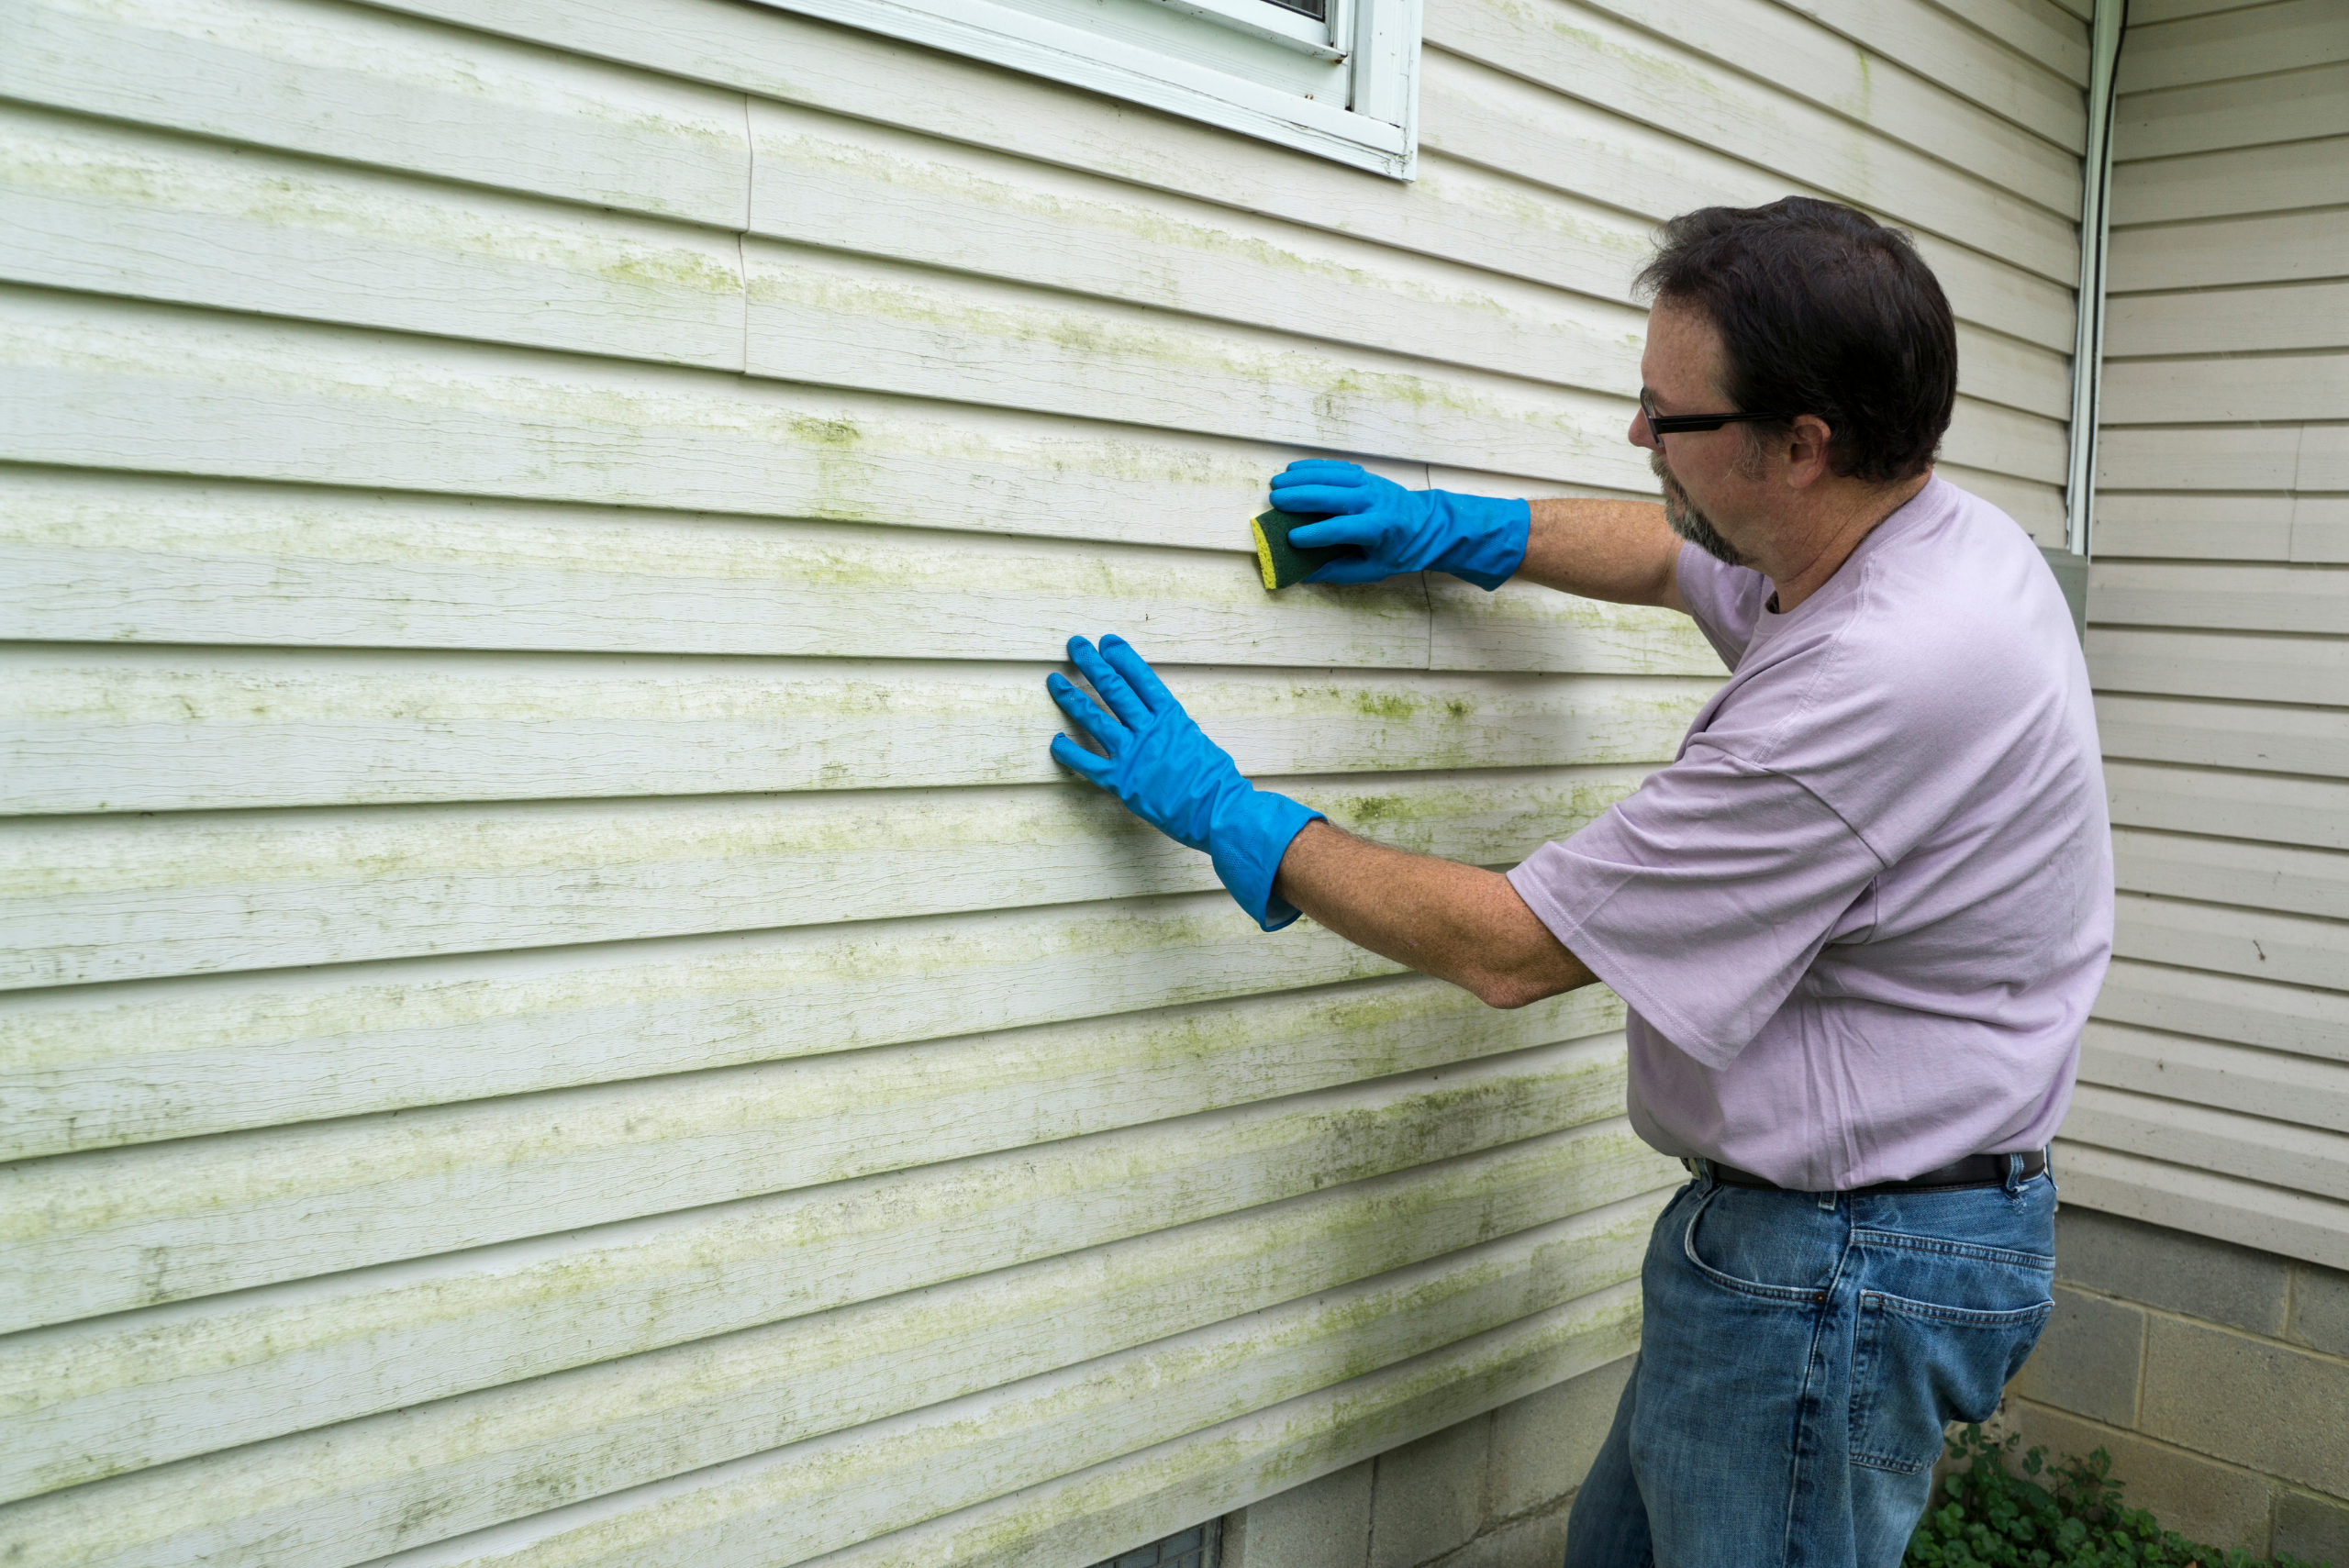
While repairs are sometimes inevitable, there are preventive measures you can take to minimize future damage to your vinyl siding. Regular cleaning to remove dirt and debris can prevent staining and wear over time. Additionally, trimming back trees and bushes near your home can reduce the risk of physical damage from branches. Being mindful of activities near your home, such as playing sports or mowing the lawn, can also help avoid accidental impacts that could lead to damage.
Related Articles:
- Discover the Alluring Charm of Vinyl Siding
- How to Clean Vinyl Flooring
- The Proper Way To Cut Vinyl Siding For Windows and Doors
Vinyl siding is a fantastic option for those seeking a durable and low-maintenance solution for their home’s exterior. However, even the sturdiest materials require some care and attention. By understanding how to effectively repair vinyl siding, you can ensure your home continues to look its best for years to come.
Remember, timely repairs not only improve your home’s appearance but can also prevent larger structural issues in the future. Whether you tackle vinyl siding repair projects on your own or with the help of professionals, the key is to act promptly and maintain your home with pride.
Ready to start your next project? Join our DIY community to receive tool tips, how-to guides, and exclusive creative insights. Subscribe to the ManMadeDIY newsletter now! Click here to unlock a world of hands-on inspiration.

