Well Pump Troubleshooting and Repair Tips
Well pumps are usually considered the realm of professional service technicians, but you as a homeowner can do a lot of work yourself in maintaining and even repairing your water system. There are some moments when you should call a professional but a lot of the common problems such as no water at all, low-pressure water, and a well pump that runs constantly can be fixed with a little DIY mentality.
The Anatomy of a Well Pump
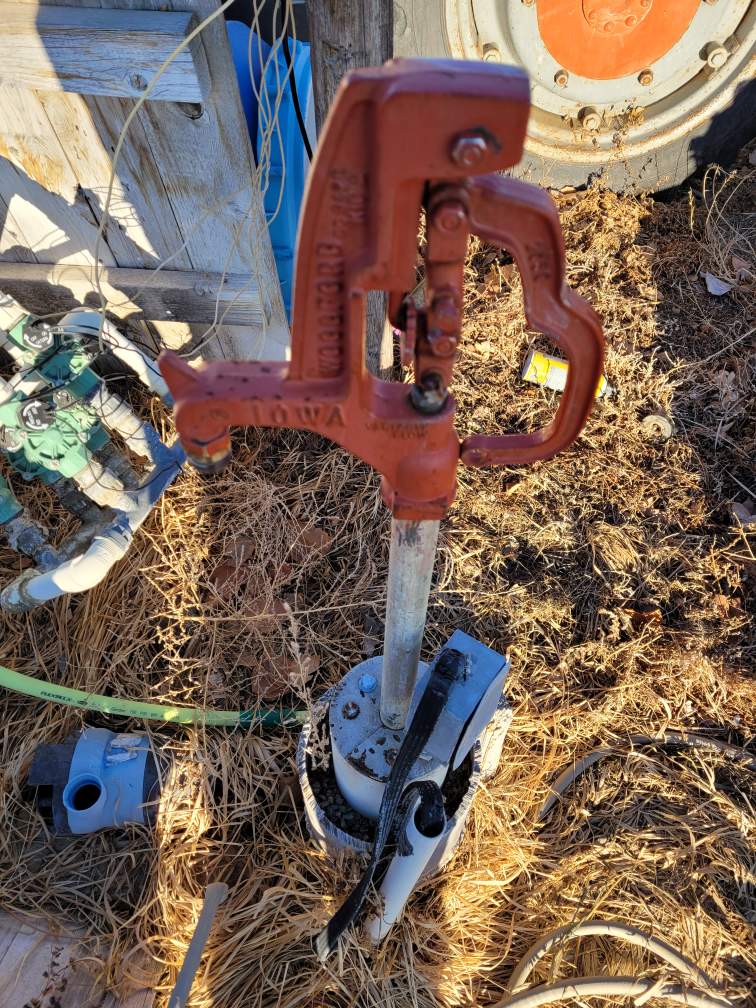
Private water supplies have three integrated components. The first is the well and pump assembly, the second the buried water line from the well pump to your home, and the third, the pressure tank.
If a well pump fails completely, your best bet is to call in a professional. For shallow wells that are less than 60 feet deep, the professional will have to pull the well pipe from the pitless adapter connecting the pipe to your waterline, pull the pump and pipe up hand over hand, disconnecting each 20 or 30-foot section of pipe in the process and pull the well out. If this sounds like a lot of intricate, complicated work, it is. That’s why this process should go to a professional.
Many well pump issues can be solved on the inside, or at the point your water line meets your pressure tank in your home. From there you can unscrew the pump, attach a new pump, reconnect and waterproof the wires, reconnect the pipe and align the pitless adapter by yourself.
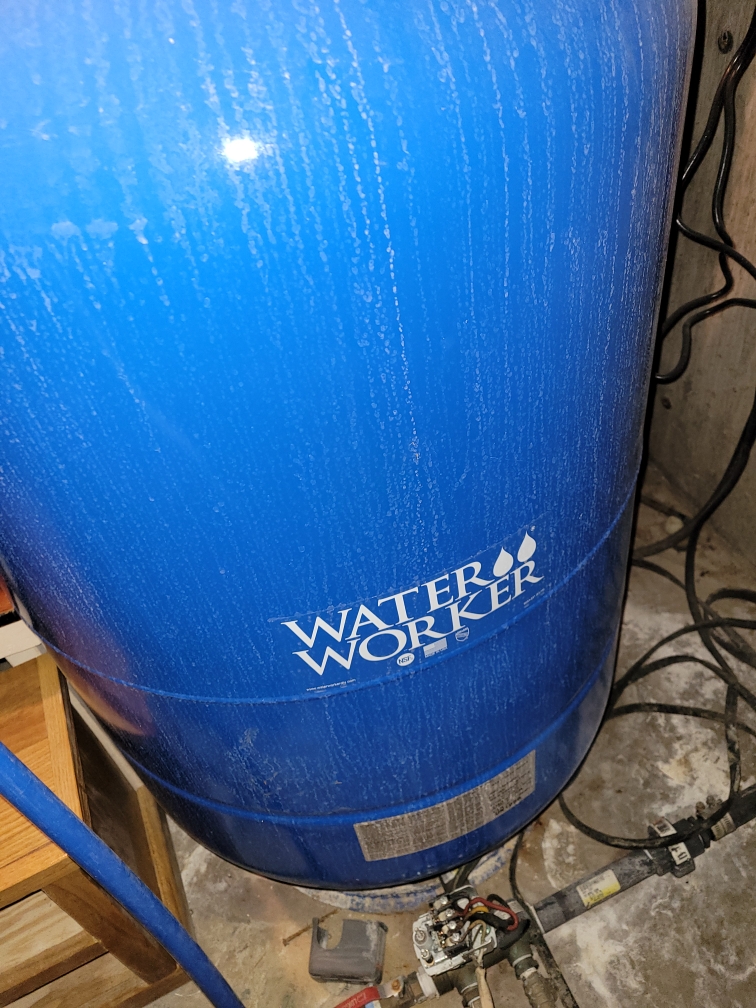
Get to Know the Pressure Tank
The one component that protects your home water system more than any other is something you can work on yourself: the pressure tank.
A pressure tank is a steel container, with a pressurized rubber diaphragm inside that regulates a steady pressure throughout the water pipes in your house. Most pressure tanks are set to trip on when the pressure drops to 40 PSI and kick-off when it hits 60 PSI. You may have noticed when you’re filling a sink or watering with a garden hose that the water seems to jump up a bit every few minutes when you’re running it wide open. That’s the pressure tank kicking on and off.
A pressure tank saves wear and tear on your pump. You should always buy the biggest tank that will fit in your basement, crawl space, or closet. The bigger the tank, the less often the pump will turn on and off.
Pressure tanks wear out, the rubber bladder will eventually lose elasticity and fail, leaving you with the pump running constantly. A pump that never shuts off will wear out and fail much quicker than one hooked up to a healthy pressure tank.
The pressure tank has a couple of features you need to understand. There is an air zert on the top of the tank that allows you to check the pressure with a tire gauge. If the pressure stays the same as water flows at full volume, you have a problem, the bladder isn’t expanding and contracting and you’ll need to replace the tank.
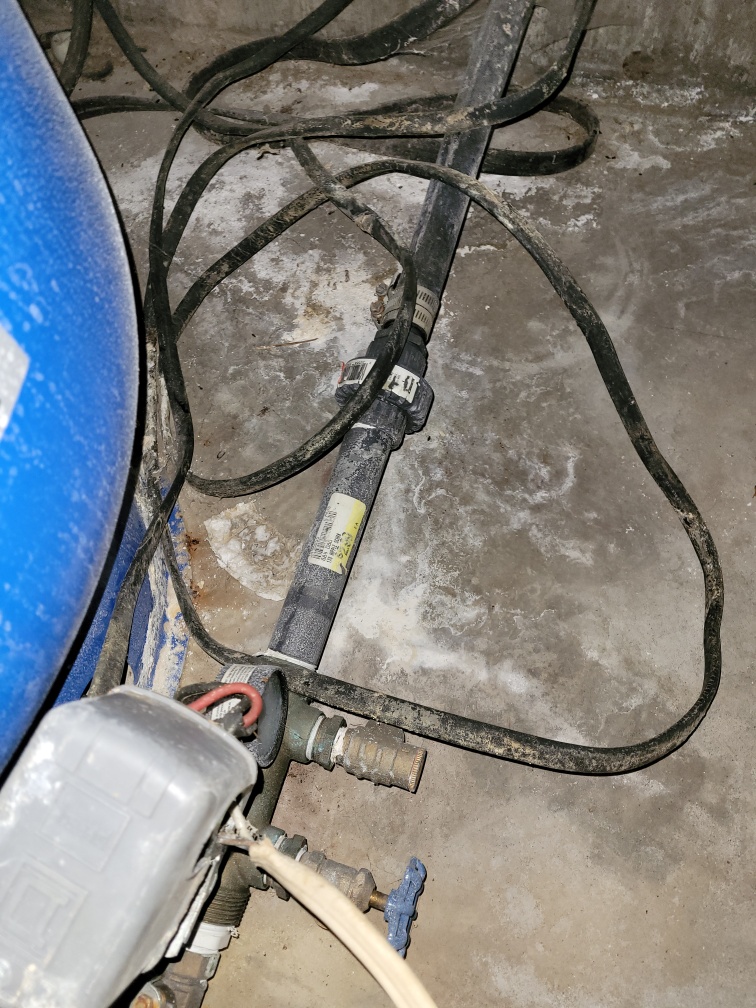
Pressure tanks take water in from the pump, then send it out to the lines in your home with steady pressure. A pressure switch, located at the bottom of the tank where the inlet from the pump and the outlet to your home water system controls the on and off of the well pump, filling the tank to the proper pressure, then shutting off until the lower limit of 40 PSI is hit, then turning the pump back on to pressure the tank back to 60 PSI.
Replacing The Pressure Switch Yourself
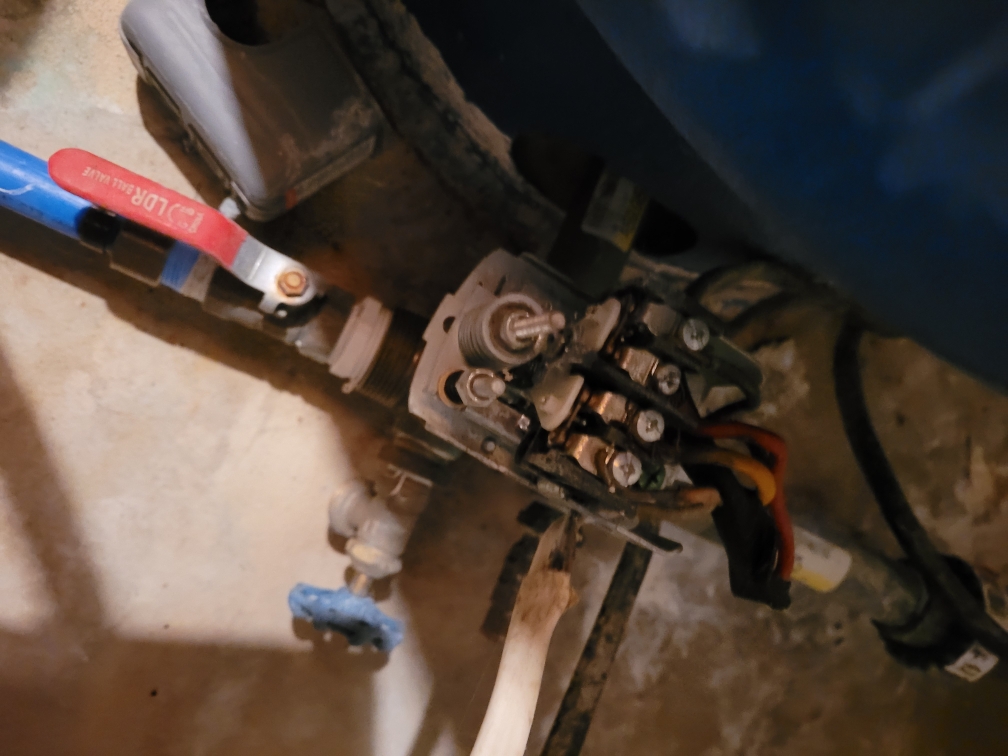
Switches can fail, but the good news is they’re easy to replace. The cell phone is a homeowner’s best tool in many instances. Remove the single screw holding the pressure switch cover, then take a couple of pictures with your phone of the wires beneath. Pumps work on a 240V system, which means red, black, white, and green wires coming in from the pump. Cross these up and you might be buying a new pump after a short ciruit.
With the power turned off, remove the wires, and twist the small copper pipe the pressure switch is attached to from the tank. Have a replacement switch ready. Wrap the fittings on the switch with Teflon tape and screw it back into the tank.
Refer to your cell phone pictures of the original pressure switch assembly. Match the wires exactly as they were in the picture, screw them in place, put the cap back on, turn the power on and run some water.
Setting Your Ideal Pressure
Tanks are pre-set, usually to the 40/60 threshold. If you want more pressure, you can increase the upper and lower limits by turning the spring-loaded adjustment screw on top of the pressure switch.
If you do this, check the pressure in the tank with your tire gauge with the water running as fast as it can. The click of the magnetic pressure switch tells you when it is kicking on or off. That’s when to take the PSI reading with your tire gauge.
Switching Out Your Tank Is Just As Easy
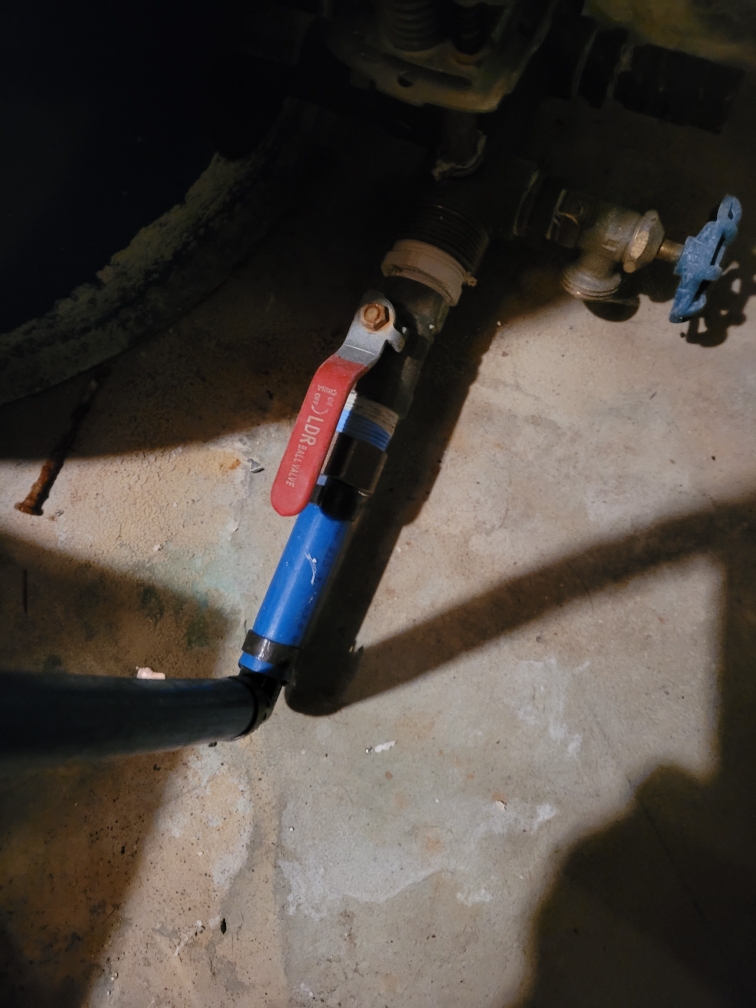
The procedure for replacing a failed tank is nearly the same as the switch replacement. But you’ll have to disconnect the incoming and outgoing water lines as well. These tanks can fill up with scale, and sediment over time and can weigh several hundred pounds with all that extra gunk packed inside.
The replacement tank will be very light, and easy to put in place. Take pictures first, then match the connectors, wiring and placement of the tank with the photograph.
That’s it. You’ve saved hundreds of dollars in plumbing fees and gained the satisfaction of doing a job yourself. And now that you know how to maintain a well pump and keep it healthy you might even find you don’t need the well pump service you used to. Share your well pump Dos and Don’ts with the ManMade community on Facebook or Pinterest!

