The Purpose and Proper Use of Winding Sticks in Woodworking
Winding sticks are essential tools in the woodworker’s arsenal, often overlooked but invaluable for ensuring precision and accuracy in the craft. These simple yet effective aids are used to detect and correct wind or twist in a board, ensuring a perfectly flat surface for joinery and assembly.
By placing a pair of winding sticks at either end of a board and sighting across them, woodworkers can identify even the slightest deviations, making them indispensable for achieving flawless results in furniture making, cabinetry, and other fine woodworking projects. This article delves into the history, use, and significance of winding sticks, revealing how such a straightforward tool can make a substantial difference in the quality of finished woodwork.
History and Evolution of Winding Sticks
Winding sticks have been a woodworker’s essential companion for centuries, dating back to medieval carpenters who needed precise methods to ensure their boards were perfectly flat.
These simple yet effective tools have evolved from rudimentary pieces of wood to more refined and calibrated instruments, often made from durable hardwoods like mahogany or beech. Their primary function is to detect any warping or twisting in a board—a critical task when precision is paramount.
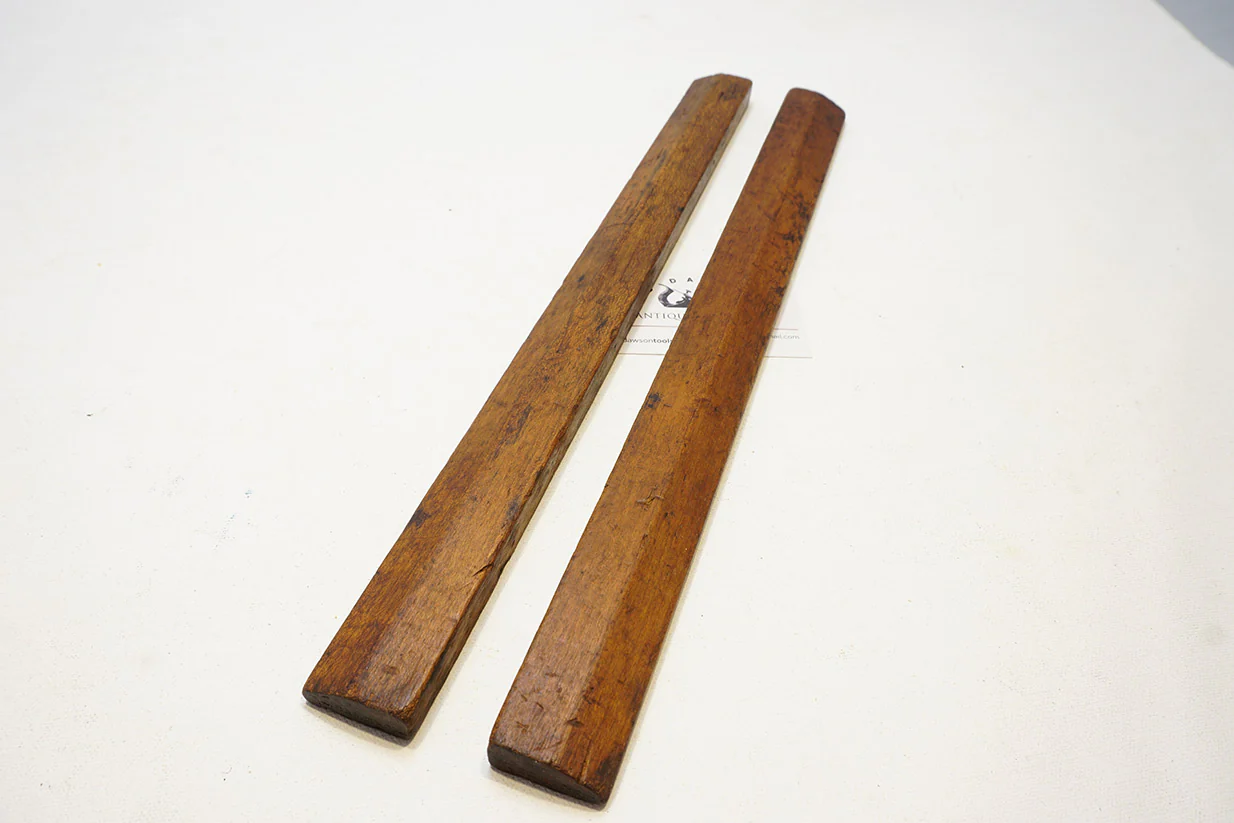
Over time, the design of winding sticks has become more sophisticated, incorporating contrasting colors or inlays to enhance visibility and accuracy. Modern carpenters might even find versions with built-in levels or laser guides. Despite these advancements, the fundamental principles remain the same.
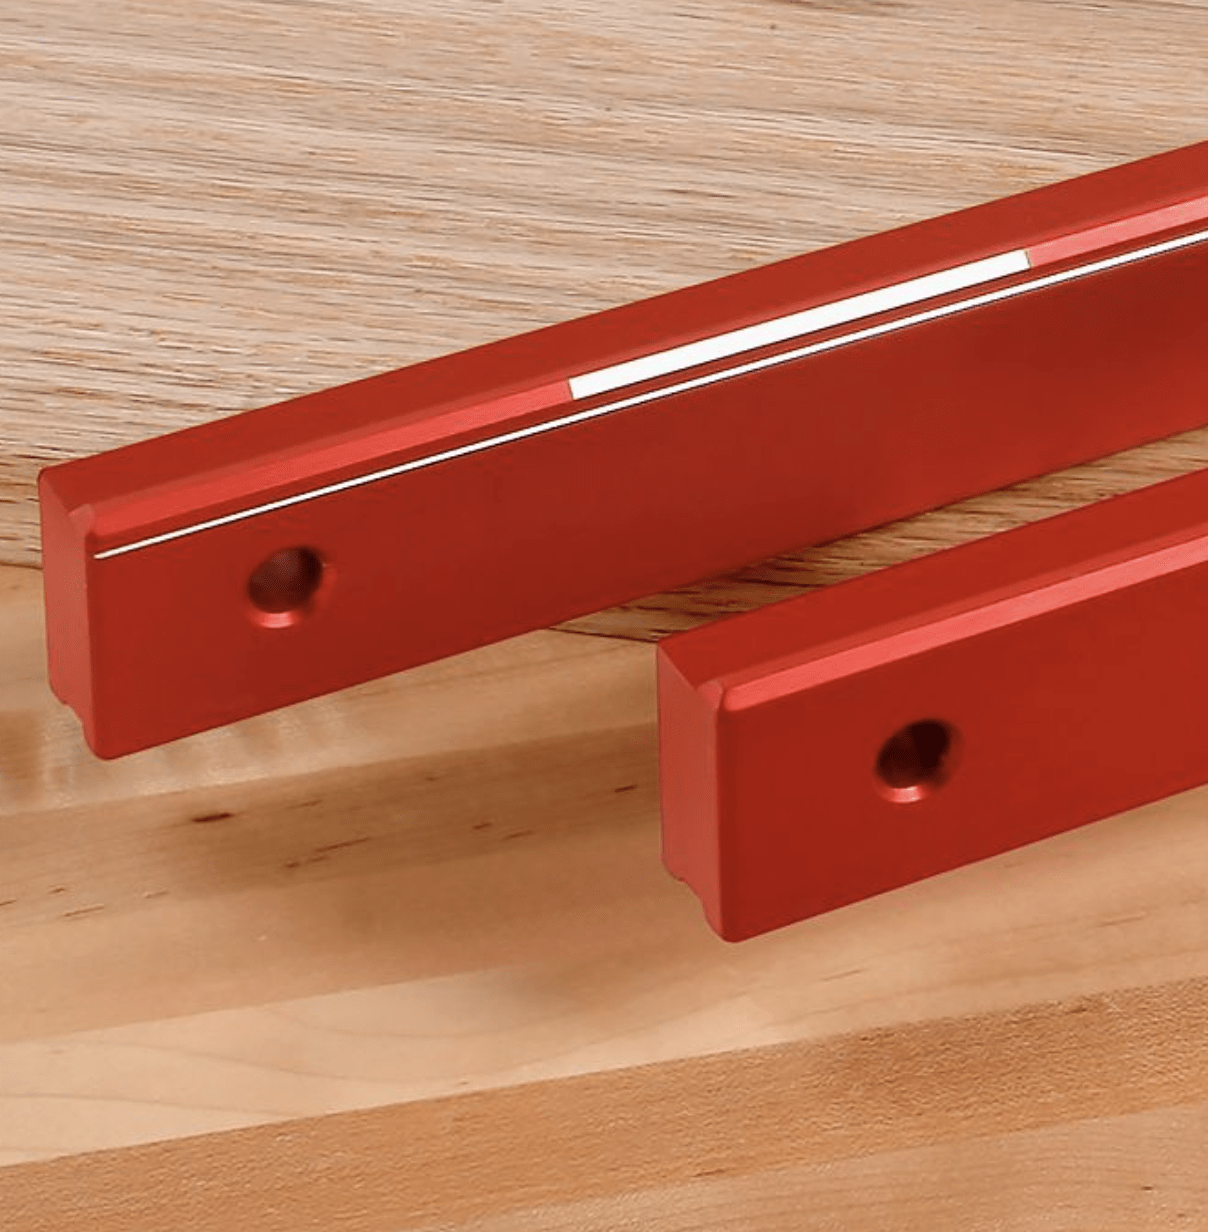
These tools work in pairs, placed at either end of the board, and by sighting across the top, any discrepancies in the board’s flatness become apparent. This enduring utility underscores why understanding their history is crucial; it provides context for their continued relevance in both traditional and contemporary woodworking practices.

Materials and Designs of Winding Sticks
Explaining what winding sticks are and how to use them often leads us to the fascinating world of materials and designs. Traditionally, winding sticks are made from hardwoods like mahogany or oak due to their stability and durability.
However, modern versions can also be found in aluminum or composite materials, which offer the advantage of being lightweight and resistant to warping. The choice of material can greatly impact the effectiveness and longevity of your winding sticks, so it’s worth considering your specific needs and preferences.
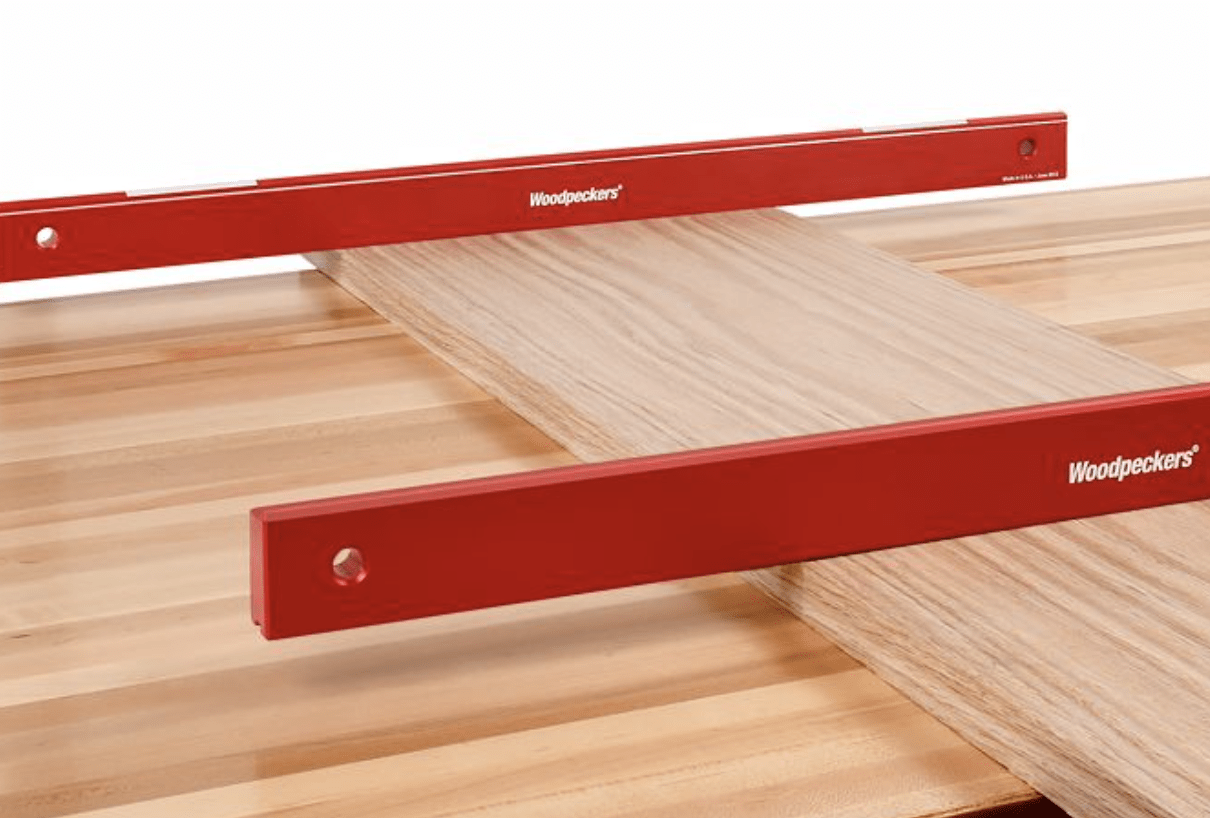
Design-wise, winding sticks typically feature a straight edge to ensure accuracy when assessing the twist in a board. Some advanced models come with built-in levels or contrasting color stripes to enhance visibility and precision.
These features can be particularly useful in low-light conditions or when working with darker woods. By carefully selecting the right materials and paying attention to design elements, you can elevate your woodworking experience and achieve more accurate results.
Step-by-Step Guide to Using Winding Sticks
To begin using winding sticks, place one stick at each end of the board you’re working on. Make sure they’re parallel to the edges and flat against the surface.
By crouching down and looking across the top edges of these sticks, you can observe any discrepancies in the board’s flatness. This perspective will reveal if one edge of a stick appears higher than the other, indicating a twist or warp in the wood.
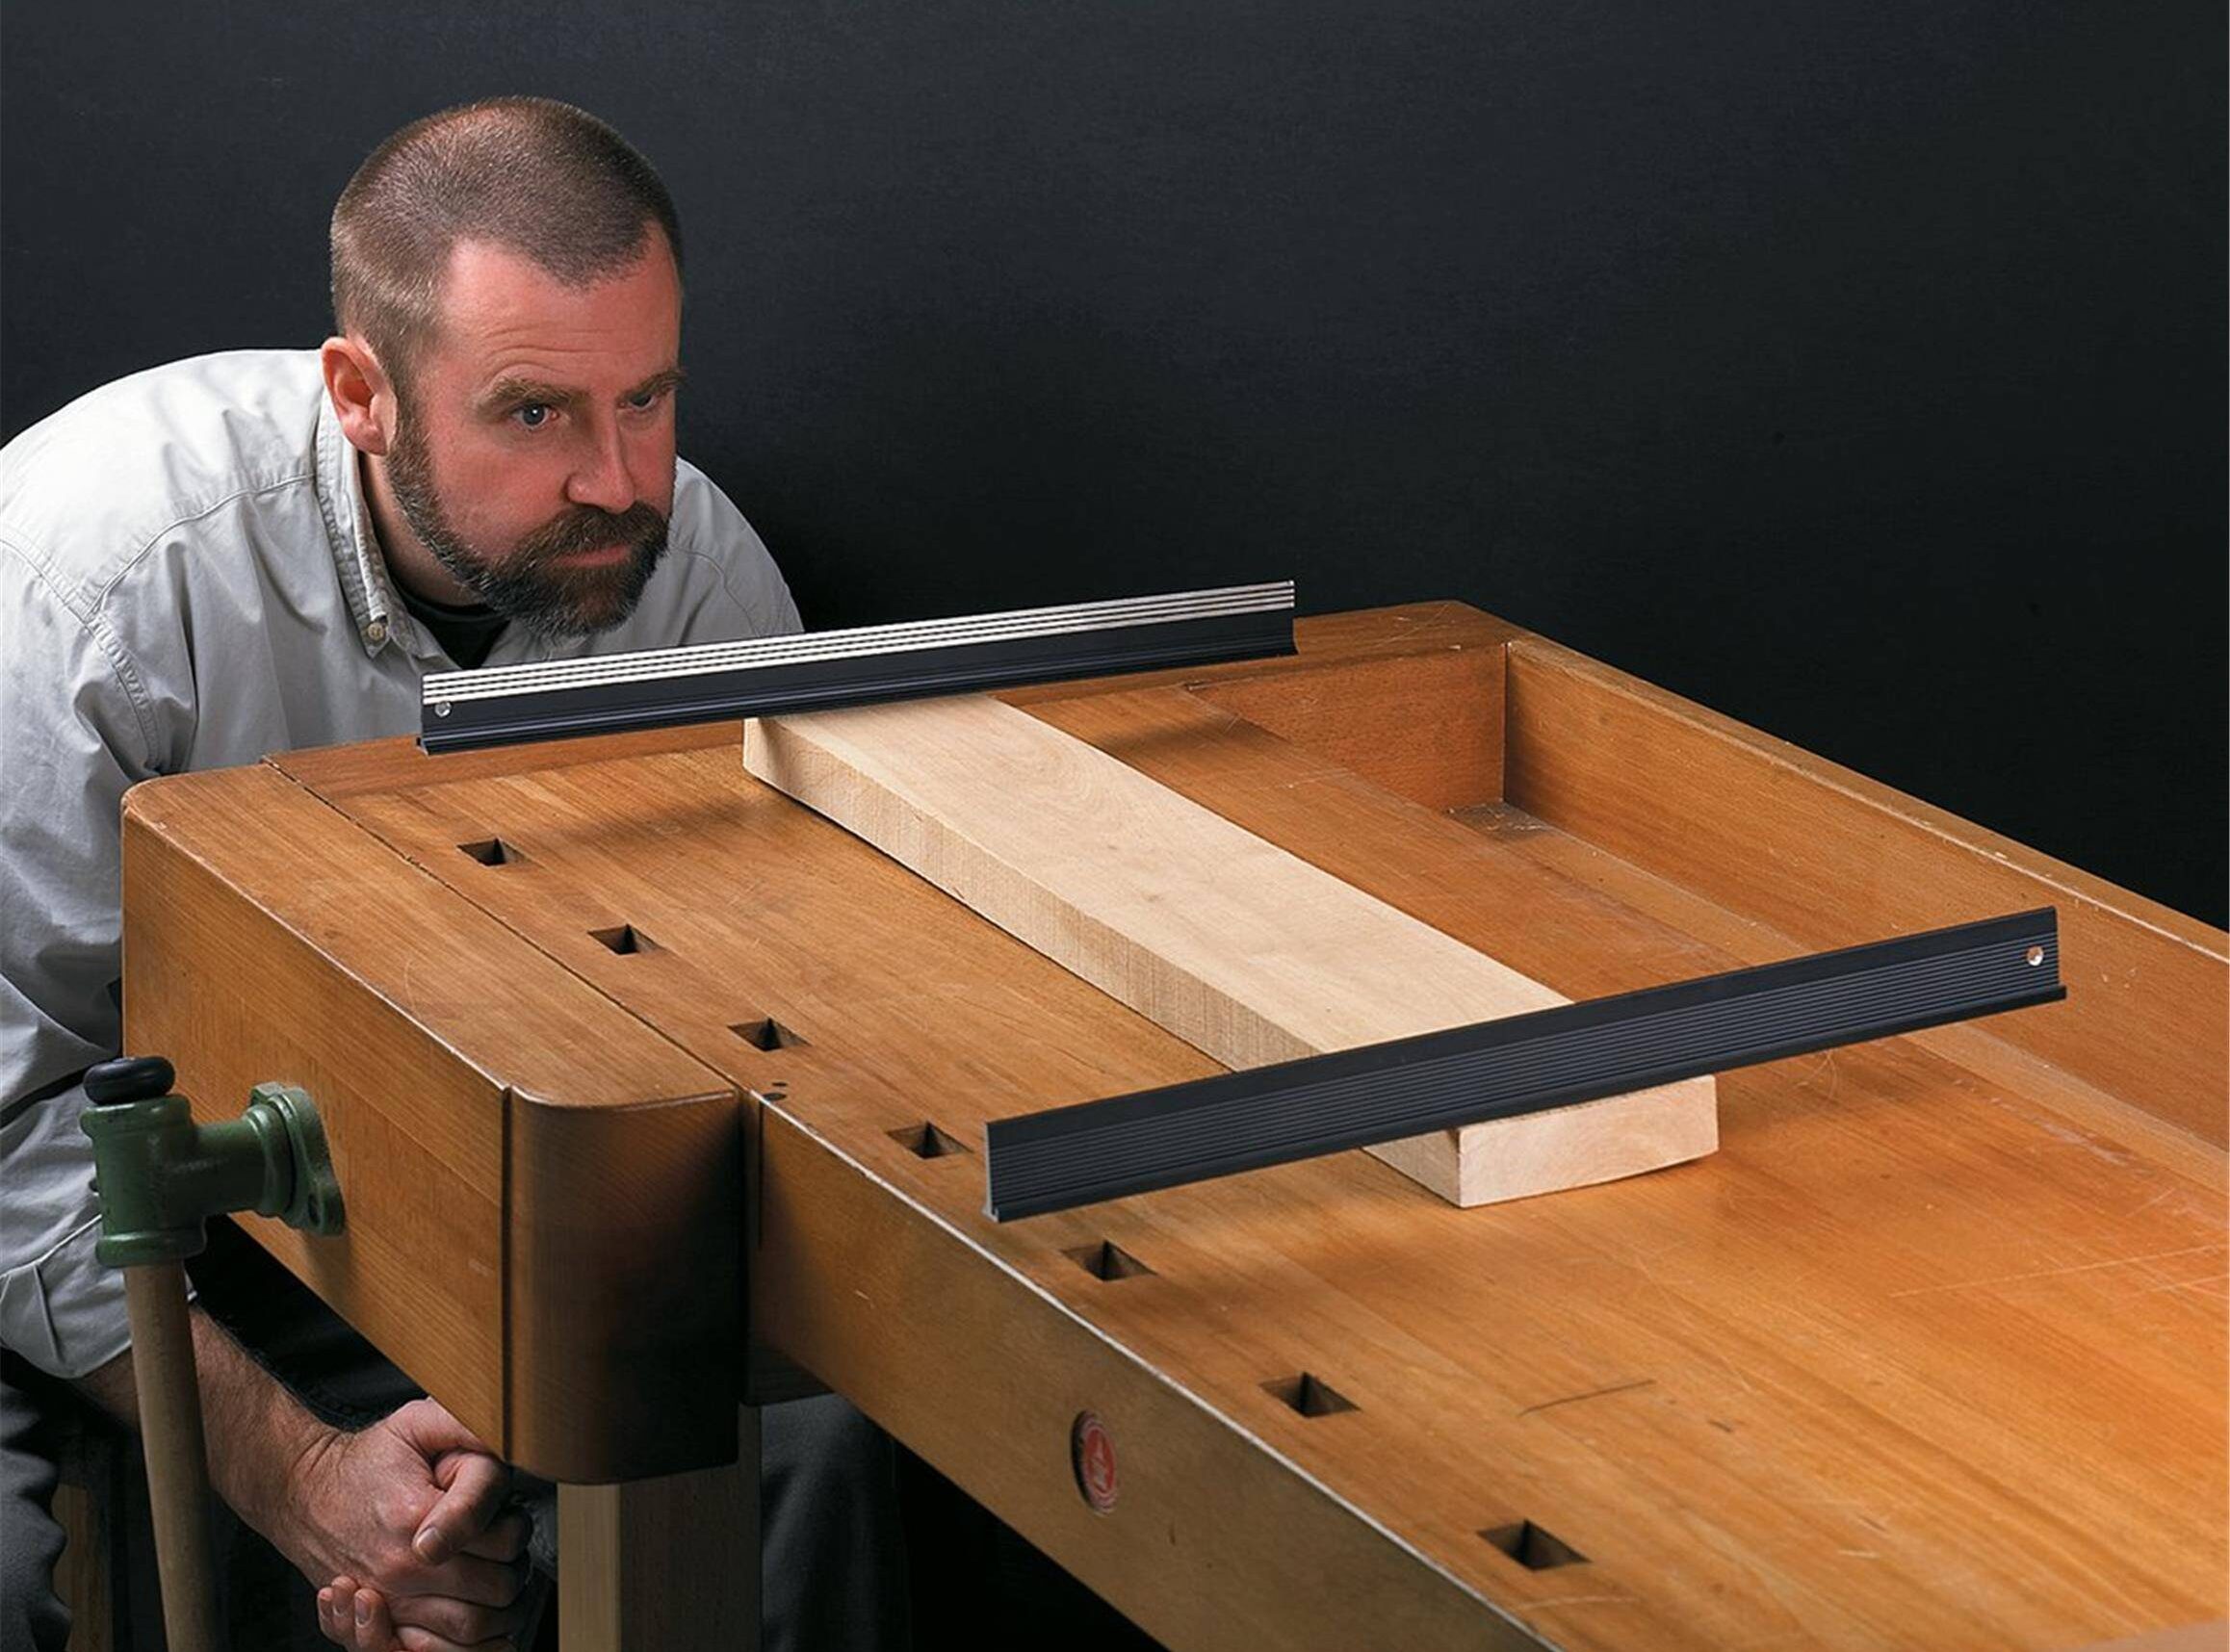
After identifying the twist, use a hand plane to gradually shave down the high spots. Check frequently with the winding sticks to monitor your progress, ensuring you don’t overcorrect and create new unevenness.
Patience is key here; take your time to achieve a perfectly flat board. This hands-on technique not only ensures accuracy but also enhances your woodworking skills, making winding sticks an indispensable tool in your workshop.
Common Mistakes and Troubleshooting When Using Winding Sticks
One common mistake when using winding sticks is not placing them correctly on the board. Ensuring the winding sticks are parallel and fully seated on the surface is crucial.
Otherwise, you might get a false reading, leading to improper adjustments. Make sure the sticks are level and aligned with each end of the board to detect any twist accurately. Consistently check both ends for gaps or misalignments to avoid errors.
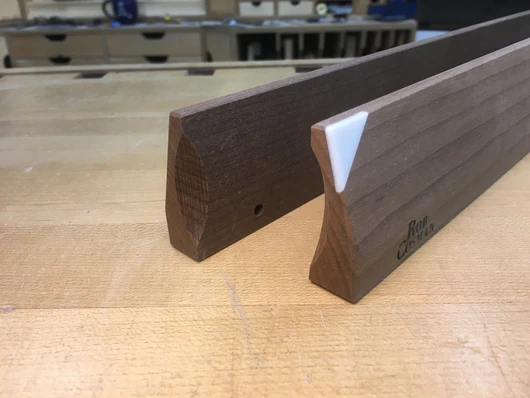
Another issue arises from improper lighting. Good lighting is essential for clearly seeing the gaps or discrepancies between the winding sticks. Natural light or a well-placed lamp can help highlight any irregularities.
If shadows or poor illumination obscure your view, you might miss critical details. Always adjust your lighting to ensure a clear line of sight across the winding sticks, enabling precise corrections and a smoother, more accurate woodworking process.
Related Articles
- Tips and Tricks for Cutting Straight Lines
- How to Assess Board Edge Flatness for Seamless Joints
- Best Wood Types for DIY Furniture Projects: Pros and Cons
Understanding the nuances of winding sticks can significantly enhance your woodworking precision. These simple yet effective tools allow you to detect any warp or twist in your lumber, ensuring your projects are built on a solid foundation.
Ready to start your next project? Join our DIY community to receive tool tips, how-to guides, and exclusive creative insights. Subscribe to the ManMadeDIY newsletter now! Click here to unlock a world of hands-on inspiration.

