Beginner’s Guide to Mastering the Art of Wire Wrapping Stones
Wire wrapping stones is an ancient craft that transforms simple stones into beautiful jewelry pieces and art. This technique involves wrapping wire around stones in intricate patterns, creating unique designs each time.
Ready to take on life with unshakable confidence? Whether you’re aiming to excel in your career, improve your relationships, or conquer DIY projects, NLP Hero’s Confidence Course is your key to success. Click here to start transforming your confidence and be better at everything you do!
Whether you’re a hobbyist or looking to start a small business, wire wrapping offers endless possibilities for creativity and profit.
Materials Needed for Wire Wrapping
To start wire wrapping, you’ll need some essential materials: stones or gemstones, wire (usually copper, silver, or gold-filled), wire cutters, flat-nose pliers, and round-nose pliers.
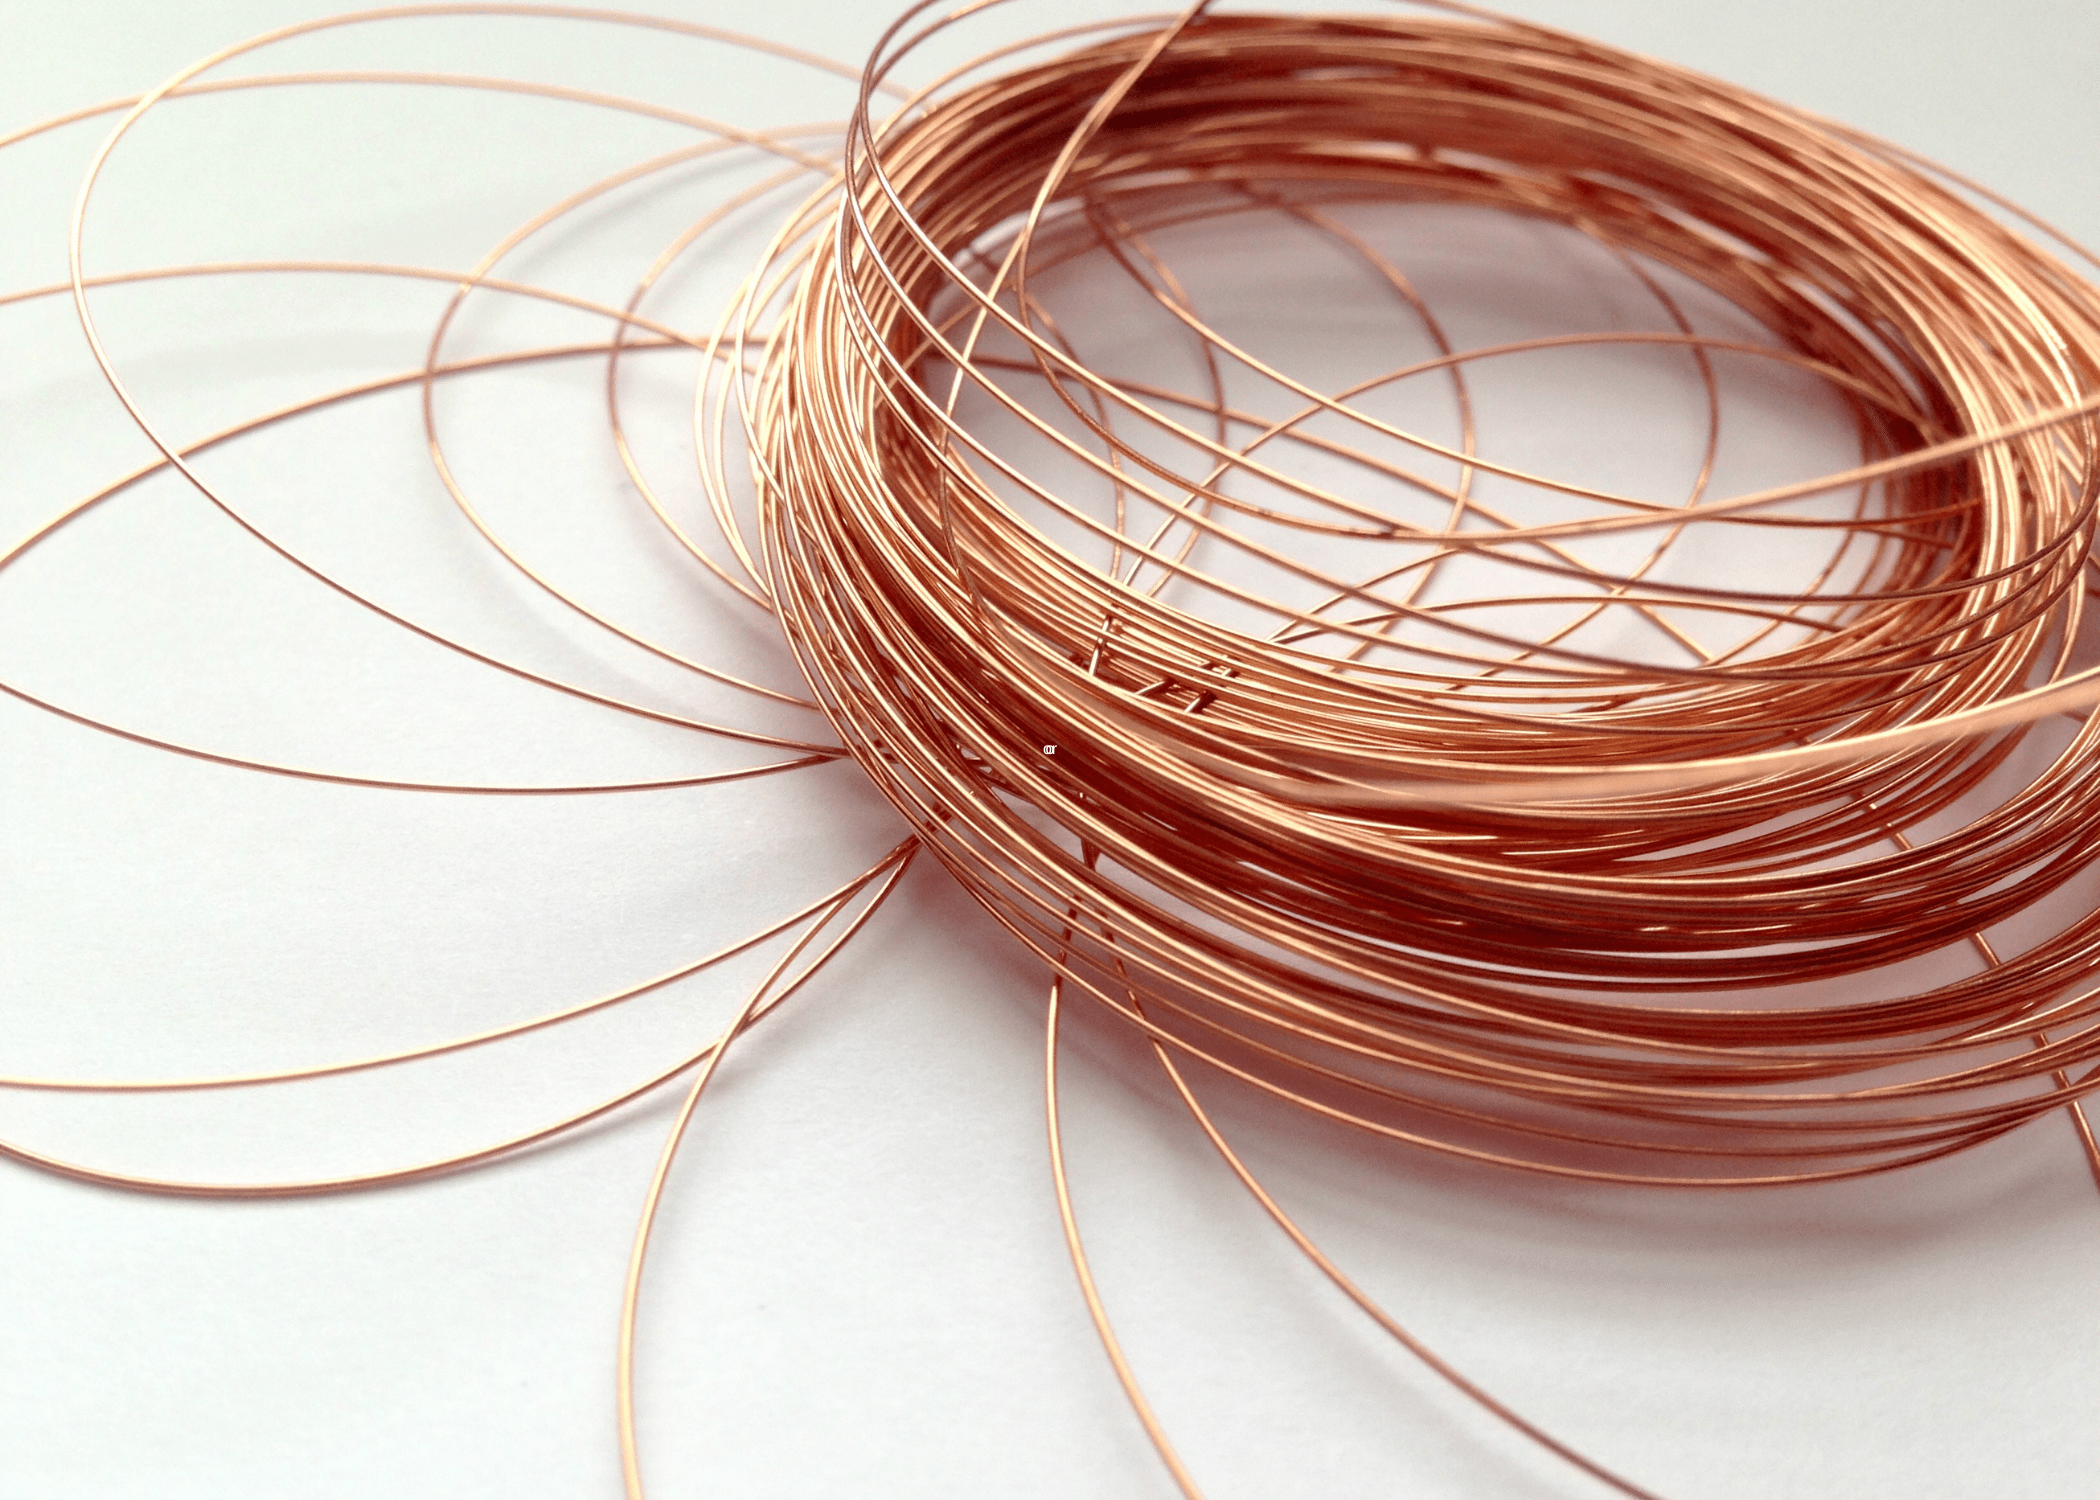
You might also want to invest in a jewelry-making mat to keep your tools organized and prevent your stones from rolling away. Choosing the right gauge of wire is crucial, as thinner wires (24-28 gauge) are easier to manipulate, while thicker wires (18-22 gauge) offer more stability.
Basic Techniques for Beginners
For beginners, mastering the basic techniques is key. Start with simple wraps by securing the stone with a few loops of wire. Practice creating loops and bends with your pliers to get a feel for the material.

There are countless tutorials available online that provide step-by-step guidance. As you become more comfortable, you can experiment with more complex designs, such as making cages or weaving patterns.
Advanced Wire Wrapping Designs
Once you’ve mastered the basics, you can move on to advanced designs. This includes creating intricate patterns and incorporating other elements like beads or additional stones.
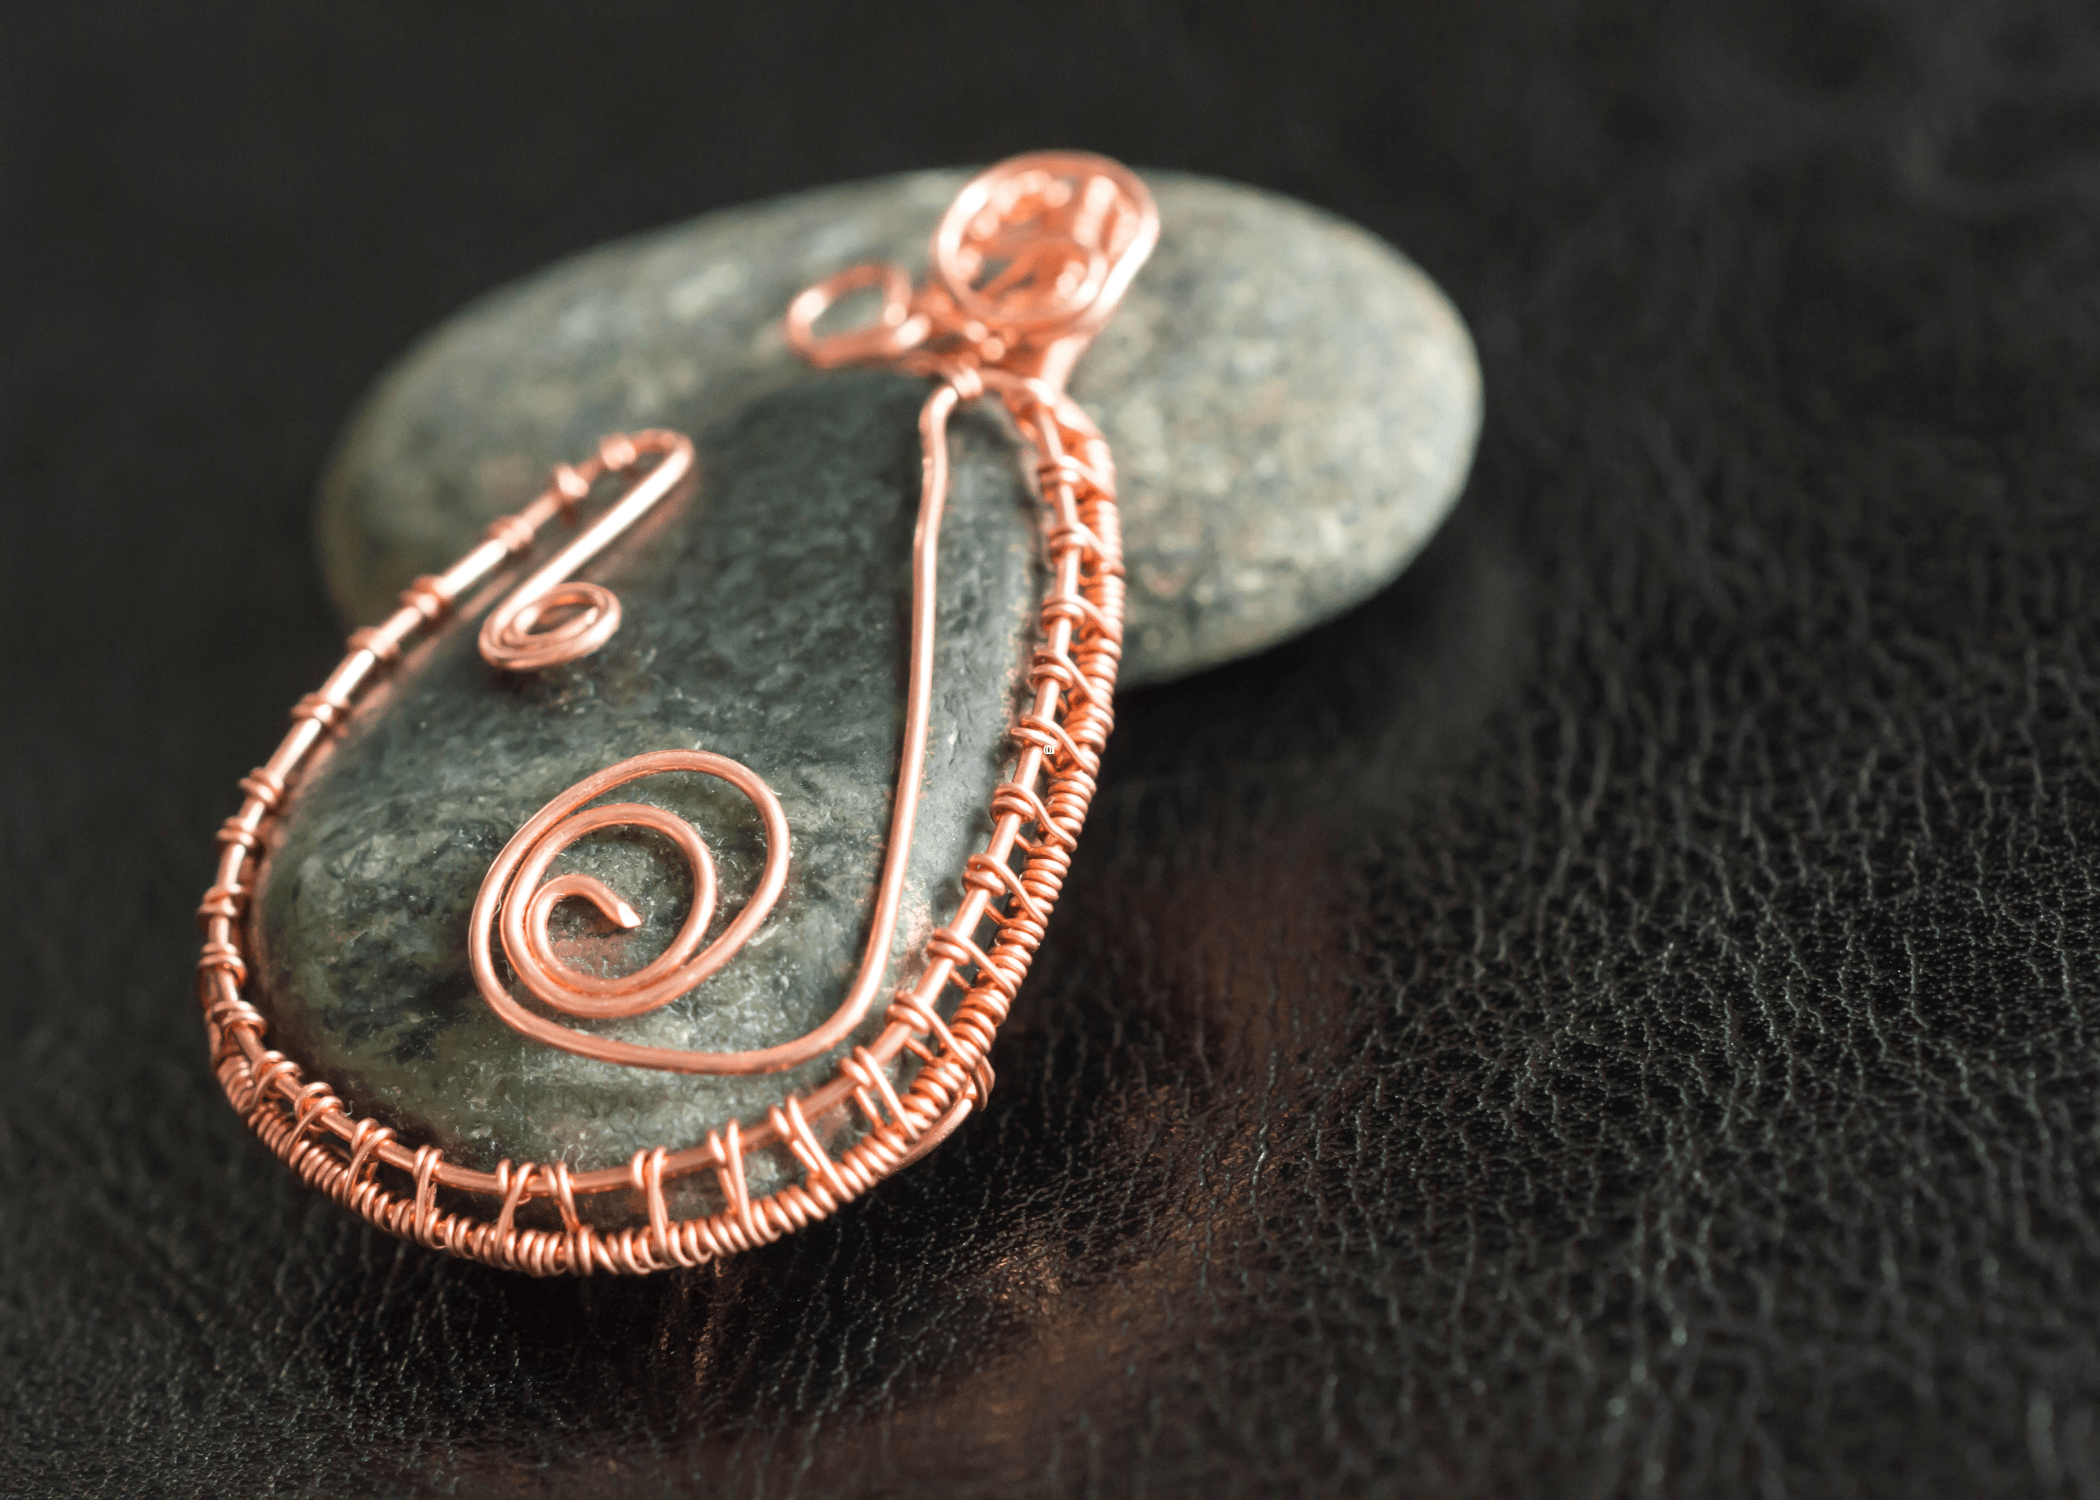
Advanced designs often require a combination of different wire gauges and a good understanding of tension and balance. Techniques such as weaving and coiling can add texture and complexity to your pieces, giving them a professional look.
DIY Projects for Personal Use
Wire wrapping isn’t just for jewelry; it can be used to create a variety of DIY projects for personal use. Consider making keychains, bookmarks, or even decorative pieces like sun catchers.
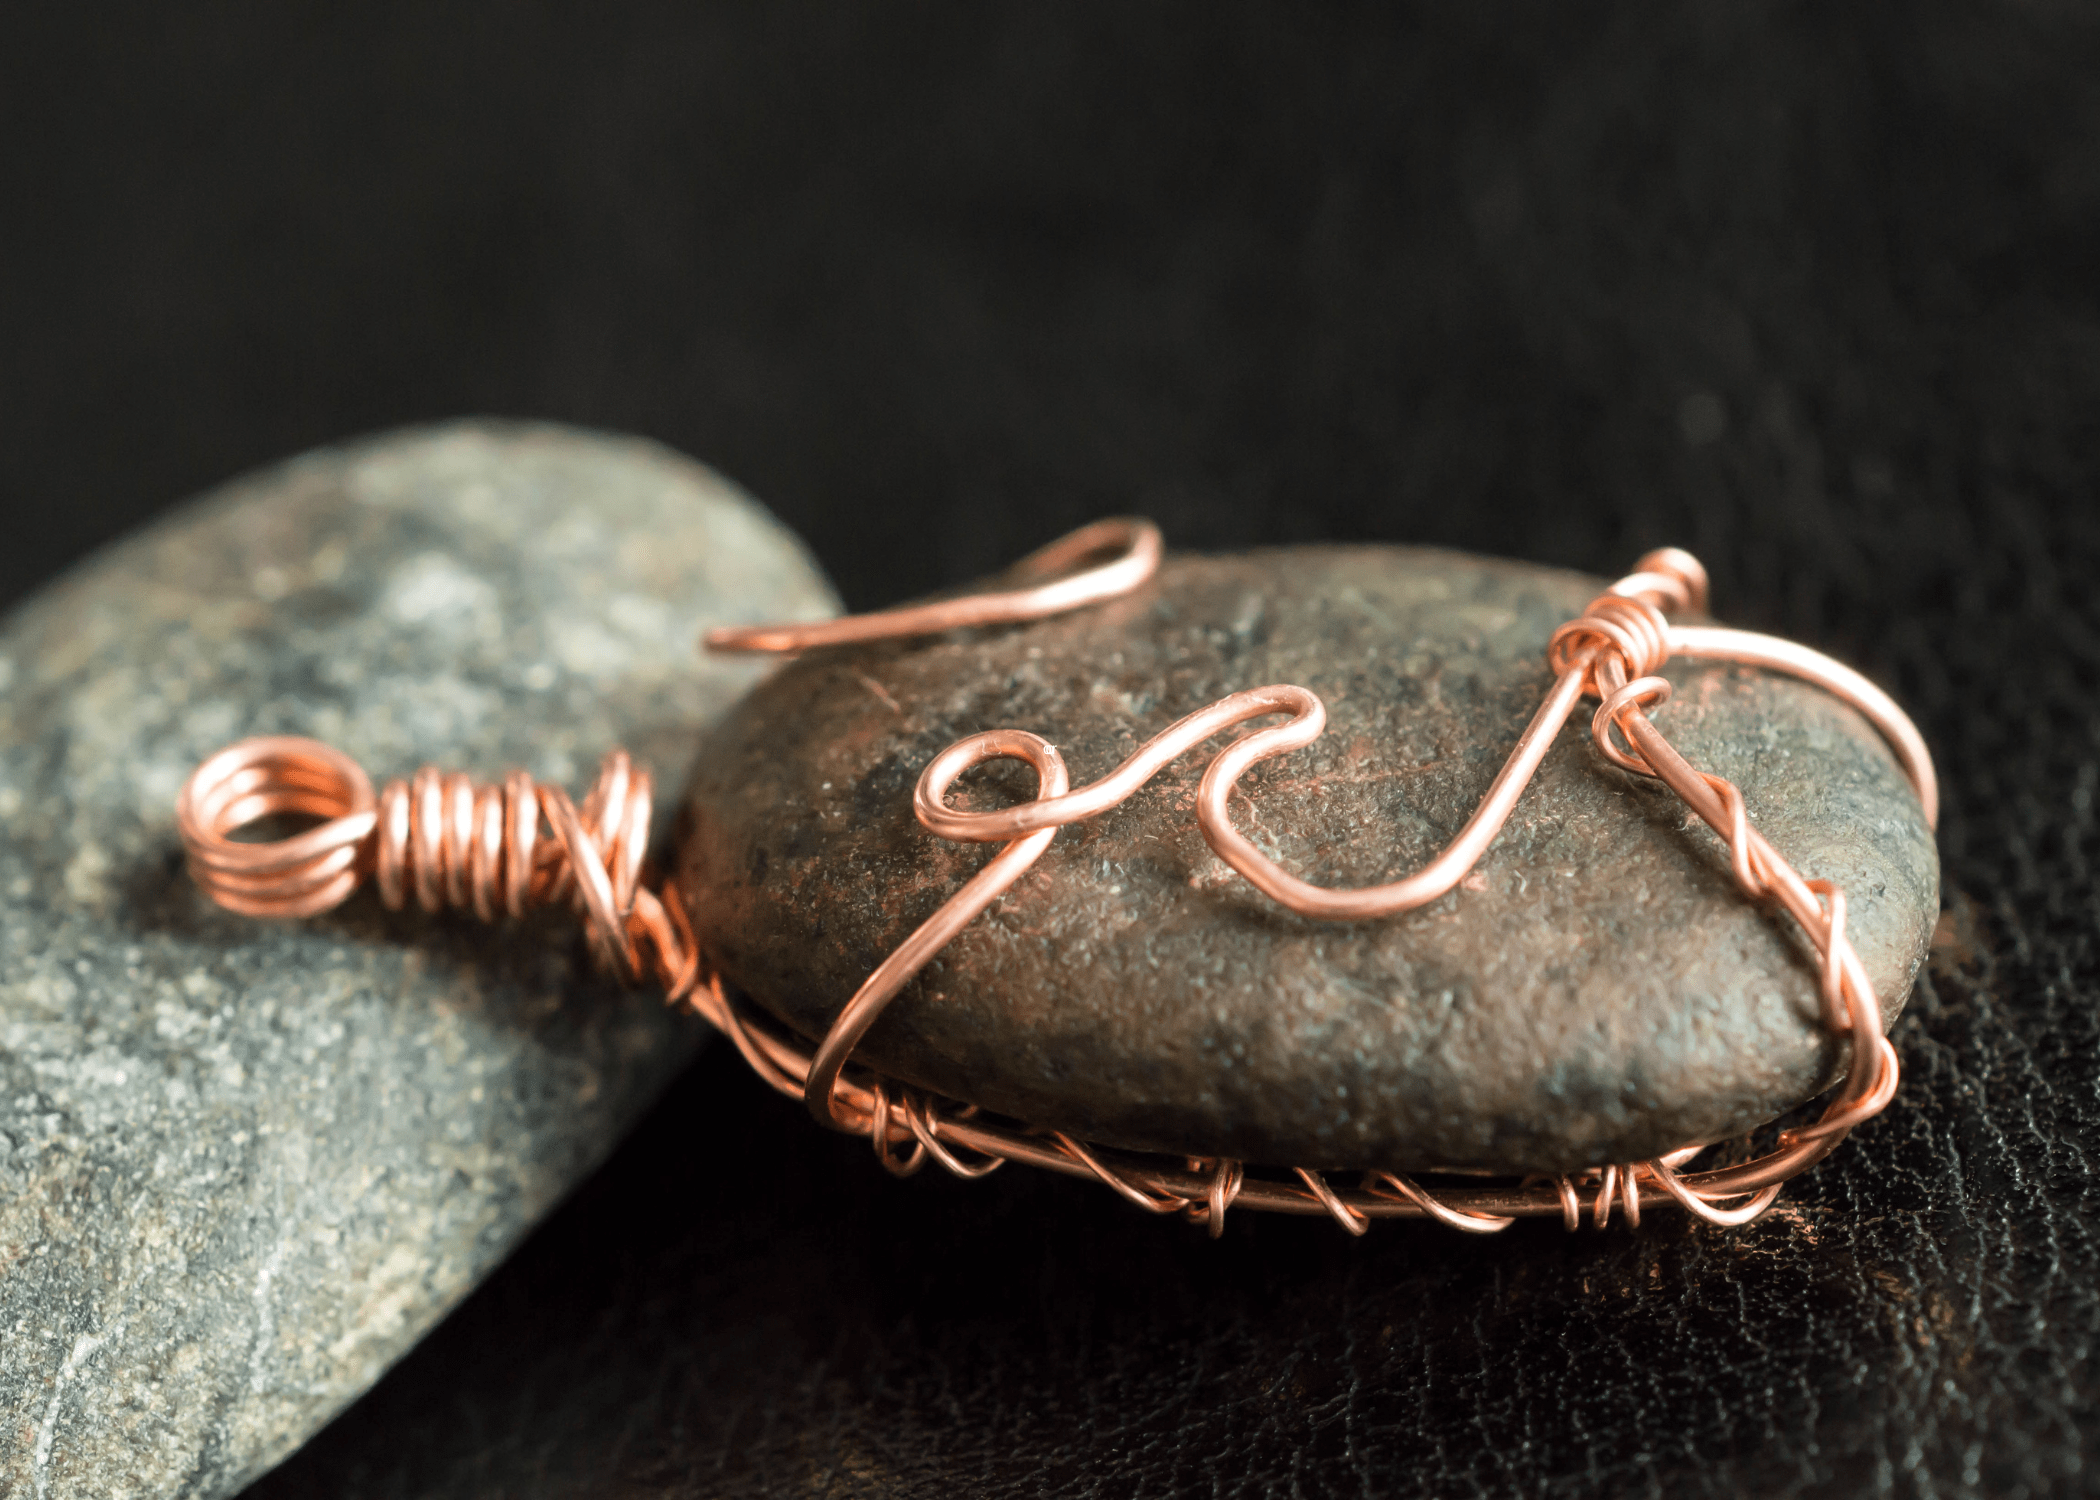
These projects make great gifts and can be customized to suit any style or preference. The versatility of wire wrapping means that you can create something unique for every occasion.
Turning Your Hobby into a Business
If you’ve mastered the art of wire wrapping and are looking to turn your hobby into a business, there are several steps you can take. Start by creating a portfolio of your work, showcasing a range of designs and techniques.
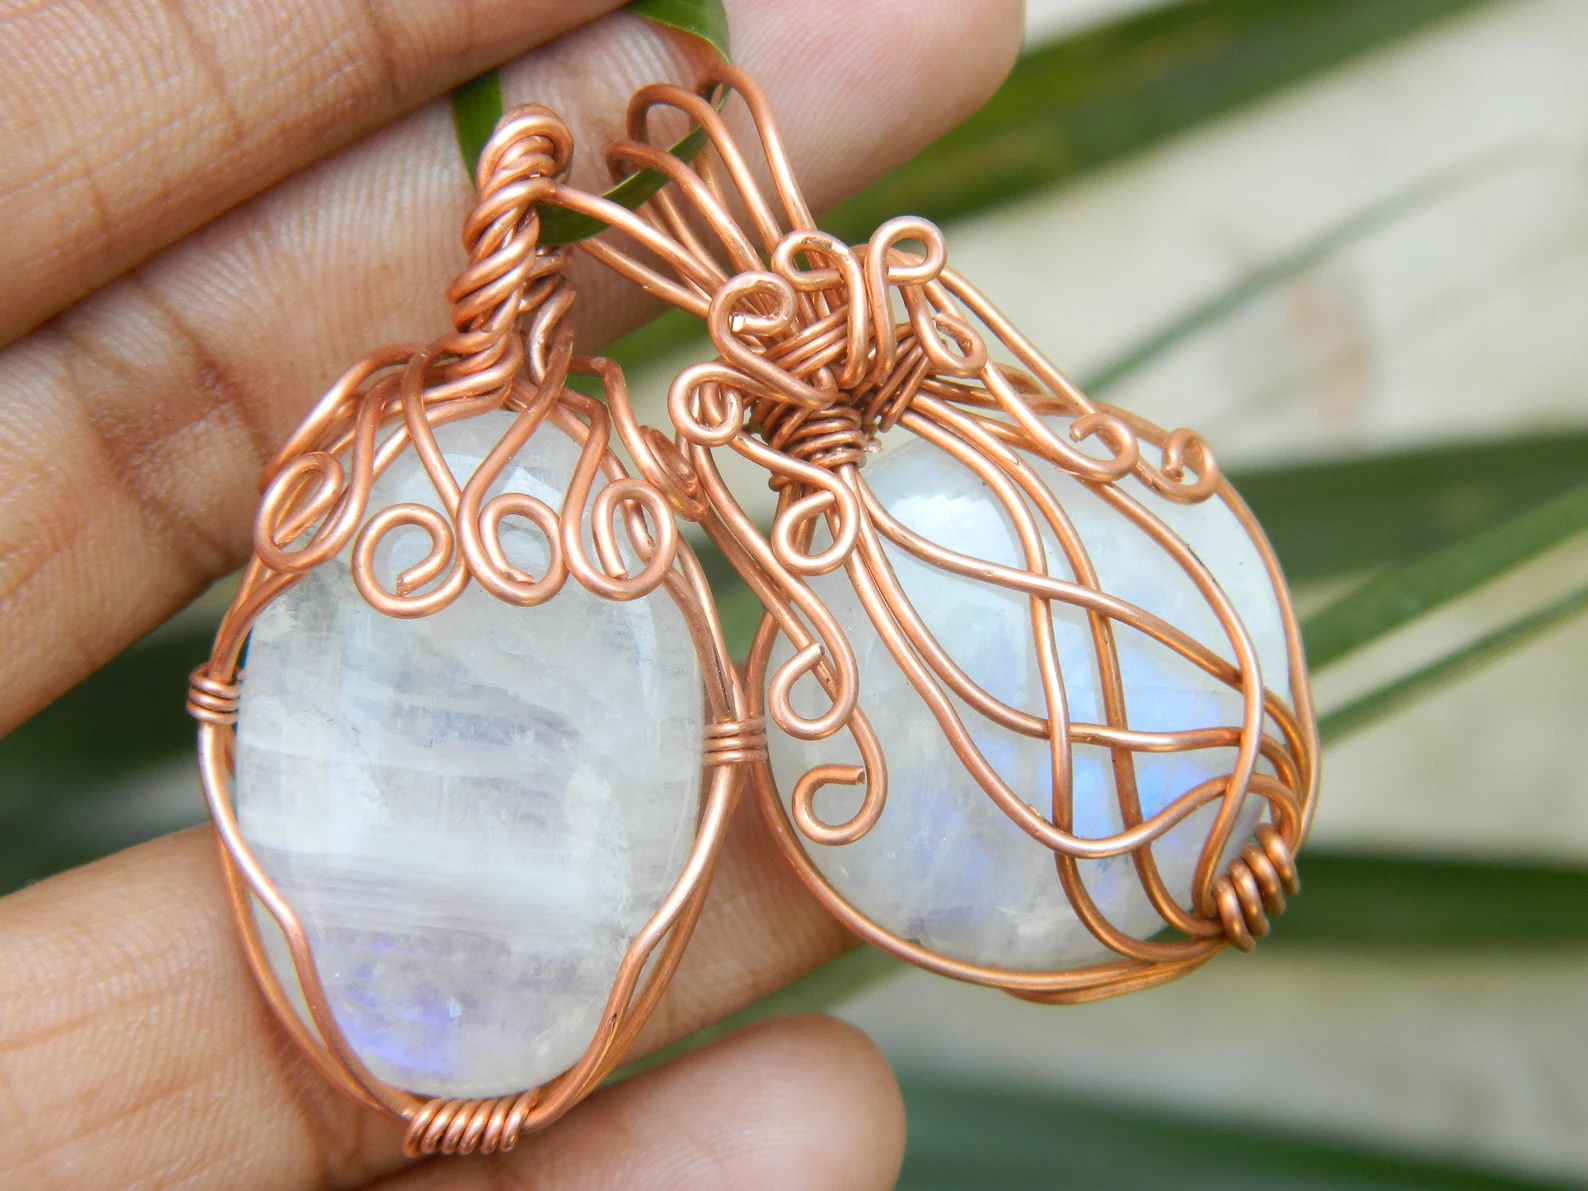
Social media platforms like Instagram and Etsy are excellent places to market your products. Make sure to price your items appropriately, considering the cost of materials and the time spent creating each piece.
Tips for Selling Wire-Wrapped Jewelry
When it comes to selling wire-wrapped jewelry, presentation is everything. Invest in good-quality packaging to make your products look professional. Clear, high-resolution photos are crucial for online sales, as they allow potential customers to see the details of your work.
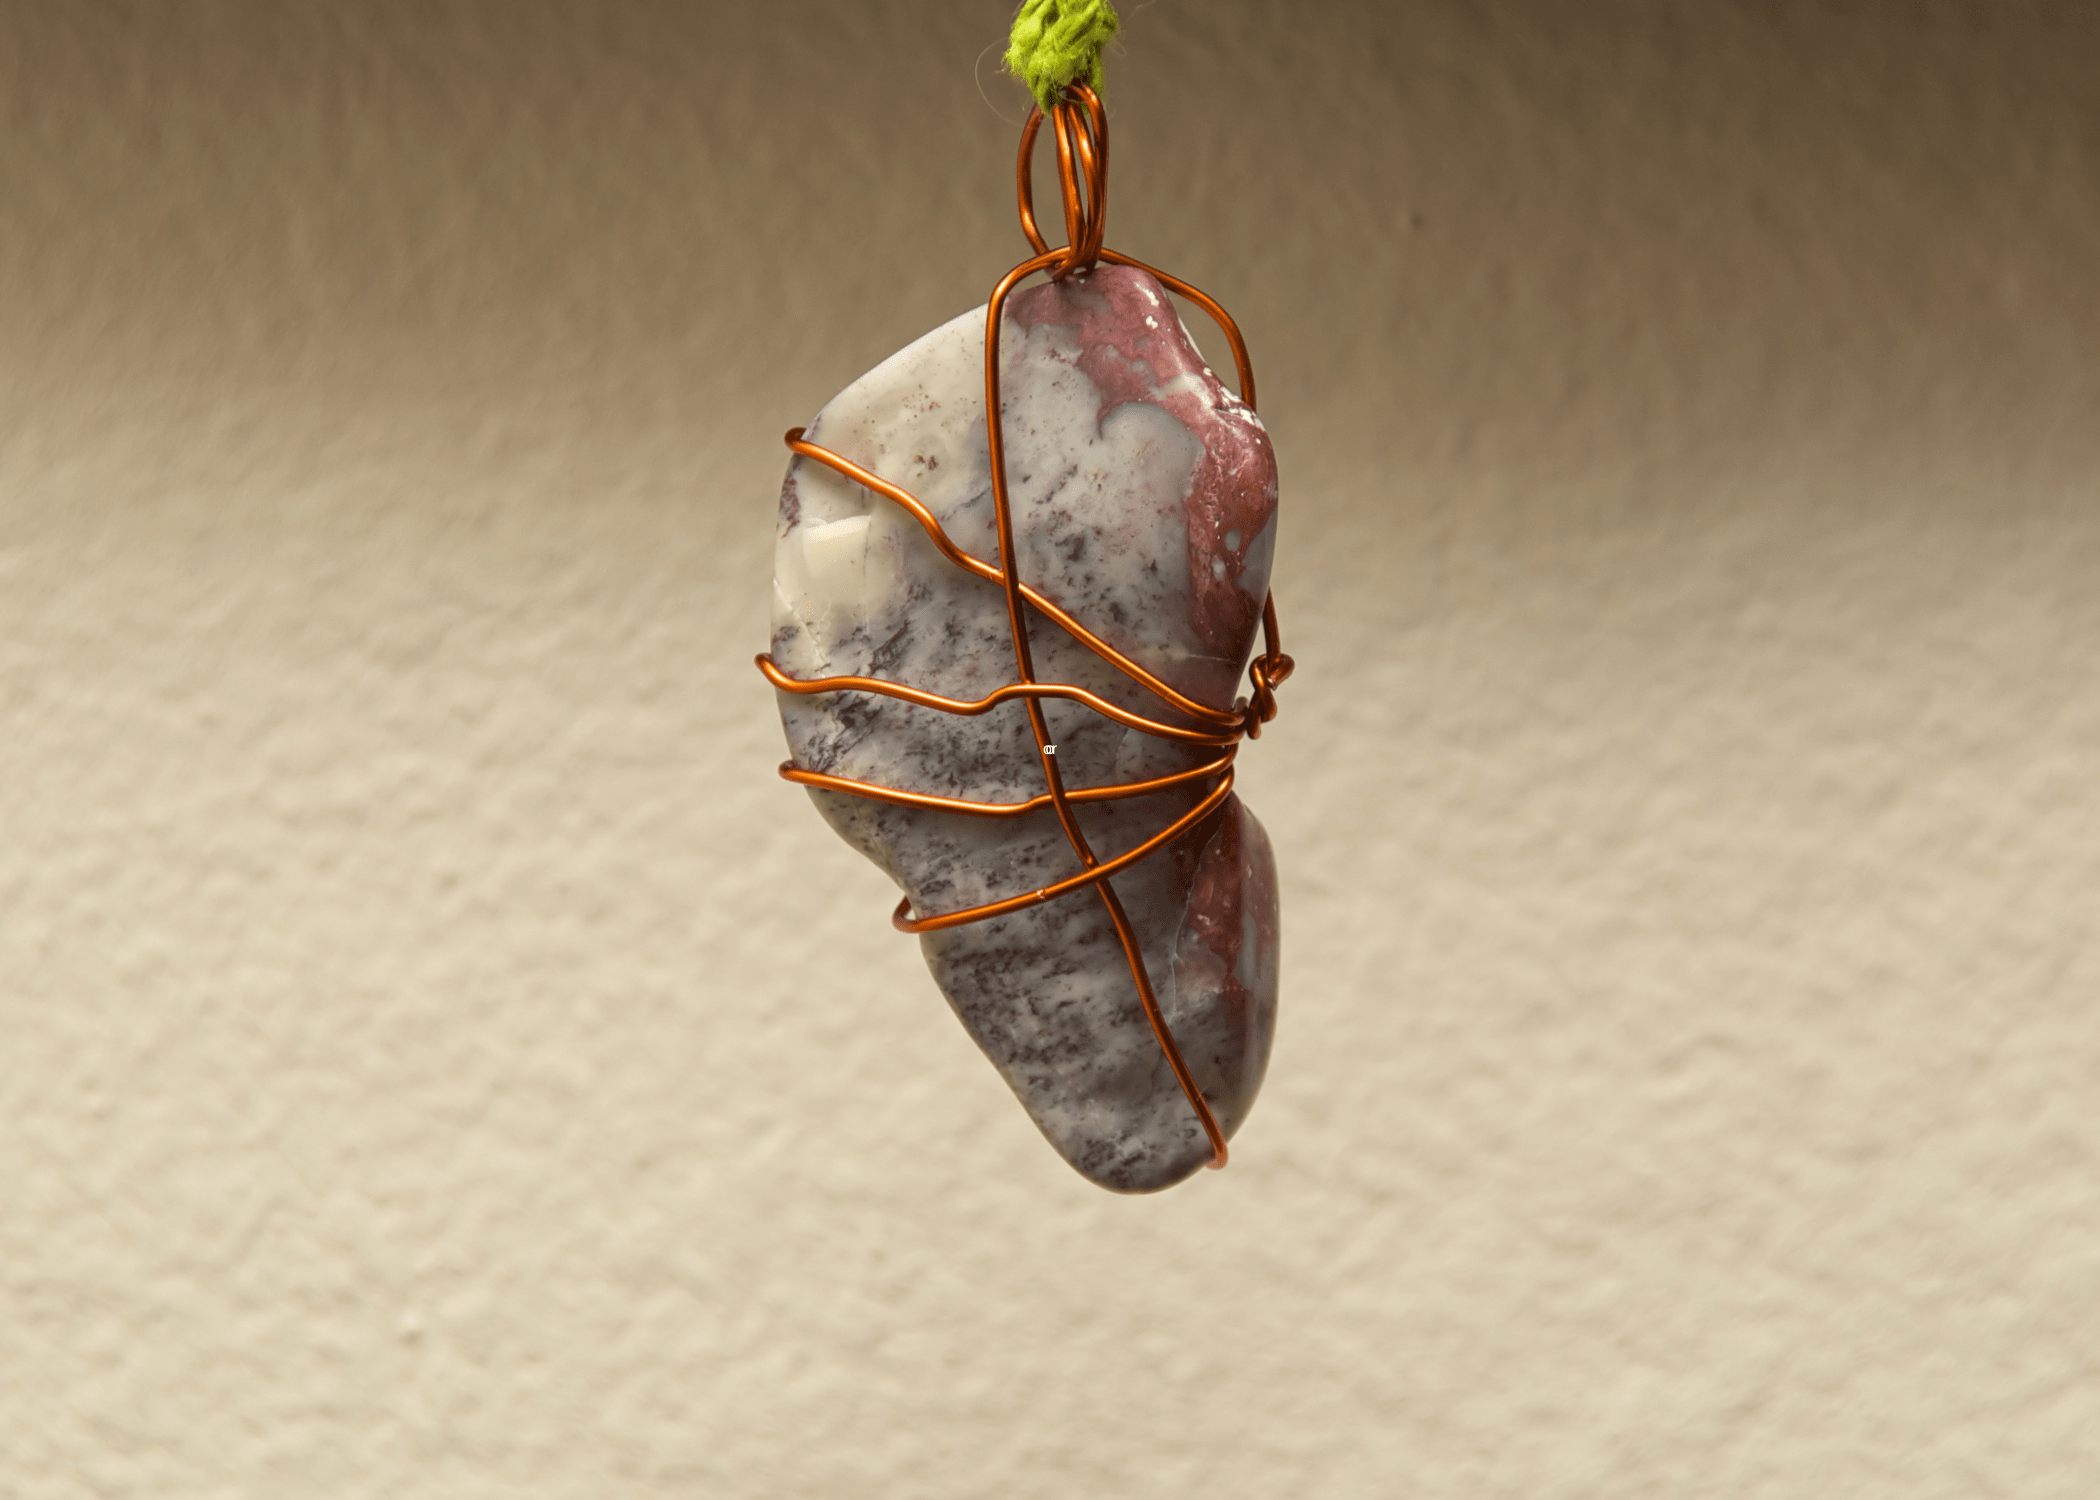
Also, consider offering customization options to attract a broader audience. Engaging with your customers and providing excellent customer service will help build your reputation and encourage repeat business.
Step-by-Step Beginners Guide
Materials Needed:
- Stone or crystal
- Wire (20 to 24 gauge is recommended)
- Round-nose pliers
- Flat-nose pliers
- Wire cutters
- Ruler
- Optional: Needle file or sandpaper (for smoothing wire ends)
Step 1: Choose Your Stone and Wire
Select a stone or crystal that you would like to wrap. It should have an interesting shape and be small enough to wear comfortably. Choose wire in a complementary color and appropriate thickness (20 to 24 gauge is ideal for beginners).
Step 2: Measure and Cut Your Wire
Measure and cut a length of wire using your wire cutters. About 20 inches should suffice for a small to medium-sized stone. You can always trim excess wire later.
Step 3: Create a Base Loop
Using your round-nose pliers, make a small loop at one end of the wire. This loop will serve as the starting point and anchor for your wrap. Ensure the loop is tightly closed to prevent it from slipping.
Step 4: Secure the Stone
Place the stone against the loop and hold it in place. Begin wrapping the wire snugly around the stone, ensuring it is secure but not too tight to avoid damaging the stone. Wrap several times horizontally and then switch to vertical wraps to create a secure cage-like structure around the stone.

Step 5: Form the Bail
After securing the stone with wraps, leave a couple of inches of wire at the top. This will be used to form the bail, which is the loop that allows the pendant to be attached to a chain or cord. Use the round-nose pliers to create a loop with the remaining wire, then wrap the excess wire around the base of the loop to secure it.
Step 6: Trim and Tuck the Ends
Use your wire cutters to trim any excess wire. Make sure to leave a small tail to tuck in securely using your flat-nose pliers. If you have any sharp ends, gently file them down with a needle file or sandpaper to avoid any potential scratching or snagging.
Step 7: Final Adjustments
Check the overall appearance of your wire-wrapped stone. Make any necessary adjustments to ensure the wraps are even and the stone is secure. For added flair, you can add decorative twists or spirals to the wire.
Step 8: Attach to a Chain or Cord
Your wire-wrapped stone is now ready to be worn! Attach it to a chain or cord of your choice, and enjoy your beautiful, handmade piece of jewelry.
Tips:
- Practice with inexpensive wire and stones before moving on to more valuable materials.
- Experiment with different wrapping techniques and designs to find your unique style.
- Patience and practice are key to mastering wire wrapping, so don’t get discouraged if your first few attempts aren’t perfect.
By following these steps, you’ll be able to create stunning wire-wrapped stones that make perfect gifts or additions to your personal jewelry collection.
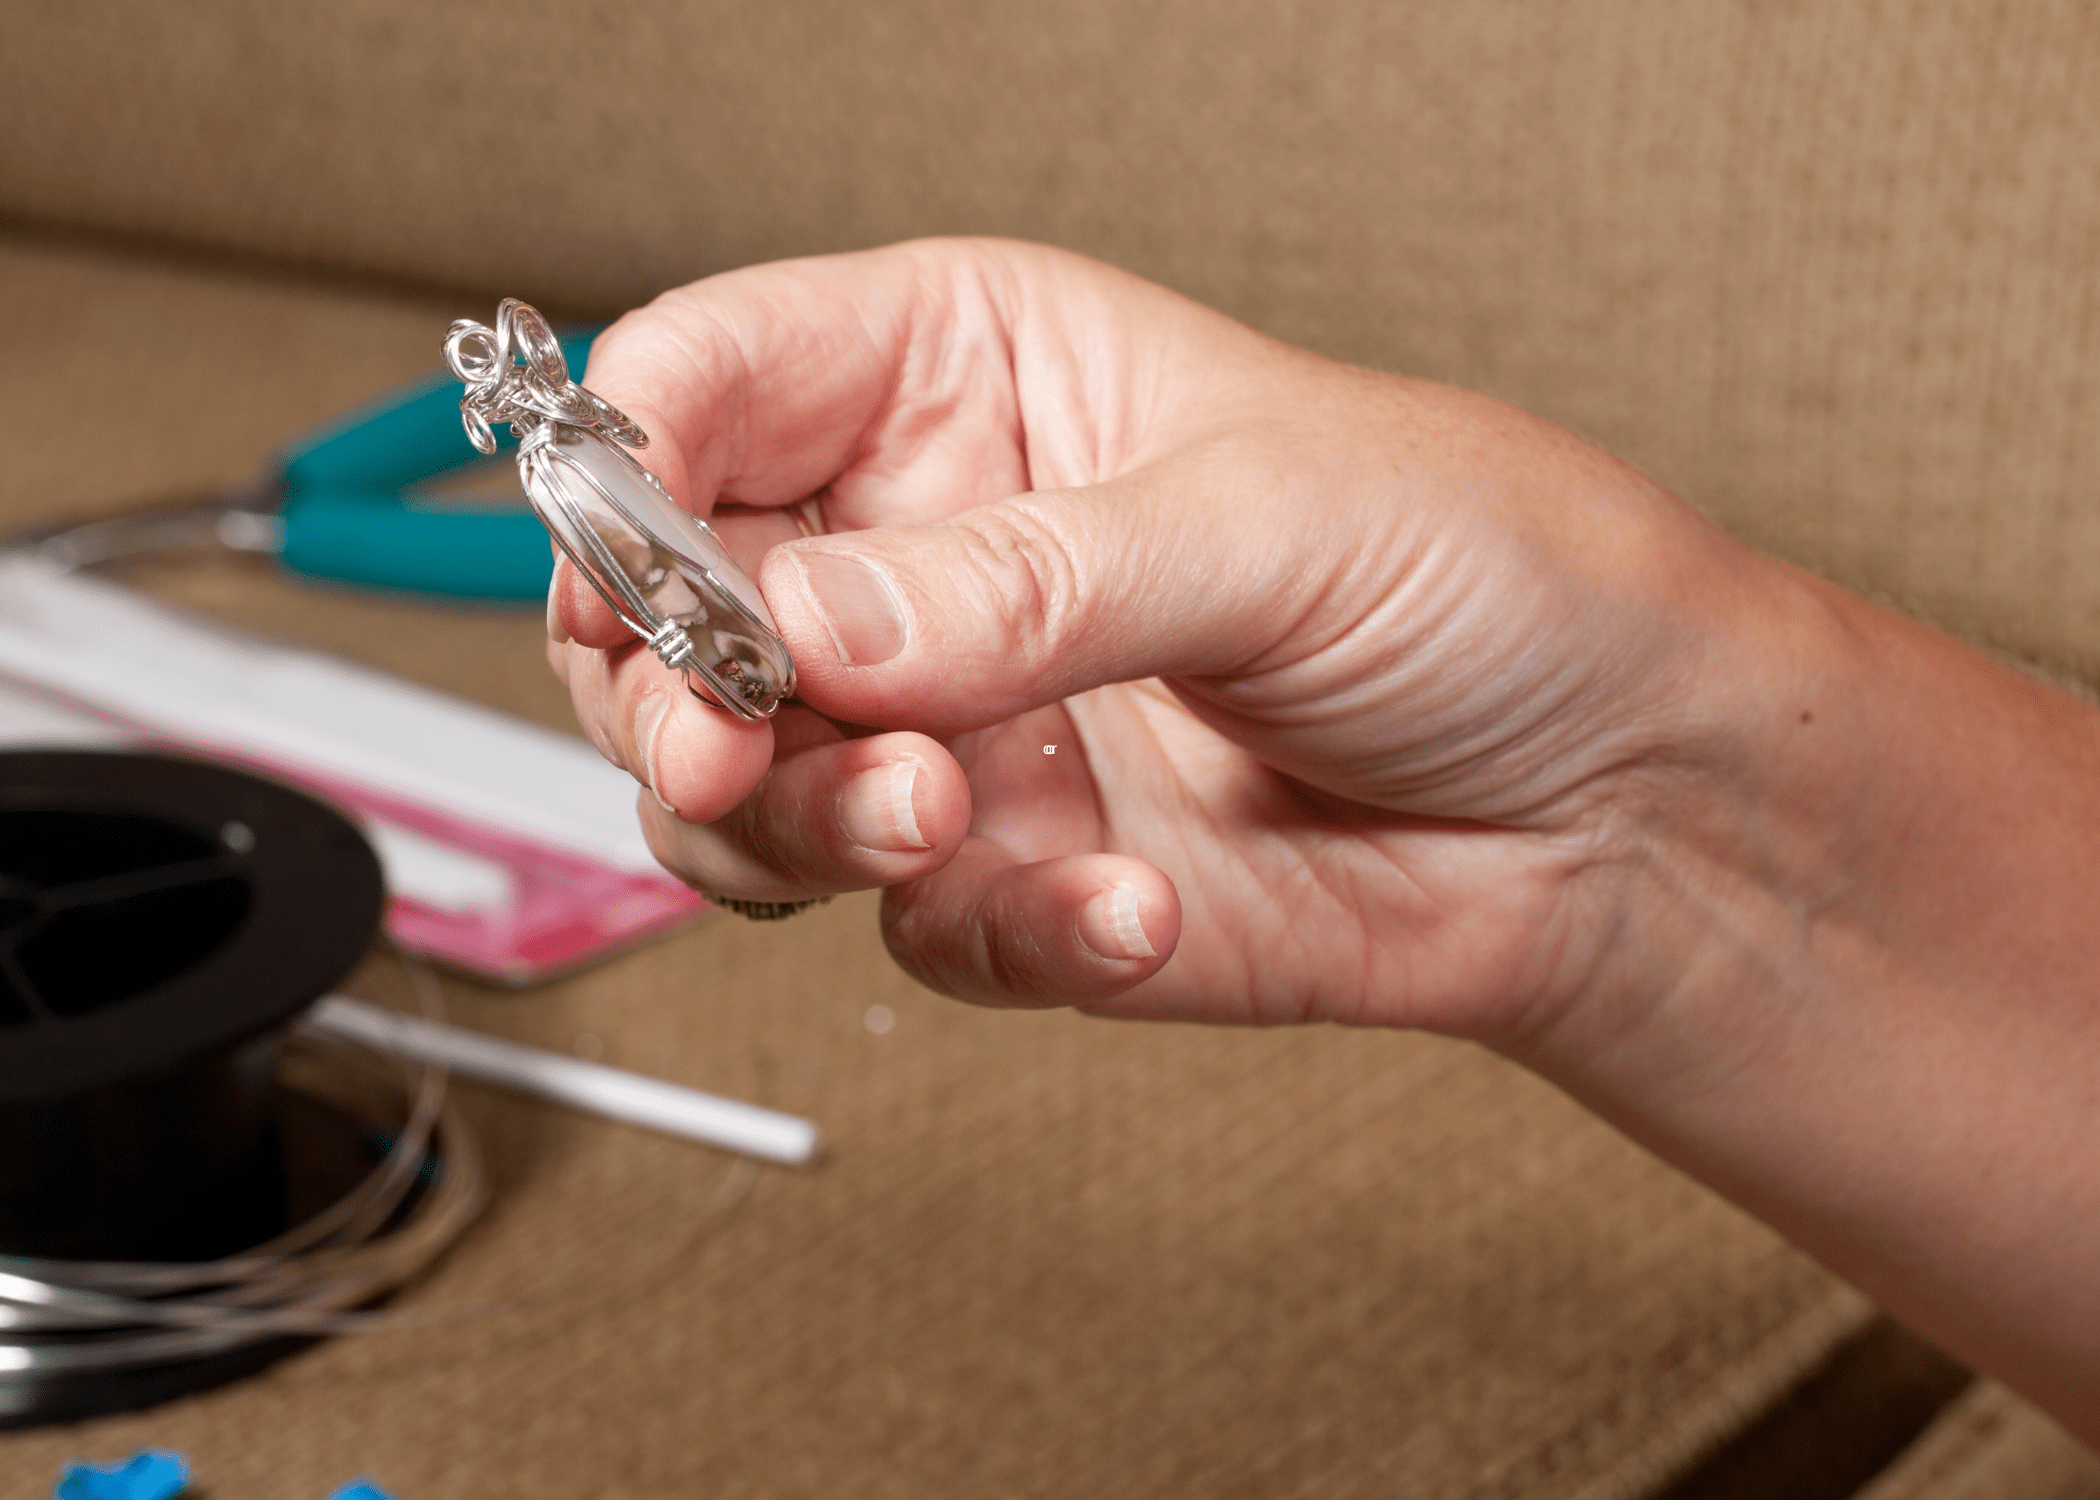
Wire wrapping stones is a rewarding and versatile craft that offers countless opportunities for creativity and business. Whether you’re making jewelry for yourself or looking to sell your creations, the skills you develop through wire wrapping can lead to beautiful, unique pieces that stand out in any setting.
Related Articles
- 60 Easy Woodworking Projects That Sell: Simple Wood Craft Ideas for Anyone
- 5 Wine Bottle Crafts to Repurpose Your Holiday Bottles
- Craft Your Own Workshop Essential – DIY Router Table Build Guide for Craftsmen
With the right materials, techniques, and a bit of practice, you can turn simple stones into stunning works of art.
Ready to start your next project? Join our DIY community to receive tool tips, how-to guides, and exclusive creative insights. Subscribe to the ManMadeDIY newsletter now! Click here to unlock a world of hands-on inspiration.


