Quick Guide to GFCI Outlet Wiring for Safe and Reliable DIY Installation
Wiring a GFCI (Ground Fault Circuit Interrupter) outlet is a valuable skill that can boost home safety and protect you from electrical hazards. These outlets are essential in areas with moisture, like kitchens and bathrooms, as they detect ground faults and shut off power instantly, preventing shocks. If you’re considering installing a GFCI outlet yourself, it’s crucial to understand the basics, follow safety measures, and be aware of common pitfalls. This guide will walk you through the essentials of wiring a GFCI outlet, whether you’re a beginner or an experienced DIYer, and help you achieve a secure and professional installation.
Understanding GFCI Outlets and Their Function
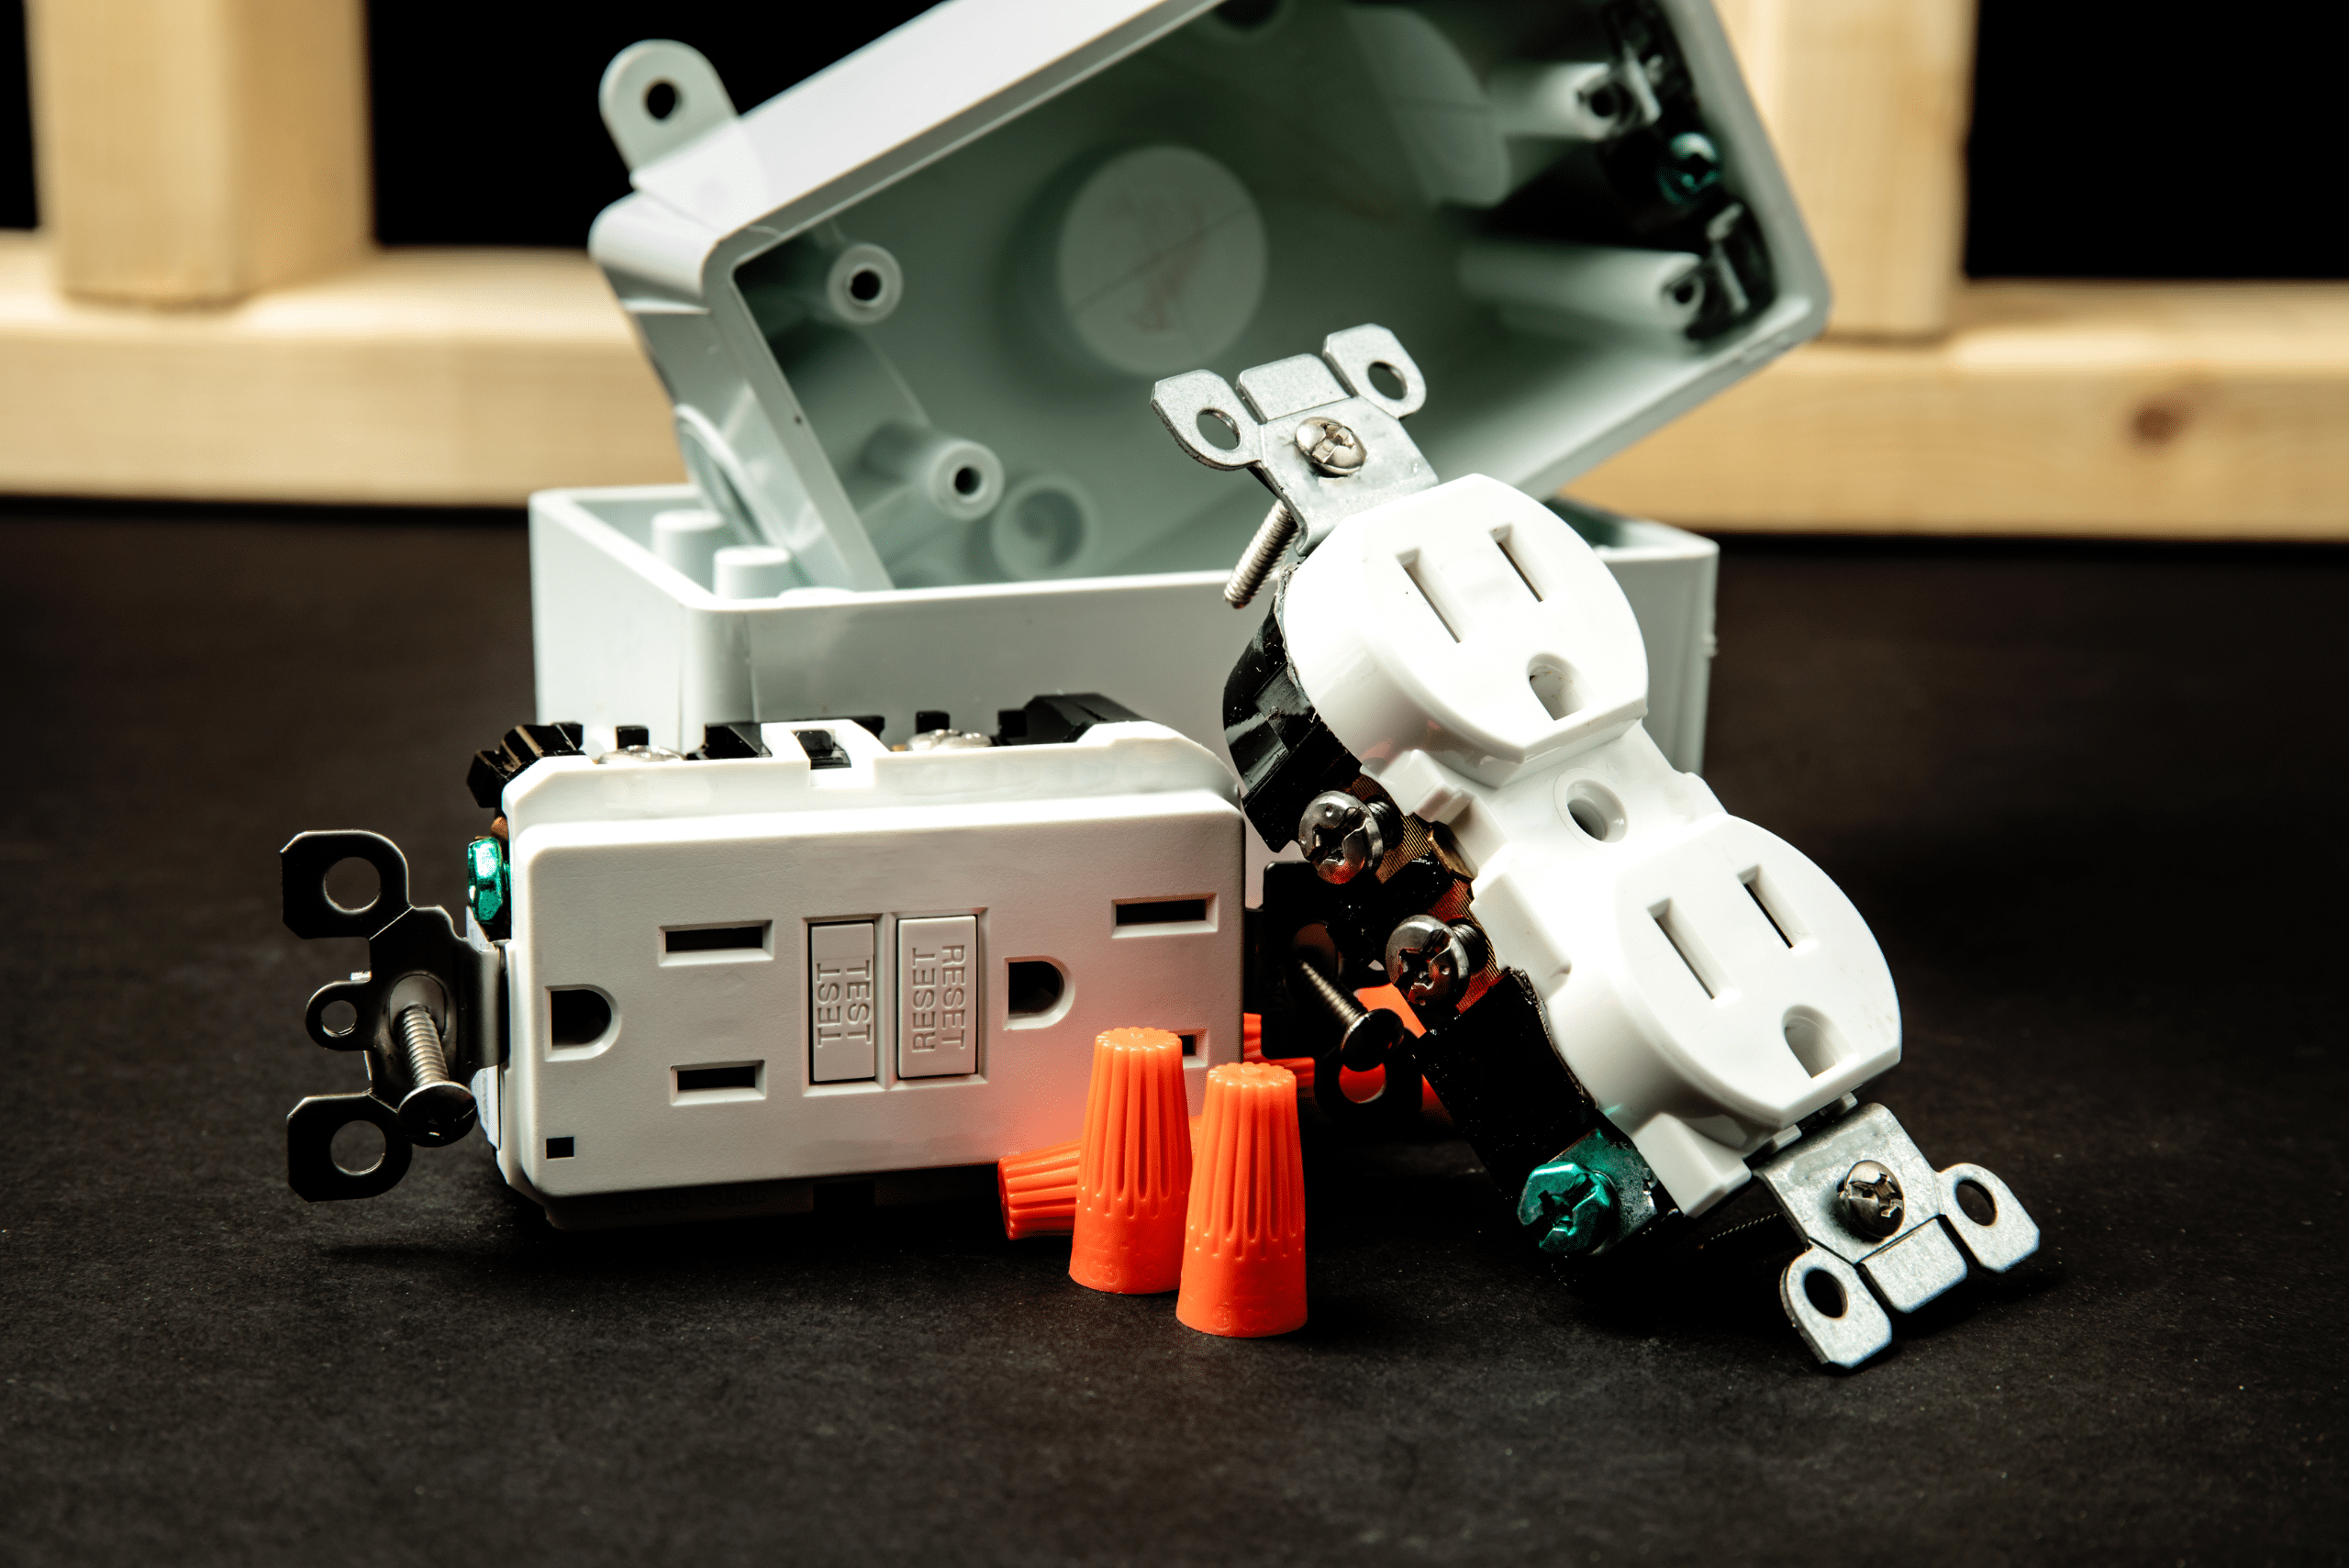
GFCI outlets are specifically designed to prevent electric shocks by quickly cutting power when they detect a current leak, often caused by moisture. Standard outlets don’t offer this level of protection, making GFCIs essential in areas where water exposure is likely, such as bathrooms, kitchens, garages, and outdoor spaces. These outlets reduce the risk of electric shock and are even mandated by building codes in certain areas due to their life-saving potential.
Beyond personal safety, GFCI outlets can also prevent electrical fires by stopping circuits from overheating. This dual protection makes them invaluable for maintaining a safer home. If you’ve noticed that certain areas of your home lack GFCIs, consider upgrading to these outlets not only for compliance but also for the added security and peace of mind they bring.
Essential Tools and Safety Gear for Wiring a GFCI Outlet
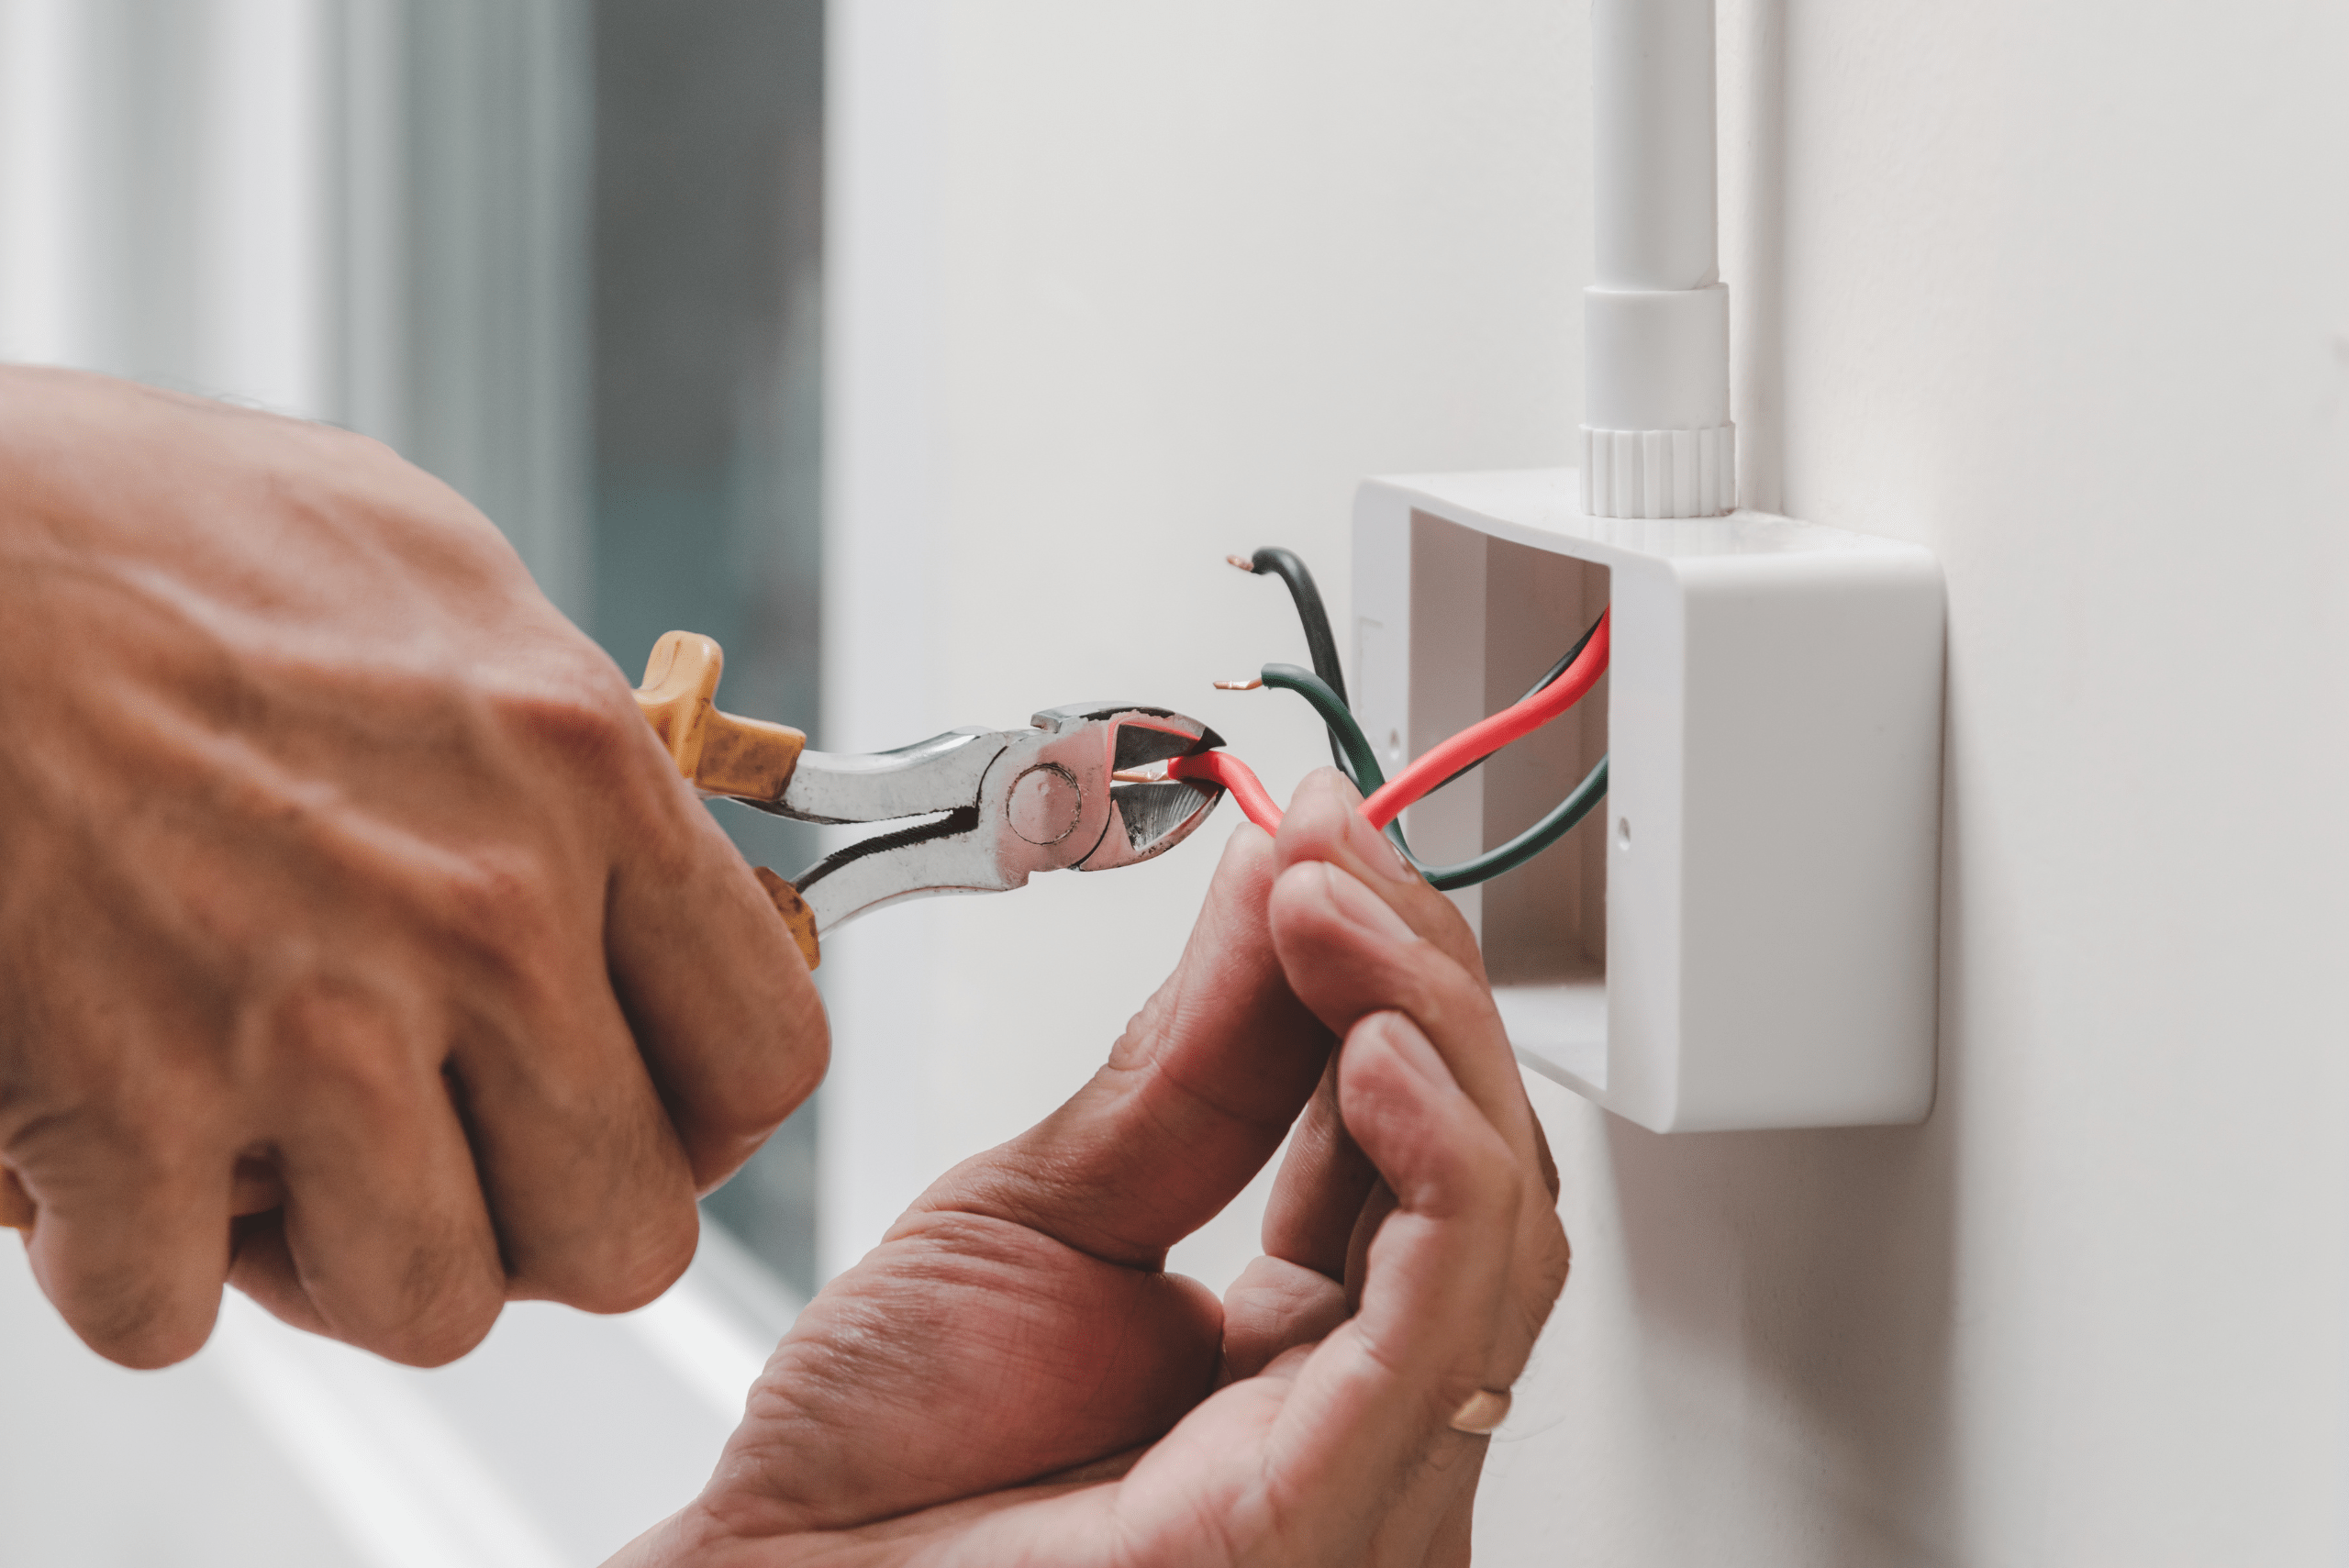
Before you begin, it’s essential to gather the right tools and safety equipment. A basic toolkit should include a screwdriver, needle-nose pliers, a voltage tester, and wire strippers. Each of these tools plays a specific role, from loosening screws and stripping wires to testing the outlet’s live current status. Having a well-prepared workspace can help you avoid mishaps and ensure each step is done correctly.
Safety gear is equally important. Wear insulated gloves and safety goggles to protect against potential shocks and flying debris. And remember to turn off the power at the circuit breaker before working on any outlet. Use your voltage tester to confirm the power is off by testing the wires in the outlet box before you proceed. Taking these precautions may feel like extra steps, but they significantly reduce the risk of injury during your DIY project.
Step-by-Step Guide to Wiring Your GFCI Outlet
Turn Off the Power and Test the Wires
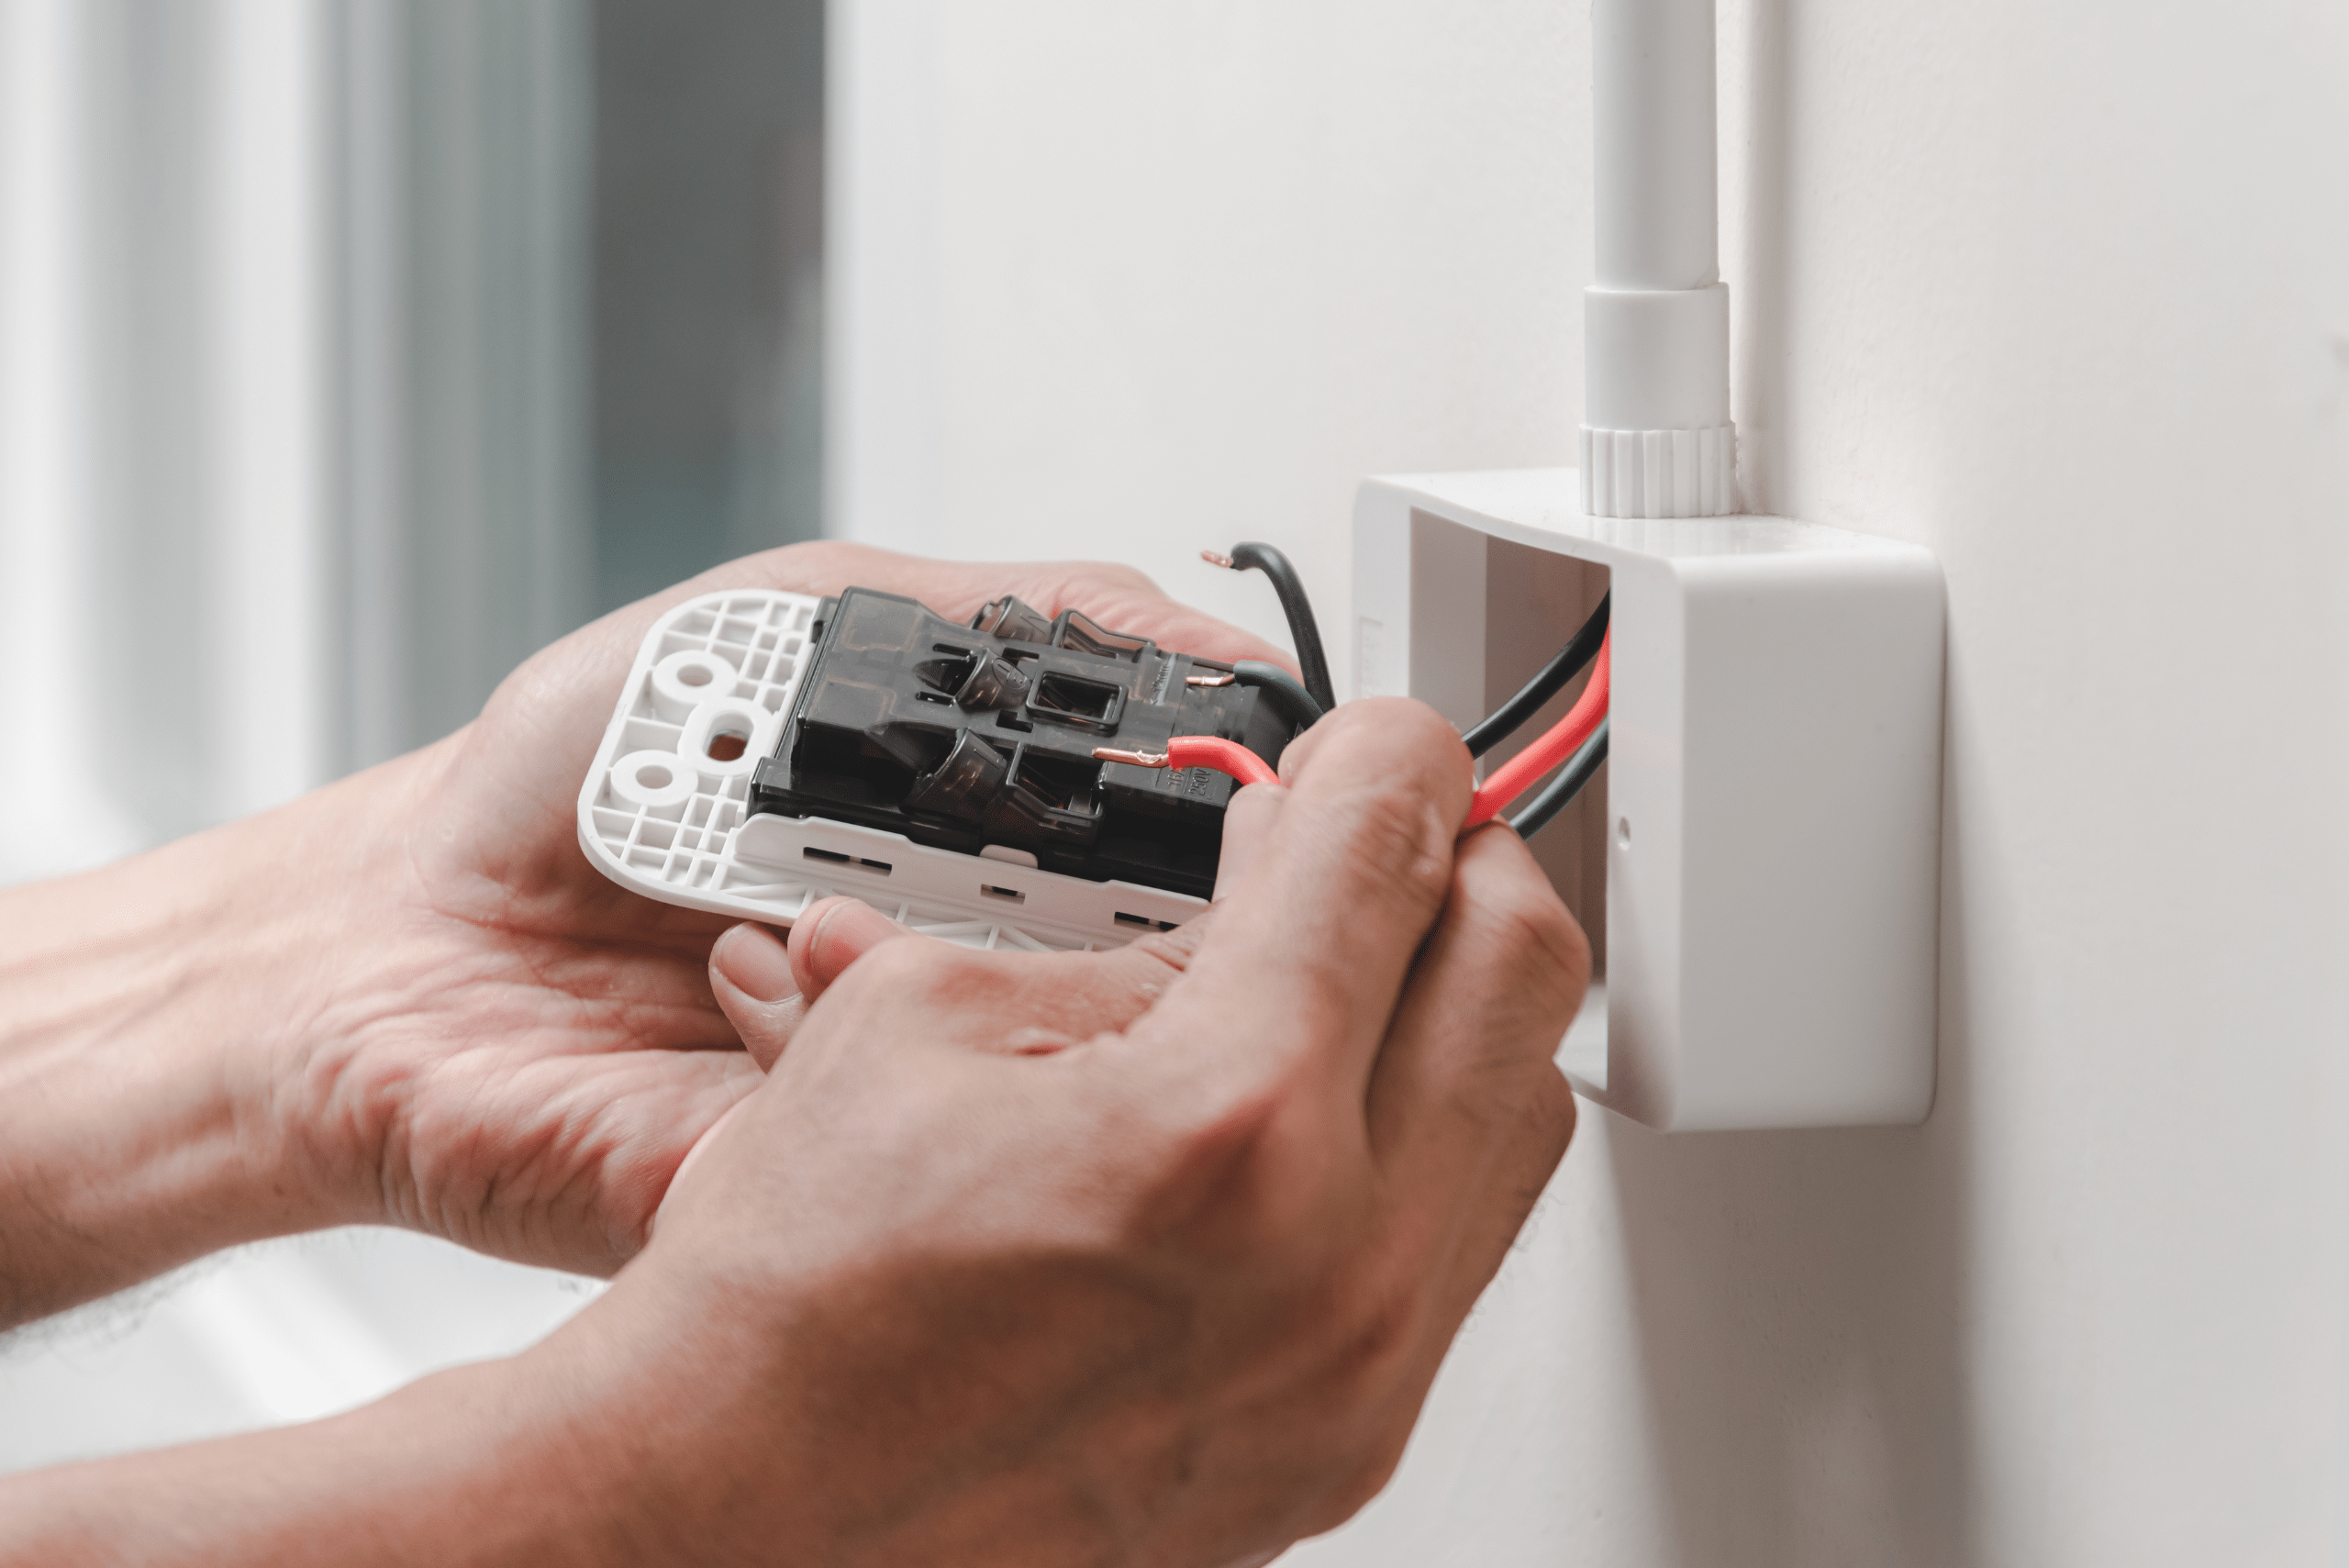
Start by switching off the power at your circuit breaker. Use your voltage tester to confirm there’s no current in the wires you’ll be working with. This step is crucial to ensure your safety and avoid any unexpected shocks.
Identify the Line and Load Wires
GFCI outlets have two sets of terminals labeled “LINE” and “LOAD.” The “LINE” terminals connect to the power source, while the “LOAD” terminals connect to downstream outlets. If you’re unsure which is which, use your voltage tester on the wires to find the “LINE.” This step helps the GFCI outlet function correctly and protects other outlets downstream.
Connect the Wires to the GFCI
Attach the black (hot) and white (neutral) wires to the LINE terminals. For multiple outlets, connect additional wires to the LOAD terminals. Secure each wire tightly to avoid loose connections, which can cause the outlet to malfunction or overheat. Double-check your connections to ensure everything is correctly attached before proceeding.
Mount the Outlet and Restore the Power
After wiring, push the outlet back into the box carefully and secure it with screws. Attach the cover plate, then restore power at the breaker and test the outlet using the “Test” and “Reset” buttons. These buttons should function properly if the outlet is wired correctly, ensuring that it’s working as intended.
Common Mistakes to Avoid When Wiring GFCI Outlets
Wiring a GFCI outlet isn’t overly complicated, but certain mistakes can compromise the installation. One common error is wiring the outlet backward by mixing up the LINE and LOAD connections. This mistake can prevent the GFCI from functioning properly and may leave you unprotected from electrical hazards. Always double-check the wiring labels and consult a manual if needed.
Another common mistake is overcrowding the electrical box. GFCI outlets are bulkier than standard outlets, which means space can be tight. Avoid forcing wires into the box, as this can damage them or create loose connections. If space is limited, consider installing a larger electrical box to allow for a safer, more manageable setup.
Safety Tips and When to Consider Professional Help
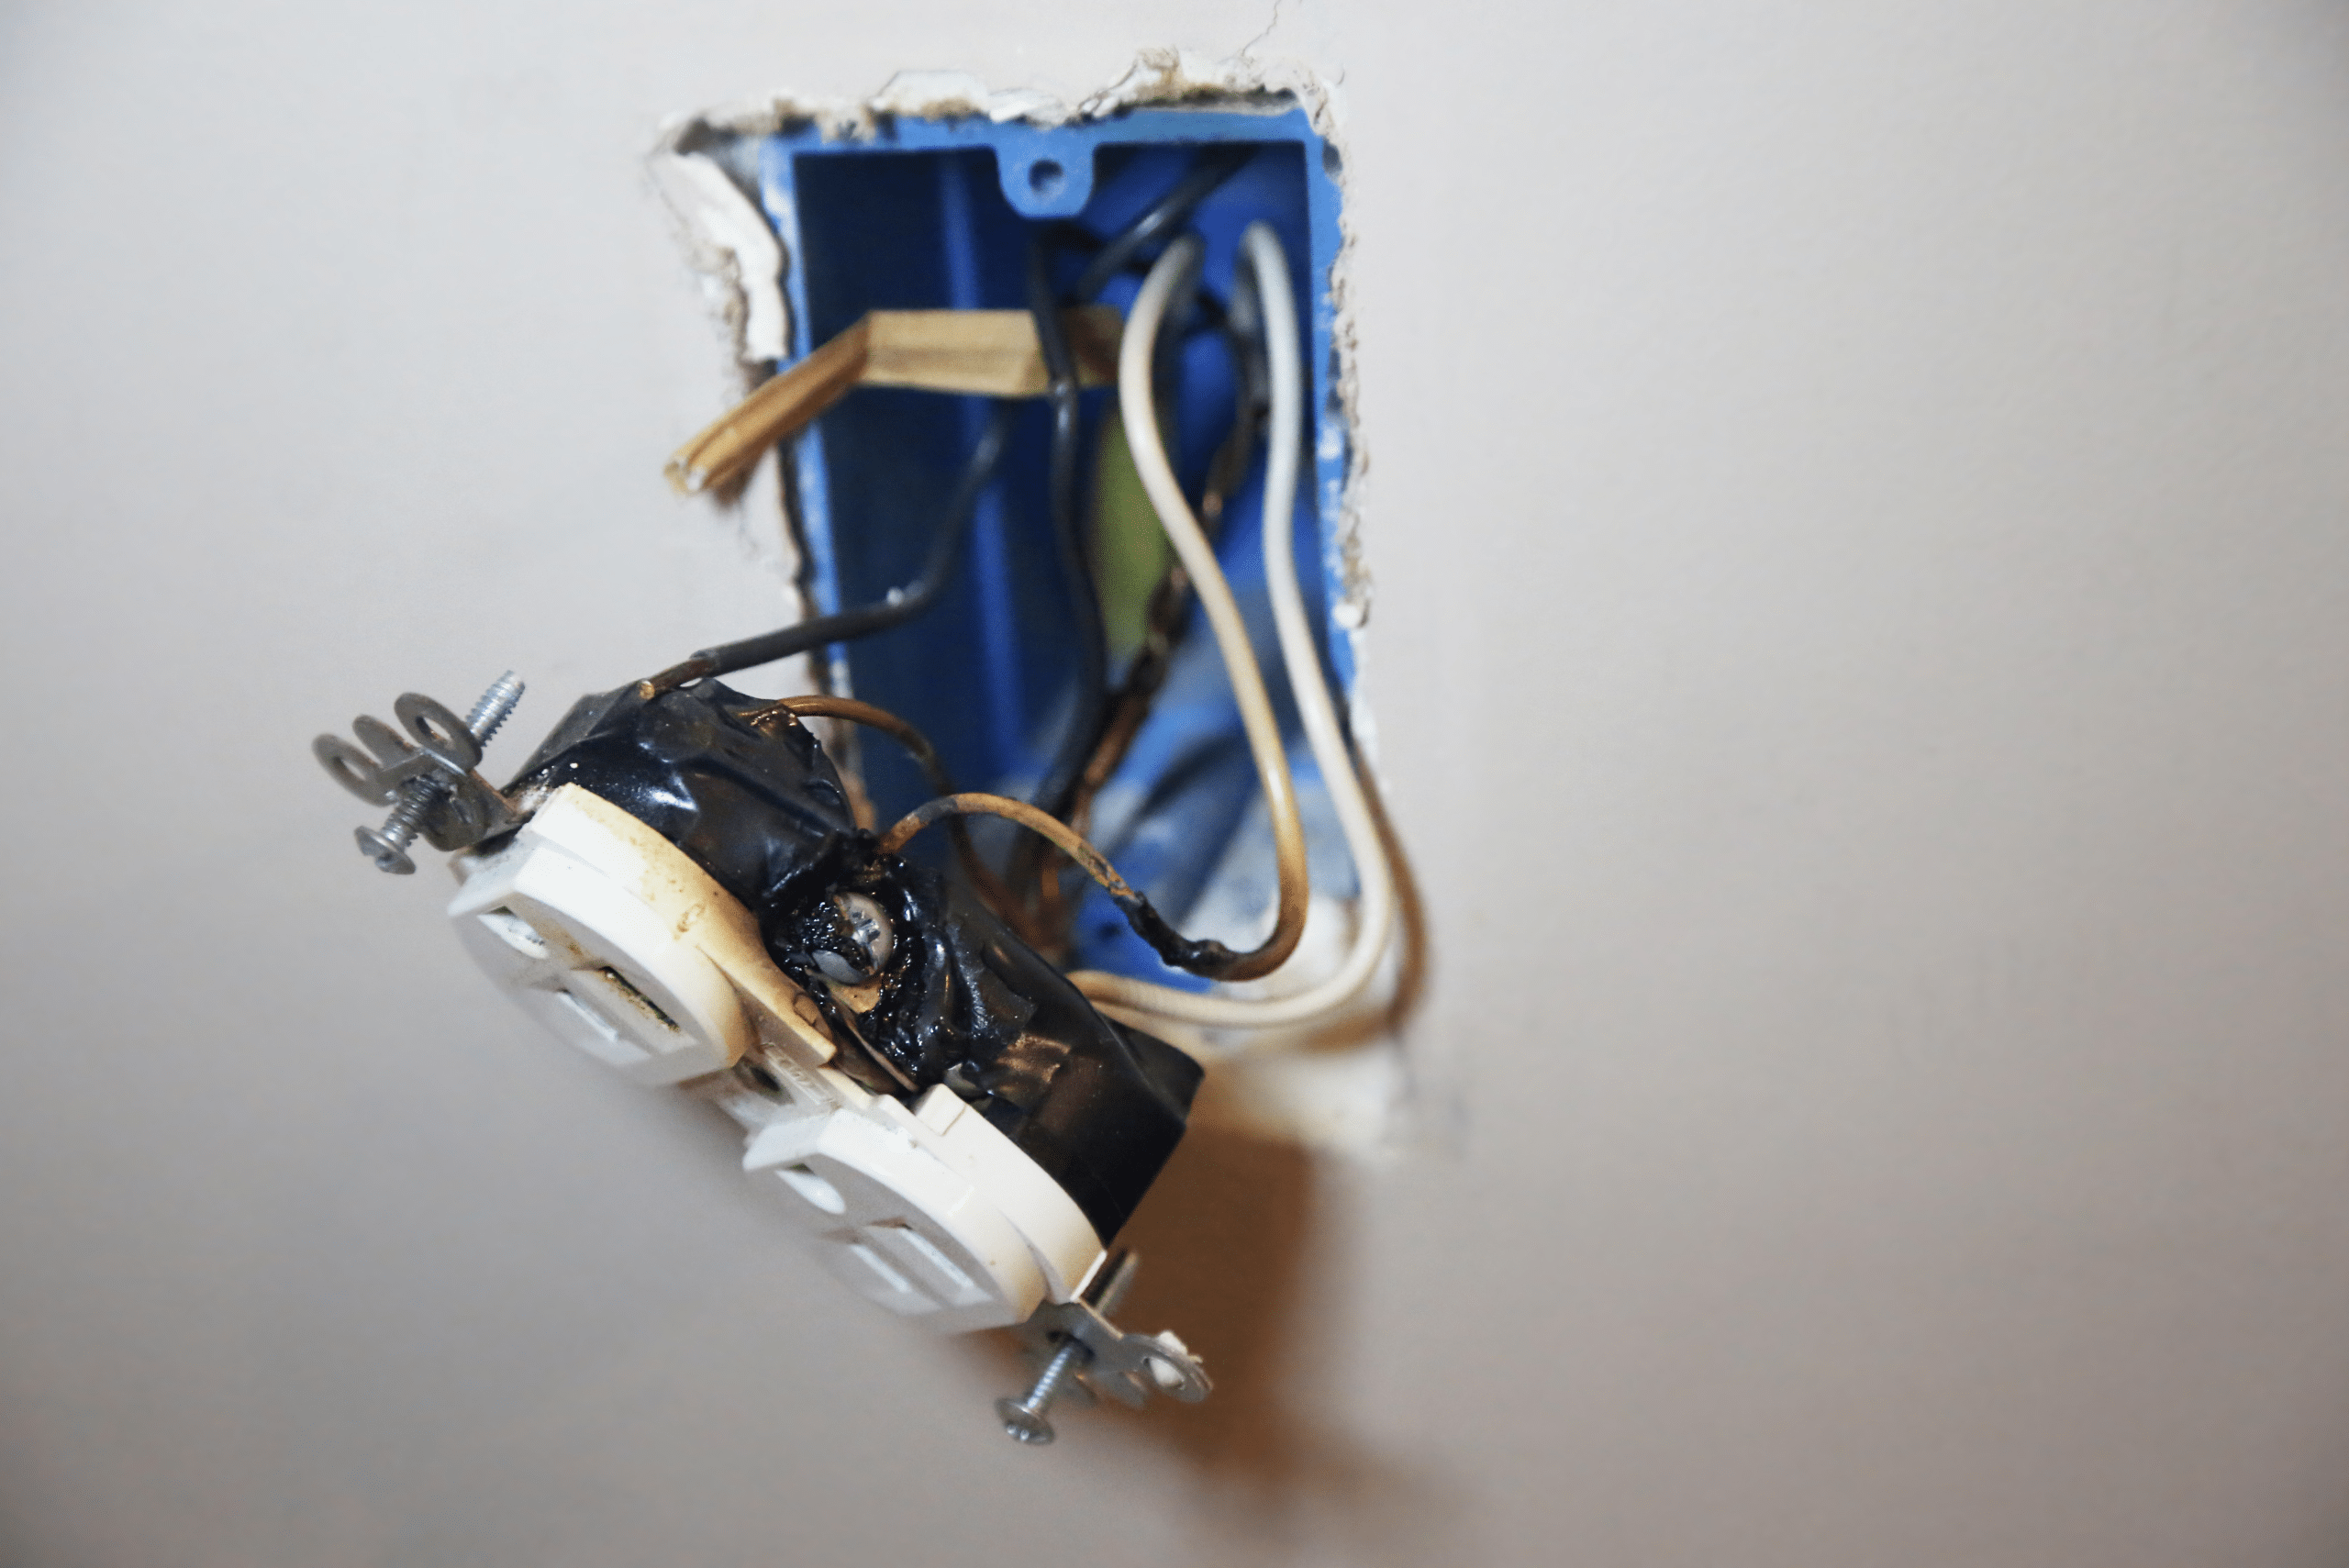
Even if you’re a confident DIYer, working with electricity requires caution. Always turn off power at the circuit breaker, wear protective gear, and use a voltage tester to ensure a safe work environment. If you experience any confusion or if the wiring setup appears complex, don’t hesitate to consult an electrician.
Professional assistance is particularly recommended if you need to install multiple GFCIs on a single circuit or if your home’s wiring is older and may require additional updates. Hiring a licensed electrician may be a safer, quicker option in these scenarios, ensuring that your GFCI outlets are installed properly and meet code requirements.
Related Articles
- How to Use a Voltage Tester for Safe Electrical Work
- Why Getting Wire Gauge and Amperage Right Is Crucial for DIY Success
- How to Splice Wires For DIY Projects Around Your Home
Wiring a GFCI outlet is a straightforward DIY project that can significantly improve home safety. By following the correct steps, gathering essential tools, and taking safety precautions, you can successfully install a GFCI outlet in areas where moisture poses a risk. While DIY wiring can be rewarding, remember that some situations may call for a professional’s expertise. Ultimately, GFCI outlets are a wise investment in home protection, giving you peace of mind while enhancing safety for you and your loved ones.
Ready to start your next project? Join our DIY community to receive tool tips, how-to guides, and exclusive creative insights. Subscribe to the ManMadeDIY newsletter now! Click here to unlock a world of hands-on inspiration.

