Create Unique Wood Burning Designs With Pyrography
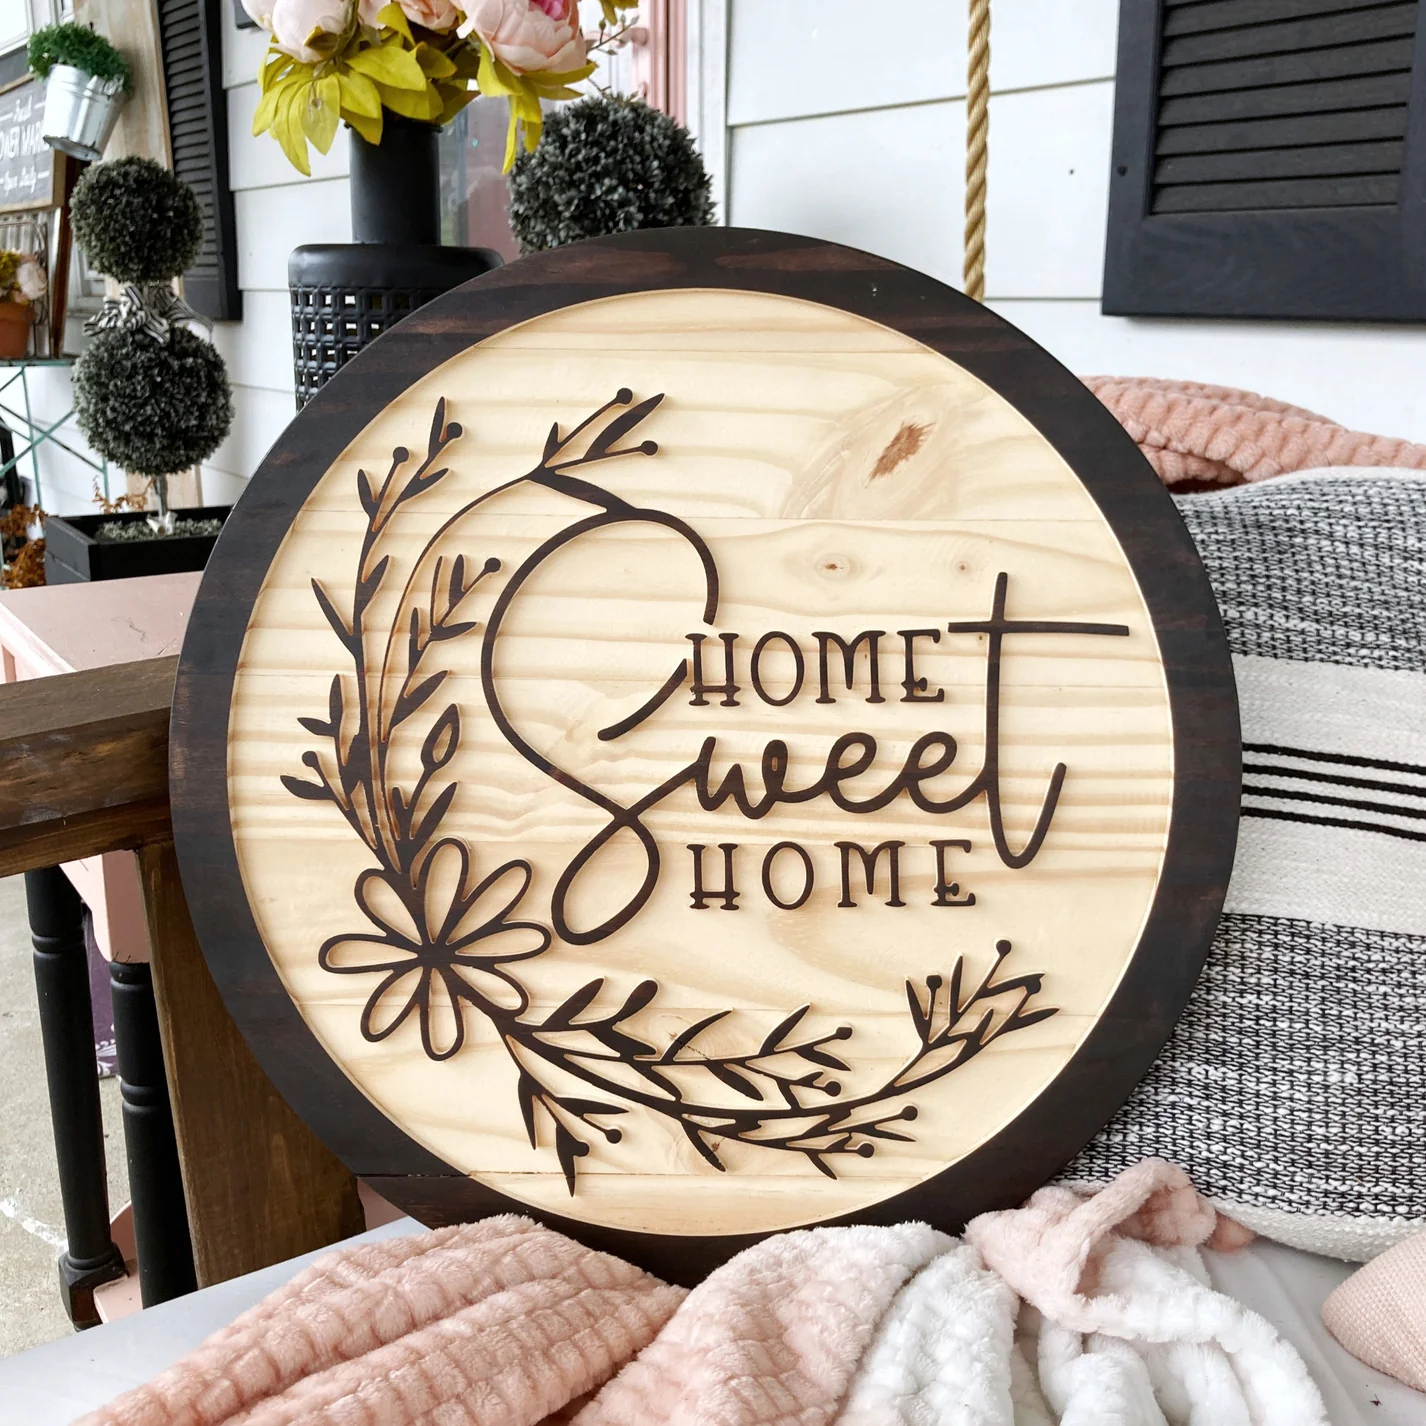
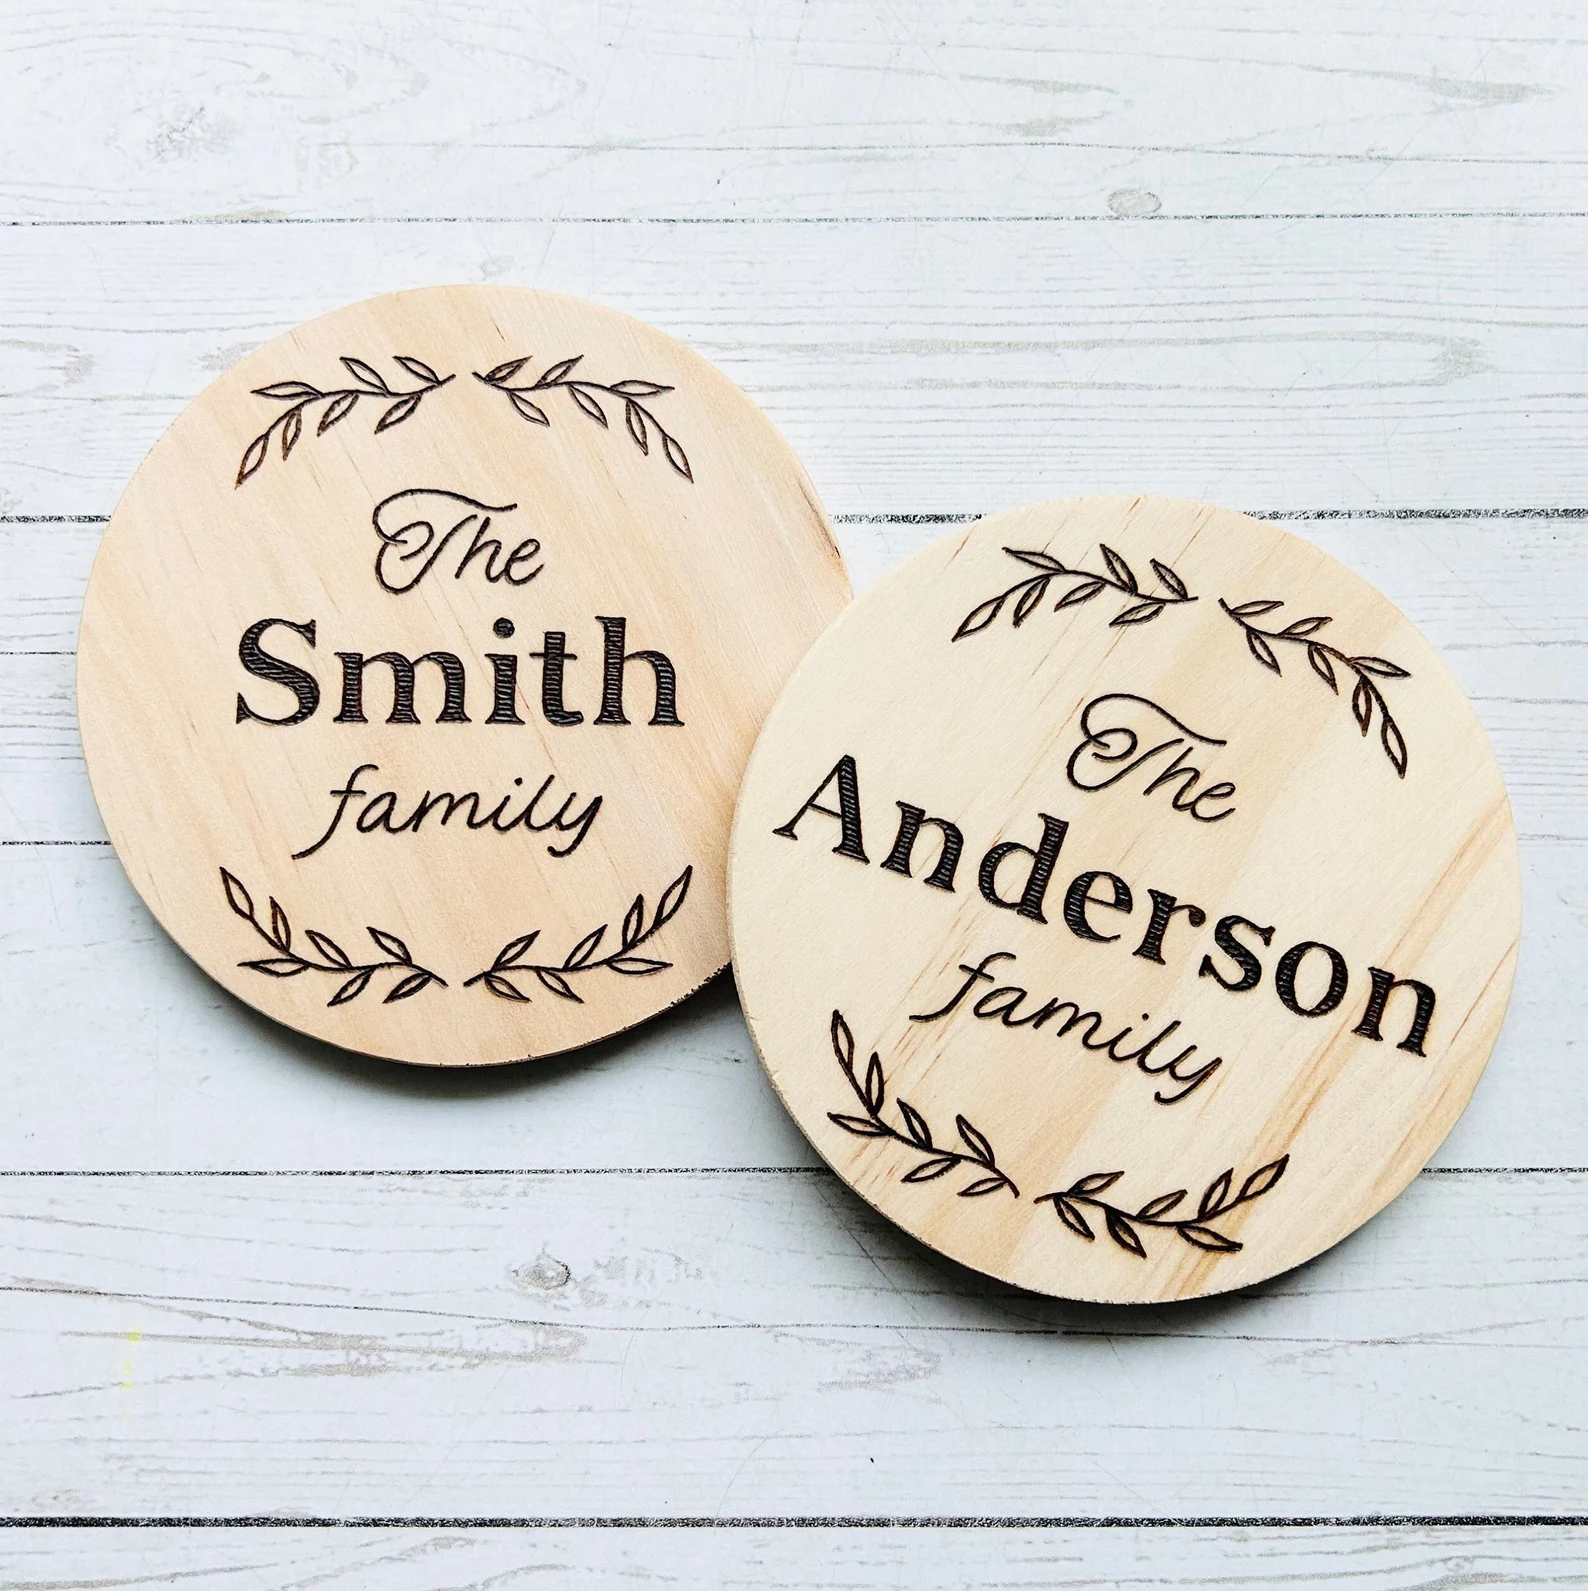
Wood burning, also known as pyrography, is a fascinating art form that has been practiced for centuries. This craft involves using a heated tool to burn designs onto wood, creating intricate patterns and images.
Whether you are a beginner looking to explore a new hobby or an experienced artist seeking to refine your skills, this guide will provide valuable insights into wood burning designs.
What is Wood Burning?
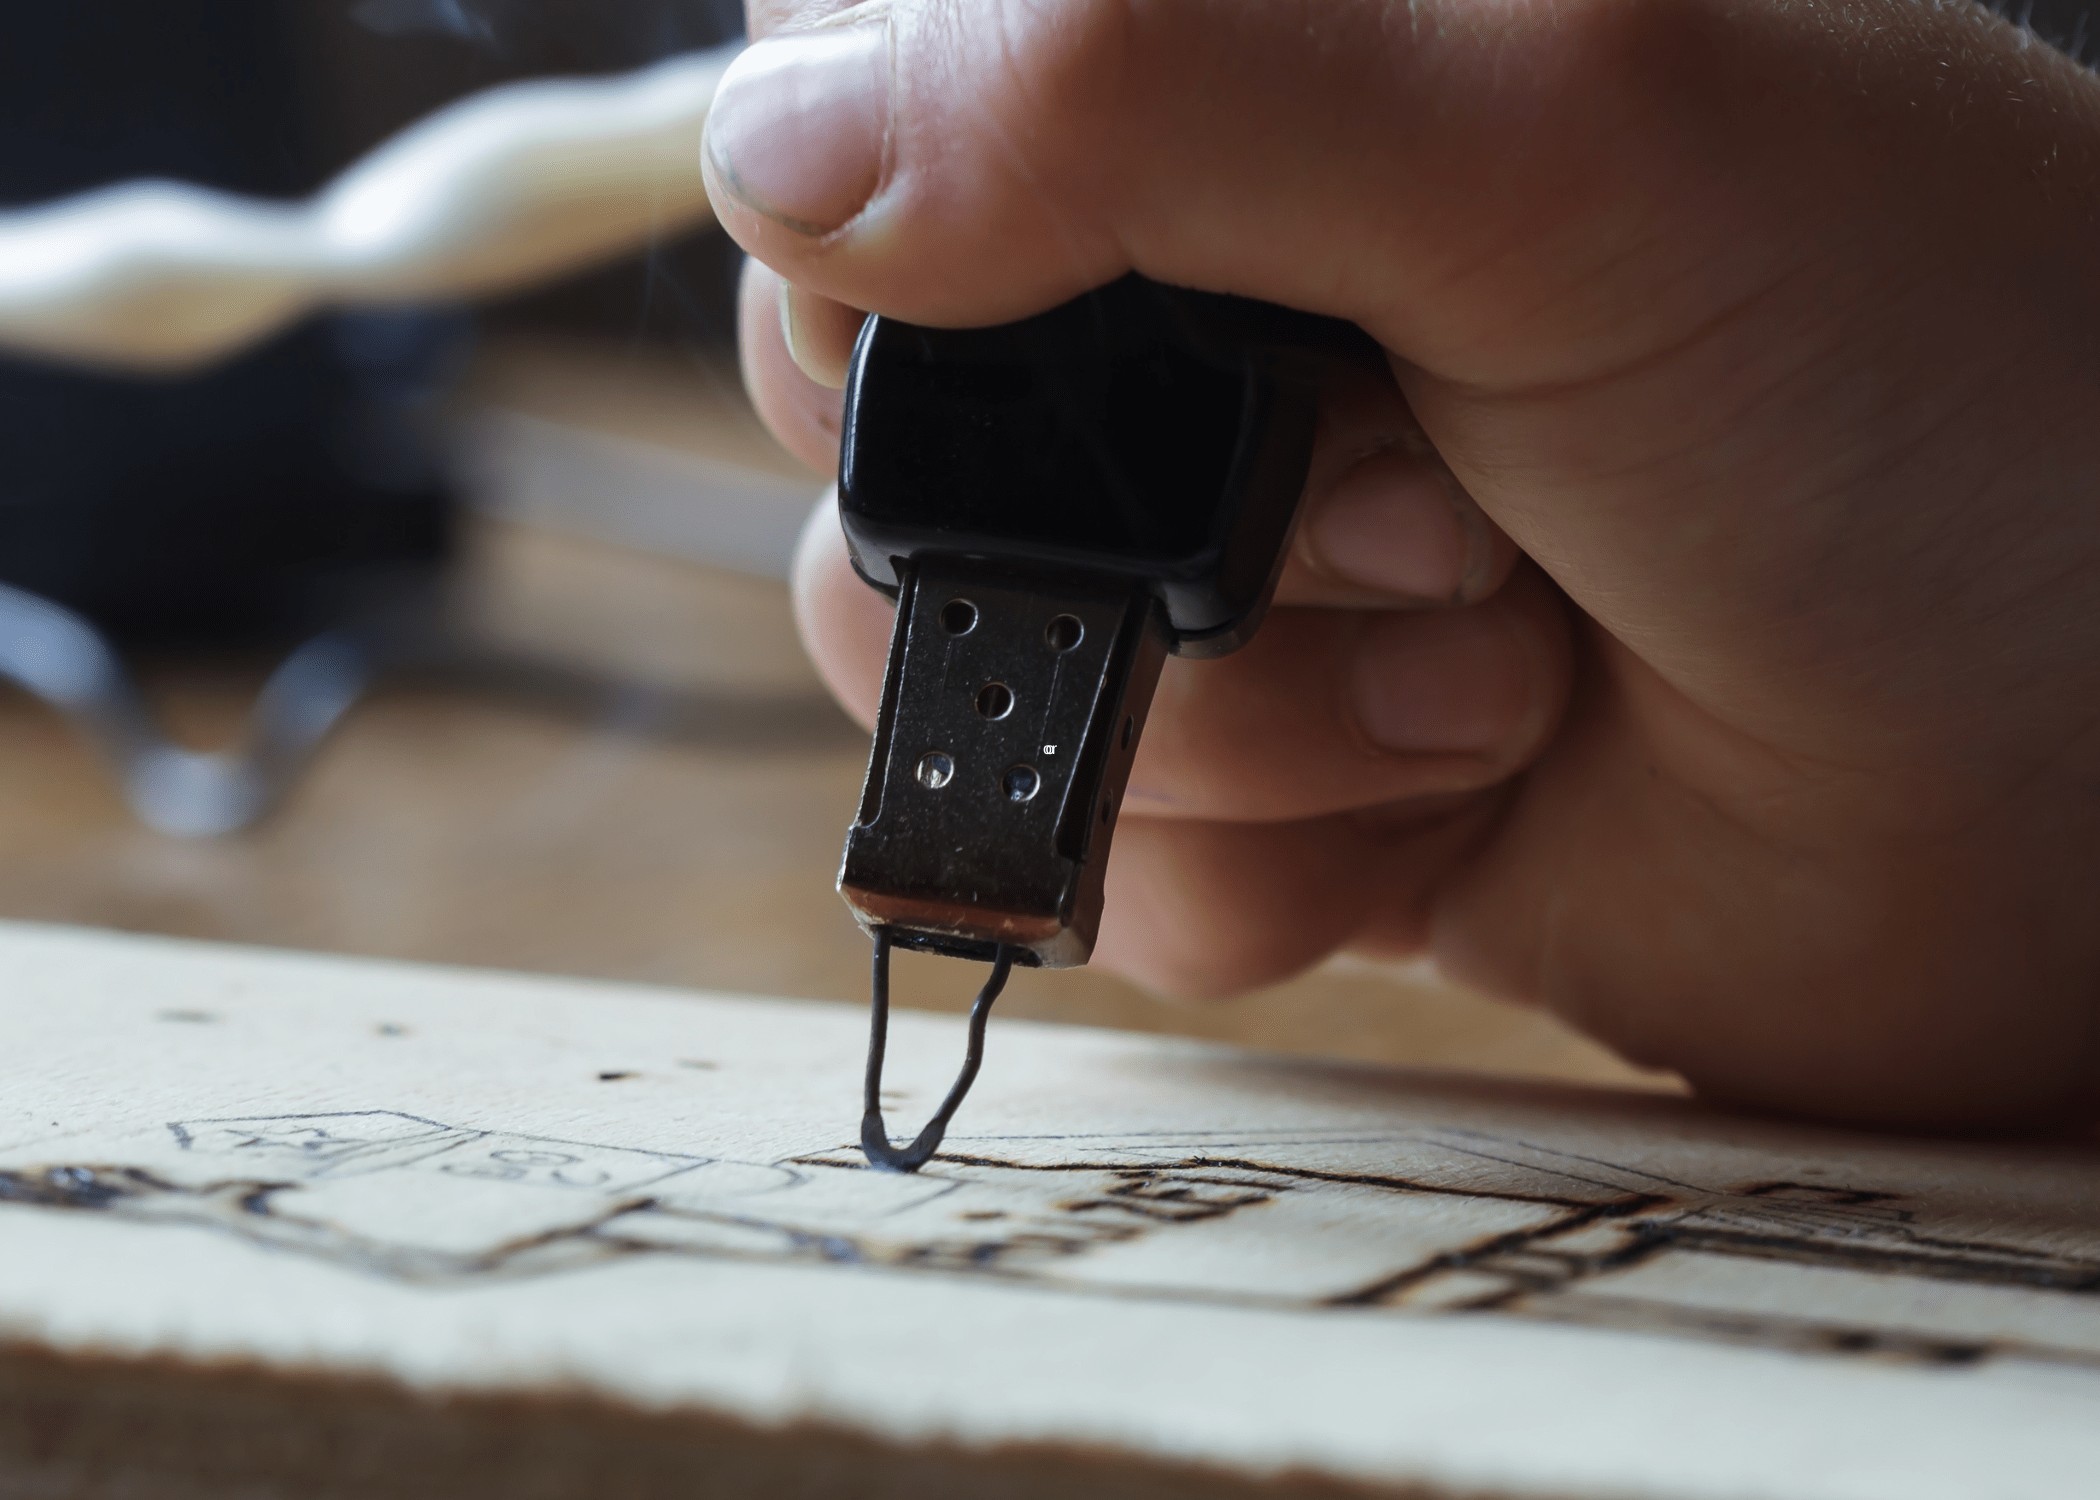
Wood burning, or pyrography, comes from the Greek words “pur” (fire) and “graphos” (writing). The process involves using a heated metal pen to etch designs onto wood surfaces. Artists can create anything from simple line drawings to complex, shaded images, and the possibilities are virtually endless.
History of Wood Burning
Pyrography has a rich history that dates back to ancient civilizations. Early examples of wood burning can be found in Egypt and China, where artists used hot pokers to create decorative designs on wooden objects. The craft evolved over time, with the invention of electric pyrography tools in the 20th century, making it more accessible to enthusiasts worldwide.

Essential Tools and Materials
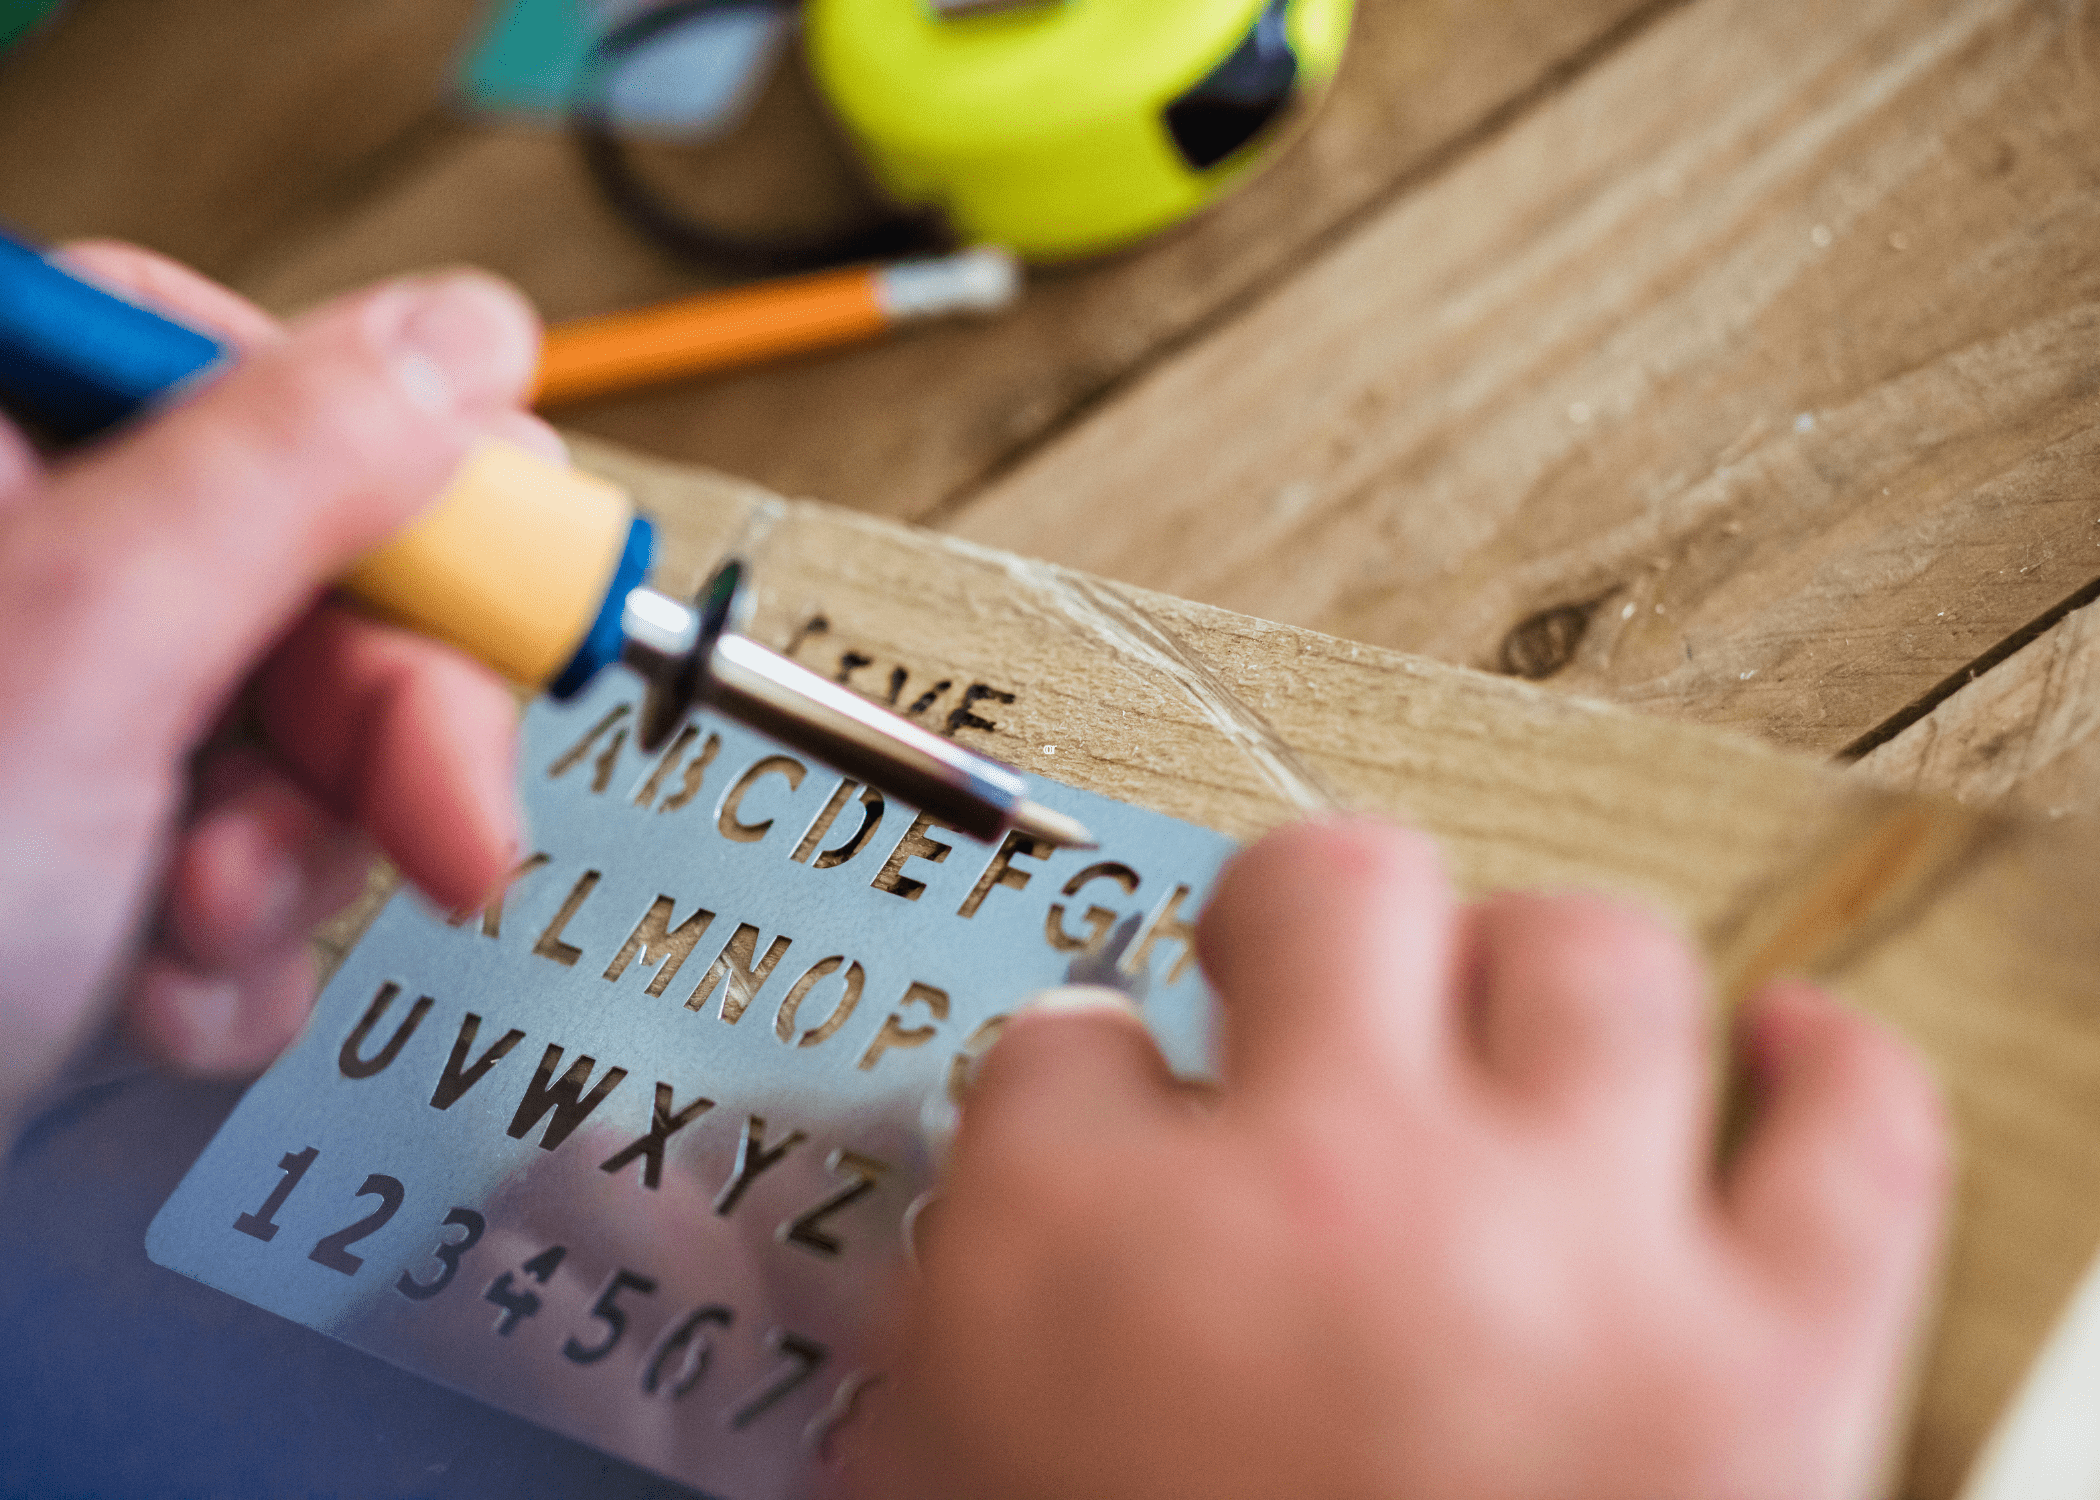
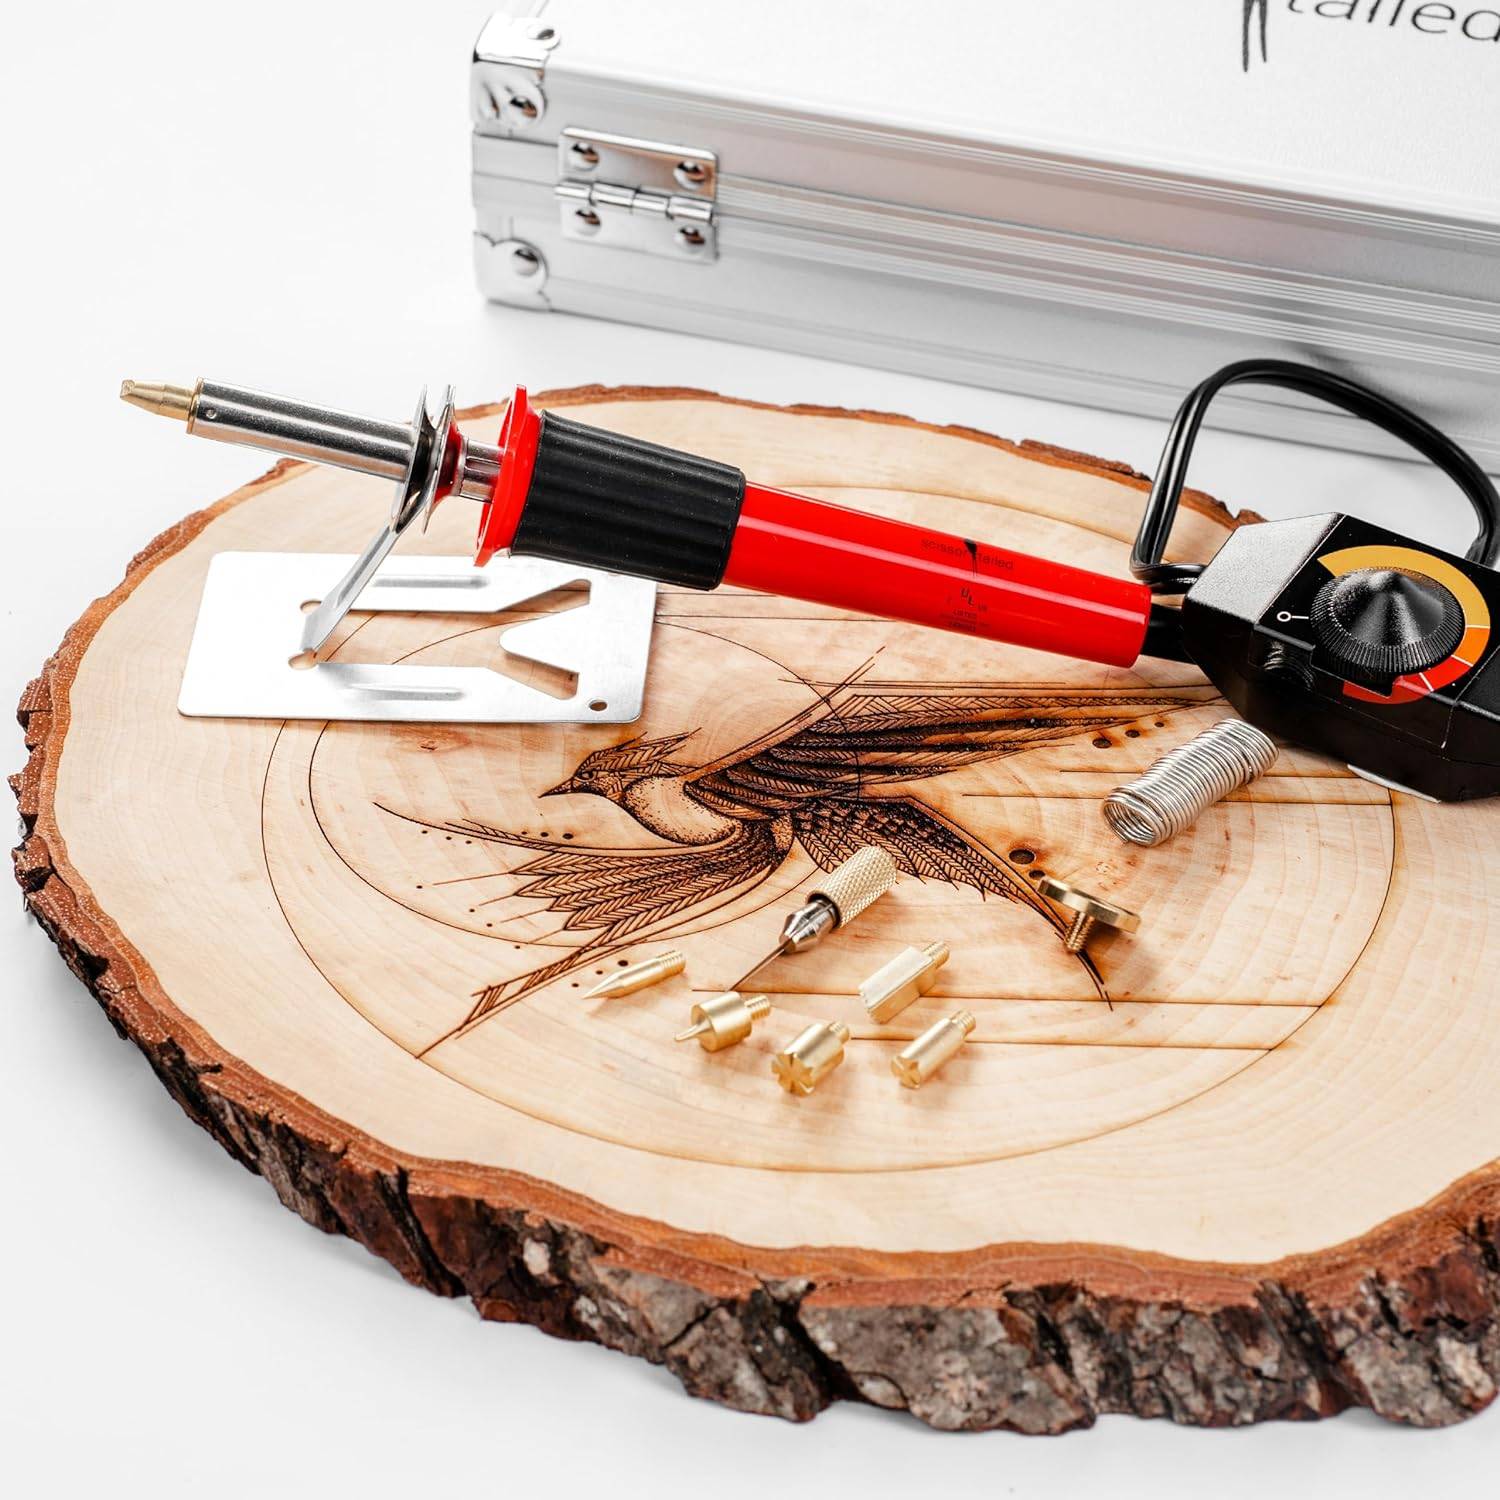
To get started with wood burning, you will need some basic tools and materials. The most important tool is a wood burning pen, which comes with interchangeable tips for different effects. You will also need a variety of wooden surfaces, such as plaques, boxes, or coasters, as well as graphite paper for transferring designs.
Choosing the Right Wood
Not all wood types are suitable for pyrography. Soft woods like pine, basswood, and birch are ideal for beginners because they burn easily and provide a smooth surface. Hardwoods like oak and maple can be used for more detailed work but require more skill and patience.
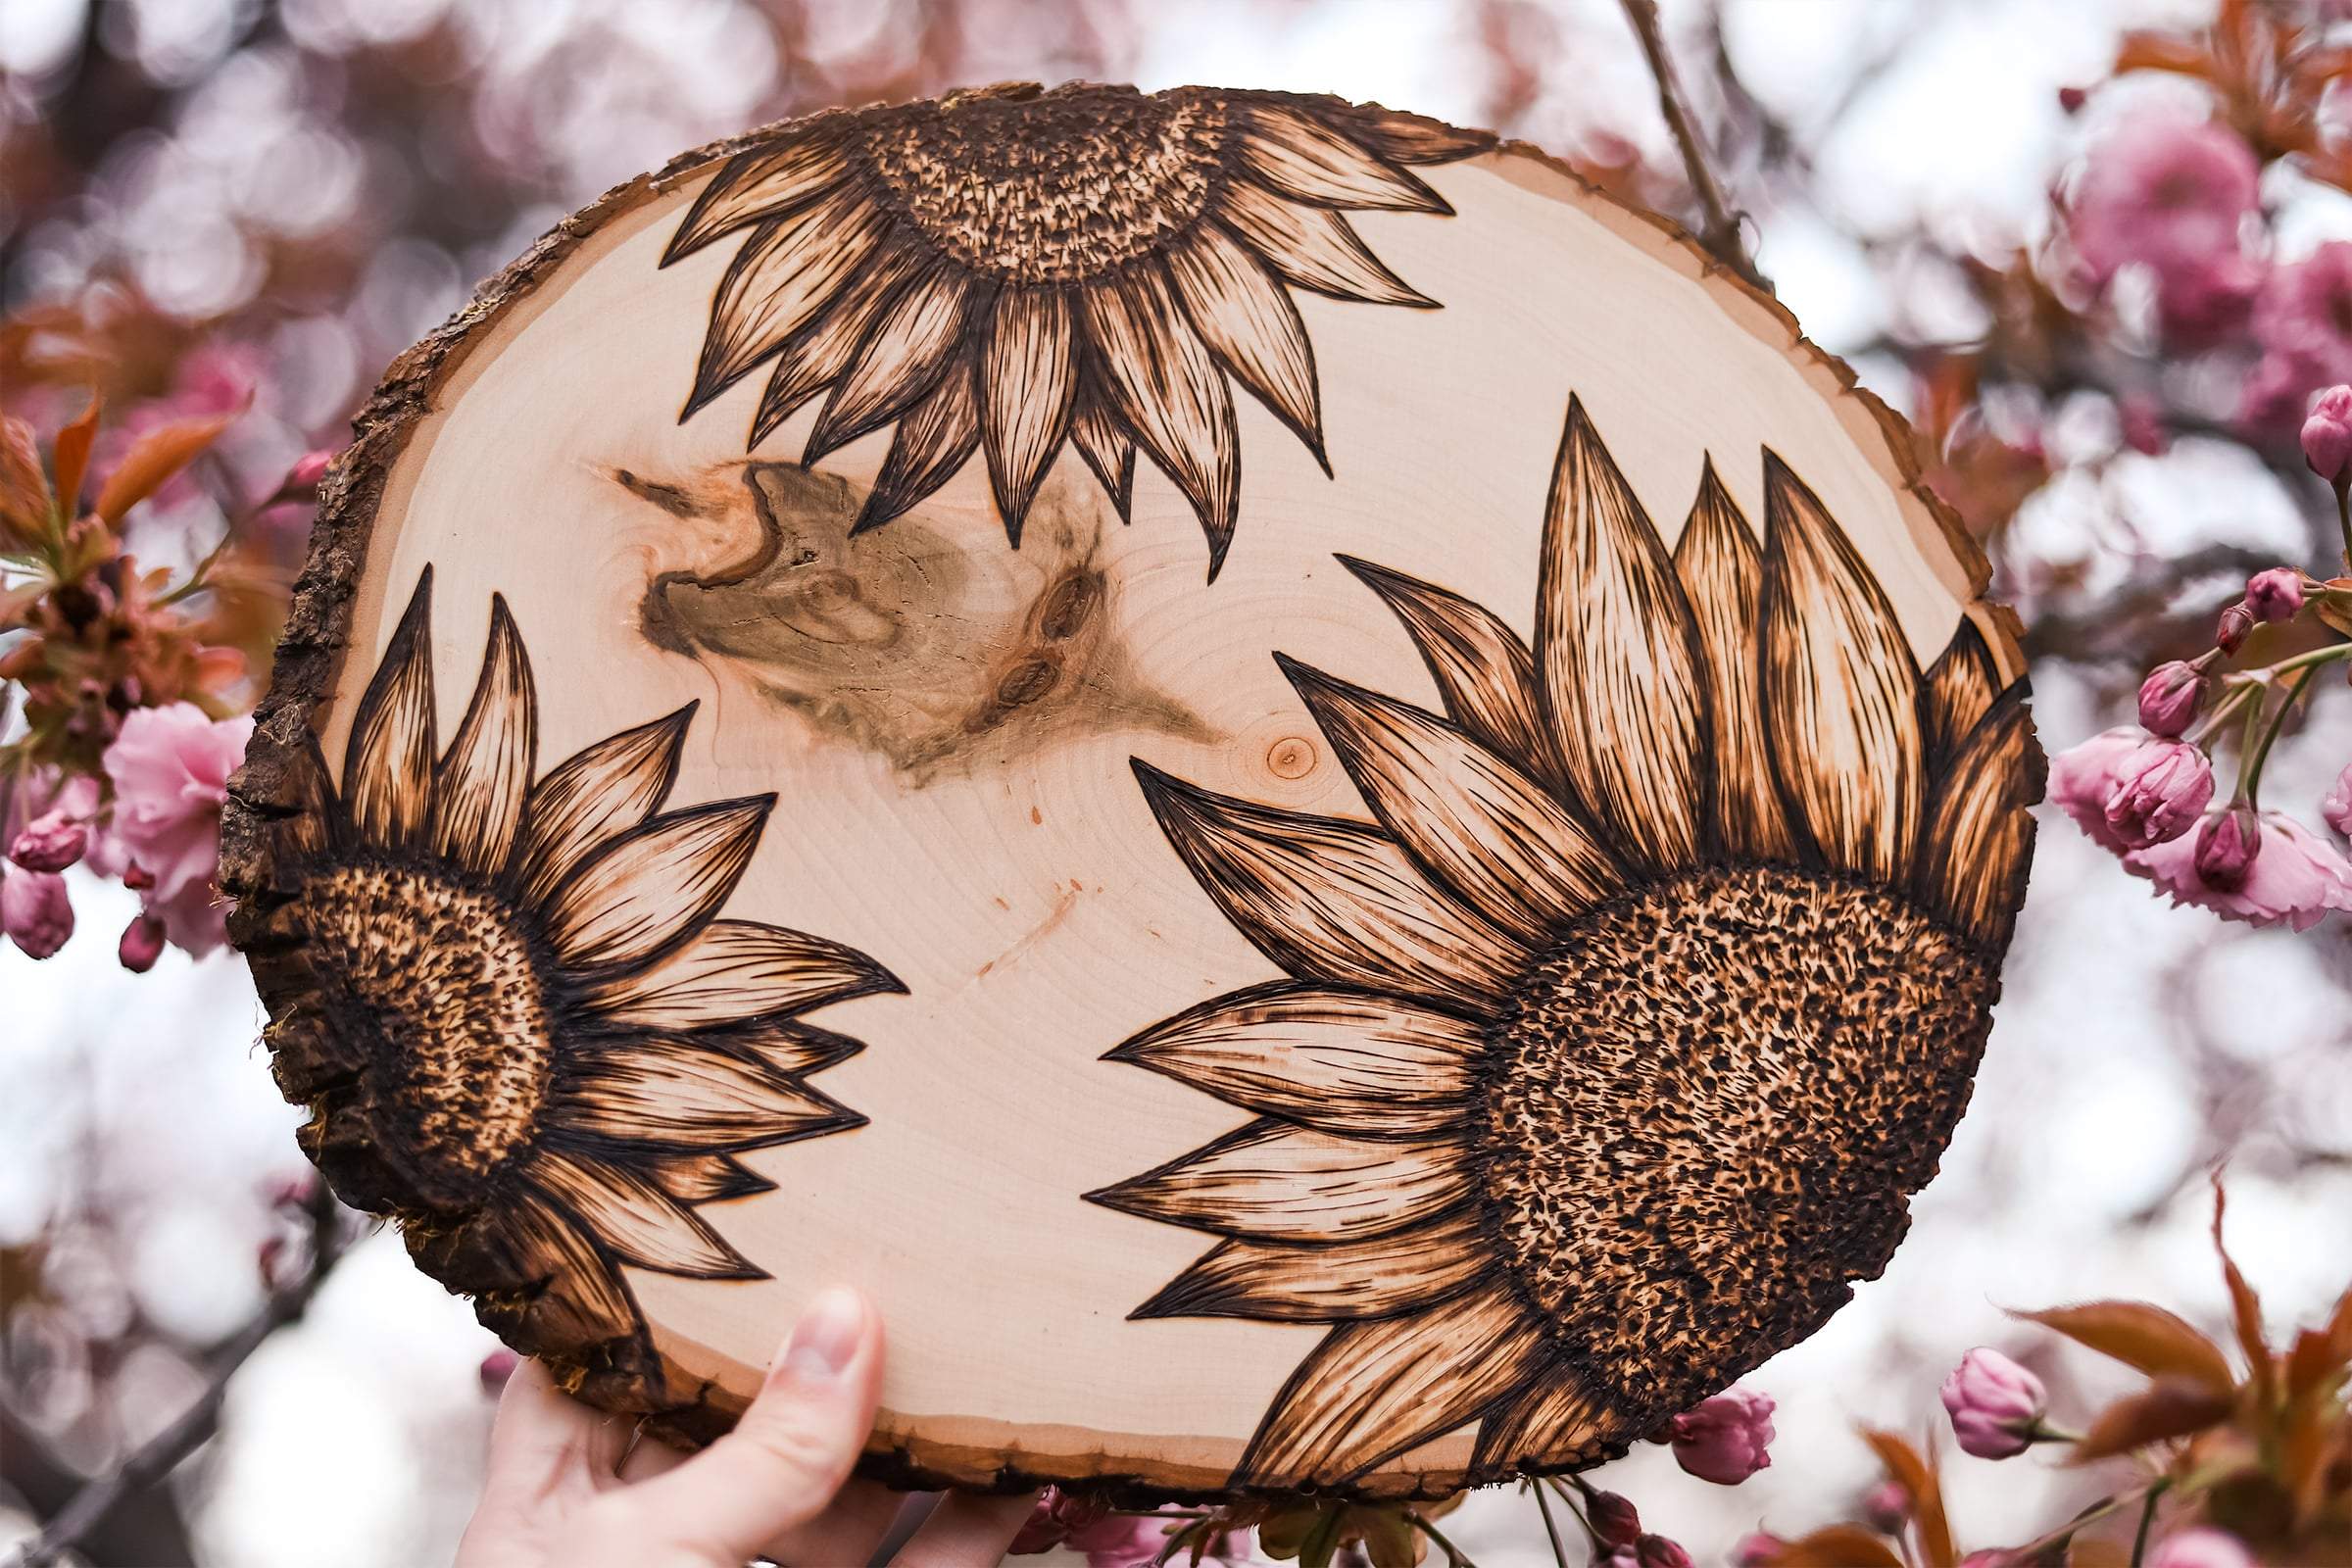
Designing Your Artwork
Before you start burning, it’s essential to plan your design. Sketch your idea on paper and use graphite paper to transfer it onto the wood. This step ensures that your final piece will look polished and professional. You can also find pre-made patterns and templates online if you’re not confident in your drawing skills.
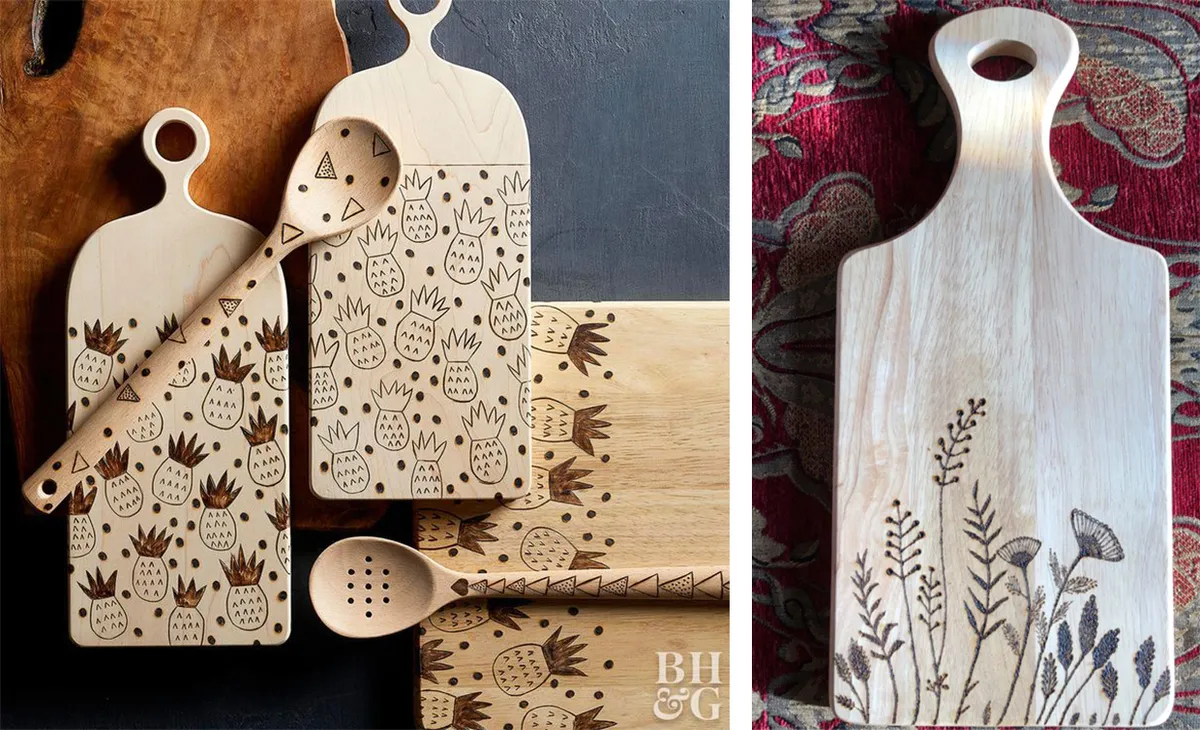
Techniques for Shading and Detailing
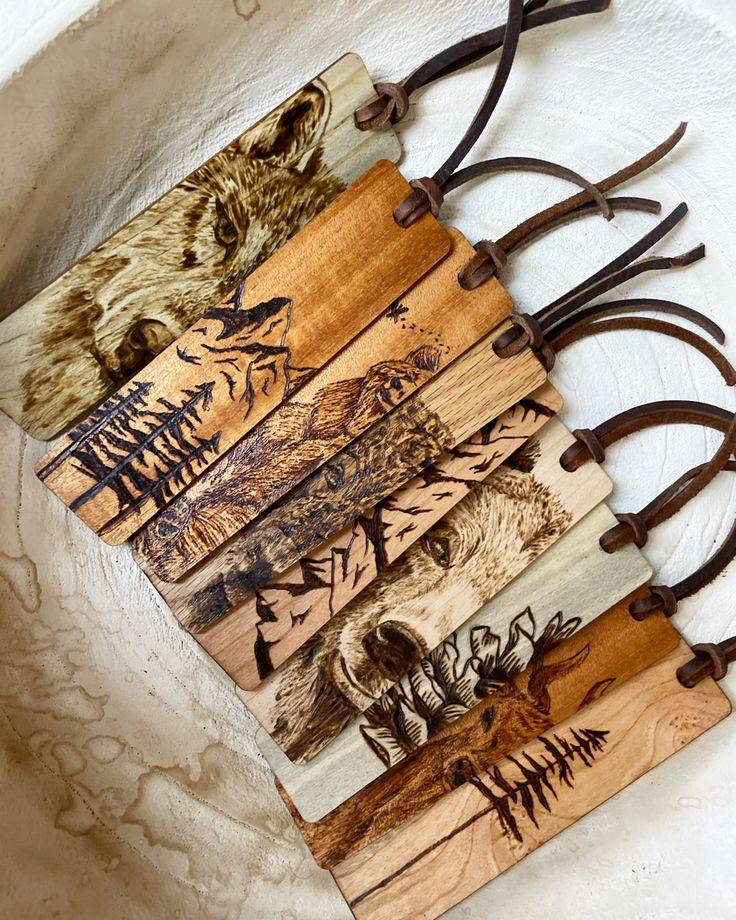
Shading and detailing are critical aspects of wood burning that can add depth and realism to your artwork. Use different tips and vary the pressure and speed of your strokes to create various shades and textures. Practice on scrap wood to perfect your technique before working on your final piece.
Safety Tips for Wood Burning
Safety should always be a priority when working with hot tools. Wear protective gloves and goggles to shield yourself from burns and debris. Ensure your workspace is well-ventilated to avoid inhaling harmful fumes, and always unplug your wood burning pen when not in use.
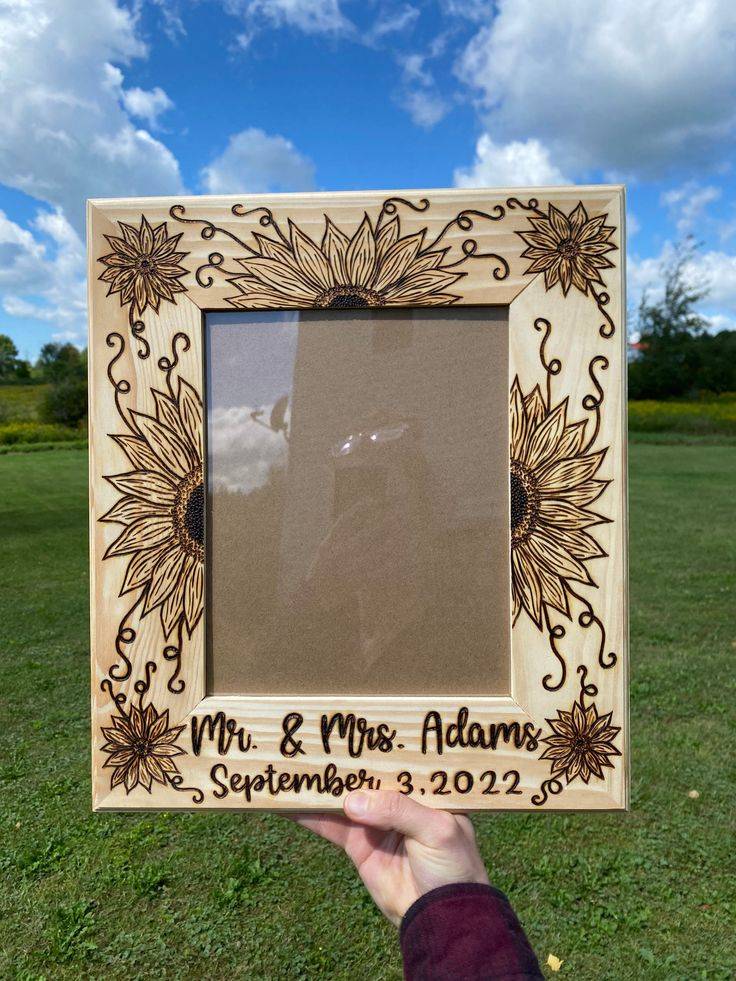
Finishing Your Wood Burned Piece
Once you have completed your design, it’s essential to seal your artwork to protect it from damage. Apply a clear finish, such as polyurethane or lacquer, to enhance the wood’s natural beauty and preserve your work. Allow the finish to dry thoroughly before handling your piece.
Common Mistakes to Avoid
Beginners often make a few common mistakes when starting with wood burning. These include applying too much pressure, not allowing the pen to heat up properly, and choosing the wrong type of wood. Take your time, practice regularly, and learn from your mistakes to improve your skills.
Exploring Advanced Techniques
As you become more comfortable with basic wood burning, you can explore advanced techniques such as color blending, 3D effects, and incorporating other materials like leather or gourds. Experimentation and creativity are key to mastering the art of pyrography, so embrace experimenting with different wood burning designs.
Related Articles
- Unlock Your Creativity With Scroll Saw Projects
- 6 Clever Small Woodworking Projects That You Should Try
- Woodturning 101 – Essential Tips for Beginners
Wood burning is a rewarding and versatile craft that allows you to create beautiful and lasting works of art and designs. With the right tools, materials, and techniques, you can develop your skills and enjoy the timeless art of pyrography.
Ready to start your next project? Join our DIY community to receive tool tips, how-to guides, and exclusive creative insights. Subscribe to the ManMadeDIY newsletter now! Click here to unlock a world of hands-on inspiration.
Frequently Asked Questions (FAQs)
What is the best wood for beginners in wood burning?
Soft woods like pine, basswood, and birch are ideal for beginners because they are easy to burn and provide a smooth surface for detailed work.
Do I need special training to start wood burning?
While special training isn’t necessary, taking a beginner’s class or watching tutorials online can be very helpful in learning the basics and avoiding common mistakes.
Can I use any wood burning pen for my projects?
It’s best to use a quality wood burning pen with interchangeable tips, as this will allow you to create a variety of effects and fine details in your artwork.
How can I transfer a design onto wood?
You can transfer a design onto wood using graphite paper. Simply place the graphite paper between your design and the wood, and trace over the lines with a pencil to transfer the image.
How do I achieve different shades and textures in my wood burning?
To achieve different shades and textures, vary the pressure and speed of your strokes and use different tips. Practicing on scrap wood can help you perfect these techniques.
Are there any safety precautions I should take?
Yes, always work in a well-ventilated area, wear protective gloves and goggles, and unplug your wood burning pen when not in use to prevent accidents and injuries.
How do I preserve my finished wood burned designs?
Apply a clear finish, such as polyurethane or lacquer, to your finished piece. This will enhance the wood’s natural beauty and protect your artwork from damage.

